How to Cook Pumpkin: 4 Easy Methods (Roast, Steam & More)
Ingredients
Scale
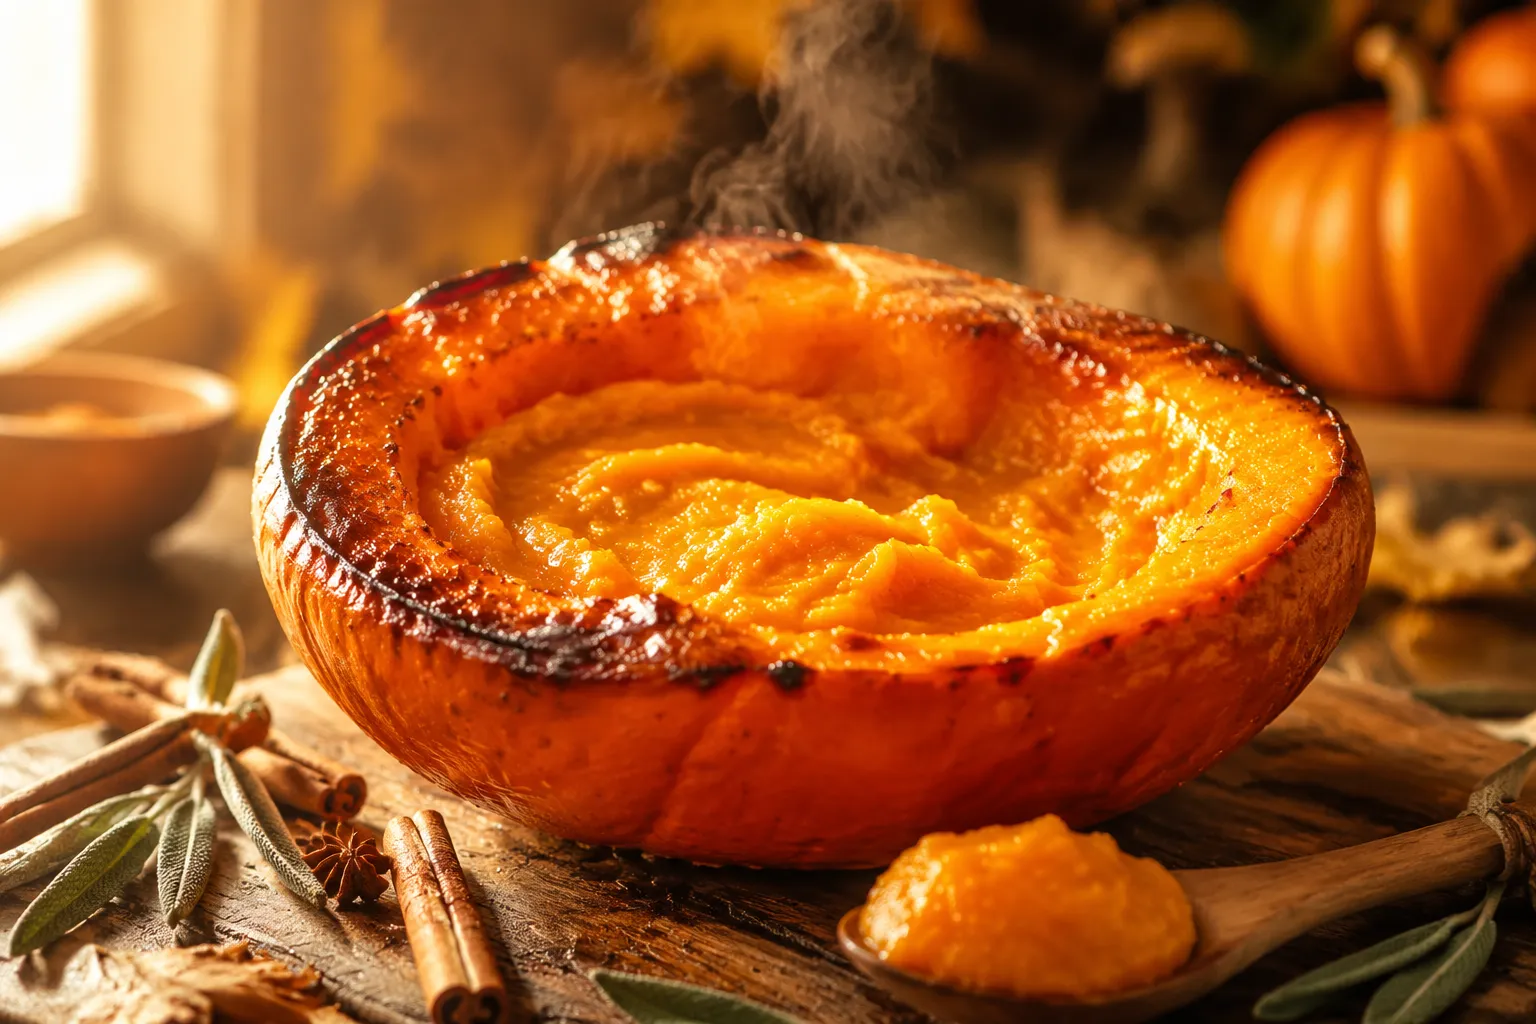
Wondering how to cook pumpkin from whole to silky purée? This guide covers 4 foolproof methods — roasting, steaming, microwaving, and boiling — plus pro tips.
Learning how to cook pumpkin from a whole, uncut squash is one of those small kitchen wins that pays off all autumn long. Once you've tasted the deep, almost caramel sweetness of fresh pumpkin straight from the oven, the canned stuff starts to feel like a stand-in. And the process is genuinely easy — most of the time is hands-off while the oven does its thing.
This guide walks through four reliable methods (roasting, steaming, microwaving, and boiling), how to choose the right pumpkin at the market, and how to turn that cooked flesh into the kind of silky, scoopable puree you want for pies, soups, and quick breads. Whether you're a first-timer staring down a 4-pound sugar pumpkin or a seasoned baker prepping for Thanksgiving, you'll find the right method here.
I keep this guide bookmarked from late September through Christmas, and I run through the roasting method at least a half-dozen times each fall. Once you see how silky the texture turns out, you'll understand why bakers swear by pumpkin puree from scratch over the canned shortcut.
The biggest reason is flavor. A roasted pie pumpkin tastes warm, nutty, and lightly caramelized — qualities that simply don't survive the canning process. Canned puree is fine in a pinch, but a side-by-side taste test is genuinely eye-opening, especially in a recipe where pumpkin is the star (think custard pies, mousses, or simple soups).
Cooking pumpkin yourself is also surprisingly economical in fall. A 3-to-4-pound sugar pumpkin runs $3 to $5 at most US grocery stores in October and November and yields roughly 4 cups of puree — about three 15-ounce cans' worth. Stash extra portions in the freezer and you've effectively bought yourself pie filling for half the price.
The third win is texture control. Canned puree is a single, uniform consistency. When you cook pumpkin yourself, you decide whether you want chunky cubes for a stew, a coarse mash for ravioli filling, or a strained, glossy puree fit for a holiday dessert. That flexibility is hard to beat.
Not every orange globe at the farm stand is destined for the kitchen. The squash you want is a pie pumpkin, also sold as a sugar pumpkin or sugar pie pumpkin. They're small (usually 3 to 5 pounds), round, with a deep matte-orange skin and a heavier-than-it-looks heft. The flesh inside is dense, sweet, and low in stringy fibers — exactly what you want for baking.
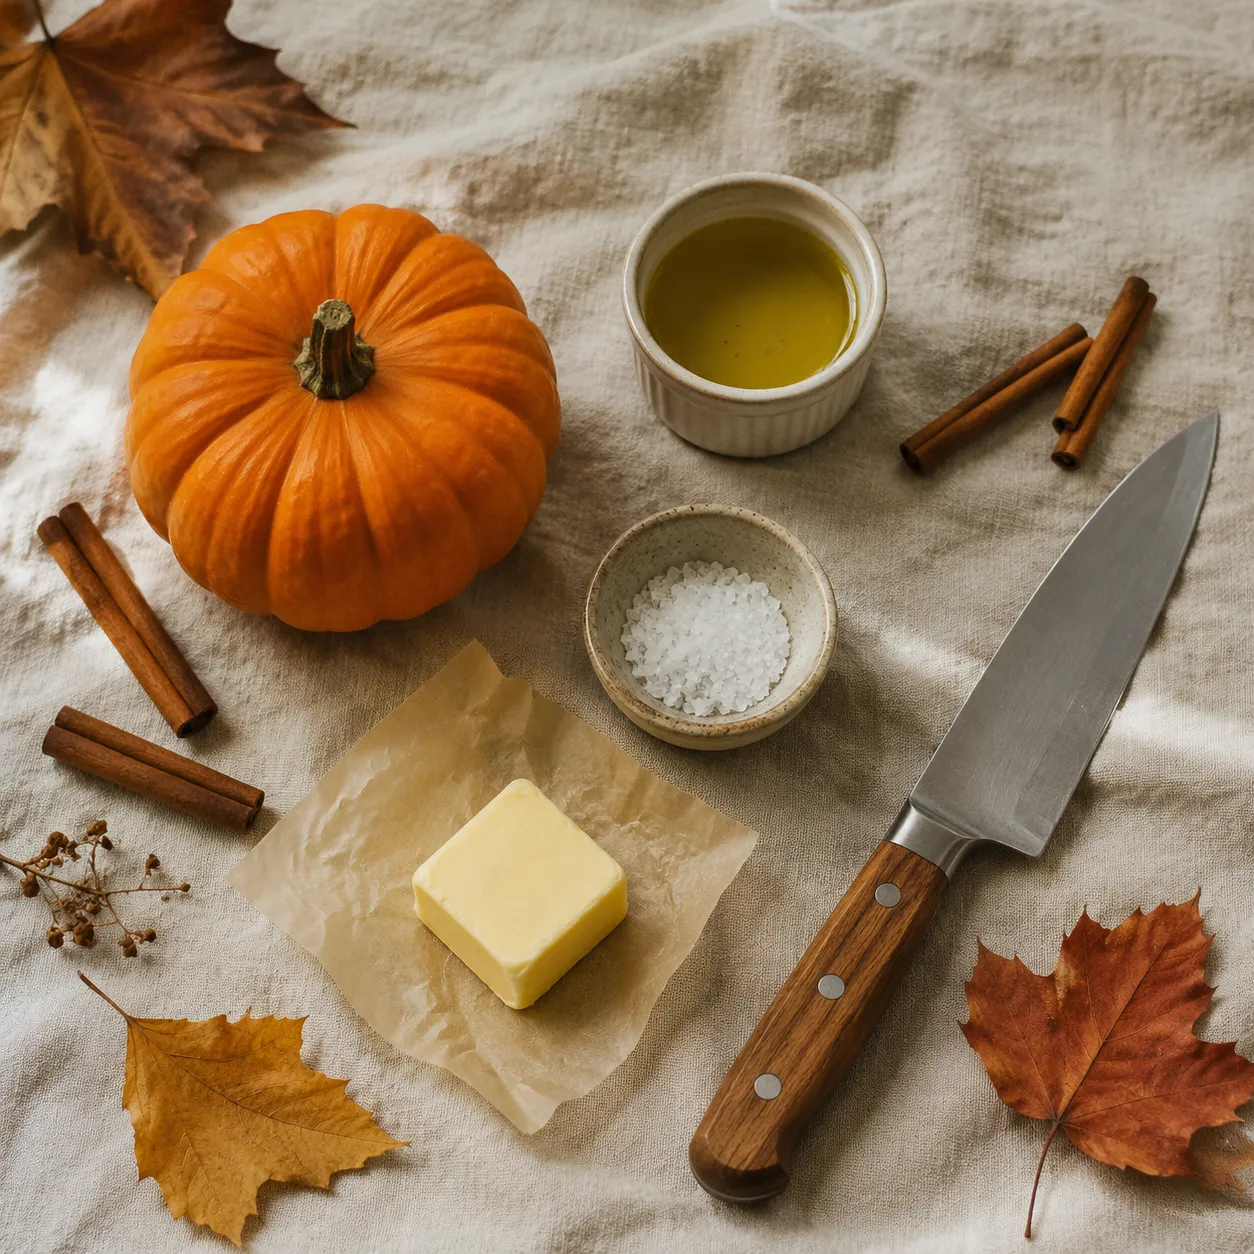
Carving pumpkins (the big jack-o'-lantern types) are bred for size and a hollow interior, not flavor. Their flesh is watery, bland, and often stringy — workable for stock or a rustic puree if you're truly committed, but a disappointment in pie. If a pumpkin's at all wider than a basketball, leave it for the porch.
Other excellent cooking varieties worth grabbing if you spot them: kabocha (intensely sweet, almost chestnut-like), red kuri (silky, buttery), butternut squash (yes, it works as a 1:1 substitute), and Cinderella or Long Island Cheese pumpkins for serious bakers. All can be roasted using the same method below.
Start by giving the whole pumpkin a quick rinse under cool water and drying it well — pumpkins sit outdoors a long time before reaching your kitchen. Trim off the stem if it's long enough to wobble the pumpkin on its side, but don't worry about peeling: the skin holds the flesh together while it cooks and slips off easily afterward.
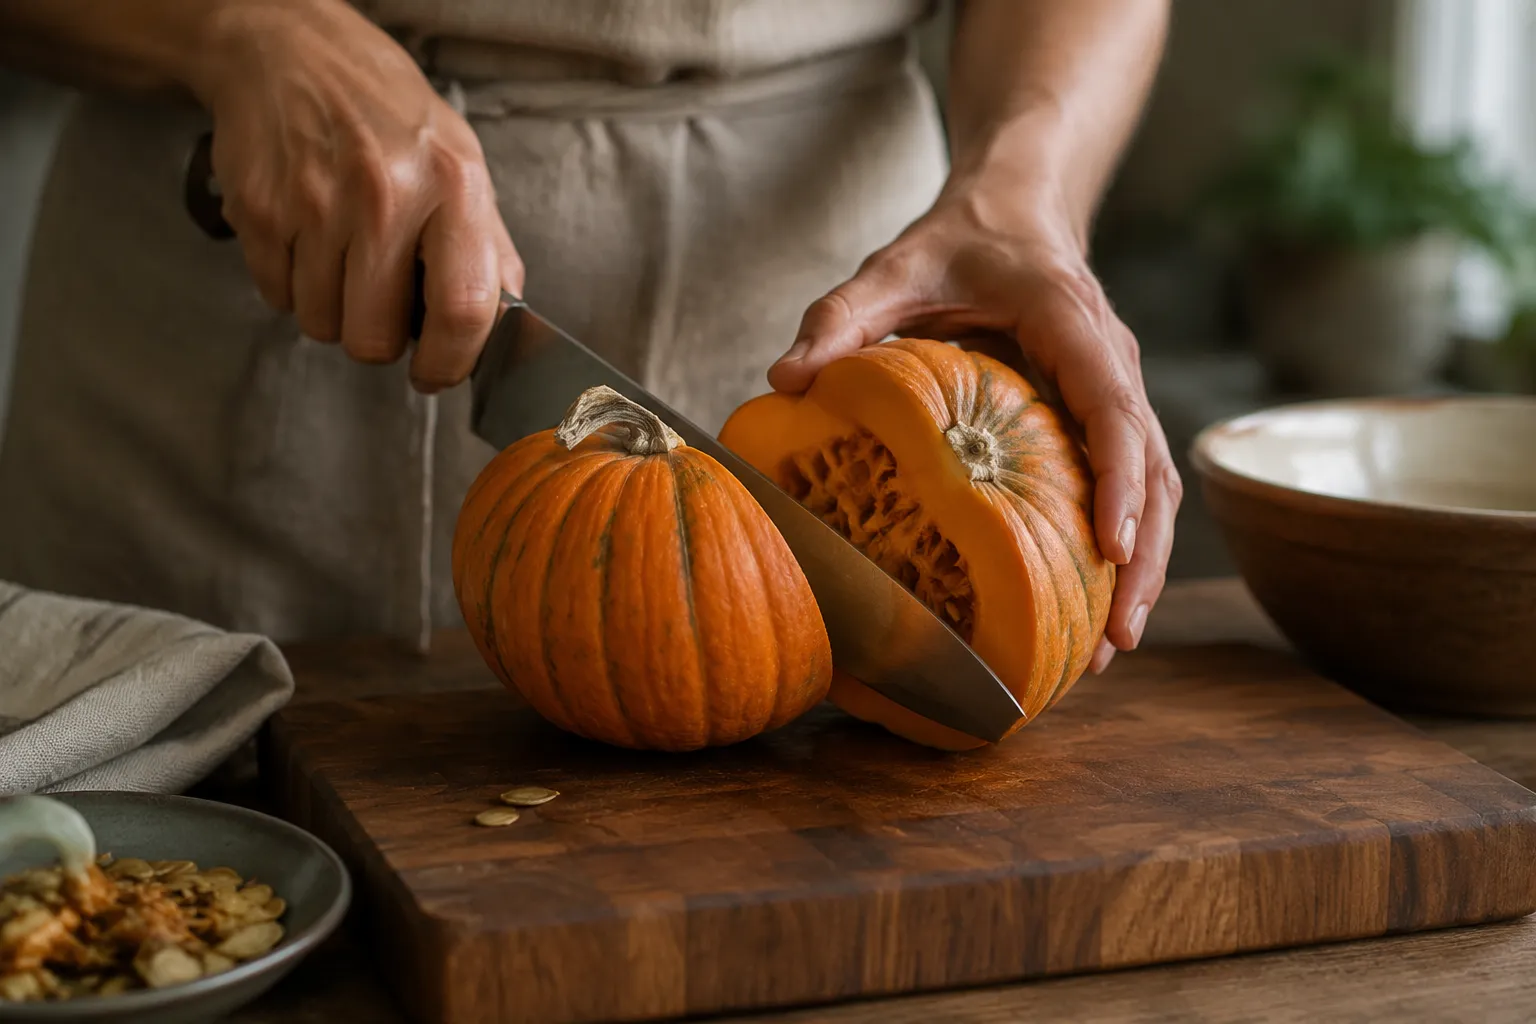
Halving the pumpkin is the only step that takes a little muscle. Use your sharpest, sturdiest chef's knife and a stable cutting board. Place the pumpkin on its side, anchor it with one hand, and slice down through the top, just to one side of the stem. Rotate and finish the cut from the bottom. If the pumpkin is rocking, slice a thin sliver off the bottom first to create a flat base.
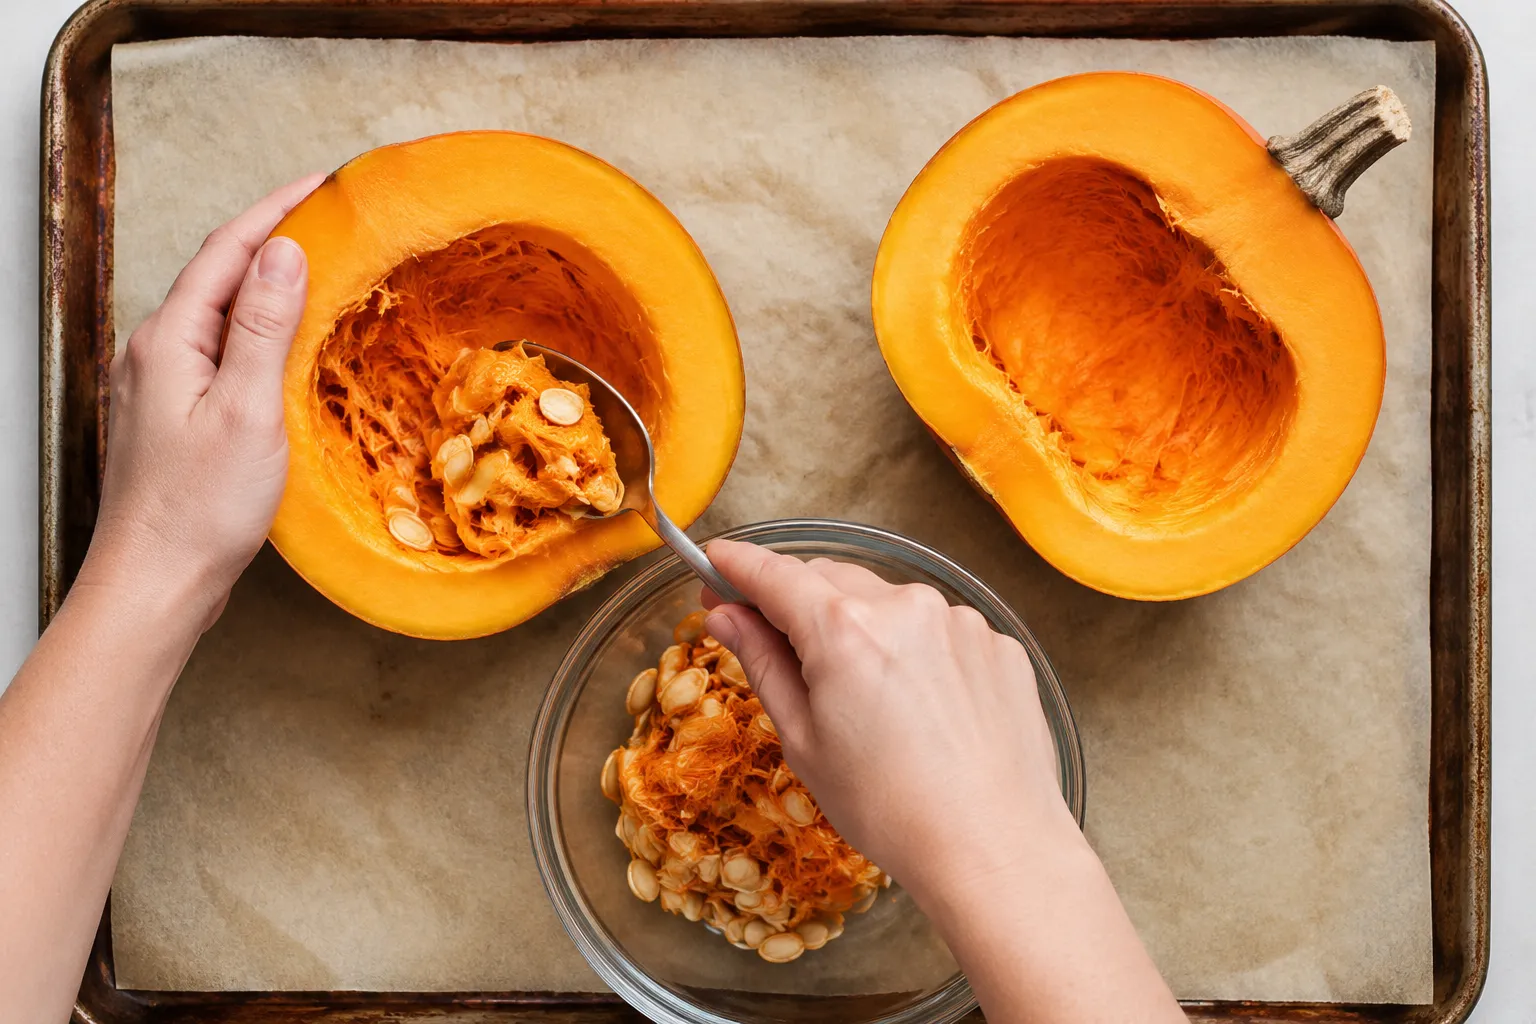
Once it's halved, scoop out the seeds and stringy pulp with a sturdy metal spoon or an ice cream scoop. Don't toss the seeds — rinse them, pat dry, and toss with oil and salt for a tray of roasted pumpkin seeds while the oven's already on. Free snack, zero waste.
Roasting is hands-down the best method when you want pumpkin for baking — the dry oven heat concentrates the natural sugars and drives off excess moisture, which means a thicker, sweeter puree at the end. This is the method to use when you're prepping for a homemade pumpkin pie or any baked good where pumpkin flavor needs to shine.
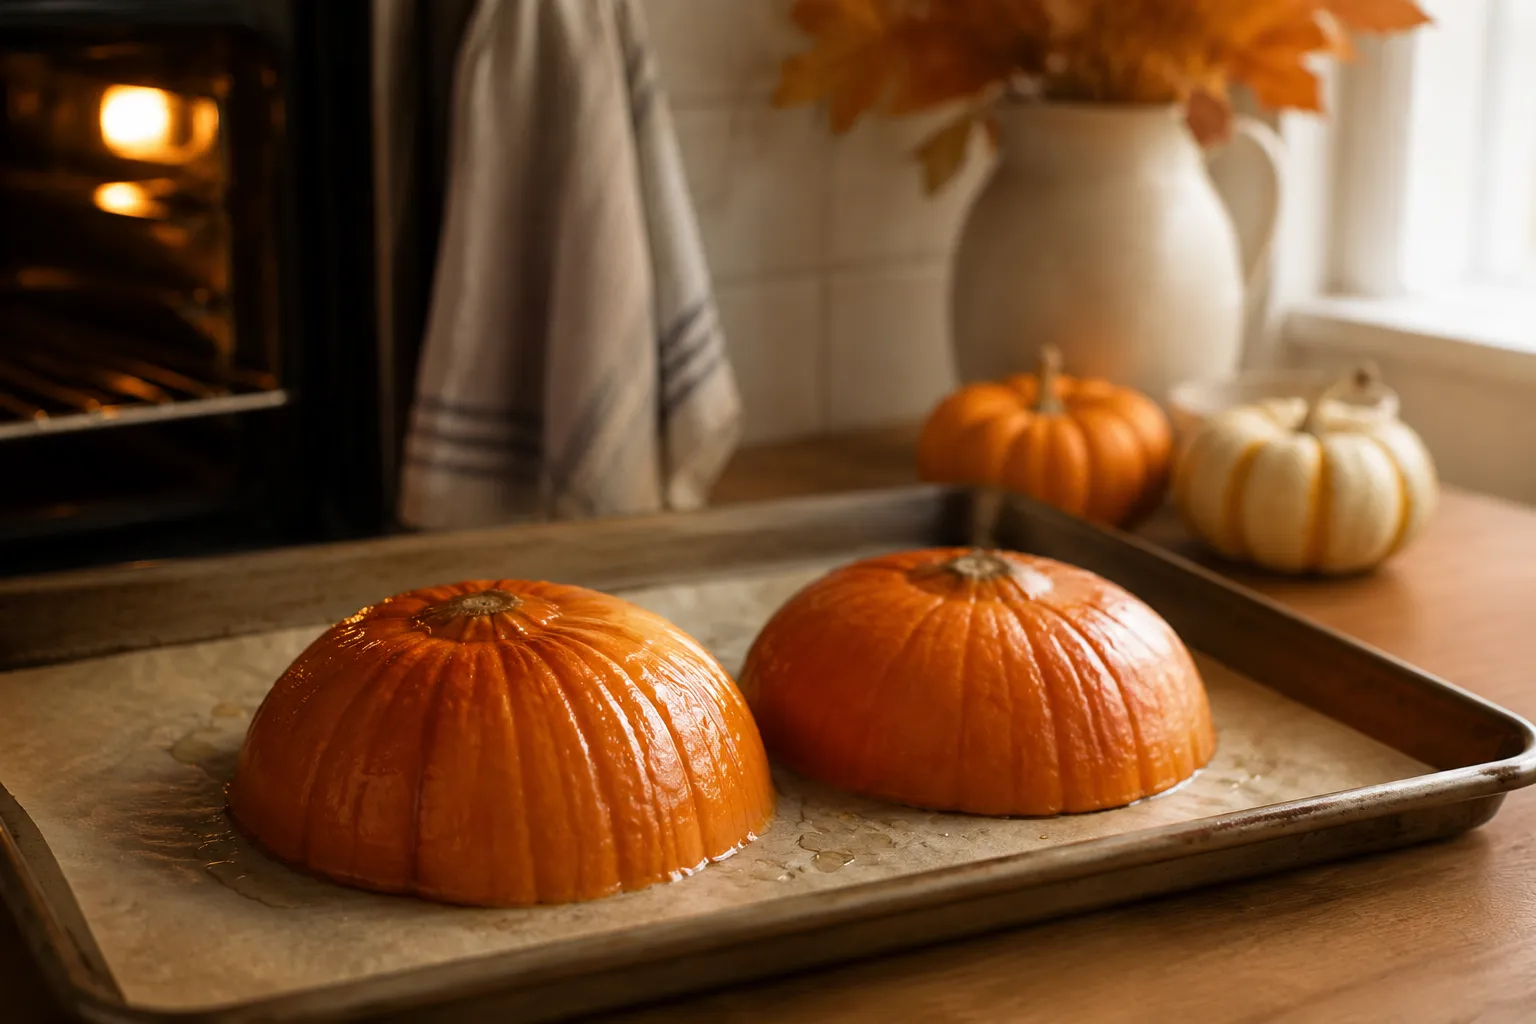
Preheat the oven to 400°F and line a rimmed baking sheet with parchment for easy cleanup. Brush the cut sides of the pumpkin with olive oil or melted butter and a pinch of salt — the fat helps the flesh caramelize and adds a subtle savory depth that benefits both sweet and savory uses. Place the halves cut-side down on the pan.
Roast for 40 to 50 minutes, until a fork or paring knife slides easily into the thickest part of the flesh and the skin looks slightly slumped and wrinkled. Smaller pumpkins finish closer to 35 minutes; larger ones can need up to an hour. Cook them long enough — under-roasted pumpkin tastes vegetal and watery in finished recipes.
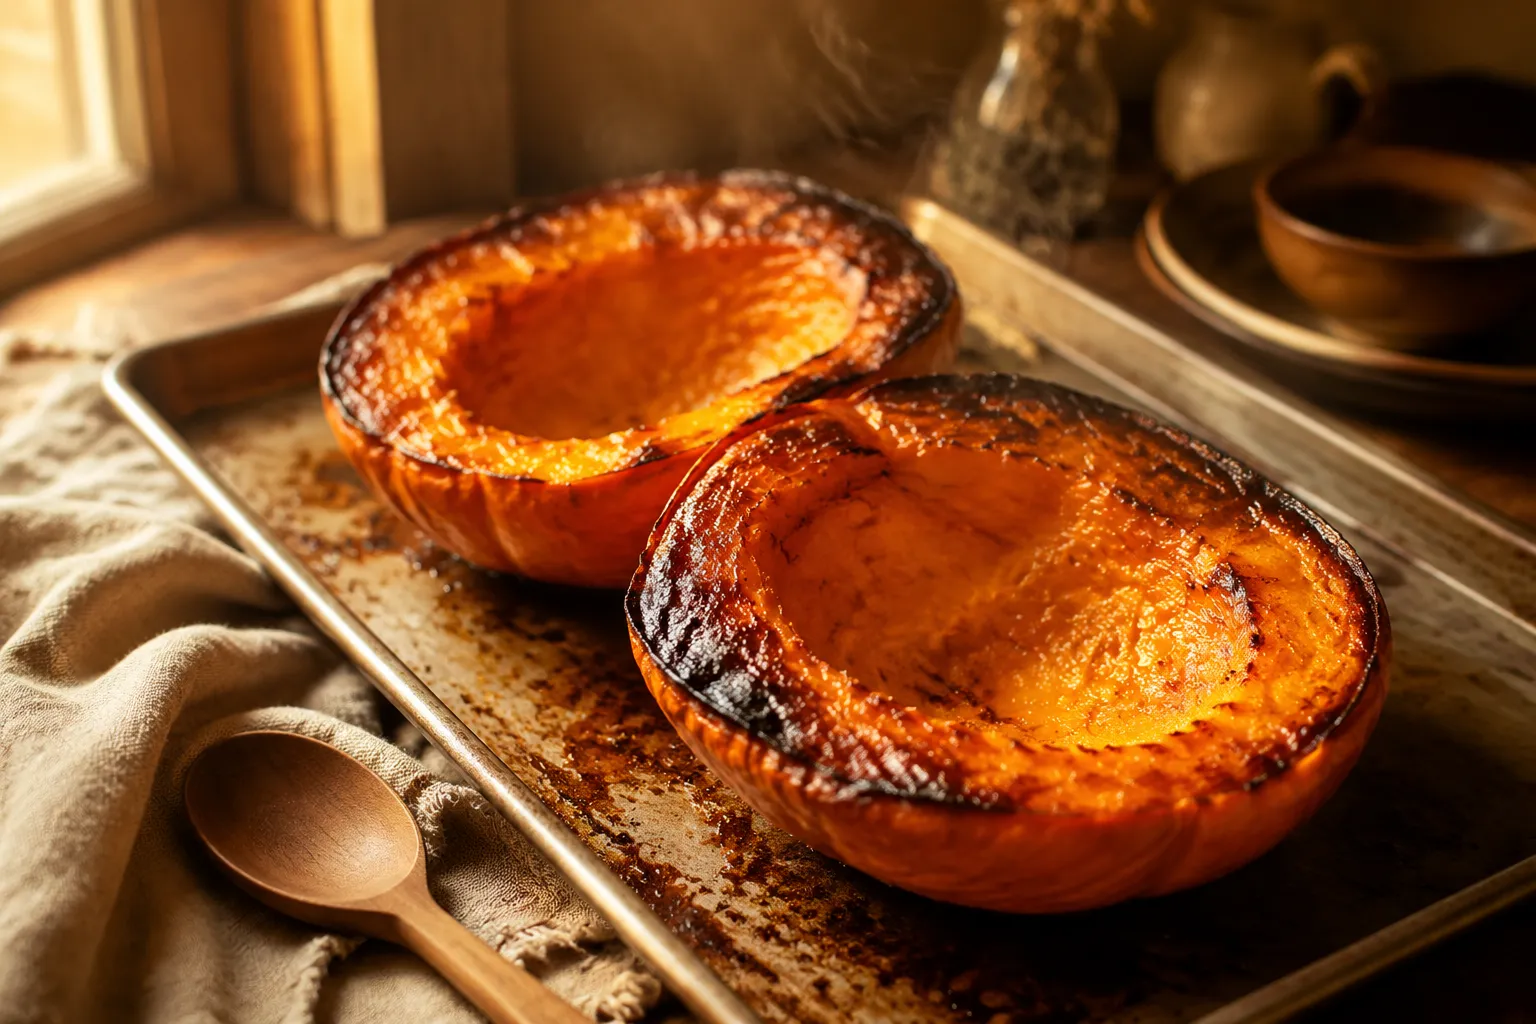
Let the halves cool until you can comfortably handle them, then peel the skin away with your fingers or scoop the flesh into a bowl with a large spoon. The skin should release with almost no effort. You're now ready to puree, mash, or use the flesh as-is.
Roasting is my default, but it's not always practical — sometimes the oven is full of Thanksgiving sides, or you just want puree fast. Here's how the other three methods stack up.
Steaming on the stovetop is the next-best option for a clean, mild flavor. Cut the pumpkin into 2-inch wedges (peel optional), set them in a steamer basket over an inch of simmering water, cover, and steam 15 to 20 minutes until fork-tender. The puree comes out a bit lighter in color and watery than roasted, but it's gentle and excellent for soups, baby food, or savory uses where you don't want any browned notes.
Microwaving is the quickest method when you're racing the clock. Halve the pumpkin, scoop out the seeds, place the halves cut-side down in a microwave-safe dish with about a half inch of water, cover loosely, and microwave on high for 12 to 18 minutes total, rotating once halfway. Test with a fork. The texture won't be as silky as roasted, but for a weeknight pumpkin soup recipe or a quick puree, it gets the job done.
Boiling is the method I use least, because it leaves the flesh the most waterlogged. Peel the pumpkin, cut into 1-inch cubes, and boil in lightly salted water for 10 to 15 minutes until soft. Drain very well — ideally let the cubes sit in the colander for 10 minutes — before mashing. Boiling works fine for a simple mash with butter and brown sugar, but skip it for pies or breads.
Once your pumpkin is cooked through, transferring it to a high-speed blender or food processor takes the texture from rustic to bakery-smooth in about 60 seconds. A blender produces the silkiest, most uniform puree — perfect for pie filling and lattes — while a food processor leaves a slightly thicker, more spoonable result that's great for soups and quick breads.
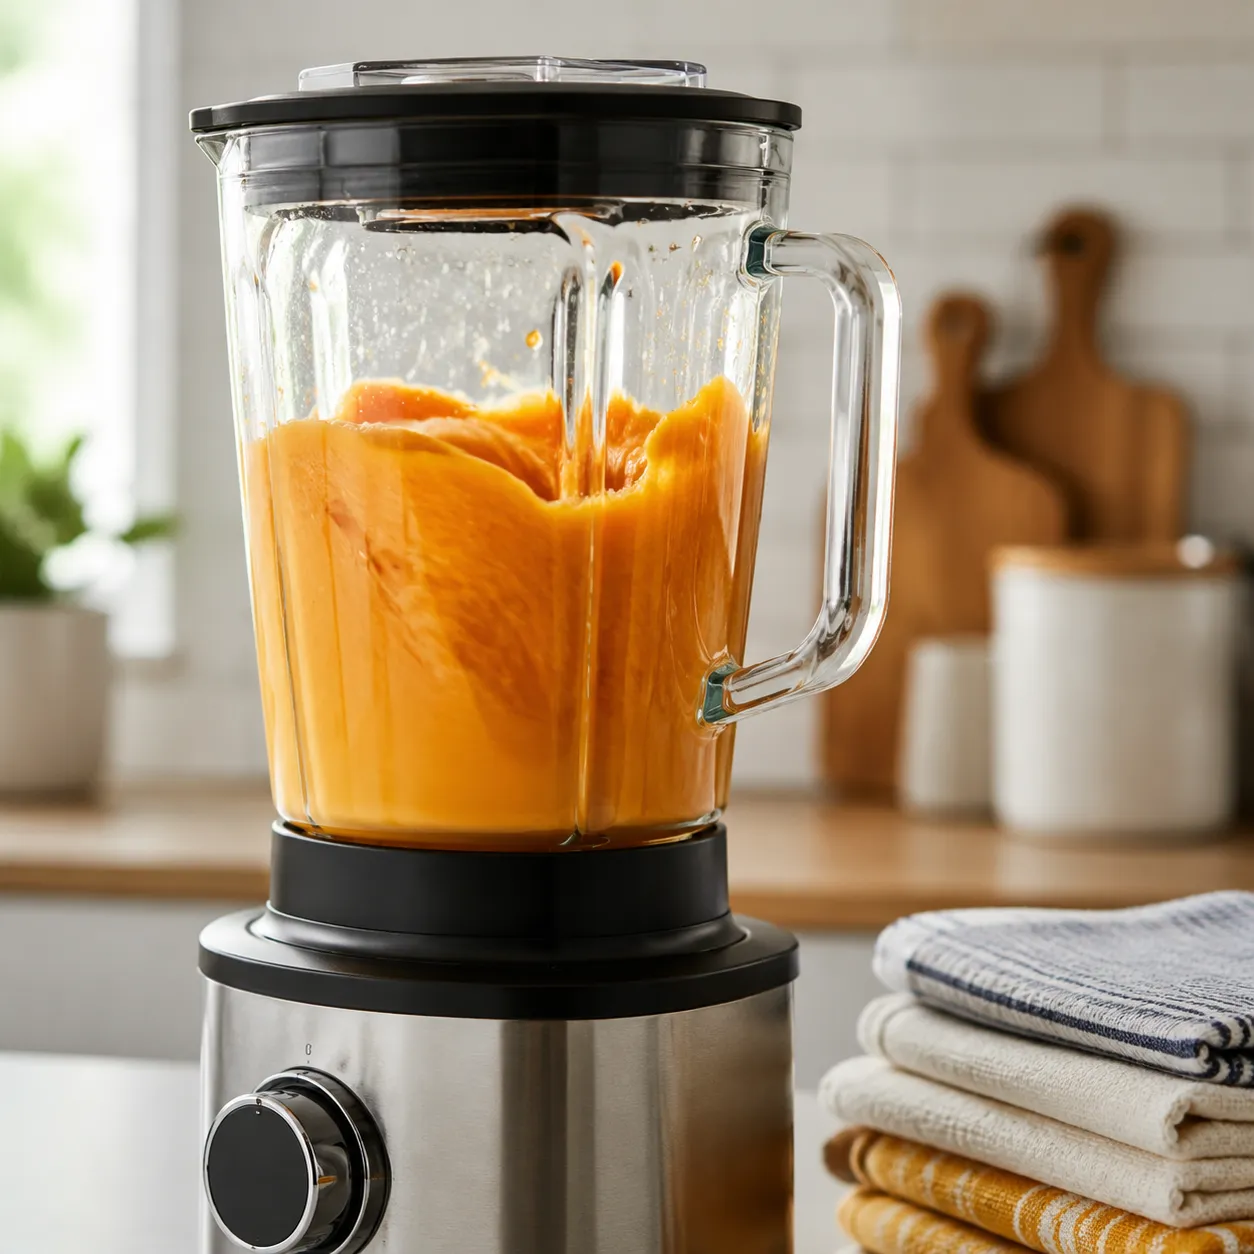
If you're aiming for a custard-style holiday dessert, take the extra step of straining the puree through a few layers of cheesecloth or a fine-mesh sieve set over a bowl. Fresh pumpkin holds significantly more water than the canned version, and that extra liquid will leave you with a soggy bottom crust if you skip this step. A 30-minute drain in the fridge usually does it; press gently with a spatula to encourage the water out.
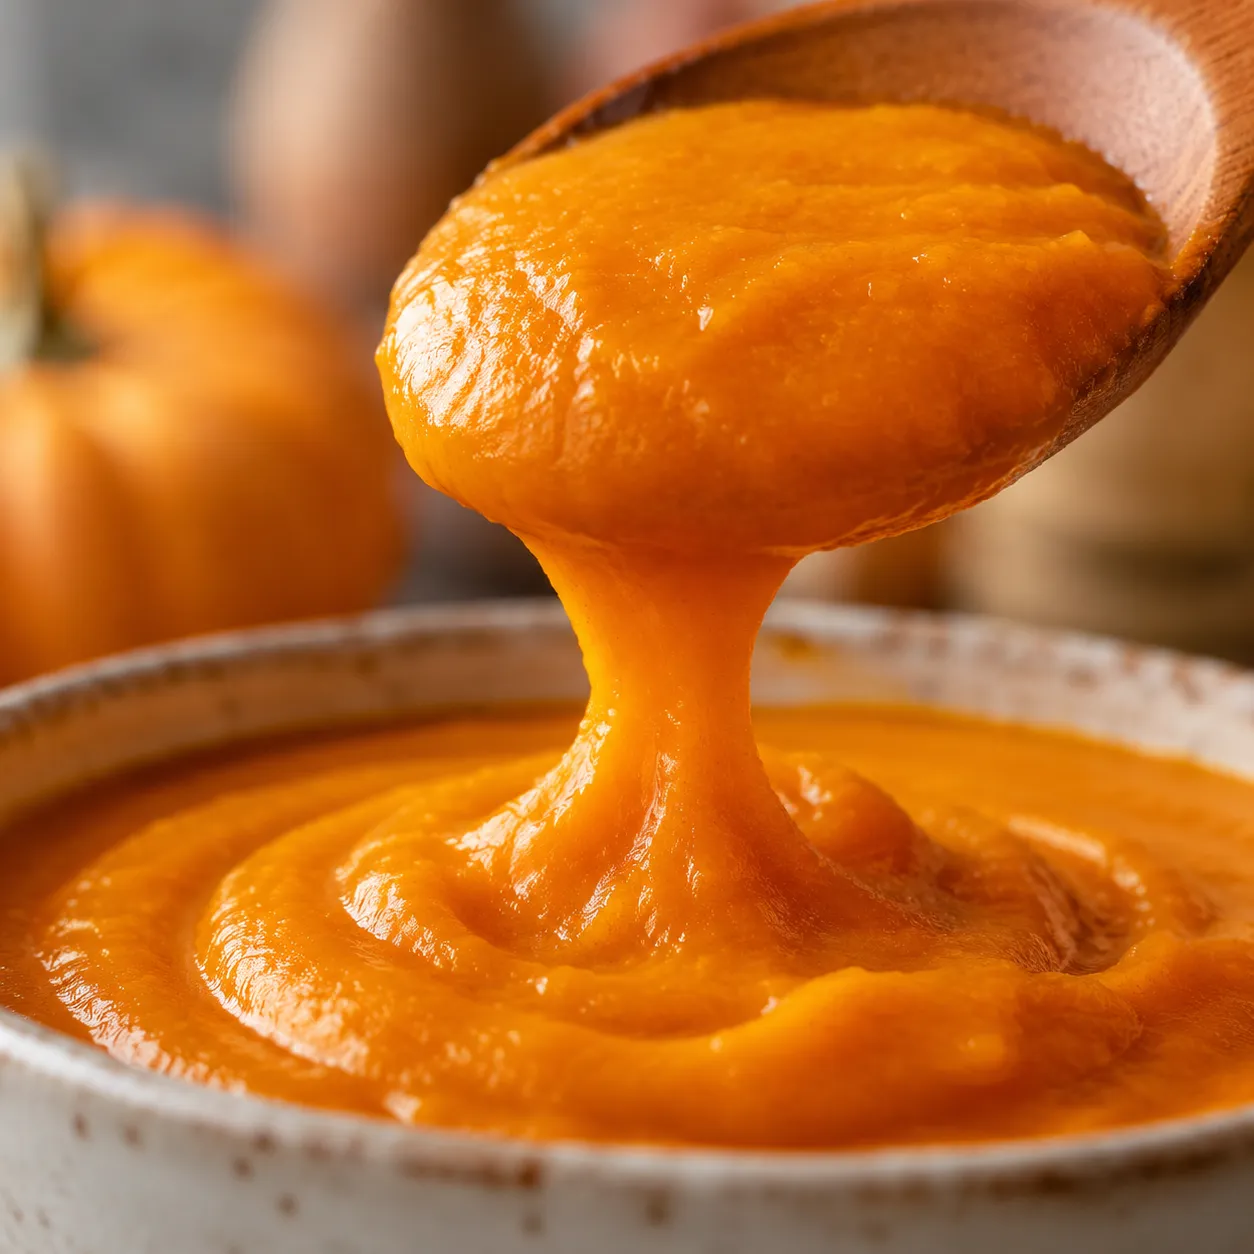
For everyday savory uses — stirring into pasta sauce, swirling into oatmeal, blending into a smoothie — straining is unnecessary. The slightly looser puree actually melts into other ingredients more easily.
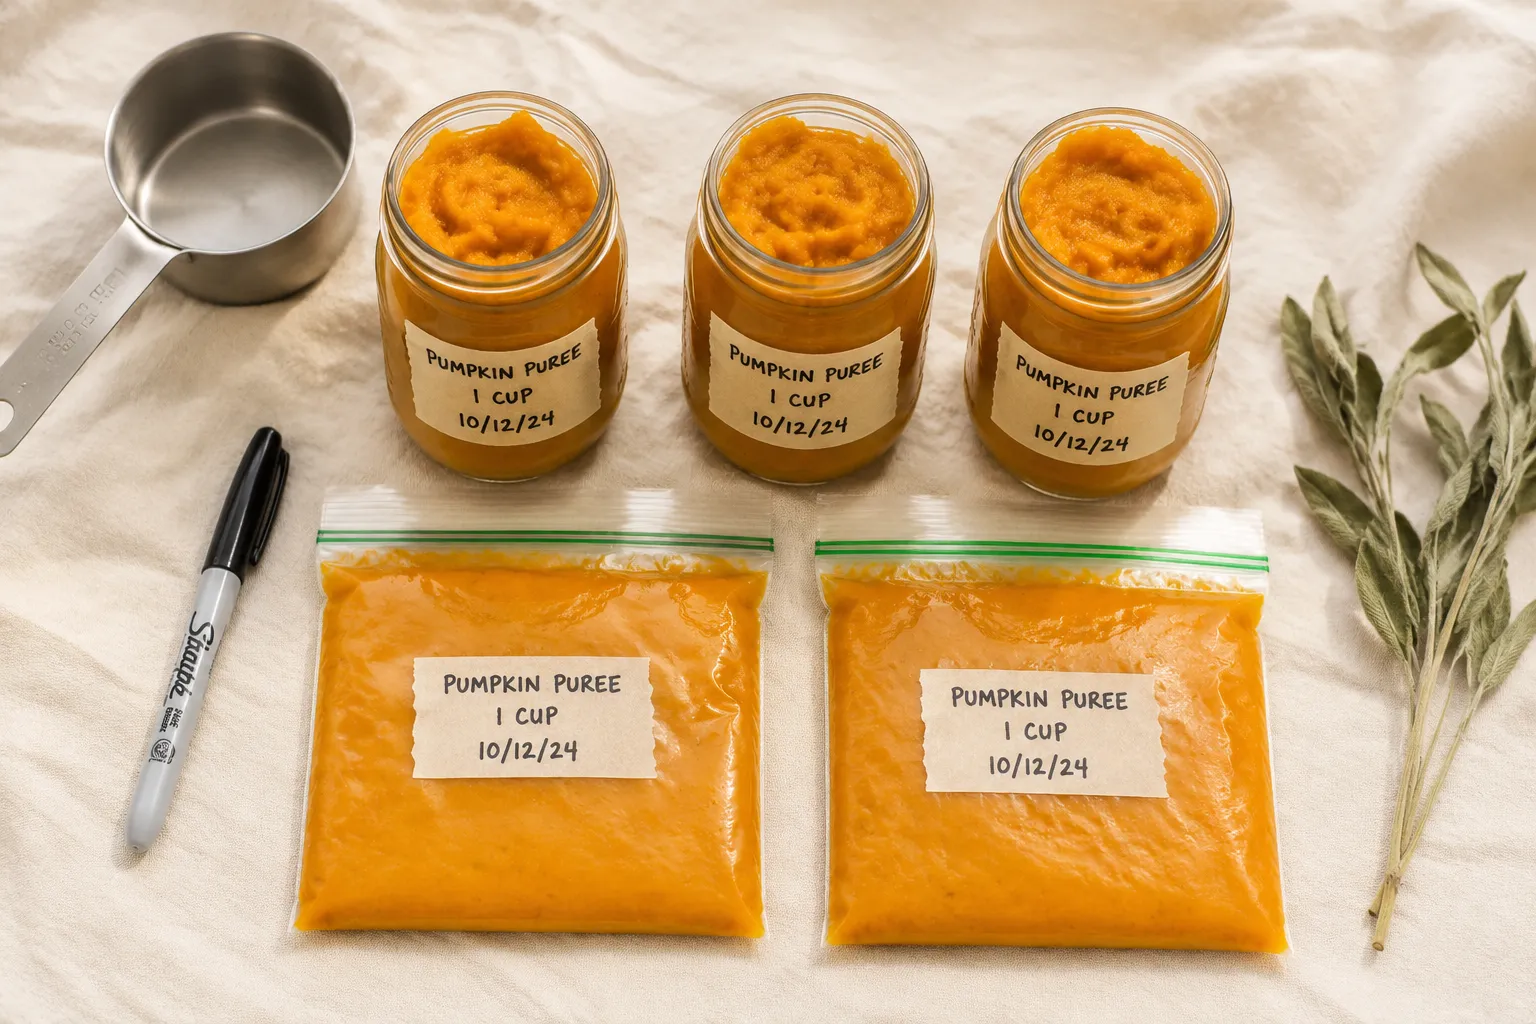
If you want a deeper dive on how to store pumpkin puree (jars vs. zip-top bags, freezer life, thawing tricks), I have a full breakdown that covers the small details. The short version: portion into 1-cup amounts, label with the date, and freeze flat for up to 3 months.
Now the fun part. On the sweet side, fresh puree shines in a homemade pumpkin pie, scones, muffins, cheesecake, cinnamon rolls, and a copycat pumpkin spice latte that runs circles around the coffee-shop version. A loaf of pumpkin bread is my go-to use for the second cup of puree from each pumpkin — it freezes beautifully.
On the savory side, cooked pumpkin folds into risotto, gnocchi dough, mac and cheese, curry, chili, and tomato-pumpkin pasta sauces. A swirl of puree thickens any soup, and roasted cubes (skip the pureeing step) make a stunning addition to grain bowls and fall salads with arugula, goat cheese, and toasted pecans.
And don't forget the lighter sides — pumpkin mashed with brown butter and sage, drizzled with maple-tahini, or simmered with coconut milk and ginger for a quick warming side. Once you've mastered how to cook pumpkin, the kitchen door is wide open.
That's the whole playbook. Pick your method based on what you have time for, lean on roasting whenever pumpkin flavor is the headline, and don't skip straining if pie is the goal. Happy cooking — pumpkin season is short, so make the most of it.
The roasting method works almost identically for any winter squash, so once you've got the technique down, you can swap in whatever's in season or on sale at the market. A few favorites to try:
Refrigerate cooked pumpkin or fresh puree in an airtight container for 4 to 5 days. Give it a quick stir before using, since some natural separation is normal. If liquid pools on top, pour it off (or strain) before adding to baked goods.
For longer storage, freeze in 1-cup portions — measure into zip-top freezer bags, press flat, label with the date, and stack. Frozen puree keeps its quality for up to 3 months. Thaw overnight in the fridge, then drain off any extra liquid that's released during thawing before using in pies, breads, or soups. The puree may look slightly grainy after thawing, but a quick whirl in the blender brings it back to silky.