Pumpkin Pie from Scratch with Roasted Pumpkin
Ingredients
Scale
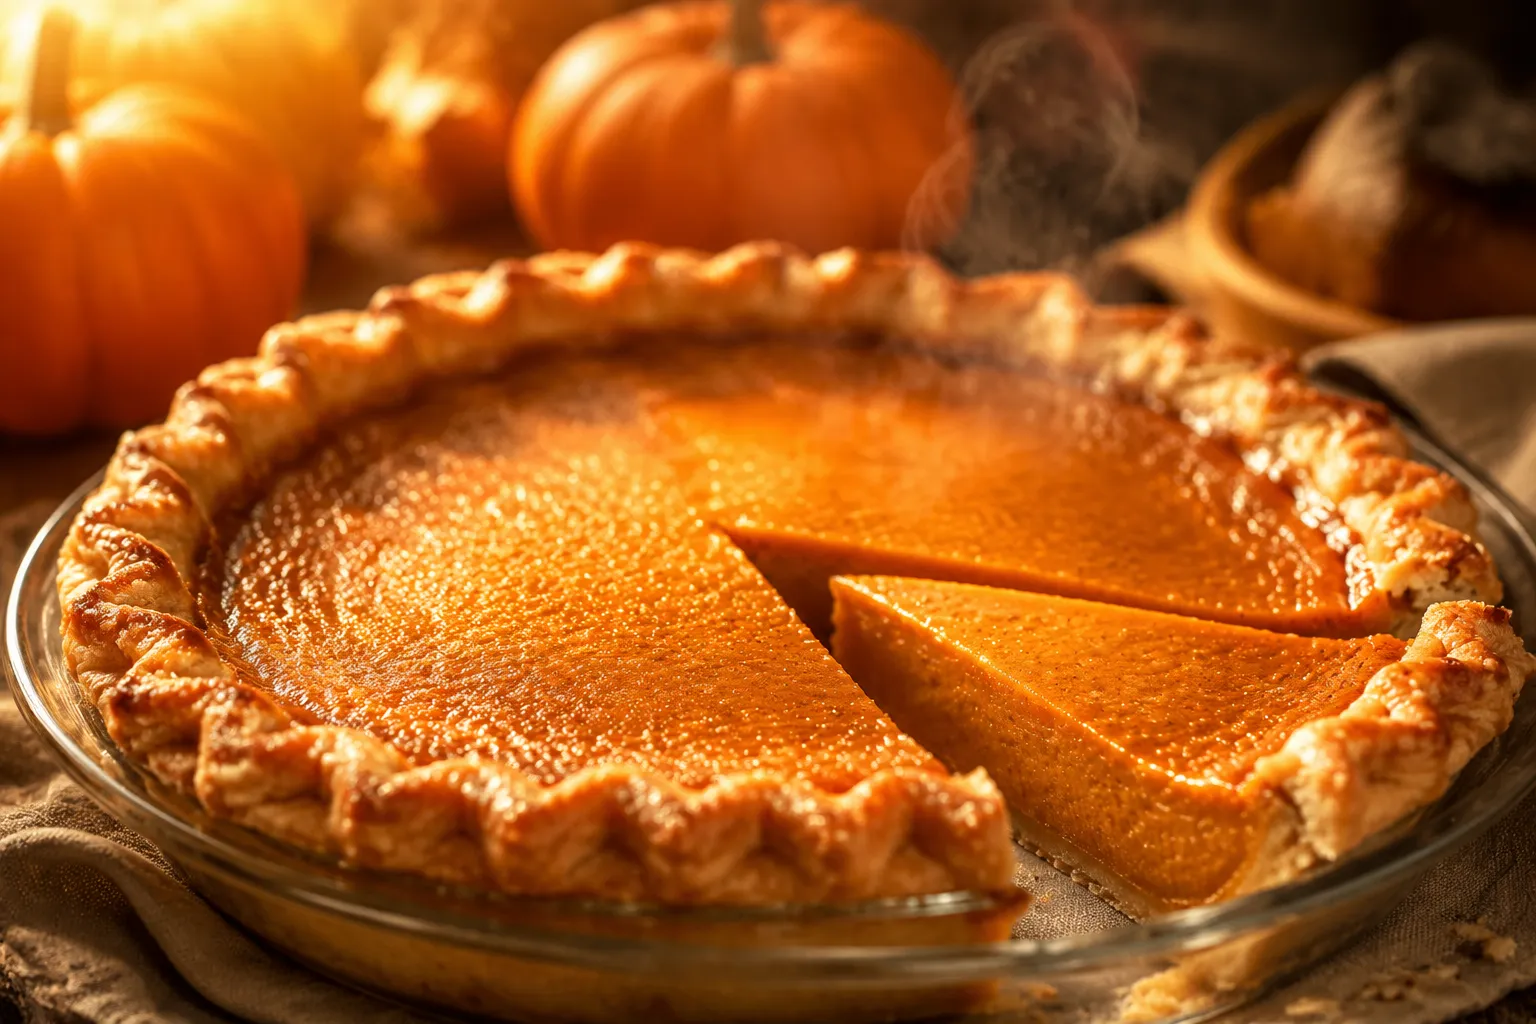
This pumpkin pie from scratch uses roasted sugar pumpkin for a deeper, sweeter flavor than canned, all tucked into a flaky homemade butter crust.
Pumpkin pie and a chilly November afternoon belong together, especially when the filling starts with a real roasted sugar pumpkin instead of a can. This is the kind of pie that makes the kitchen smell like toasted butter, caramelized squash, brown sugar, cinnamon, and vanilla all at once. The custard bakes up glossy and smooth, the crust flakes at the edge of your fork, and the flavor tastes unmistakably like the holidays.
This recipe is for the home baker who wants a pumpkin pie from scratch that feels special but still doable. We are roasting the pumpkin, making homemade pumpkin puree, whisking a rich spiced filling, and tucking it all into a flaky butter crust. It is not fussy for the sake of being fussy; each step builds deeper flavor and better texture than the standard canned-puree version.
If you have ever wondered whether a pumpkin pie roasted pumpkin method is worth the extra time, the answer is yes, especially for Thanksgiving. Roasting concentrates the pumpkin’s natural sweetness and brings out a mellow, almost honeyed flavor. Paired with cream, eggs, brown sugar, and pumpkin pie spice, it becomes a custard that slices cleanly but still melts on the tongue.
The biggest difference is flavor. Canned pumpkin is convenient and perfectly useful, but roasted sugar pumpkin has a fresh, rounded sweetness that tastes lighter and more nuanced. You get gentle caramel notes from the oven, a softer vegetable sweetness, and none of the flat or slightly metallic taste some canned purees can carry. When you set a scratch pie next to a canned one, the roasted version tastes warmer, brighter, and more homemade in the best possible way.
Texture matters just as much as flavor. Fresh pumpkin can be wetter than canned puree, which is why this recipe includes a short straining step after blending. That one small move turns the puree thick and velvety, helping the custard bake into a smooth slice instead of a loose or watery filling. Think of it as the quiet pastry-shop detail that makes pumpkin pie and holiday dinner feel truly polished.
Because this pie is built from the pumpkin up, it is also a beautiful project recipe. You can make the dough while the pumpkin roasts, puree the flesh once it is tender, and then bring everything together in one relaxed baking session. It is the kind of from-scratch baking that feels cozy rather than complicated.
For the best pumpkin pie from scratch, look for a small sugar pumpkin, sometimes labeled pie pumpkin, at the market. These are usually two to four pounds, with dense orange flesh and a naturally sweet flavor. They are very different from the big jack-o-lantern pumpkins sold for carving, which tend to be watery, stringy, and bland once cooked. A good sugar pumpkin should feel heavy for its size, have firm skin, and be free of soft spots or deep bruises.
If you cannot find a sugar pumpkin, do not let that stop you. Butternut squash is an excellent backup because it roasts beautifully, purees smoothly, and has a sweet, nutty flavor that works seamlessly with pumpkin pie spice. Kabocha squash is another delicious option, though it can be denser and slightly drier, so you may need to adjust the cream by a tablespoon or two. The goal is a thick, smooth puree that tastes naturally sweet before you ever add sugar.
If you are new to the process, reading up on how to roast a sugar pumpkin can be helpful, but the method here is straightforward. Split the pumpkin, scoop out the seeds, roast until tender, then blend and strain. That is the backbone of pumpkin puree from scratch, and it is easier than most people expect.
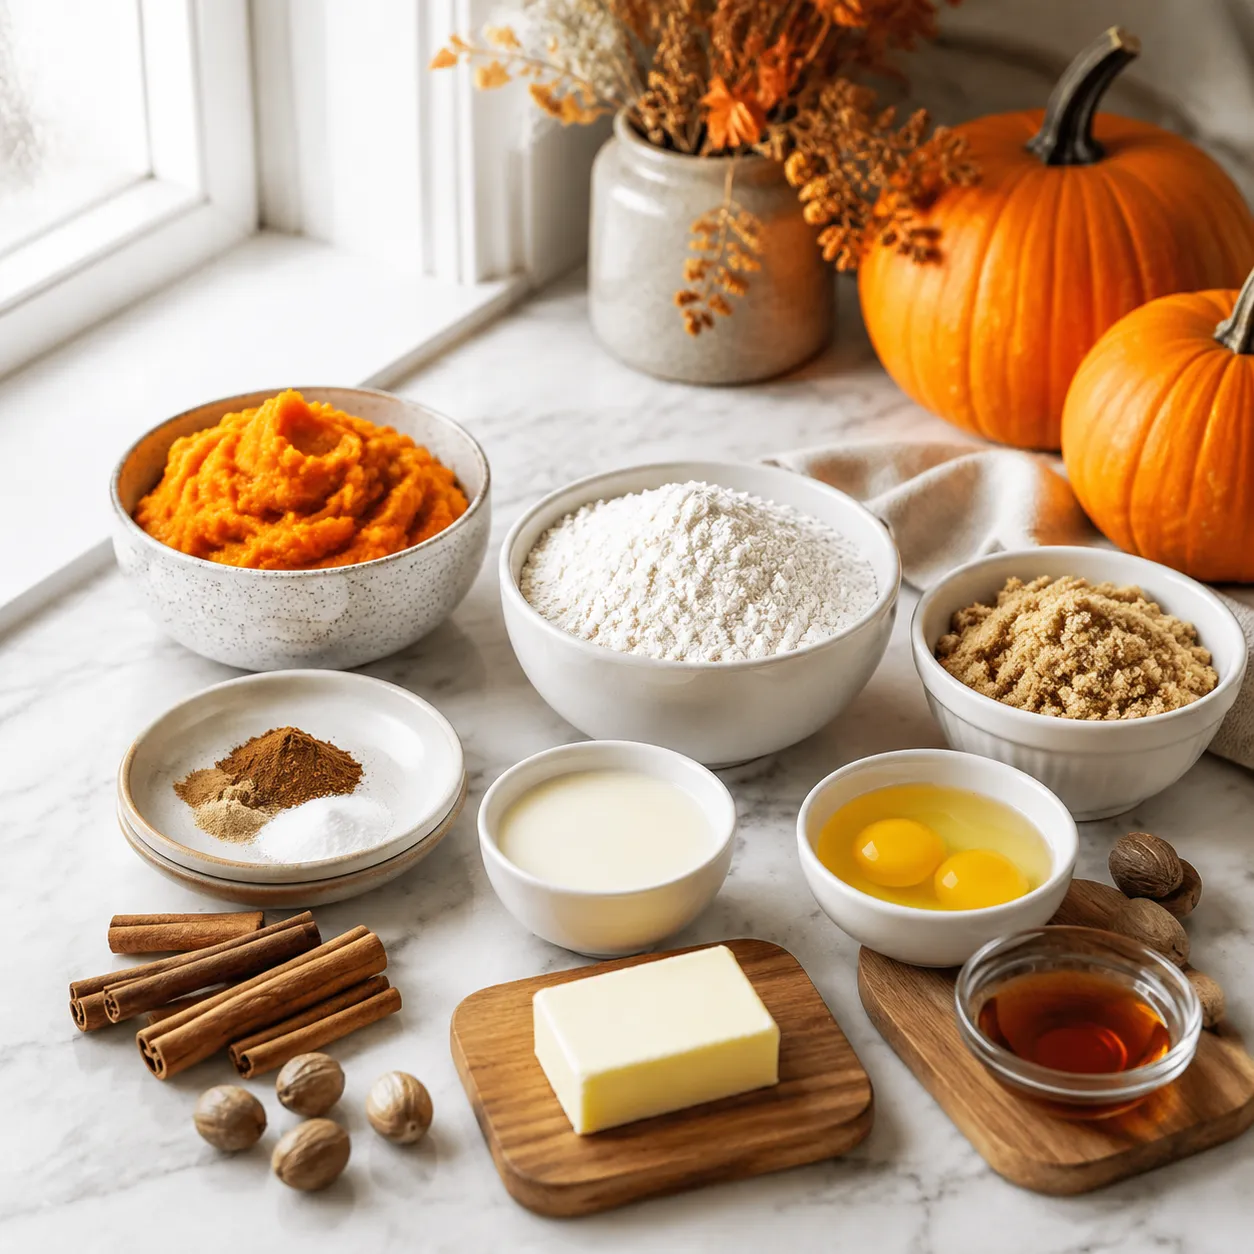
The ingredient list is classic, which is exactly what you want in a holiday pie. For the crust, you need all-purpose flour, cold unsalted butter, a pinch of salt, a little sugar, and ice water. If you already have a favorite homemade pie crust, you can use it here, but an all-butter dough is especially lovely because the rich, flaky layers balance the soft custard filling.
For the filling, the roasted sugar pumpkin does the heavy lifting. Brown sugar deepens the flavor, eggs set the custard, heavy cream makes it silky, and vanilla rounds out the edges. Pumpkin pie spice gives the filling its familiar warmth, usually a mix of cinnamon, ginger, nutmeg, allspice, and cloves. If you make your own pumpkin spice blend, keep it balanced so the spices enhance the pumpkin rather than overpower it.
Salt is small but essential here. A little fine sea salt sharpens the sweetness and keeps the pie from tasting one-dimensional. You can also add a spoonful of maple syrup or a tiny splash of bourbon if you like a deeper holiday flavor, but the base recipe is designed to be full and fragrant without extras.
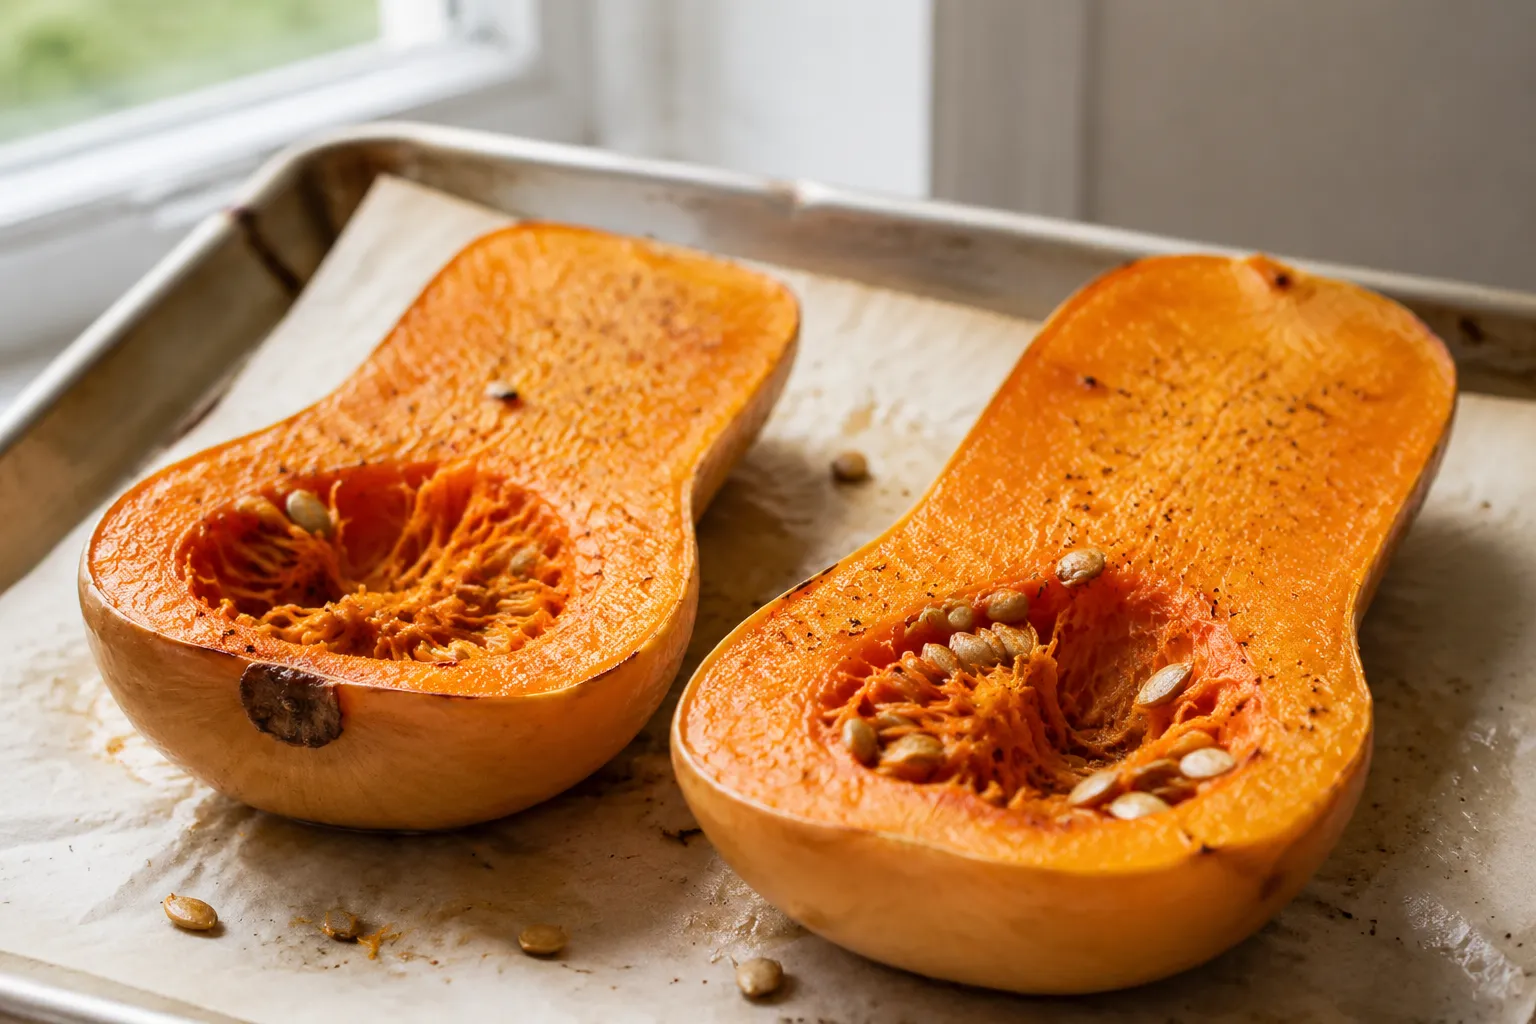
Start by cutting the sugar pumpkin in half from stem to base. A sturdy chef’s knife and a stable cutting board make this much easier, and you can trim the stem first if it gets in the way. Scoop out the seeds and stringy pulp with a spoon, but do not worry about making the inside perfectly clean. A few strands left behind will soften in the oven and blend away later.
Roast the pumpkin cut sides down or up on a parchment-lined baking sheet at 400°F until the flesh is completely tender. Cut-side down steams the pumpkin slightly and can keep it very moist, while cut-side up encourages a little more caramelization along the edges. Either way works, but for pie I like a bit of browning because it gives the puree a richer flavor. The pumpkin is ready when a fork slides through the thickest part with no resistance.
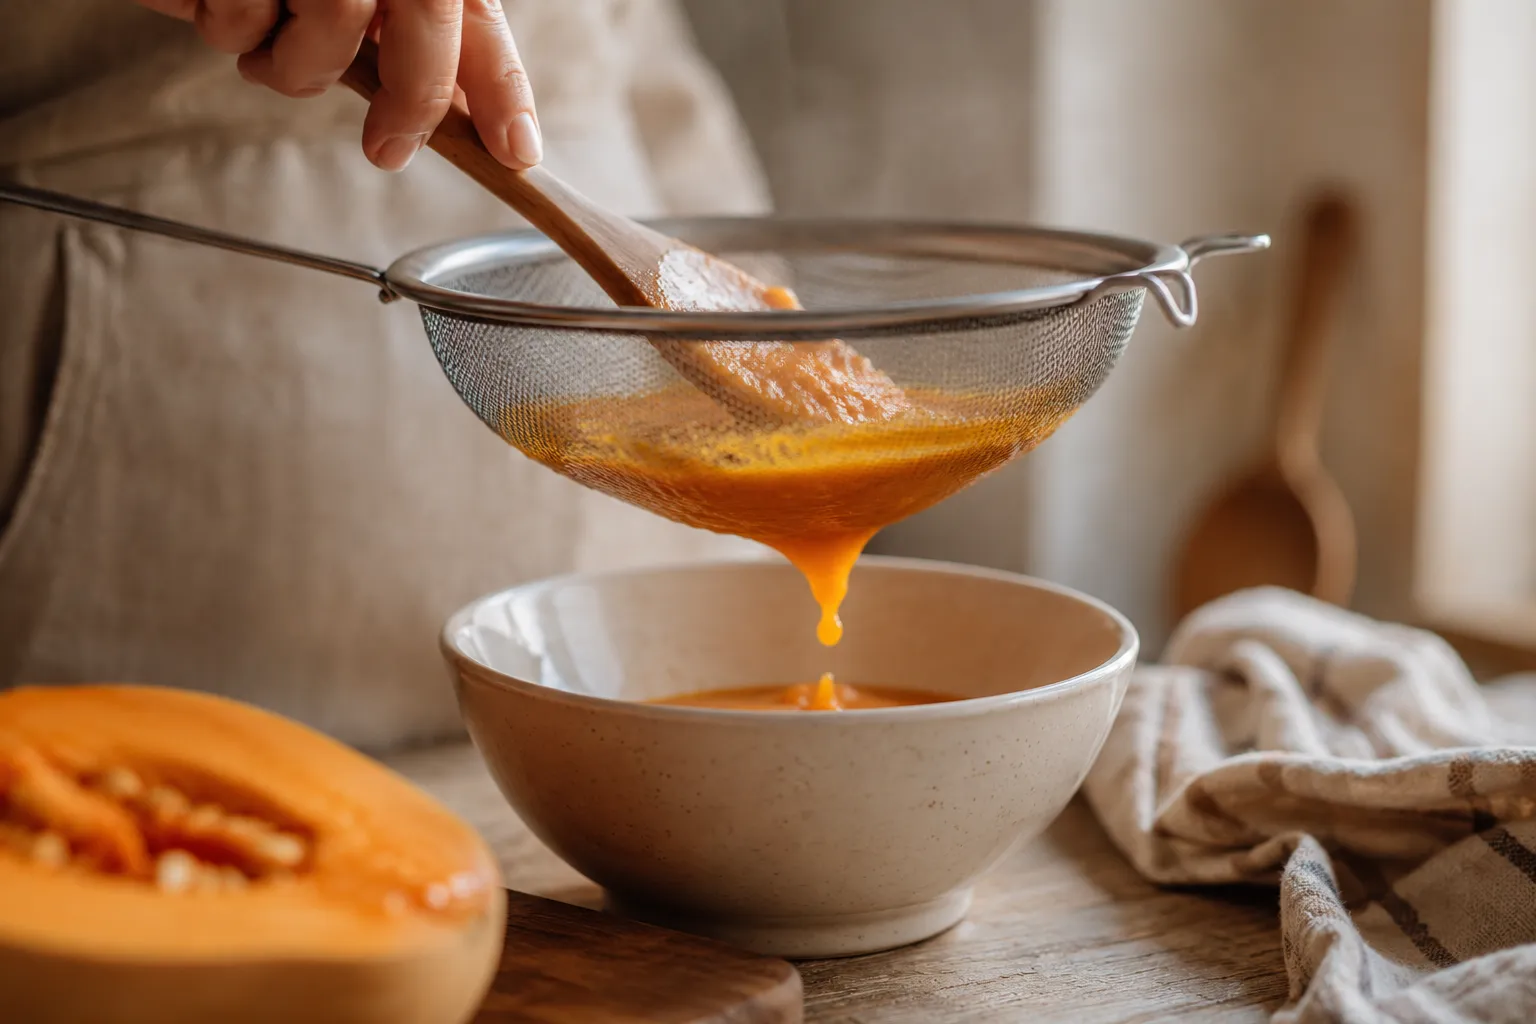
Once the pumpkin is cool enough to handle, scoop the flesh into a food processor or blender and puree until smooth. This is where the scratch method becomes noticeably better: the puree should look bright, thick, and creamy. For the smoothest custard, spoon it into a fine-mesh sieve and let the excess liquid drain away. This is the key step that turns homemade pumpkin puree into a pie-ready filling.
The crust begins with cold butter worked into flour until the pieces range from pea-size bits to a few flatter flakes. Those irregular butter pieces create steam in the oven, which gives you a flaky butter crust rather than a dense one. Add ice water gradually, just until the dough holds together when pressed. Then flatten it into a disk and chill it so the flour hydrates and the butter firms back up.
After chilling, roll the dough into a circle and fit it into a 9-inch pie plate. Crimp the edges, chill again briefly, then blind bake with parchment and pie weights until the crust is set. This step helps prevent a soggy bottom once the custard goes in. A pale, partially baked shell gives the filling a head start and keeps the final slice neat.
The filling is simple once the puree is ready. Whisk the strained pumpkin with brown sugar, eggs, cream, vanilla, salt, and pumpkin pie spice until glossy and fully combined. You do not need to beat air into it; smooth and even is the goal. If you want an ultra-refined texture, pass the finished custard through the sieve one more time before pouring it into the warm crust.
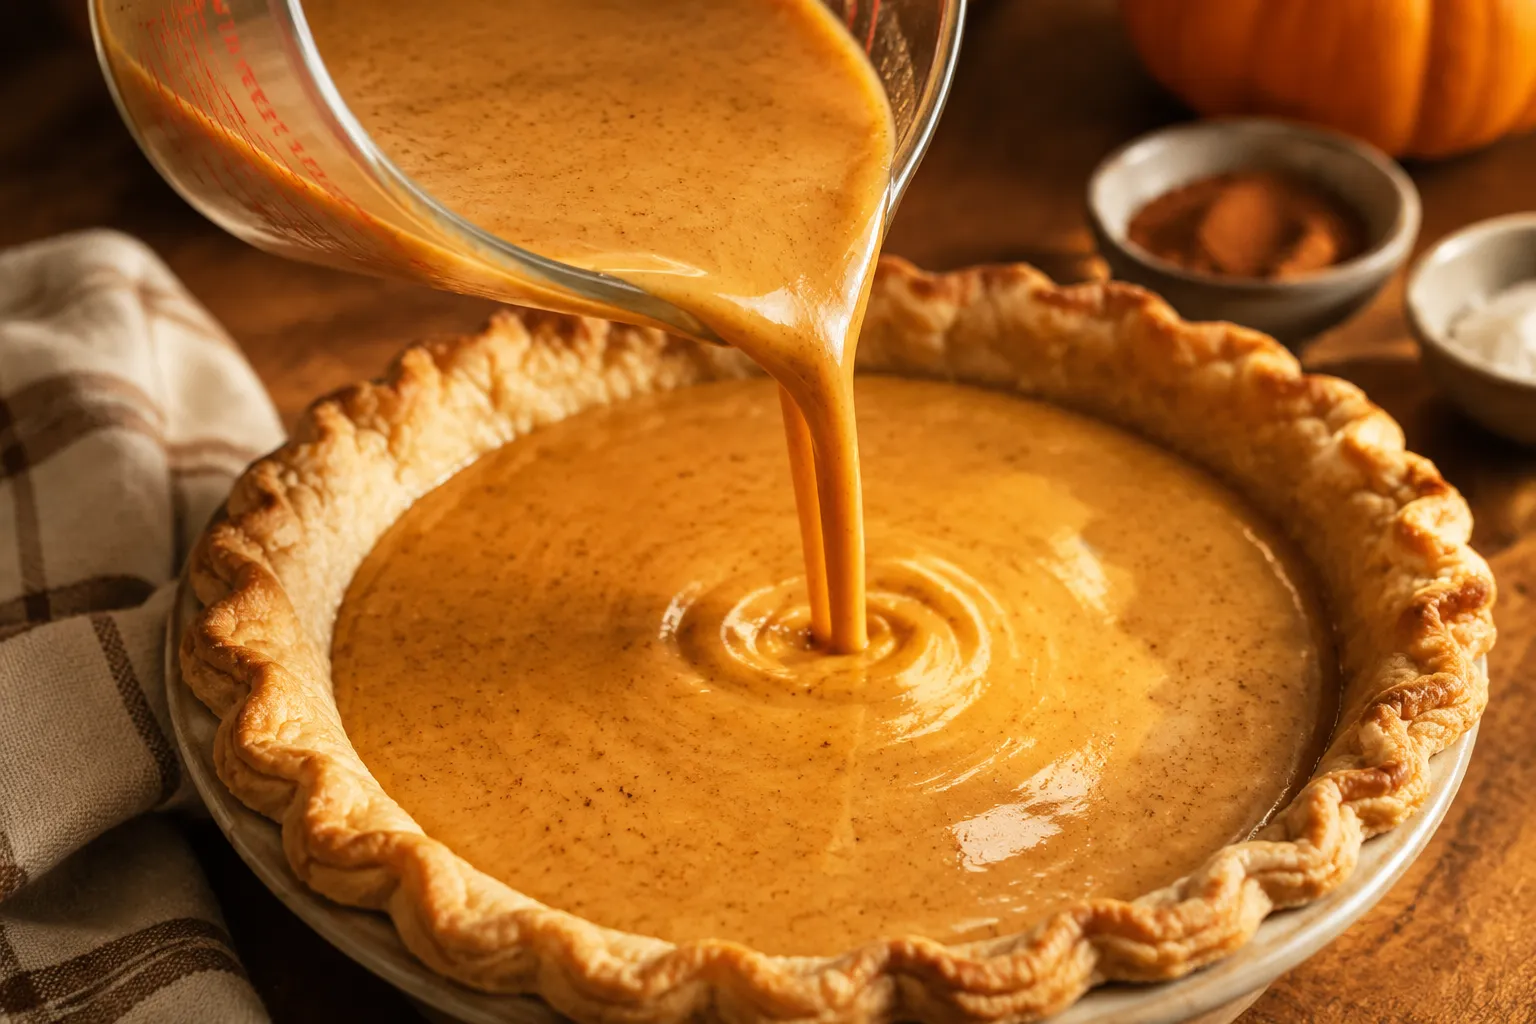
When the custard hits the crust, the color should be deep orange with tiny speckles of spice. This is the point where pumpkin pie and scratch baking really start to feel rewarding, because everything smells like butter and warm cinnamon. Set the pie on a baking sheet before it goes into the oven to make moving it easier and to catch any drips.
Pumpkin custard is at its best when it is baked gently and not a minute too long. The edges should look set and slightly puffed, while the center should still have a soft wobble when you nudge the pan. It may seem underdone, but it will continue to firm as it cools. Overbaking is what causes deep cracks, grainy texture, and a filling that tastes more like scrambled custard than silk.
If the crust starts browning too quickly, shield the edges with foil or a pie crust guard. The goal is a golden, crisp rim with a custard that remains satiny in the center. Let the pie cool at room temperature until fully set before slicing, which usually takes at least three hours. Cutting too soon can make the filling slump, even if it was baked correctly.
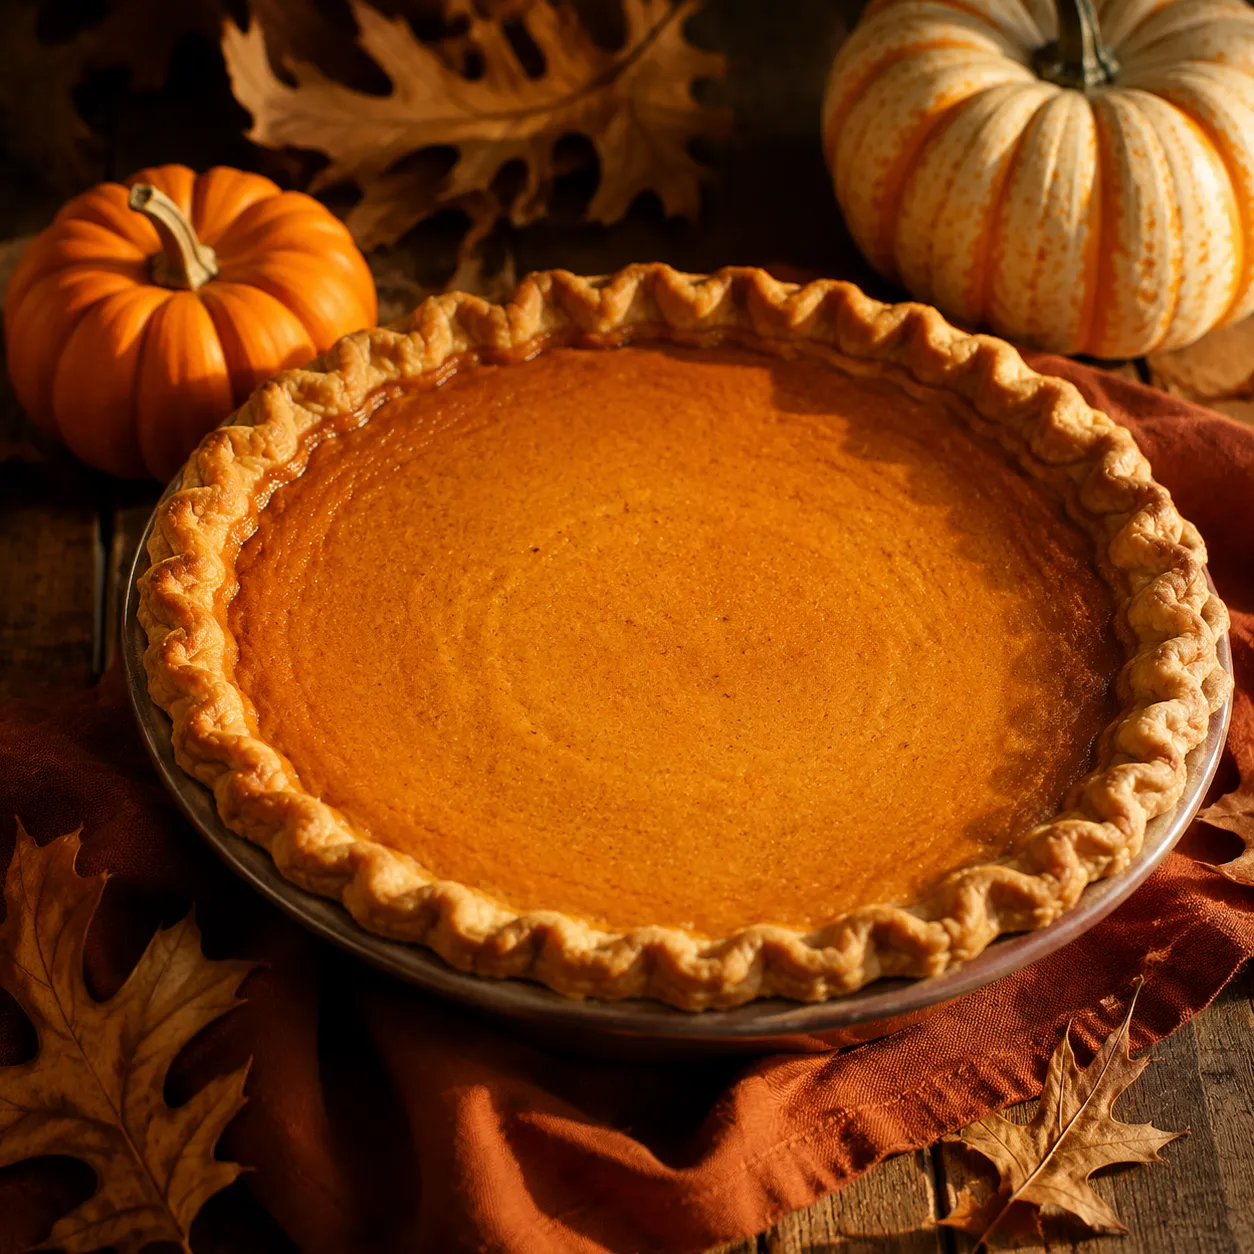
That cooling time is also when the flavors settle. The spices soften into the pumpkin, the brown sugar tastes deeper, and the cream gives the whole pie a mellow richness. If you are building a holiday menu, this pie fits beautifully among Thanksgiving dessert recipes because it can be finished before dinner and served once everyone is ready for coffee.
Serve this pie cool or lightly chilled, with a generous spoonful of homemade whipped cream. A dusting of cinnamon or freshly grated nutmeg over the cream makes each slice look bakery-worthy with almost no effort. For a little crunch, add candied pecans, sugared pepitas, or a crisp ginger cookie on the side. The pie is rich but not heavy, so it pairs well with coffee, black tea, or a small glass of bourbon-spiked cider.
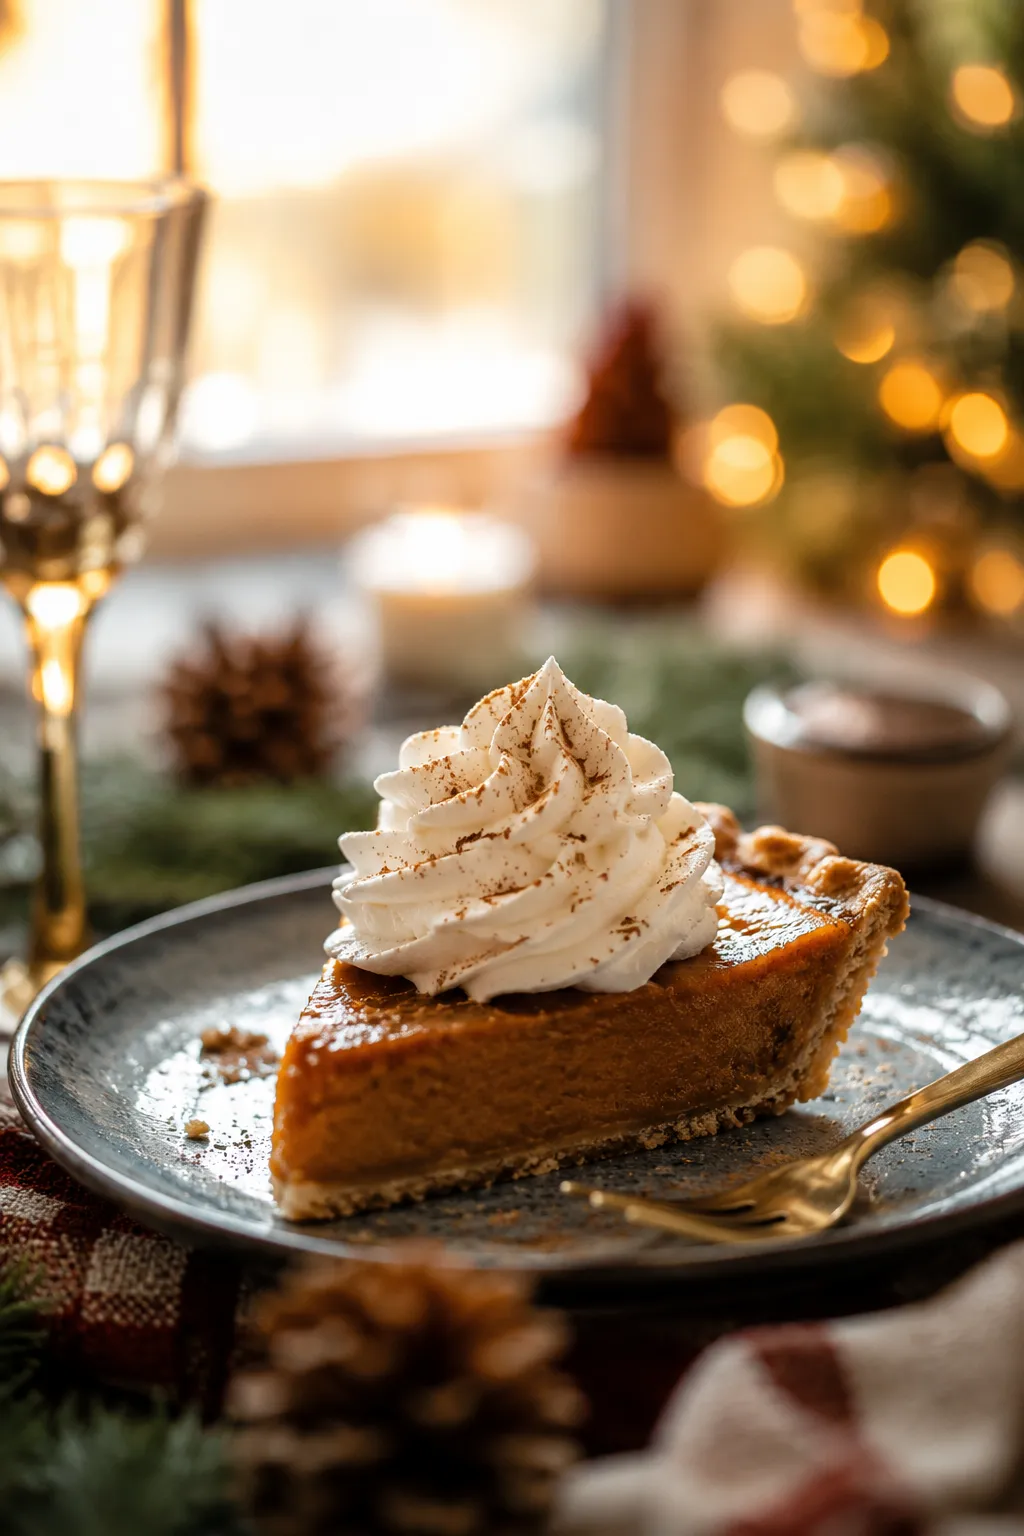
Because the filling has a fresh roasted flavor, it also plays nicely with toppings that are not overly sweet. Try lightly sweetened crème fraîche, maple whipped cream, or a dollop of vanilla yogurt for a tangy contrast. If you love a classic plate, keep it simple with whipped cream and a sprinkle of pumpkin pie spice. That is often all this pie needs.
The side-by-side difference is subtle at first glance and obvious after one bite. Canned pumpkin tends to be dense, uniform, and earthy, while roasted fresh pumpkin tastes sweeter, rounder, and more aromatic. The color can vary depending on your pumpkin, but the flavor often feels more alive. This is why a true pumpkin pie from pumpkin scratch recipe is worth trying at least once during the season.
The main tradeoff is moisture. Canned puree is consistent, but fresh pumpkin needs a little attention because every squash is different. Straining solves that issue and gives the custard a reliable texture. Once you have done it, pumpkin pie and roasted puree may become your new holiday standard.
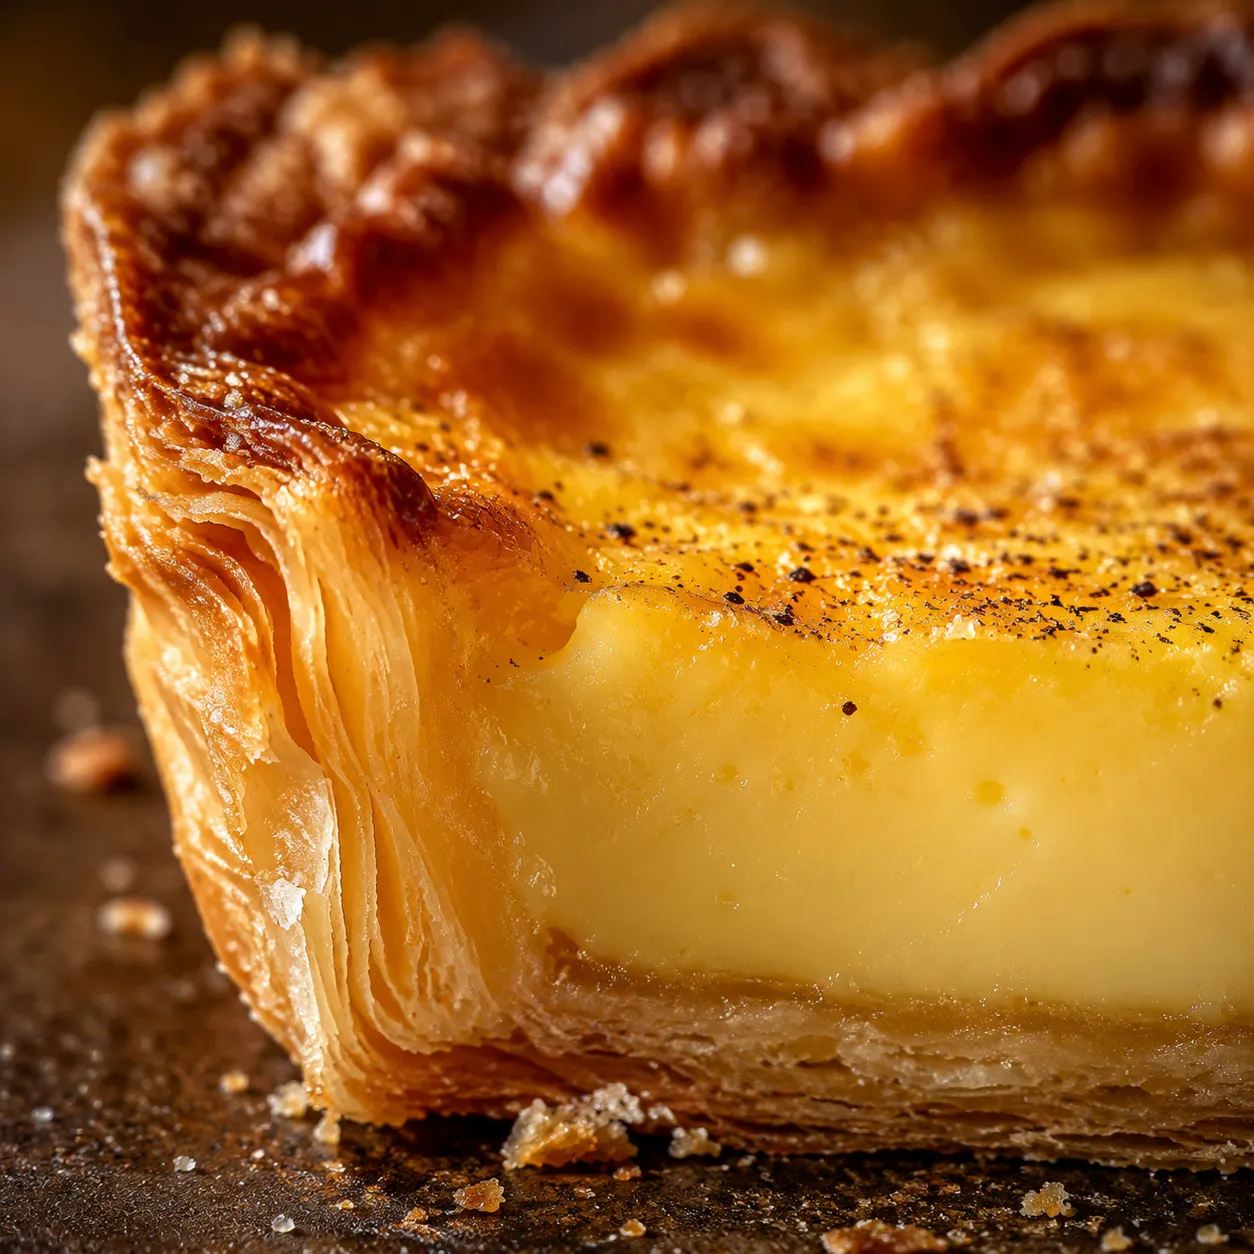
The crust also benefits from the extra care. A flaky butter crust has enough structure to hold the custard cleanly while still shattering at the edge of the fork. When the silky filling meets those buttery layers, the whole dessert feels classic, nostalgic, and just a little elevated.
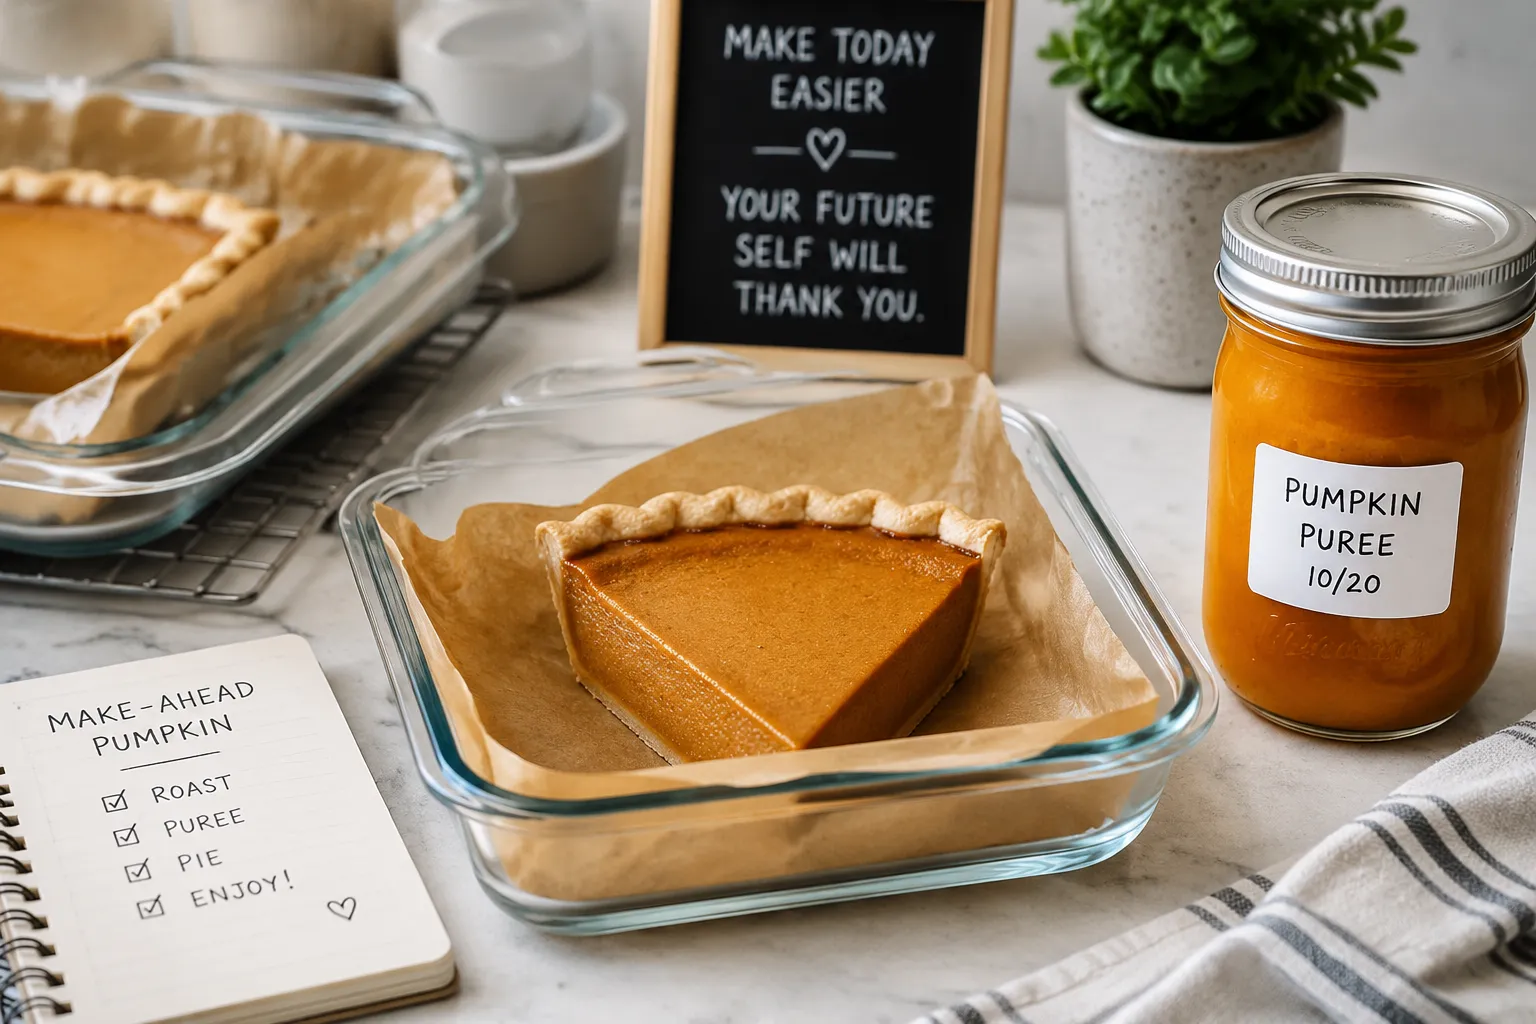
You can split the work into easy stages so the recipe never feels rushed. Roast and puree the pumpkin first, then chill the strained puree until you are ready to bake. The pie dough can also be made ahead and kept cold, which makes assembly much quicker on baking day. If any liquid separates from the puree, simply stir and strain again before measuring.
For the smoothest workflow, roast the pumpkin in the morning or the day before, then make the crust while the puree drains. Once those two pieces are ready, the filling comes together in minutes. This rhythm is especially helpful during the holidays, when oven space and counter space are both precious. With a little planning, pumpkin pie and a from-scratch holiday table can absolutely happen without stress.
Whether you are baking for Thanksgiving, a fall birthday, or a quiet weekend dinner, this pie delivers the comfort of tradition with a fresher, deeper flavor. It is familiar enough for the pumpkin pie loyalists and special enough for the people who usually ask for a different dessert. Roast the pumpkin, strain the puree, give the custard time to cool, and you will have a pie that tastes like the best version of the season.