Simple Syrup Recipe: The Easy 2-Ingredient Method
Ingredients
Scale
This foolproof simple syrup recipe uses just sugar and water to make the most versatile sweetener for cocktails, coffee, tea, and lemonade.
This simple syrup recipe is the quiet hero of every great drink in my kitchen, and once you make it the first time, you'll wonder why you ever bought the bottled stuff. With just sugar and water, ten minutes on the stove, and a clean glass jar, you've got the same liquid sweetener that bartenders, baristas, and pastry chefs reach for daily. It blends instantly into cold drinks, brushes onto cakes for moisture, and turns a glass of fresh lemon juice into proper homemade lemonade in about thirty seconds flat.
I started making it years ago after one too many summer iced teas with that grainy bottom layer of undissolved sugar. The fix turned out to be embarrassingly easy: dissolve the sugar in water first, store the syrup in the fridge, and stir a splash into anything you want sweetened. No more gritty cocktails, no more clumpy iced coffee, no more frosting-style sweetness sitting in the bottom of your tea glass.
Below, I'll walk you through three reliable ways to make a batch (stovetop, no-cook, and microwave), the difference between a standard 1:1 simple syrup and rich simple syrup at 2:1, and a handful of flavored riffs my friends ask me to refill on repeat. By the end you'll have a bottle of crystal-clear, never-grainy syrup ready for whatever your next drink moment calls for.
So, what is simple syrup? It's exactly what it sounds like: sugar dissolved in water until the granules disappear and you're left with a clear, pourable liquid sweetener. The standard version, called 1:1 simple syrup, uses equal parts sugar and water by volume, which gives you a lightly sweet, free-flowing syrup that mixes effortlessly into anything cold. Rich simple syrup, also known as 2:1, doubles up on the sugar and produces a thicker, more concentrated sweetener that's especially good for cocktails because you use less of it and dilute the drink less.
Bartenders prefer this kind of cocktail syrup because dry sugar simply won't dissolve in cold liquid the way it does in warm. Try stirring a teaspoon of granulated sugar into an iced gin and tonic and you'll watch most of it sink straight to the bottom. A splash of pre-made sugar and water syrup, on the other hand, blends in instantly and tastes evenly sweet from first sip to last.
At home, this stuff sneaks into more recipes than you'd expect: iced tea, lemonade, palomas, daiquiris, espresso tonics, and any kind of brunch spritz. It also works beautifully drizzled over fruit salad, brushed onto layer cakes to keep them moist, and stirred into freshly whipped cream when you want to lightly sweeten without graininess.
The ingredient list for homemade simple syrup is genuinely two items long, but a few small choices change the final flavor more than you'd expect. Plain granulated white sugar is the workhorse and gives you a perfectly neutral, clean-tasting syrup that won't compete with whatever you're stirring it into. Cane sugar reads a little rounder and slightly more caramel-leaning, while organic raw sugar gives a faint molasses note that's lovely in coffee but can muddle a delicate gin drink.
Water matters more than people realize. If your tap water tastes strongly of chlorine or minerals, that flavor will absolutely come through in a finished syrup, especially when you use it in clear spirits. Filtered or spring water is my default; I keep a pitcher in the fridge specifically for this and for cold brew coffee. You don't need fancy bottled water — just avoid water you wouldn't happily drink straight from the glass.
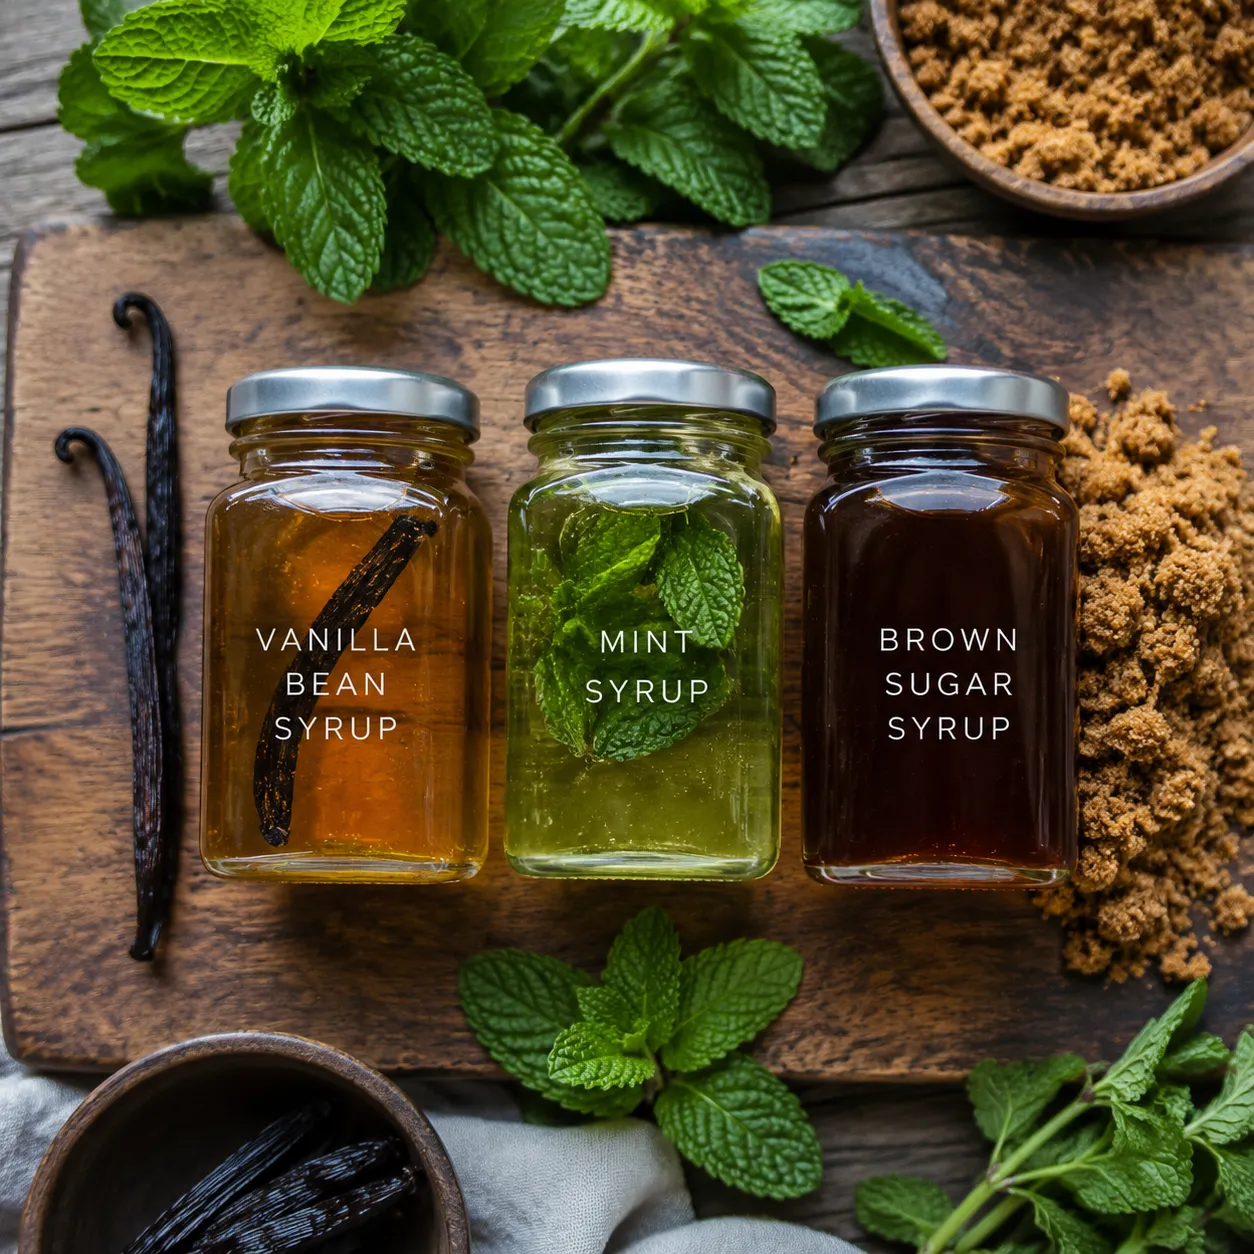
Optional add-ins are where things get fun. A split vanilla bean, a handful of fresh mint, a few strips of citrus peel, or a knob of sliced ginger can all be steeped right into the warm syrup as it cools. We'll cover those properly in the variations section below, but it's worth keeping in mind as you start: this base is a launchpad, not a finish line.
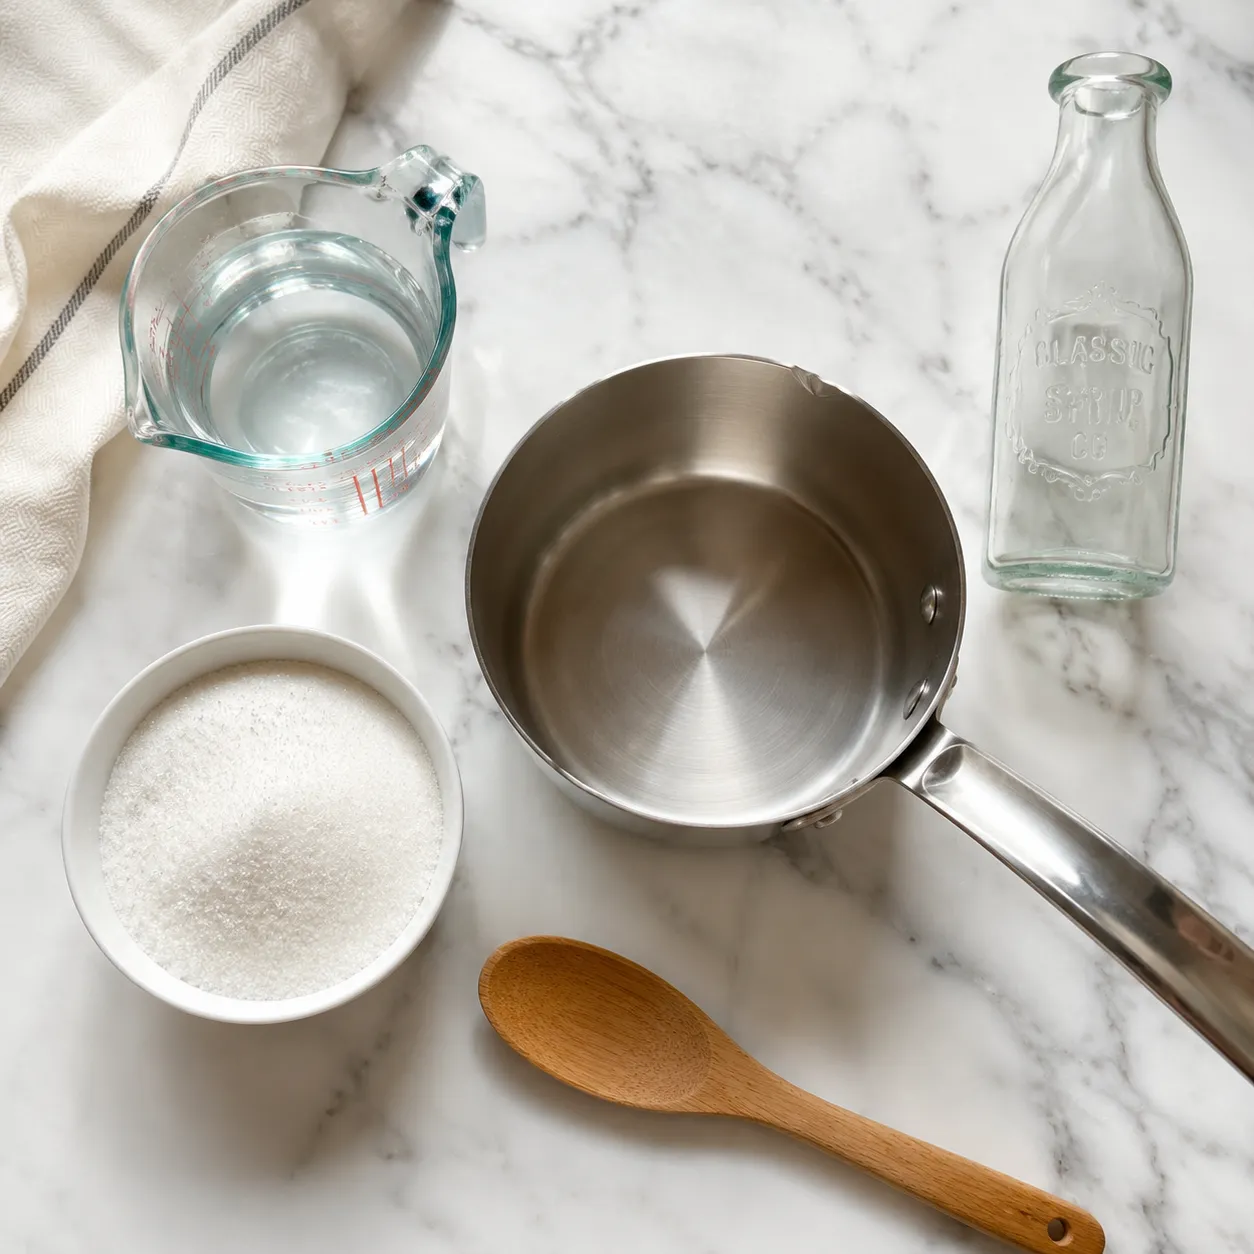
Here's how to make simple syrup the classic stovetop way, and it's almost embarrassingly easy. You combine equal parts sugar and water in a small saucepan, set it over medium heat, and stir gently until every last crystal disappears. Once the liquid is glossy and clear, you pull it off the heat — no boiling, no candy thermometer, no fuss.
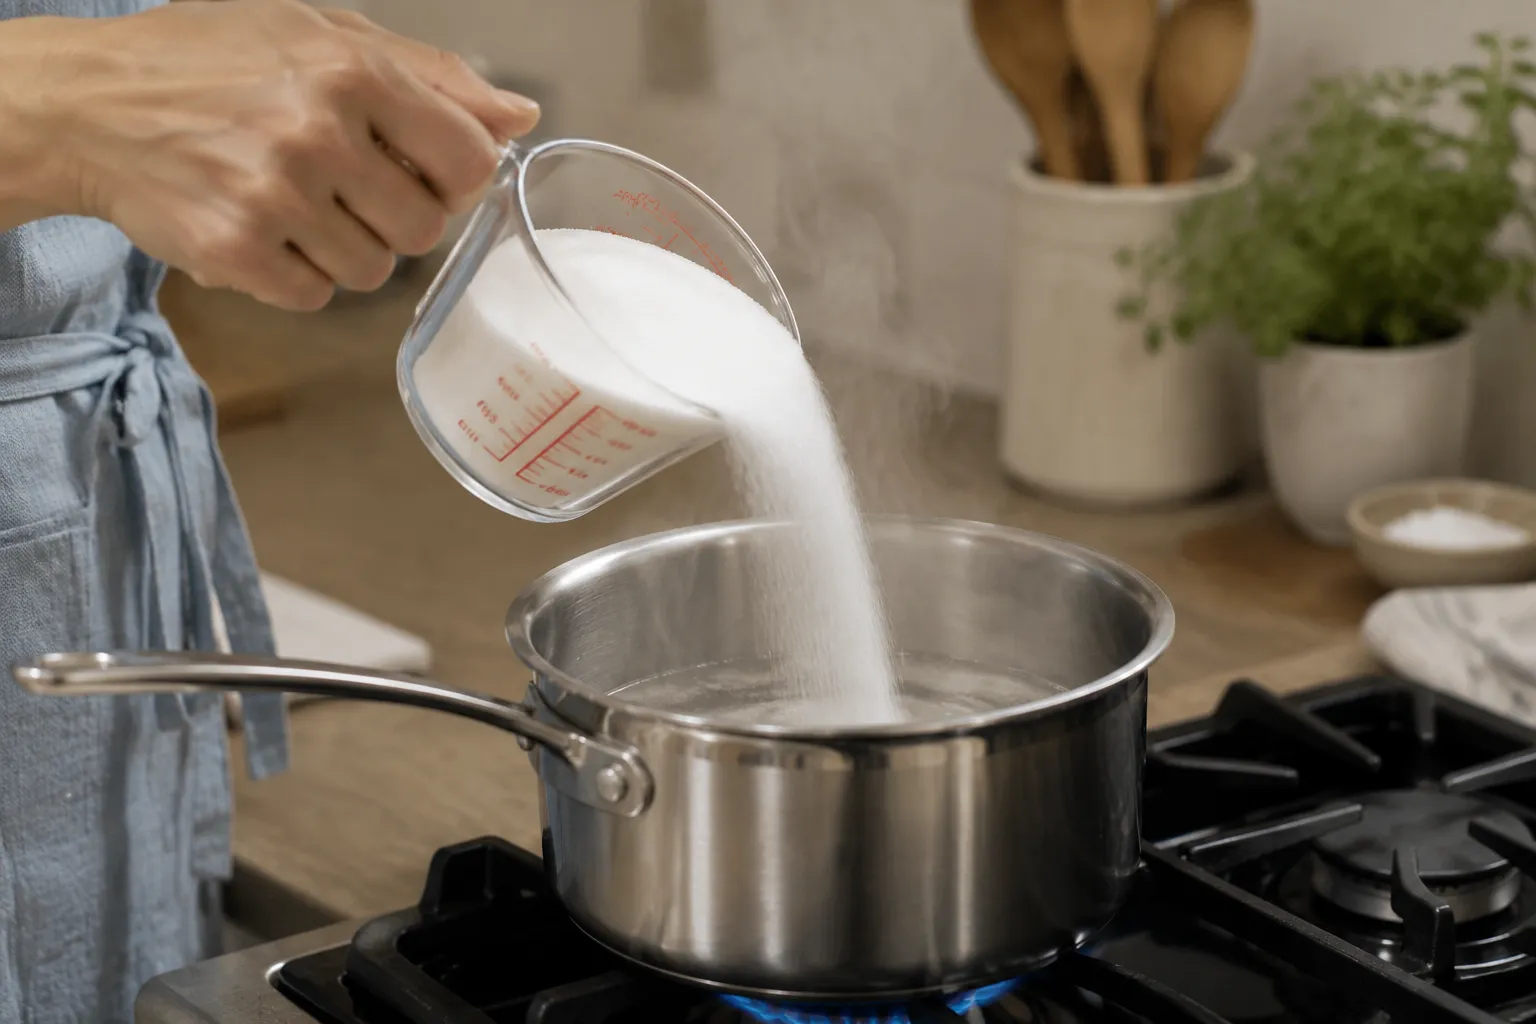
Start with a clean, light-colored saucepan so you can see the bottom. Pour in your water first, then add the sugar; pouring sugar into water is gentler than the other way around and helps prevent crystals from sticking to the dry pan walls. A 1- or 2-quart saucepan is the right size for a 1-cup batch — anything bigger and the syrup spreads too thin to come up to temperature evenly.
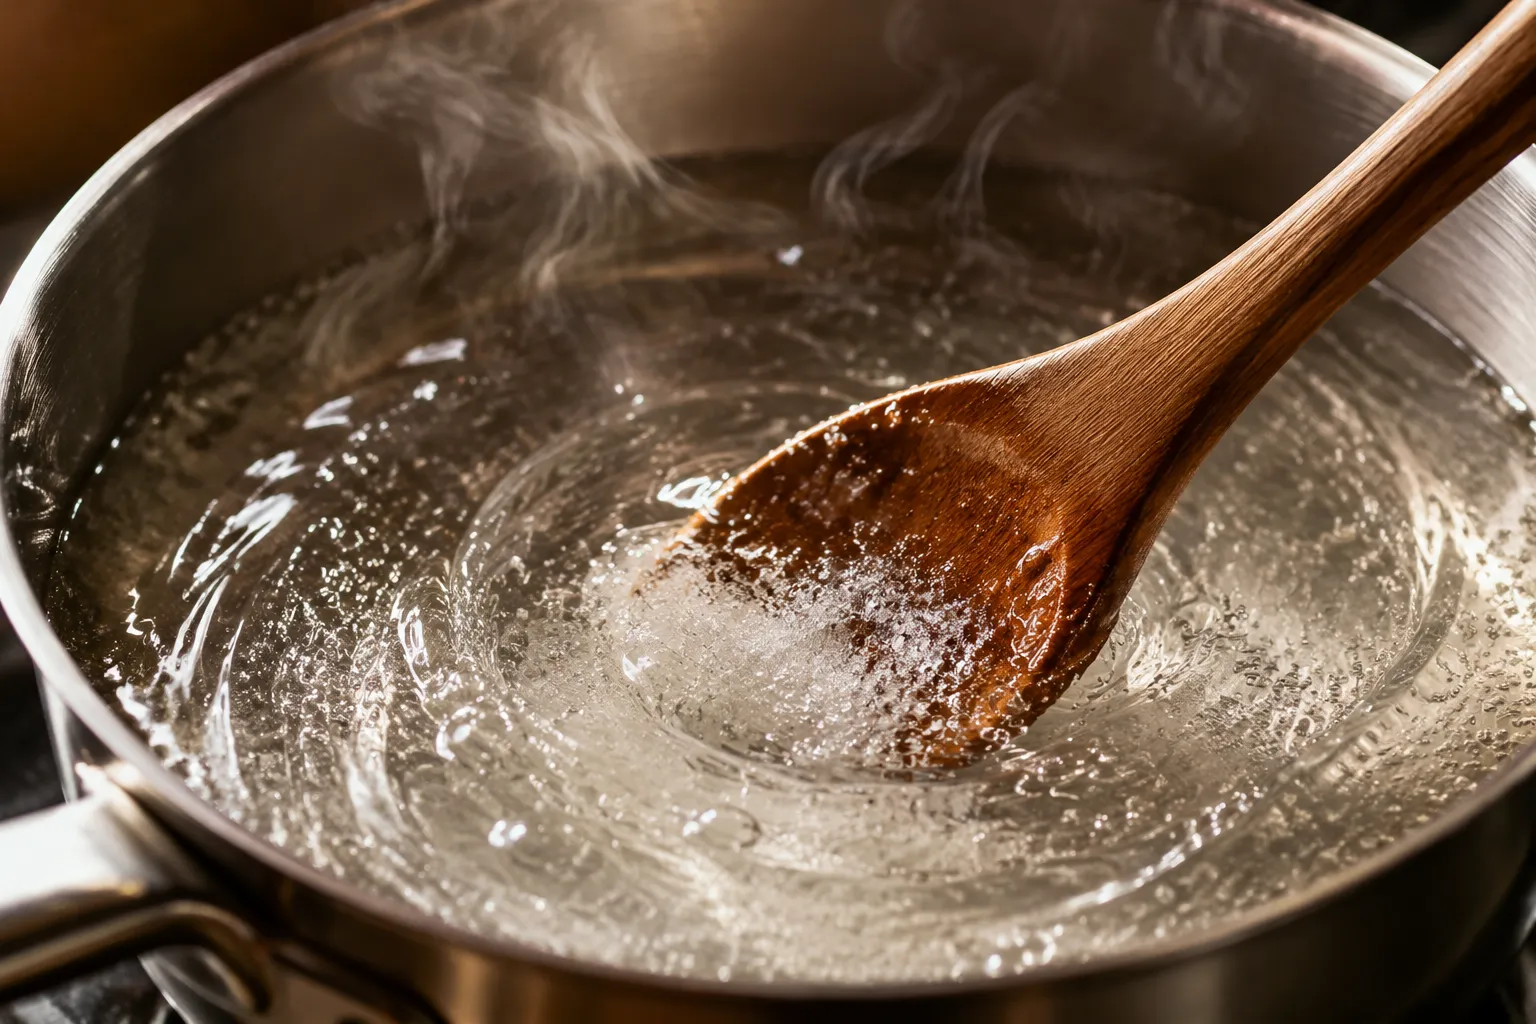
Place the pan over medium heat and stir slowly with a wooden spoon or silicone spatula. Within about three to four minutes, the cloudy mixture will turn fully transparent. That's your visual cue: the moment it looks like clean glass, it's done. Resist the urge to let it bubble hard or simmer for ten minutes hoping it'll thicken. Boiling reduces water and pushes you toward a thicker syrup whether you wanted one or not, and prolonged heat can also cause the sugar to invert and slowly recrystallize later.
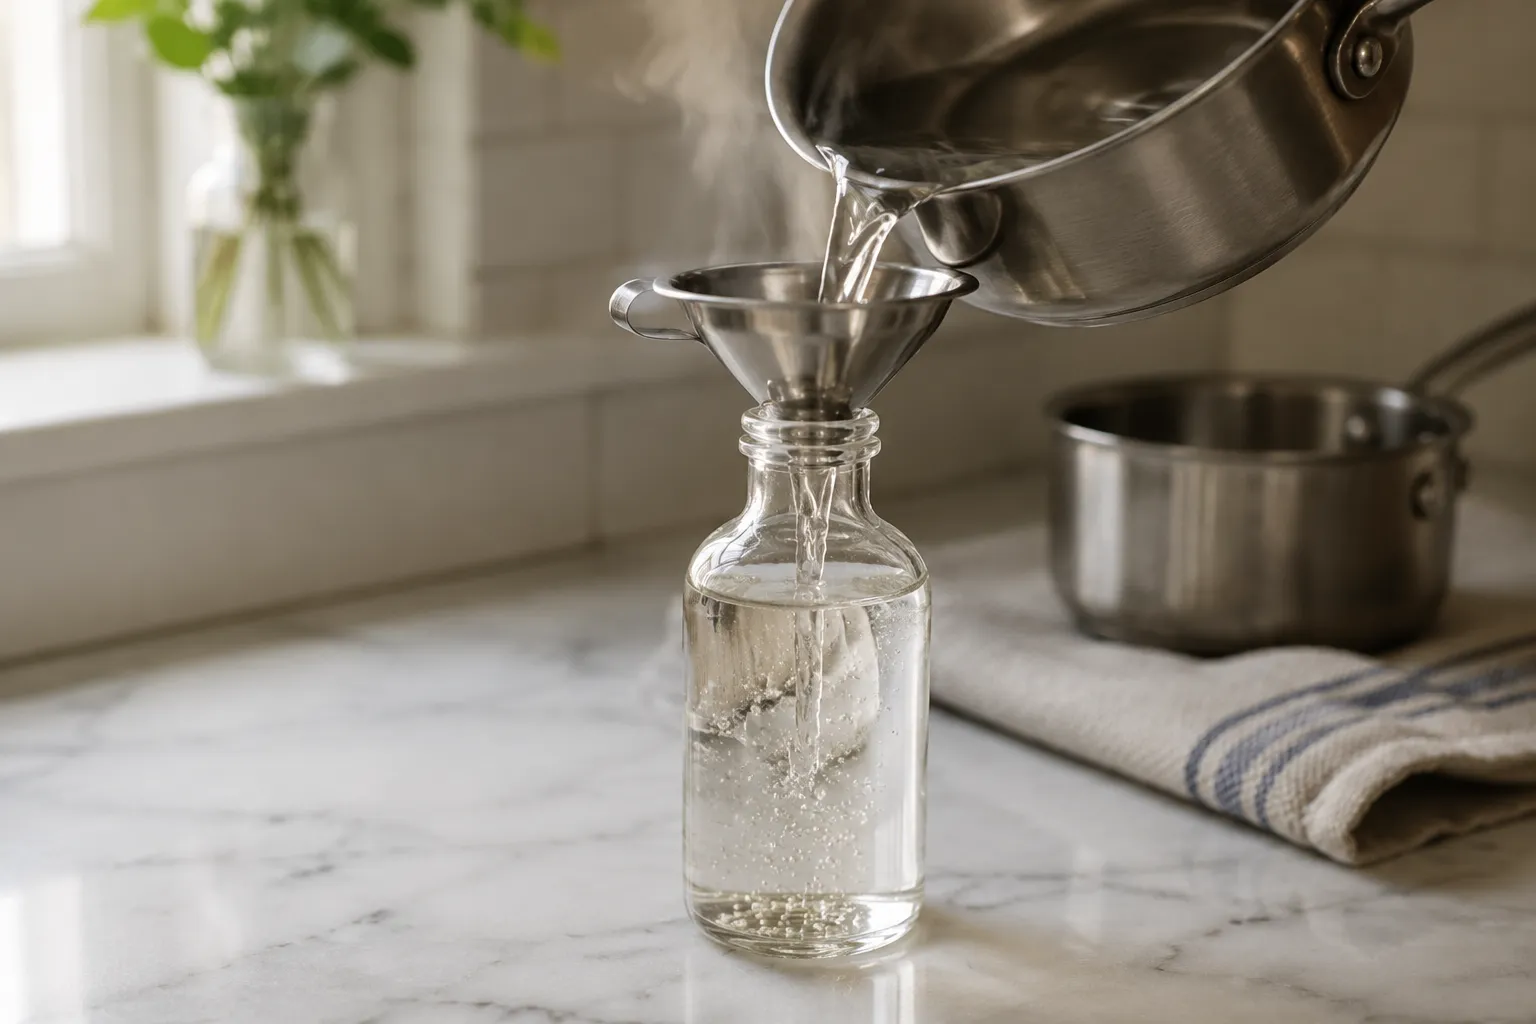
Once it's clear, take the pan off the heat and let it cool to lukewarm before bottling. Pour through a small funnel into a clean glass bottle or mason jar, label it with the date, and refrigerate. That's the whole simple syrup recipe — start to finish in under ten minutes.
If you only need a small amount and don't want to dirty a pan, the microwave shortcut is a lifesaver. Stir the sugar and water together in a microwave-safe glass measuring cup, then heat in 30-second bursts, stirring between each, until the liquid runs clear. A 1-cup batch usually takes 60 to 90 seconds total. Watch closely toward the end — it can boil over fast in a tall narrow vessel.

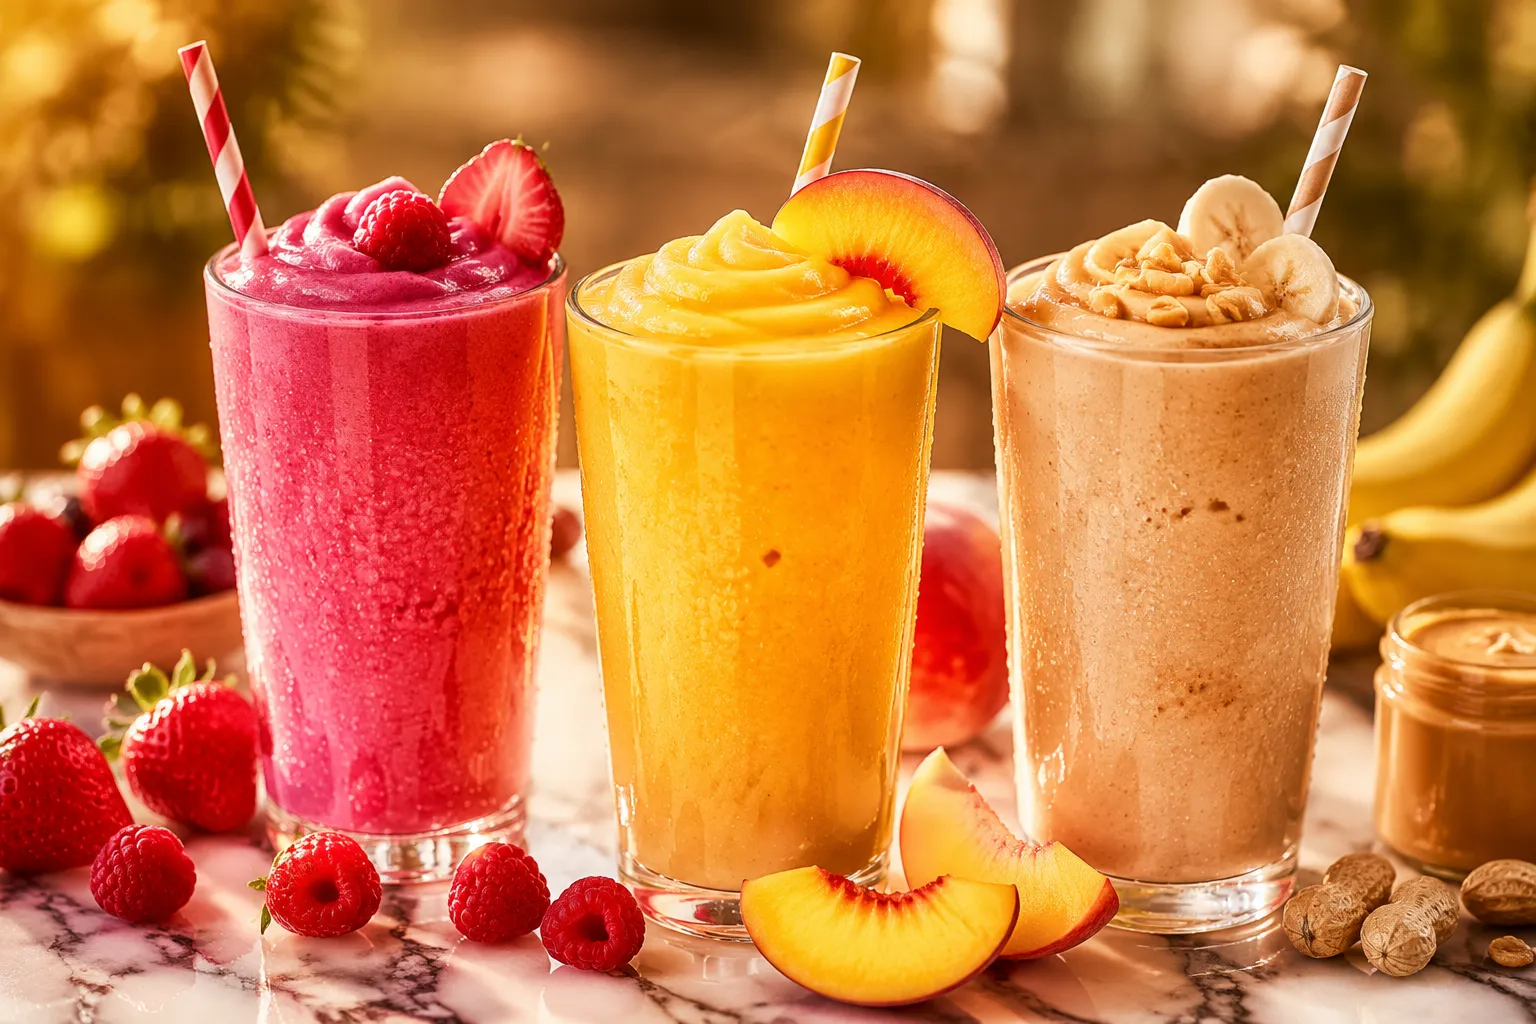
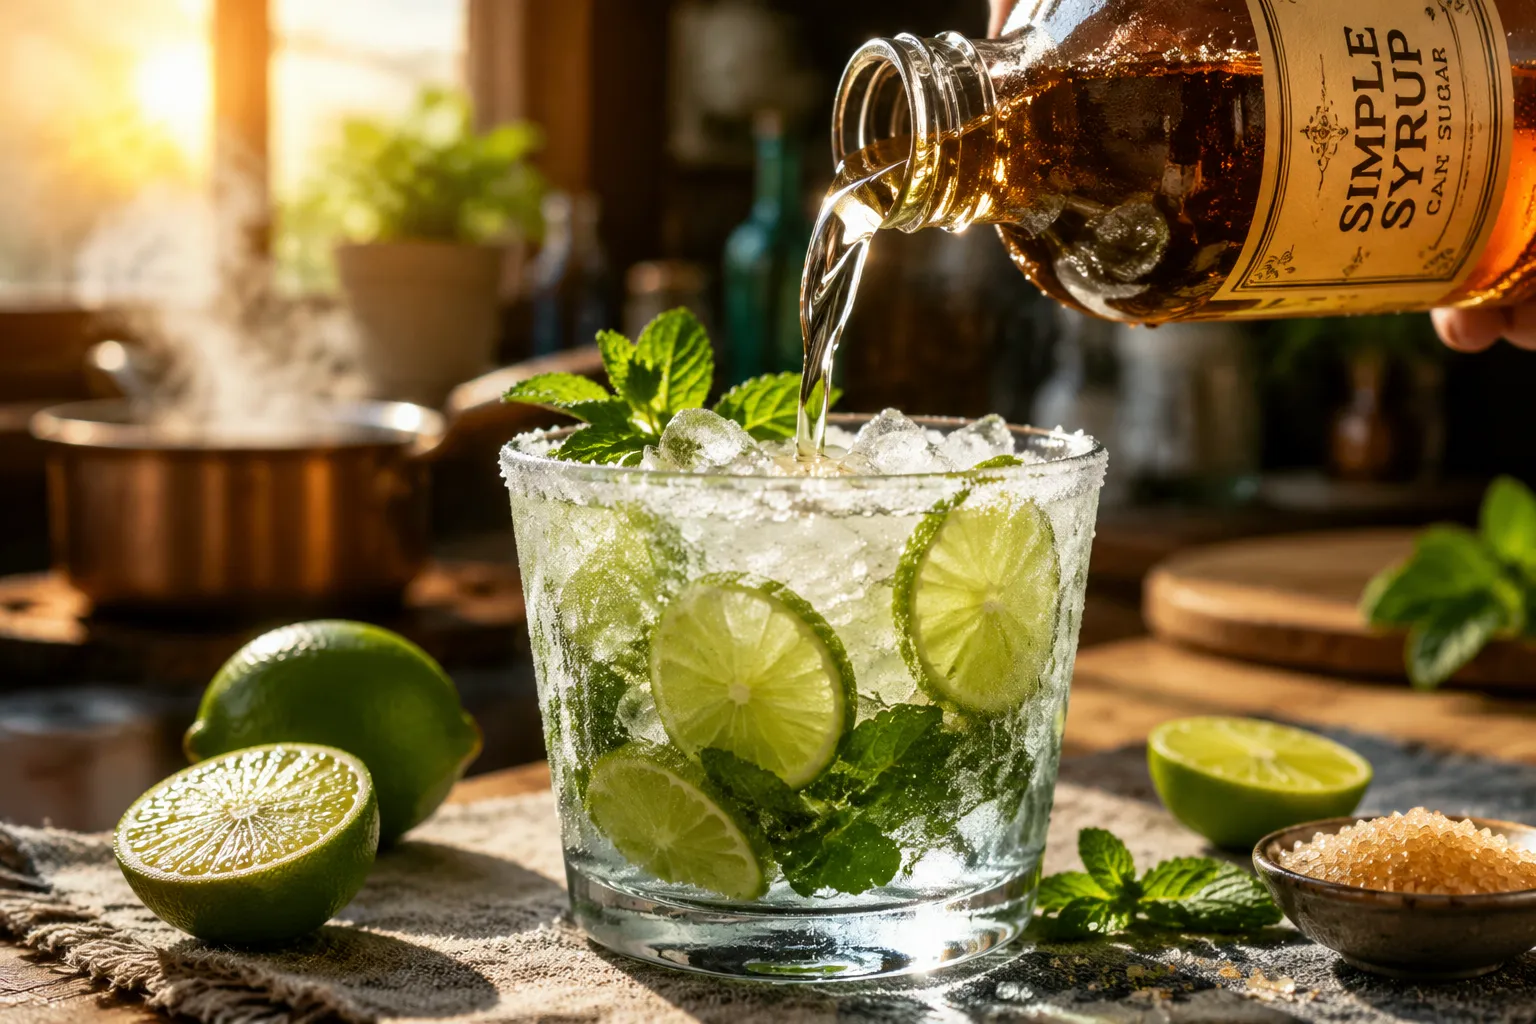
Once you have a bottle in the fridge, this stuff sneaks into more drinks than you'd expect. The most obvious use is cocktails: a classic mojito leans on it heavily, a whiskey sour wouldn't be a whiskey sour without it, and any sour-style drink — margarita, daiquiri, gimlet — gets its balance from a measured pour of liquid sugar. For mocktails, swap the spirit for sparkling water and lean on flavored versions; a vanilla simple syrup with soda water and lime tastes like a grown-up cream soda.
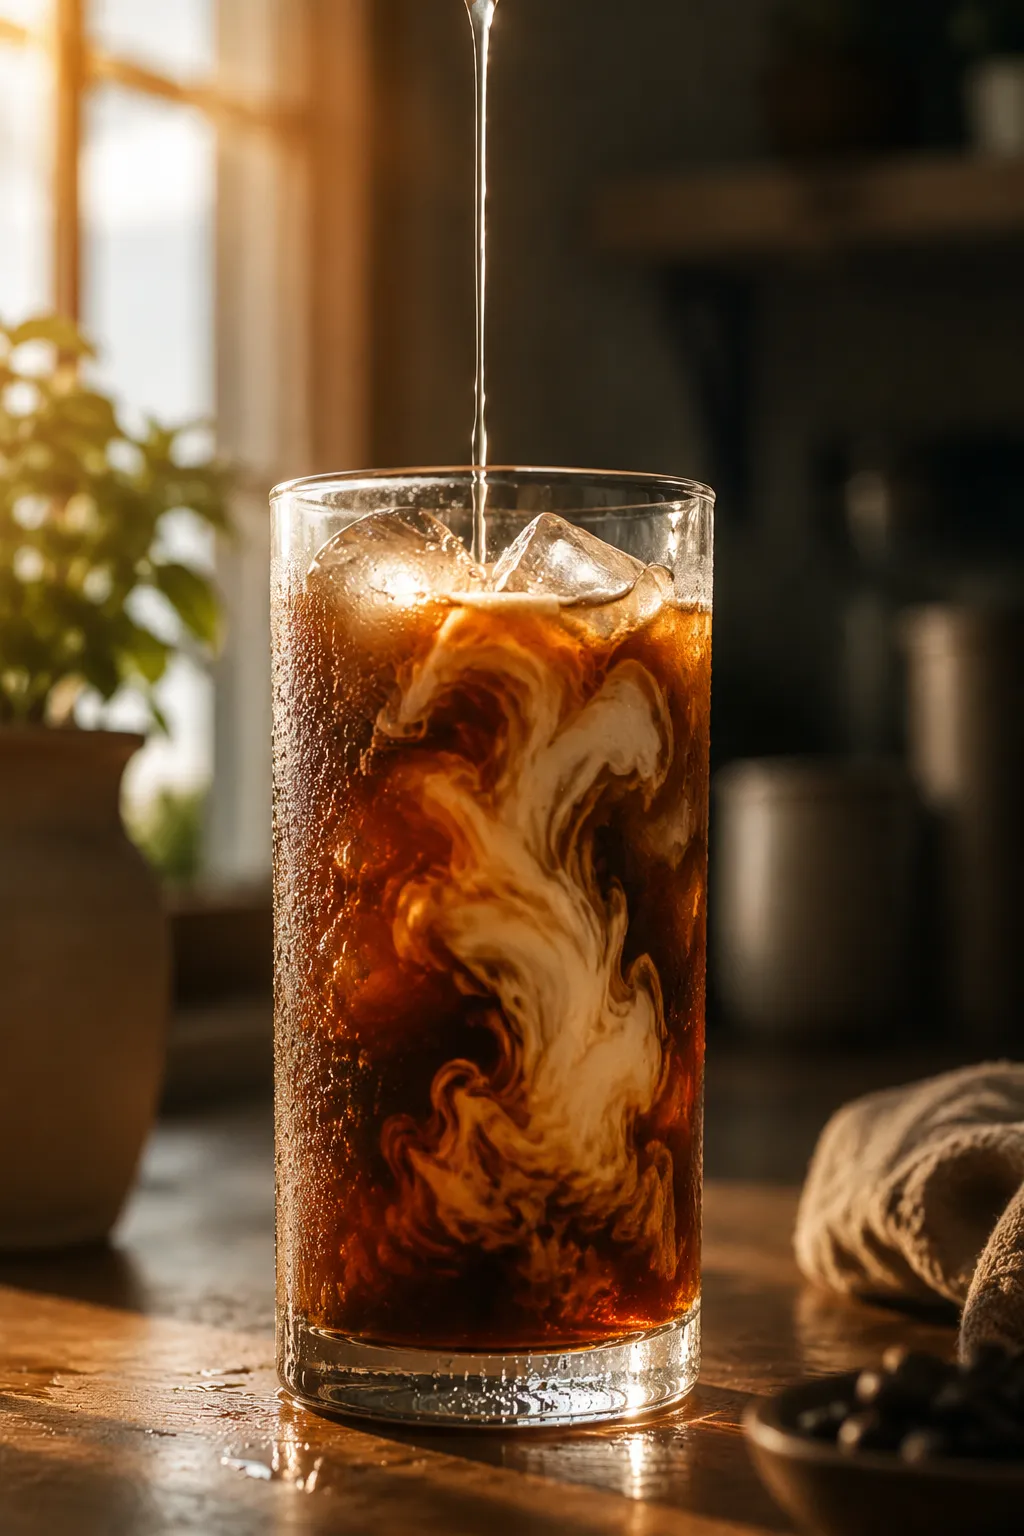
For making iced coffee at home, this is genuinely the upgrade nobody talks about enough. Drizzle a tablespoon into a tall glass of cold brew with a splash of cream and you get the smooth, evenly sweet finish you usually have to drive to a coffee shop for. The same trick works for iced lattes, matcha, and Thai iced tea. A brown sugar syrup version is what coffee chains use behind the counter for their fall lattes — it's worth keeping a small jar of that on hand once oat-milk-iced-latte season hits.
Beyond drinks, this syrup is the bakery secret your grandma never wrote down. A light brushing of plain or flavored syrup on the cut layers of a cake before frosting keeps the crumb tender for days and stabilizes the layers under heavy buttercream. Stir a teaspoon into freshly made whipped cream to sweeten without grit. Drizzle it over fresh berries with a squeeze of lemon about ten minutes before serving and they'll release their juices into a glossy, restaurant-style sauce. And of course, swirl it into a pitcher of fresh-squeezed lemon juice and ice water for the easiest homemade lemonade you'll ever make.
Keep your bottle sealed and chilled and you'll have go-to sweetener at the ready for weeks on end. Once you've made this simple syrup recipe a couple of times, you'll start tweaking — pulling out a vanilla pod here, a few sprigs of rosemary there — and that's exactly the point. It's a five-minute starting line for whatever your kitchen wants to do next.
Once you've nailed the base, the flavor possibilities open up fast. The trick is to add aromatics to the warm syrup right after you remove it from the heat, then let everything cool together so the flavors infuse gently without going bitter. Strain before bottling and you've got a café-quality flavored syrup with almost no extra effort.
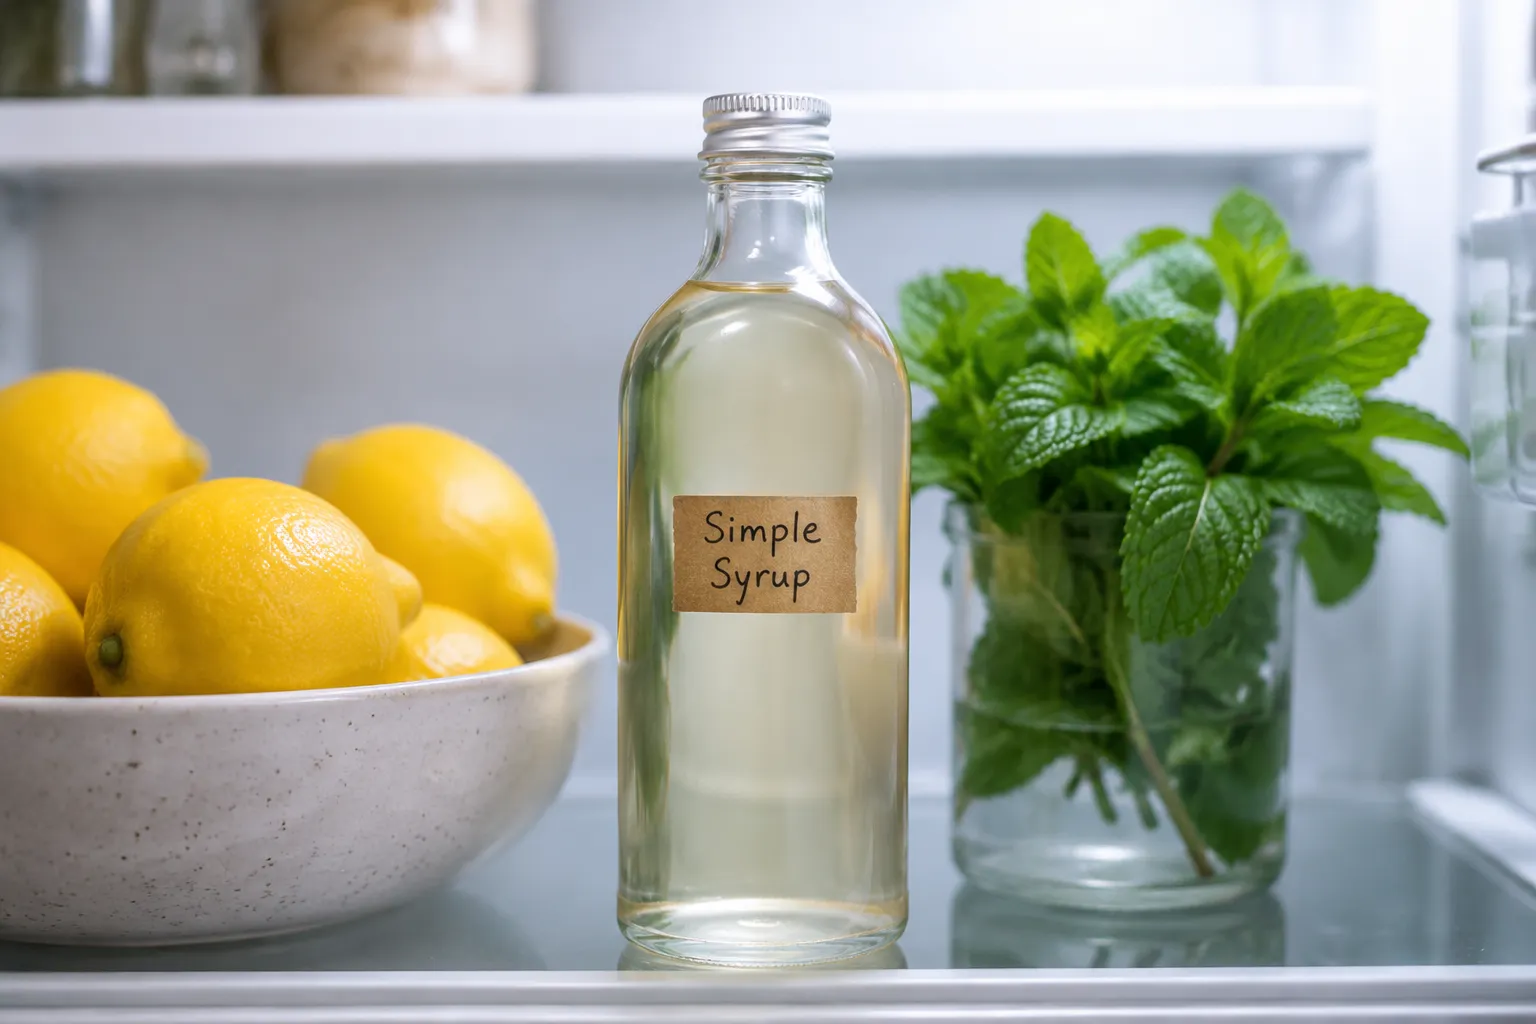
Store cooled simple syrup in a clean, sealed glass bottle or jar in the refrigerator. A standard 1:1 syrup will keep well for about one month, while a richer 2:1 syrup can last up to six months thanks to its higher sugar concentration, which acts as a natural preservative. Flavored versions made with fresh herbs or citrus peel tend to fade faster, so plan to use those within two to three weeks for best taste. Always use a clean spoon when scooping or pouring, and keep the lid tightly sealed between uses.
Toss the syrup if you notice cloudiness, floating particles, fuzzy spots, or any sour or yeasty smell — those are clear signs it's time to start fresh. If you make large batches for entertaining, a small splash of vodka (about a teaspoon per cup of syrup) extends shelf life noticeably without affecting flavor. You can also freeze syrup in ice cube trays and pop the cubes into cocktails or iced coffee for instant chilling and sweetening with zero dilution.