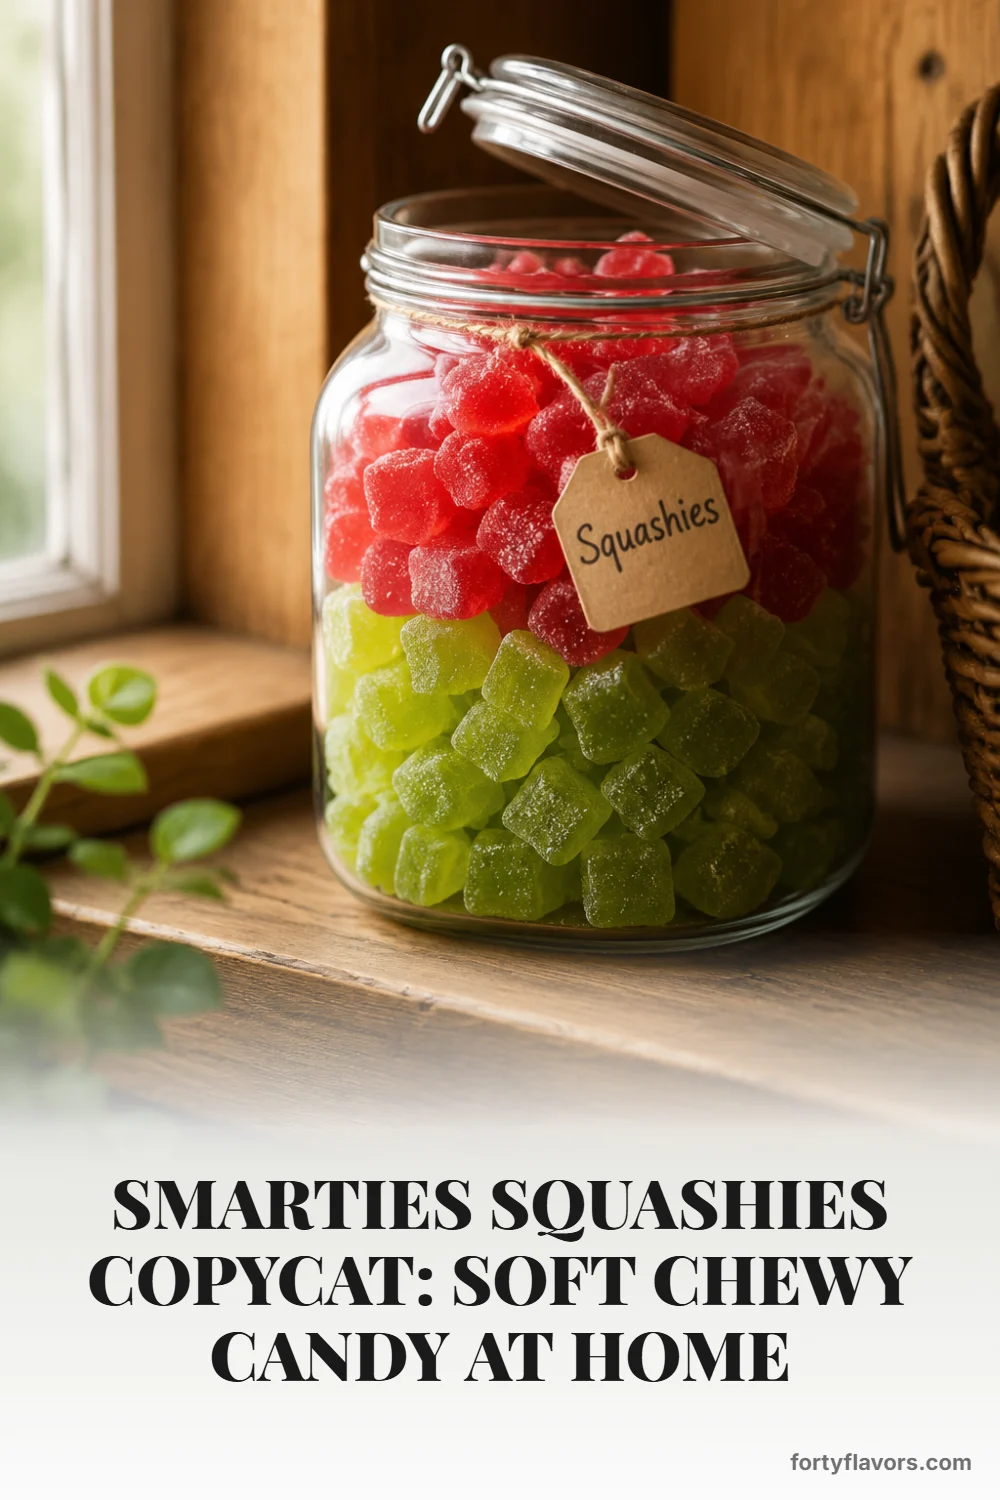
Smarties Squashies Copycat: Soft Chewy Candy at Home
Ingredients
Scale
Soft, chewy, and tangy Smarties Squashies you can make right in your kitchen. This copycat nails the sour cherry-and-apple bite without a candy factory.
smarties squashies are the kind of candy that make grown-ups nostalgic and kids instantly curious: bright, tangy, soft, and just stretchy enough to feel a little magical. This homemade version gives you that sour cherry and apple flavor in glossy, sugar-dusted bites without needing a candy factory or specialty equipment. Think of them as part homemade gummy candy, part foamy fruit chew, with a playful two-tone look that feels straight from the sweet shop.
If you love copycat candy recipes, this one is especially satisfying because the ingredient list is surprisingly simple: juice, sugar, gelatin, a touch of corn syrup, and citric acid for the sparkle. The method is quick, the chilling is hands-off, and the finished candies are exactly the sort of kid-friendly treats that disappear from a jar one squishy handful at a time. They are also a sweet little project for weekends, movie nights, birthday-party favors, or anytime your kitchen needs a pop of cherry-red and apple-green fun.
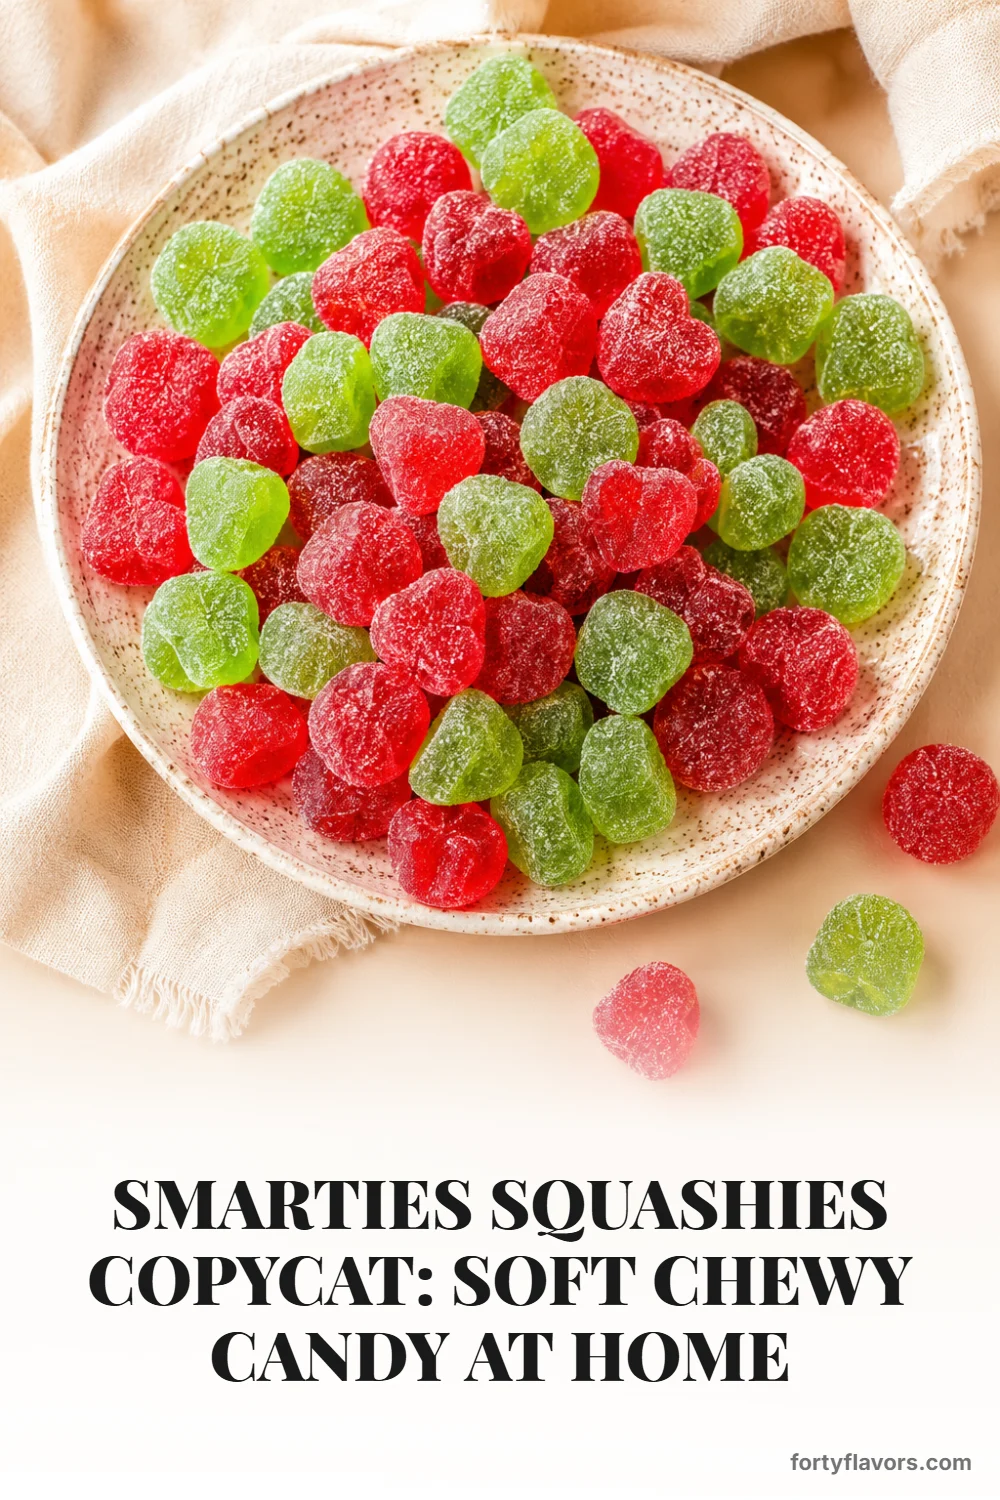
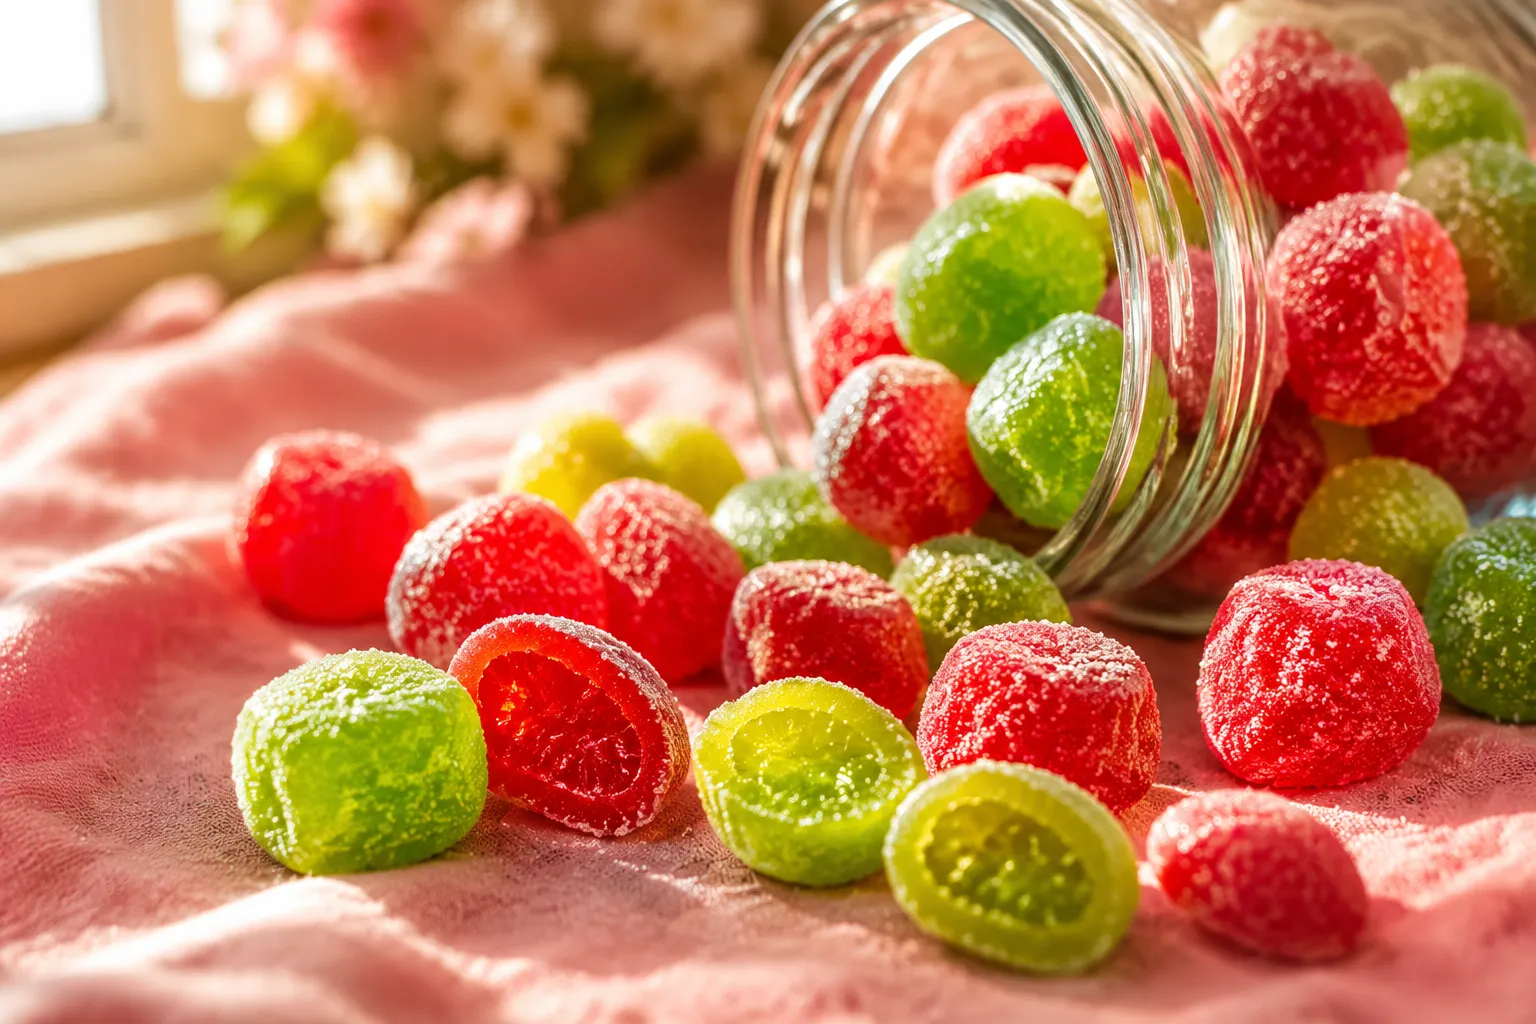
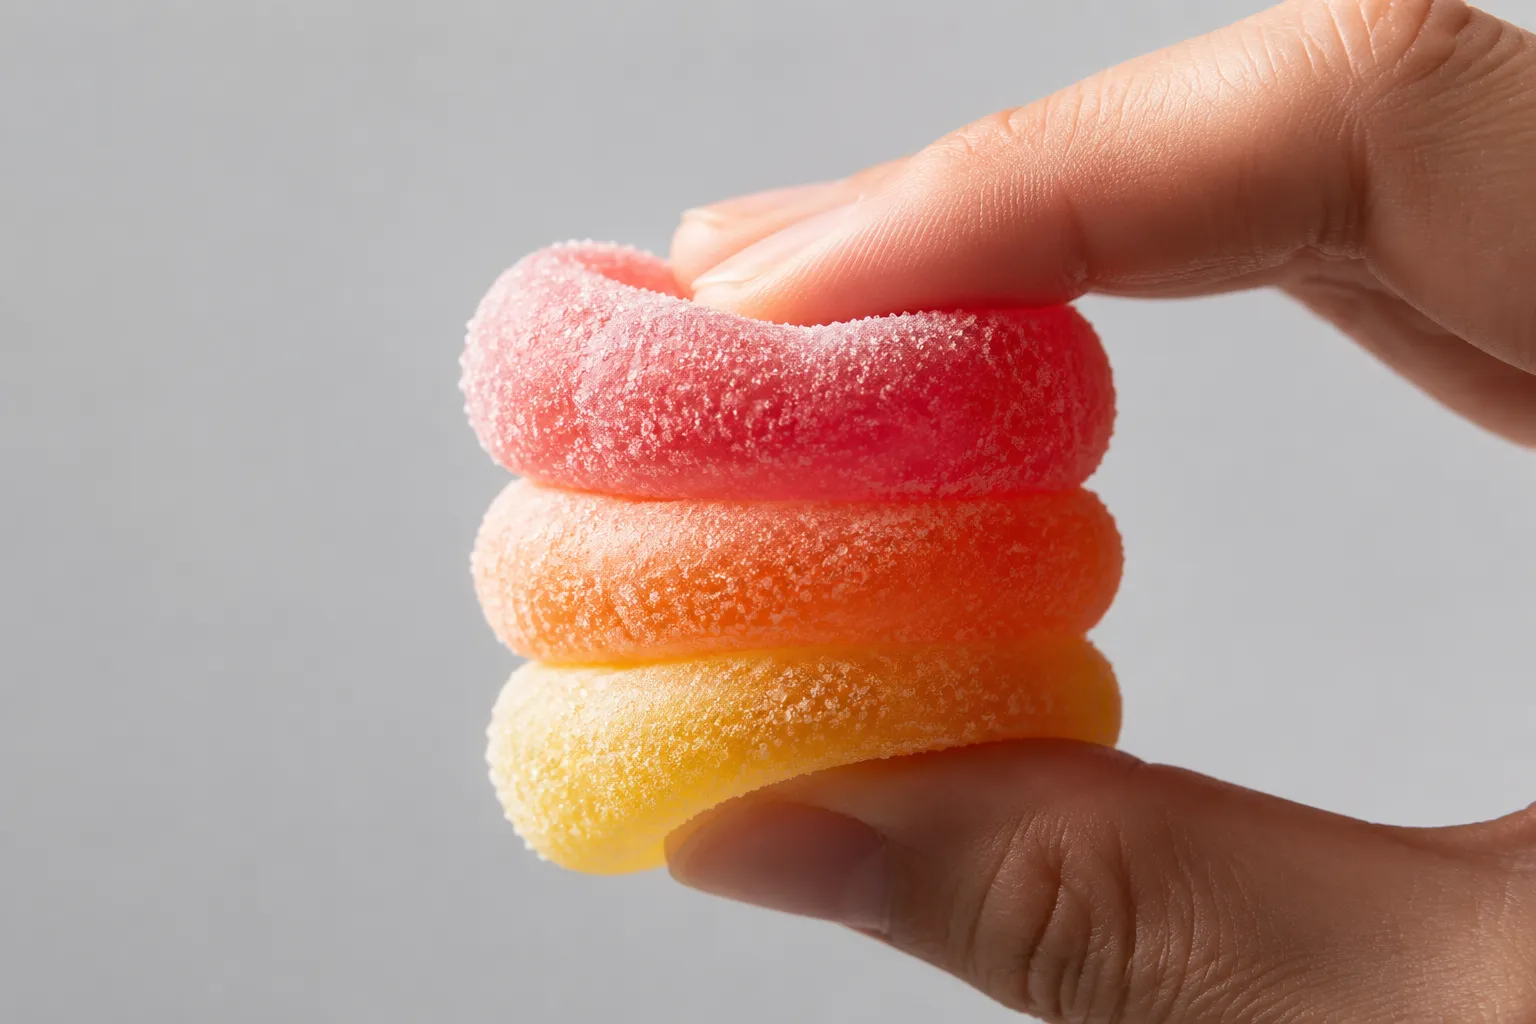
In the UK, Squashies are a soft, bouncy, foam-style candy inspired by familiar sweet-shop flavors. They are not quite a classic gummy and not quite a marshmallow; they land somewhere in the middle, with a springy bite and a lightly airy chew. The popular cherry-and-apple version has a bright fruit flavor and a gentle sour finish that keeps each piece from tasting too sugary. This copycat recipe leans into that same contrast: juicy fruit, soft candy bites, and a dusting of tangy sugar on the outside.
Classic Smarties, depending on where you grew up, usually means either candy-coated chocolate in the UK or tablet-style sweets in the US. Squashies are a different treat altogether: pillow-soft, fruit-flavored, and chewy rather than crunchy. The fun is in the texture, because each bite compresses slightly before bouncing back, which is why the name feels so spot-on. If you are expecting a hard candy shell, this recipe will surprise you in the best possible way.
Making them yourself lets you control the tang, the texture, and the flavor intensity. You can make the cherry side punchy like sour cherry candy, keep the apple side bright and fresh, or nudge the coating more tart if your family loves a pucker. Homemade also means you can cut the candies into small cubes, rounded bites, strips, or molded shapes depending on the occasion. Best of all, it turns candy-making into a low-stress kitchen project instead of a thermometer-heavy production.
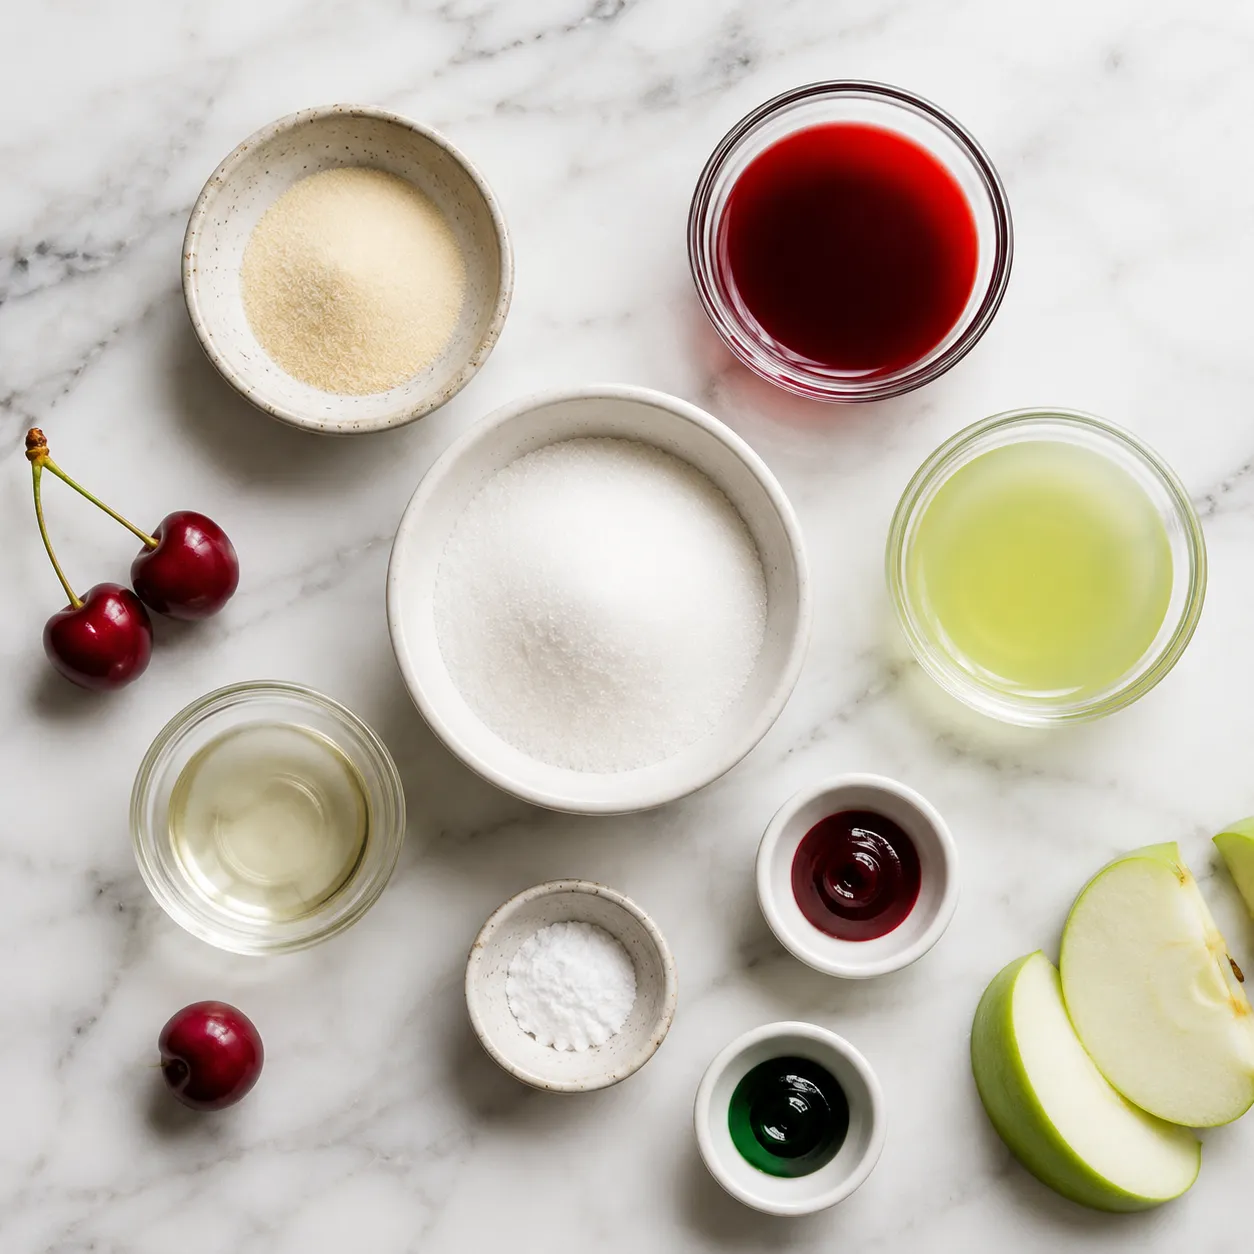
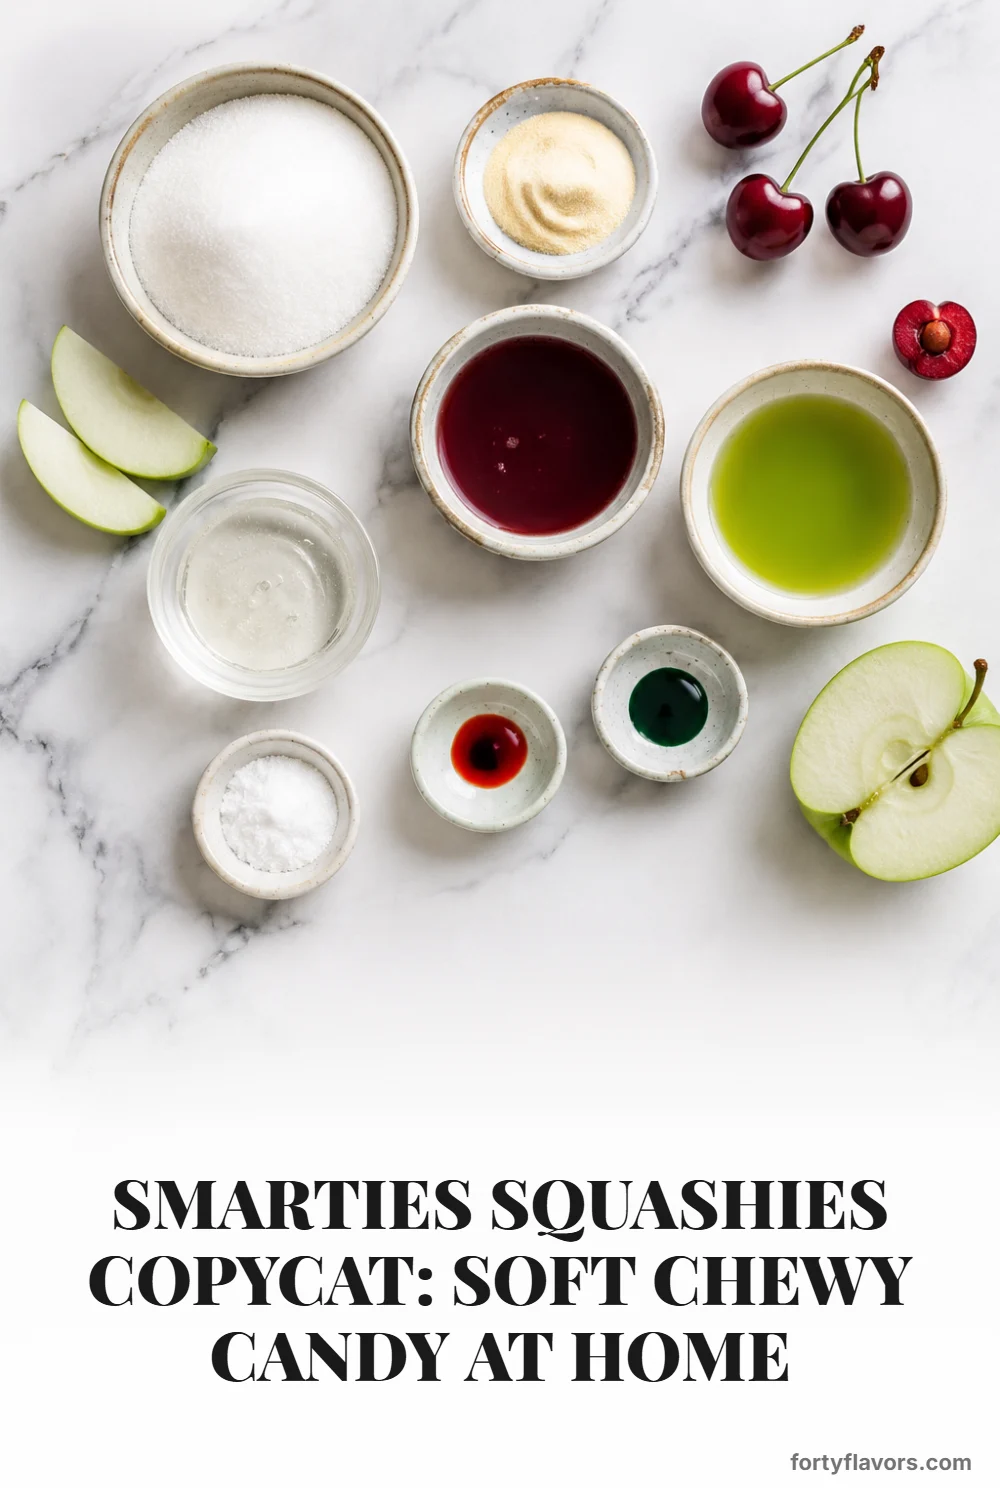
The flavor starts with two separate fruit mixtures: one cherry and one green apple. Cherry juice or a smooth cherry puree gives the red layer a deep berry note, while green apple juice keeps the second layer bright, tart, and almost fizzy-tasting. A small amount of cherry extract and apple extract helps the flavor read more like candy than fruit leather, which is important for that nostalgic shop-bought effect. Red and green gel food coloring are optional, but they make the finished pieces look unmistakably cheerful.
Unflavored powdered gelatin is the backbone of these homemade gummies, and the amount matters. Too little gelatin gives you wobbly fruit snacks that slump at room temperature, while too much makes the bite rubbery instead of tender. This formula uses enough gelatin to create bounce, with light corn syrup added to soften the chew and prevent a grainy sugar texture. The result is chewy candy that holds its shape but still feels plush when you press it between your fingers.
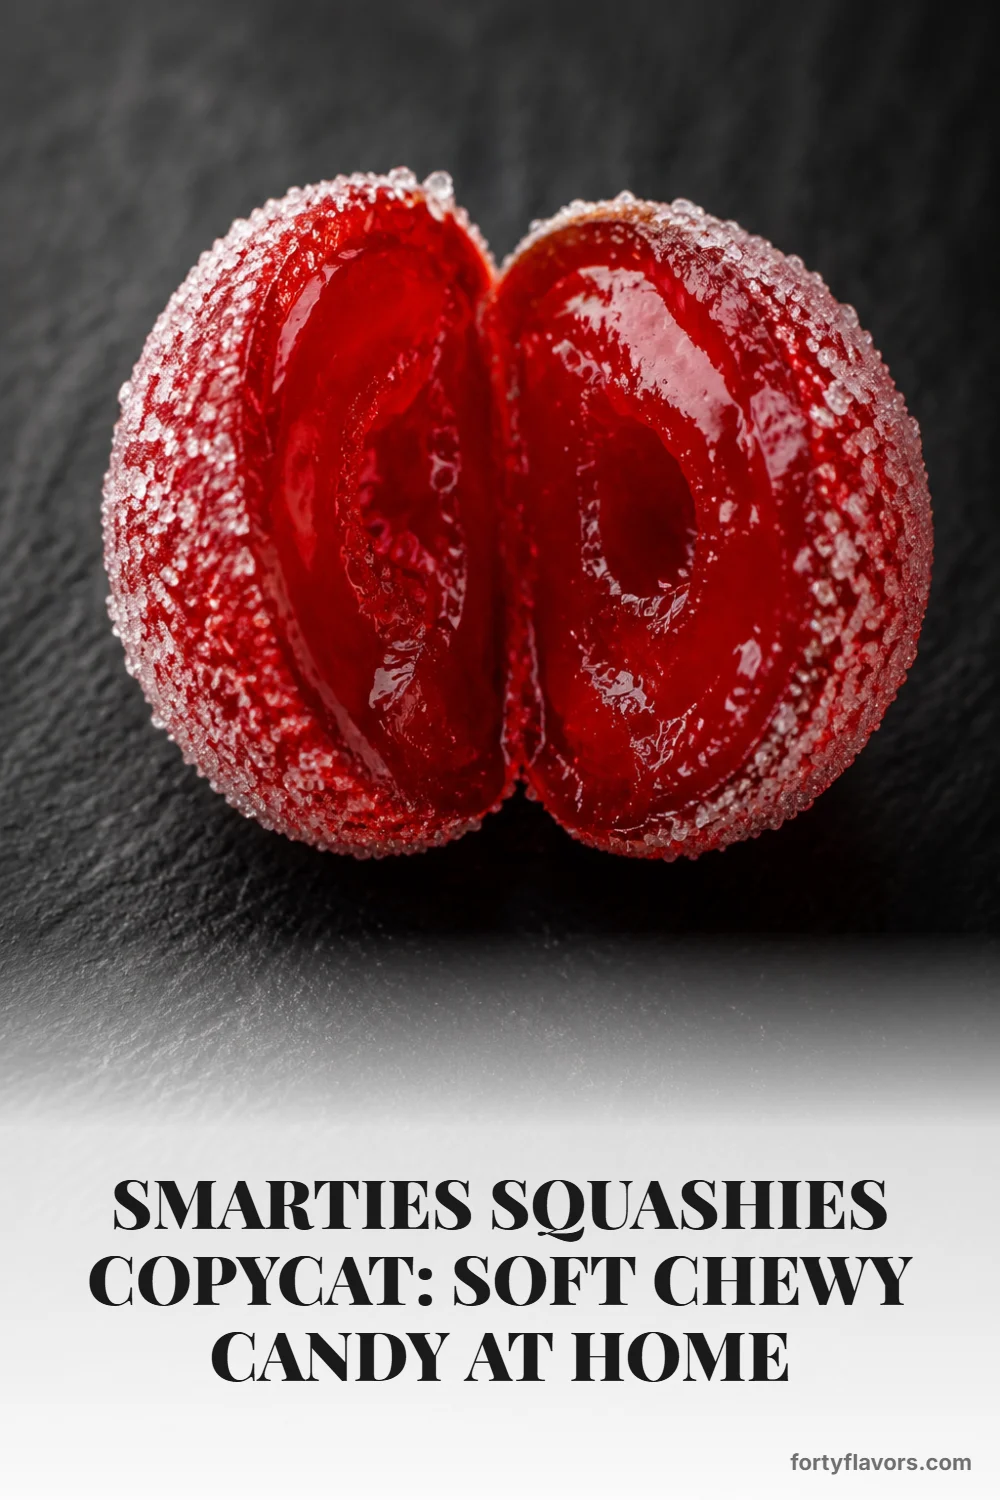
Citric acid is the little pantry ingredient that makes this copycat recipe taste like a real sweet-shop treat. Mixed with granulated sugar, it clings to the outside of the candies and gives every bite a quick sour sparkle before the cherry and apple flavors come through. You can find it near canning supplies, in baking aisles, or online. Use it with a light hand at first; you can always add more to the coating if you want a sharper finish.
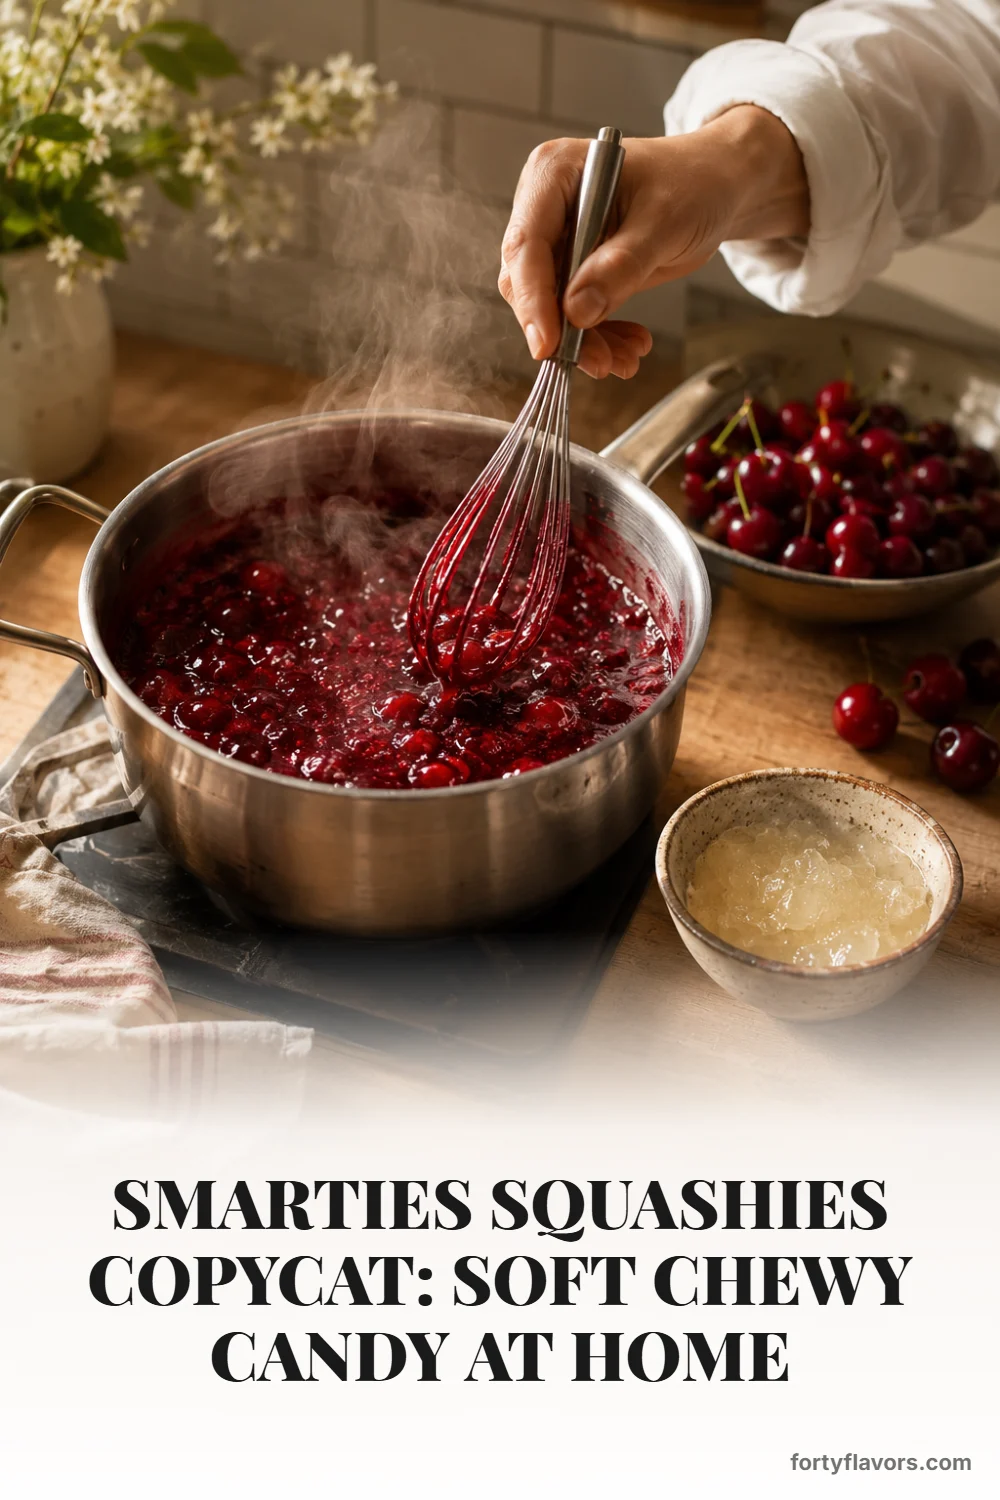
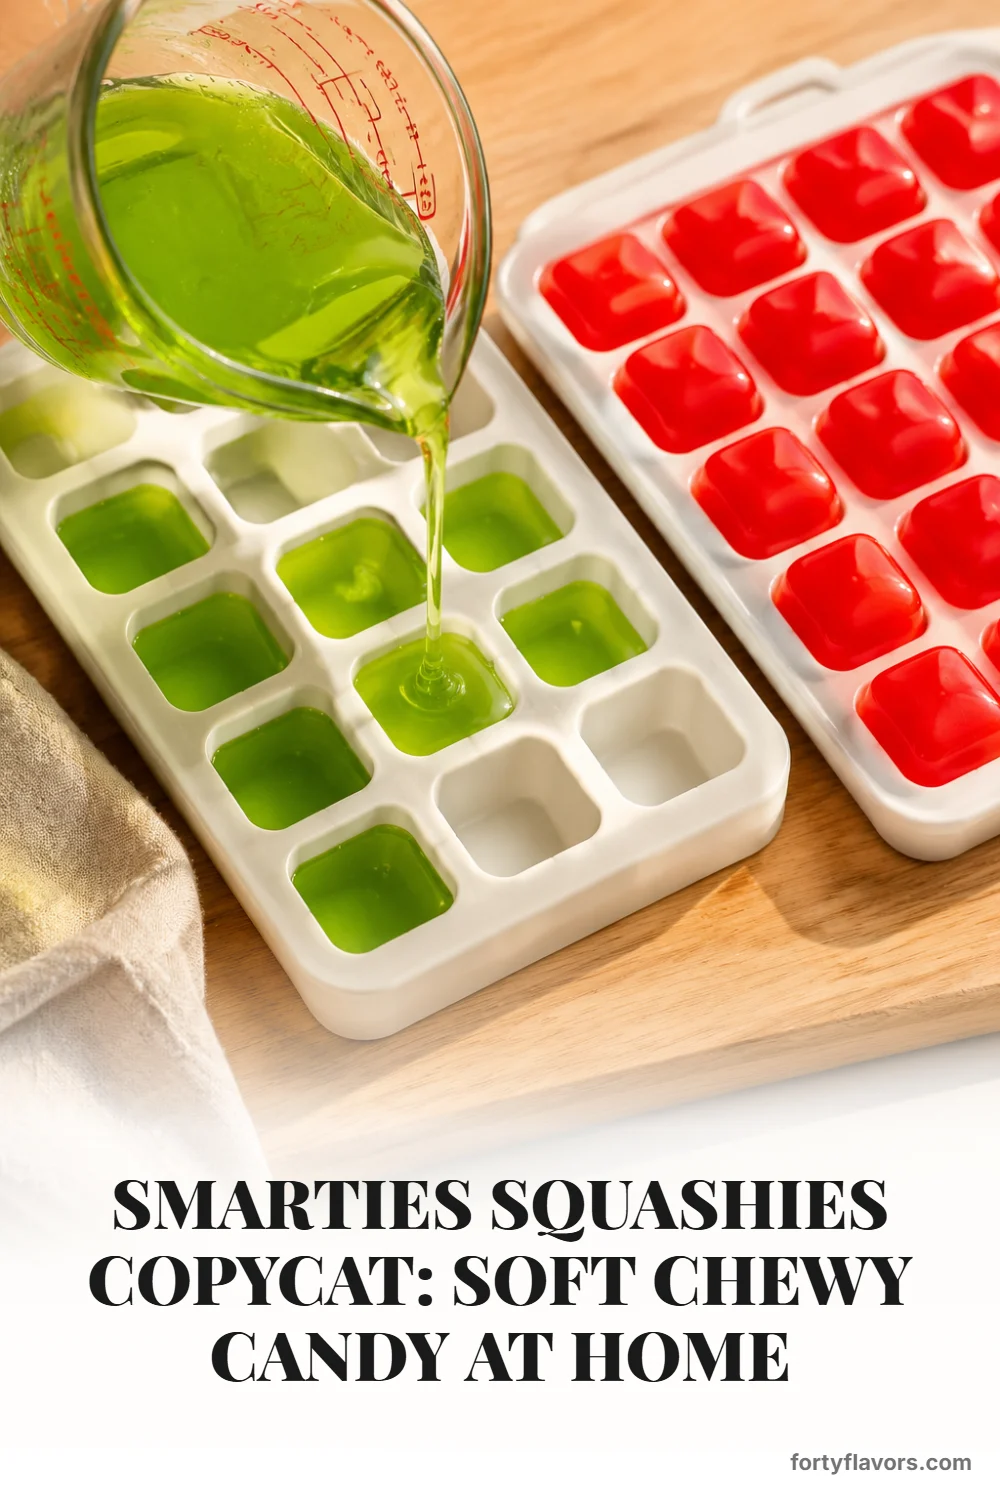
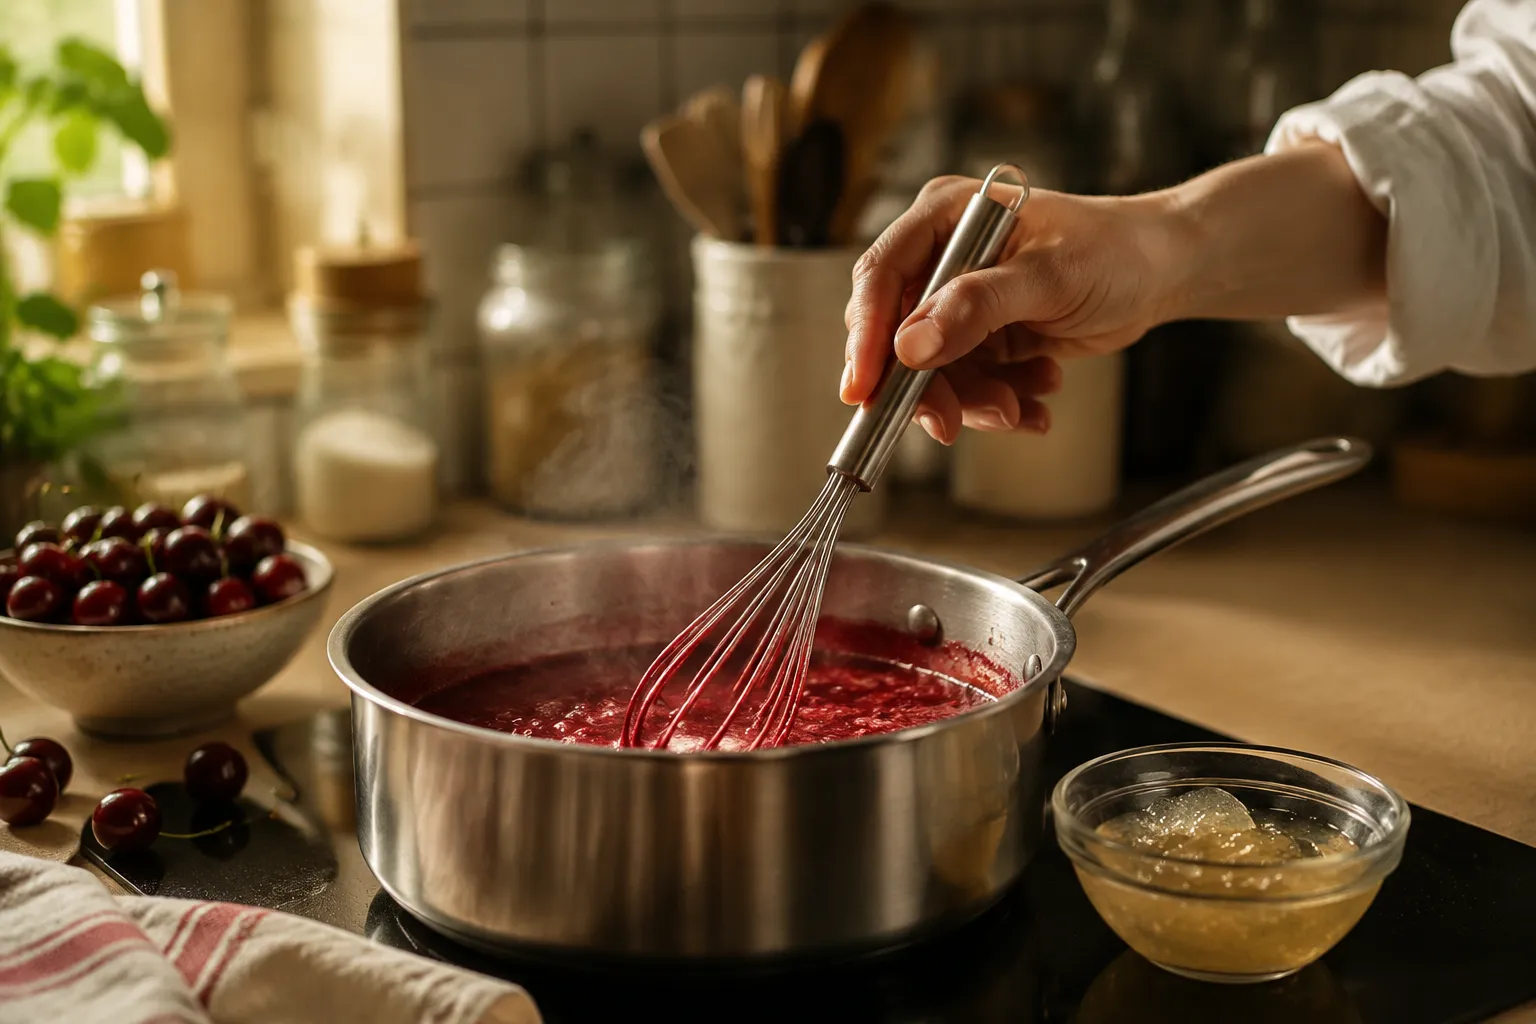
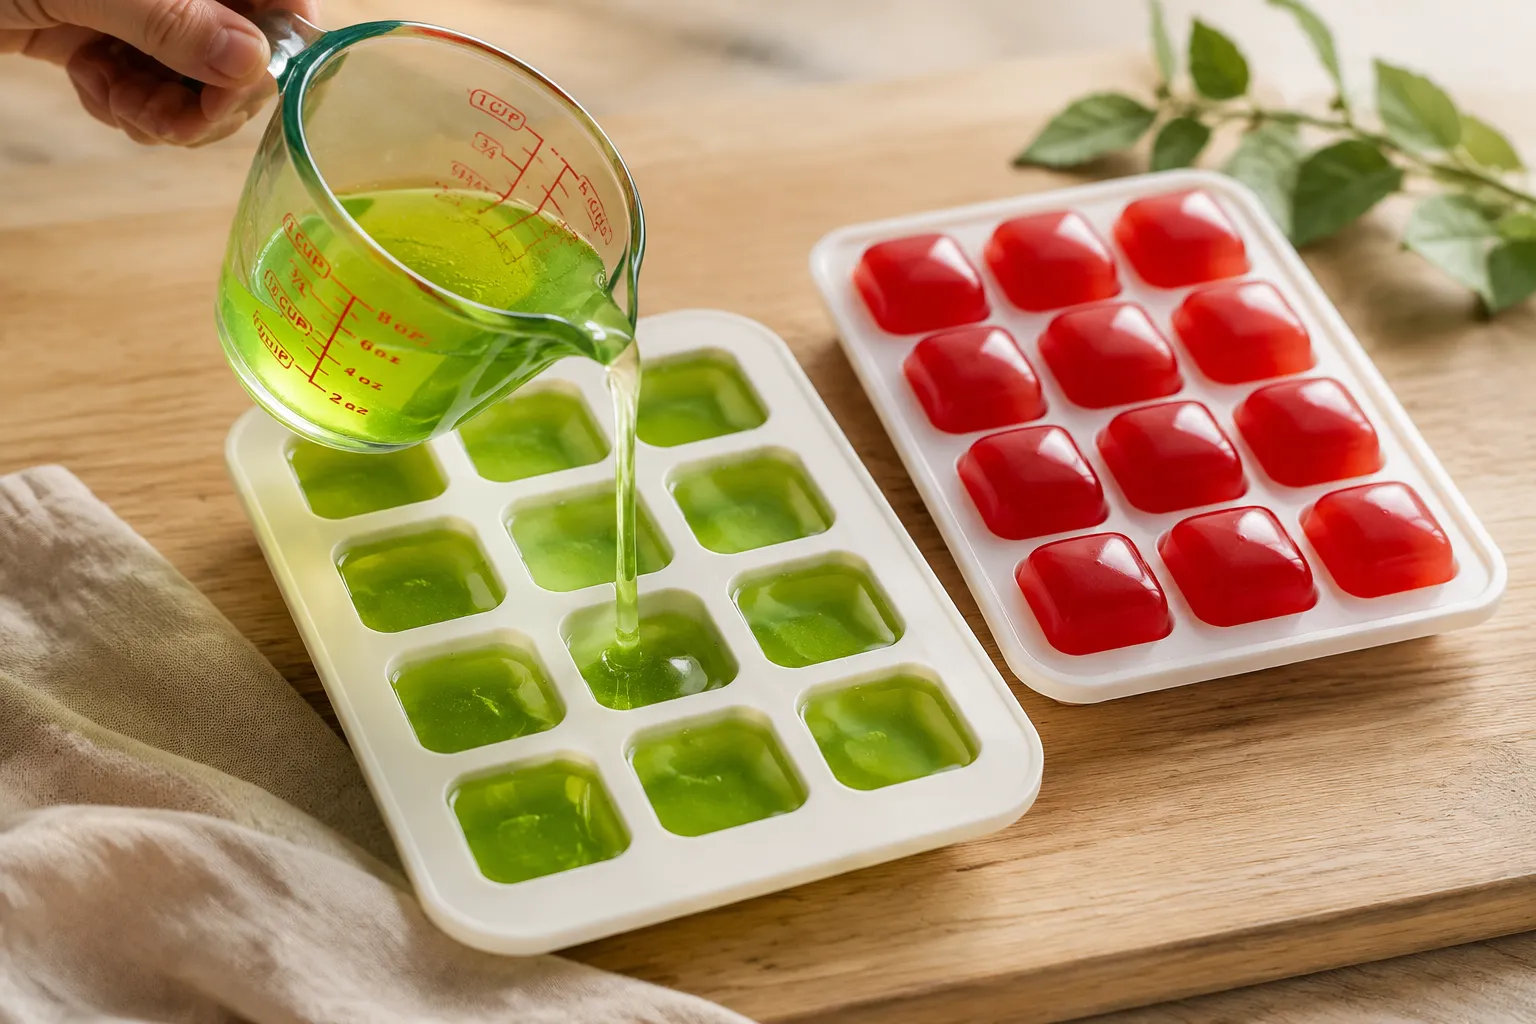
Blooming gelatin simply means sprinkling it over cool liquid and letting it hydrate before heat is added. This step prevents stubborn clumps and gives the finished candy a smooth, even texture. For this recipe, the cherry juice blooms with half the gelatin in one bowl, and the green apple juice blooms with the remaining gelatin in another. After about five minutes, each bowl should look thick, wrinkled, and sponge-like, which tells you it is ready for the saucepan.
Each fruit mixture is warmed gently with sugar and corn syrup until the sugar dissolves and the gelatin melts completely. You do not need to boil the syrup hard; in fact, a heavy boil can dull the fruit flavor and push the texture toward firm candy rather than soft chew. A small whisk is helpful here because it keeps the gelatin moving and smooth. Once the mixture turns glossy and fluid, stir in the flavor extract and food coloring off the heat.
For the prettiest two-tone look, pour the cherry mixture into a small lined pan or silicone molds first, let it partially set, then add the apple mixture on top or alongside it. If you prefer individual colors, use two separate molds and cut the pieces after chilling. The candies need at least two hours in the fridge to set cleanly, though they continue to become a little chewier as they rest. Once cut, toss them in citric-acid sugar so every edge gets that sparkly, mouthwatering finish.
The best part of this recipe is the bite. These candies should feel tender when you pick them up, slightly stretchy when you pull them, and bouncy when you press them. That comes from the balance of gelatin, sugar, liquid, and corn syrup, plus a proper chill to let the structure settle. If you have made chewy fruit snacks before, you will notice these are a little more candy-like and a little less dense, closer to the soft sweet-shop style that inspired them.
Because homemade candy is affected by humidity, pan size, and even how vigorously you heat the syrup, texture can vary slightly from batch to batch. A shallow pan makes thinner, quicker-setting pieces, while a small loaf pan makes chunky cubes with more chew. Silicone molds are wonderfully easy, especially for kids, because the candies pop out with clean rounded edges. For a more rustic look, pour both colors into a parchment-lined pan and cut them into little squares once set.
These candies are playful enough to serve on their own, but they are also charming as part of a dessert board. Pile them into a little bowl beside cookies, chocolate pieces, pretzels, and fruit for a no-fuss treat tray. Because they are no-bake desserts, they are especially handy for warm-weather parties when you do not want to turn on the oven. Their bright colors make them feel celebratory with almost no extra styling.
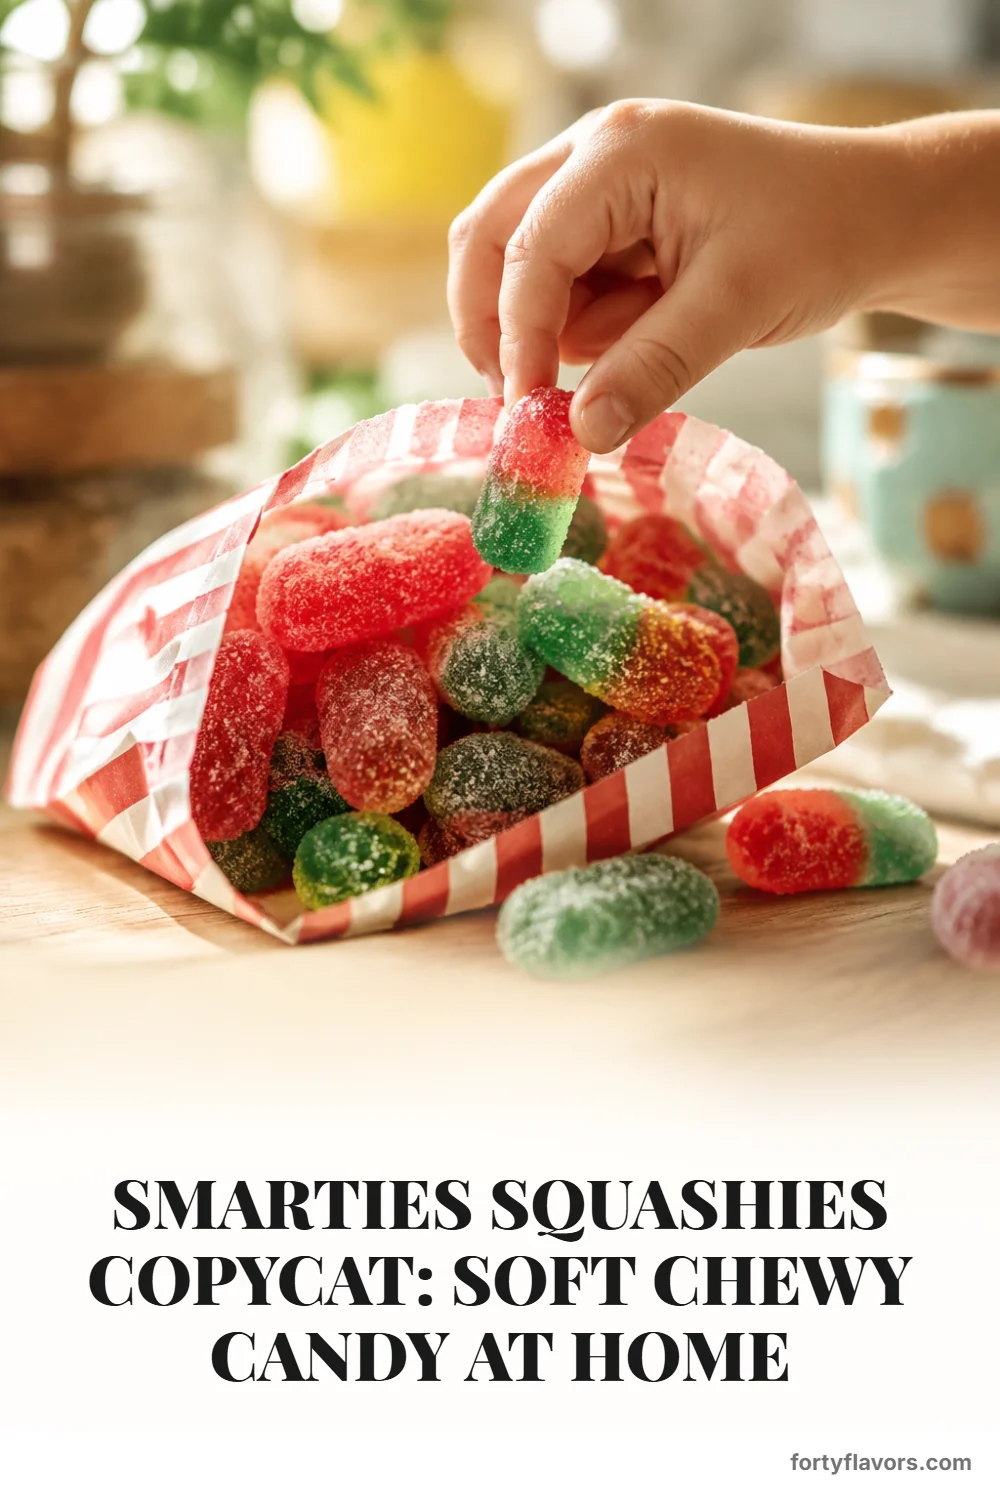
For school-safe portions or party bags, tuck a few pieces into wax paper pouches or small glassine bags. They make cute lunchbox surprises, road-trip snacks, and birthday favors, especially when paired with a handwritten label. If you are building a candy bar, place them next to chewy fruit snacks and other tangy sweets so guests can mix and match. The sour cherry and apple flavor also pairs beautifully with sparkling lemonade, iced tea, or a simple bowl of vanilla ice cream.

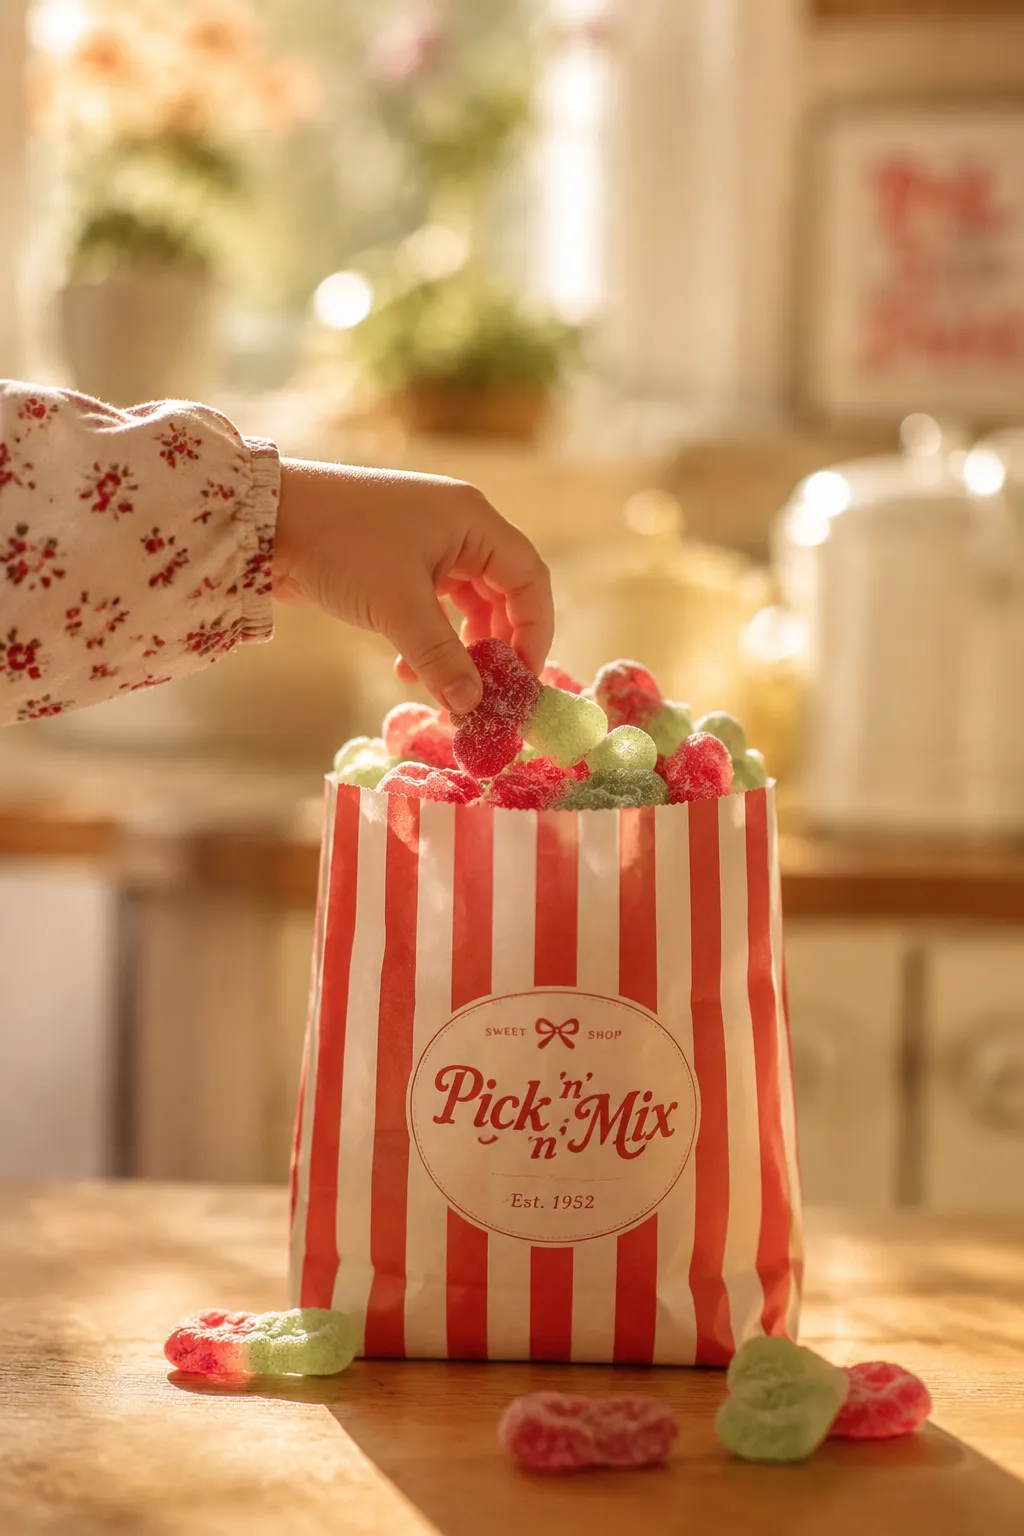
One of my favorite ways to serve smarties squashies is in a striped paper candy bag, the old-fashioned kind that makes even a small handful feel special. The sugar coating keeps the pieces from sticking together, and the colors look so pretty peeking out from the top. If you are making them with children, let them help shake the pieces in the sour sugar once the knife work is done. It is messy, sparkly, and exactly the sort of kitchen job little hands love.
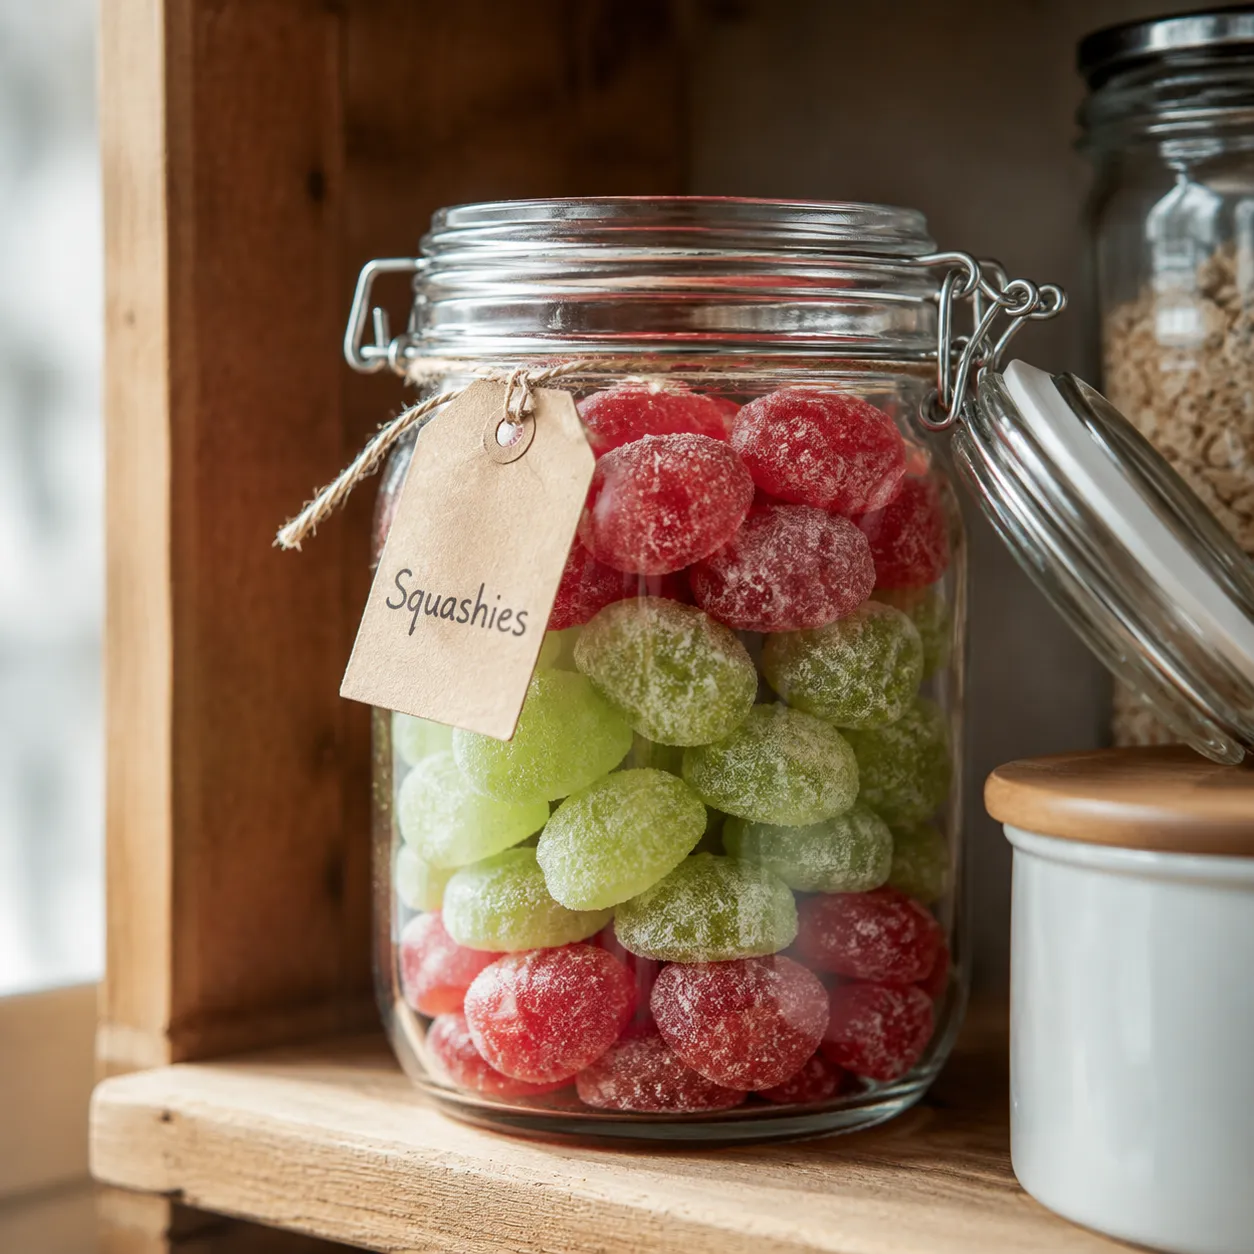
This is a lovely make-ahead candy because the flavor actually settles after the first day. The sour coating softens just a touch, the fruit notes round out, and the chew becomes more even from edge to center. If you plan to give them as gifts, let the pieces air-dry on parchment for an hour after coating so the sugar stays pleasantly sandy instead of wet. Then pack them into jars, tins, or small treat bags with parchment between layers if your kitchen is humid.
For a polished homemade gift, label the jar with the flavor, date, and a quick note that the candies are best enjoyed within two weeks. They look especially pretty layered by color, with red cherry pieces on the bottom and green apple pieces on top. You can also mix the colors together for that spilled-sweet-shop look that makes everyone reach in immediately. A jar of smarties squashies tucked into a gift basket with hot cocoa, popcorn, and a family movie is pure weekend happiness.
The sour sugar coating is where the whole recipe comes alive. Plain granulated sugar gives sparkle and prevents sticking, while citric acid brings the tang that makes the fruit taste brighter. If the coating seems to disappear after a few hours, it is usually because the candies were still very cold or damp when tossed. Letting them sit briefly at room temperature before coating helps the surface dry just enough to hold the crystals.
You can keep the coating fine and delicate or make it more dramatic by blending the sugar for a few pulses in a food processor. Superfine sugar clings more evenly and gives the candies a soft frosted look. For a bolder sweet-shop style, add a tiny pinch of malic acid to the coating along with the citric acid; it gives an apple-candy tang that lingers. Just remember that a little goes a long way, especially for younger candy lovers.
There is something wonderfully joyful about making candy at home, especially when the result is this bright, chewy, and shareable. This version captures the spirit of smarties squashies with a true cherry-and-apple pairing, a soft set, and that fizzy sour sugar finish. It is simple enough for beginners, but detailed enough to give you the texture control that makes homemade sweets feel impressive. Make one batch as written, then use the same method as a template for every fruity candy idea you can dream up.
Use this cherry-and-apple version as your base formula, then play with flavor pairings and coatings. Keep the total liquid and gelatin amounts the same so the texture stays consistent.
Store the finished candies in an airtight container at room temperature for up to 2 weeks. Keep them in a cool, dry spot away from direct sunlight, and add a small square of parchment between layers if they are stacked tightly.
Refrigeration can extend freshness, but it will make the candies firmer and may cause the sugar coating to weep slightly as they come back to room temperature. For the best soft, chewy texture, room-temperature storage is ideal.
Hover any image and hit “Pin it” to save it to your Pinterest boards.