
Snow Cream Recipe: 5-Minute Old-Fashioned Snow Ice Cream
Ingredients
Scale
A nostalgic snow cream recipe that whips fresh-fallen snow into silky vanilla snow ice cream in five minutes flat — only four pantry staples needed.
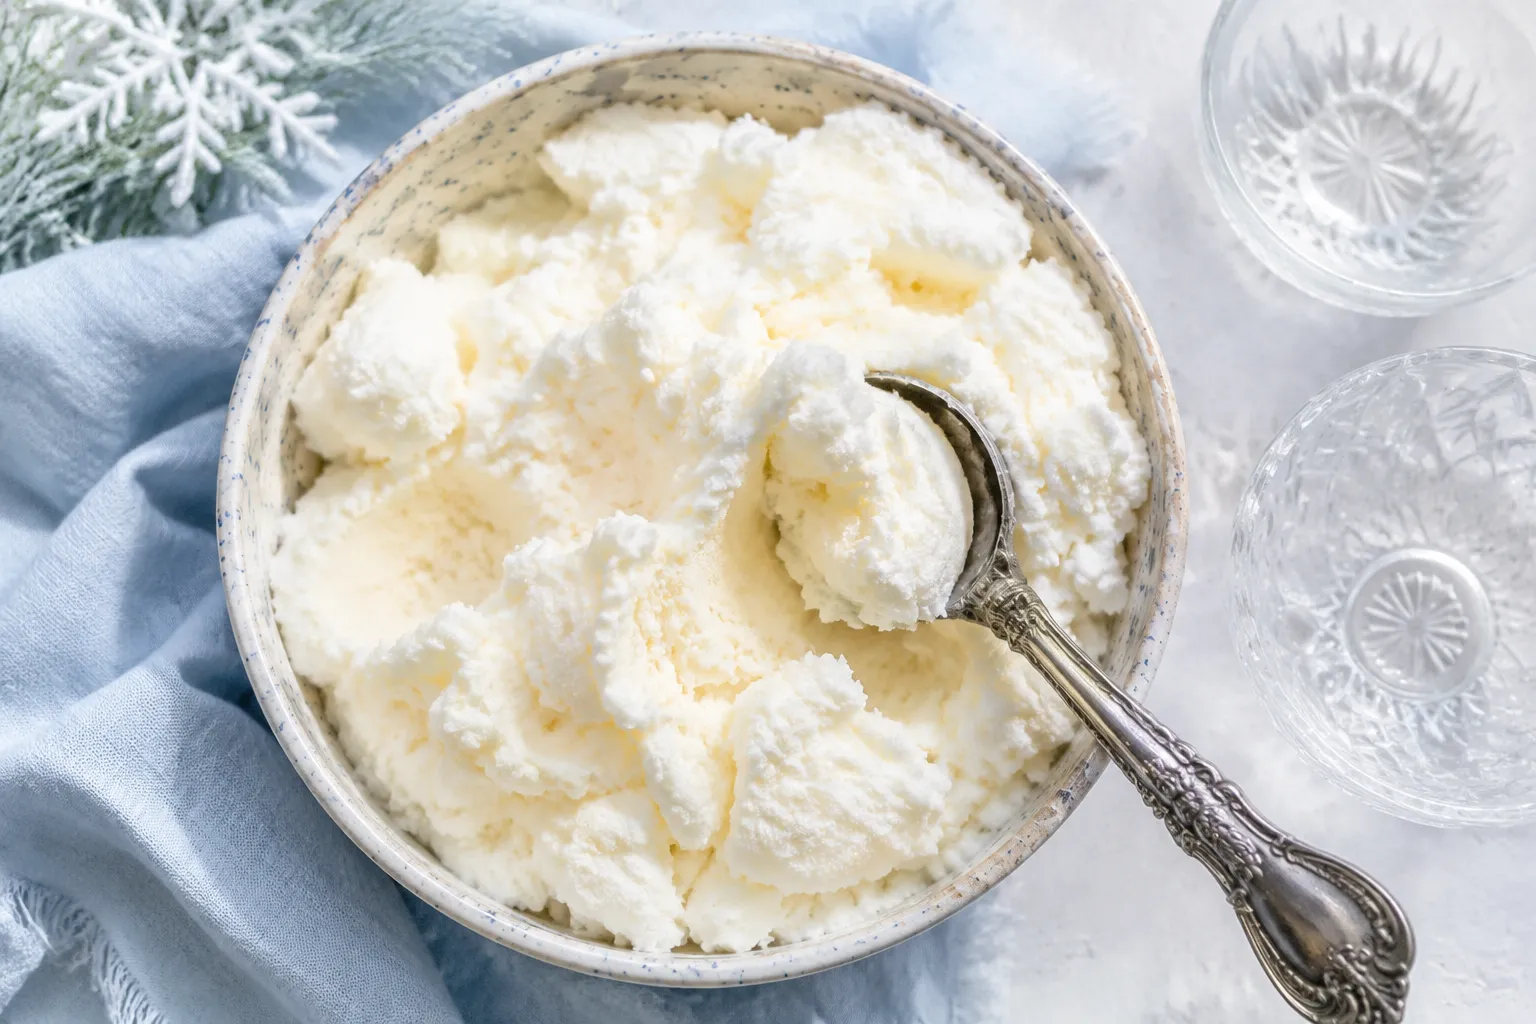
This snow cream recipe is the kind of five-minute winter magic that makes everyone run to the window, grab a bowl, and feel like a kid again. Fresh snow gets folded into a sweet, vanilla-scented condensed milk base until it turns pillowy, creamy, and just scoopable enough to feel like a cross between soft serve and old-fashioned snow cream. It is simple, nostalgic, and wildly fun — exactly the dessert to make when the world outside is quiet and white.
If you grew up eating snow ice cream after a big storm, this version will taste familiar but a little silkier. Instead of the classic milk-and-sugar method, this one leans on sweetened condensed milk for a smooth texture that is less icy and less grainy. Think of it as the snowy-day cousin of homemade vanilla ice cream, only without the machine, the eggs, or the waiting.
At Forty Flavors, we love easy winter desserts that feel celebratory without asking much of you, and this one is especially wonderful for families. It is one of those kid-friendly recipes where the collecting is half the fun, the mixing takes almost no time, and the first bite tastes like vanilla clouds. Just remember: because snow melts quickly once it meets the creamy base, this is a make-it-and-eat-it-right-away treat.
The charm of snow cream is that it is part recipe, part winter ritual. You are not just stirring together ingredients; you are scooping up a fresh snowfall, bringing it inside, and turning it into dessert while cheeks are still rosy from the cold. This snow cream recipe keeps that old-fashioned spirit intact while giving the texture a modern little upgrade.
Sweetened condensed milk is the secret. Since it is already thick, sweet, and creamy, it blends beautifully with cold, fluffy snow and creates a more cohesive scoop than plain milk and granulated sugar. The vanilla extract gives the bowl that classic ice cream shop aroma, while a pinch of salt keeps the sweetness from tasting flat. The result is light and frosty, but still creamy enough to feel like a real treat.
It also fits right into the no churn ice cream family, though it is even faster than most freezer-style versions. There is no custard to cook, no canister to chill overnight, and no long freeze time to plan around. If the snow is fresh and clean, you can go from flakes to dessert in about five minutes.
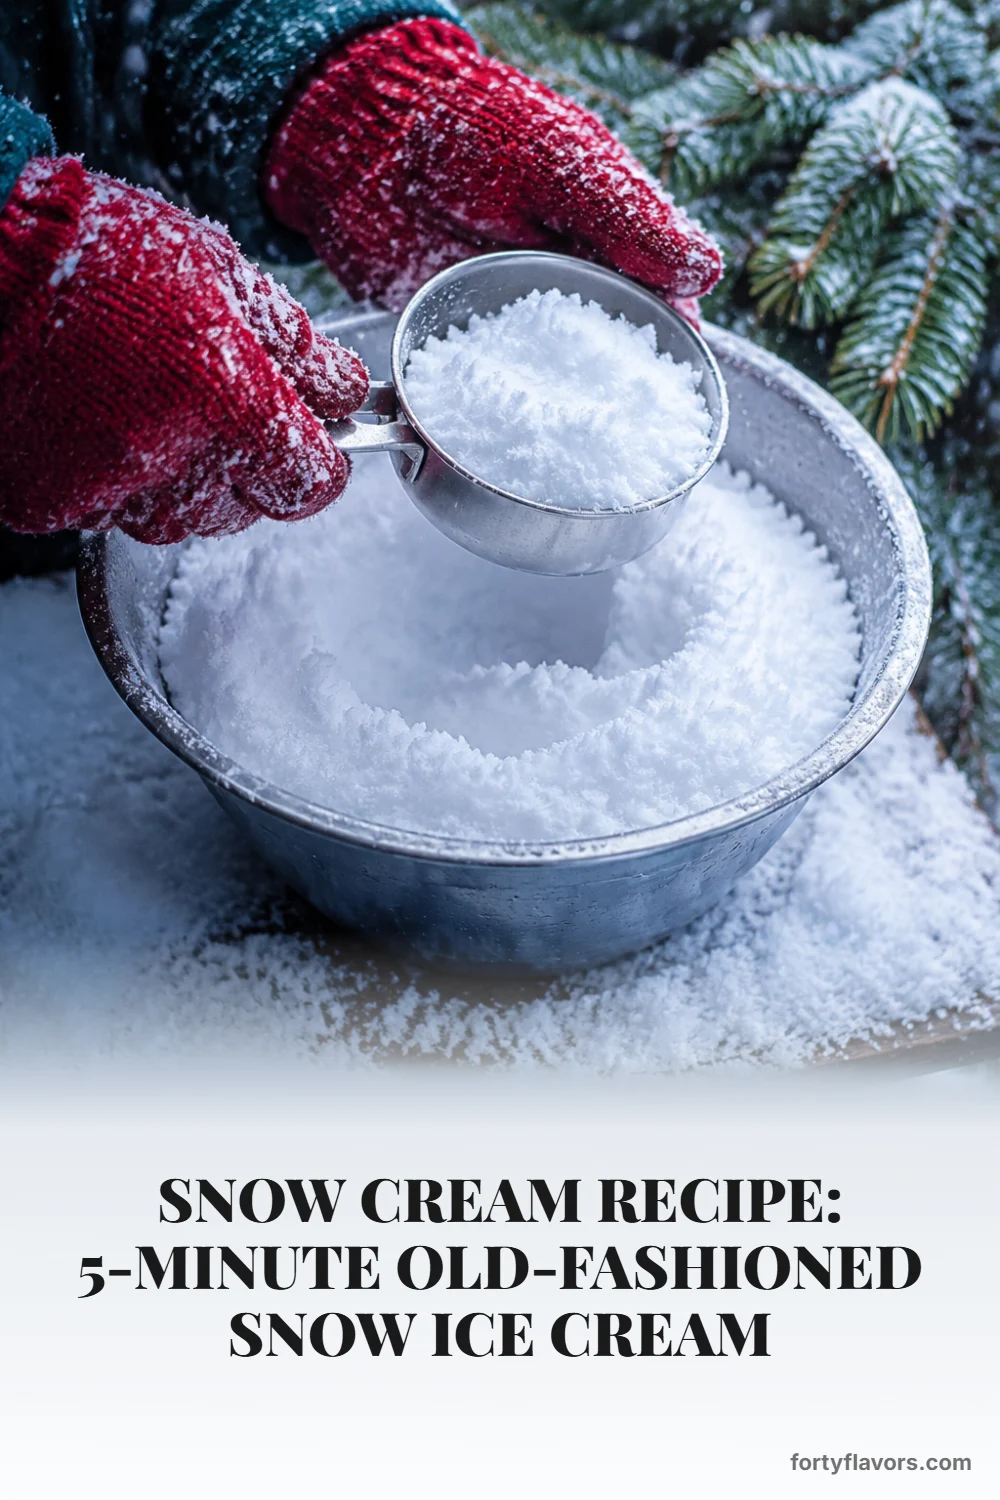
Before we get to the bowl, let us talk about the most important part: choosing good snow. The best snow ice cream starts with fresh snow that has fallen recently in an open, clean area. Look for undisturbed snow away from roads, sidewalks, driveways, roofs, bird feeders, pet areas, trees, and places where plows or shovels may have kicked up grit.
Many families like to set a large clean bowl outside once the snow starts falling, which is the easiest way to collect a pristine batch. If you scoop from the ground, skim from the top layer only and avoid anything compacted, discolored, or icy with debris. Fresh, fluffy snow gives you the dreamiest texture, while wet or heavy snow can make the finished dessert a little slushy.
As a general rule, skip the first snowfall of the season, especially in areas with pollution, wildfire smoke, or lots of road traffic. You should also skip this dessert if the snow has been sitting out for hours, has a crusty top, or came down as sleet or freezing rain. Snow cream is whimsical and fun, but clean collection is what makes it a recipe you can feel good about serving.
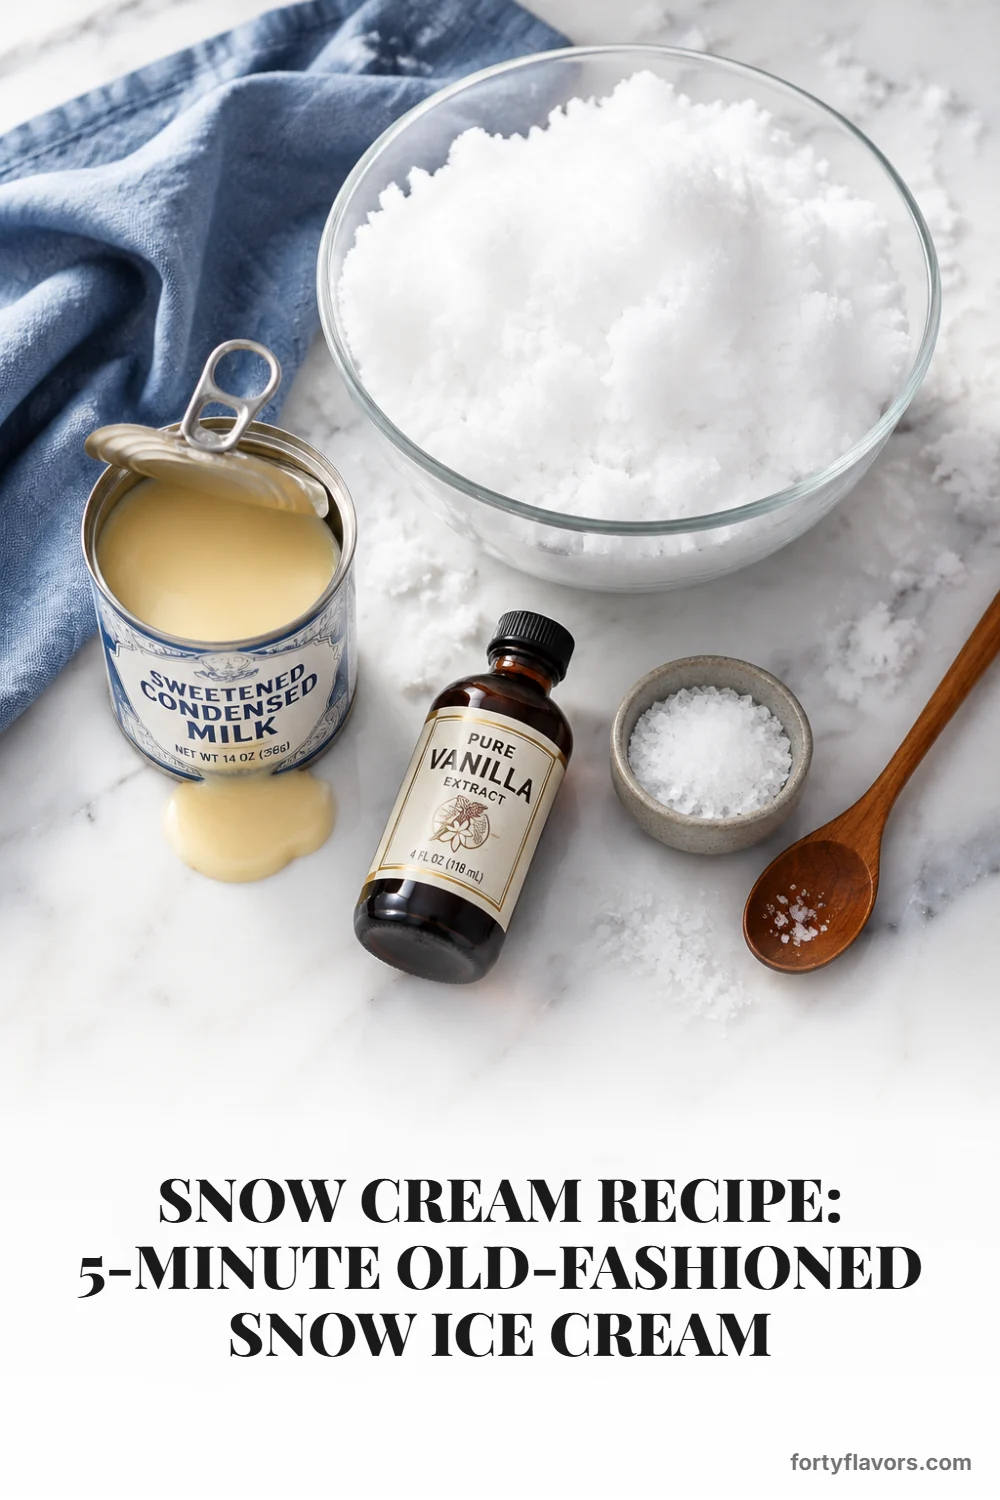
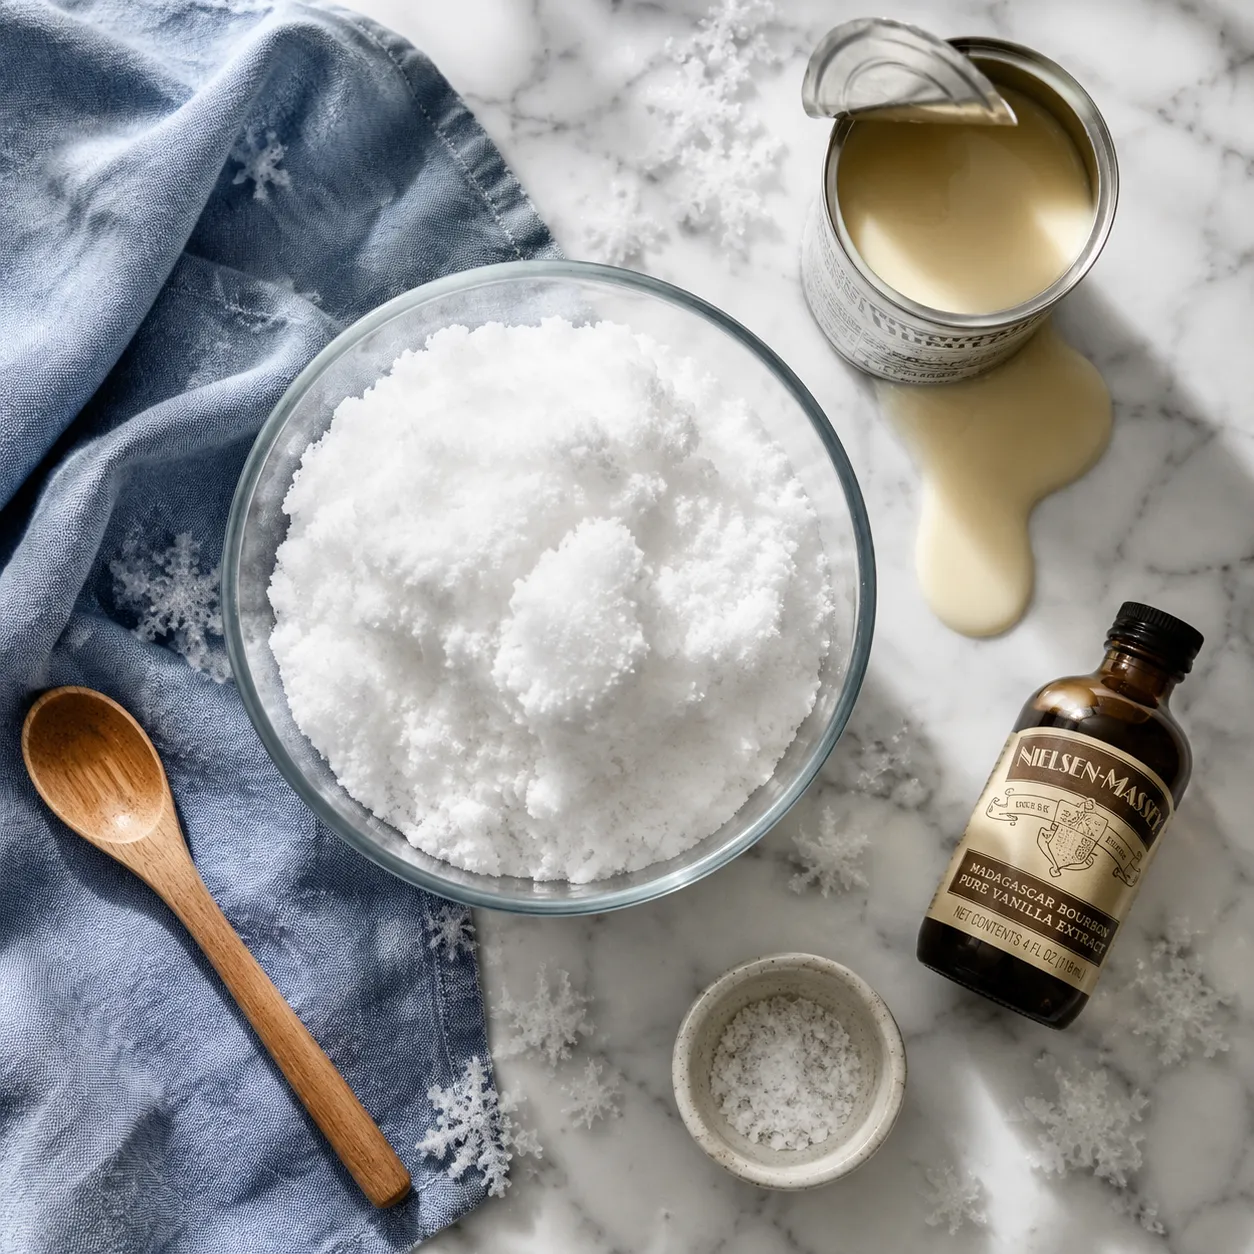
You only need four ingredients for this snow cream recipe: fresh snow, sweetened condensed milk, vanilla extract, and a pinch of fine sea salt. That is it — no eggs, no churner, no stovetop, and no specialty equipment beyond a big bowl and a spoon. Because the ingredient list is so short, each one matters.
The snow is your volume and your texture. Powdery snow makes a lighter, fluffier snow cream, while wetter snow makes a denser, almost milkshake-like bowl. If your snow is very airy, you may need the full eight cups or even a handful more; if it is damp and heavy, add it gradually so the mixture does not become overly icy.
Sweetened condensed milk brings both sweetness and body, which is why this version is especially easy. It is a pantry staple in so many sweetened condensed milk desserts, and here it plays the role of cream and sugar in one pour. Pure vanilla extract adds warmth and that unmistakable old-school ice cream flavor. The salt is small but mighty, balancing the sweetness and making the vanilla taste fuller.
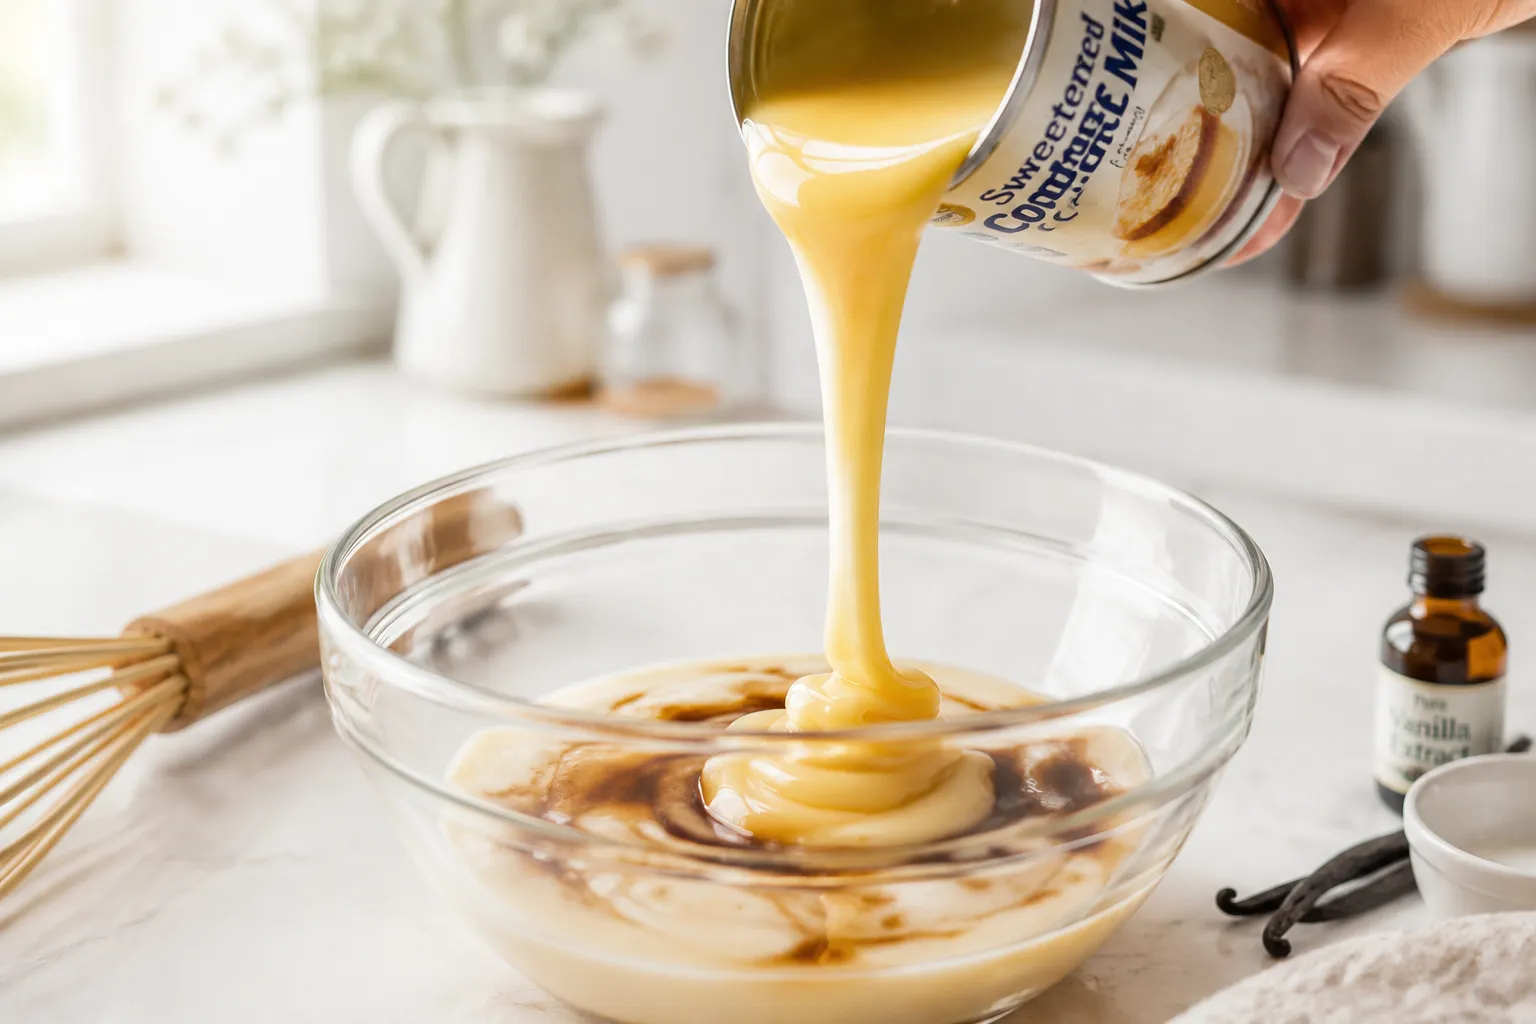
If you do not have condensed milk, you can still make a classic milk-and-sugar version, but the texture will be lighter and a bit more crystalline. Whisk very cold milk or cream with sugar and vanilla until the sugar is mostly dissolved, then fold in the snow until thick. For dairy-free snow ice cream, use sweetened condensed coconut milk or a very cold oat creamer with sugar to taste.
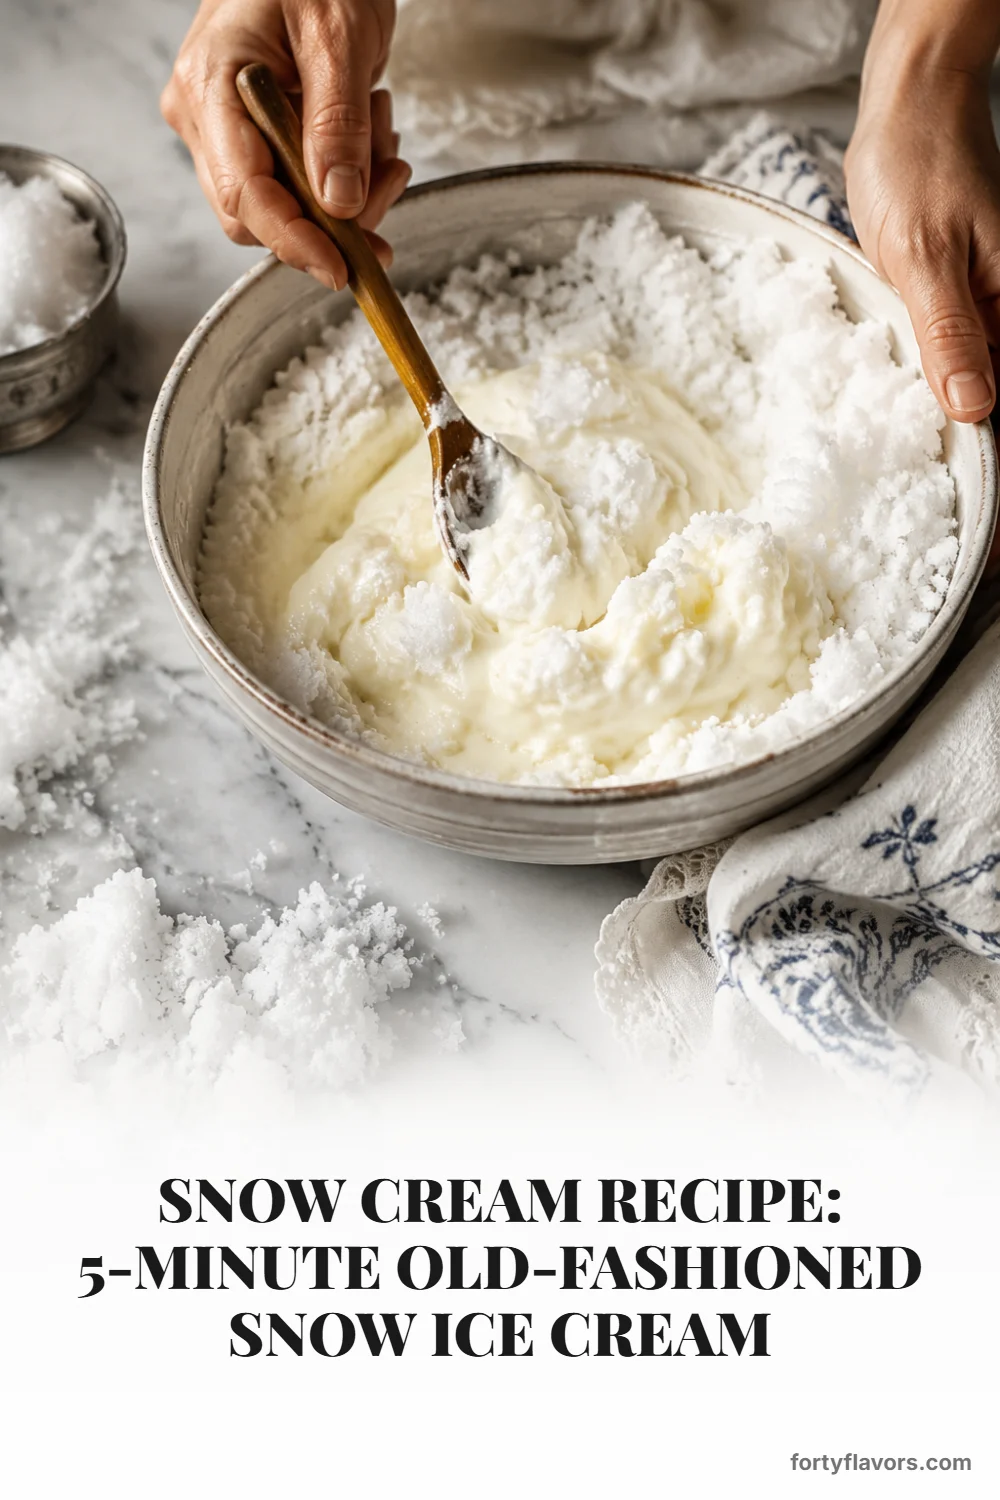
Collecting snow for dessert is simple, but a little intention helps. Start with a clean bowl that has been chilled if possible; a cold bowl keeps the snow from melting the moment it comes indoors. A metal mixing bowl works especially well because it stays cold and gives you plenty of room to fold.
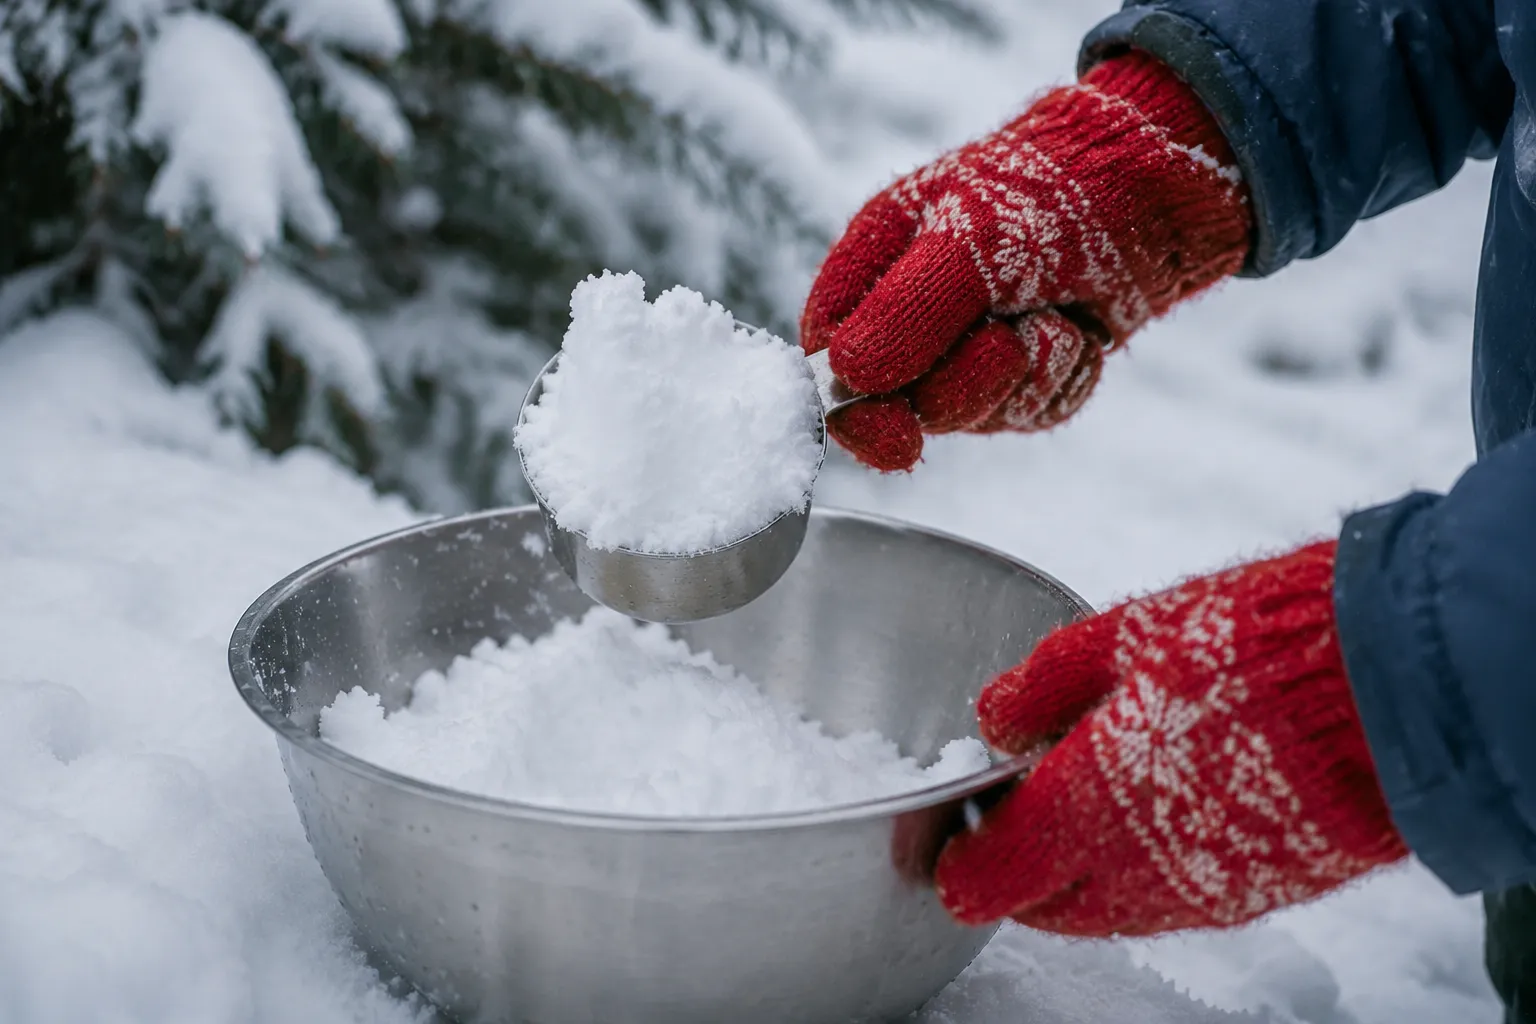
If you are scooping outside, use a clean measuring cup or scoop and gather only the top layer of fresh snow. Avoid dragging the cup along the ground, and do not pack the snow tightly into the bowl. You want volume and air, not a hard block of ice crystals.
Bring the snow inside right before you are ready to mix. This is not a recipe where the snow should sit on the counter while you search for vanilla or open the can. Have your base ingredients ready first, then make the quick trip outside and come straight back to the kitchen.
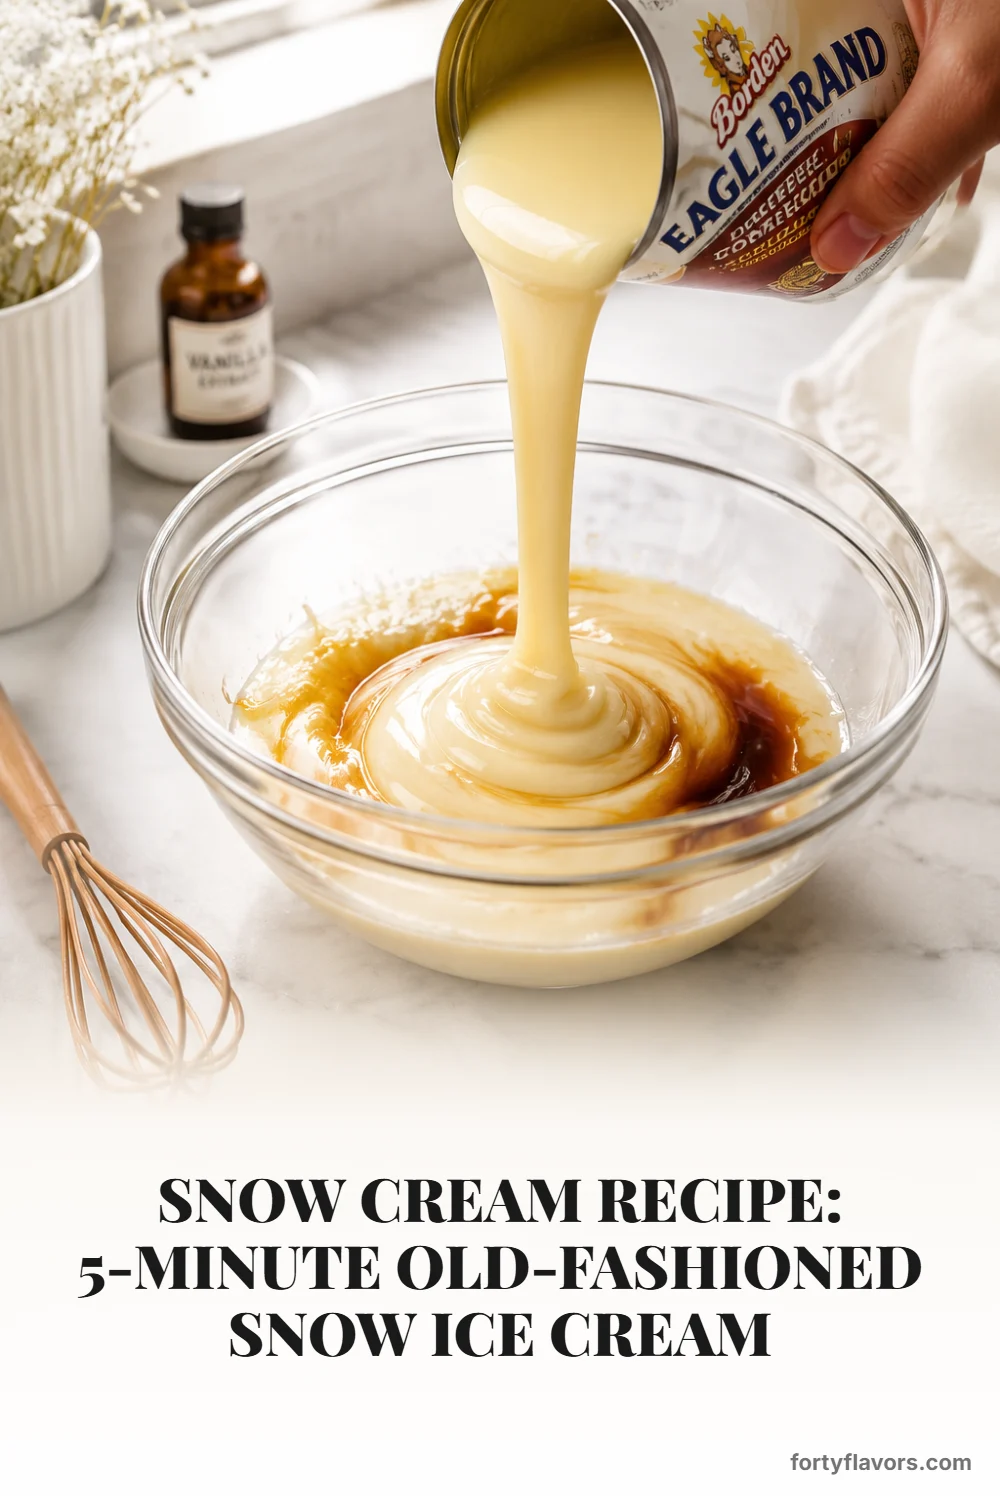
The method is beautifully low effort. In a large bowl, whisk together the sweetened condensed milk, vanilla extract, and a tiny pinch of salt until glossy and smooth. This creates a concentrated cream base that will loosen as the snow is folded in.
Next, add the snow gradually rather than dumping it all in at once. Start with several big handfuls or scoops, fold gently, and watch the texture change from syrupy to thick and fluffy. Adding the snow in stages gives you control, which is helpful because every snowfall has a slightly different moisture level.
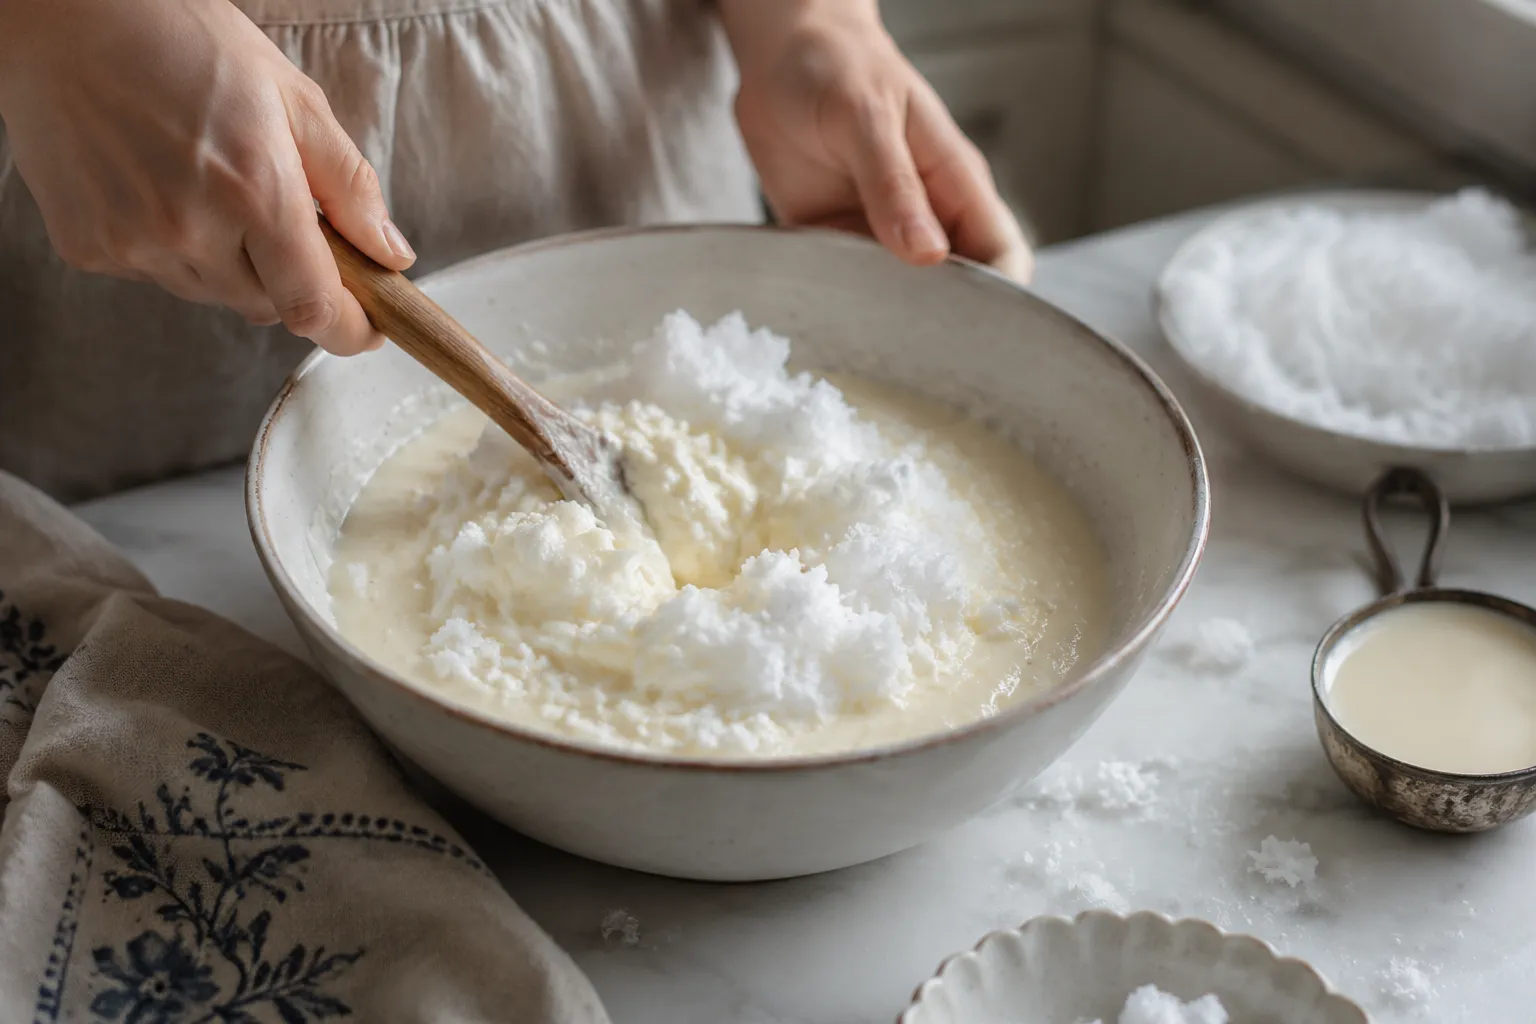
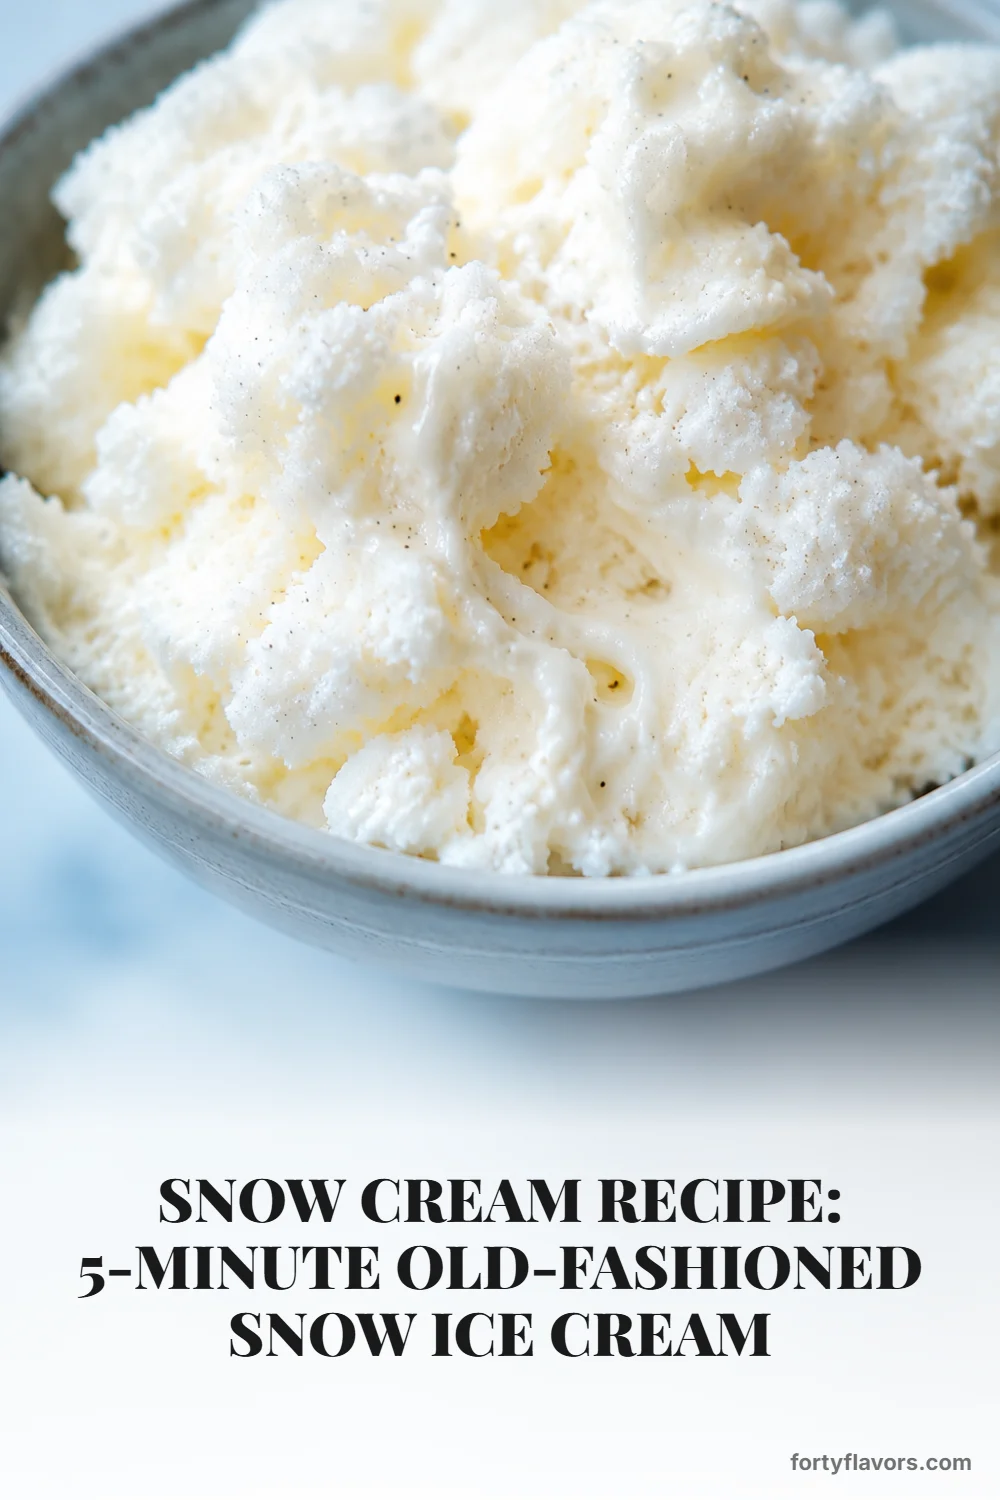
Once the mixture looks like soft serve, stop folding and serve immediately. If you keep stirring, the warmth of the room and the movement of the spoon can start to melt the snow ice cream. You are aiming for a cold, creamy, spoonable texture with tiny icy crystals that sparkle through the vanilla base.
This is also the moment to taste and adjust. If it is too sweet, fold in another scoop of snow. If it tastes too plain, add a tiny splash more vanilla extract. If it is too loose, more snow will firm it right up.
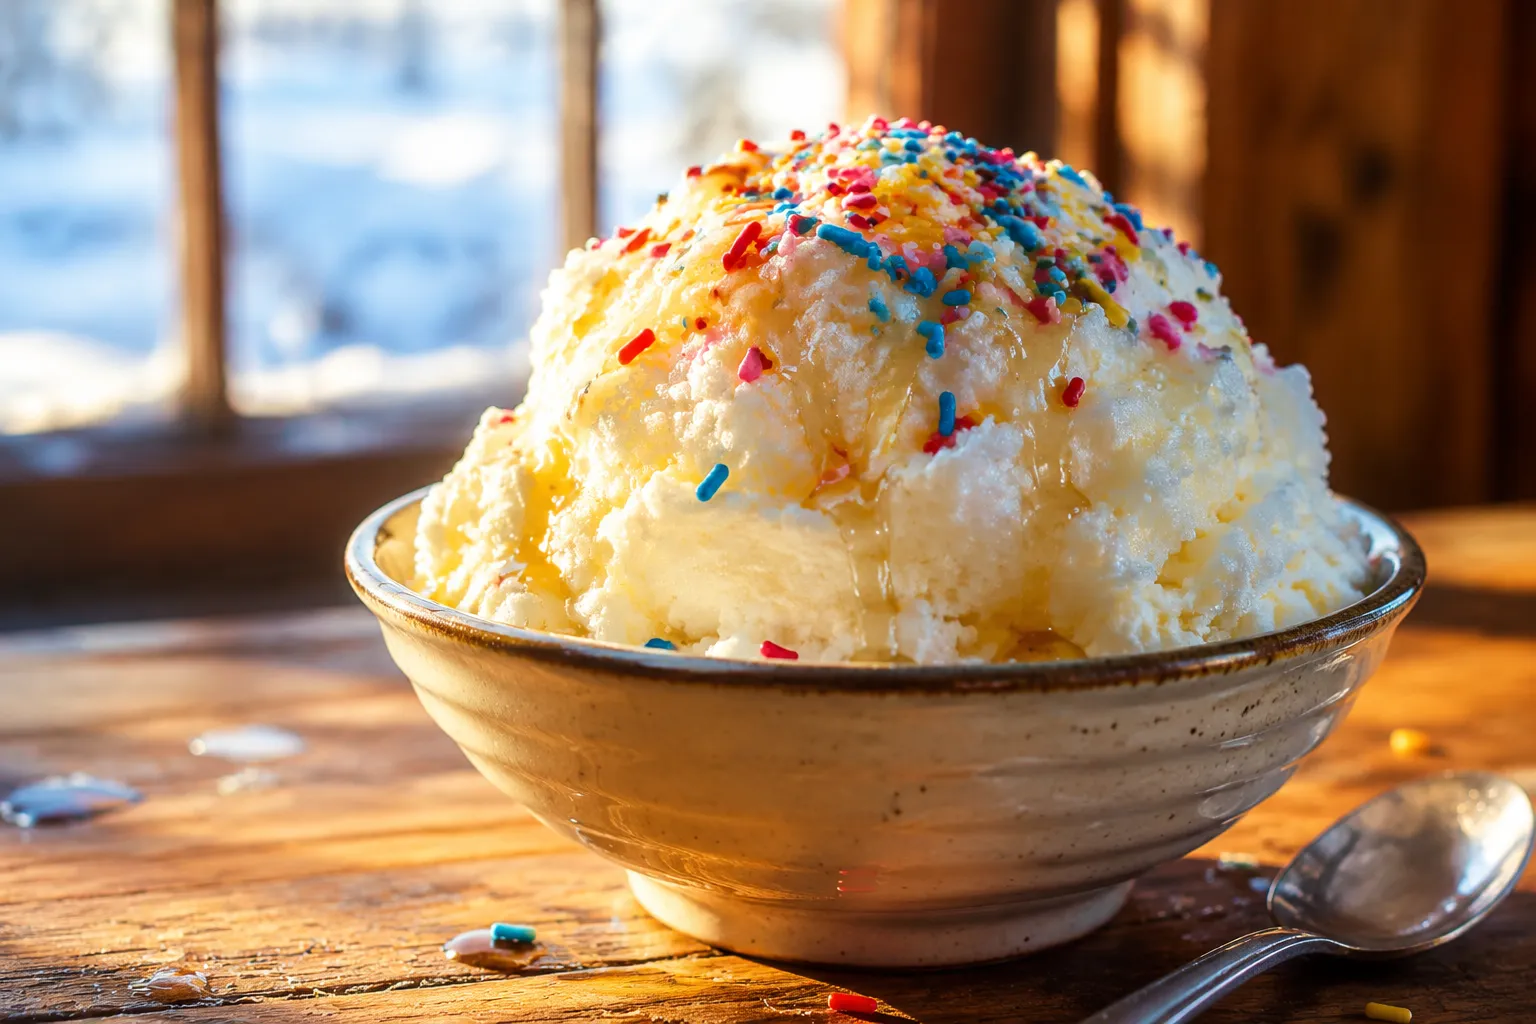
For parties or snow days with a crowd, set out little bowls of toppings and let everyone decorate their own serving. Sprinkles, mini chocolate chips, crushed cookies, caramel sauce, and berries all work well, though the classic vanilla version is lovely on its own. Because it melts quickly, scoop smaller portions and go back for seconds rather than overfilling bowls.
The texture of this snow cream recipe depends mostly on temperature and timing. Cold ingredients help the mixture stay fluffy longer, so chill the condensed milk if you have time and use a bowl that has been in the freezer for a few minutes. Even ten minutes of chilling makes a noticeable difference.
Snow type matters, too. Dry, powdery flakes create the lightest snow cream, while wet snow makes a richer but denser dessert. Neither is wrong, but you will want to adjust as you fold: powdery snow may need a little extra condensed milk, and wet snow may need to be added more slowly.
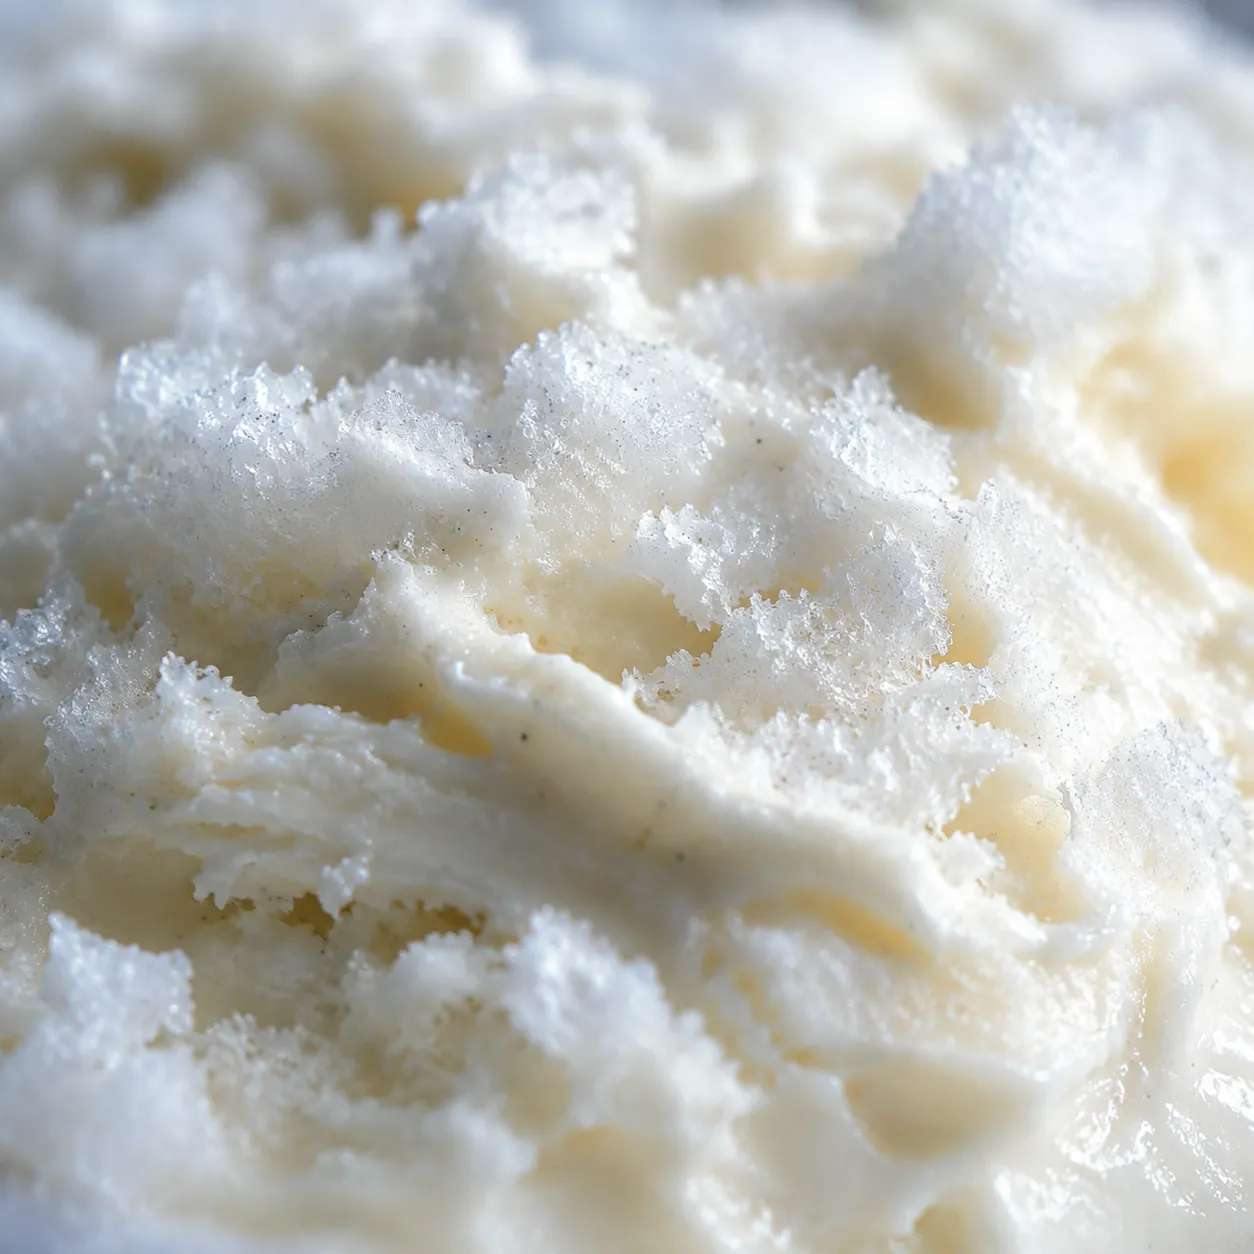
Do not chase the exact texture of store-bought ice cream. Snow cream is its own beautiful thing: creamy, airy, slightly crystalline, and fleeting. The best bowls have soft peaks, visible vanilla flecks, and a spoon that glides through without the mixture turning soupy.
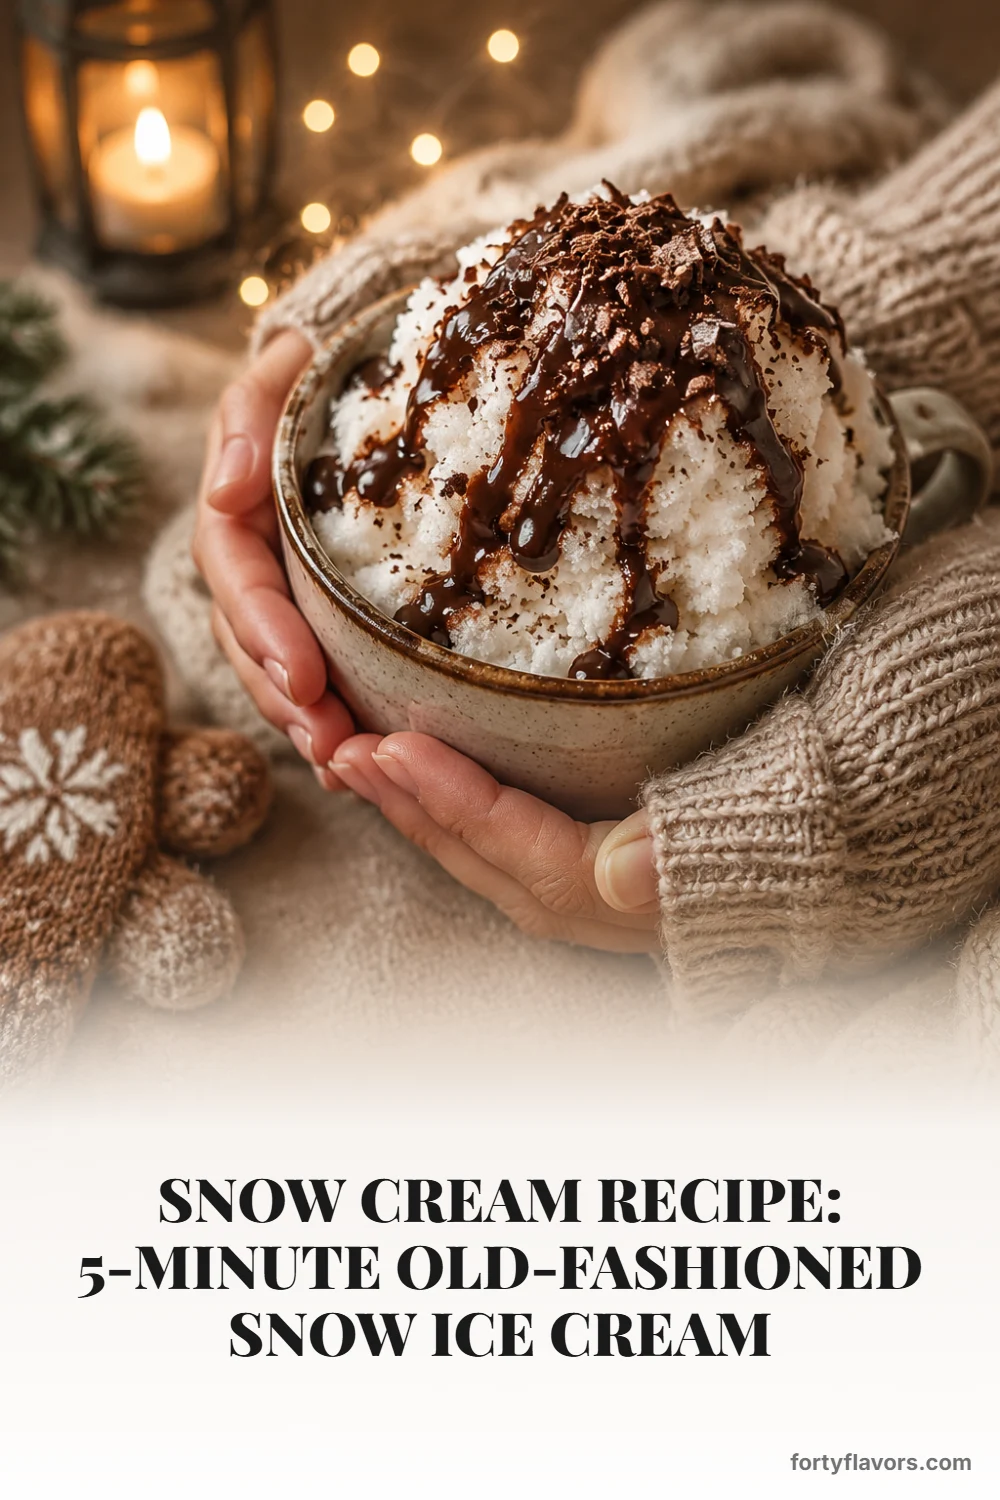
Vanilla snow cream is wonderful plain, especially when the snow is fresh and the vanilla is fragrant. Serve it in chilled mugs, little dessert bowls, or even teacups for a cozy snow-day moment. A drizzle of chocolate syrup makes it instantly festive and very kid-approved.

If you are making this after sledding or shoveling, pair it with hot cocoa for the sweetest temperature contrast. The cold, creamy spoonfuls and warm cocoa sips feel like the edible version of coming inside to dry mittens and a blanket. For adults, a tiny pour of espresso over a scoop turns it into a wintery affogato-style dessert.
This dessert also makes a fun ending to a soup-and-bread dinner or a casual snow-day brunch. Because it is so fast, it is one of those easy winter desserts you can decide to make at the last minute. Just keep the portions small, serve quickly, and enjoy the novelty while it is at its creamy peak.
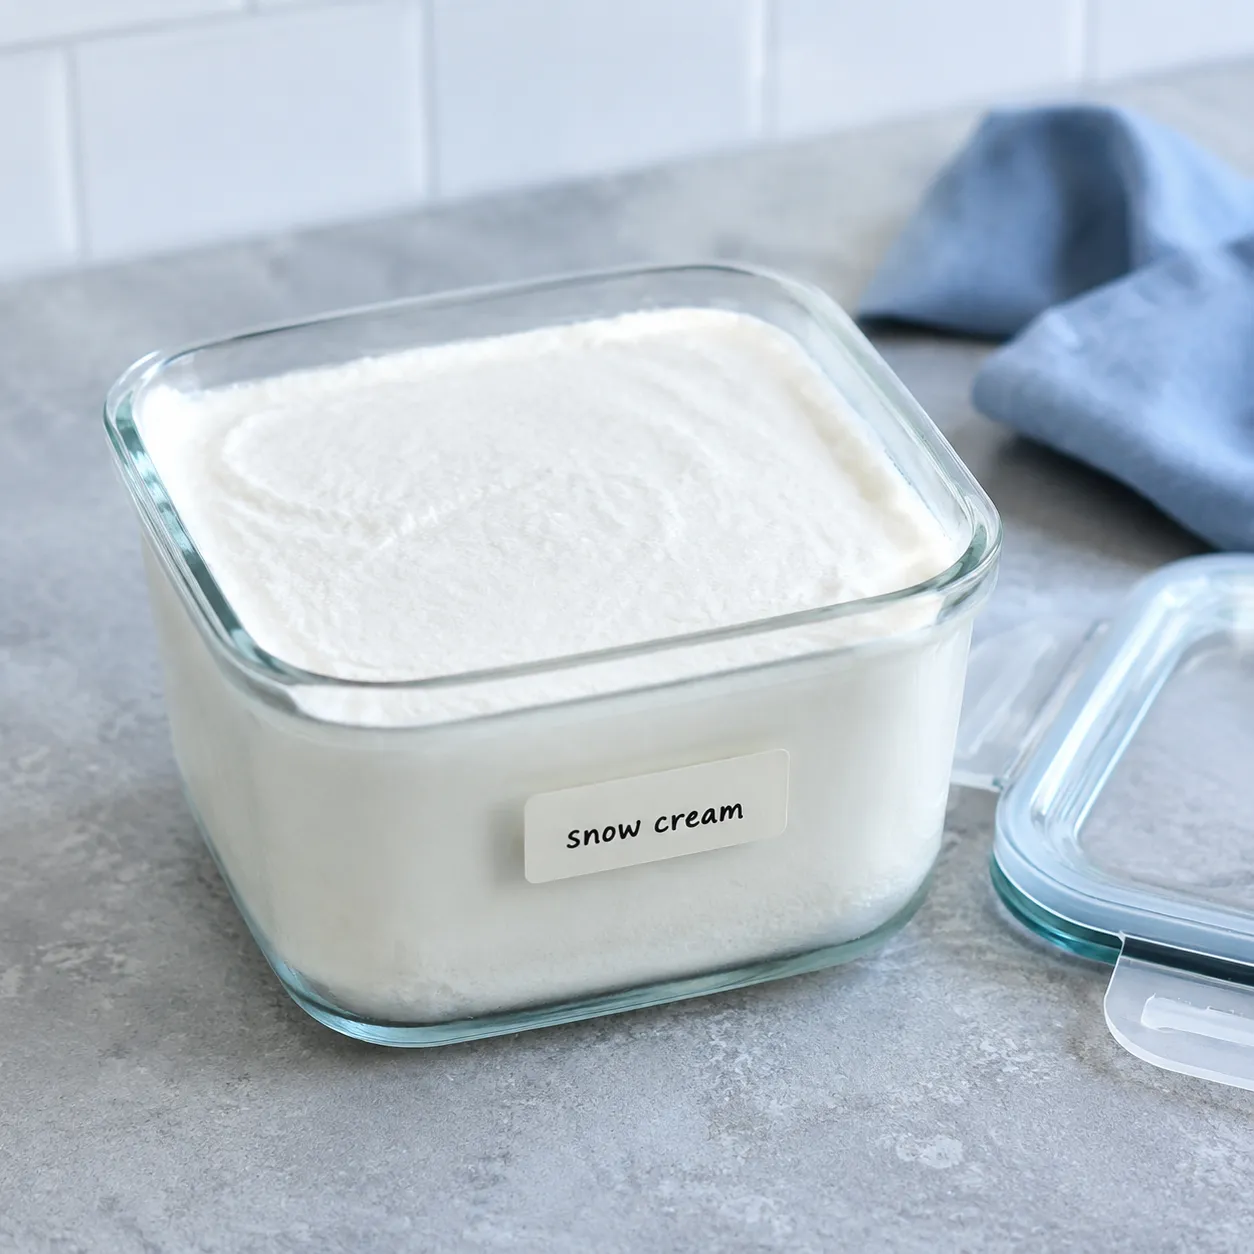
Snow cream is at its best the minute it is made. That is part of its charm, and honestly, part of the reason everyone gathers around the bowl so quickly. Still, if you end up with extra, you can pack it into a freezer-safe container and smooth the top before freezing.
Leftovers will firm up more than freshly made snow cream because the delicate snow crystals refreeze. Let the container sit at room temperature for a few minutes before scooping, or stir it with a spoon to soften the texture. It will not be quite as airy as day one, but the vanilla flavor is still delicious.
There is something wonderfully old-fashioned about turning a quiet snowfall into dessert. This snow cream recipe asks for almost nothing — a bowl, a can from the pantry, a splash of vanilla, and a few cups of clean snow — yet it creates a memory that feels much bigger than the ingredient list. It is the kind of recipe kids remember because they helped gather the most important ingredient.
Whether you call it snow cream or snow ice cream, the heart of the dessert is the same: fresh flakes folded into a sweet dairy base and eaten before they melt. Keep the ingredients on hand all winter, and the next time the forecast turns snowy, you will be ready. Sometimes the best recipes are the ones that only appear when the weather says so.
Once you have the basic vanilla version down, snow cream is easy to customize. Keep add-ins light so the delicate texture does not collapse, and stir sauces in gently right before serving.
Snow cream is best eaten immediately, but leftovers can be stored in an airtight freezer-safe container for up to 1 week. Press a piece of parchment or plastic wrap directly on the surface before sealing to help prevent icy buildup.
To serve frozen leftovers, let the container sit at room temperature for 5 to 10 minutes, then scoop or stir until softened. The texture will be firmer and icier than freshly made snow cream, but it still makes a sweet little winter treat.
Hover any image and hit “Pin it” to save it to your Pinterest boards.