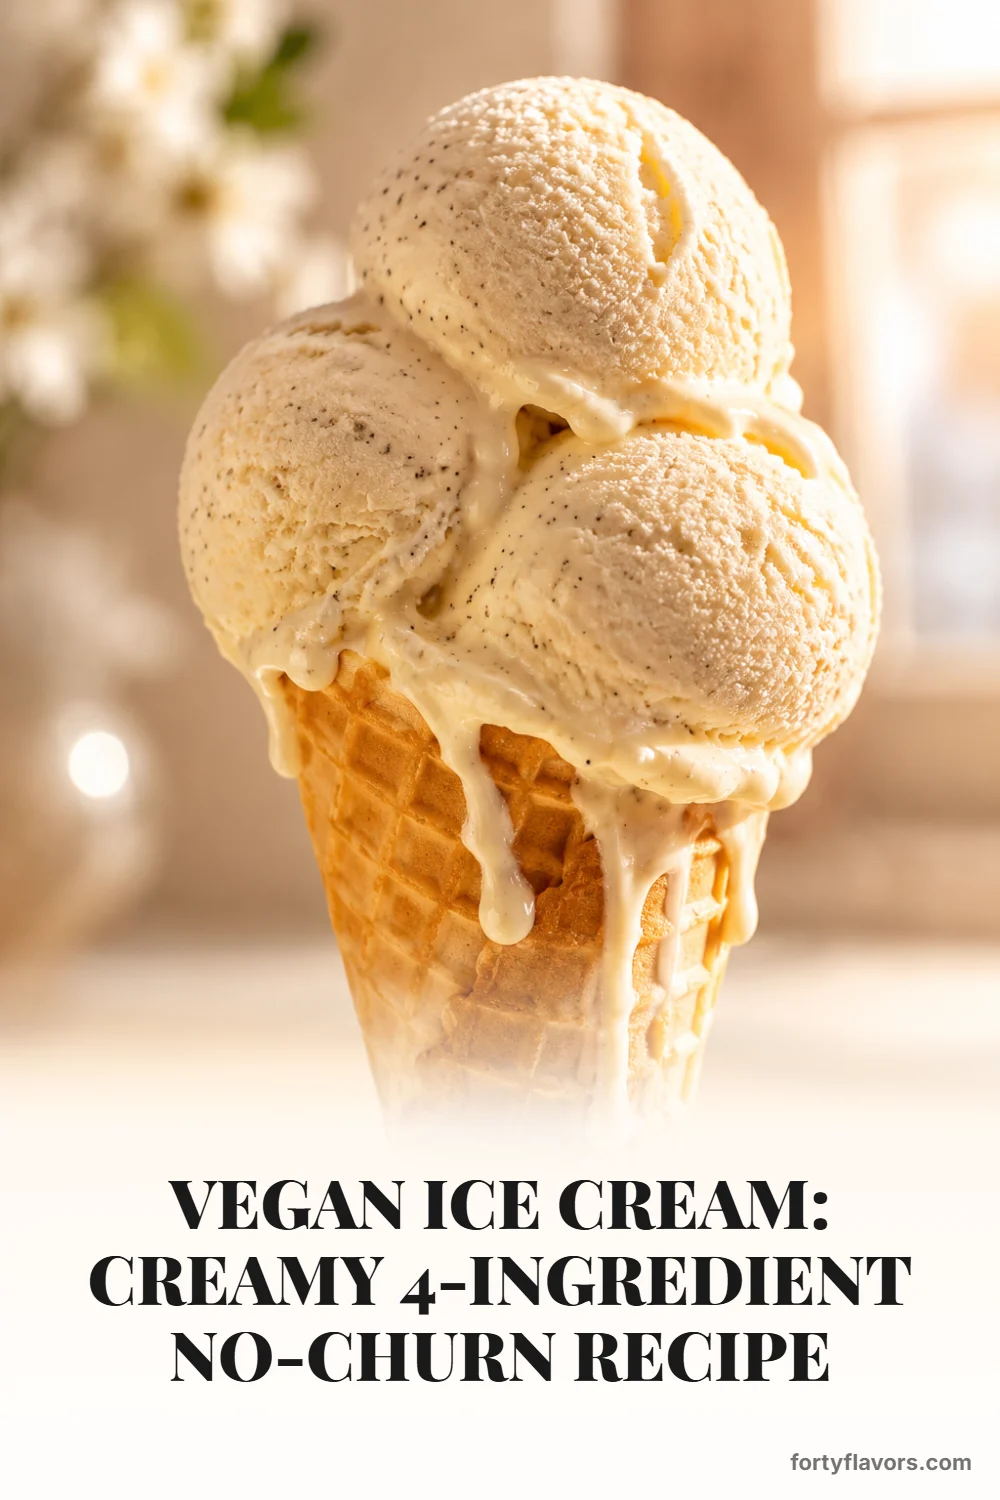
Silky, scoopable, and scandalously creamy vegan ice cream made with just 4 pantry ingredients and zero ice cream maker required.
Why You'll Love This Recipe
Ultra-Creamy Without Dairy: Achieves the exact velvety mouthfeel of premium ice cream using a smart ratio of coconut fats.
No Ice Cream Maker Needed: Completely eliminates the need for bulky, expensive churning equipment.
Just 4 Simple Ingredients: Relies entirely on wholesome pantry staples you likely already have on hand.
Perfectly Scoopable: Stays soft enough to scoop straight from the freezer thanks to the magic of liquid sweeteners.
Endlessly Customizable: Serves as the ultimate blank canvas for all your favorite mix-ins and flavor swirls.
There is nothing quite like the scoopable, melt-in-your-mouth perfection of homemade vegan ice cream on a warm afternoon.
For years, the quest for the ultimate dairy-free treat felt like an exercise in compromise. You either had to invest in a bulky, expensive machine that took up half your kitchen counter, or you were left chipping away at a rock-hard block of icy coconut milk that refused to yield to even the warmest ice cream scoop. But the dessert landscape has shifted, and you no longer need to settle for icy textures or complicated churning processes. When it comes to crafting the ultimate vegan dessert, simplicity is often the secret ingredient that yields the most luxurious results.
This foolproof vegan ice cream recipe changes everything. It relies on a carefully balanced ratio of fat to liquid, utilizing the natural richness of coconut to mimic the mouthfeel of traditional heavy cream. The result is a silky, decadent, and scandalously creamy treat that requires just four pantry staples and a blender. Whether you are hosting a summer barbecue, treating yourself after a long week, or simply craving a midnight sweet, this no-churn wonder delivers scoopable bliss every single time.
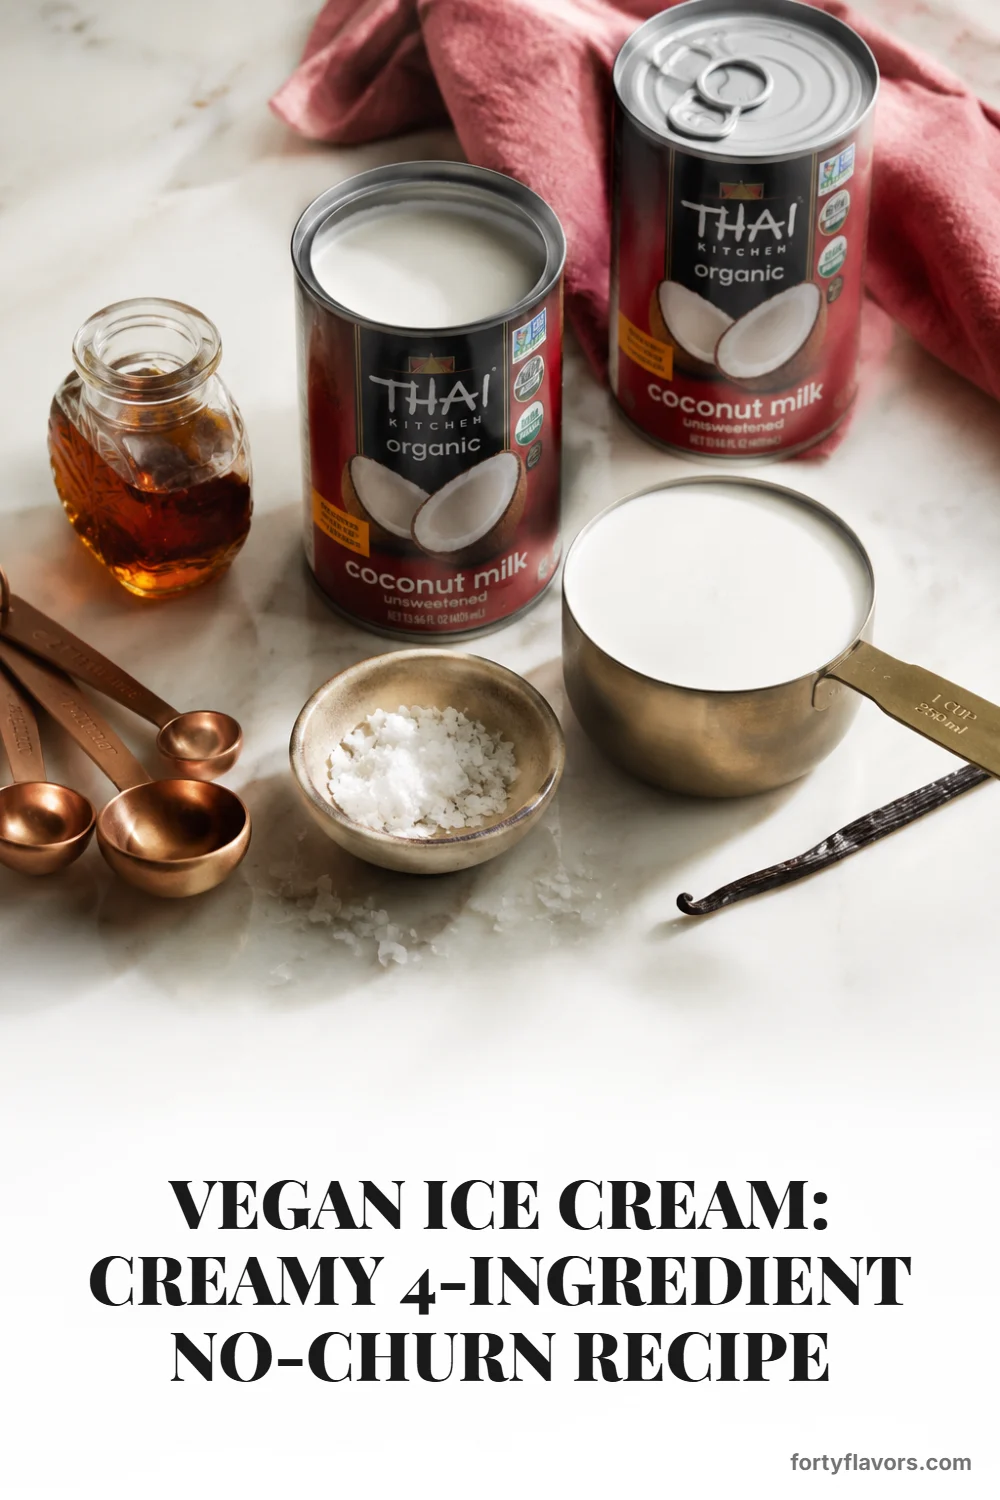
Ingredients for the Best Plant Based Ice Cream
Creating a truly remarkable plant based ice cream is an exercise in minimalism. Because we are skipping the eggs, heavy cream, and traditional custard-making process, every single ingredient we invite into the blender has to pull its weight. The magic of this vegan ice cream lies in the synergy between high-quality fats and liquid sweeteners.
The Coconut Cream Base
The foundation of our no-churn method rests entirely on the shoulders of full-fat coconut milk and concentrated coconut cream. When you chill these cans overnight, the heavy, luxurious fat separates from the watery liquid, giving you a remarkably dense base that whips up beautifully. This fat content is non-negotiable; it is the exact mechanism that prevents your dessert from turning into an impenetrable block of ice. Skim or lite varieties simply will not work here, as they contain too much water and will result in a gritty, icy texture. Embrace the richness of the full-fat versions, as they provide the plush, velvety mouthfeel that rivals any premium store-bought pint.
Natural Sweeteners That Work
While granulated sugar is a staple in traditional baking, our no-churn method thrives on liquid sweeteners. Pure maple syrup is the undisputed champion of this recipe. Not only does it impart a warm, complex caramel note that perfectly complements the subtle coconut flavor, but its liquid state physically interferes with the formation of large ice crystals during the freezing process. This scientific phenomenon, known as freezing point depression, is what keeps your dessert soft enough to scoop straight from the freezer. Agave nectar can also work in a pinch, but maple syrup offers a depth of flavor that elevates the entire experience from simple to spectacular.
Flavor Boosters & Mix-Ins
The remaining two ingredients—pure vanilla extract and a pinch of fine sea salt—might seem like afterthoughts, but they are crucial for a balanced flavor profile. Vanilla extract contains a small amount of alcohol, which acts as another secret weapon against freezing, further ensuring a creamy texture. The sea salt, meanwhile, awakens the sweetness of the maple syrup and cuts through the heavy richness of the coconut fat. Once you have this master base down, it becomes a blank canvas for your culinary imagination.
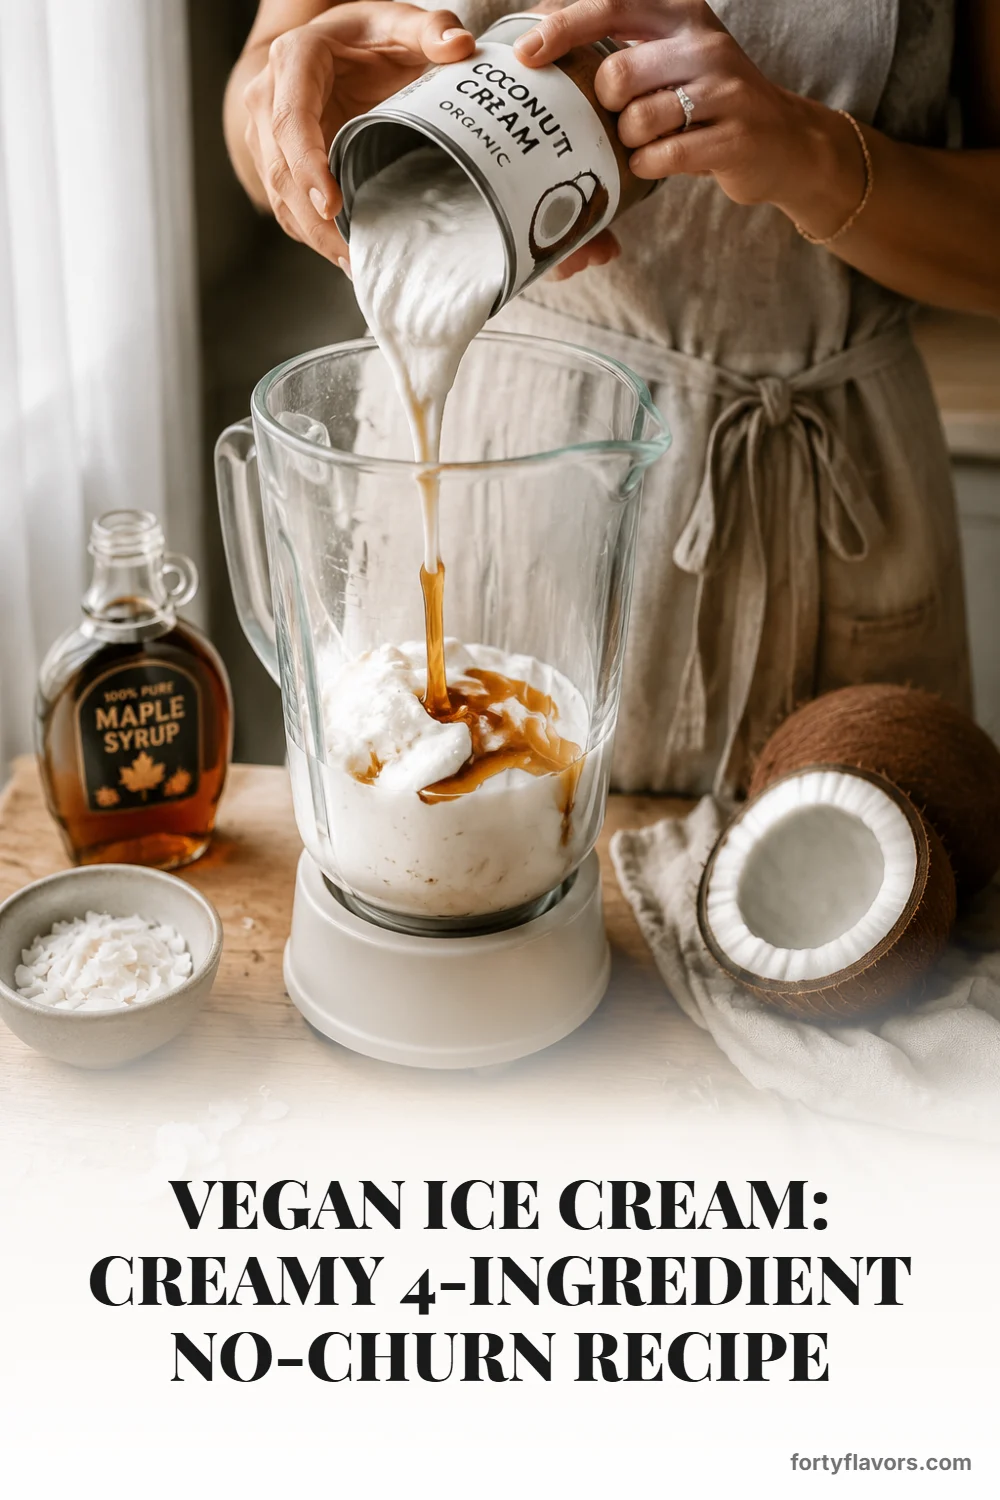
How to Make Vegan Ice Cream (No-Churn Method)
The beauty of this method is its sheer accessibility. You do not need to pre-freeze a cumbersome churning bowl or babysit a machine for an hour. The entire active preparation happens in the time it takes to brew a pot of coffee.
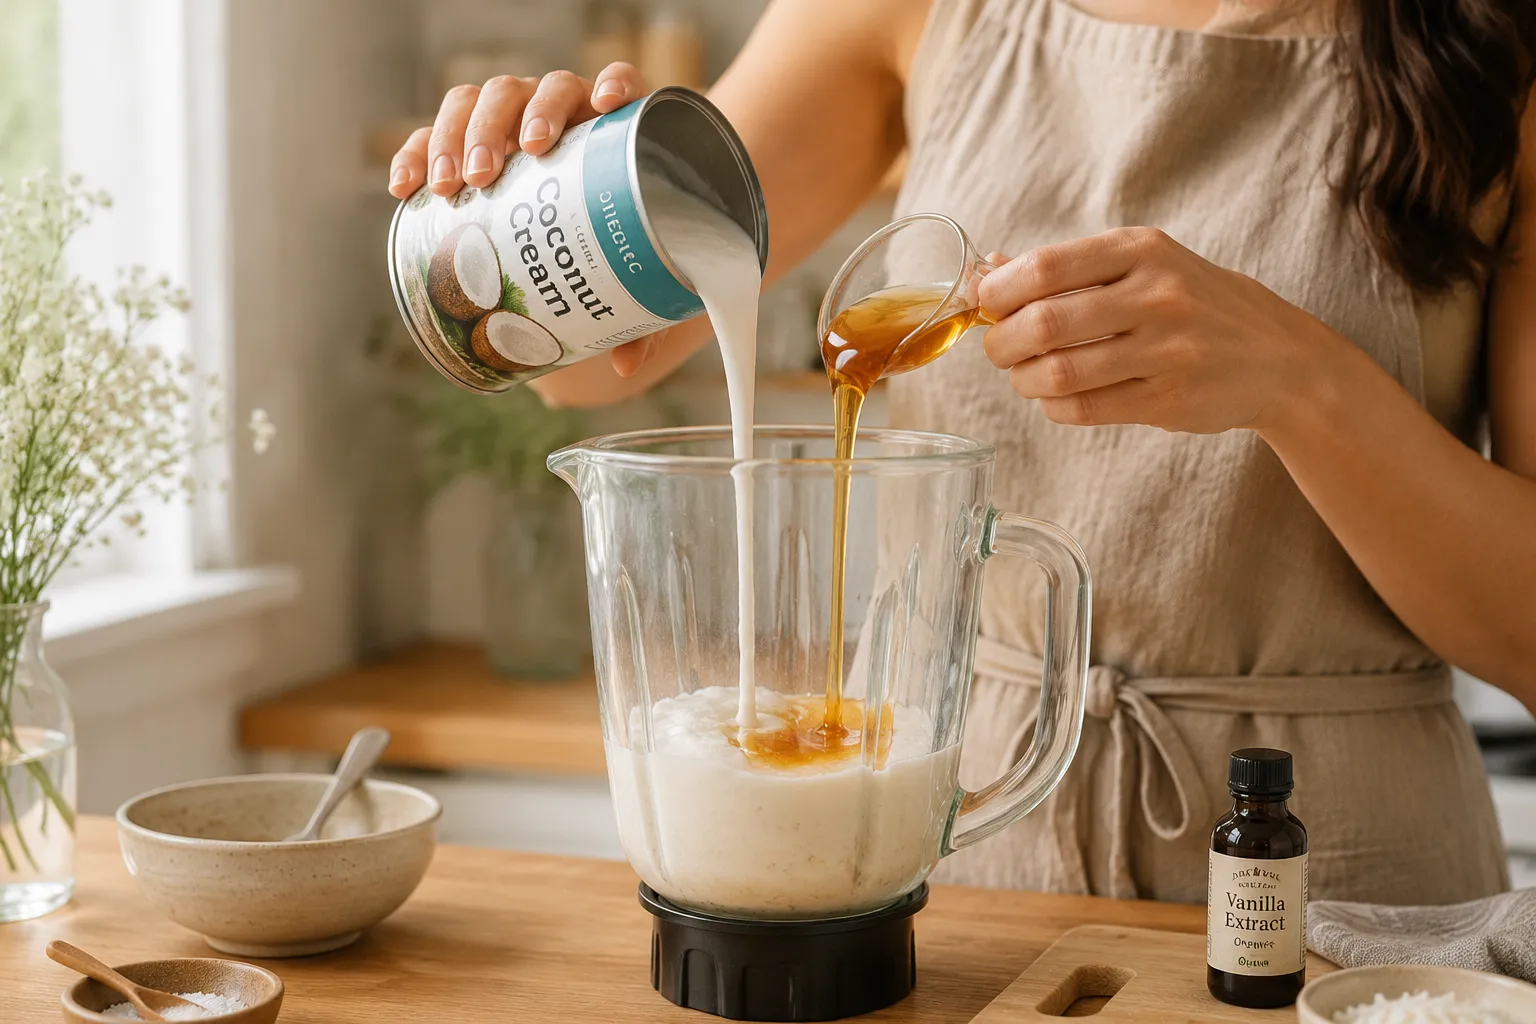
Step 1: Blend the Base
Begin by extracting only the solidified white cream from your chilled cans of coconut milk and coconut cream, leaving the clear liquid behind. Transfer this rich fat into a high-speed blender alongside your maple syrup, vanilla extract, and salt. Blending is a critical step; you are not just mixing the ingredients, you are emulsifying them. The high-speed vortex forces the fat molecules to suspend evenly within the sweetener, creating a remarkably smooth, cohesive batter. Let the blender run for a full minute or two until the mixture looks like a thick, glossy pancake batter.
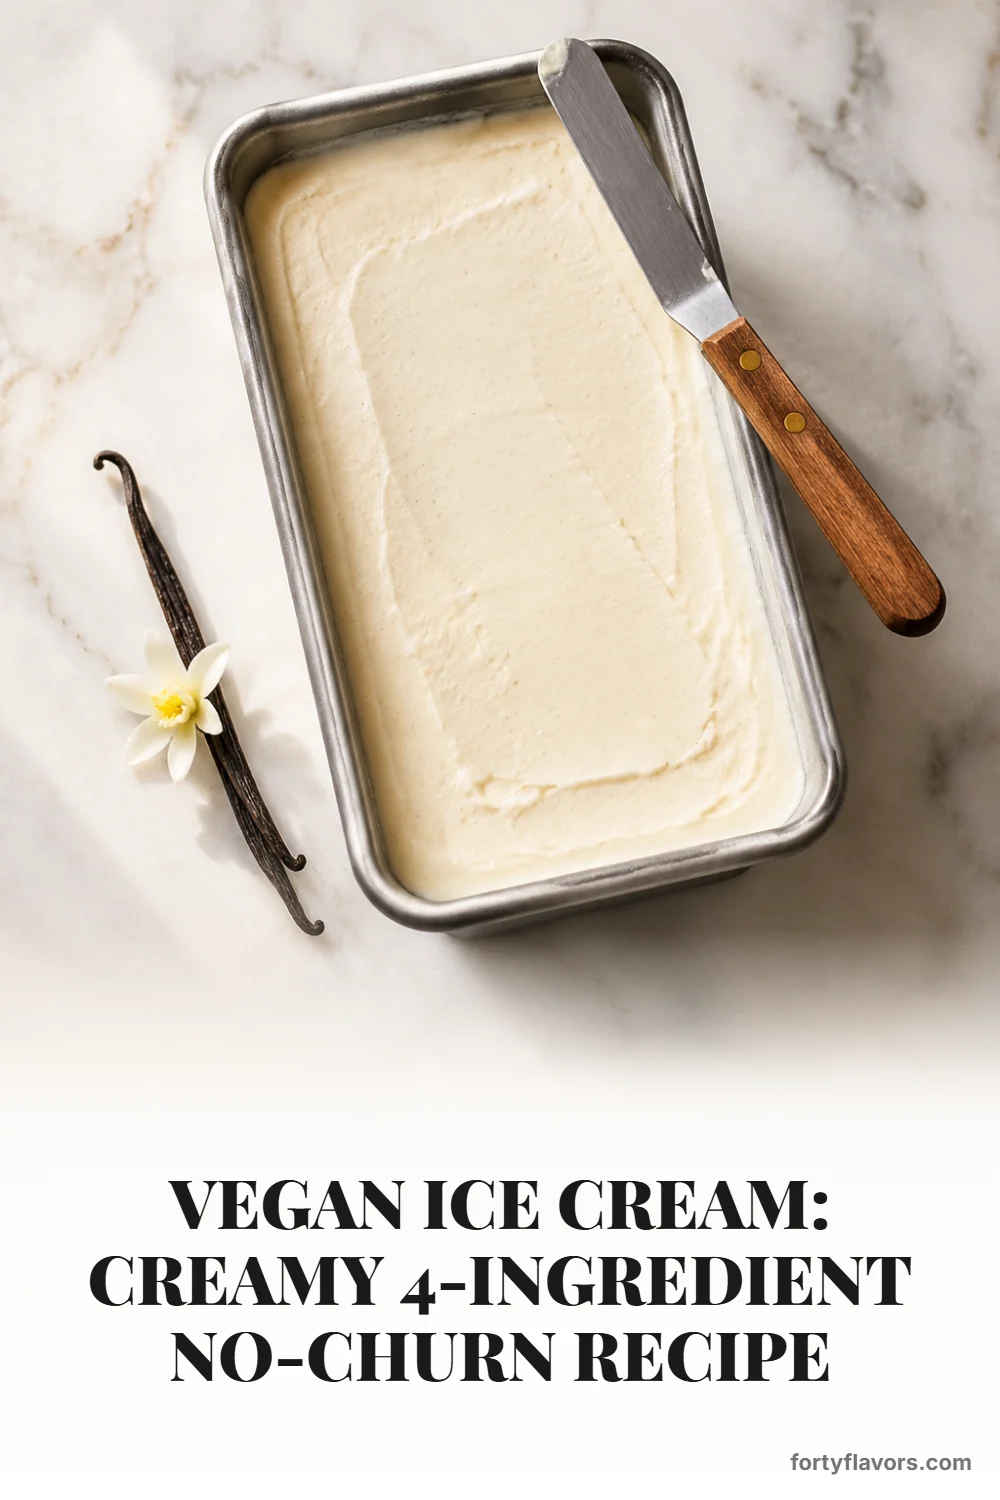
Step 2: Chill and Freeze
When your vegan ice cream is perfectly smooth, pour it into a pre-chilled metal loaf pan. Metal is highly conductive, which means it will help your mixture freeze faster and more evenly than glass or ceramic. Smooth the top with an offset spatula for a picture-perfect finish. Now comes the waiting game, but also the most crucial technique for a no-churn recipe: the intermittent stir. During the first two hours of freezing, remove the pan every thirty minutes and give it a vigorous stir with a whisk or fork. This manual agitation breaks up any ice crystals forming at the edges, mimicking the action of an ice cream maker.
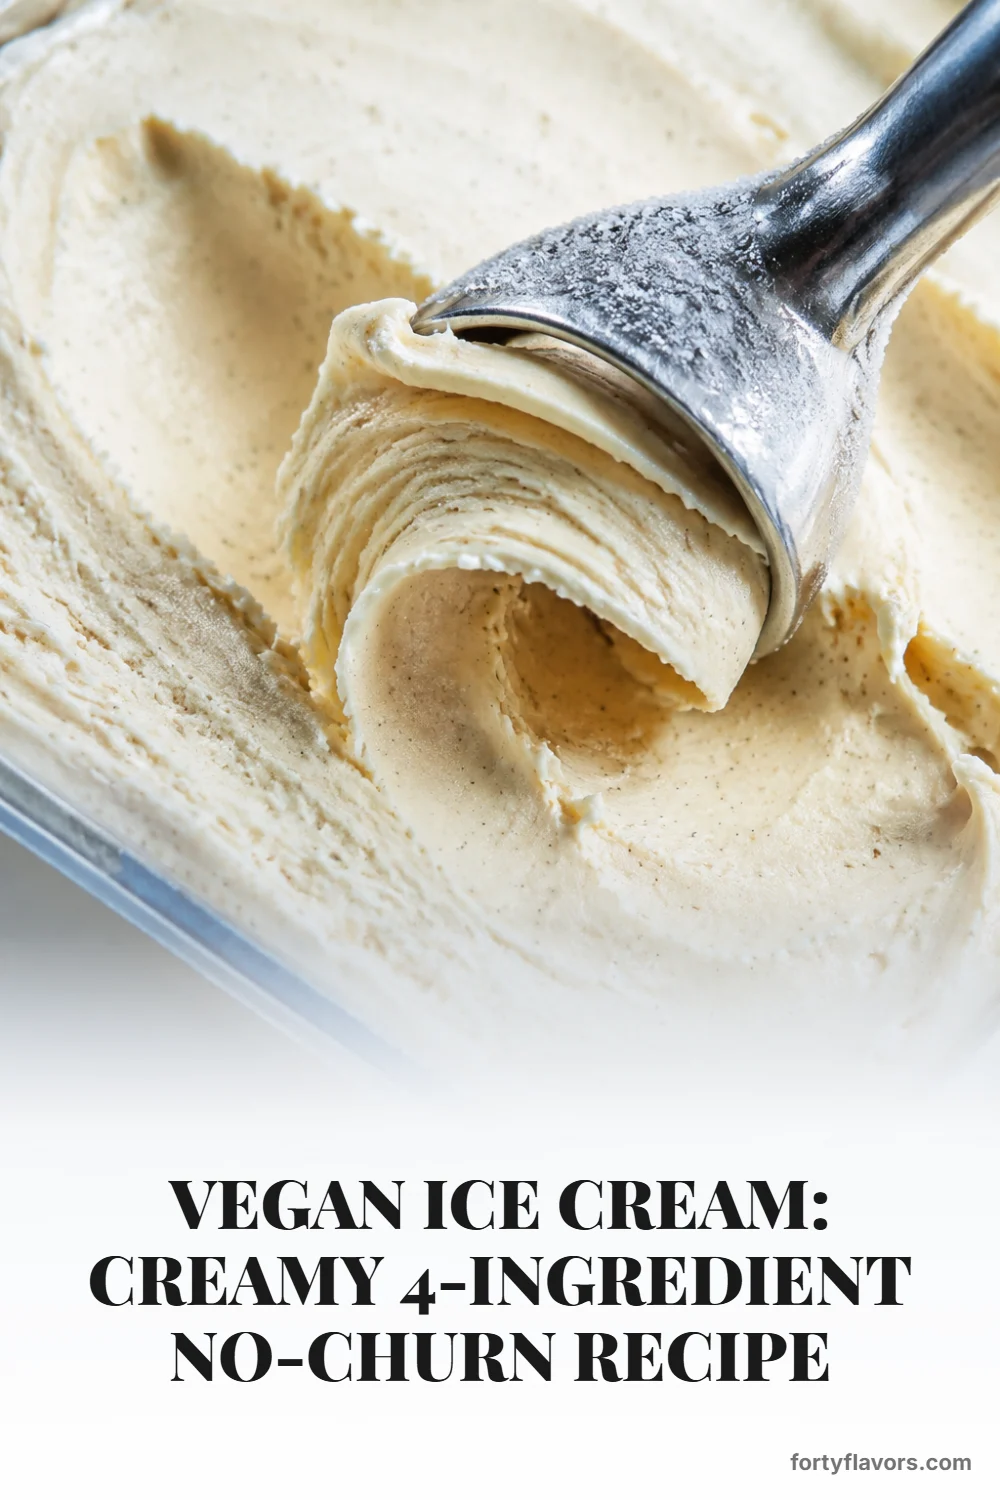
Step 3: Scoop and Serve
After about six hours, your vegan ice cream will be firm, frosty, and ready to enjoy. Unlike commercial varieties packed with chemical stabilizers, homemade dairy-free treats need a moment to temper. Let the pan sit on the counter for about ten to fifteen minutes before you attempt to scoop. This brief resting period allows the fats to soften just enough to yield to your scoop, resulting in those gorgeous, photogenic curls that look straight out of a gelateria.
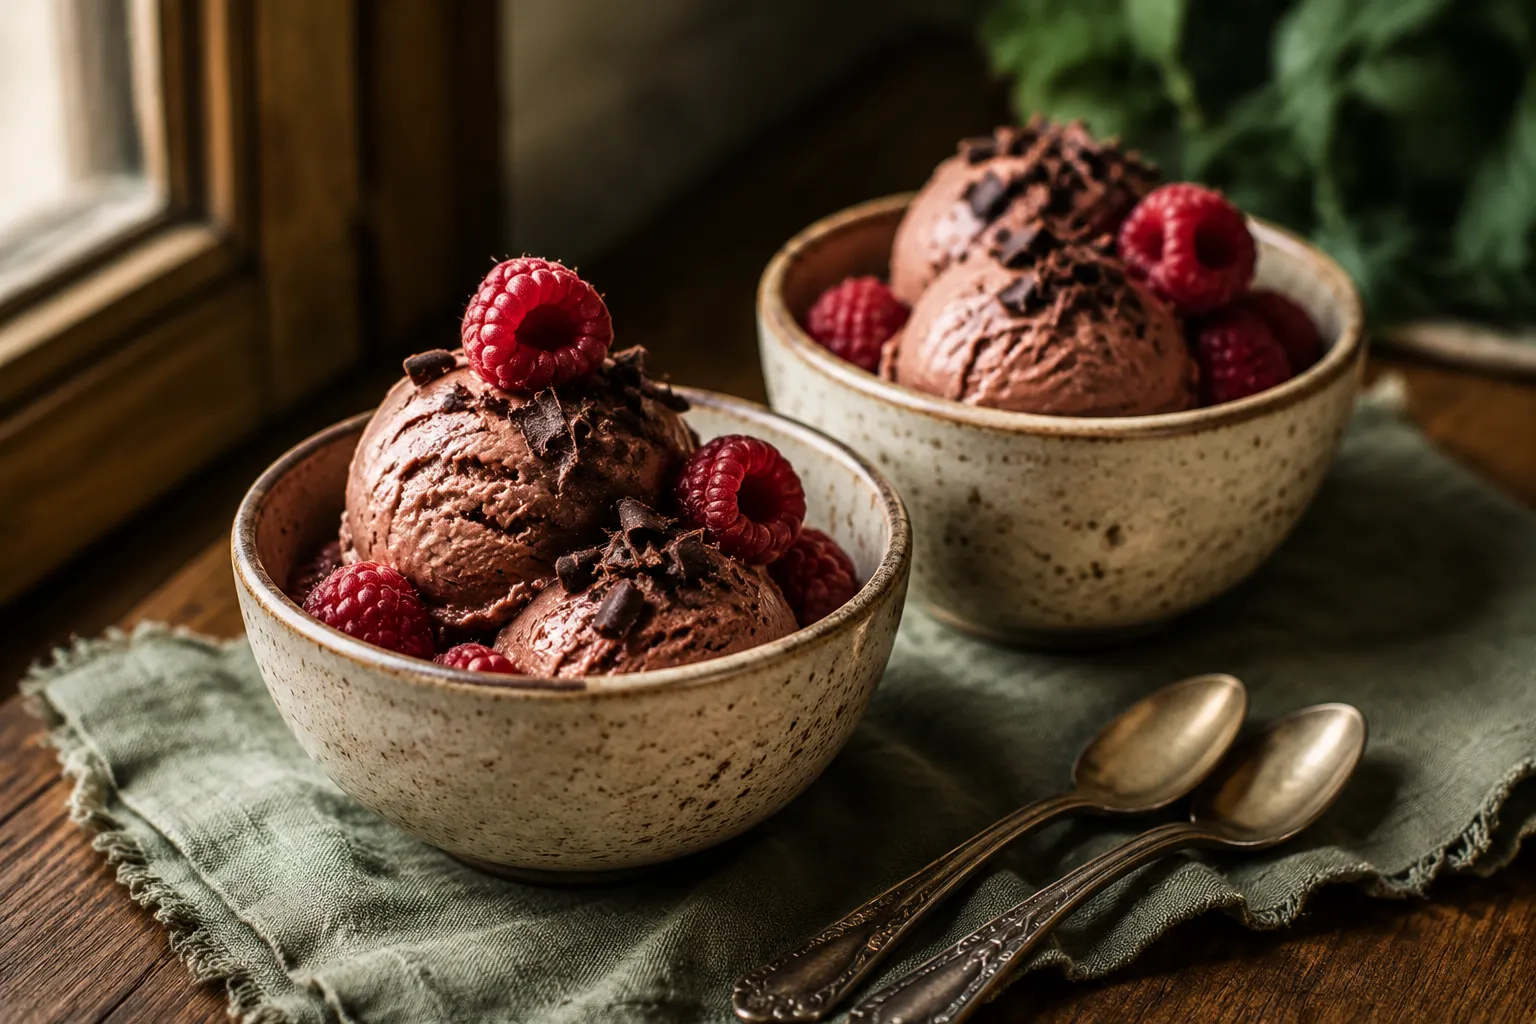
Elevating Your Dairy-Free Dessert Experience
Transforming a simple bowl of frozen cream into a memorable dairy-free dessert is all about the finishing touches. The rich, slightly tropical undertones of the coconut base pair beautifully with bold, assertive flavors. Consider warming up a quick berry compote on the stove—just simmer some frozen blueberries with a squeeze of lemon juice—and spooning it hot over the cold scoops. The temperature contrast is absolutely divine. If you are hosting guests, setting up a DIY sundae bar is an effortless way to entertain. Offer a variety of textures: chewy vegan brownie bites, crunchy candied pecans, and silky caramel sauce made from tahini and maple syrup. When you allow your friends and family to customize their bowls, the dessert becomes an interactive experience rather than just a final course.
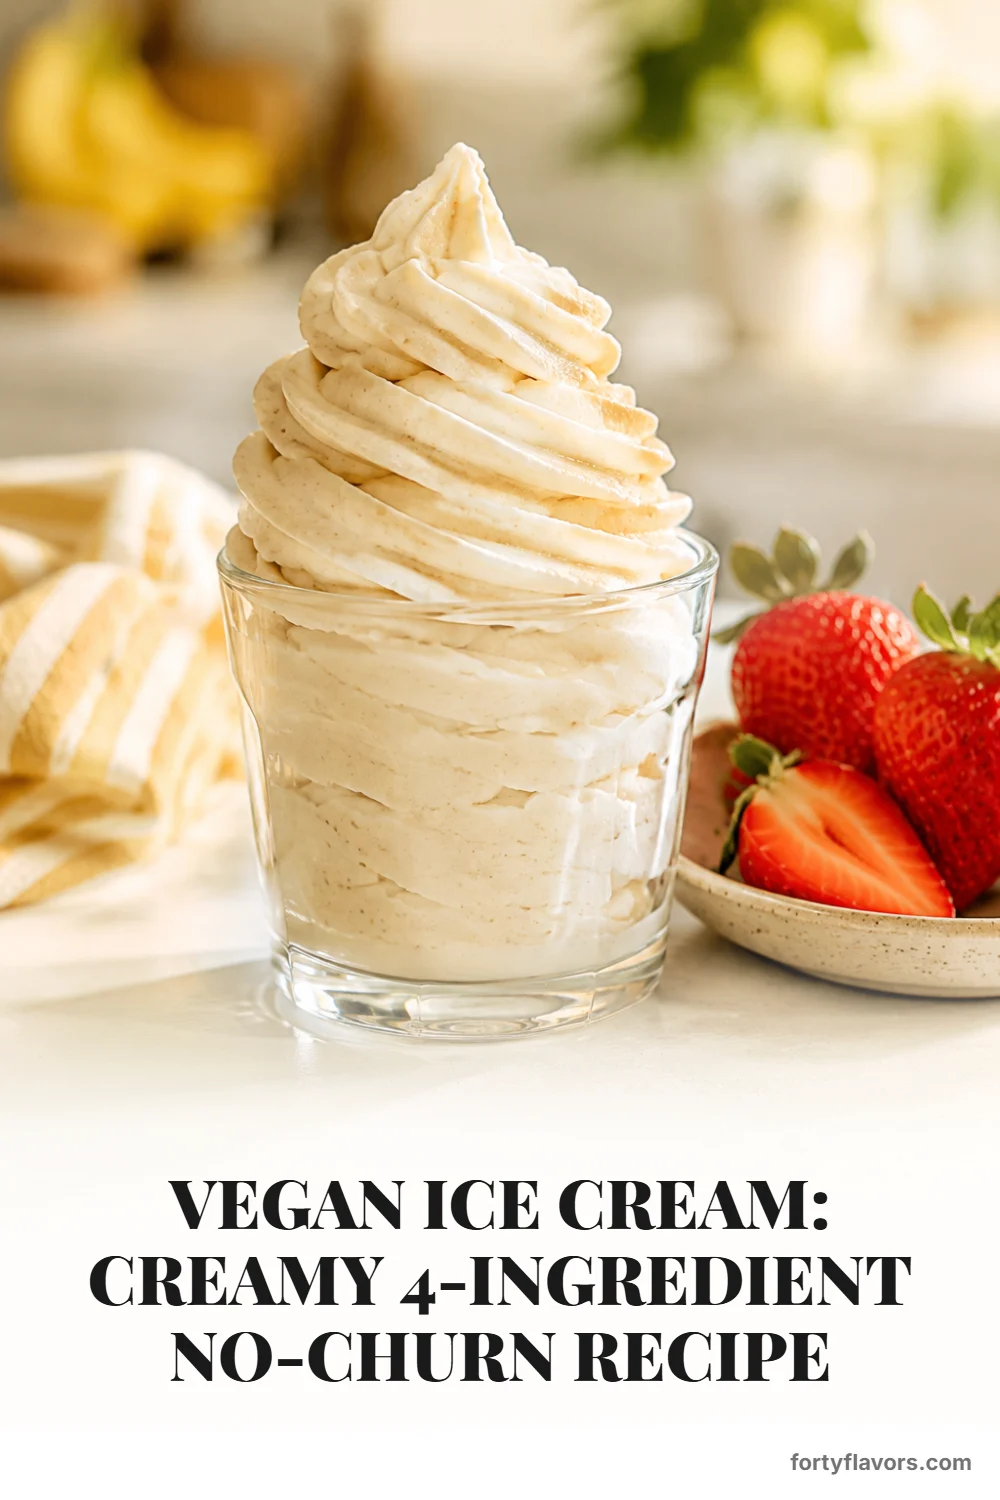
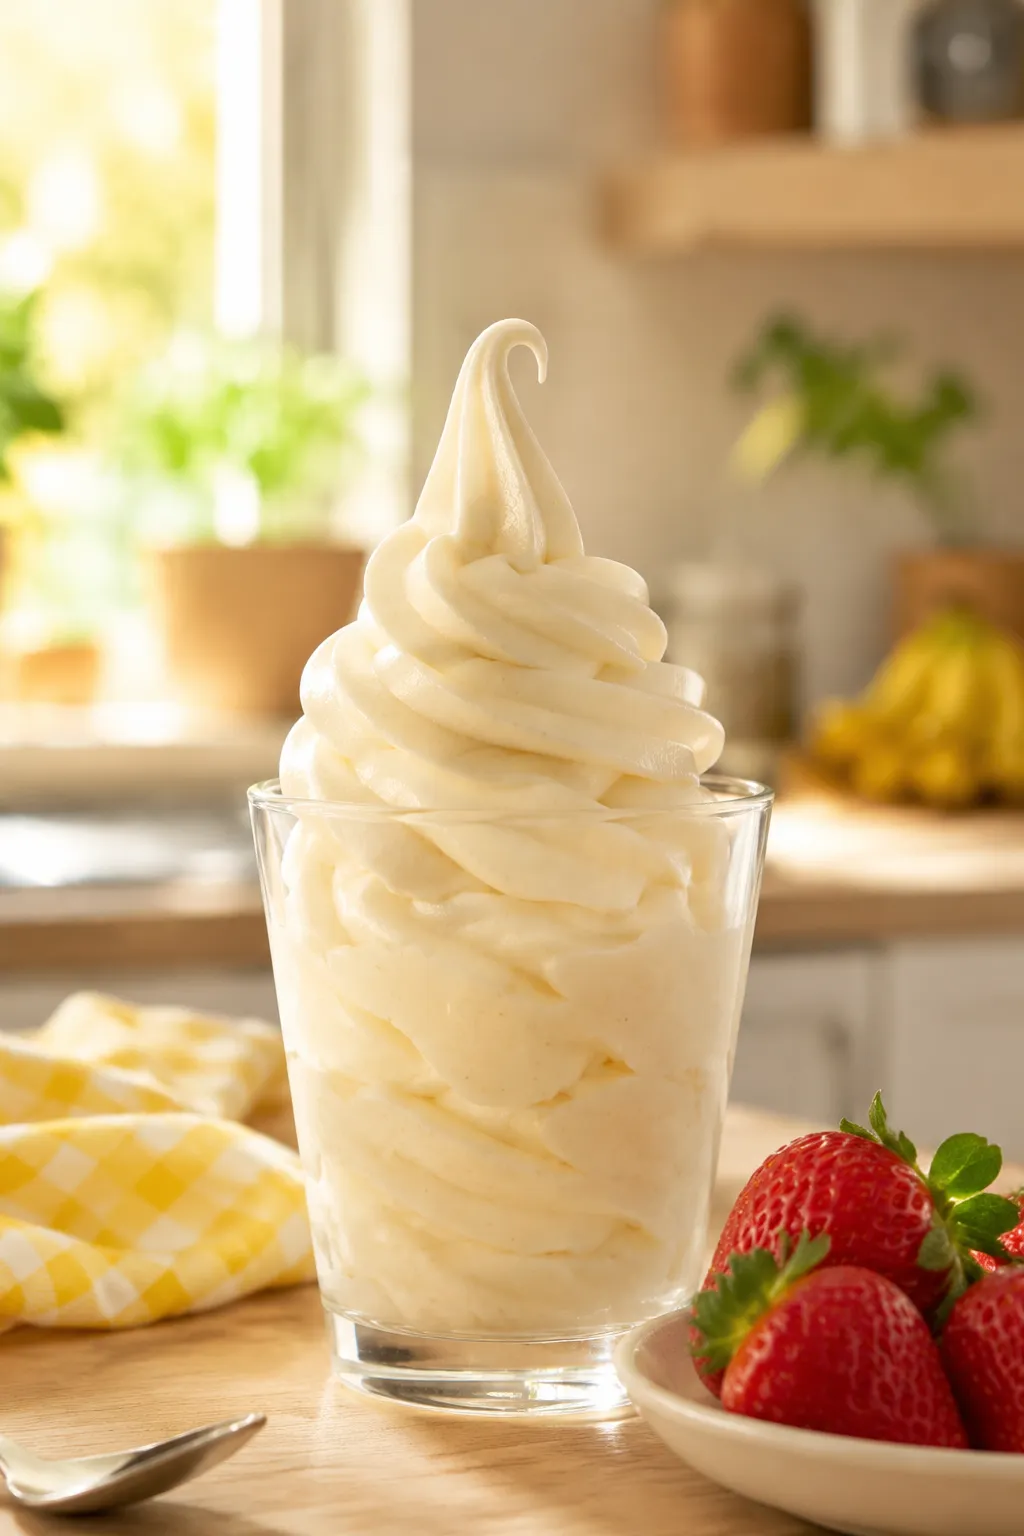
Vegan Soft Serve Variation
Sometimes, you do not have six hours to wait. Sometimes, the craving hits and you need a frosty, swirling dessert immediately. For those moments, the vegan soft serve variation is nothing short of a lifesaver, offering instant gratification with a completely different textural experience.
The Frozen Banana Trick
The secret to instant soft serve lies in the humble frozen banana. When blended in a food processor, frozen bananas undergo a magical transformation. They start as loud, clunky shards, break down into a crumbly mess, and then—just when you think it isn't working—they suddenly whip into a smooth, aerated, custard-like consistency. By adding a splash of coconut milk and a dash of vanilla, you mask the prominent banana flavor and create a remarkably convincing soft serve. It is light, fluffy, and holds its shape beautifully when piped through a star tip into a chilled glass.
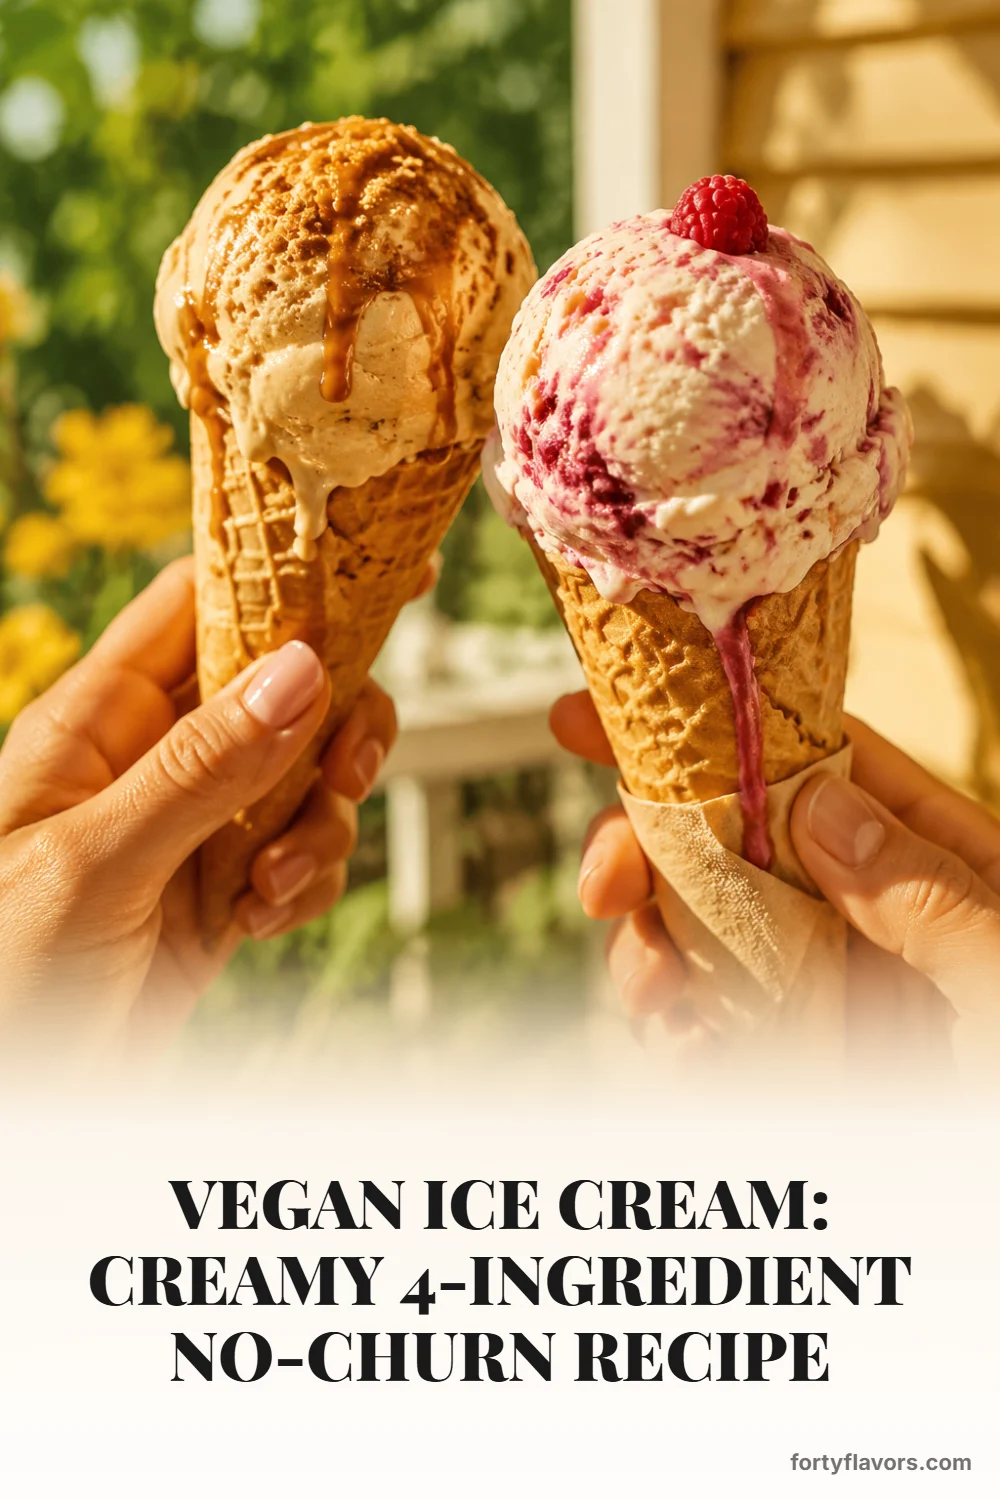
Best Toppings for Soft Serve
Because soft serve has such a delicate, airy texture, it practically begs for crunchy, textured toppings. A drizzle of melted dark chocolate that hardens into a crackly shell is a classic choice. Crushed roasted peanuts, toasted coconut flakes, or a handful of tart freeze-dried raspberries add necessary contrast to the smooth, sweet base. Serving it in a chilled glass cup or swirling it high onto a crisp waffle cone elevates the presentation, making a quick Tuesday night hack feel like a trip to a premium dessert parlor.
Prepping Your Coconut Milk Ice Cream Ahead of Time
One of the greatest advantages of this coconut milk ice cream is its exceptional storage life. Unlike dairy-based homemade ice creams that can quickly turn grainy, the high fat content here acts as a natural preservative for the texture. Making a double batch on a Sunday means you have a luxurious treat waiting for you all week long.
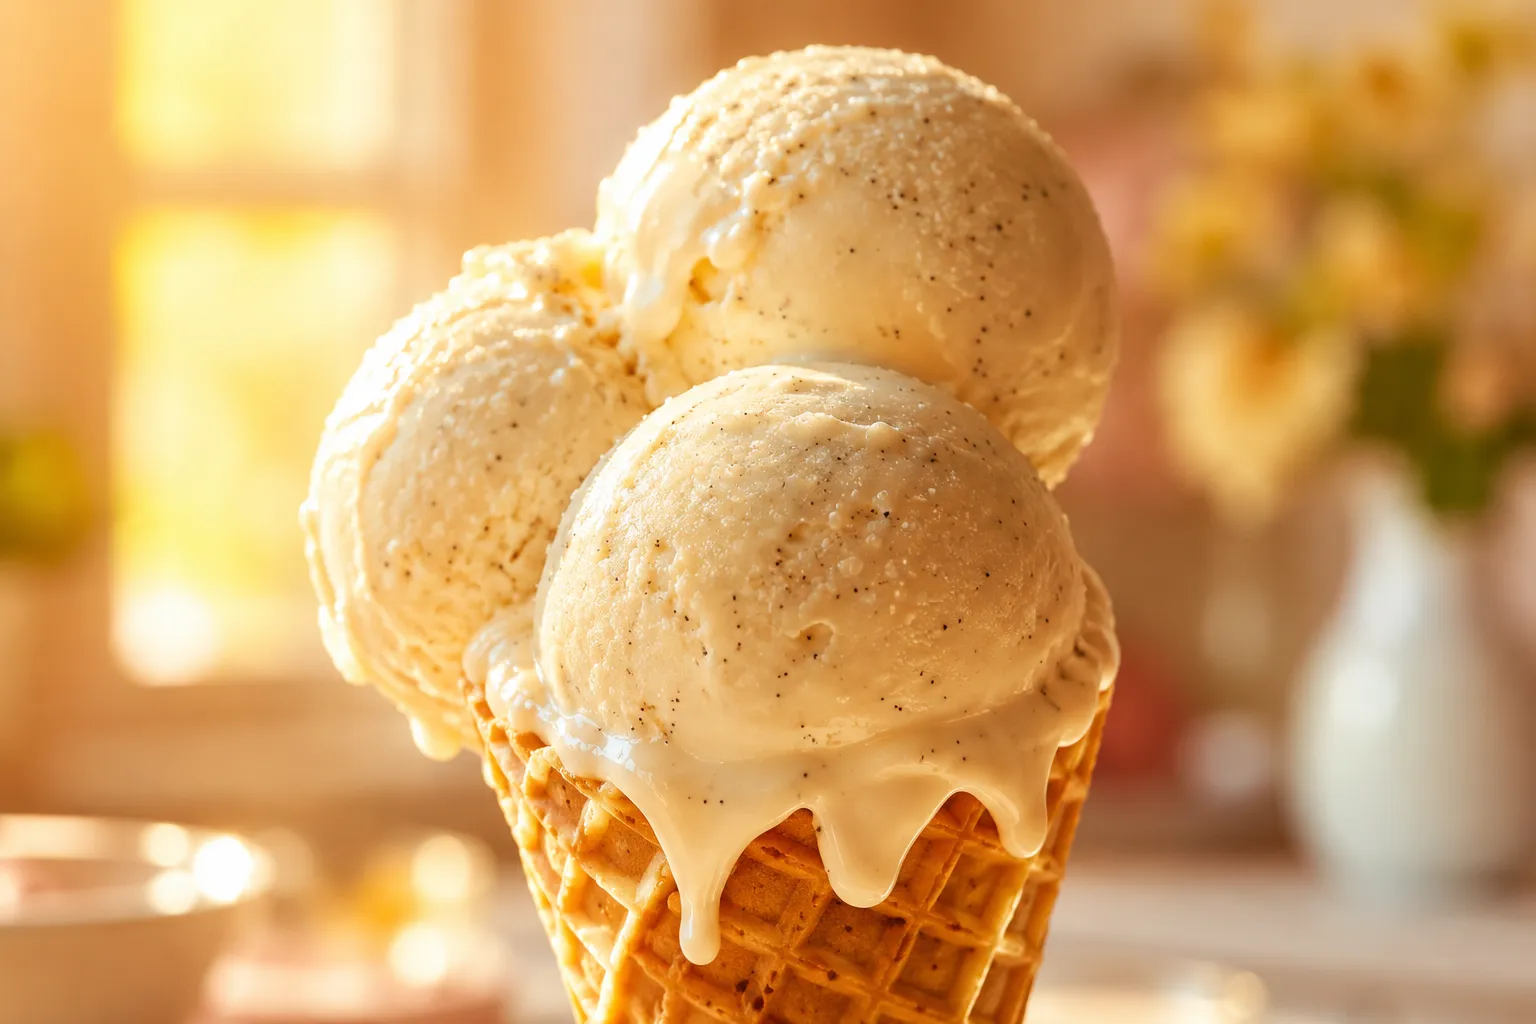
Whether you are enjoying it melting down the sides of a sugar cone on a sweltering July afternoon, or scooping it over a warm slice of apple pie in the dead of winter, this recipe proves that you do not need dairy to achieve dessert perfection. It is a testament to the power of simple, wholesome ingredients coming together to create something truly extraordinary.
💡 Expert Tips
Full-Fat Coconut Milk Matters: Never substitute with lite or carton coconut milk; the high fat content is non-negotiable for a creamy, ice-free texture.
The Stir-Every-30-Minutes Rule: Vigorously stirring the base during the first two hours of freezing manually breaks up ice crystals, mimicking a churning machine.
How to Soften Before Scooping: Always let your frozen dessert rest at room temperature for 10 to 15 minutes before serving to achieve those perfect, gelateria-style curls.
Chill Your Equipment: Place your metal loaf pan in the freezer before you start blending to jumpstart the freezing process and improve the final texture.
🔄 Variations & Substitutions
Once you master this creamy base, the flavor possibilities are truly endless. Simply fold your desired mix-ins into the batter right before the final freeze to create your own signature pints.
Chocolate Fudge Swirl: Gently fold in ribbons of thick, dairy-free fudge sauce and dark chocolate chunks just before transferring to the loaf pan.
Strawberry Shortcake: Blend a handful of freeze-dried strawberries into the base, then layer with crushed vanilla sandwich cookies.
Salted Caramel Cashew: Swirl in a generous amount of vegan caramel sauce and top with roughly chopped, roasted salted cashews.
Mint Chocolate Chip: Add a half teaspoon of pure peppermint extract to the blender and fold in mini dairy-free chocolate chips.
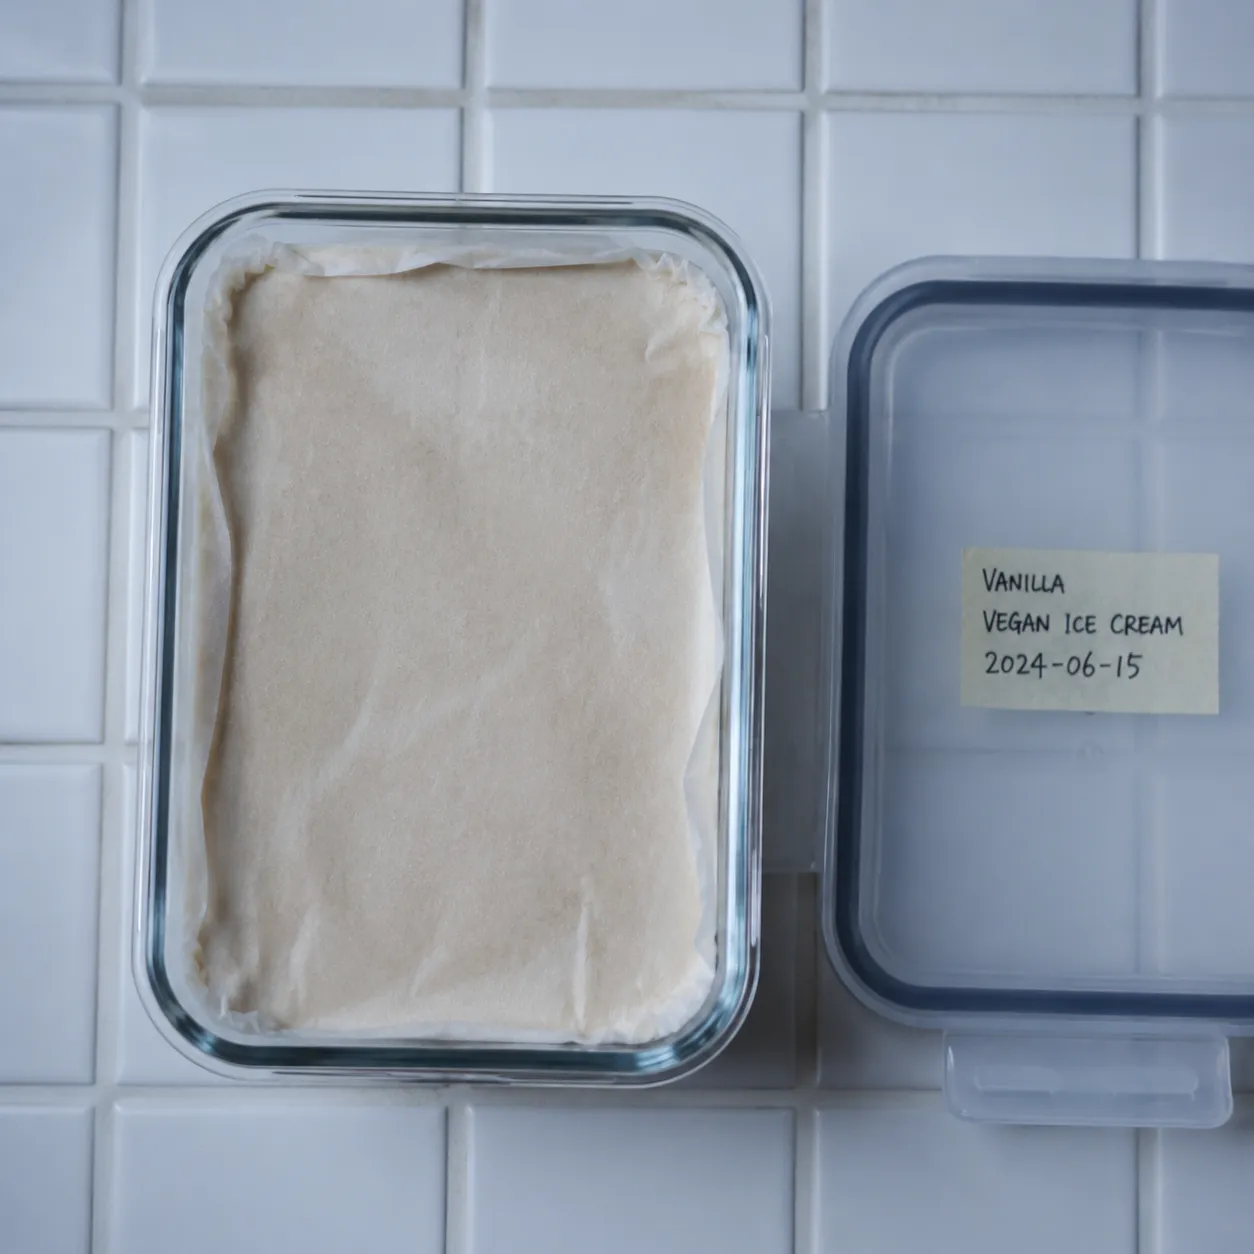
🧊 Storage & Leftovers
Proper storage is the key to maintaining that luxurious, creamy texture for days to come. Always transfer your finished dessert into an airtight, freezer-safe container—glass or metal works best. Before sealing the lid, press a piece of parchment paper or wax paper directly onto the surface of the ice cream. This crucial step creates a protective barrier against the air, preventing freezer burn and stopping ice crystals from forming on top.
Stored correctly, your homemade treat will stay fresh and flavorful for up to two weeks. When you are ready to revive leftovers, simply transfer the container to the kitchen counter for about 10 to 15 minutes. This brief resting period allows the coconut fats to temper, restoring that irresistible, melt-in-your-mouth consistency that makes scooping an absolute breeze.
Save This Recipe to Pinterest
Hover any image and hit “Pin it” to save it to your Pinterest boards.
Most vegan ice cream uses a plant-based fat like coconut cream, cashews, or oat milk plus a natural sweetener and flavorings instead of dairy and eggs. Our version relies on a rich, full-fat coconut base for maximum creaminess without any complicated additives. By utilizing the hardened cream from chilled cans of coconut milk, we achieve a dense, luxurious texture that perfectly mimics traditional heavy cream, keeping the ingredient list remarkably short and entirely wholesome.
How do you make vegan ice cream creamy and not icy?
The secret to a creamy, ice-free texture lies in the fat content and the freezing process. Use full-fat coconut milk, add a touch of fat or starch, and stir every 30 minutes during the first 2 hours of freezing to manually break up ice crystals. Additionally, using a liquid sweetener like pure maple syrup helps lower the freezing point of the mixture, ensuring your dessert remains velvety and soft enough to scoop rather than turning into a solid, icy block.
Can I make vegan soft serve without an ice cream maker?
Yes, you can easily create a luscious soft serve texture by blending frozen bananas with a splash of plant milk in a food processor. This method provides instant soft serve, with no machine or churning required. The bananas break down into a beautifully thick, swirly consistency that mimics traditional soft serve perfectly. It is a fantastic, quick alternative when you are craving a frosty treat but do not have the time to wait for a standard base to freeze.
Is plant based ice cream healthier than regular ice cream?
Plant based ice cream is naturally dairy-free and cholesterol-free, but the overall healthiness depends on the specific sugar and fat content. Store-bought pints can often be heavily processed. However, homemade versions let you control the level of sweetness and allow you to skip artificial stabilizers and gums completely. This makes creating your own dairy-free treats a more wholesome alternative that still feels incredibly indulgent and deeply satisfying.
How long does homemade vegan ice cream last in the freezer?
When stored in an airtight container, homemade vegan ice cream stays at its best quality for about 1 to 2 weeks. To prevent freezer burn, always press a piece of parchment paper directly onto the surface before sealing the lid. Because homemade versions lack commercial softeners, remember to let the container sit at room temperature for 5 to 10 minutes before scooping. This brief resting period restores that luscious, scoopable consistency.