Apple Crumble Recipe Using Oats (Easy & Buttery)
Ingredients
Scale
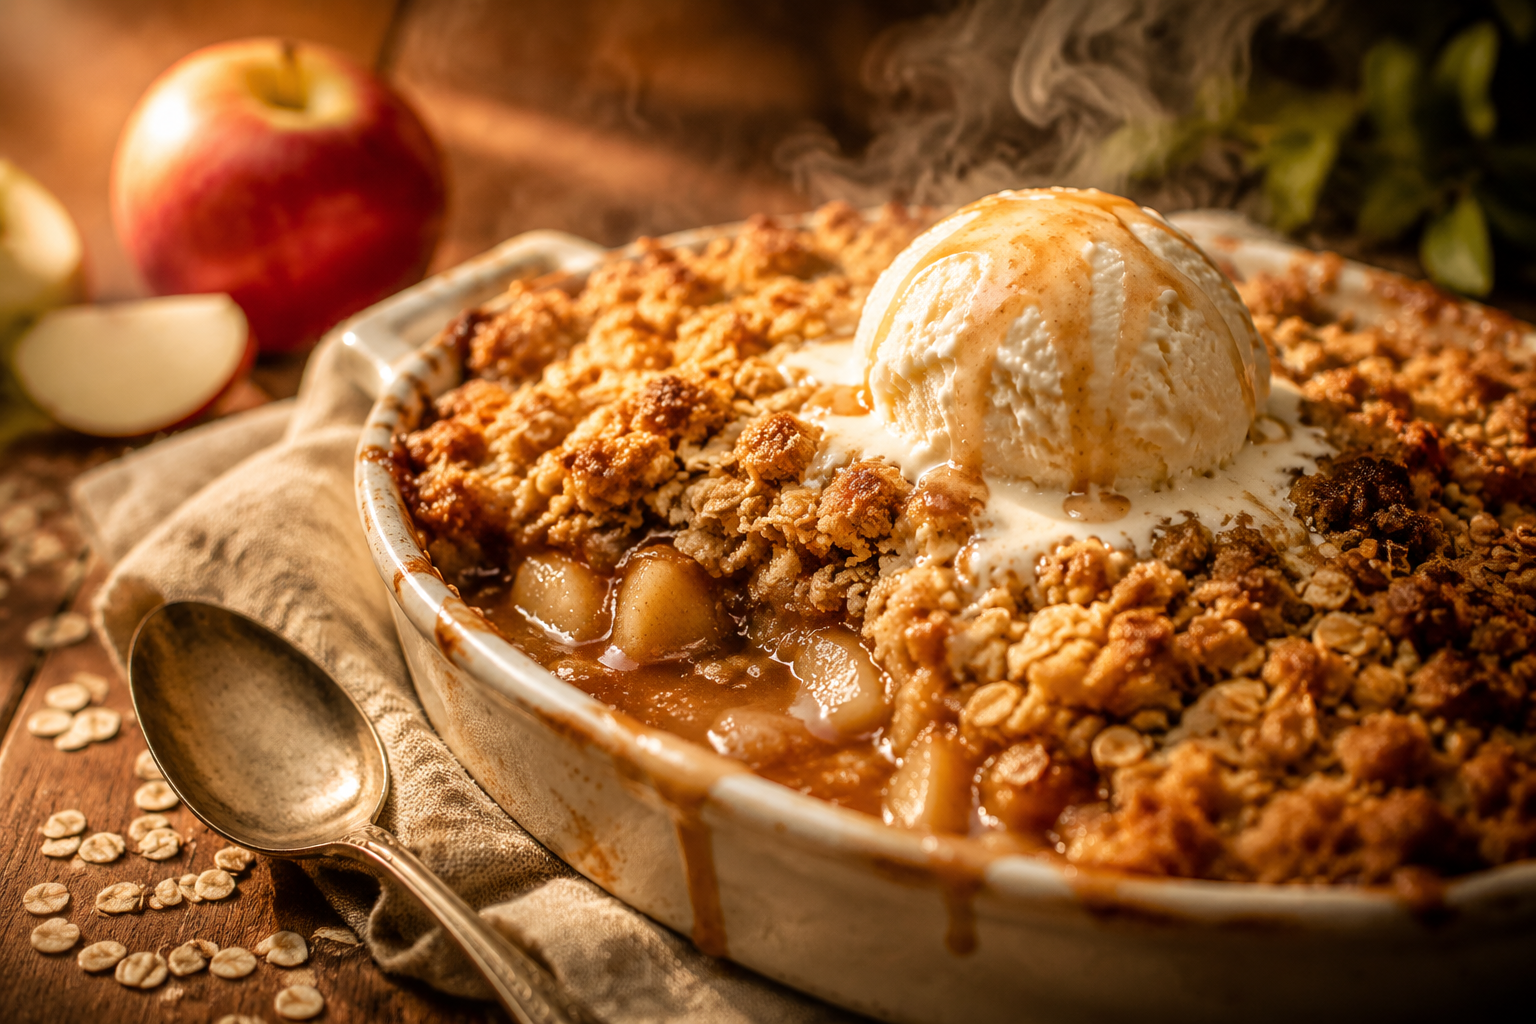
A cozy apple crumble recipe using oats with a buttery brown sugar topping and tender cinnamon-spiced apples. Simple pantry ingredients, big bakery flavor.
If you have been searching for the ultimate recipe for apple crumble using oats, you have just found your new favorite weekend baking project. There is something profoundly comforting about pulling a bubbling, golden-brown fruit dessert from the oven, especially when the air turns crisp and the leaves begin to fall. This dish brings together tender, caramelized fruit and a deeply buttery, craggy topping that shatters perfectly when you dig in with a spoon. Whether you are hosting a festive holiday dinner or simply craving a cozy weeknight treat, this dessert delivers bakery-level satisfaction with very little fuss.
What makes this specific apple crumble recipe with oats so special is the intentional balance of textures and flavors. We are skipping the overly sweet, mushy fillings and opting instead for a bright, vibrant fruit base that holds its shape. The topping is generously portioned, ensuring that every single bite of fruit is paired with a satisfying crunch. Serve it warm, straight from the baking dish, with a melting scoop of homemade vanilla ice cream, and you will instantly understand why this old-fashioned favorite has stood the test of time.
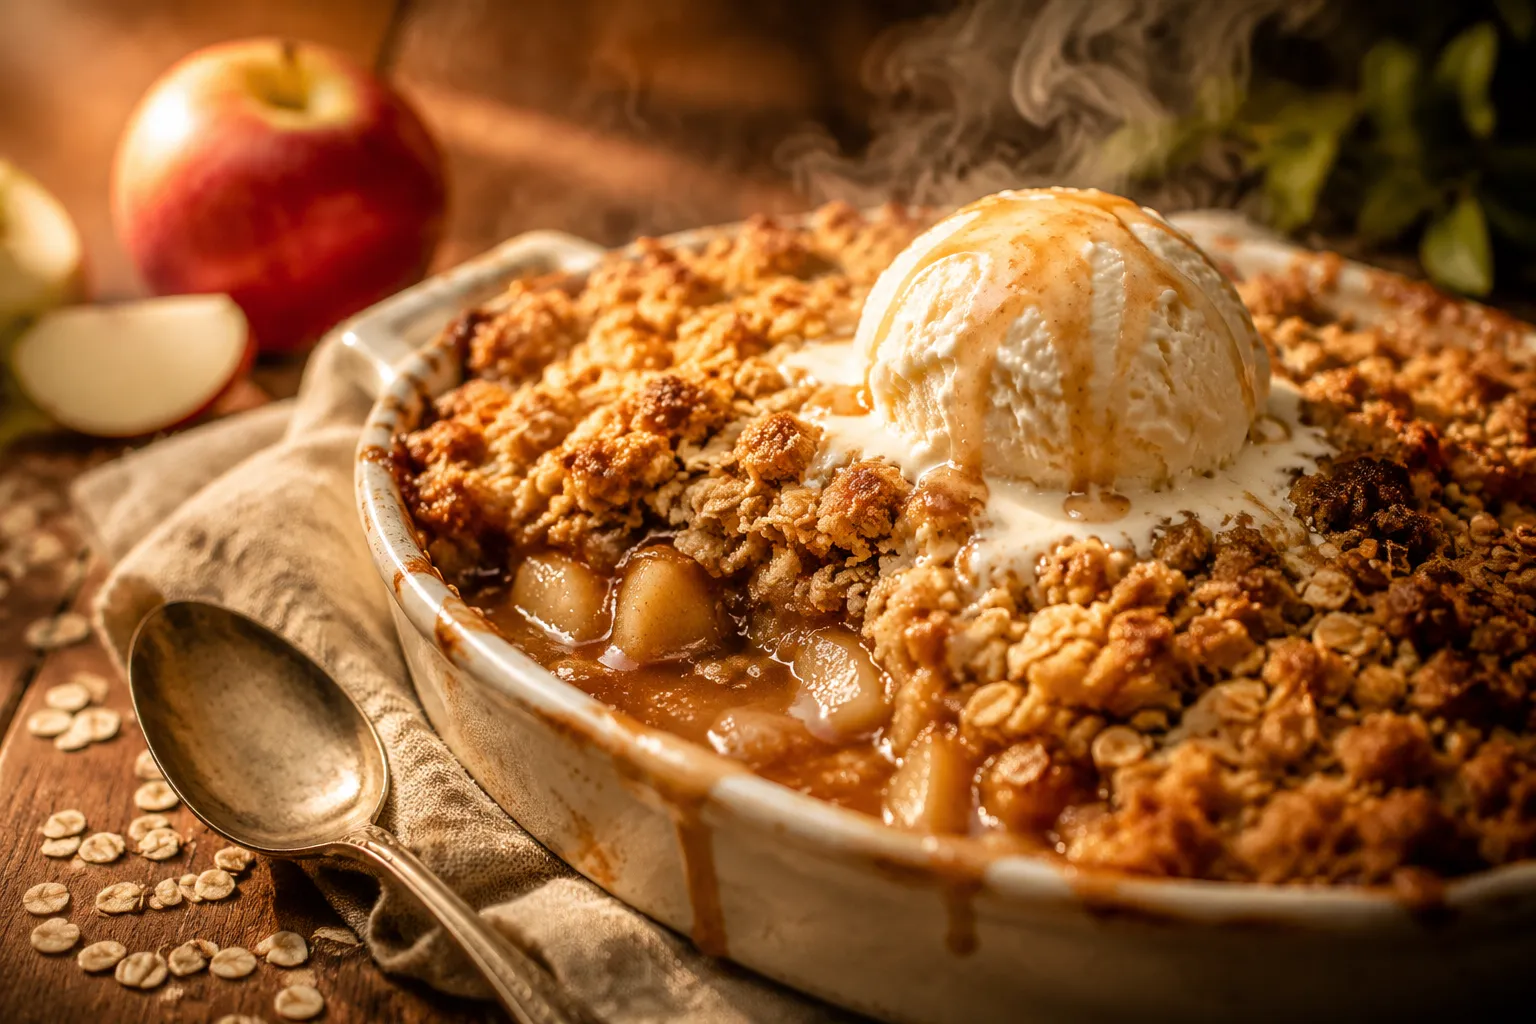
If you have ever stood in your kitchen wondering whether you are making a crumble or a crisp, you are certainly not alone. Historically, these two beloved fruit desserts had distinct definitions that set them apart. A traditional British crumble featured a simple, sandy topping made exclusively from flour, butter, and sugar rubbed together until it resembled coarse breadcrumbs. On the other hand, a classic apple crisp was an American invention that relied heavily on oats (and sometimes nuts) to create a textured, crunchy layer over the fruit. Over the decades, however, these lines have blurred significantly, especially in modern home baking.
While purists might argue that a crumble should never contain oats, the reality is that adding them introduces an unbeatable chewy, rustic texture that flour alone simply cannot provide. Oats absorb the melting butter and caramelized sugars during baking, toasting up into irresistible golden clusters. They also provide a heartier, more substantial bite that stands up beautifully to the soft, bubbling fruit underneath. By incorporating oats into a traditional crumble base, you elevate the dessert from a simple sandy topping to a deeply satisfying, multi-textural experience.
This dessert takes the very best elements of both classics and marries them into one foolproof dish. We use the generous butter-to-flour ratio of a traditional crumble to ensure the topping is rich and tender, but we fold in a hefty dose of oats to achieve the signature crunch of a crisp. The result is essentially an apple crisp with oatmeal and brown sugar that behaves like a crumble, baking into beautiful, craggy clumps. It is the ideal hybrid for anyone who refuses to choose between a buttery shortbread texture and a hearty oat crunch.
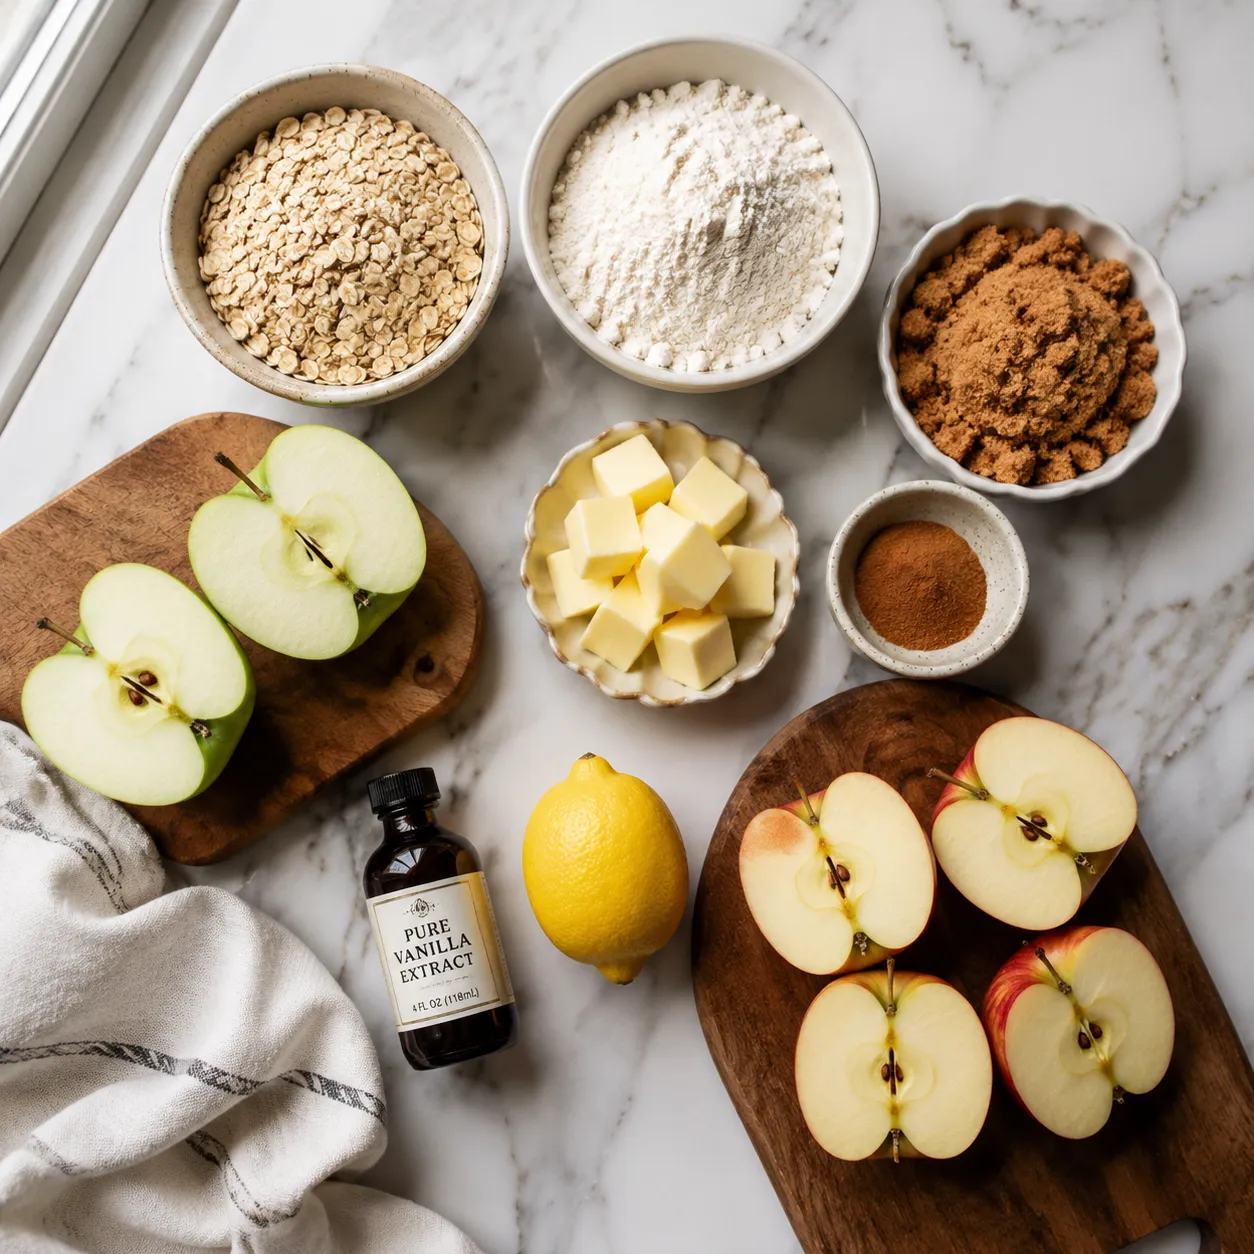
The beauty of this recipe for apple crumble using oats is that it relies almost entirely on pantry staples. You likely already have everything you need sitting in your cupboards right now. The key to elevating these humble ingredients lies in their quality and how they are prepared. From the temperature of your butter to the specific blend of spices, every component plays a crucial role in building layers of flavor. Let's break down exactly what you will need to achieve dessert perfection.
The foundation of this dessert is, of course, the fruit. We want a filling that is jammy and deeply flavored, yet still retains some structural integrity. To achieve this, you will need fresh apples, a squeeze of bright lemon juice to prevent browning and balance the sweetness, and a splash of pure vanilla extract for floral warmth. Instead of using a complicated or overly sweet binder, we toss the fruit with just a touch of sugar and warm spices. This creates an easy apple pie filling that thickens naturally in the oven as the fruit releases its juices. The cinnamon apples become incredibly tender without turning into applesauce, providing the perfect base for our crunchy topping.
The topping is where the magic truly happens, transforming simple stewed fruit into a show-stopping dessert. You will need all-purpose flour to provide structure and old-fashioned rolled oats for that essential chew and crunch. A generous amount of packed light brown sugar brings moisture and deep molasses notes, ensuring the topping caramelizes beautifully in the oven's heat. Finally, cold, cubed unsalted butter binds everything together, creating a rich, buttery oat topping. When these ingredients are rubbed together, they form a magnificent brown sugar crumble that bakes into irresistible, cookie-like clusters.
Not all apples are created equal when it comes to baking. If you use a variety that is too soft, like a McIntosh or Gala, your filling will disintegrate into mush before the topping has a chance to brown. The best apples for baking are those that can hold their shape under high heat while offering a complex flavor profile. For this recipe, we highly recommend a 50/50 blend. Tart Granny Smith apples provide a sharp, acidic bite that cuts through the rich, sweet topping perfectly. We pair them with a sweeter, firmer variety like Honeycrisp or Braeburn. This combination ensures a balanced, dynamic flavor and a texture that is tender but never mushy.
When developing this recipe for apple crumble using oats, I wanted to make sure the prep was as seamless as possible. You do not need any fancy equipment, stand mixers, or complicated techniques to pull this off. The entire process can be broken down into a few simple, mindful steps that take less than twenty minutes of active time. Here is a closer look at how the dessert comes together from start to finish.
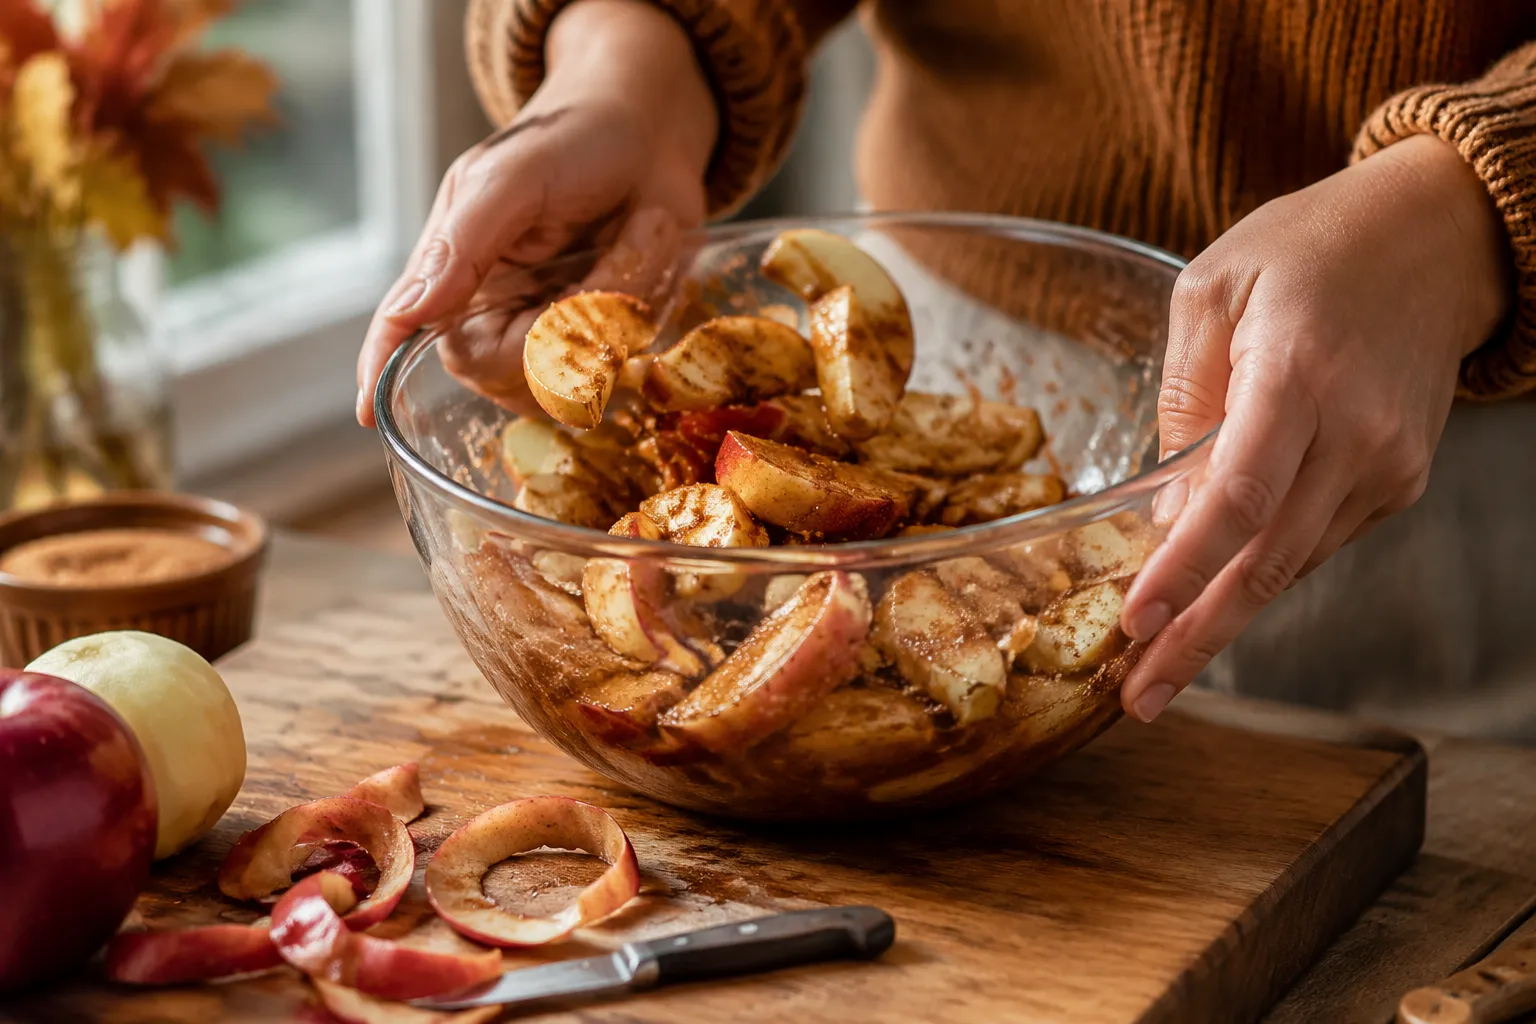
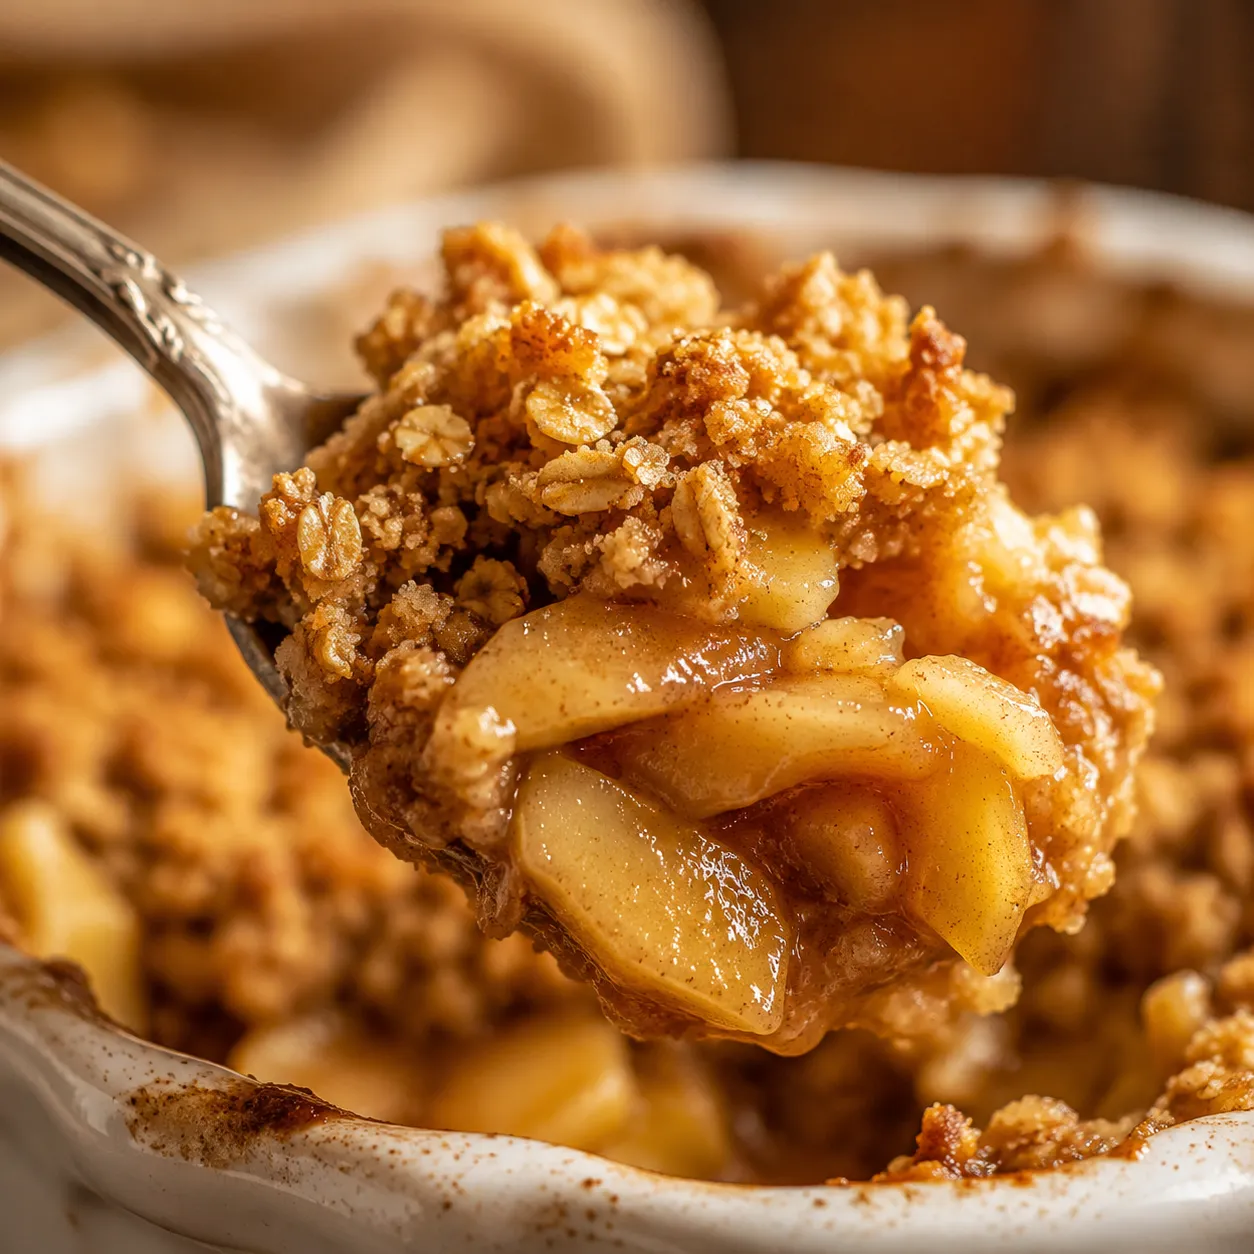
The first step is preparing your fruit base. Peel, core, and slice your apples into uniform wedges—about a quarter-inch thick is ideal. If you slice them too thin, they will turn to mush; too thick, and they will remain crunchy while the topping burns. Once sliced, toss them immediately in a large bowl with your lemon juice, vanilla, and spices. Make sure every single slice is coated in the cinnamon mixture. The lemon juice not only adds a necessary pop of acidity but also encourages the apples to release a little bit of their natural juices, which will eventually bubble up and create a syrupy sauce in the oven.
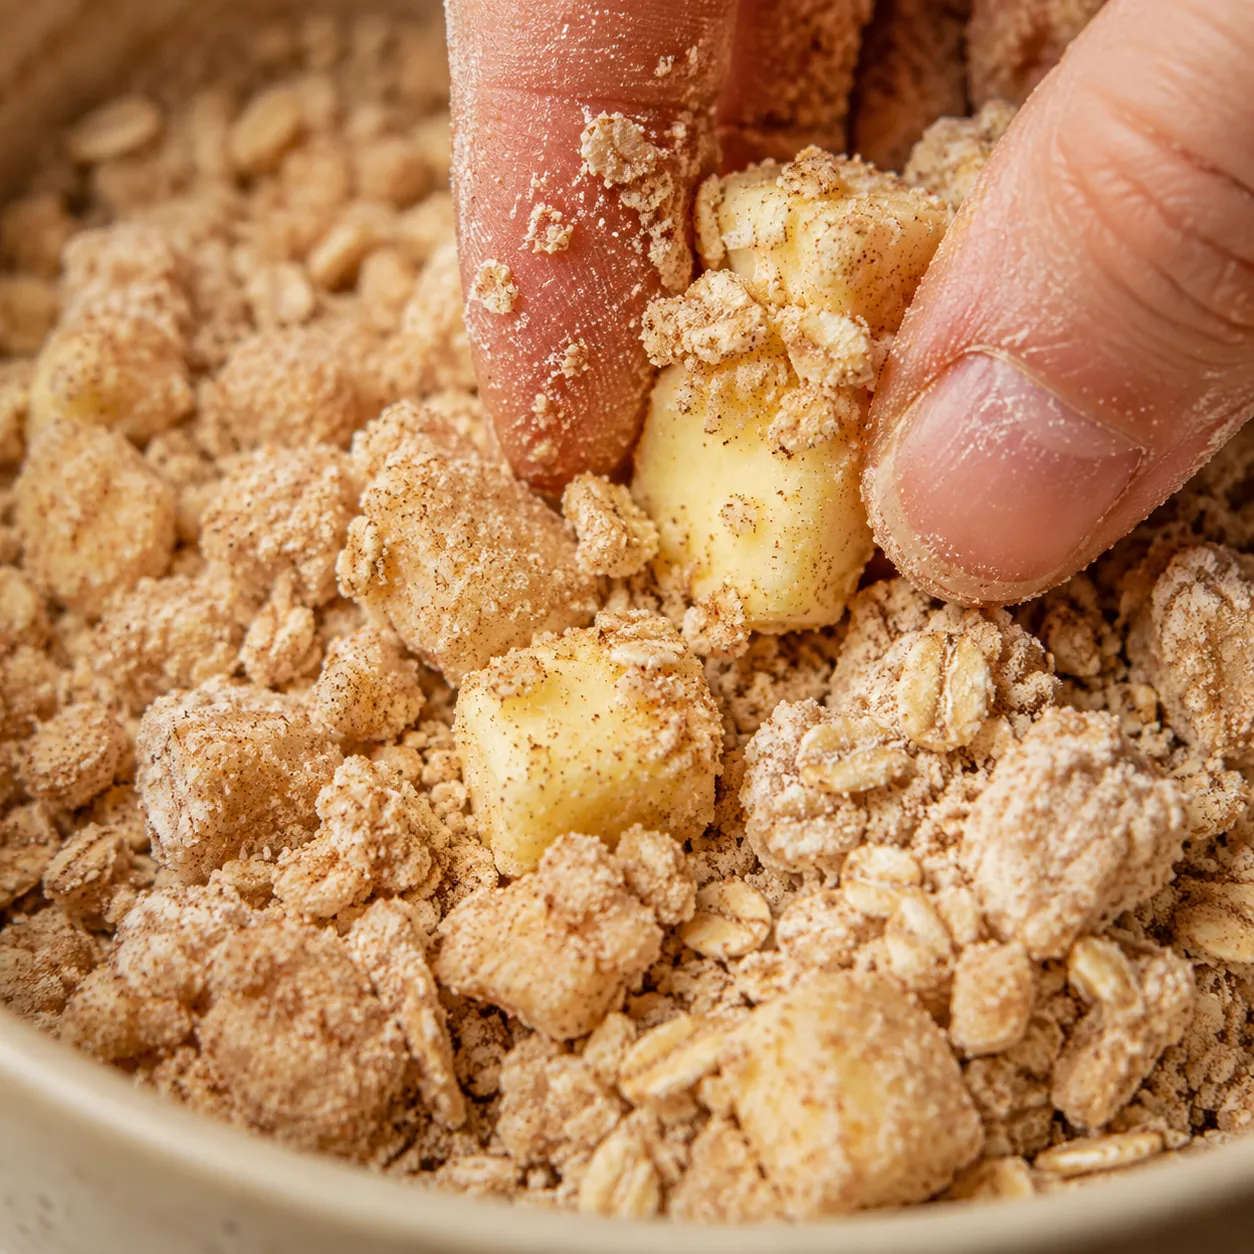
Next comes the most satisfying part of the process: building the topping. In a separate bowl, whisk together your dry ingredients—the flour, oats, brown sugar, and a pinch of cinnamon. Drop in your cold, cubed butter. Using your fingertips or a pastry cutter, begin working the butter into the dry mixture. You want to rub and pinch the butter cubes until the mixture resembles coarse, wet sand. The secret to an extraordinary topping is to stop mixing while there are still visible, pea-sized pieces of butter remaining. Finally, squeeze handfuls of the mixture together to form large, craggy clumps. These clumps are what will bake into those coveted, crunchy cookie-like bites.
With both components ready, it is time to assemble. Transfer your spiced apples into a lightly greased baking dish, spreading them out into an even, compact layer. Be sure to scrape every last drop of the cinnamon-spiced juices from the bowl over the fruit. Next, take your clumpy oat topping and scatter it generously over the apples. Do not pack the topping down; let it fall naturally into an uneven, craggy landscape. You want to ensure the fruit is mostly covered, but it is perfectly fine if a few apple slices peek through the edges. Those exposed bits will caramelize beautifully against the sides of the hot baking dish.
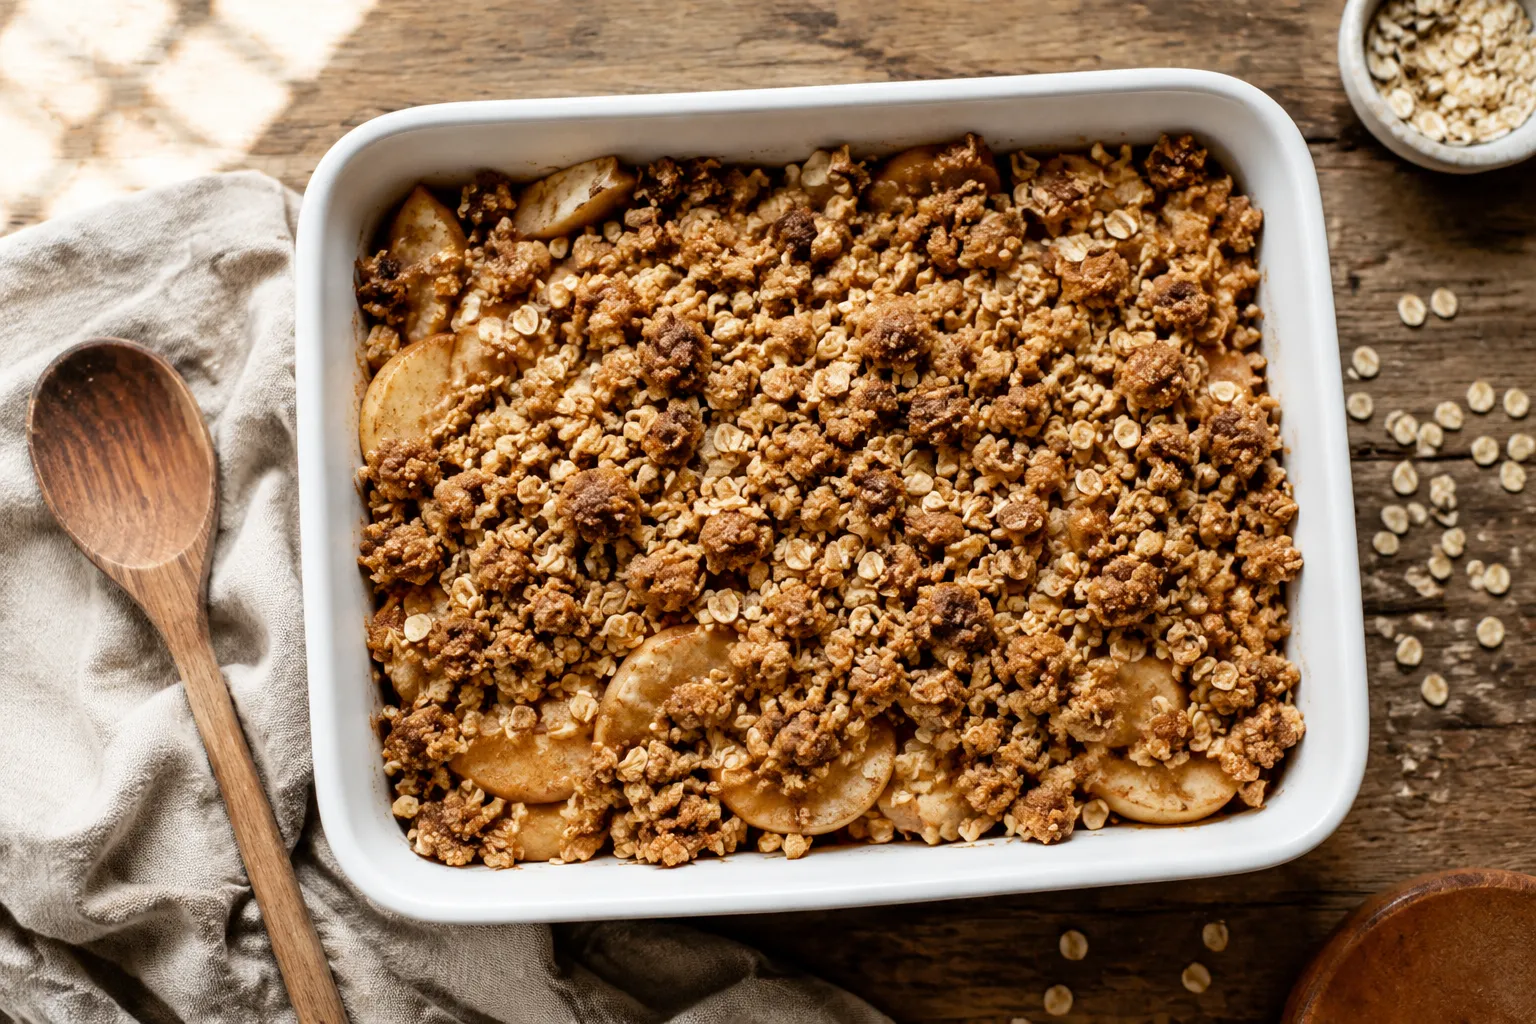
Slide the assembled dish into a preheated oven and let the heat do its work. You are looking for two visual cues to know the dessert is done. First, the oat topping should be a deep, rich golden brown—not just pale blonde. Second, and most importantly, you must see the fruit juices bubbling vigorously around the edges of the dish. If the topping is browned but the juices aren't bubbling, the apples haven't cooked through. If necessary, you can tent the dish loosely with foil to prevent the oats from burning while the fruit finishes cooking. Once out of the oven, patience is key. Let the dish cool for at least 15 minutes before serving so the bubbling juices can thicken into a glorious syrup.
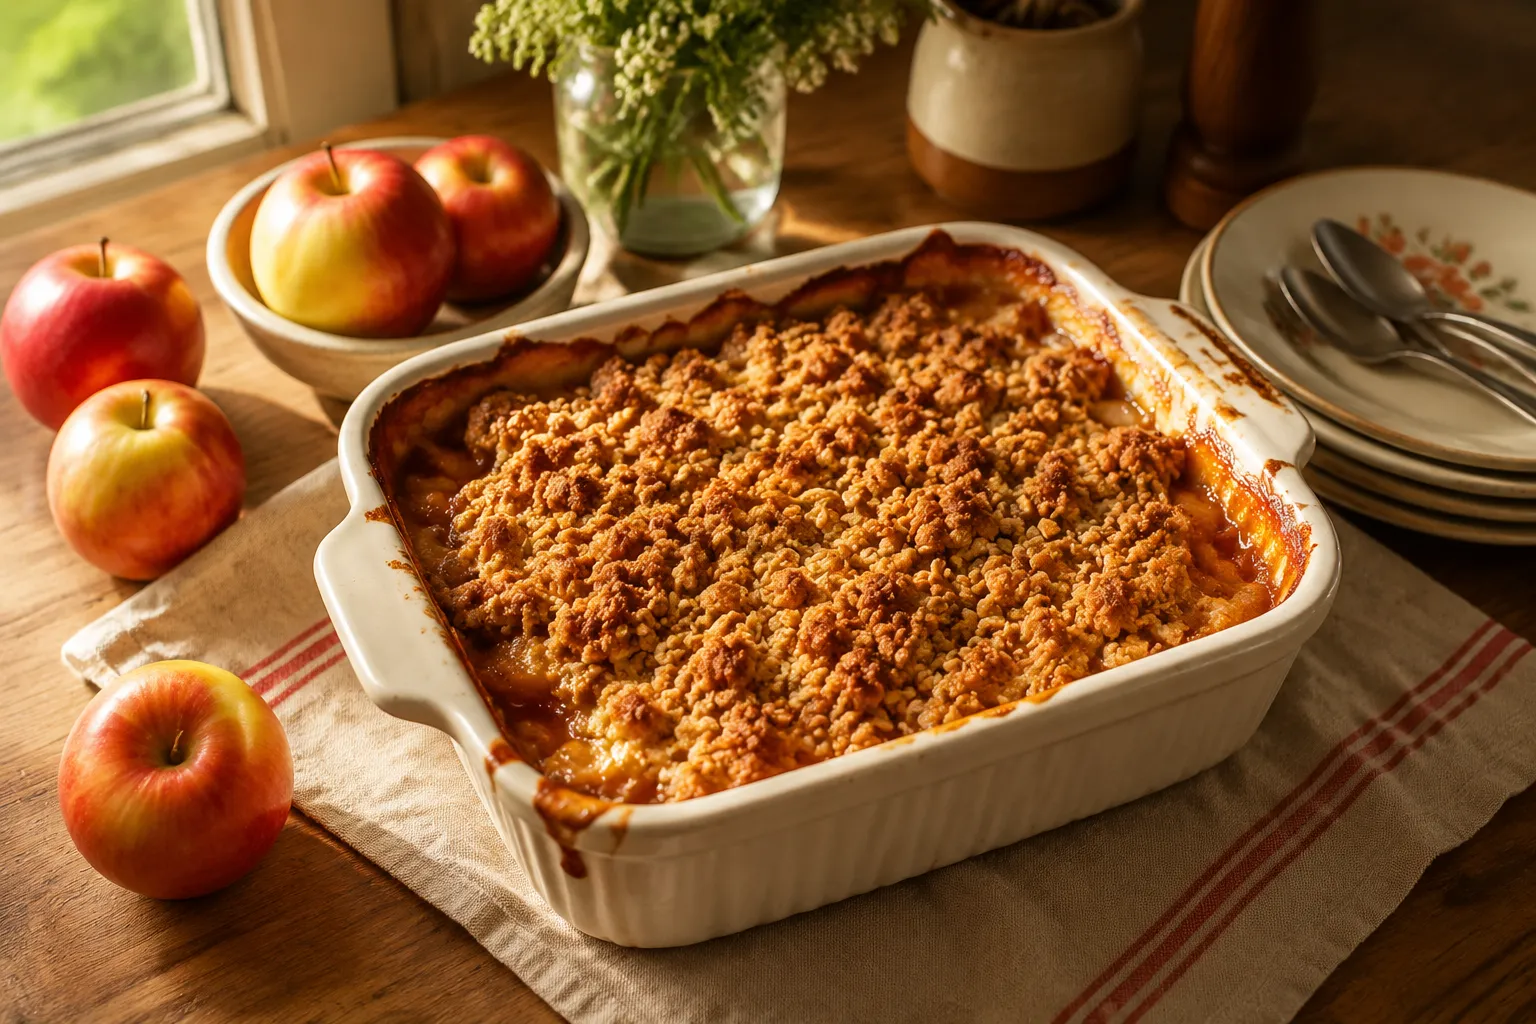
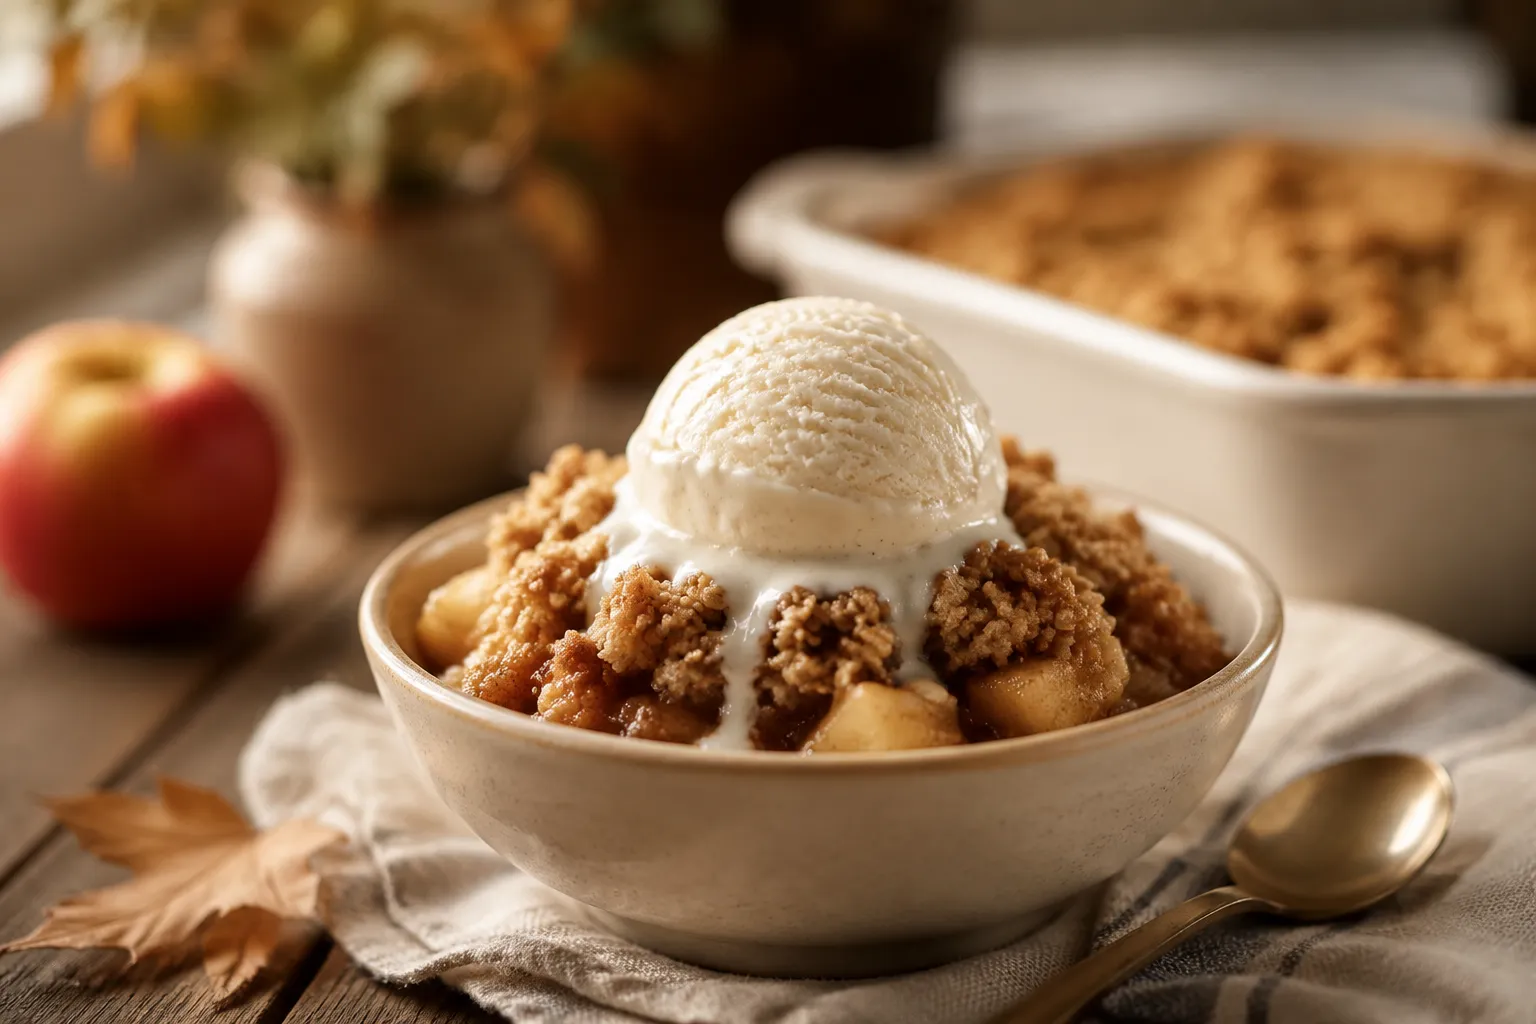
While this dessert is undeniably spectacular on its own, the way you serve it can take it from a humble home bake to a restaurant-quality experience. The contrast of temperatures and textures is what makes a warm fruit dessert so appealing. Serving it fresh from the oven while the apples are still steaming and the topping is at its crispiest is highly recommended. To truly push it over the edge, crown each warm bowl with a generous drizzle of warm brown butter caramel sauce. The nutty, rich caramel notes echo the brown sugar in the topping, creating a flavor profile that is impossibly cozy and decadent.
To get that bakery-style finish in your recipe for apple crumble using oats, temperature is everything. The friction of your hands can quickly warm up the butter while you are mixing the topping. If you feel the butter getting too soft or greasy, simply pop the bowl of topping into the refrigerator for ten minutes before scattering it over the apples. Cold butter hits the hot oven and creates steam, which results in a flakier, crispier topping. Additionally, forming those large clumps by squeezing the mixture in your fists before sprinkling it on ensures you get substantial, crunchy bites rather than a powdery, sandy finish.
One of the greatest advantages of this dessert is how accommodating it is for busy schedules, especially around Thanksgiving or Christmas. You can easily prep the entire dish ahead of time. Simply assemble the apples and the topping in your baking dish, cover it tightly, and keep it in the refrigerator for up to 24 hours before you plan to bake it. When it is time for dessert, just pop it straight into the oven, adding a few extra minutes to the baking time to account for the chilled dish. I hope this becomes your go-to recipe for apple crumble using oats whenever the craving for a cozy, fruit-filled dessert strikes.
This versatile dessert is incredibly forgiving and easy to adapt to various dietary needs or flavor preferences. Feel free to get creative with your additions!
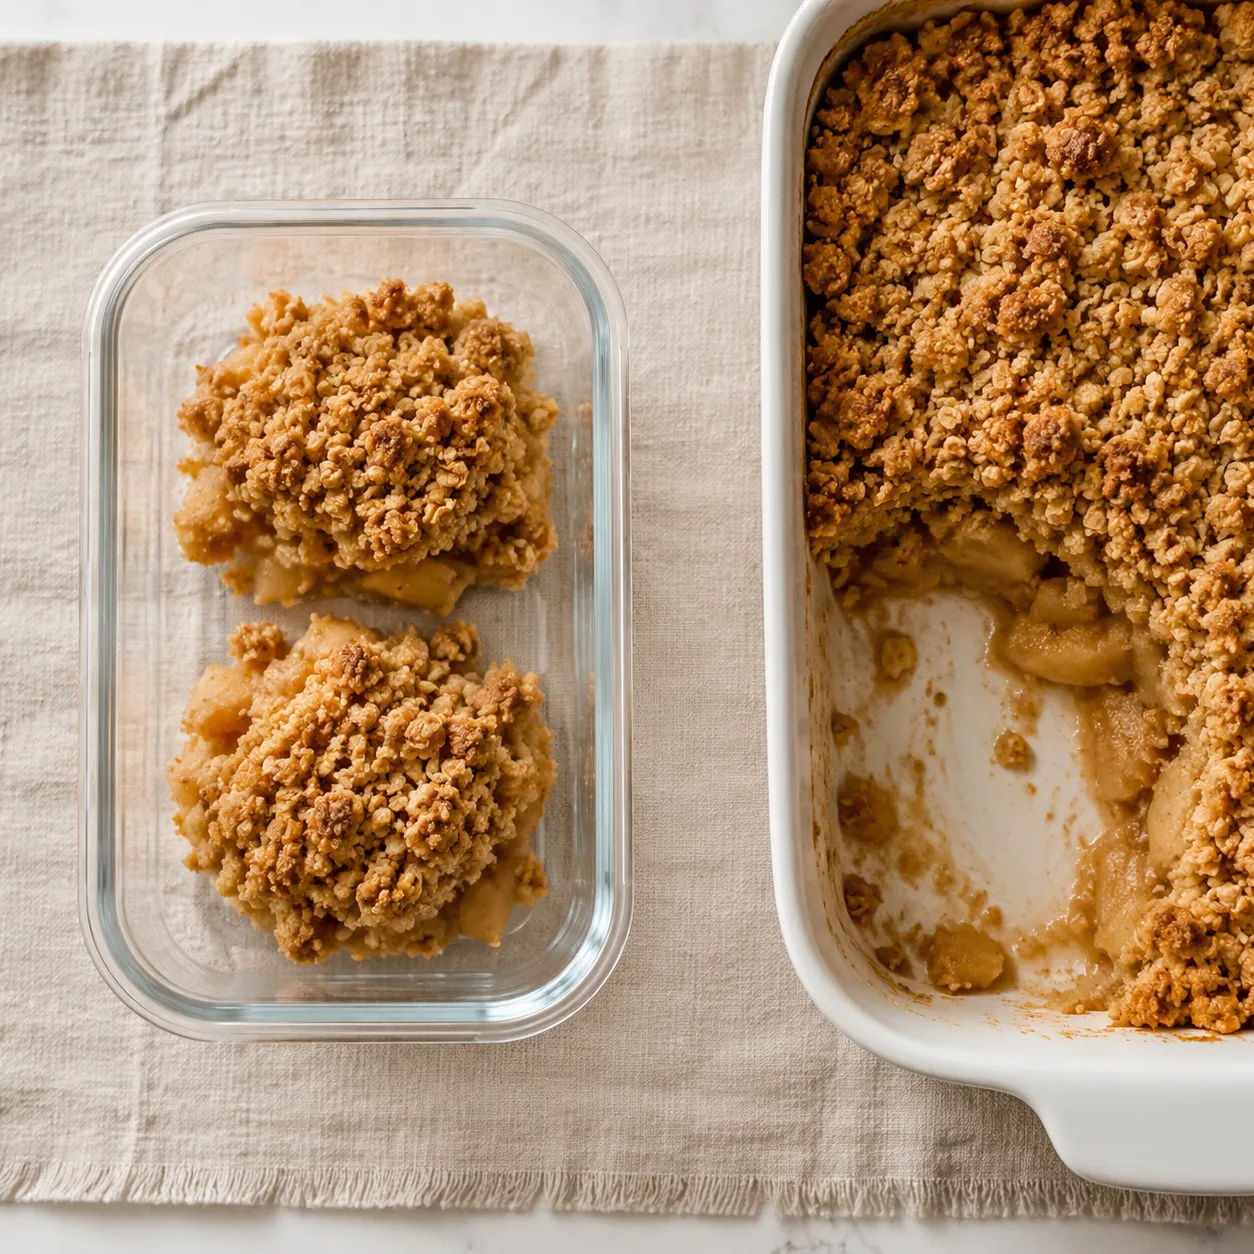
Refrigerator Storage: Allow any leftovers to cool completely to room temperature before covering the baking dish tightly with plastic wrap or transferring portions to an airtight container. It will keep well in the refrigerator for up to 4 days. The topping will soften slightly in the fridge, but the flavors will deepen.
Freezing and Reheating: You can freeze the unbaked crumble for up to 3 months; just bake it straight from frozen, adding 15-20 minutes to the total time. To reheat baked leftovers and restore that signature crispy topping, place portions in a 350°F (175°C) oven for 10-15 minutes. Microwaving is faster but will result in a softer oat layer.