Classic Custard Recipe: Silky, Foolproof Vanilla Custard
Ingredients
Scale
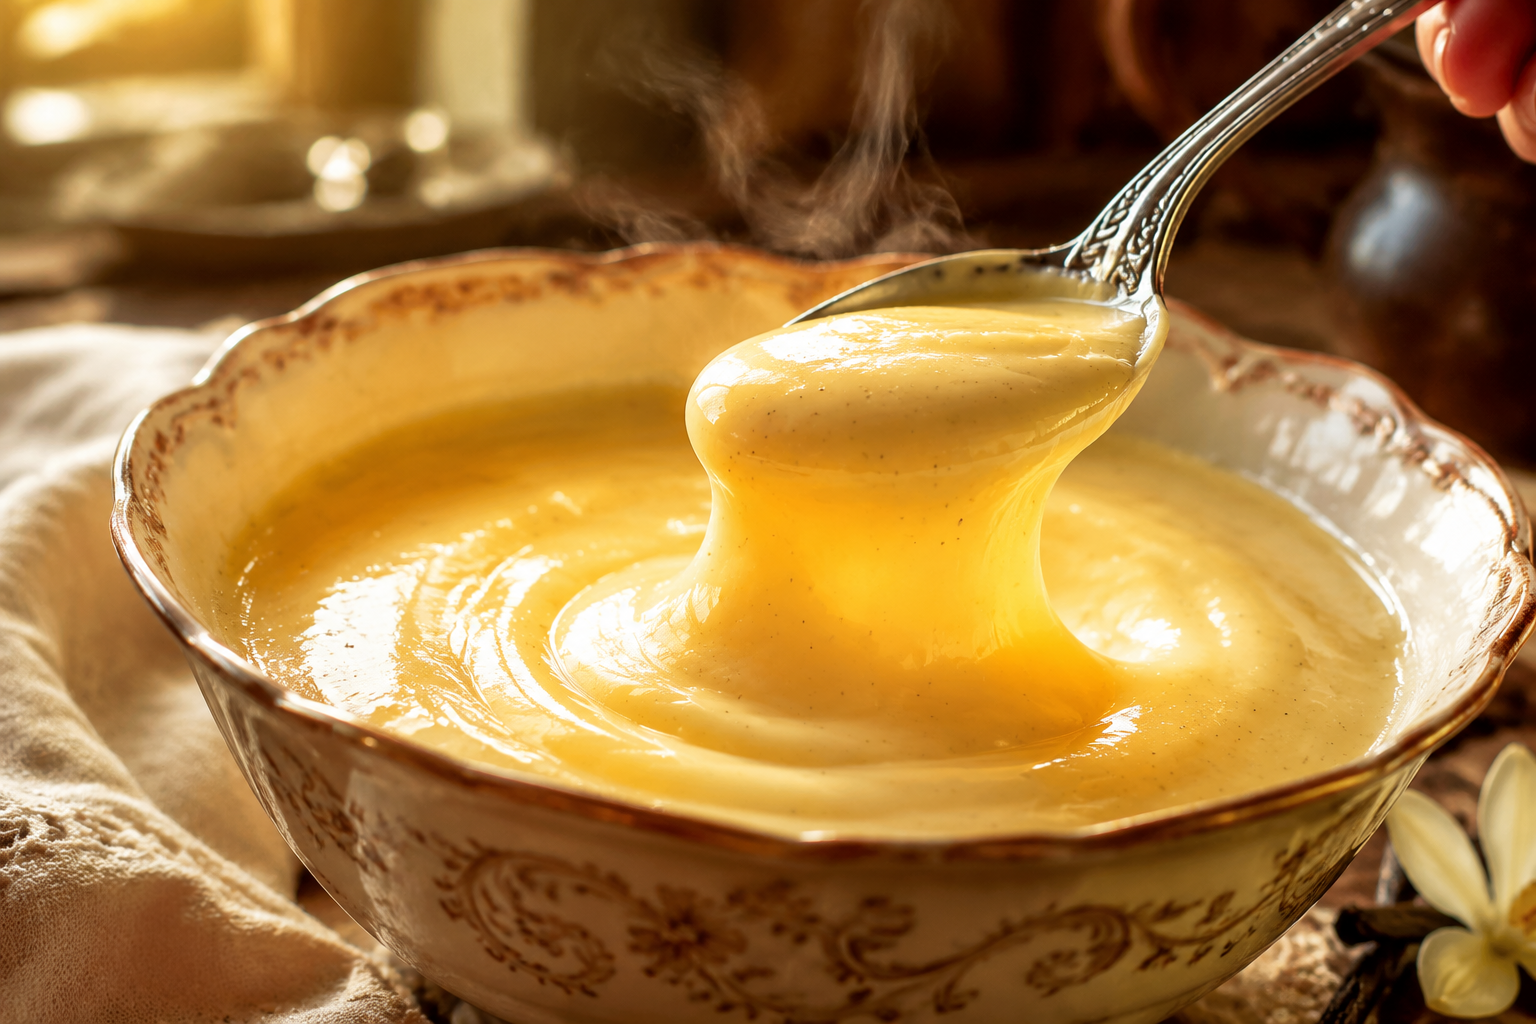
A silky, foolproof custard recipe made with eggs, milk, sugar, and vanilla. Spoon it warm, chill it for pudding, or pour it into a pie shell.
This classic custard recipe is the kind of old-school dessert that quietly steals the show — pale gold, glossy, and so silky it slips off the spoon in slow ribbons. It's built on six pantry staples and a little patience at the stove, and once you understand the rhythm of it, you'll find yourself making it on a Tuesday night just because. Spoon it warm over berries, chill it like pudding, or pour it into a blind-baked pie shell and call it Sunday dessert.
I learned to make custard the way most home cooks do — by curdling a couple of batches first. The fix turned out to be simple: lower heat than you think, more whisking than feels necessary, and a thermometer when you're learning the visual cues. The version below borrows the silkiness of a French creme anglaise but stays sturdy enough to set into a sliceable pie. One technique, two desserts, zero drama.
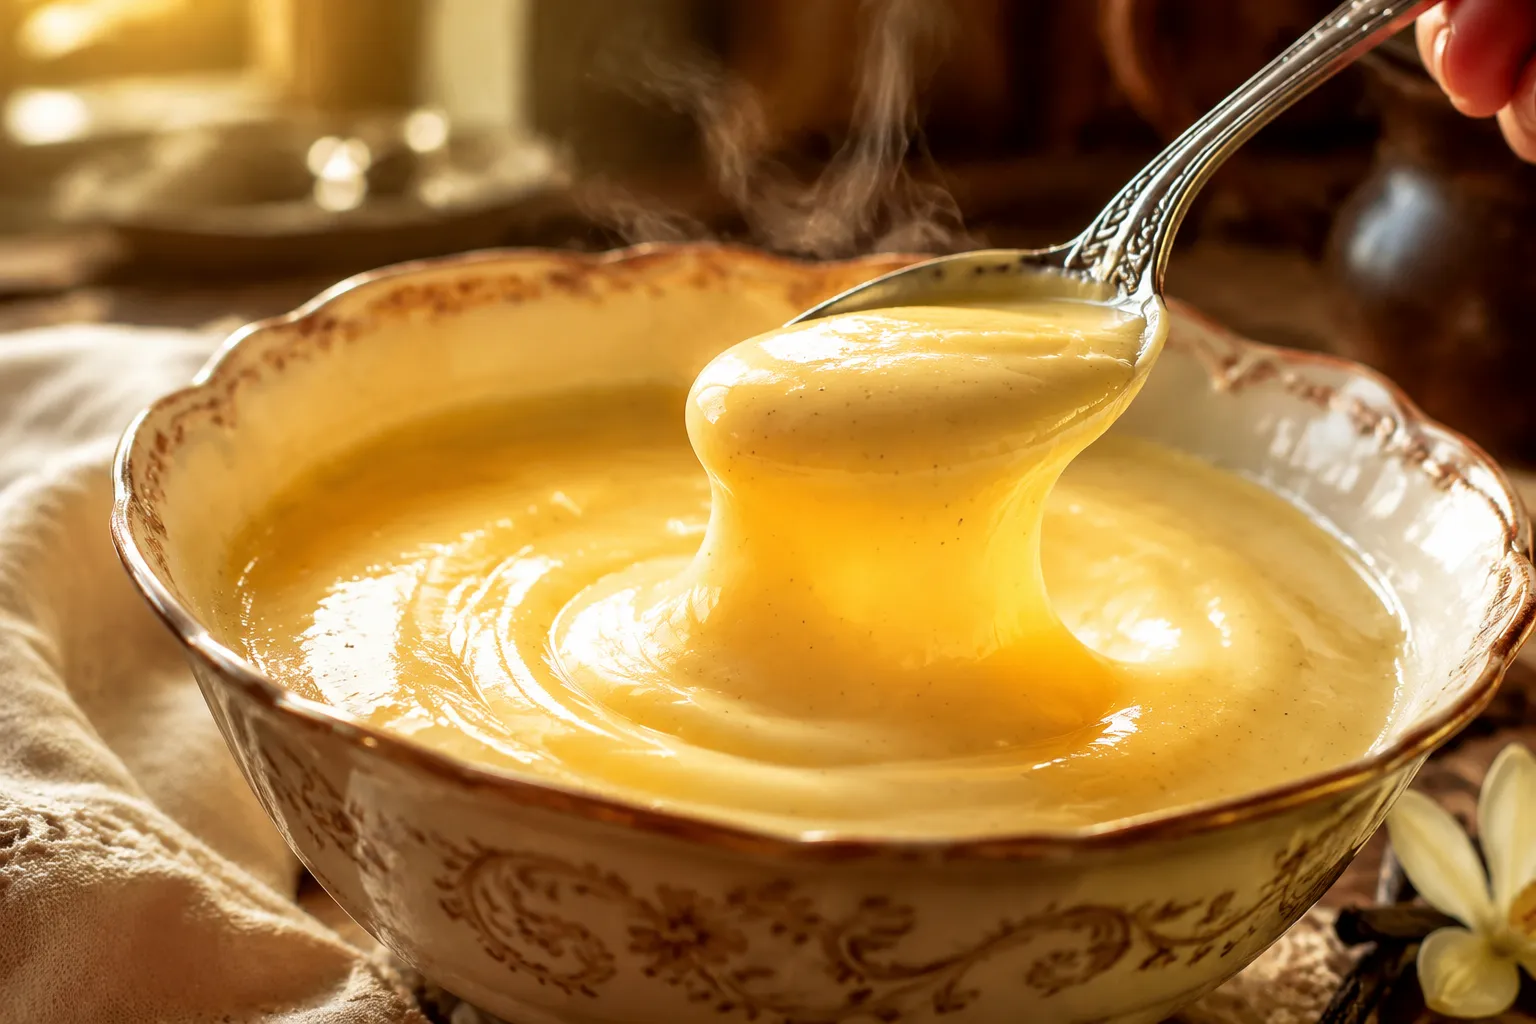
If you've been burned by gritty, eggy, or weepy results before, stay with me. The recipe spells out the doneness window in degrees, in seconds, and in the look of a coated wooden spoon, so you can lean on whichever cue feels most natural. By the end, you'll have a master vanilla custard you can riff on for years.
Texture is everything here, and a few small choices stack up to that satiny, restaurant-style mouthfeel. First, this is a yolk-only base — no whites — which keeps the custard rich and tender instead of rubbery. Second, the dairy is a mix of whole milk and a splash of heavy cream, so it tastes luxurious without sliding into ice-cream-base territory. And third, we cook it gently on the stovetop, never letting it cross the line into scrambled eggs.
Compared to a classic boxed pudding, this homemade custard tastes cleaner and more vanilla-forward because there's no cornstarch muddying the flavor. It's also more delicate than American-style homemade pudding, which leans on starch for body. If you've ever made pastry cream for eclairs, you'll recognize the technique, just without the flour and with a softer, pourable finish.
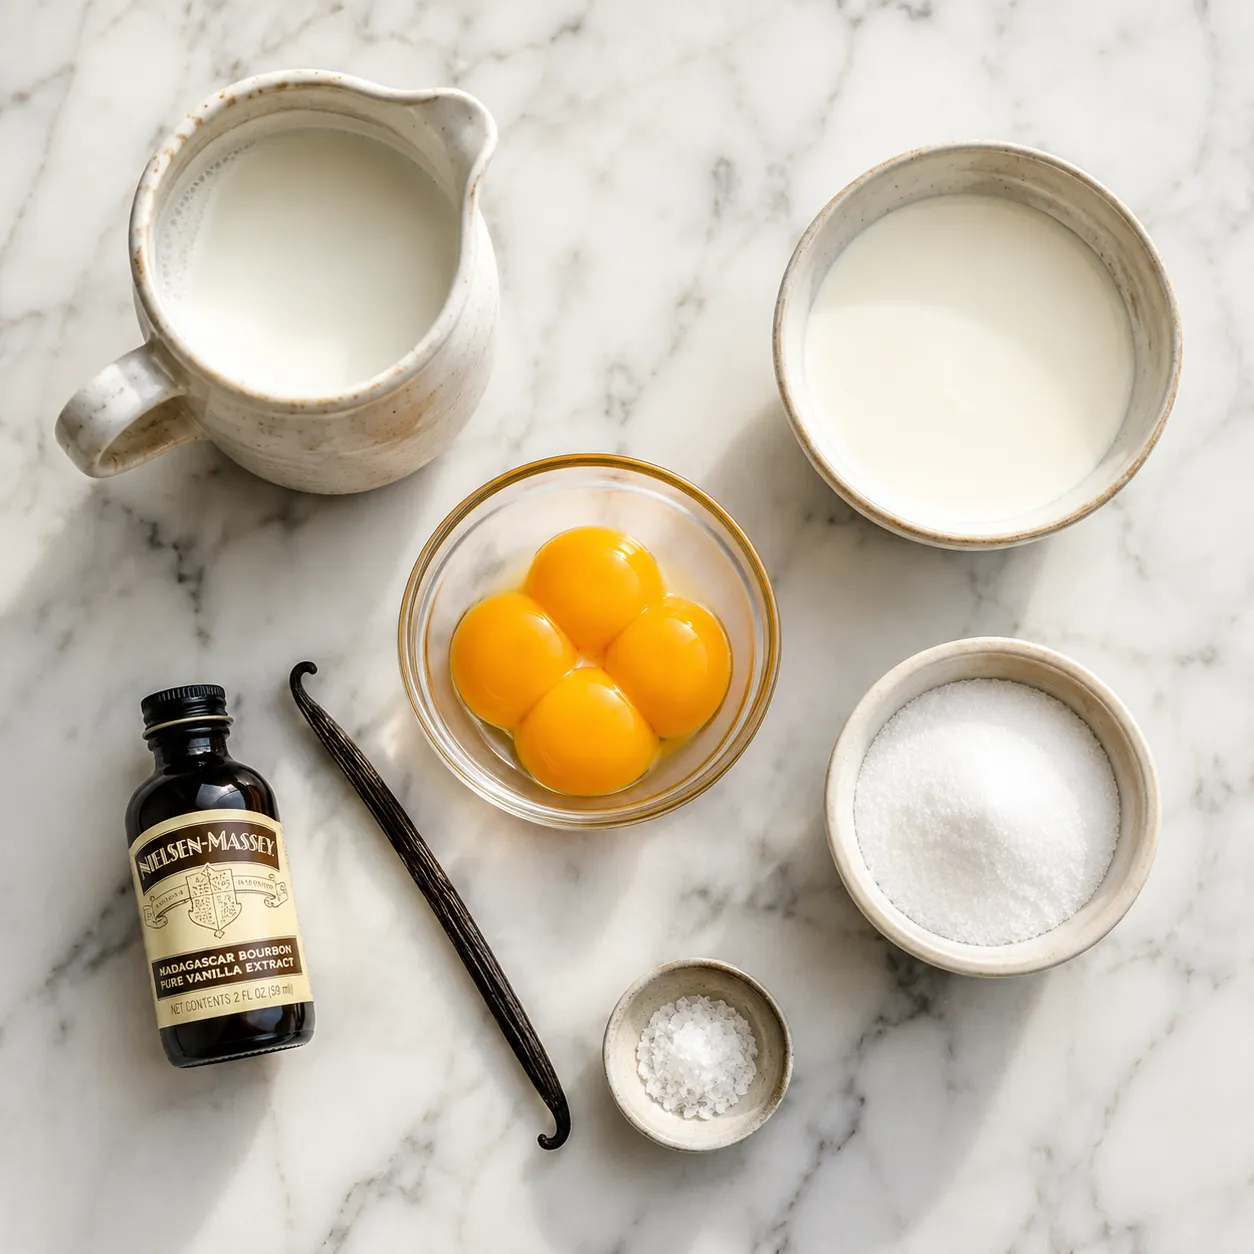
Each ingredient pulls real weight in this custard recipe, so quality matters more than quantity. The good news is the list is short.
The whole process takes about 30 minutes, and most of that is gentle stirring. Set everything out before you start the heat — once the milk is warm, you'll want to move without rummaging through drawers.
Combine the milk and cream in a heavy-bottomed saucepan and warm it over medium-low heat until it's steaming and just barely beginning to bubble at the edges, about 5 to 7 minutes. You're not boiling it; you just want it hot enough that pouring it into the yolks will cook them gently. A heavy pan really helps here, because thin pans create hot spots that scorch the lactose and give you that off, scalded flavor.
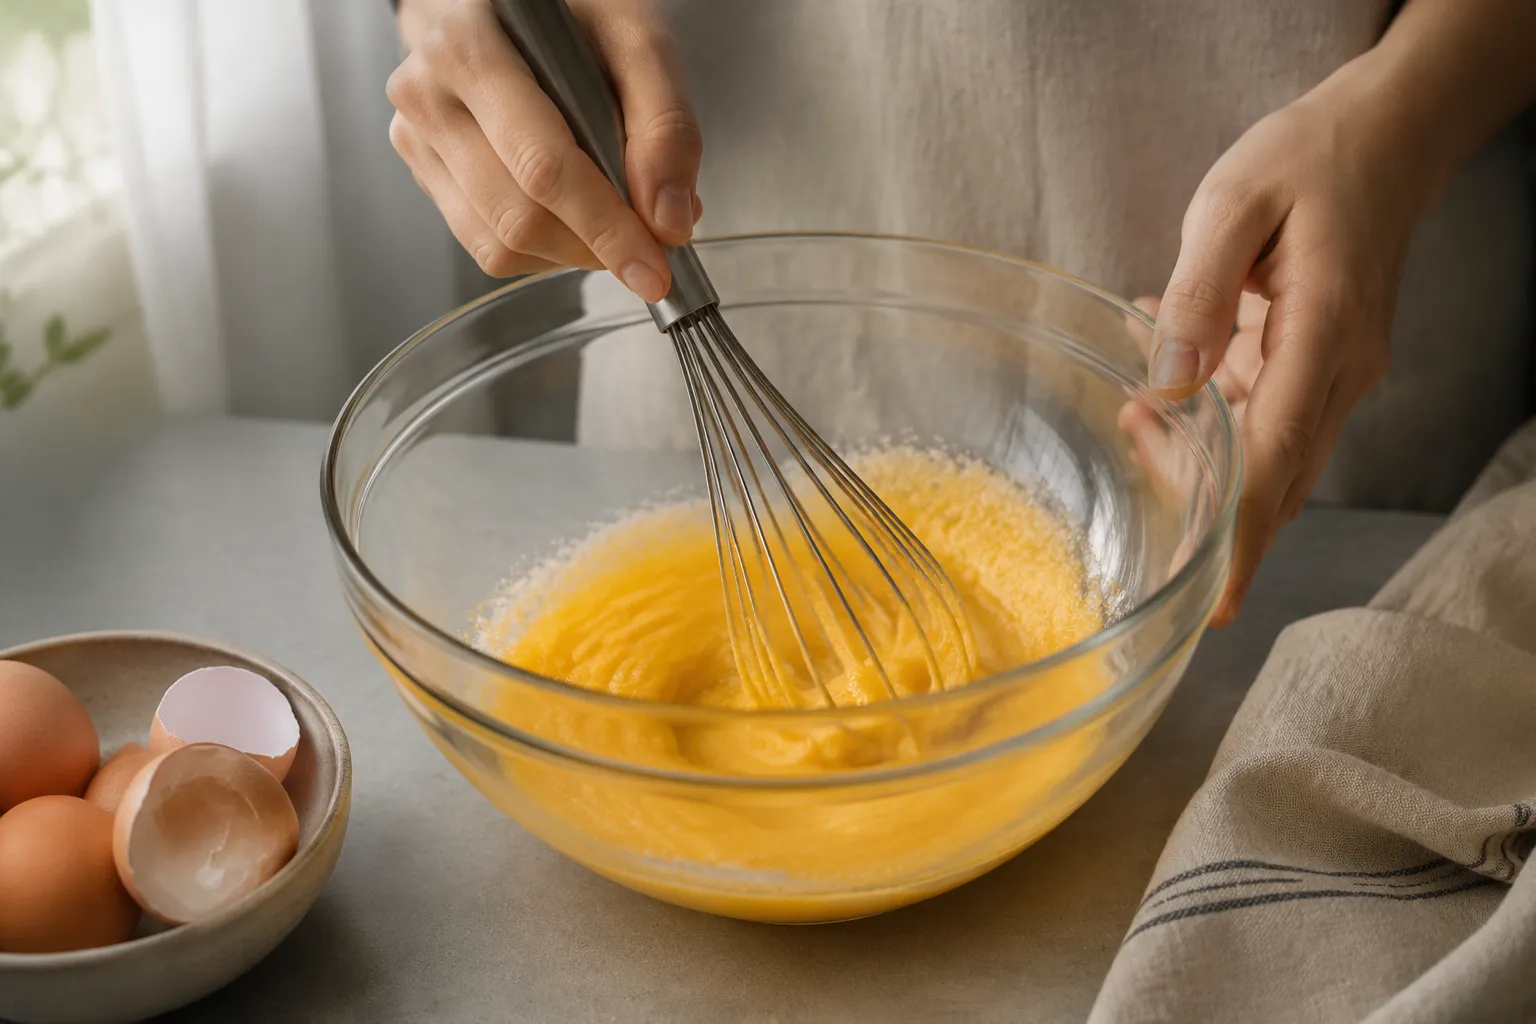
While the dairy warms, whisk the egg yolks, sugar, and salt in a medium bowl until the mixture turns pale yellow and falls in slow ribbons from the whisk, about 60 seconds. The sugar isn't just sweetener at this stage — it physically coats the yolks so they don't seize when the hot milk hits them. Don't skip this step or rush it; an underwhisked base is the number one cause of grainy custard.
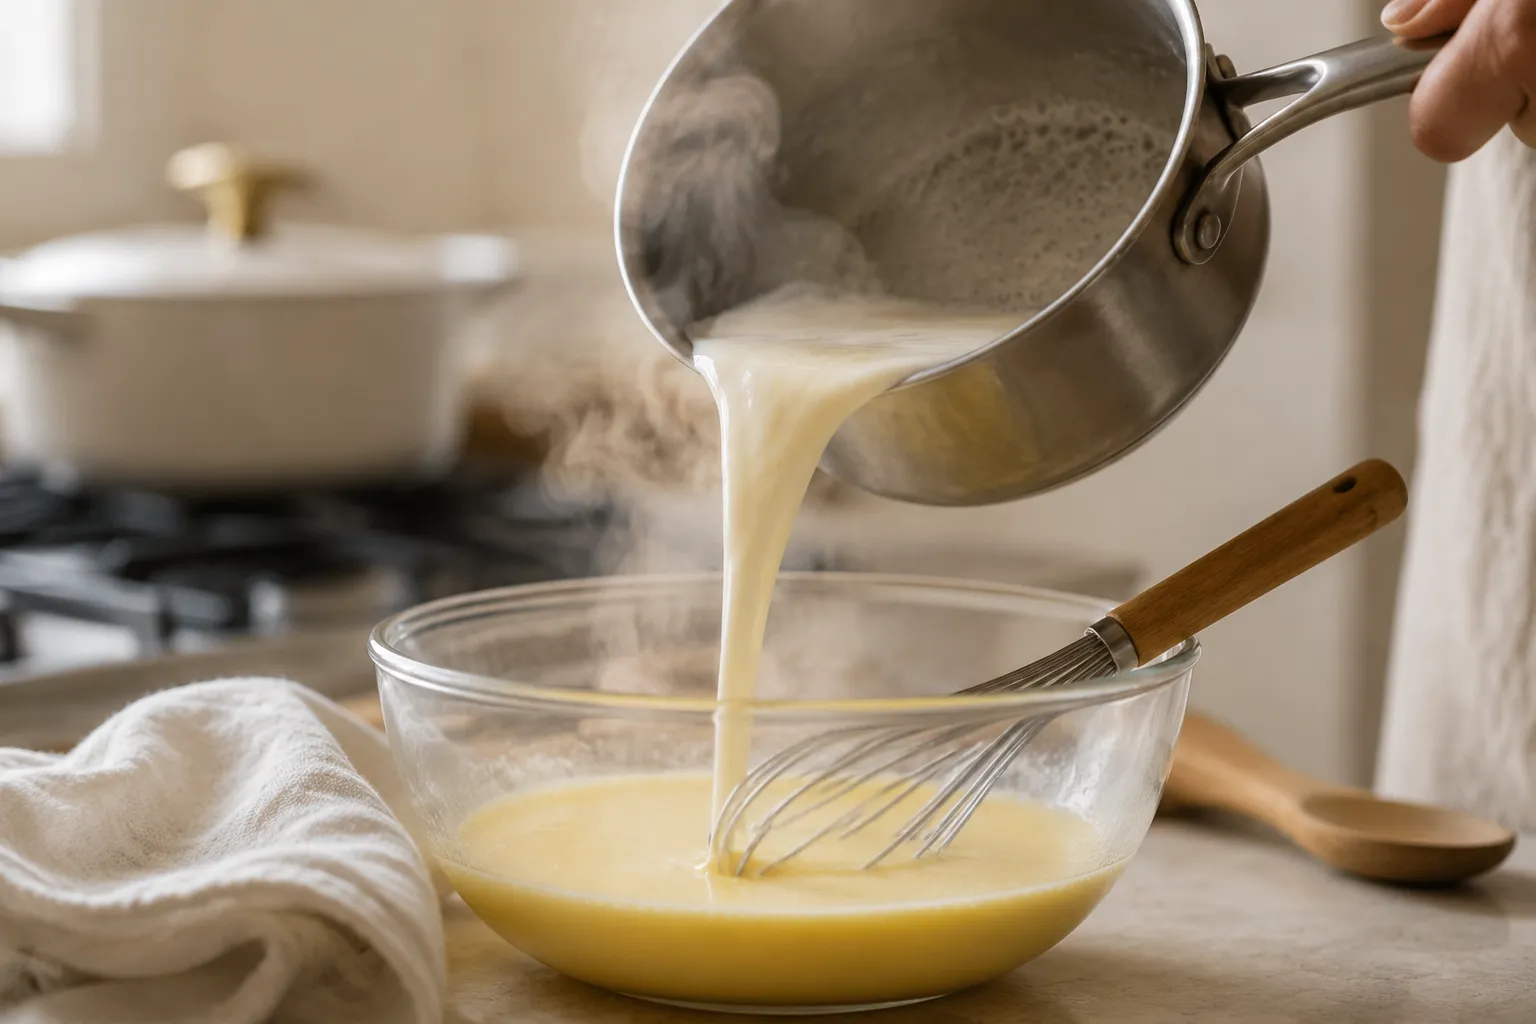
This is the step home cooks fear most, and it's genuinely simple. With one hand whisking the yolk mixture nonstop, use the other to slowly stream in about a cup of the warm dairy. You're raising the temperature of the eggs gradually so they don't scramble. Once that first cup is in and the bowl feels warm to the touch, you can pour the tempered yolks back into the saucepan with the rest of the dairy. Tempering eggs is the single technique that separates silky custard from sweet scrambled eggs.
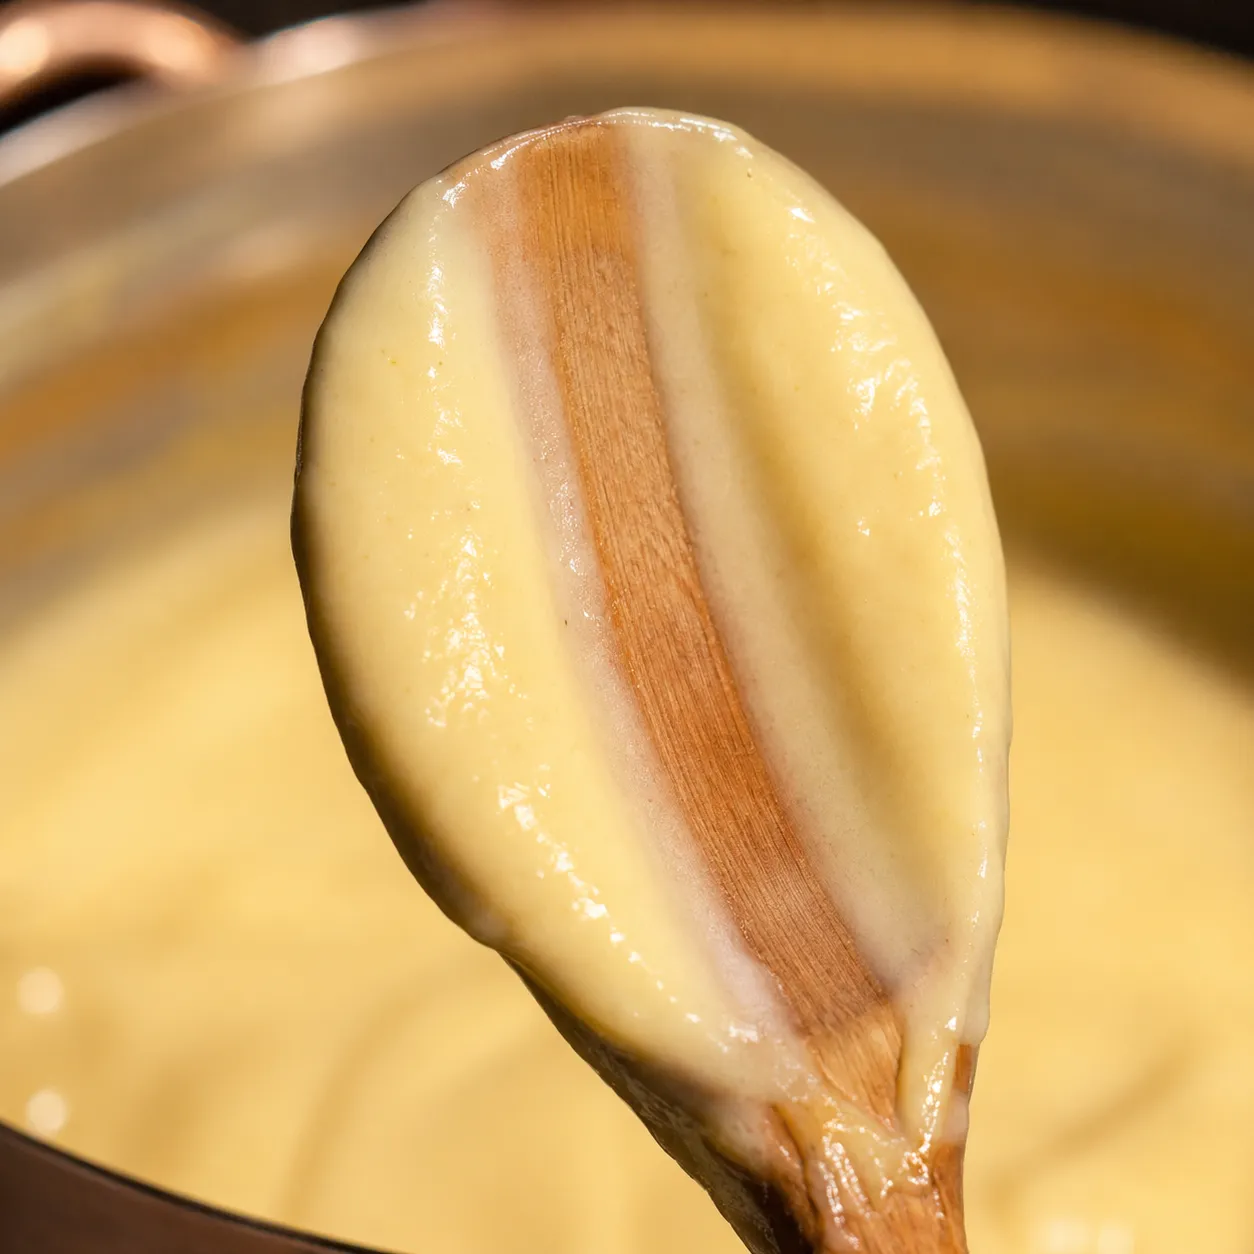
Set the pan over low heat and stir constantly with a silicone spatula or wooden spoon, scraping the bottom and corners. After 5 to 8 minutes, the custard will thicken enough to coat the back of the spoon — drag a finger across, and the line should hold without the custard running back to fill it. If you're using a thermometer, pull it at 175 to 180°F. Any hotter and the proteins start to seize.
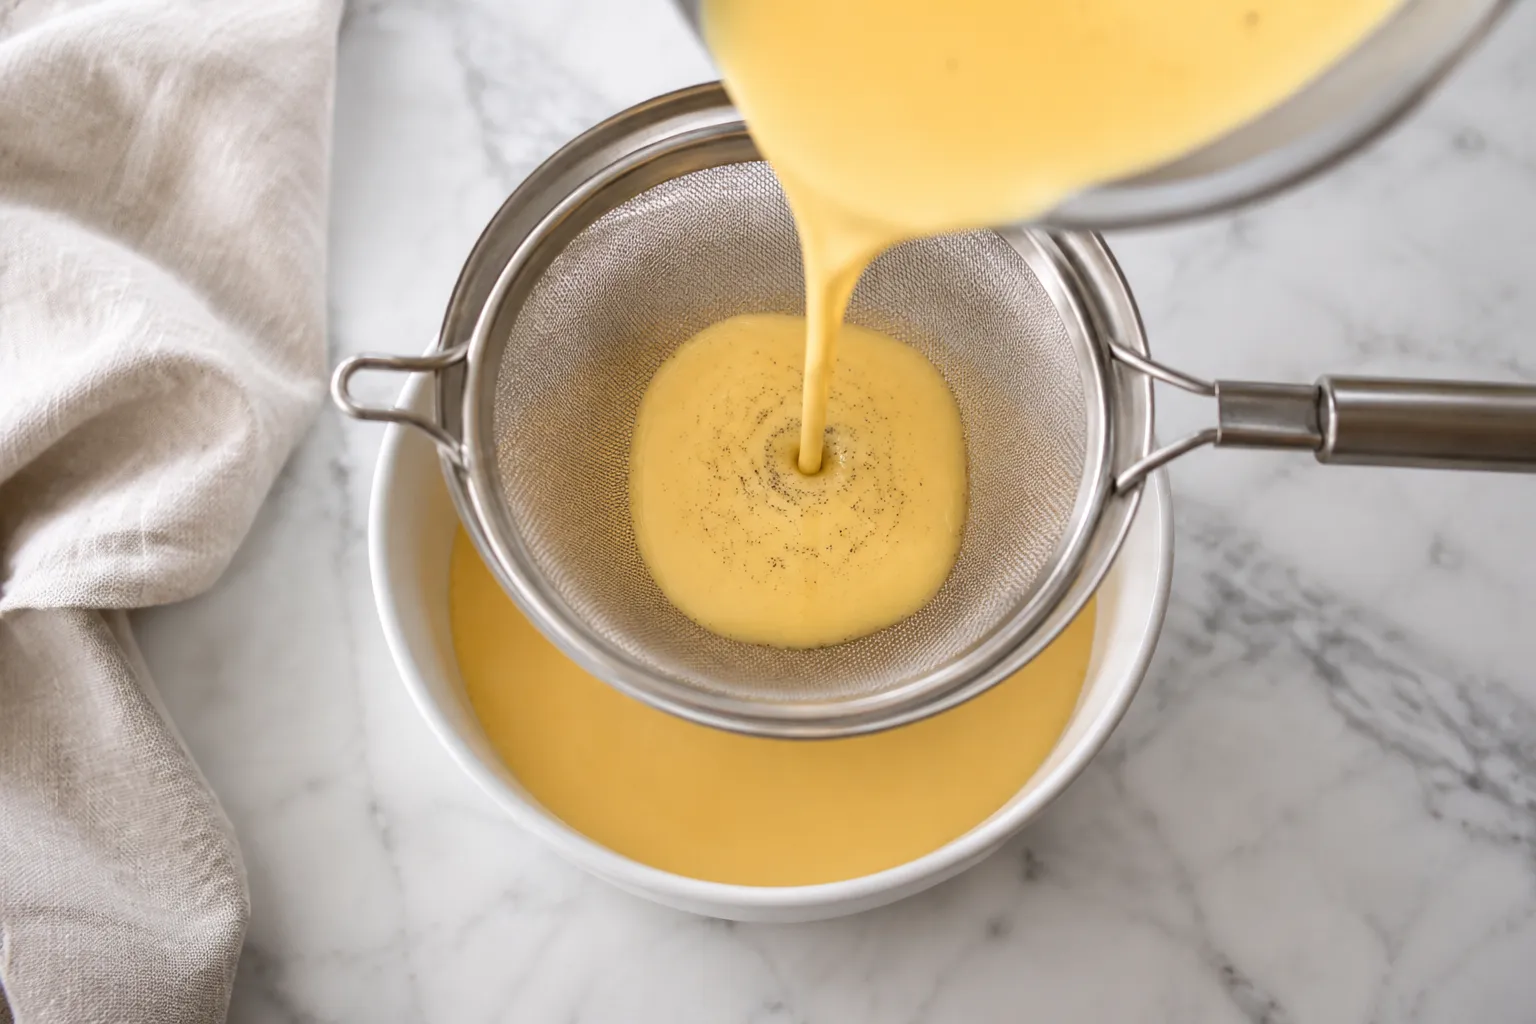
Off the heat, stir in the vanilla extract, then pour the custard through a fine mesh sieve into a clean bowl. Straining catches the chalazae (those little white bits attached to yolks) and any micro-curdled spots, which is the secret to professional-feeling smoothness. From here you can serve it warm, chill it for pudding-style cups, or pour it into a pie shell. If you've ever made creme anglaise for ice cream or pots de creme, this base will feel like an old friend.
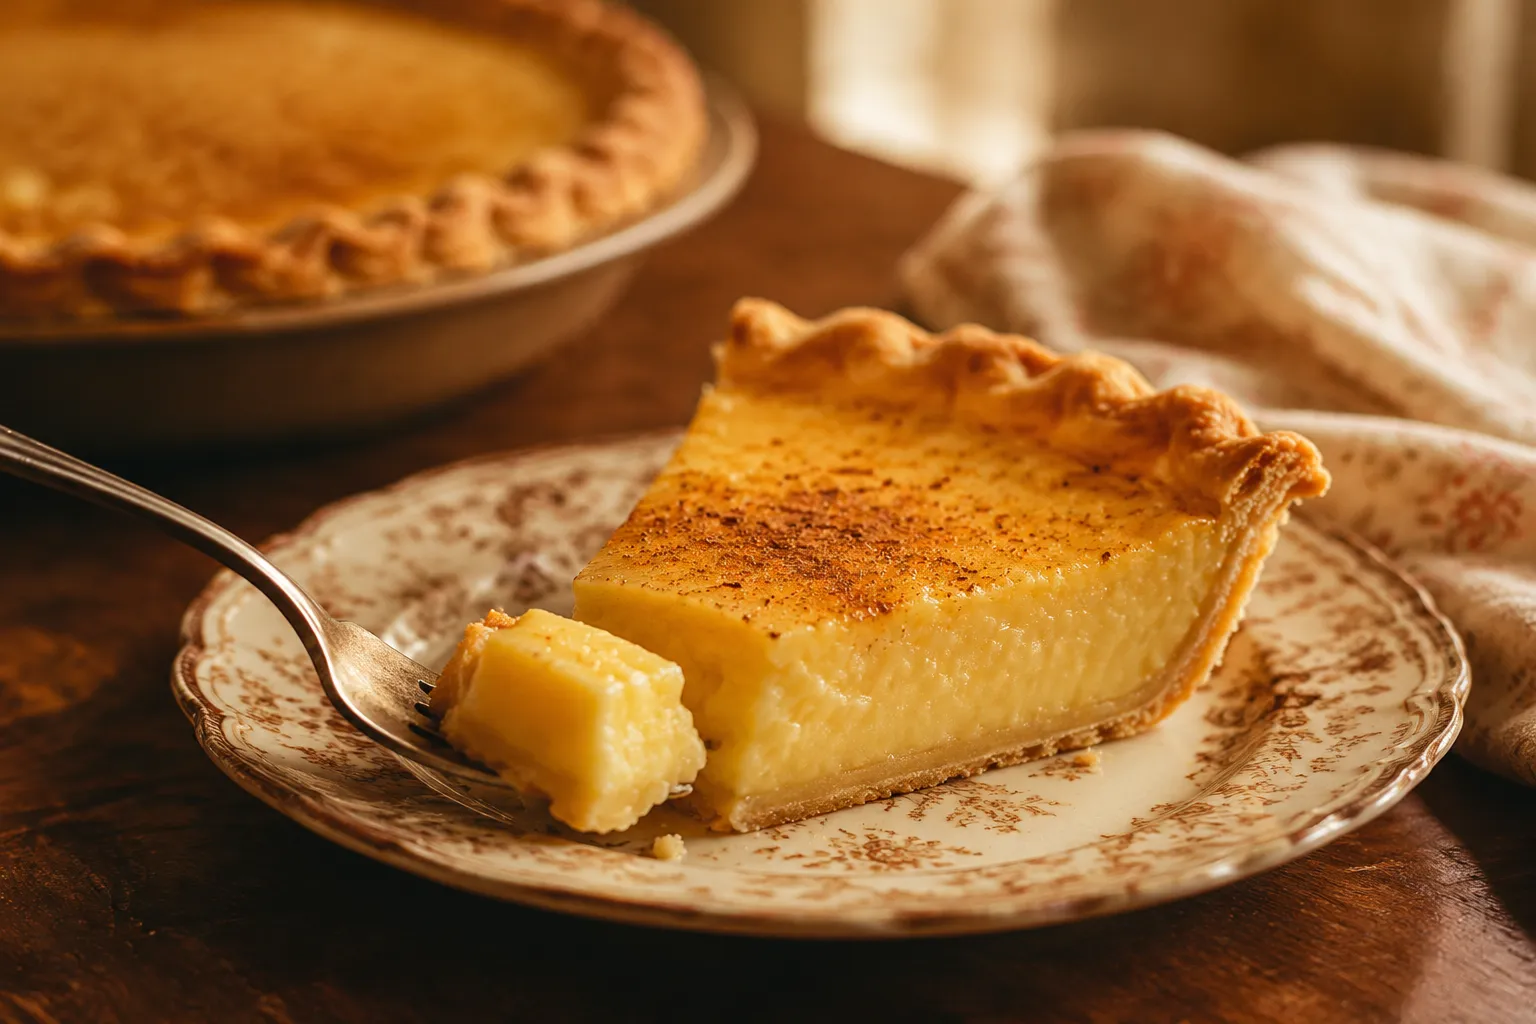
This same base doubles as the filling for a beautifully old-fashioned custard pie recipe. Start with a fully blind-baked, cooled 9-inch pie crust — this is non-negotiable, because a custard filling won't crisp up a raw bottom on its own. Pour the warm strained custard into the shell, dust the top with a whisper of fresh nutmeg, and bake at 325°F for 35 to 40 minutes, until the edges are set but the center still has a 2-inch wobble when you nudge the pan.
The pie sets fully as it cools, so resist the urge to bake it until the middle is firm. A jiggle now means a sliceable, custardy pie later; a still center means a cracked, overcooked pie. Cool it on the counter for an hour, then chill at least four hours before slicing. Serve cold with barely sweetened whipped cream or a few macerated strawberries on the side.
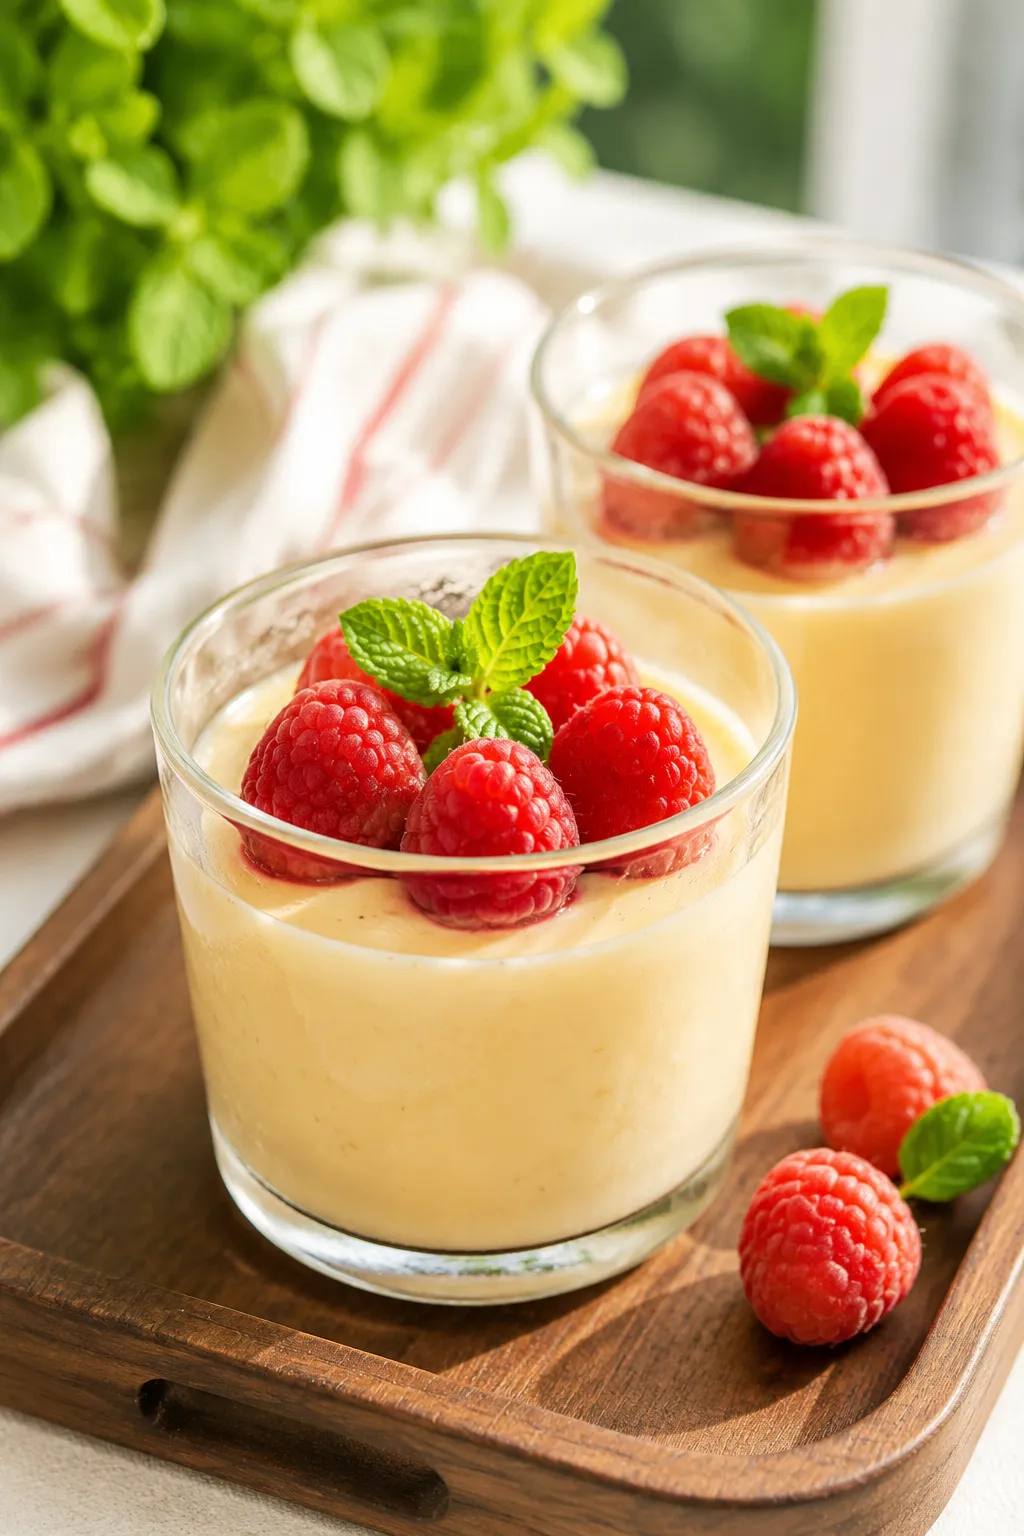
Warm custard is its own dessert — pour it over a wedge of pound cake, a roasted pear, or a wobbly bowl of stewed rhubarb and you have something that feels like a proper restaurant plate in five minutes. Chilled, it slides into little glass cups with fresh raspberries and a mint sprig for a make-ahead dinner-party trick. It's also the perfect pairing for a fudgy brownie or a thick slice of banana bread when you want something a notch more refined than a scoop of ice cream.
For the holidays, I like to spoon it warm next to apple crisp or a slice of sticky toffee pudding. It dresses up everything it touches, which is exactly what a good custard recipe is supposed to do.
Custard rewards attention but doesn't demand expertise — once you've made it twice, it'll feel as routine as scrambling eggs. Use the lowest heat your patience allows, keep the whisk moving, and remember that you can always strain your way out of a slightly imperfect batch. The first spoonful, glossy and warm and tasting of real vanilla, will tell you everything you need to know about why this dessert has stayed in rotation for two centuries.
Once the master base is in your pocket, the flavor doors open wide. Each variation works with the same technique — just swap or add ingredients at the moments noted below.
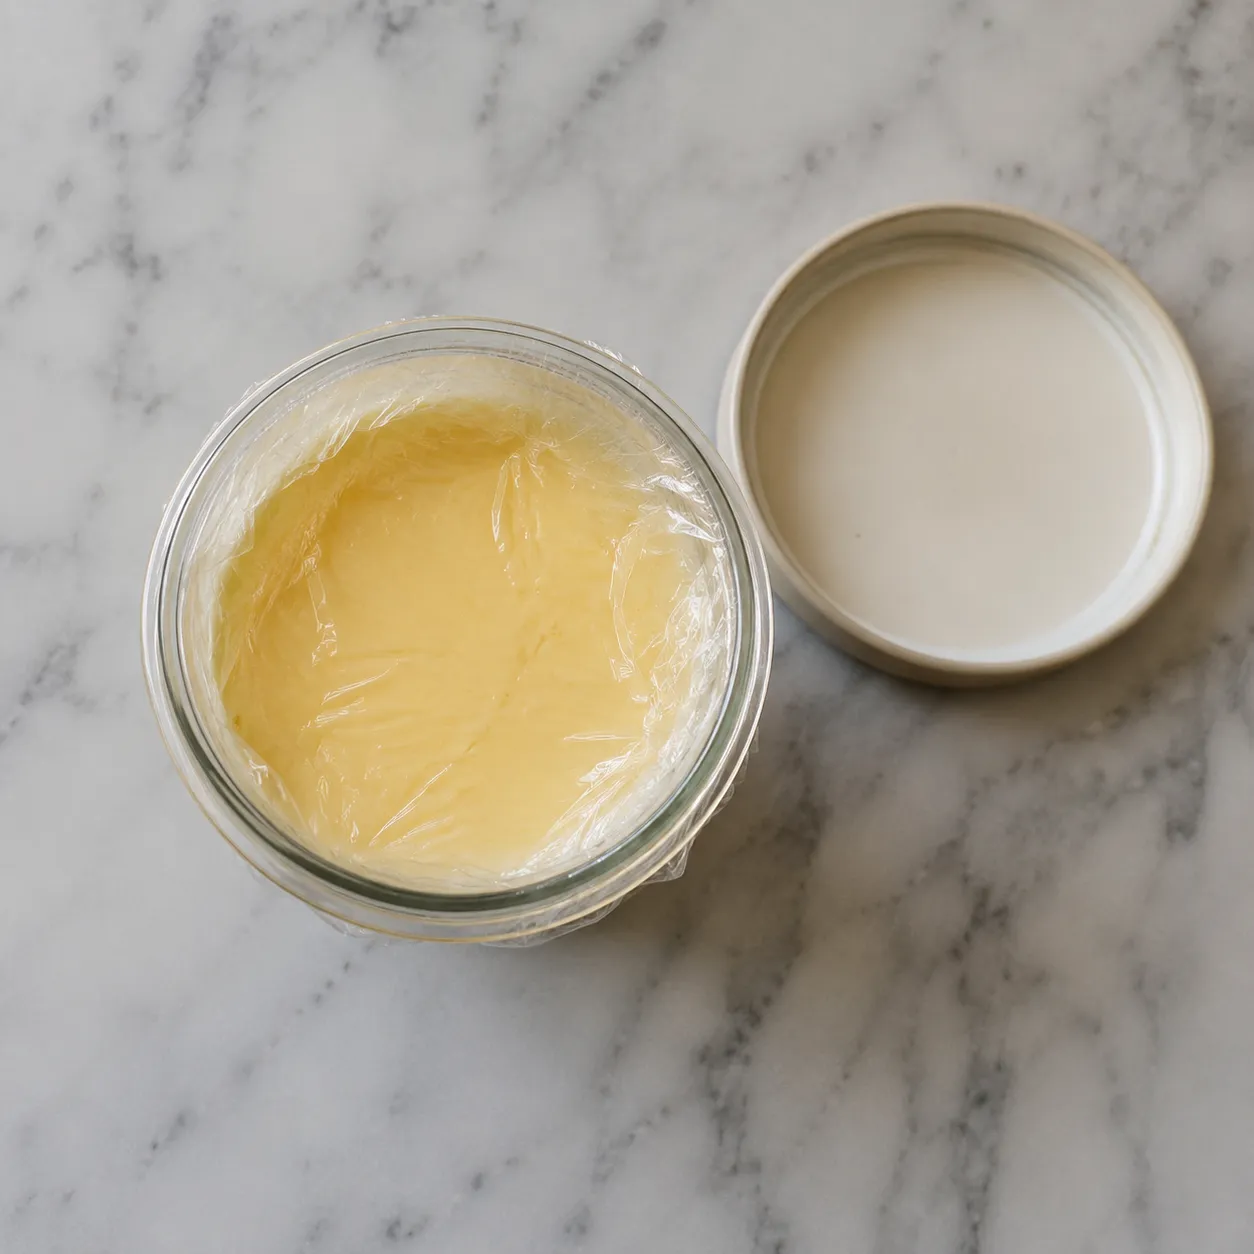
Transfer leftover custard to an airtight container or a clean glass jar and press a piece of plastic wrap directly onto the surface — this stops a rubbery skin from forming as it chills. Stored this way, it keeps in the refrigerator for up to 3 days. Give it a quick whisk before serving to bring back the smooth, pourable texture; it can thicken slightly as it sits.
Freezing isn't ideal for stovetop custard. The dairy and eggs separate as they thaw, leaving a grainy, weepy texture that can't really be whisked back. If you've baked the custard into a pie, the pie holds in the fridge for 2 to 3 days but doesn't freeze well either. To gently rewarm leftovers, set the container in a bowl of warm water and stir, or microwave in 15-second bursts at 50% power, stirring between each — high heat will scramble it all over again.