Homemade Vanilla Wafers: Crisp, Buttery Cookies from Scratch
Ingredients
Scale
These homemade vanilla wafers are crisp, buttery, and packed with real vanilla flavor. One bowl, pantry staples, and better than any boxed version.
These homemade vanilla wafers are the cookie I never knew I needed to make from scratch, until I did, and now there's no going back. With shatter-crisp golden edges, tender domed centers, and the kind of pure, perfumey sweetness that only real vanilla can deliver, they outshine anything you'd pull off a grocery store shelf. They come together in one bowl with pantry staples, no chilling required, and bake up looking like the boxed kind your grandmother kept on the counter, but tasting infinitely better.
I grew up on the boxed version, mostly tucked into layers of banana pudding at every potluck and Sunday supper. But once you taste a wafer made with real butter and a full tablespoon of pure vanilla extract, the boxed kind starts to taste a little flat. These are crisp where you want crispness, buttery in the middle, and just barely sweet enough to keep eating one after another with a glass of cold milk.
This recipe uses a small piping technique to get those signature uniform domes, the same look as the cookies you remember, but with grown-up flavor and a soft golden color from real ingredients. Whether you're stockpiling them for snacking, building a from-scratch dessert for a crowd, or crushing them into a no-bake crust, this is the version worth keeping in your back pocket.
Most homemade attempts at this cookie go in one of two directions: too soft, basically a sugar cookie, or too hard, closer to a biscotti. The sweet spot lives in between. You want a thin, batter-like dough you can pipe into small rounds that puff slightly, dome on top, and crisp on the bottom and edges while staying just tender at the center. A small amount of softened unsalted butter creamed with sugar gives you that buttery crumb. A single egg adds structure without making the cookie cakey. And a generous pour of pure vanilla extract, yes, a full tablespoon, is what makes these taste like vanilla and not just sweet.
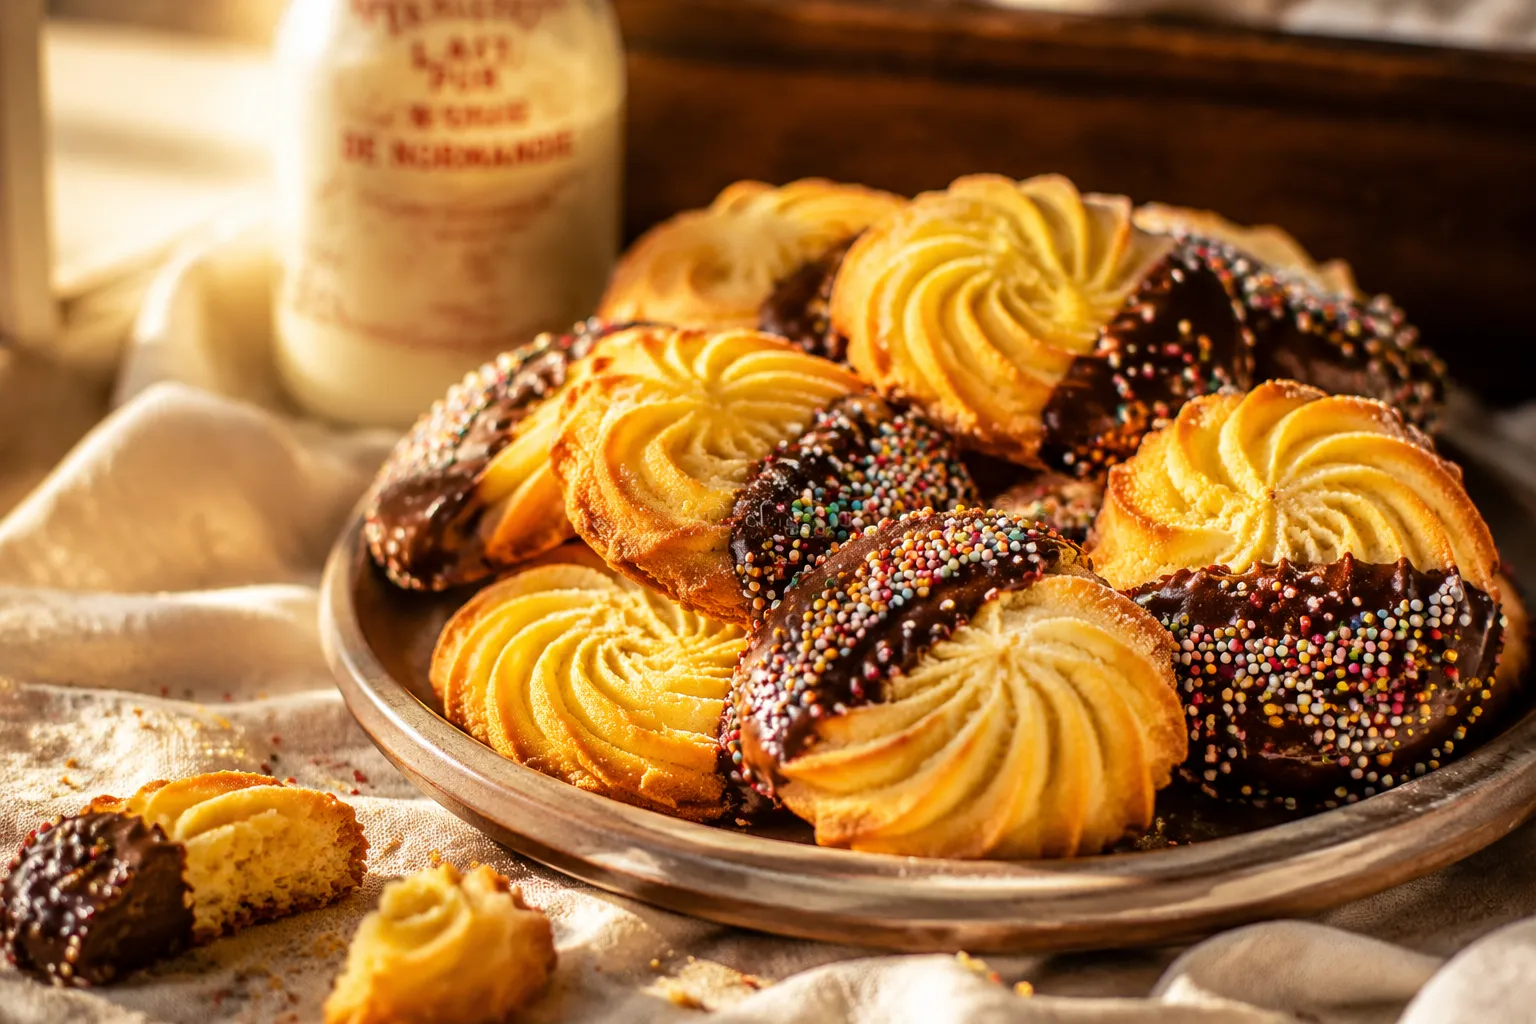
Compared to homemade shortbread cookies, which lean heavy on butter and skip the egg entirely, these vanilla wafer cookies have a lighter, snappier bite with a touch more sweetness. They're closer in spirit to a French langue de chat or a piped Italian wafer, but with that nostalgic American flavor profile we all grew up loving. The piping step does some heavy lifting too — it gives every cookie the same uniform dome and clean rim that makes them stack neatly in a jar and layer evenly in a dessert.
You only need eight pantry ingredients, and the quality of two of them, butter and vanilla, will define the final flavor. Use the best you have on hand, especially the vanilla.
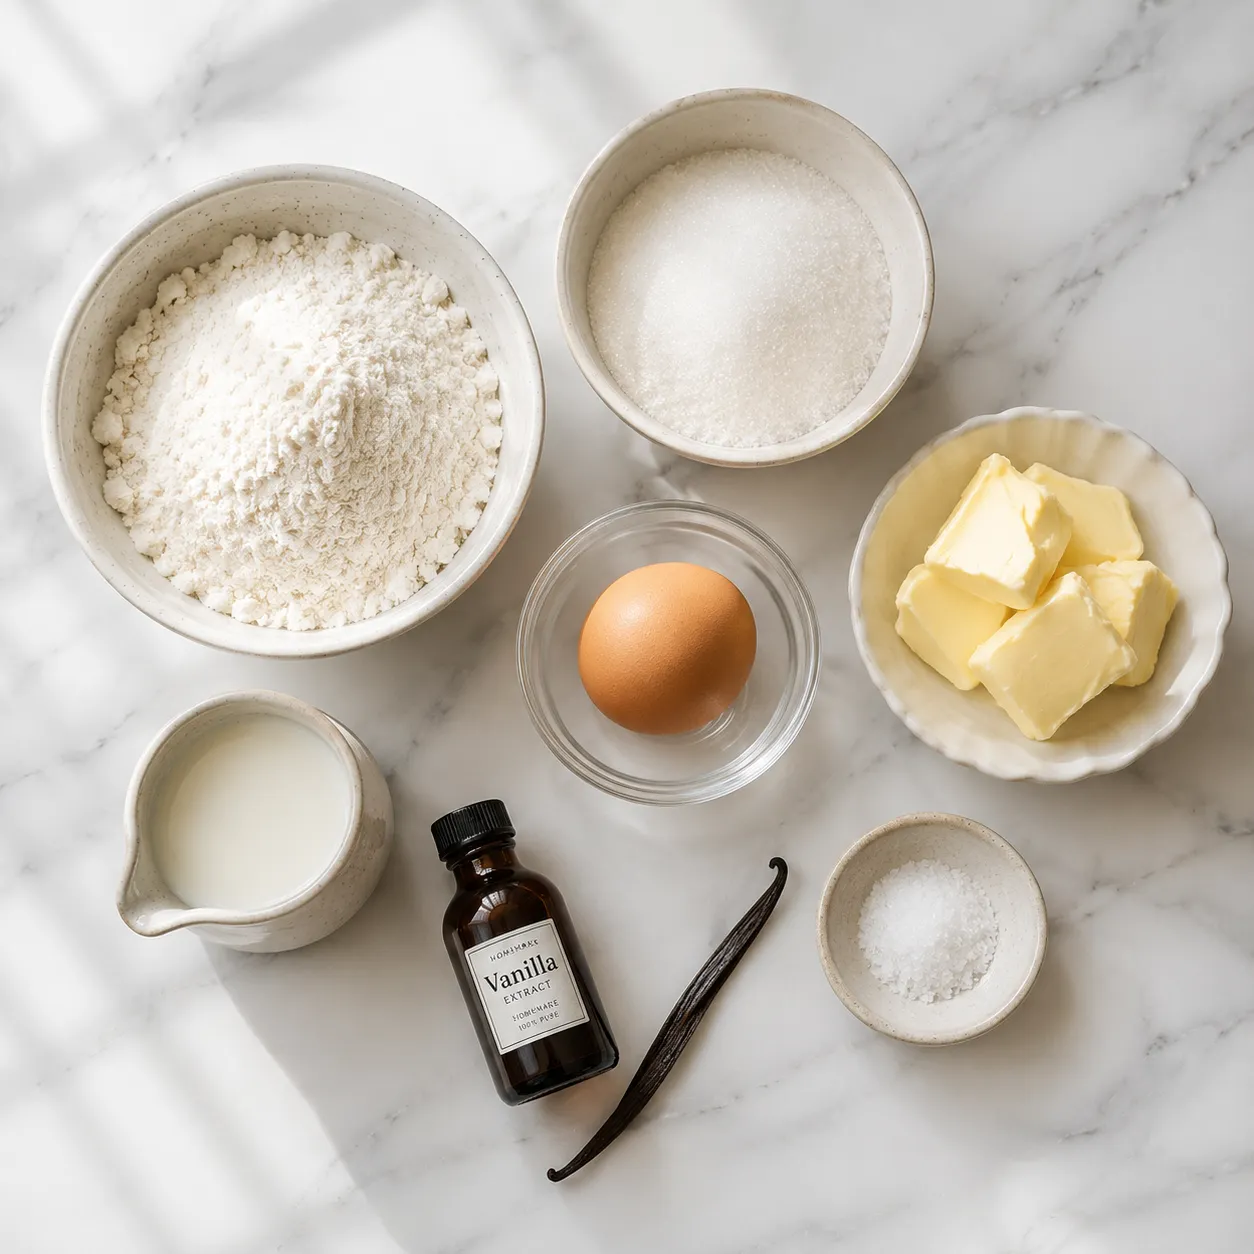
If you'd like to make sugar free cookies in this same style, you can swap the granulated sugar for a 1:1 baking blend made with allulose or erythritol. I've covered that variation in detail in the Variations section below, including a tip for getting cleaner browning out of a sugar substitute.
The whole process takes about 35 minutes from bowl to cooling rack, and you don't need a stand mixer or any special equipment beyond a piping bag (or a zip-top bag with a corner snipped off). Here's the technique that gives you that bakery-perfect look.
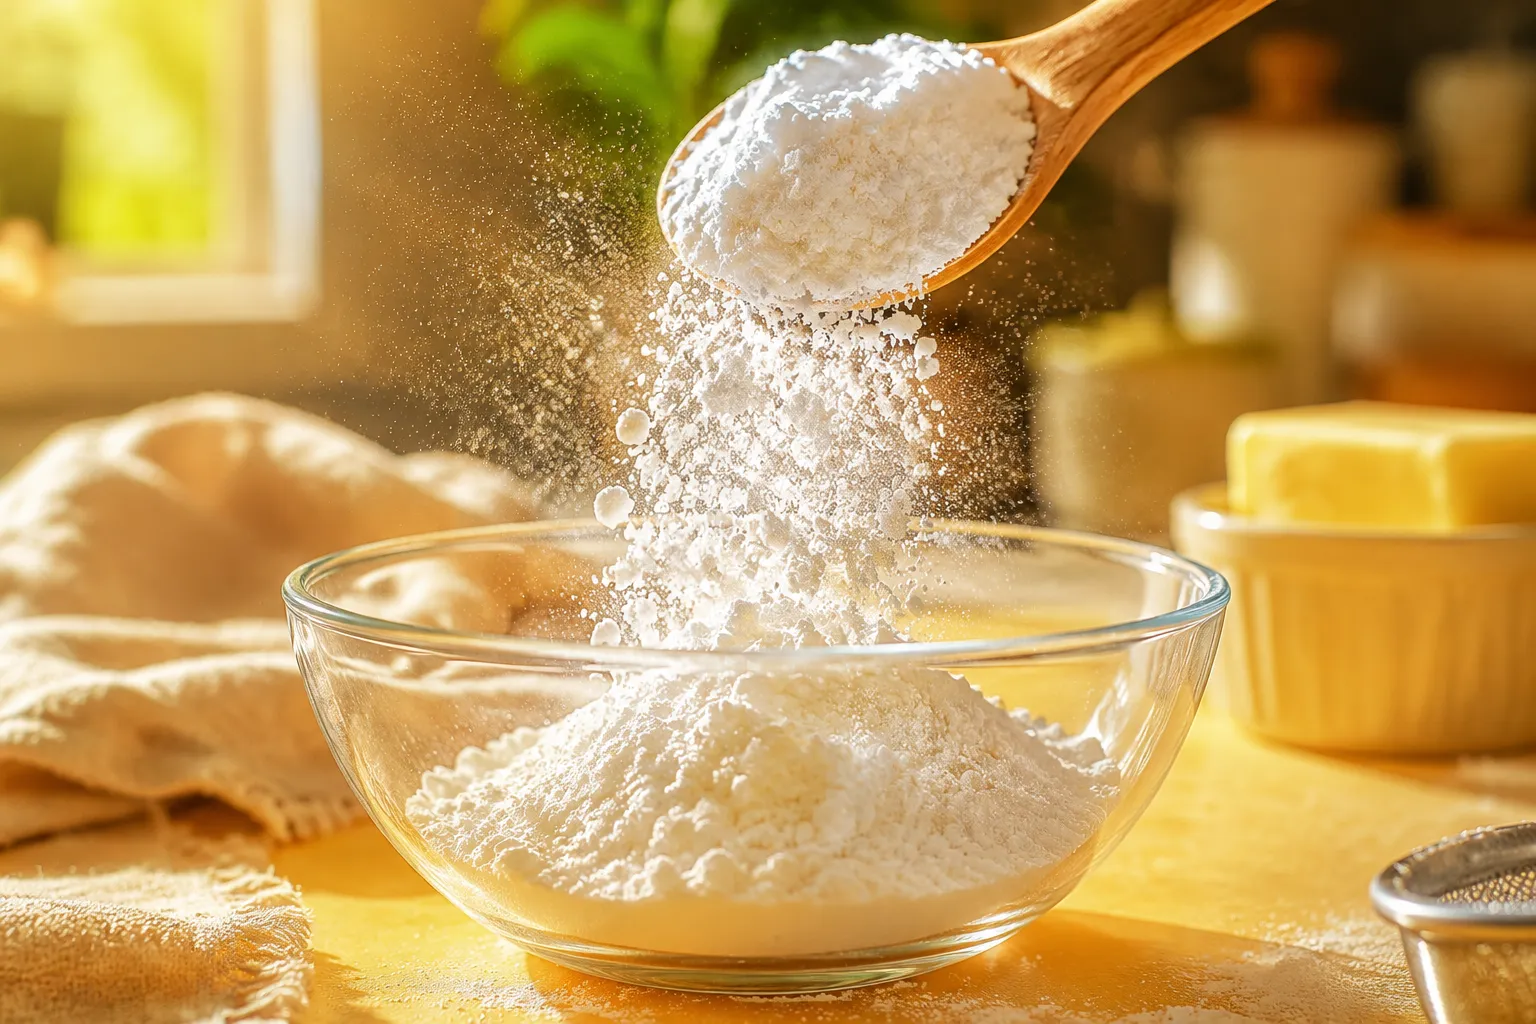
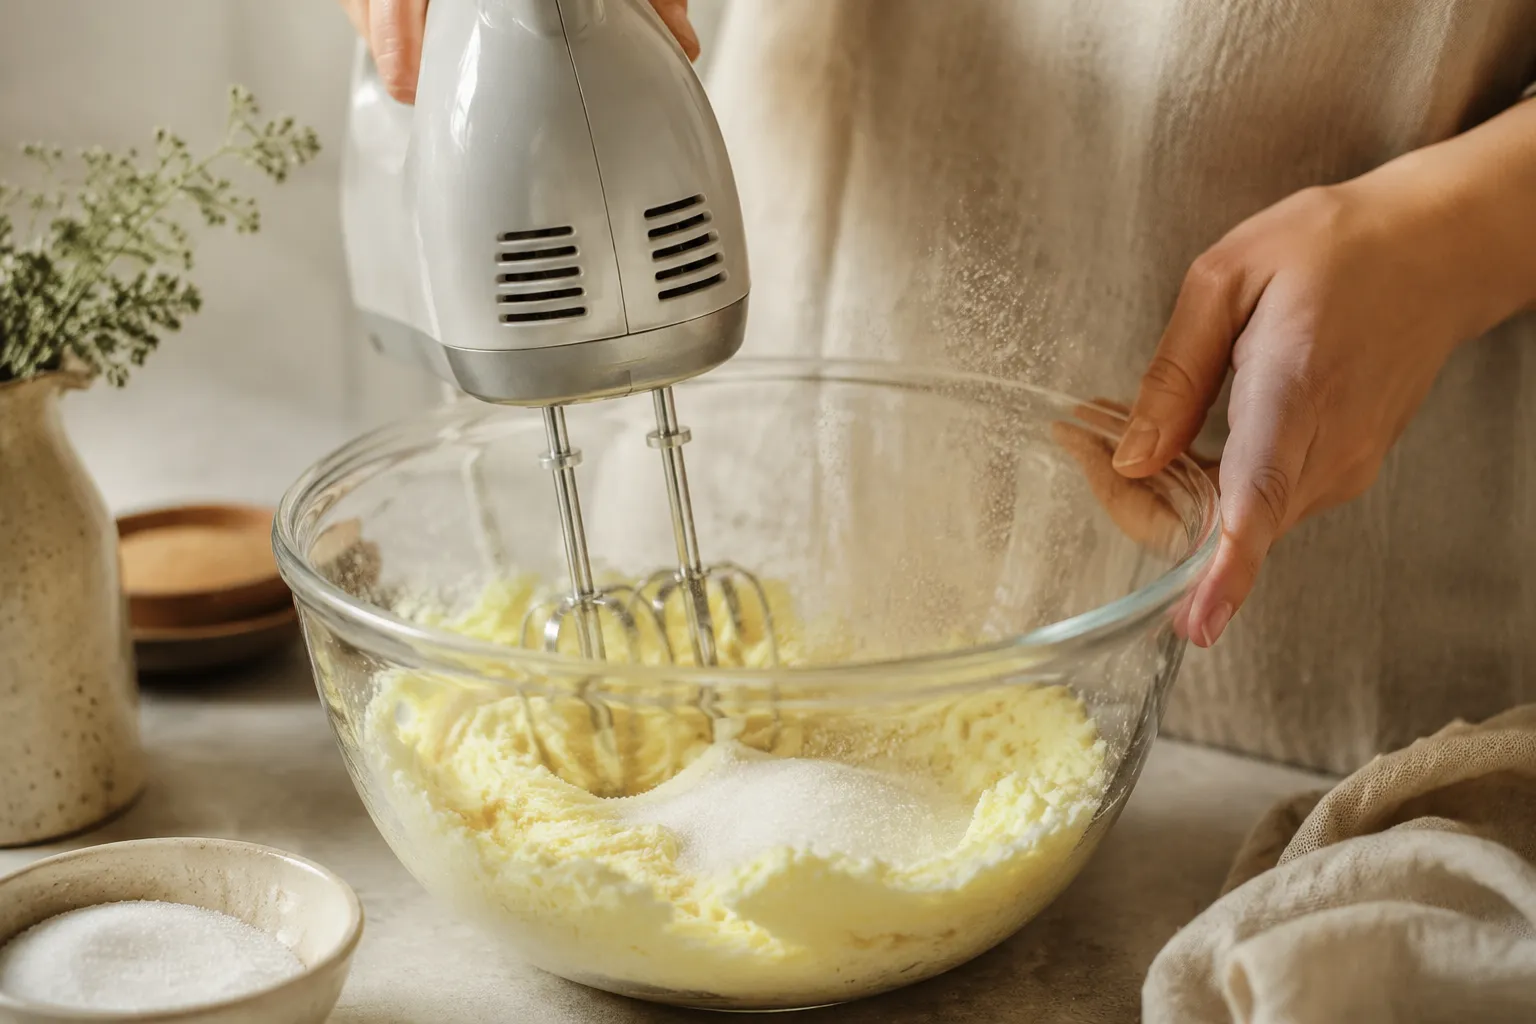
Start by preheating your oven to 350°F and lining two baking sheets with parchment paper. Cream the softened butter and sugar in a medium bowl with a hand mixer until pale and fluffy, about 2 to 3 minutes. This step builds the cookie's structure by aerating the butter, so don't rush through it.
Add the egg, milk, and vanilla extract, and beat until smooth. The mixture may look slightly curdled at first; that's fine, it'll come together once the dry ingredients go in. Whisk the flour, baking powder, and salt together in a separate bowl, then add to the wet mixture and beat on low until you have a smooth, soft dough about the consistency of thick frosting.
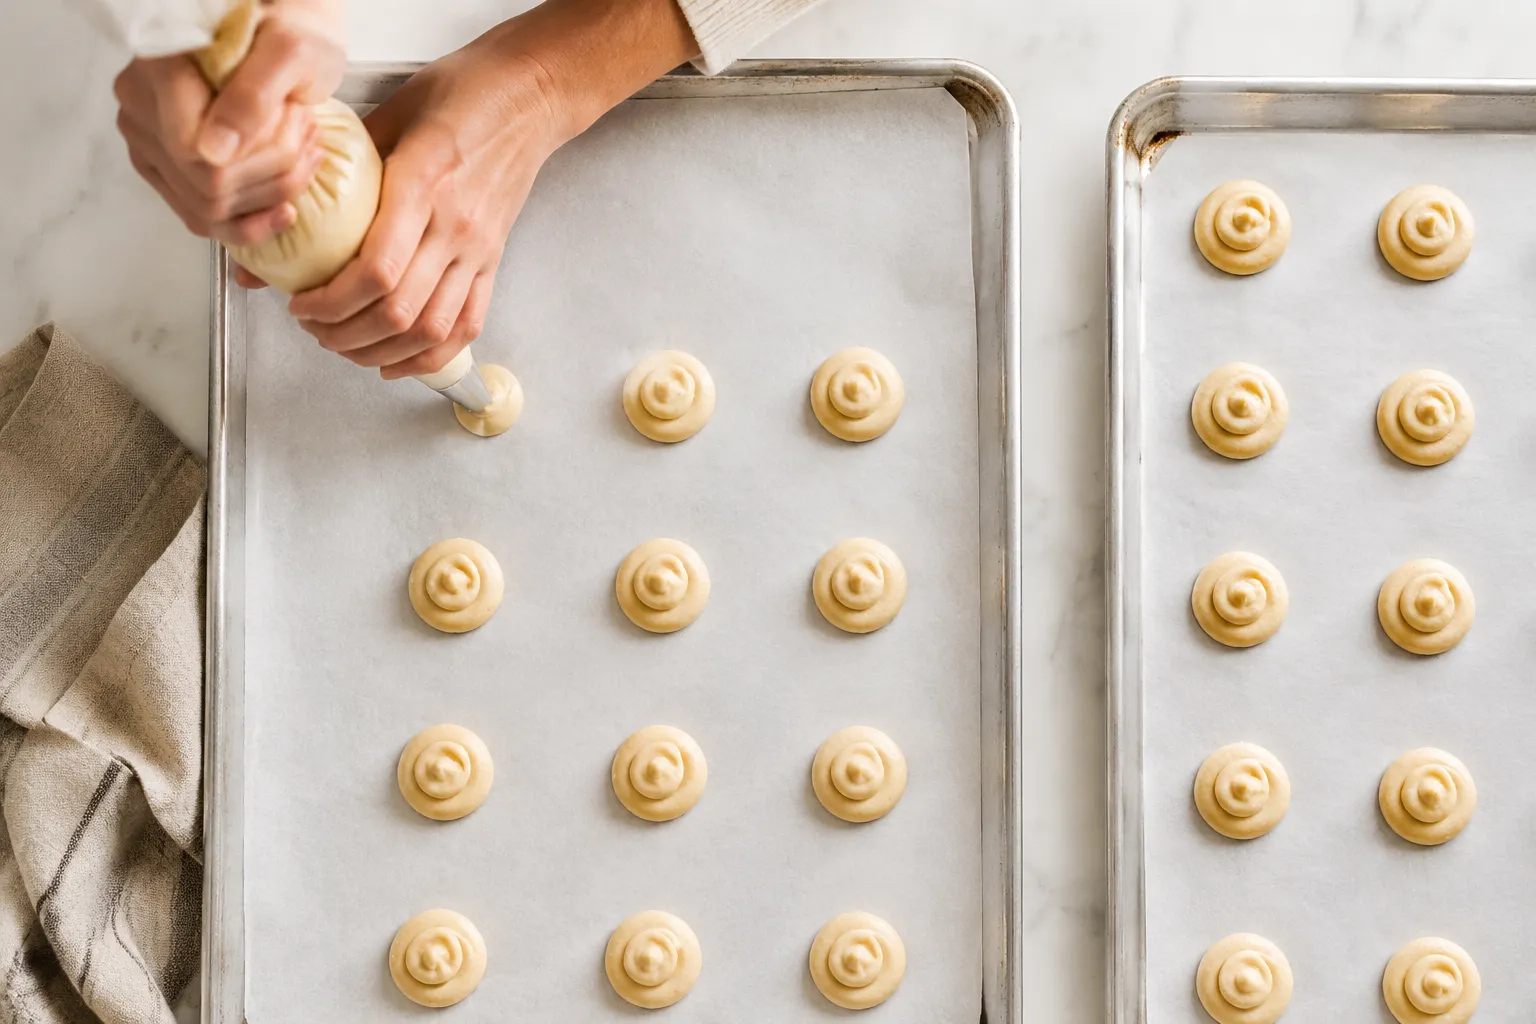
Transfer the dough to a piping bag fitted with a 1/2-inch round tip. Pipe small rounds, about the size of a nickel, onto the prepared sheets, spacing them about 1 1/2 inches apart. They'll spread slightly and dome up as they bake. If a stiff peak forms on top of any cookie, dab it down with a damp fingertip.
Bake one sheet at a time on the center rack for 12 to 15 minutes, rotating halfway, until the edges are deep golden brown and the centers are set. Pull them when the perimeter is the color of toasted caramel and the centers still look slightly pale. They'll firm up as they cool.
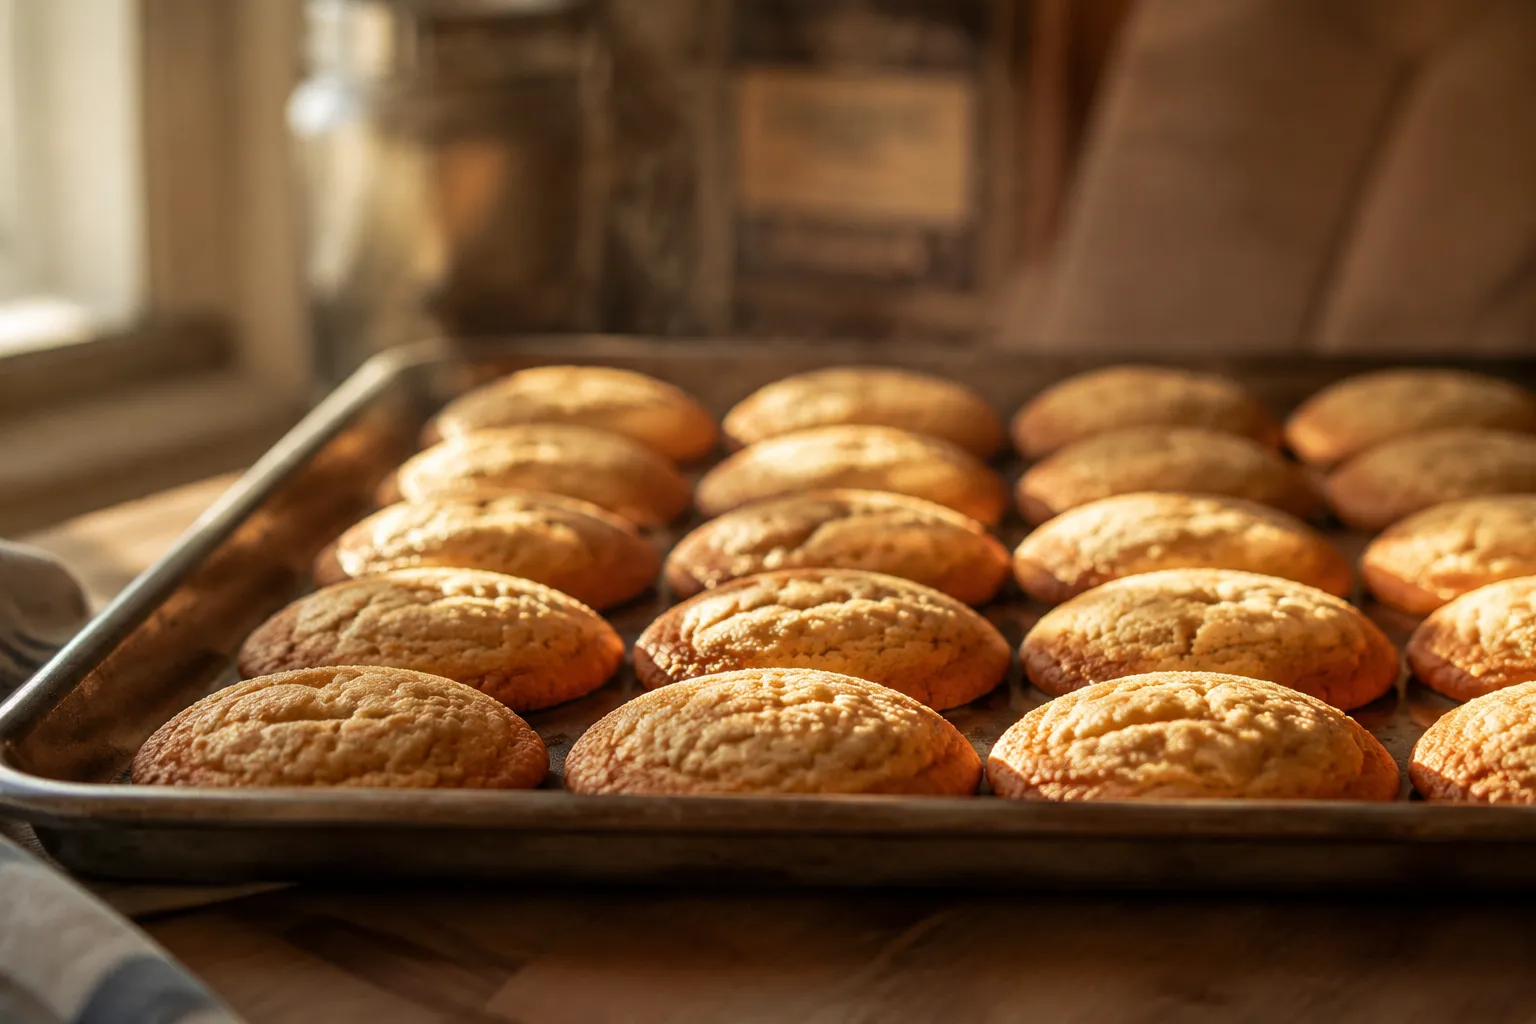
Cool the cookies on the baking sheet for 5 minutes, this lets the bottoms finish crisping, then transfer to a wire rack to cool completely. They'll go from slightly tender to perfectly snappy as they reach room temperature, which is your cue that you nailed it.
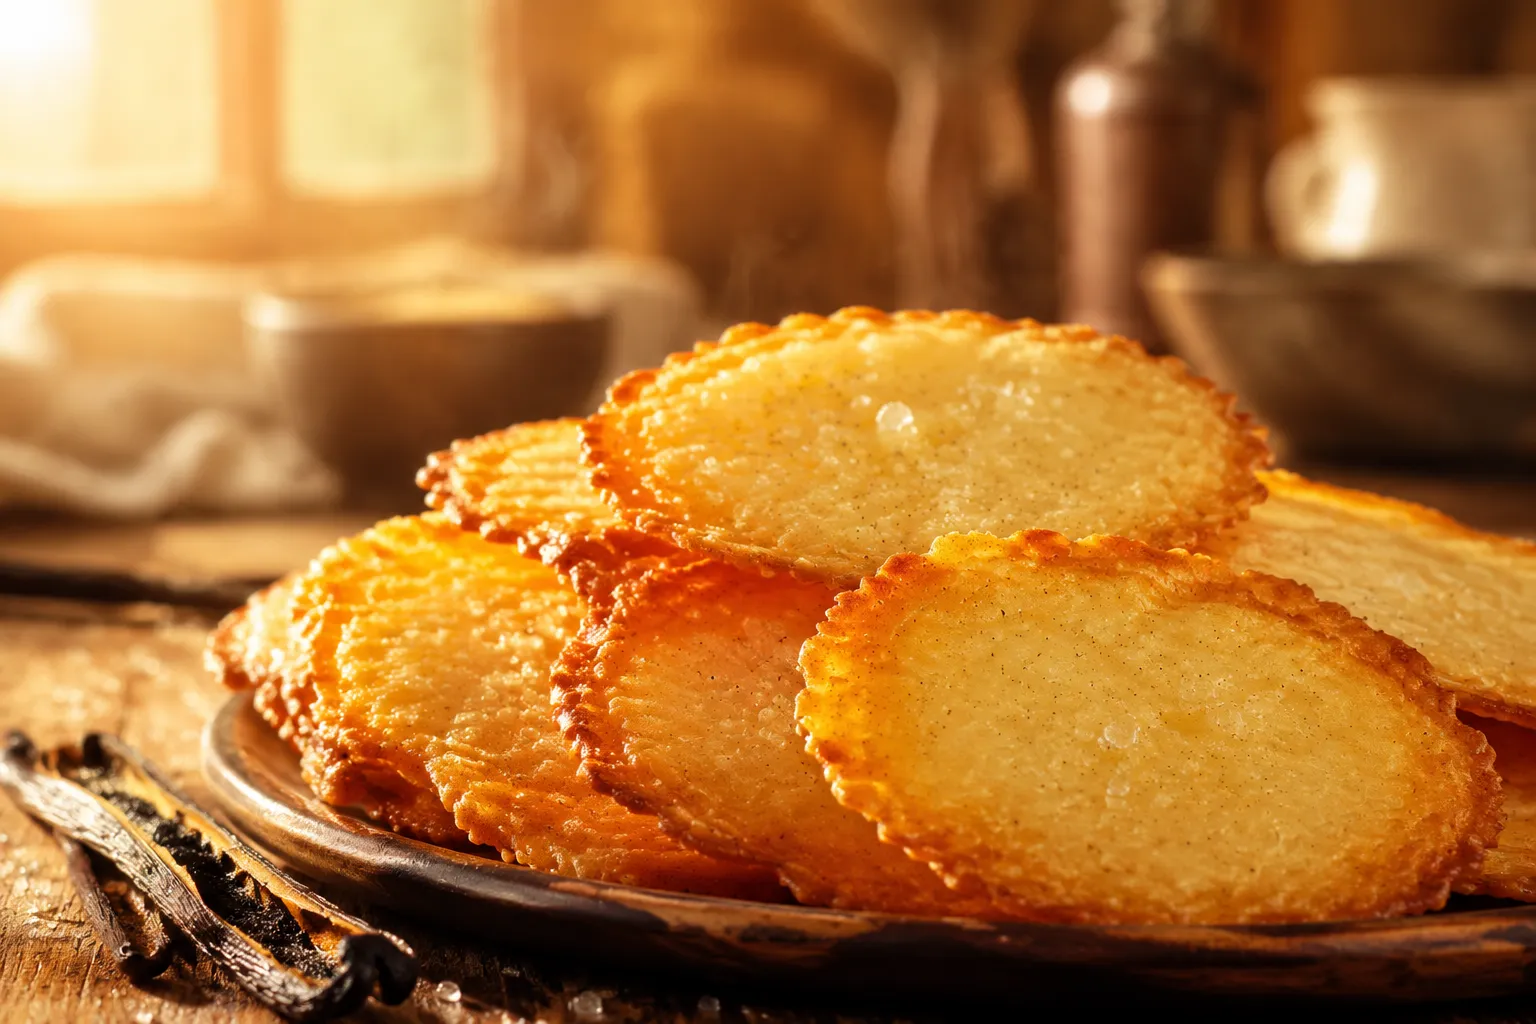
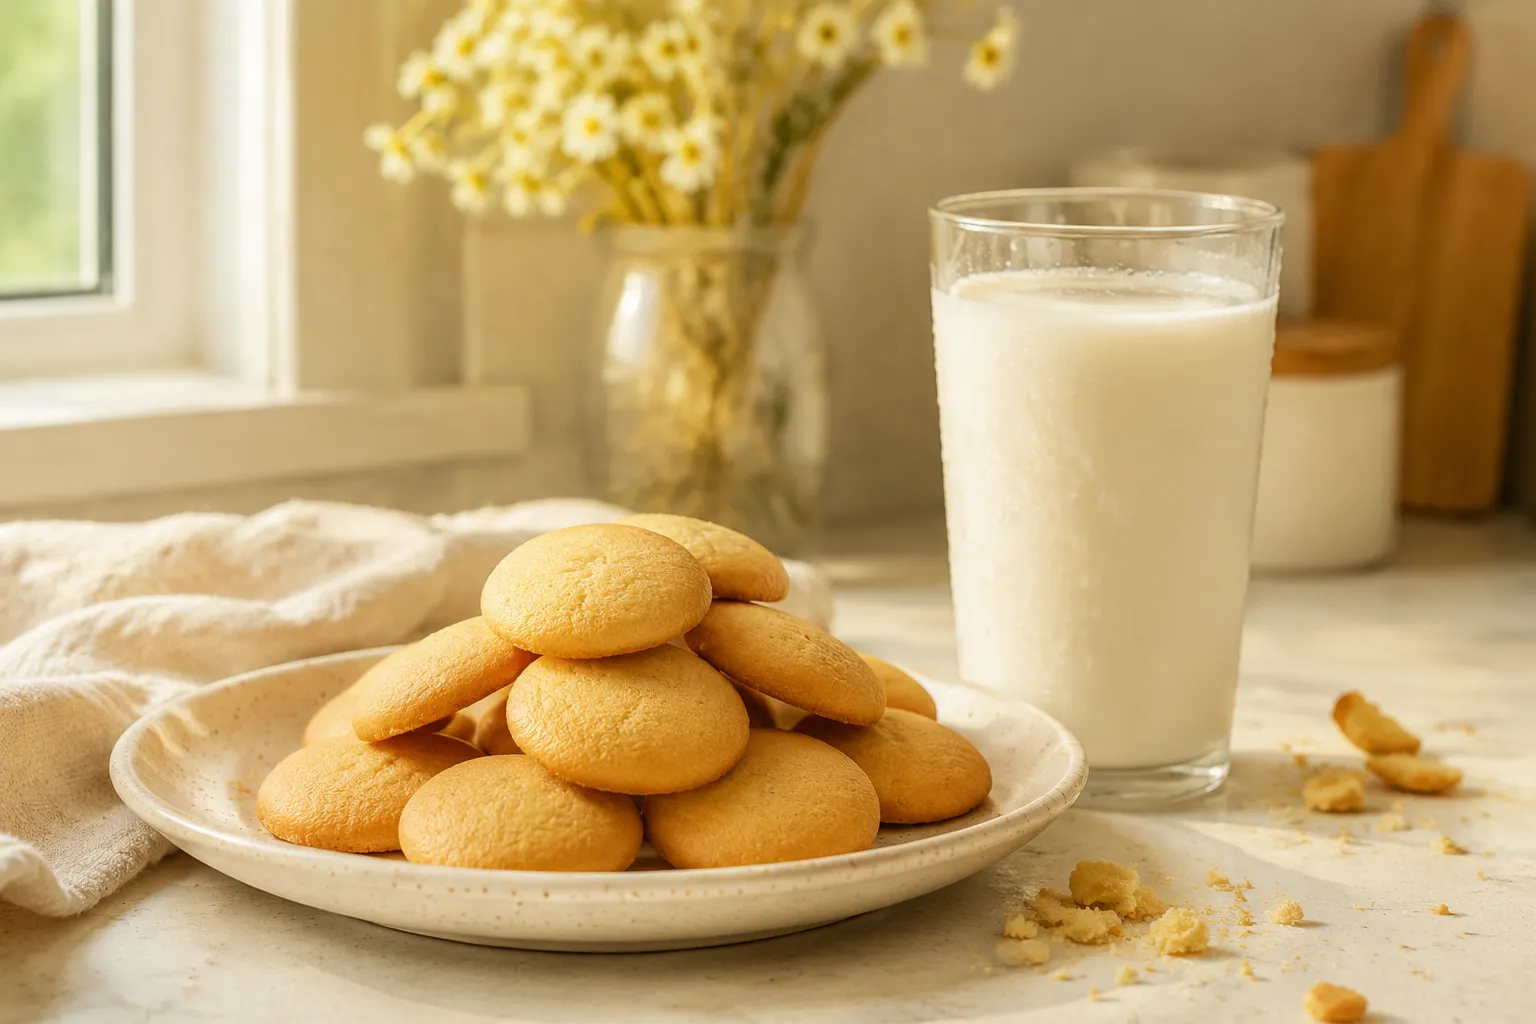
The best way to gauge a finished cookie is to look at it next to a glass of cold milk, the way they're meant to be eaten. The tops should be a pale gold, the bottoms a deeper amber, and the overall shape a low dome with crisp, slightly crackled edges. The smell should be warm vanilla with a faint butterscotch edge from the browned sugar.
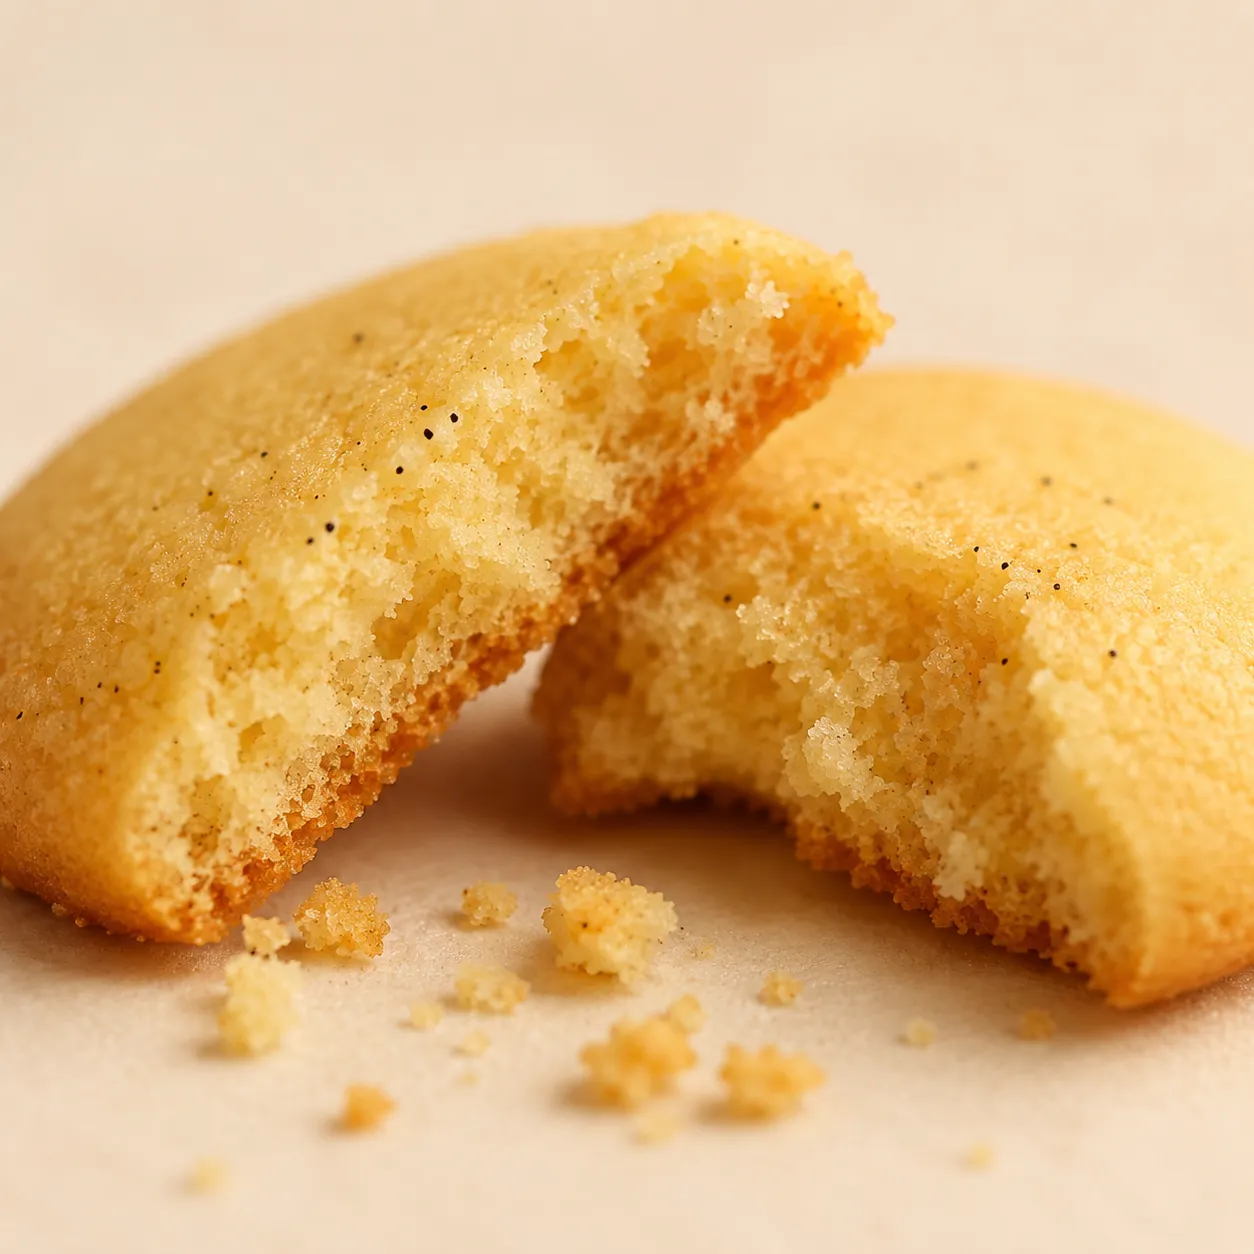
Snap one in half and you'll see what I mean about the texture. The edges shatter cleanly, the center has a fine, tender crumb, and the whole cookie smells unmistakably of butter and vanilla. If yours come out softer than you'd like, give them another 1 to 2 minutes in the oven on the next batch. If they're crisp through and through with no give in the center, pull them a minute earlier next time. Within one batch, you'll have your oven dialed in for the rest of them.
Once you have a jar of these vanilla wafers on the counter, you'll find a hundred uses for them. They're snackable on their own with milk or coffee, of course, but the real magic shows up when you put them to work in a dessert.
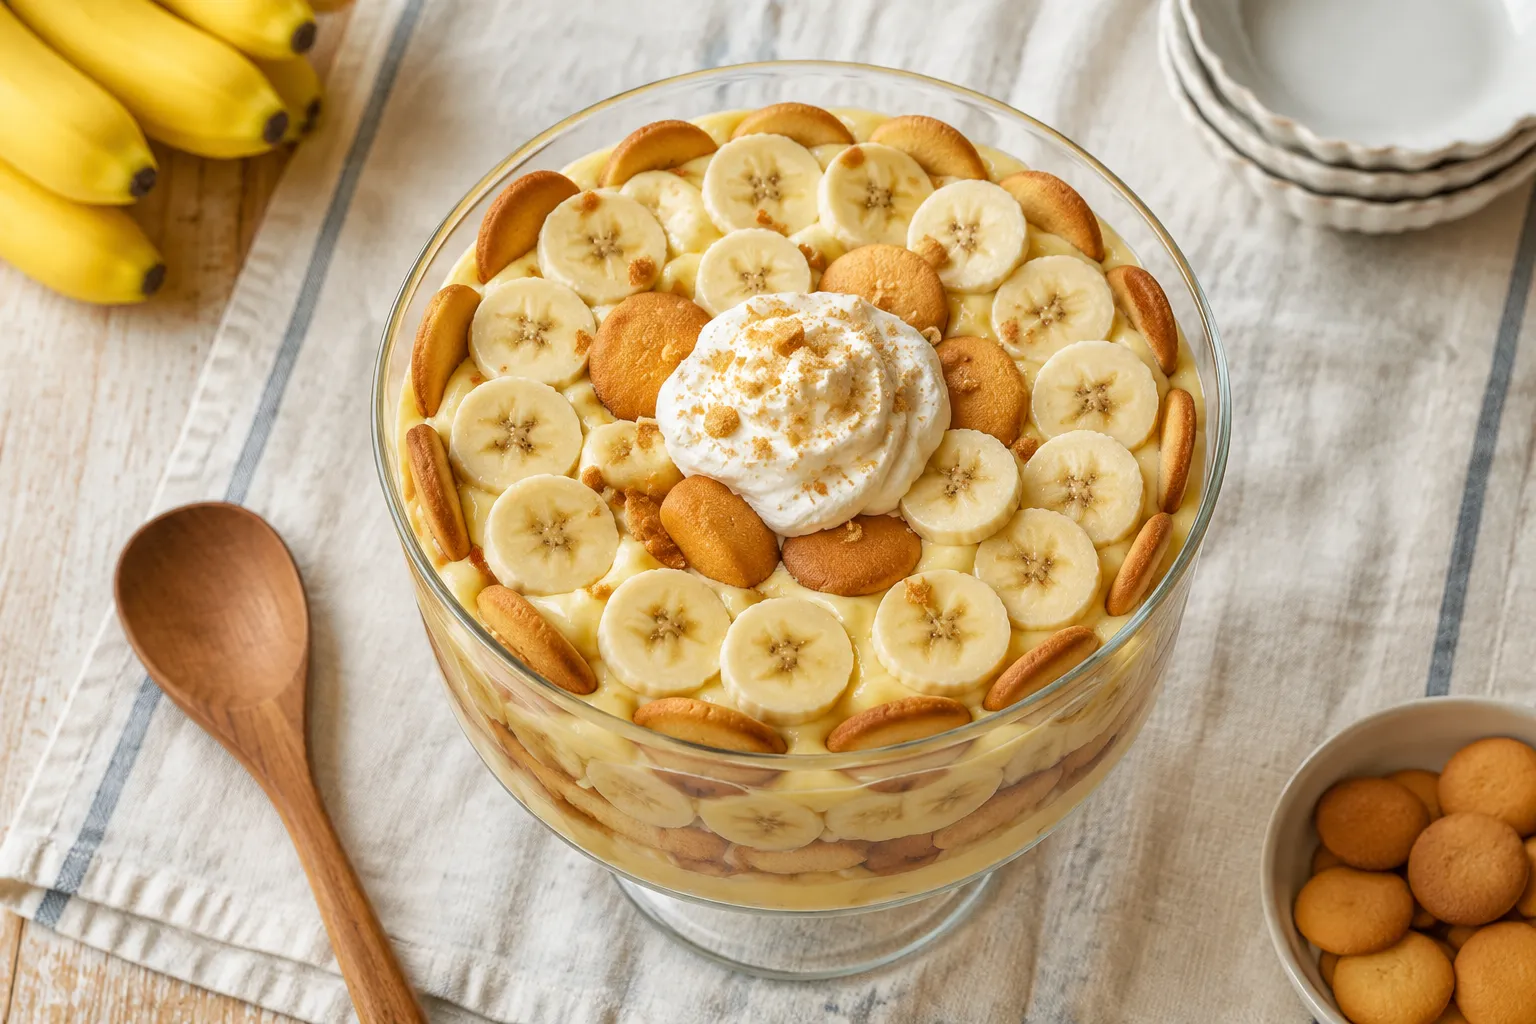
The most iconic use is layered in banana pudding, alternating cookies with sliced ripe bananas and homemade vanilla custard until the whole dish softens overnight into something halfway between a pudding and a cake. These hold up beautifully — the edges stay tender while the centers melt into the cream, which is exactly what you want from this kind of layered dessert.
Crushed into fine crumbs and tossed with melted butter, they make an outstanding no-bake crust for cheesecakes, key lime pies, and chocolate cream pies. The vanilla flavor shines through in a way graham crackers never quite manage. They also star in a classic icebox cake, layered with whipped cream and fresh berries and chilled overnight until the cookies turn cake-soft. For a more casual option, crumble them over ice cream sundaes, fold them into trifles, or sandwich two with a smear of dulce de leche or chocolate ganache for a quick filled cookie.
Once you bake a batch, the boxed version starts to feel like a stand-in for the real thing. They keep well for a week in an airtight jar (and longer in the freezer), so a single afternoon in the kitchen earns you cookies for snacking, gifting, and dessert-building well into the next week.
Whether you bake them for a banana pudding showstopper, a tender icebox cake, or just to keep on the counter for after-school snacking, these are the kind of cookie that makes a kitchen smell like home and makes a from-scratch baker out of anyone who tries one.
The base dough is a great canvas for adapting to dietary needs and flavor cravings. Here are the variations I make most often.
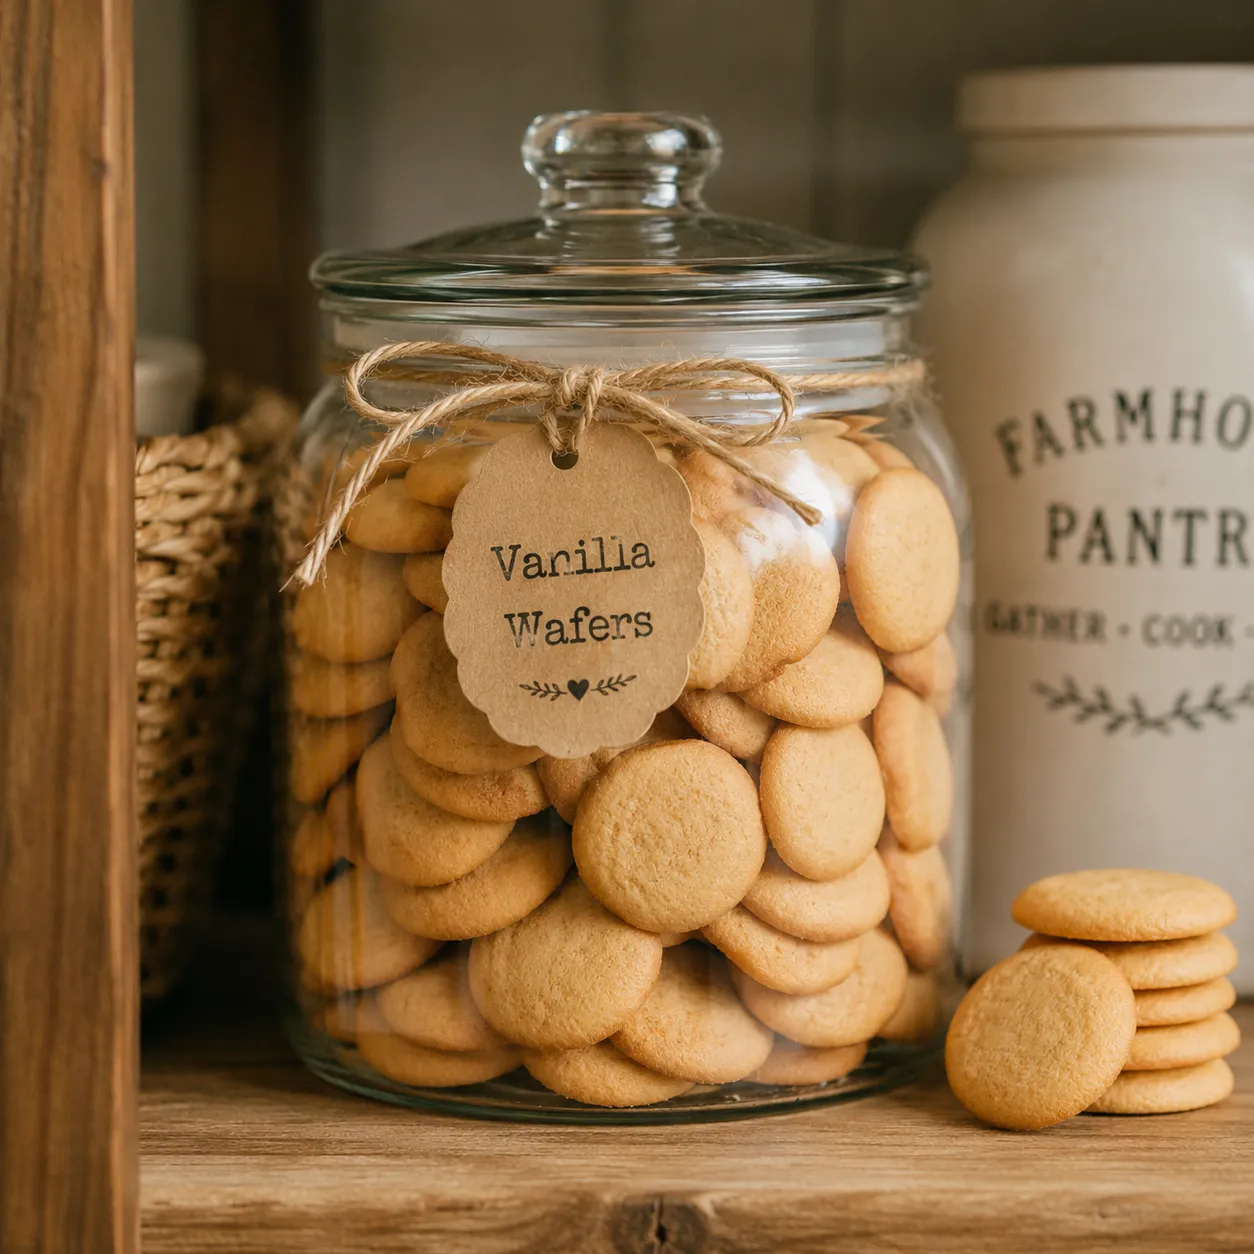
Store cooled cookies in an airtight container at room temperature for up to 1 week. A glass jar with a tight-fitting lid keeps them at their crispest. If your kitchen runs humid, tuck a small silica gel packet (the kind that comes in supplement bottles) or a slice of plain bread into the jar; the bread quietly absorbs ambient moisture and can be swapped out every couple of days to keep the cookies snappy.
For longer storage, freeze fully cooled cookies in a zip-top freezer bag with the air pressed out for up to 3 months. They thaw at room temperature in about 15 minutes and crisp right back up. You can also freeze the unbaked piped dough rounds on a sheet pan, then transfer to a freezer bag once solid. Bake straight from frozen, adding 2 to 3 minutes to the bake time. This is my favorite way to keep emergency cookies on hand for last-minute desserts.