Crispy Kale Chips Recipe (Easy 4-Ingredient Snack)
Ingredients
Scale
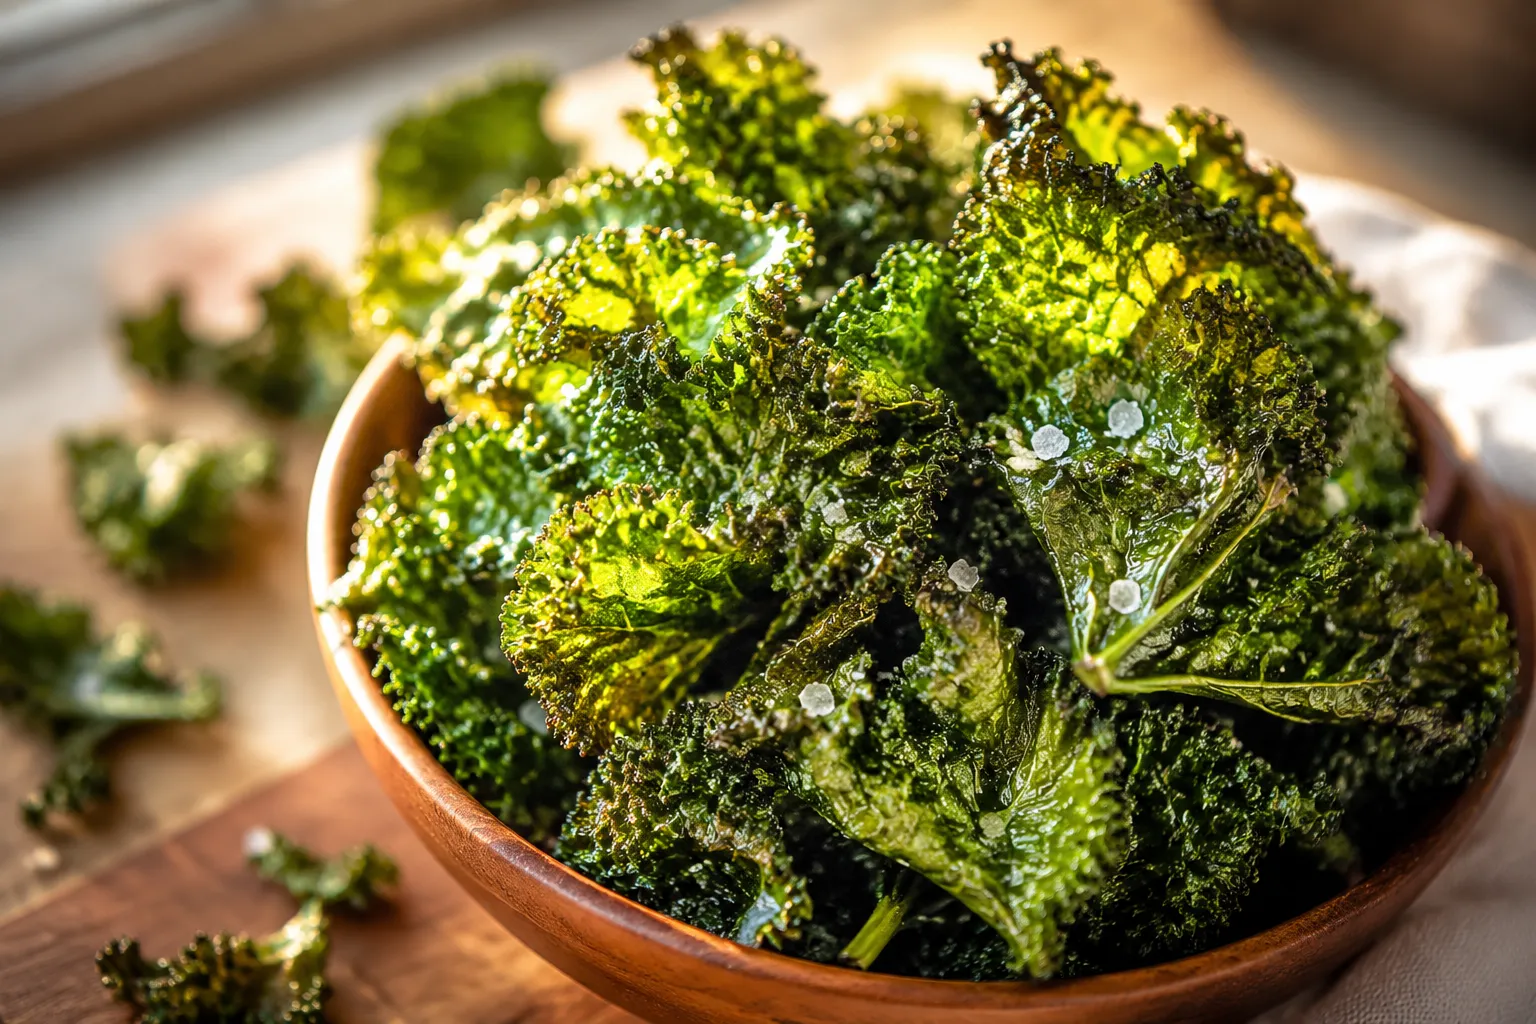
The crispiest kale chips recipe you'll ever make at home, with one bunch of kale, a drizzle of olive oil, and the two-temperature oven trick that prevents soggy leaves.
This kale chips recipe is the ultimate solution for anyone who craves the satisfying crunch of a potato chip but wants to stick to their nutritional goals. We have all been there: you buy a beautiful bunch of greens with the best of intentions, only to watch them wilt in the crisper drawer. This recipe transforms that humble bunch of leafy greens into a salty, shatter-crisp snack that rivals any store-bought alternative in just about 30 minutes. It is one of those essential healthy snack recipes that every home cook should have in their back pocket, especially when you need something savory to munch on during a movie night or a busy afternoon at your desk.
The secret to a truly successful batch lies in the technique rather than a long list of complicated ingredients. Many people struggle with kale chips that come out either soggy and chewy or burnt and bitter, but this method eliminates those common pitfalls. By focusing on moisture removal and a gentle baking temperature, we ensure that every single leaf reaches peak crispness. Once you master the basic ratio of oil to greens, you will find yourself making these on a weekly basis. It is a fantastic way to introduce more greens into your diet without feeling like you are eating a giant bowl of raw salad.
What sets this particular kale chips recipe apart from the thousands you might find online is the specific attention paid to the structure of the kale leaf itself. Kale is naturally high in water content, and if that water isn't evaporated efficiently, you end up with a steamed leaf rather than a fried one. We utilize a two-temperature logic that starts with a moderate heat to jumpstart the drying process and finishes with a lower heat to ensure the chips are dehydrated all the way through without scorching the delicate edges. This results in a snack that is light, airy, and practically melts on your tongue.
Beyond the texture, the flavor profile here is intentionally kept simple to let the natural earthiness of the kale shine. However, the beauty of this method is its versatility. Whether you prefer something spicy, zesty, or even a bit funky, the base remains the same. It is a canvas for your culinary creativity. Most importantly, this snack is naturally vegan, gluten-free, and keto-friendly, making it a crowd-pleaser for almost any dietary restriction. When you see how quickly a tray of these disappears, you will understand why we consider this the gold standard of green snacks.
To begin your journey toward the perfect snack, you need to start with the right raw materials. While there are many types of kale available at the grocery store, curly kale is the undisputed champion for this application. Its ruffled, tightly wound leaves provide hundreds of tiny nooks and crannies that catch the olive oil and salt, creating a much more interesting texture than the flatter lacinato (or dinosaur) kale. Look for a bunch that is vibrant green with no yellowing or soft spots; the fresher the kale, the better the final crunch will be.
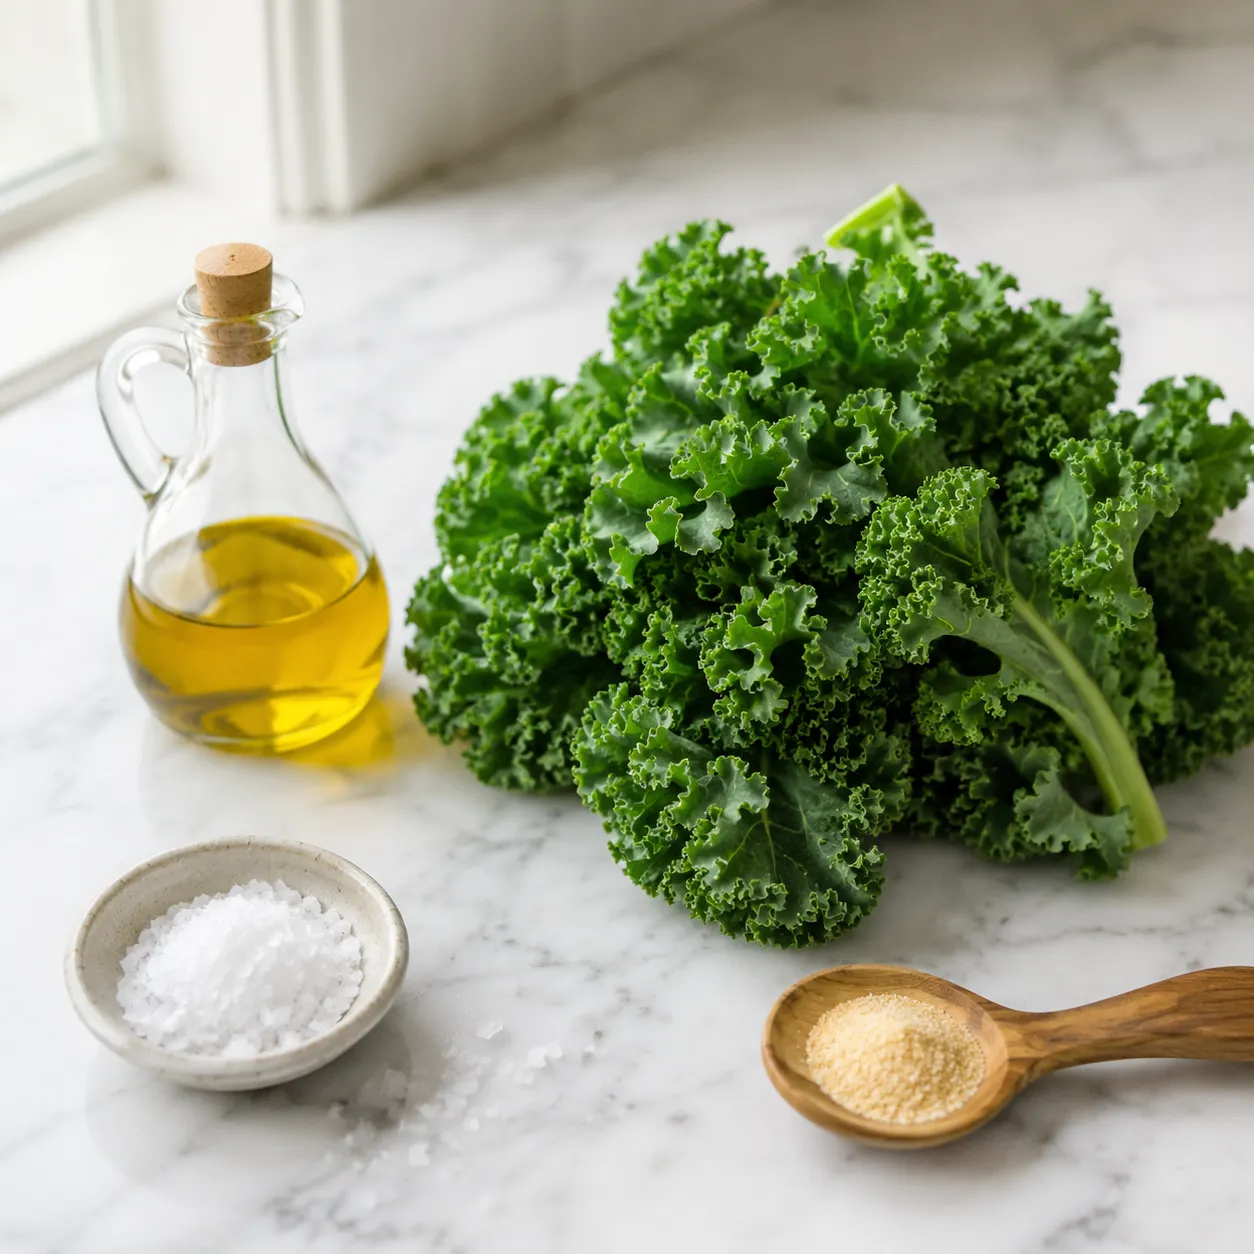
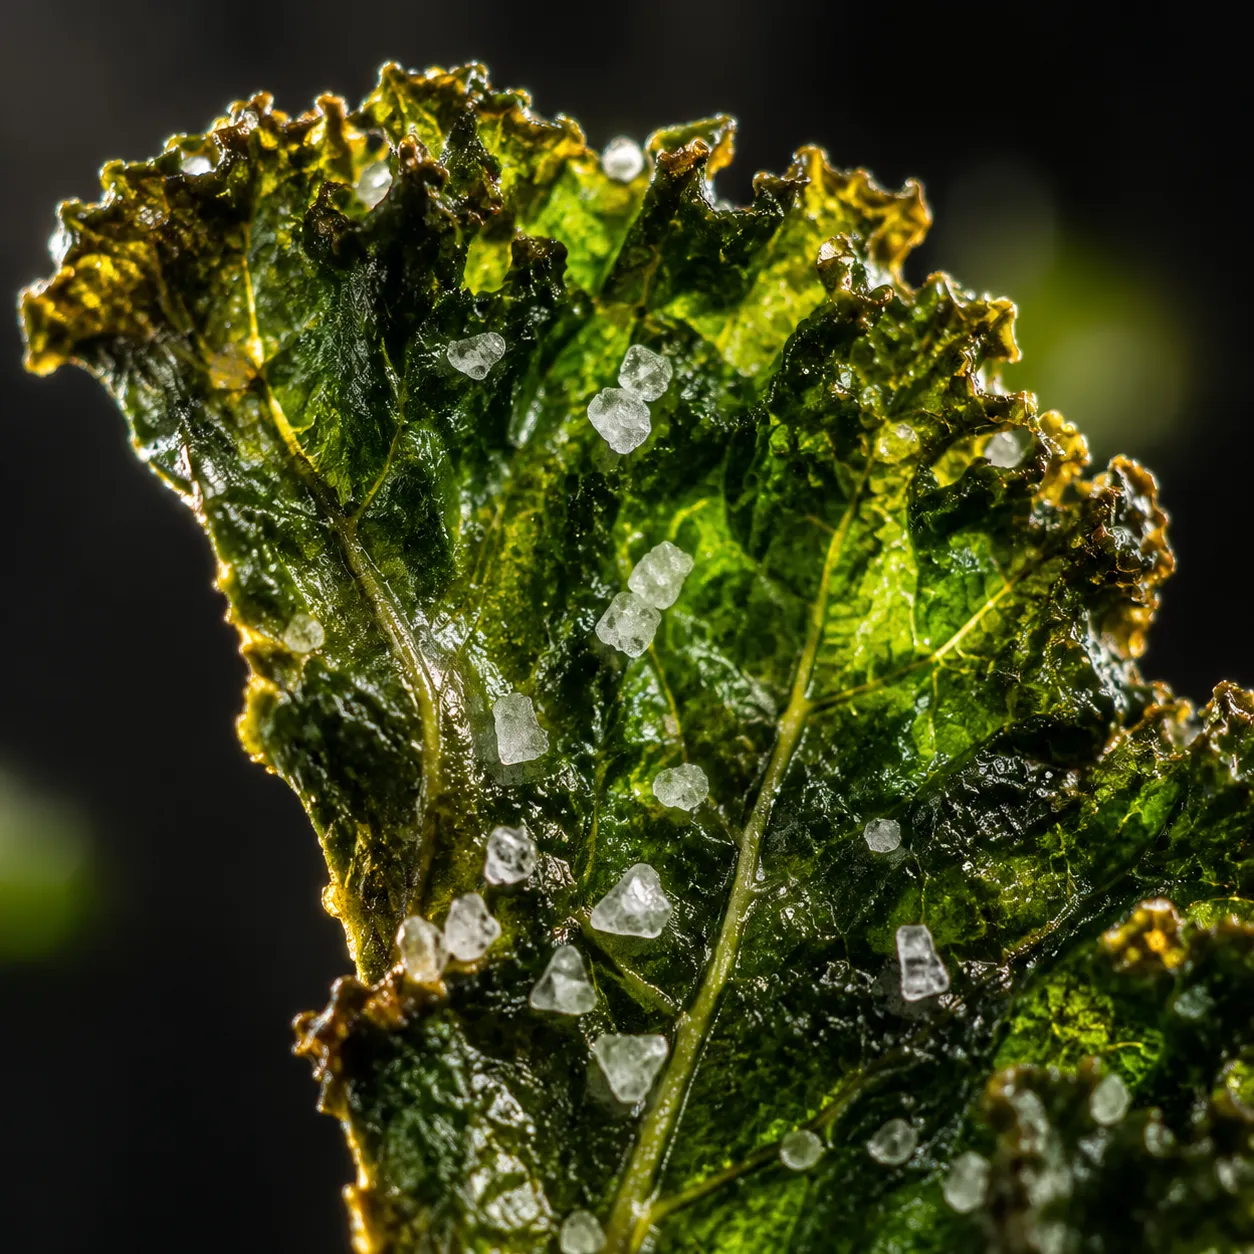
The fat you choose is just as important as the greens. We recommend a high-quality extra-virgin olive oil for its flavor and heart-healthy fats. You only need a small amount—too much oil is actually a leading cause of sogginess. Along with the oil, a fine sea salt is preferable over coarse kosher salt because the smaller grains adhere better to the crinkles of the leaves. A touch of garlic powder adds a savory depth that rounds out the earthy notes of the kale, creating a well-balanced flavor that keeps you coming back for just one more bite.
Before you even think about turning on the oven, you must address the moisture. This is the most critical step in the entire process. After washing your kale thoroughly to remove any grit or sand, you must get it bone-dry. A salad spinner is your best friend here, but following that up with a thorough pat-down using a clean kitchen towel is non-negotiable. If there is even a hint of water left on the leaves, the oil will not adhere properly, and the steam created in the oven will prevent the leaves from crisping up into crispy kale chips.
Once dry, you will want to remove the woody stems. You can do this by holding the base of the stem and sliding your hand up to strip the leaves off, or by using a knife to cut along either side of the rib. Tear the leaves into bite-sized pieces, keeping in mind that they will shrink significantly as they bake. Aim for pieces that are slightly larger than you want the finished chip to be. This ensures that after the dehydration process, you still have a substantial snack rather than tiny green flakes that are hard to pick up.
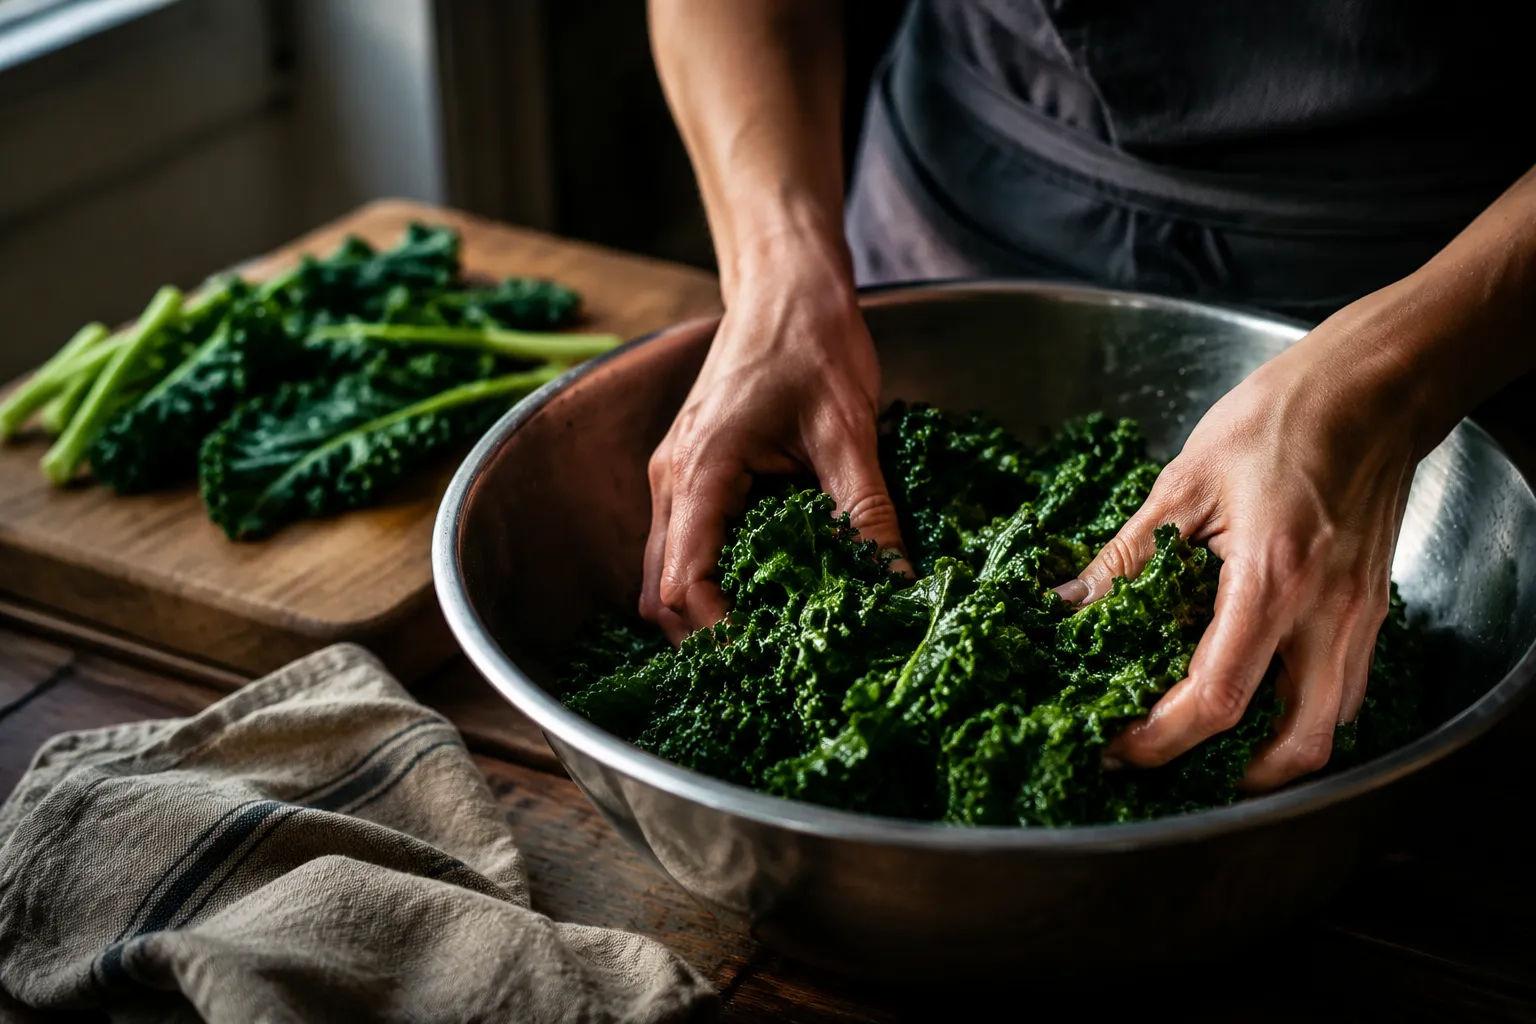
Many people skip the step of actually working the oil into the greens, but learning how to massage kale is a game-changer for both salads and chips. When you pour the oil over the torn leaves, don't just toss them with a spoon. Use your hands to physically rub the oil into every fold and crease of the curly leaves. This process helps to break down the tough cellulose structure of the kale, making it more tender and allowing the oil to coat the surface evenly. You will notice the kale turns a darker, more translucent green as you work.
This even coating is what allows the heat of the oven to "fry" the leaf from the inside out. If some areas are heavily oiled and others are dry, the chips will bake unevenly, leaving you with some parts that are tough and others that are greasy. After the massage, sprinkle your salt and garlic powder over the bowl and give it one final toss. Because the leaves are already lightly coated in oil, the seasonings will stick instantly, ensuring that every bite is perfectly seasoned from the first chip to the last.
Now that your kale is prepped, it is time to head to the oven. Preheat your oven to 300°F. While it might be tempting to crank the heat up to 375°F to get the job done faster, resist the urge. High heat causes the thin edges of the kale to burn and turn bitter before the thicker center of the leaf has a chance to dry out. A lower temperature allows for a steady evaporation of moisture, which is the key to that signature shatter-crisp texture. Line a large rimmed baking sheet with parchment paper to prevent sticking and make cleanup a breeze.
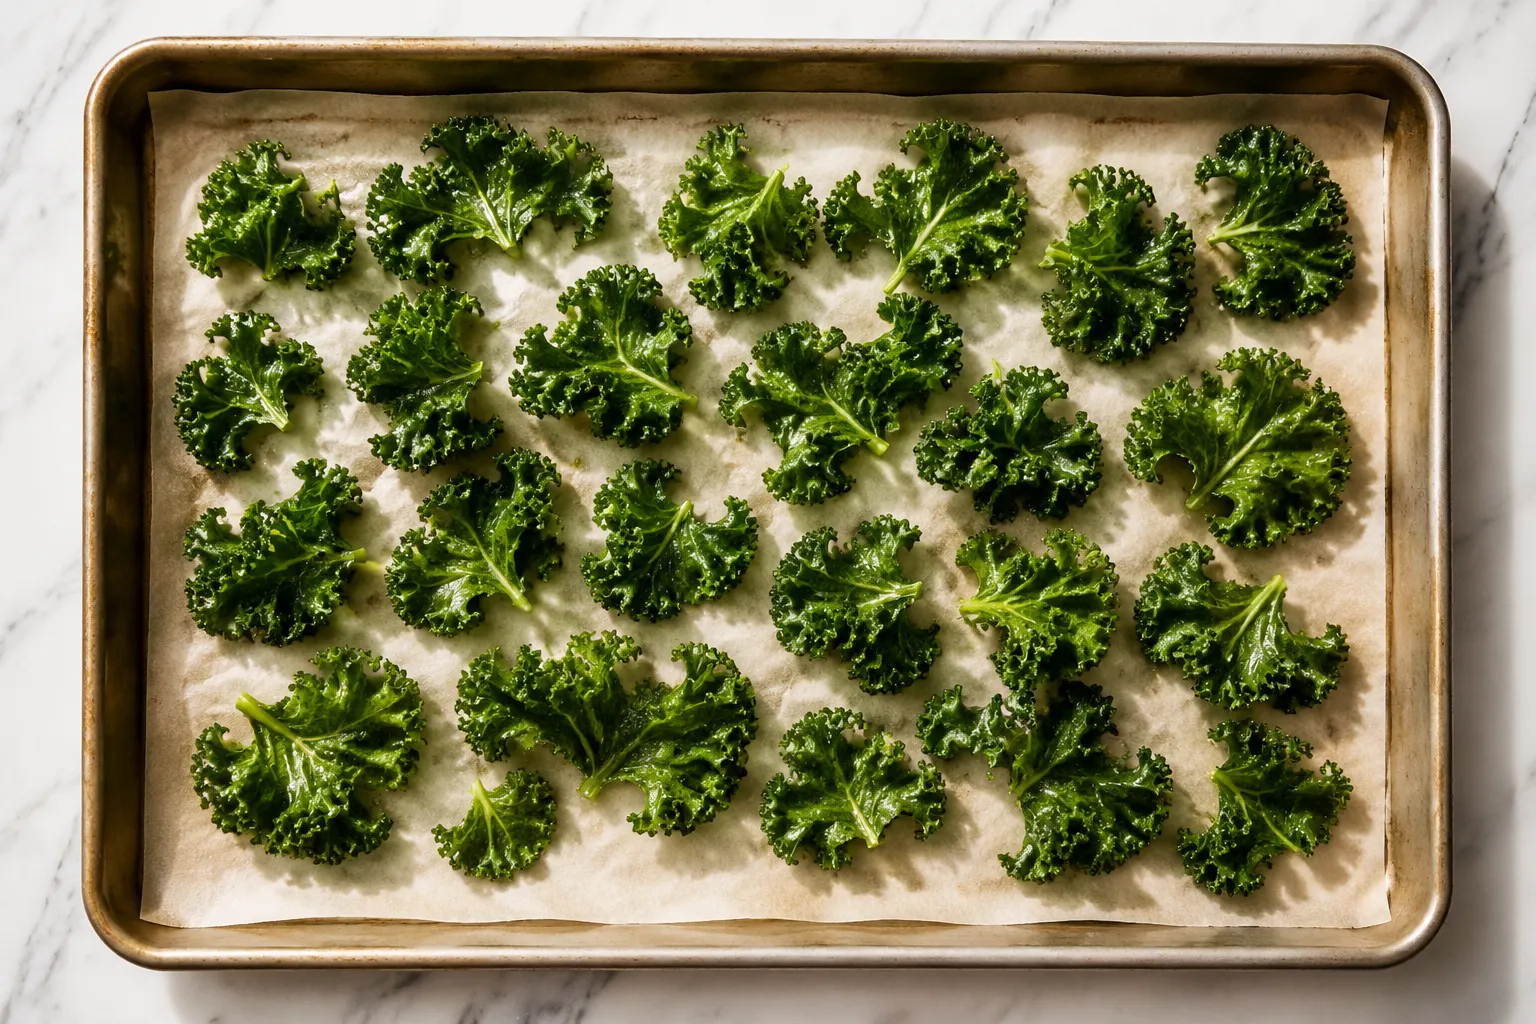
Spread the kale out in a single, even layer. Overcrowding the pan is the second most common mistake in making kale chips. If the leaves are piled on top of each other, they will trap steam between the layers, resulting in soft spots. If you have a particularly large bunch of kale, it is much better to bake in two batches than to cram everything onto one tray. Bake for about 10 minutes, then rotate the pan. Check them again at the 18-minute mark; they are done when the leaves are stiff to the touch and no longer feel damp or flexible.
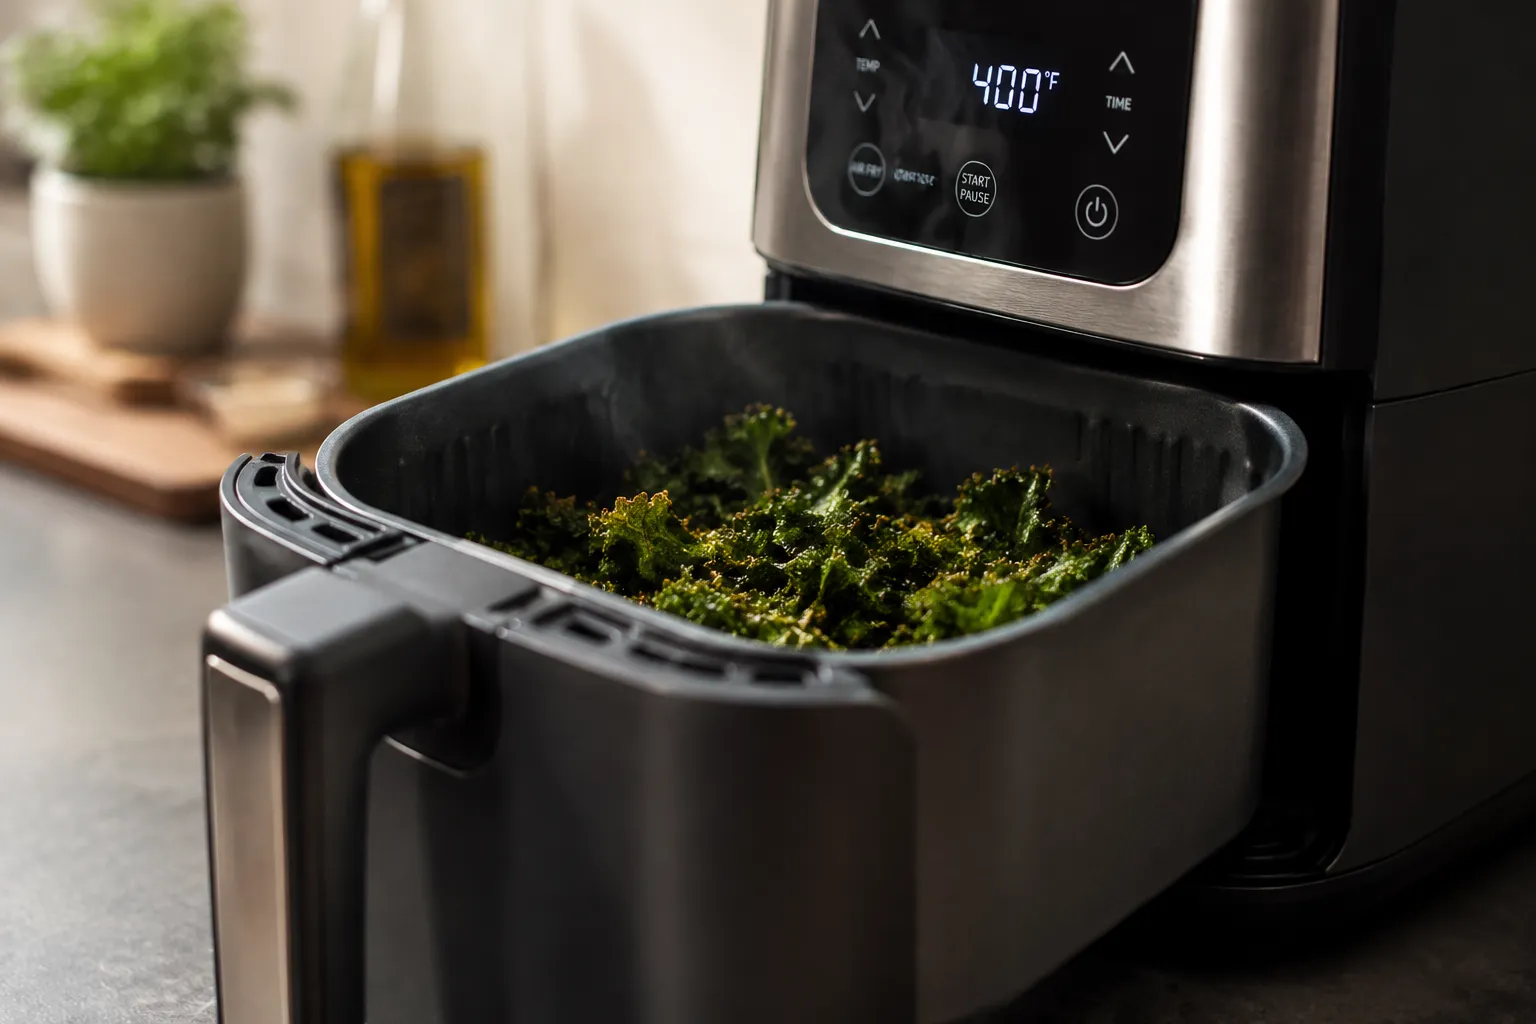
If you are looking for an even faster way to satisfy your snack cravings, air fryer kale chips are a fantastic option. The air fryer works by circulating hot air rapidly around the food, which is essentially a high-powered convection oven. This makes it incredibly efficient at drying out the kale leaves. To use this method, follow the same prep and seasoning steps, but place the kale in the air fryer basket instead of on a baking sheet. You still want to avoid overfilling the basket, so you may need to work in several small batches.
Set your air fryer to 300°F and cook for 5 to 7 minutes. It is vital to shake the basket every 2 minutes to ensure the leaves are moving around and not getting stuck in the corners. Because the air fryer is so powerful, the chips can go from perfect to burnt in a matter of seconds, so keep a close eye on them during the final minute. This method is perfect for when you only want a single serving of chips and don't want to heat up your entire kitchen with the big oven.
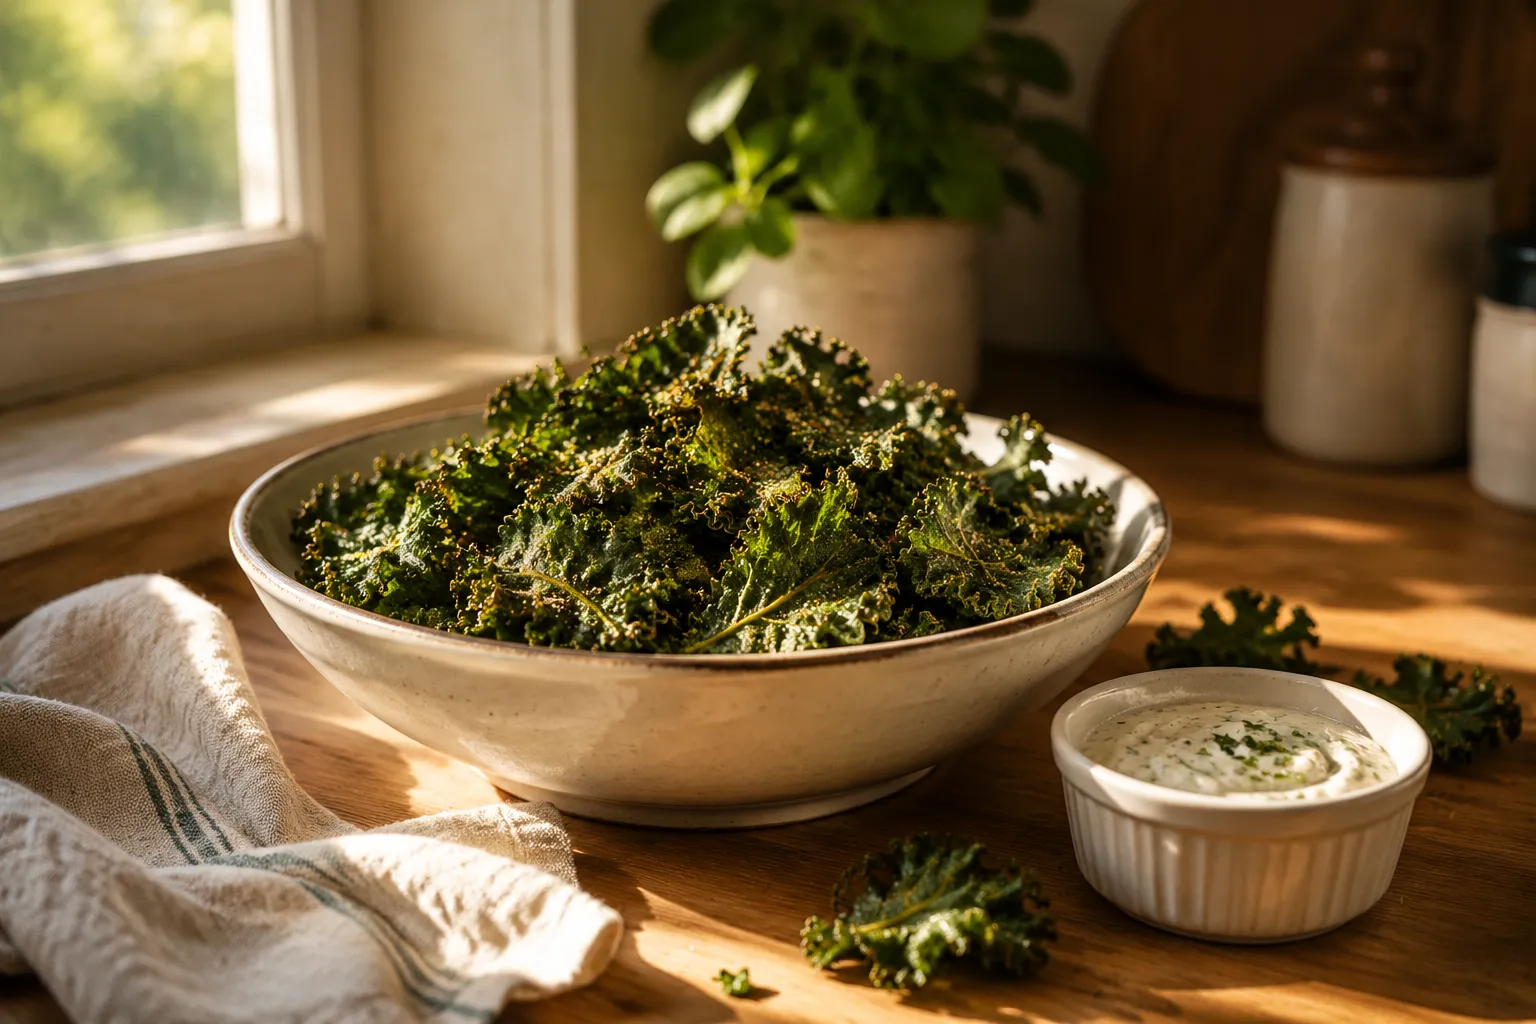
Once you have the basic technique down, you can start experimenting with different seasonings. For those who love a savory, umami-packed snack, cheesy kale chips are easily achieved by adding nutritional yeast to the seasoning mix. Nutritional yeast provides a nutty, cheesy flavor while remaining completely dairy-free. Other great options include a sprinkle of smoked paprika for a BBQ vibe, or a dash of cayenne pepper and a squeeze of fresh lime juice for a spicy zesty kick. The possibilities are truly endless once you understand the base mechanics.
Another popular variation is the everything bagel seasoning blend, which adds a wonderful textural contrast with sesame seeds and dried onion. If you find yourself with extra chips, don't just eat them out of the bowl! They make an incredible kale crunch salad topper. Simply crumble the chips over a fresh salad or a bowl of grain-based power bowls to add a salty, crunchy element that replaces traditional croutons. This adds a layer of complexity to your meals and is a great way to use up any smaller fragments at the bottom of the bowl.
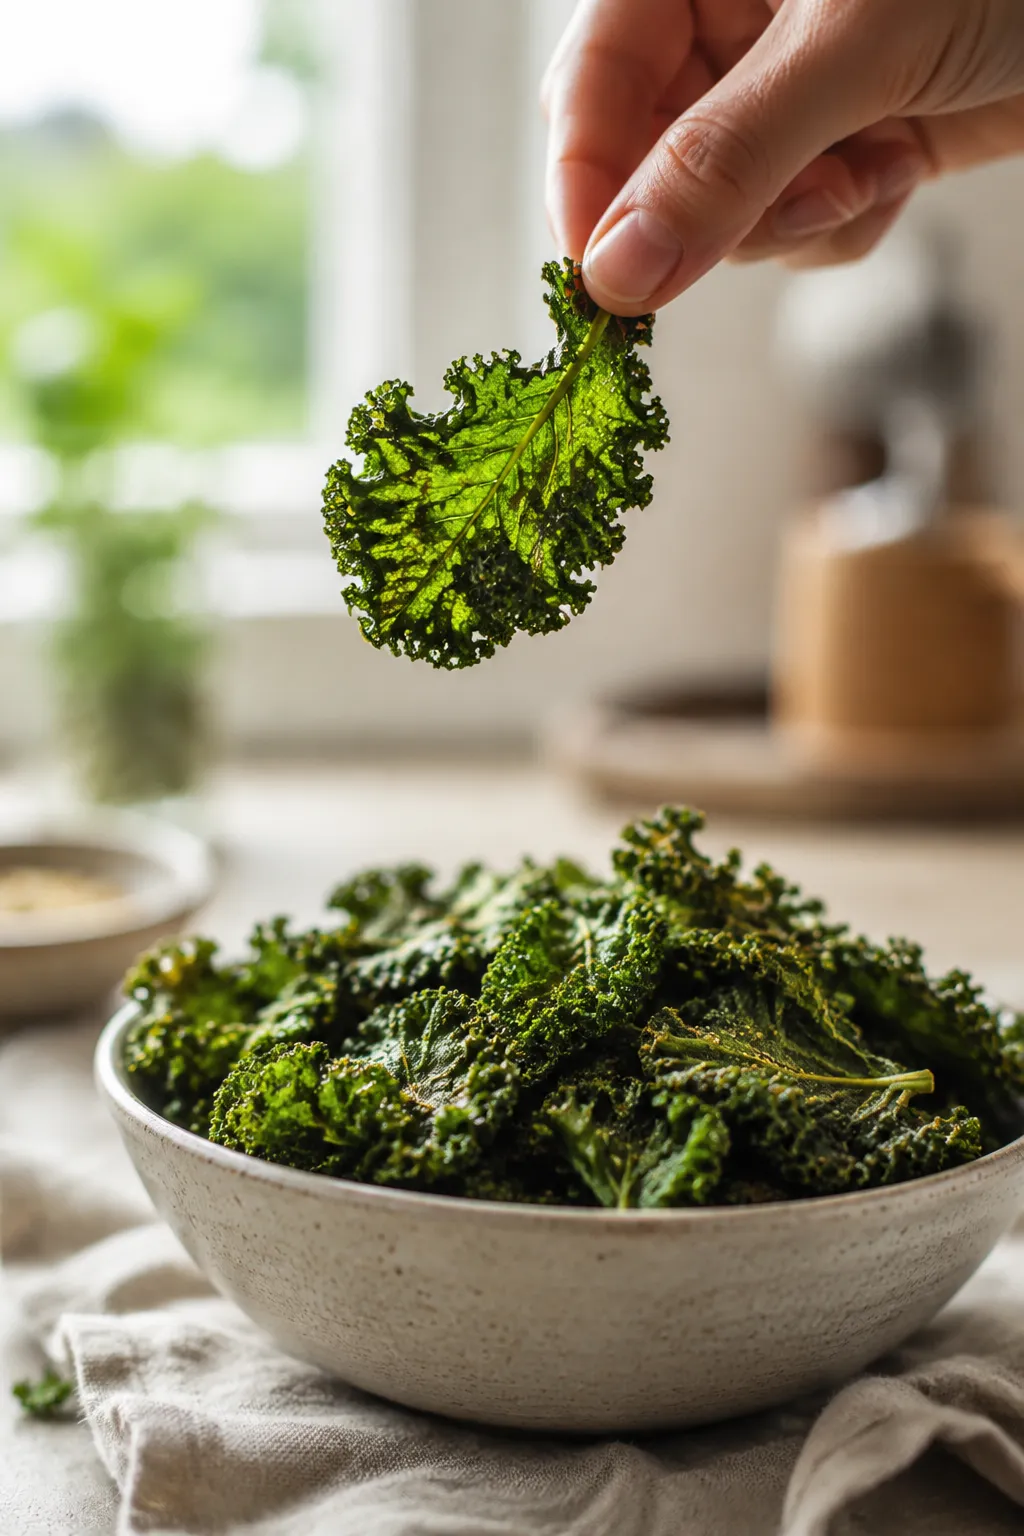
If you have followed a kale chips recipe in the past and ended up disappointed, the culprit is almost always one of three things: moisture, oil volume, or heat. We cannot stress enough that the kale must be dry. If you wash it and immediately toss it with oil, you are essentially trapping water under a layer of fat, which makes it impossible for the water to evaporate. Furthermore, if you use more than a tablespoon of oil per bunch, the leaves will become heavy and greasy. The goal is a microscopic coating, not a deep fry.
Finally, check your oven calibration. If your oven runs hot, 300°F might actually be 325°F, which is enough to burn the kale. If you notice the edges browning too quickly, drop the temperature to 275°F and extend the cooking time. The best chips are the ones that take their time to dehydrate. When they come out of the oven, let them sit on the baking sheet for 5 minutes. As they cool, the residual heat will finish the crisping process, leaving you with that perfect, delicate snap that makes this snack so addictive.
Ultimately, making this kale chips recipe part of your routine is a simple way to embrace a healthier lifestyle without sacrificing the joy of snacking. It teaches you the value of technique over complicated ingredients and rewards you with a nutrient-dense treat that satisfies those salty cravings. Whether you serve them alongside a sandwich, pack them in a lunchbox, or enjoy them as a standalone snack, these chips are sure to become a household favorite. Happy snacking!
While sea salt and garlic powder are a classic duo, this recipe is a versatile canvas for many different flavor profiles depending on your mood.
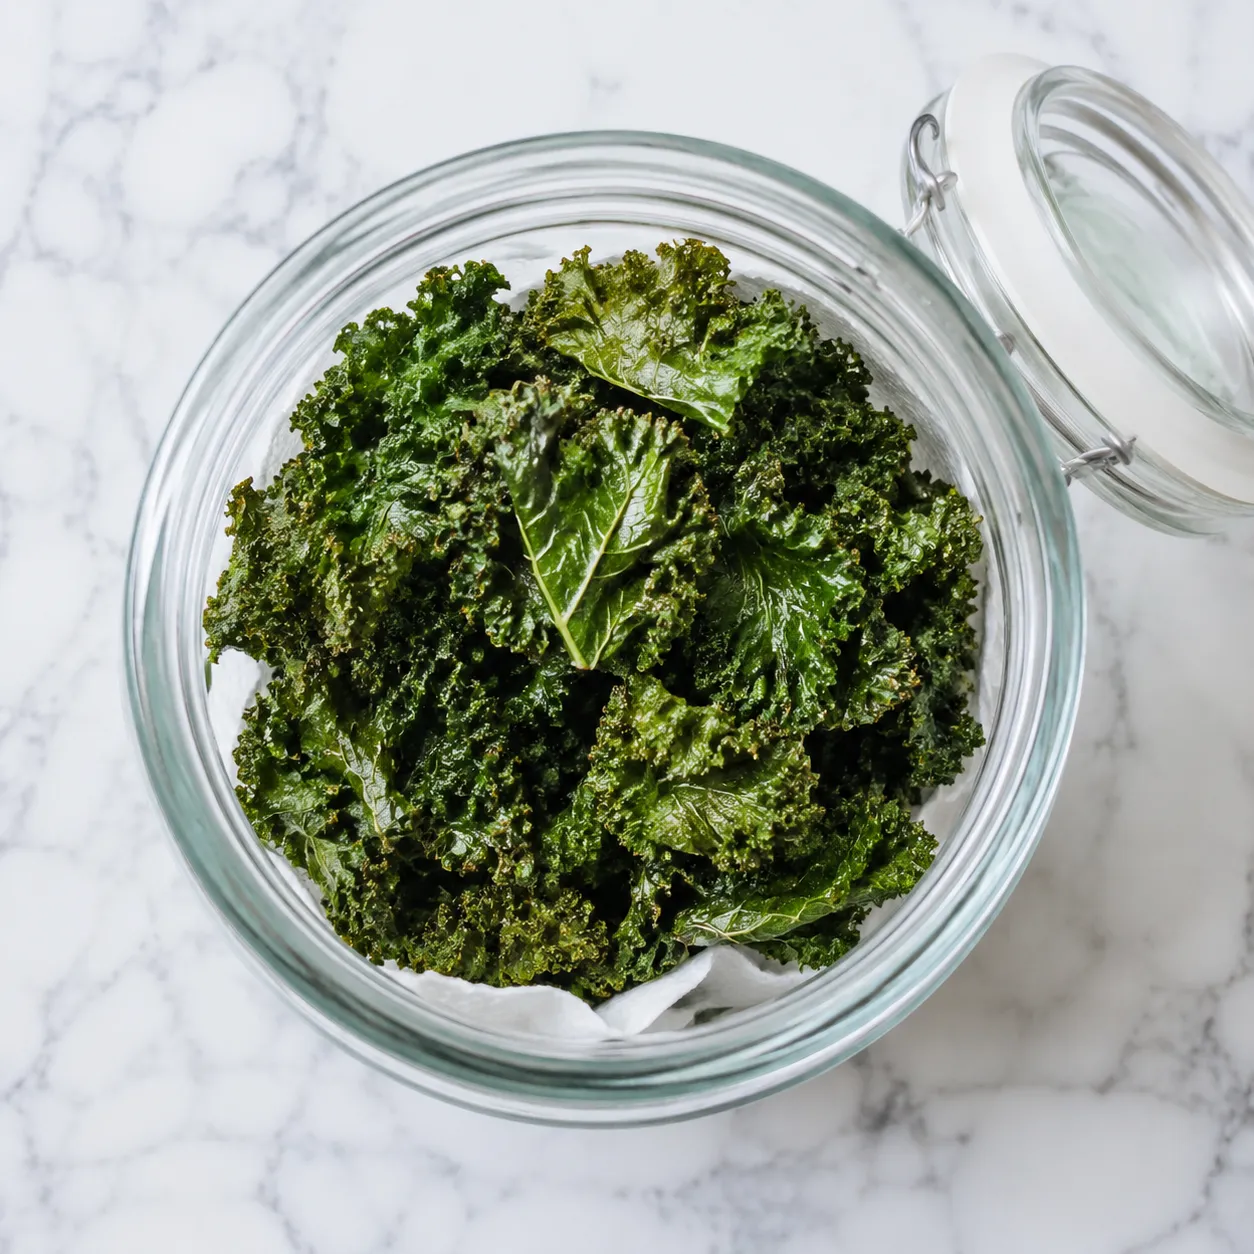
To maintain the delicate crunch of your kale chips, storage is everything. Once they have cooled completely to room temperature, place them in a clean, airtight glass jar or container. To help absorb any potential moisture that might creep in, tuck a folded paper towel at the bottom of the container before adding the chips. They will stay perfectly crisp at room temperature for 2 to 3 days.
If you find that your chips have lost their snap due to humidity, don't toss them out! You can easily re-crisp them by spreading them back out on a baking sheet and popping them into a 250°F oven for 3 to 5 minutes. This will draw out the moisture and restore that signature shatter. Avoid storing them in the refrigerator, as the cold, damp environment will turn them soft almost instantly.