Caramel Popcorn Recipe: Crunchy, Buttery & Foolproof
Ingredients
Scale
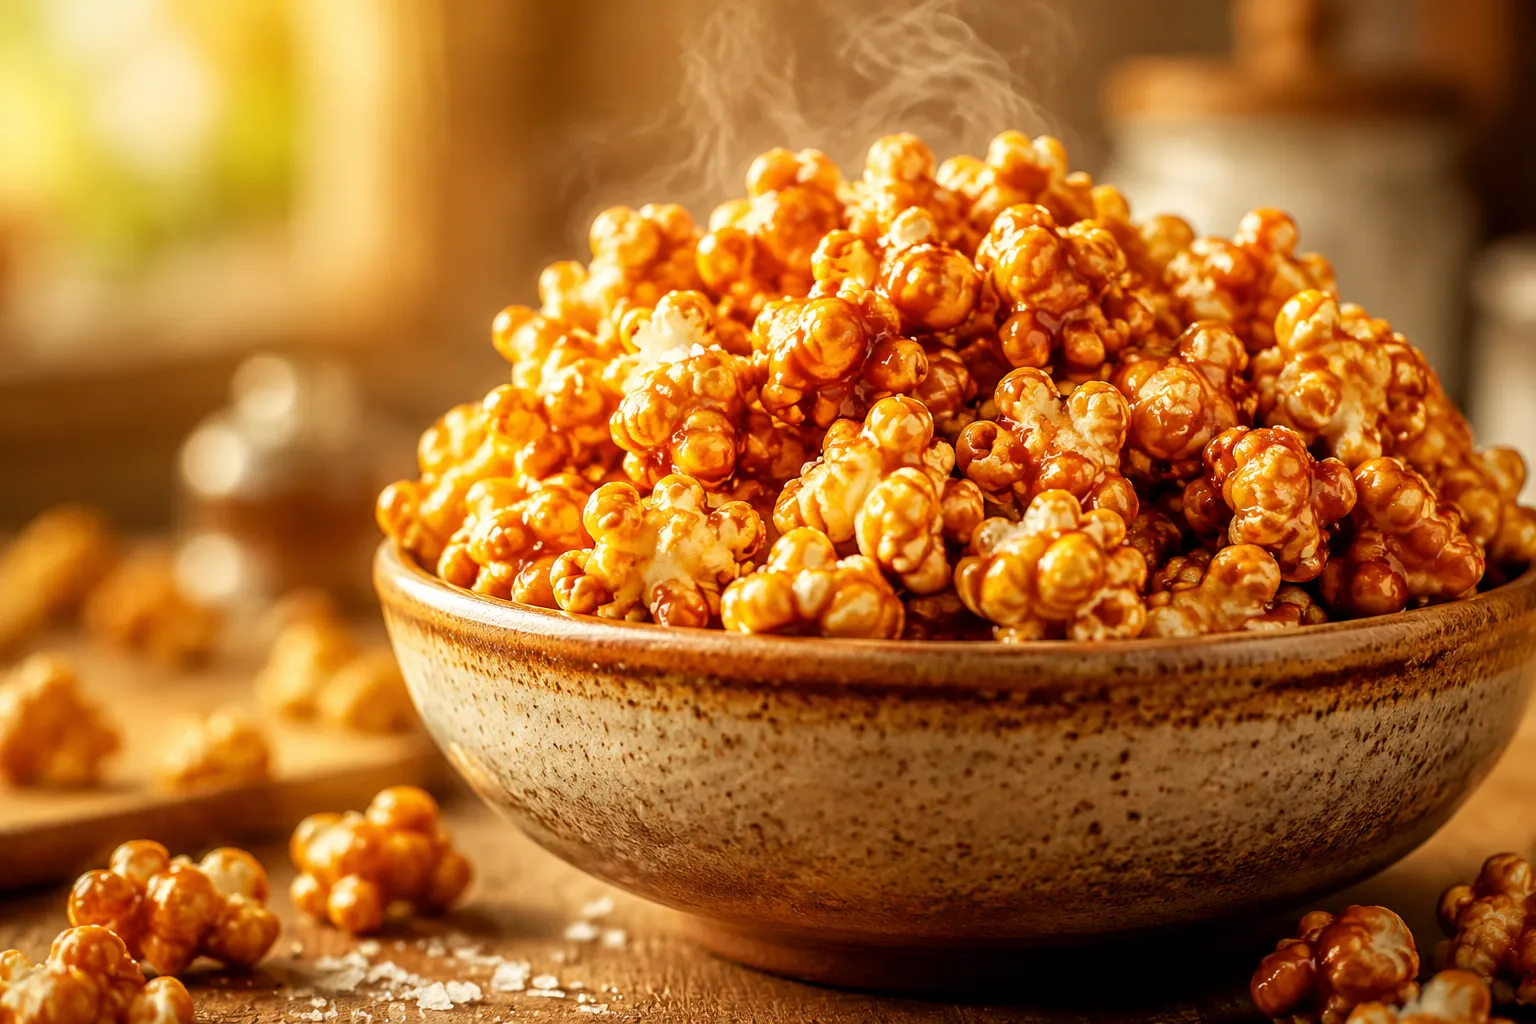
Glossy, golden, and shatter-crisp, this homemade caramel popcorn beats any tin from the store. One batch, simple pantry staples, and zero candy thermometer stress.
This caramel popcorn recipe is the one you save to your phone, screenshot for later, and pull out every December when the cookie tins start to feel a little tired. We're talking shatter-crisp pieces with a deep amber crunch, a glossy buttery sheen, and just enough sea salt at the end to make the whole thing taste expensive. No candy thermometer, no guesswork, no pan of half-stuck syrup poured down the drain in defeat.
I tested batch after batch chasing the texture I remembered from my grandmother's holiday tins, the kind where you bite down and the coating actually breaks instead of gluing itself to your molars. The trick is not the boil, not the brand of sugar, not even the butter. It's a low oven and a single teaspoon of baking soda. Once you understand those two moves, caramel corn stops being intimidating and starts being a Sunday afternoon project you'll repeat all winter long.
One batch makes a generous bowl plus a few mason jars to share, and it stays crunchy for over a week if you can keep it around that long. Honestly, you won't.
Most quick recipes online ask you to microwave a coating for two minutes and call it done. The result is reliably sticky, slightly soft, and gone within the hour. The version below borrows from old-school church-cookbook technique: a properly boiled brown sugar caramel, foamed with baking soda for lightness, then baked low and slow on a sheet pan. That slow oven is what dehydrates the coating into its signature crackle.
If you've ever stirred up homemade caramel sauce for ice cream, you'll feel right at home here. It's the same family of sauce, just cooked a touch further and lightened with a bit of leavening so it sets crisp instead of pourable. The leap from spoonable caramel to glassy candy coating is one minute on the stove and one teaspoon of baking soda. That's it.
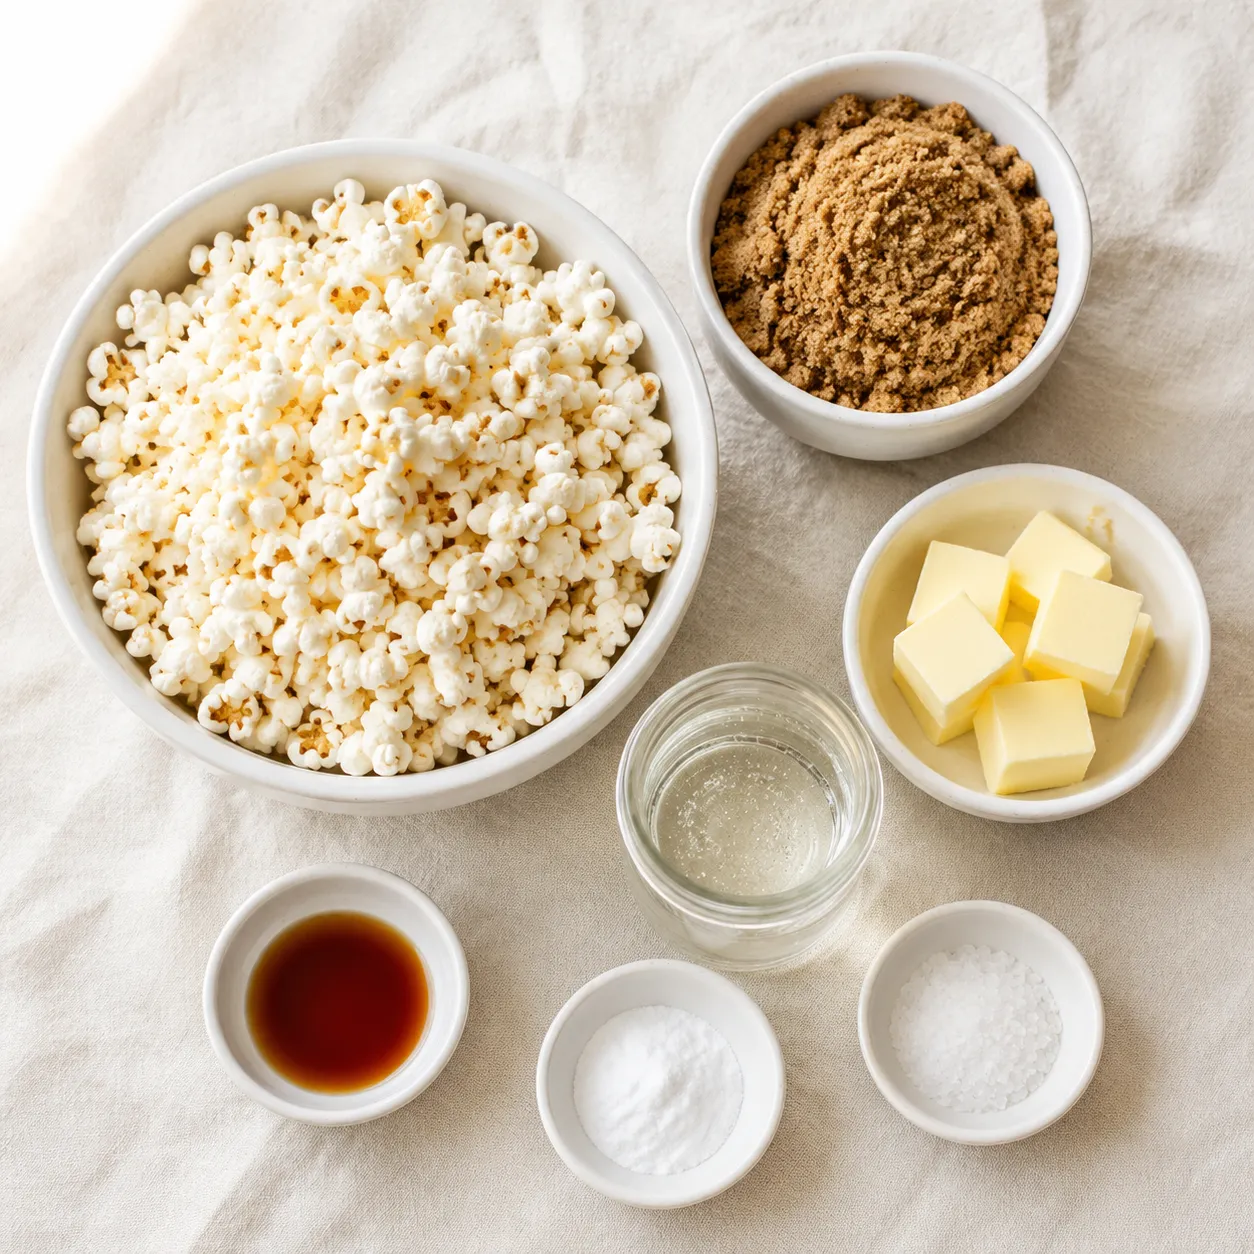
The pantry list is short and forgiving, but each item earns its keep. I don't recommend swapping until you've made it once as written.
Here's the high-level walkthrough. Full numbered steps live in the recipe card below, but read this section first so you understand why each move matters before you start cooking sugar.
Pop your popcorn first. I make mine on the stovetop in a heavy pot with a glug of neutral oil, the same way you'd start a kettle corn recipe minus the sugar. Whatever method you use, transfer the popped corn to your largest bowl and patiently pick out every unpopped kernel. Trust me here. Once those hard duds are coated in caramel they look exactly like the good pieces, and biting into one is a fast track to the dentist.
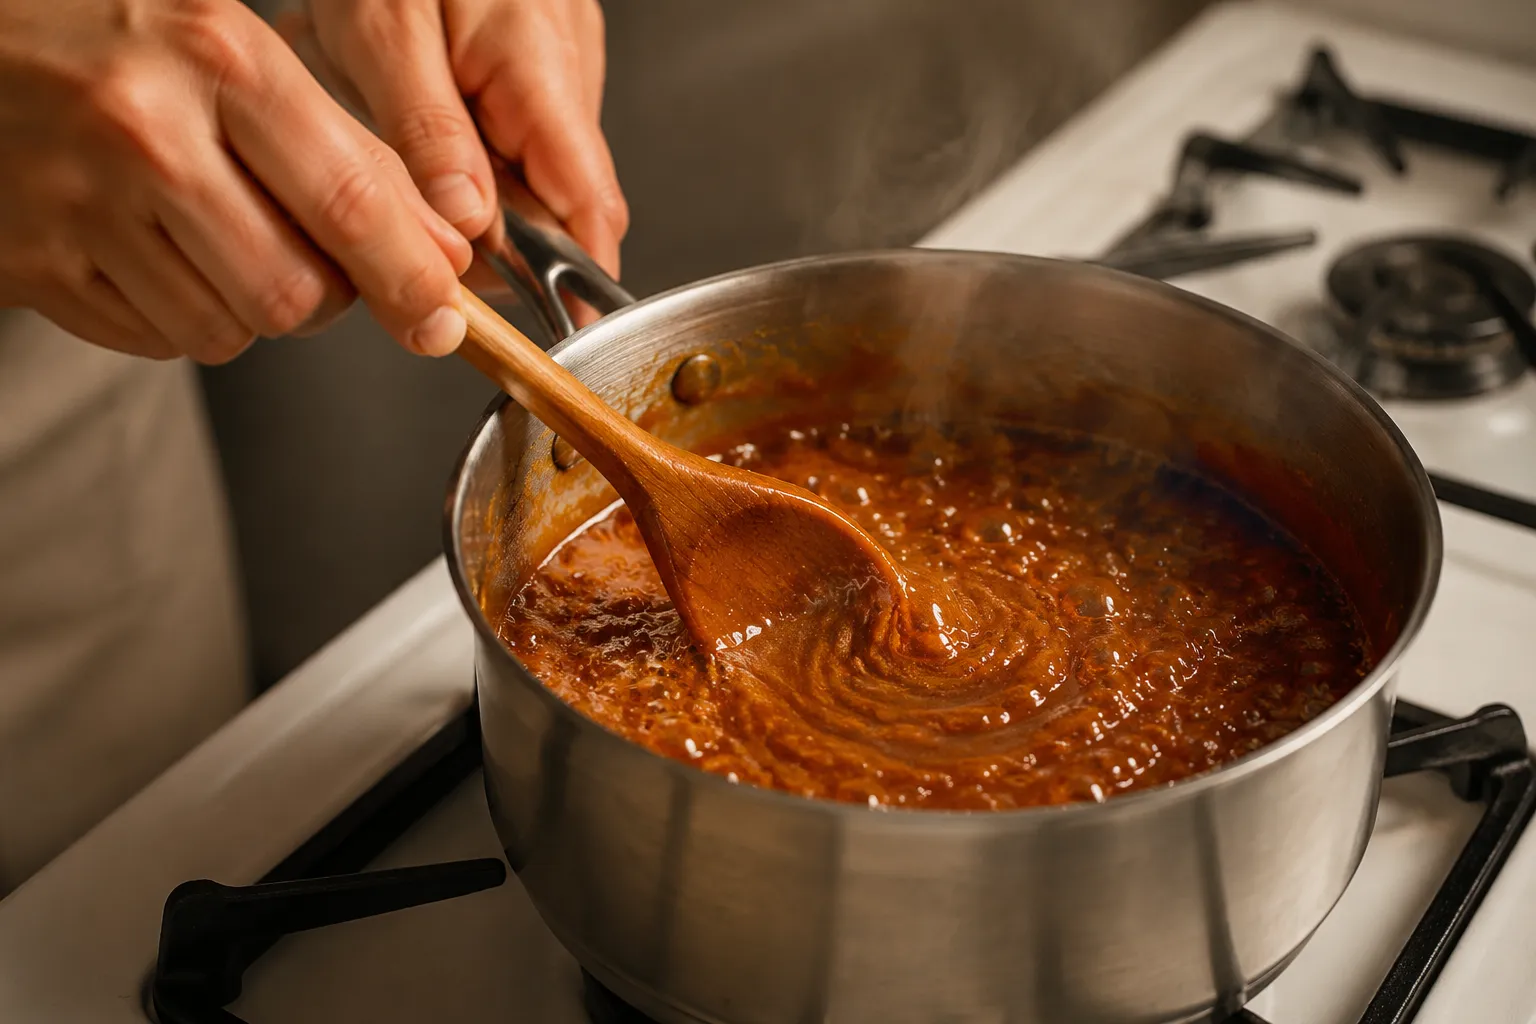
Build the caramel. Melt the butter in a heavy saucepan, stir in brown sugar, corn syrup, and salt, and bring it to a rolling boil. Once it's bubbling across the entire surface, set a timer for 4 minutes and don't stir. This is what concentrates the sugars into a true caramel rather than a loose syrup. Resist the urge to crank the heat; medium is plenty.
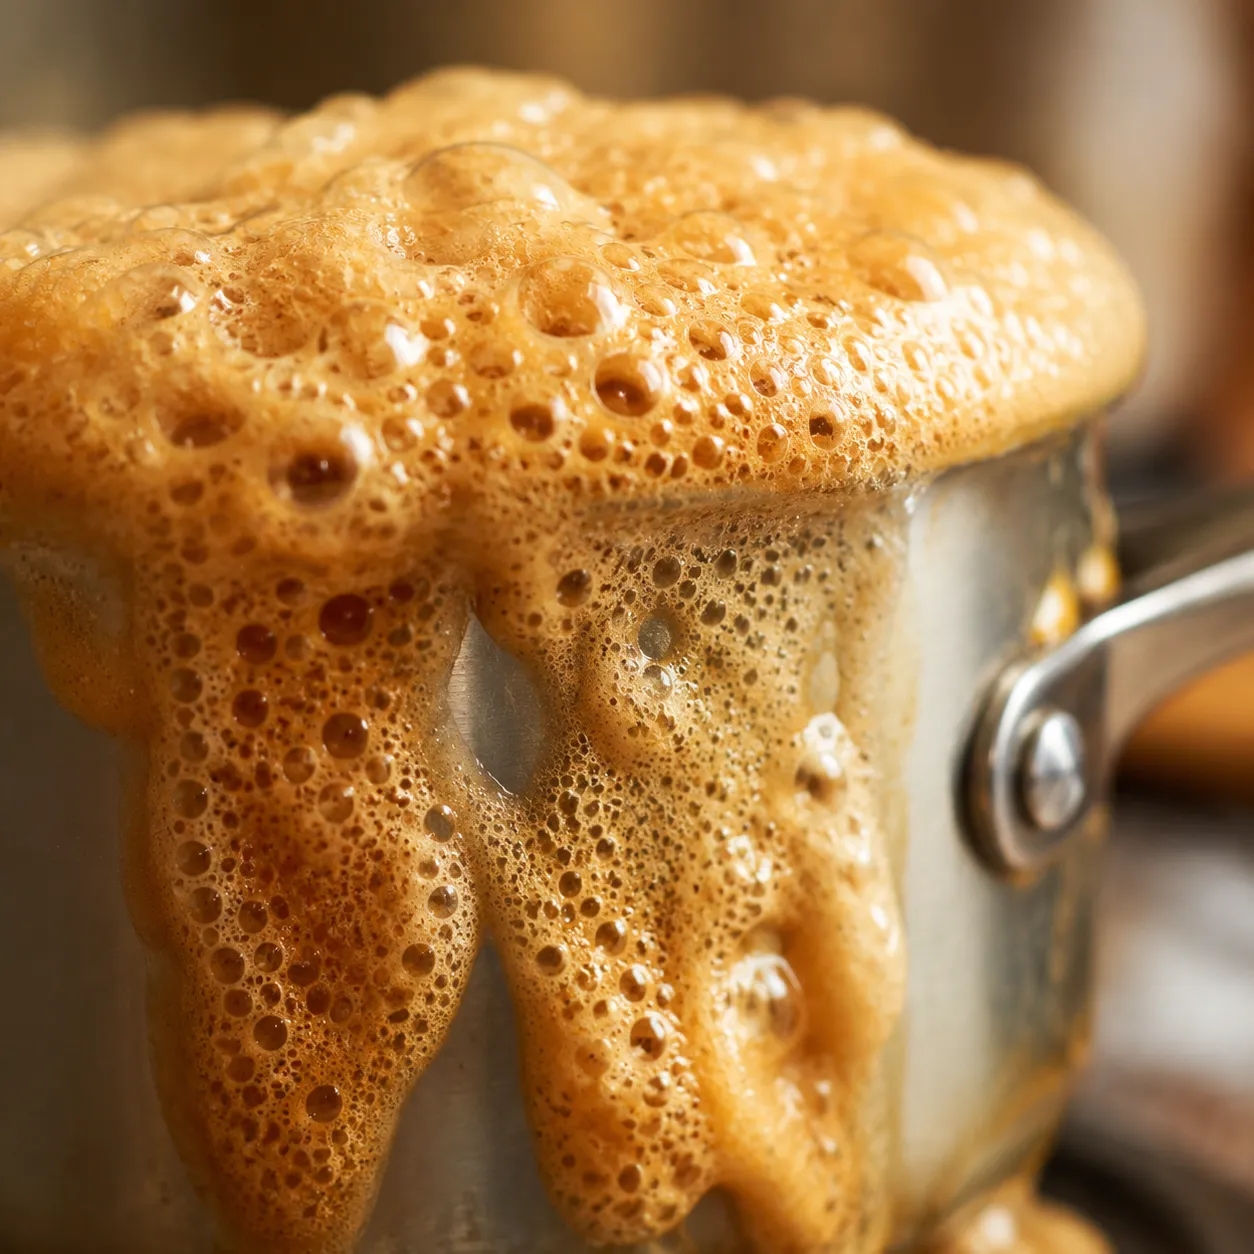
Add the magic. Off the heat, whisk in the vanilla and baking soda. The caramel will foam up dramatically, turn pale and creamy, and roughly double in volume. This is the science moment, and it's the entire difference between sticky caramel corn and the airy, crackly version you actually want. Don't be alarmed by the volcano; that's exactly the texture you're paying for.
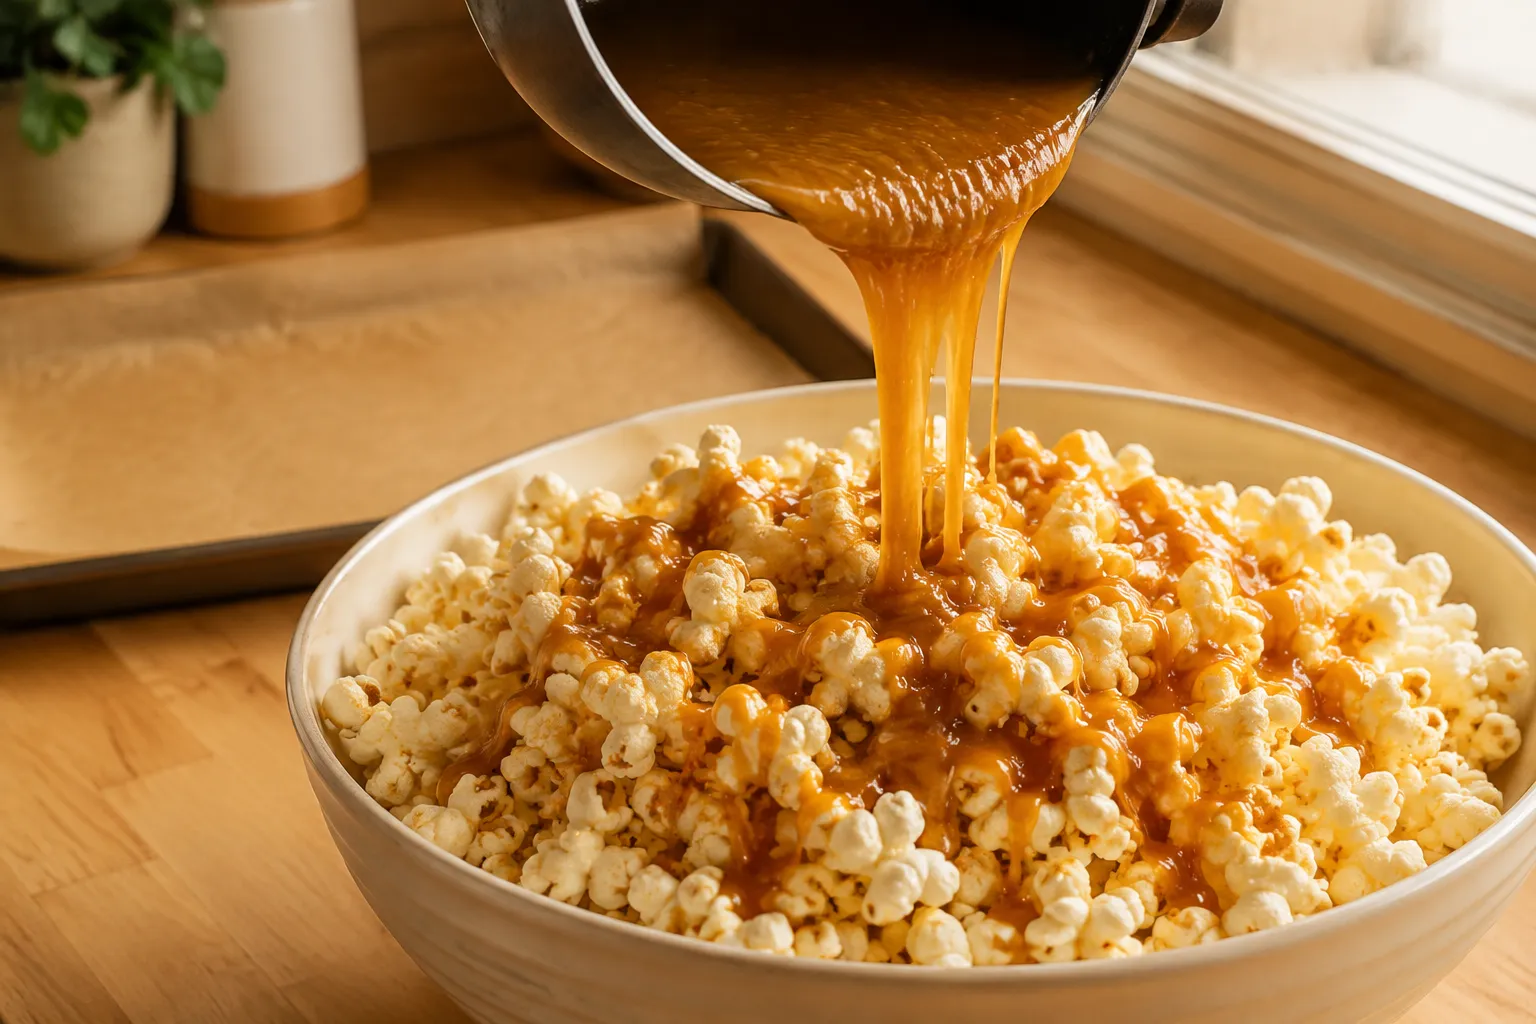
Coat the popcorn. Pour the foamy caramel over the popcorn in long, slow ribbons, then fold gently with a silicone spatula. Don't try to coat every single piece perfectly at this stage. The oven will finish that job for you, and over-stirring now will deflate the foam you just worked to create.
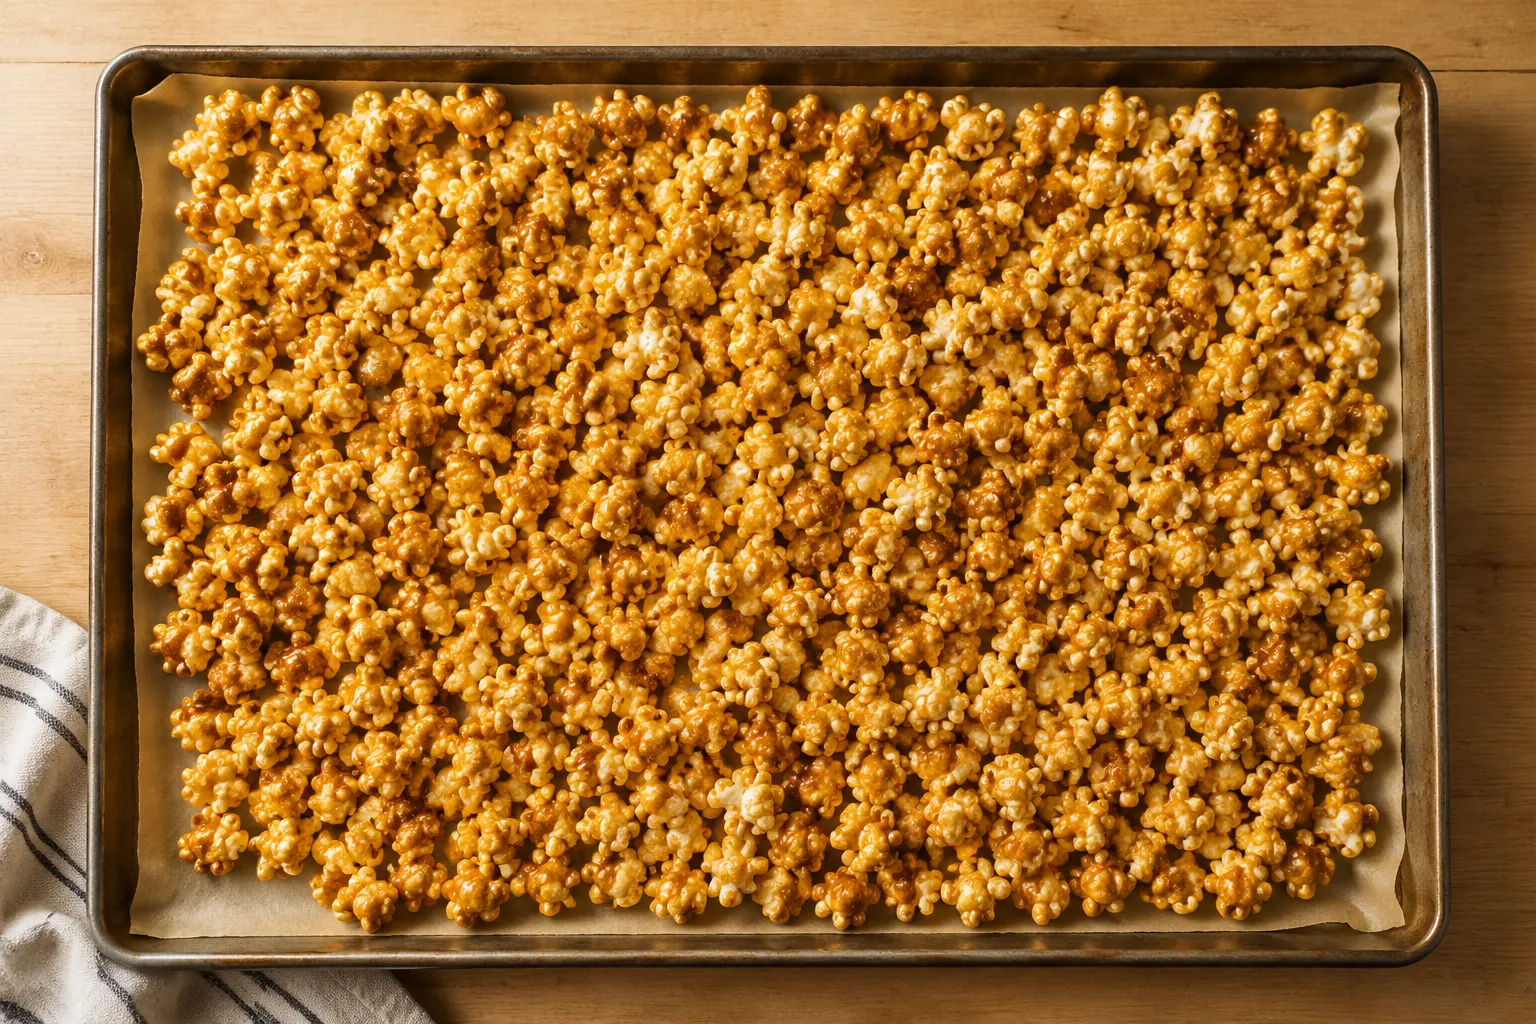
Bake low and slow. Spread the coated popcorn in a single layer on a parchment-lined rimmed sheet pan and slide it into a 250°F oven for a full hour, stirring every 15 minutes with a long spatula. Low and slow lets the caramel re-melt, redistribute across every piece, and slowly dehydrate. By minute 60, the coating sets crisp the moment it hits cool air. Cool the popcorn directly on the sheet pan, then break it apart with your hands.
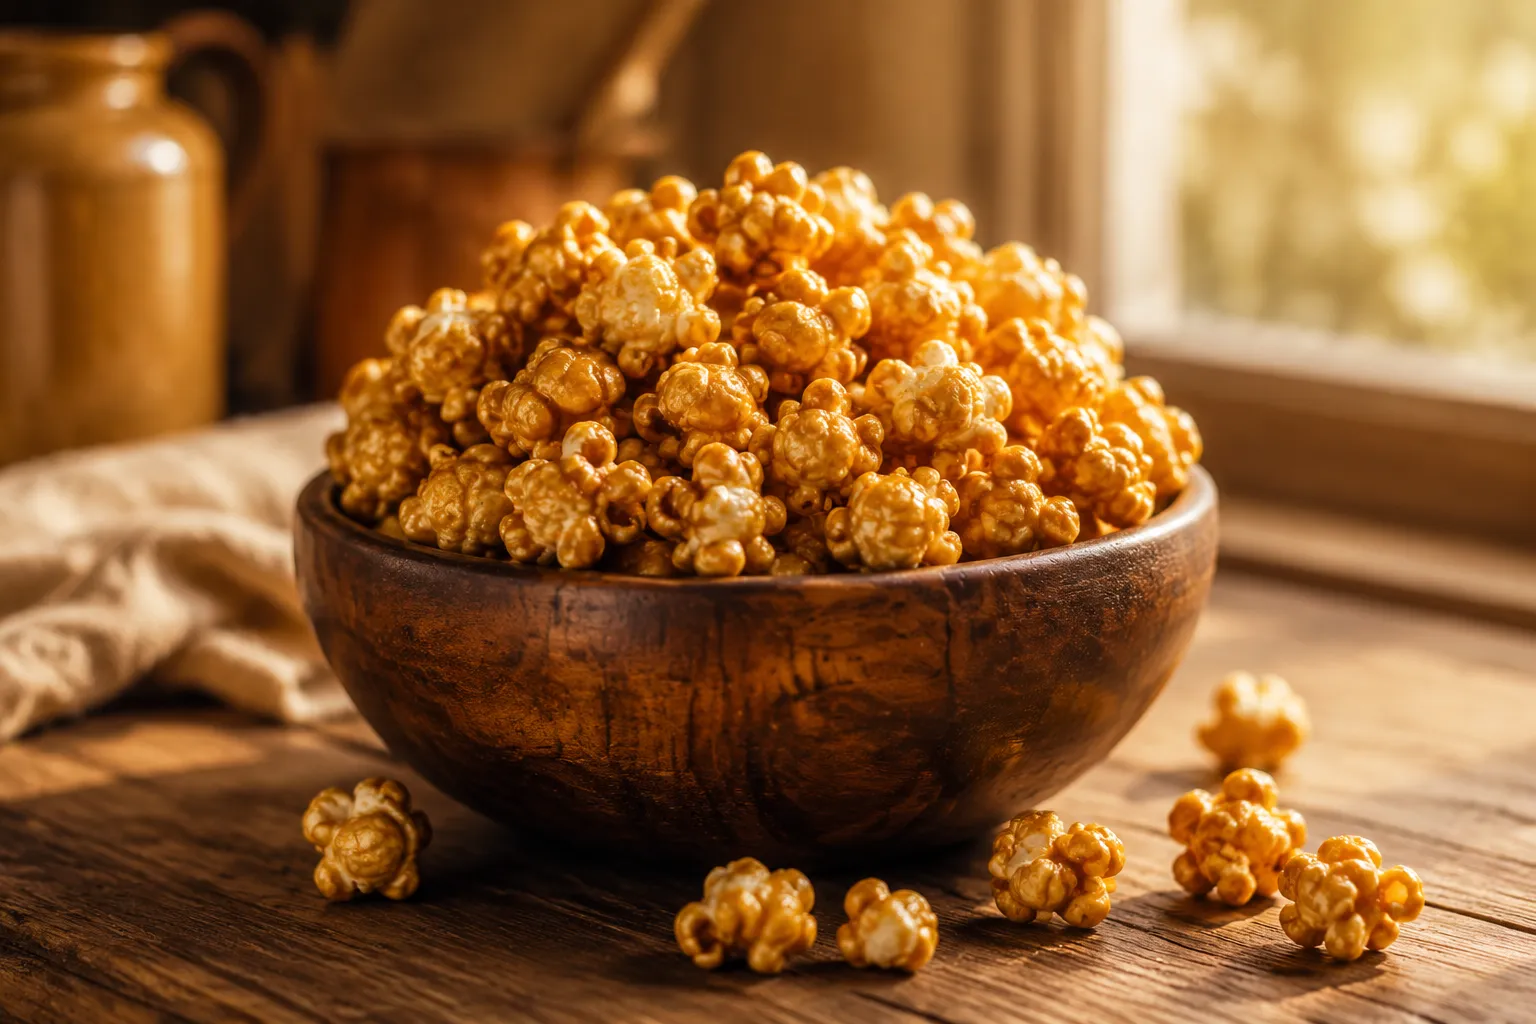
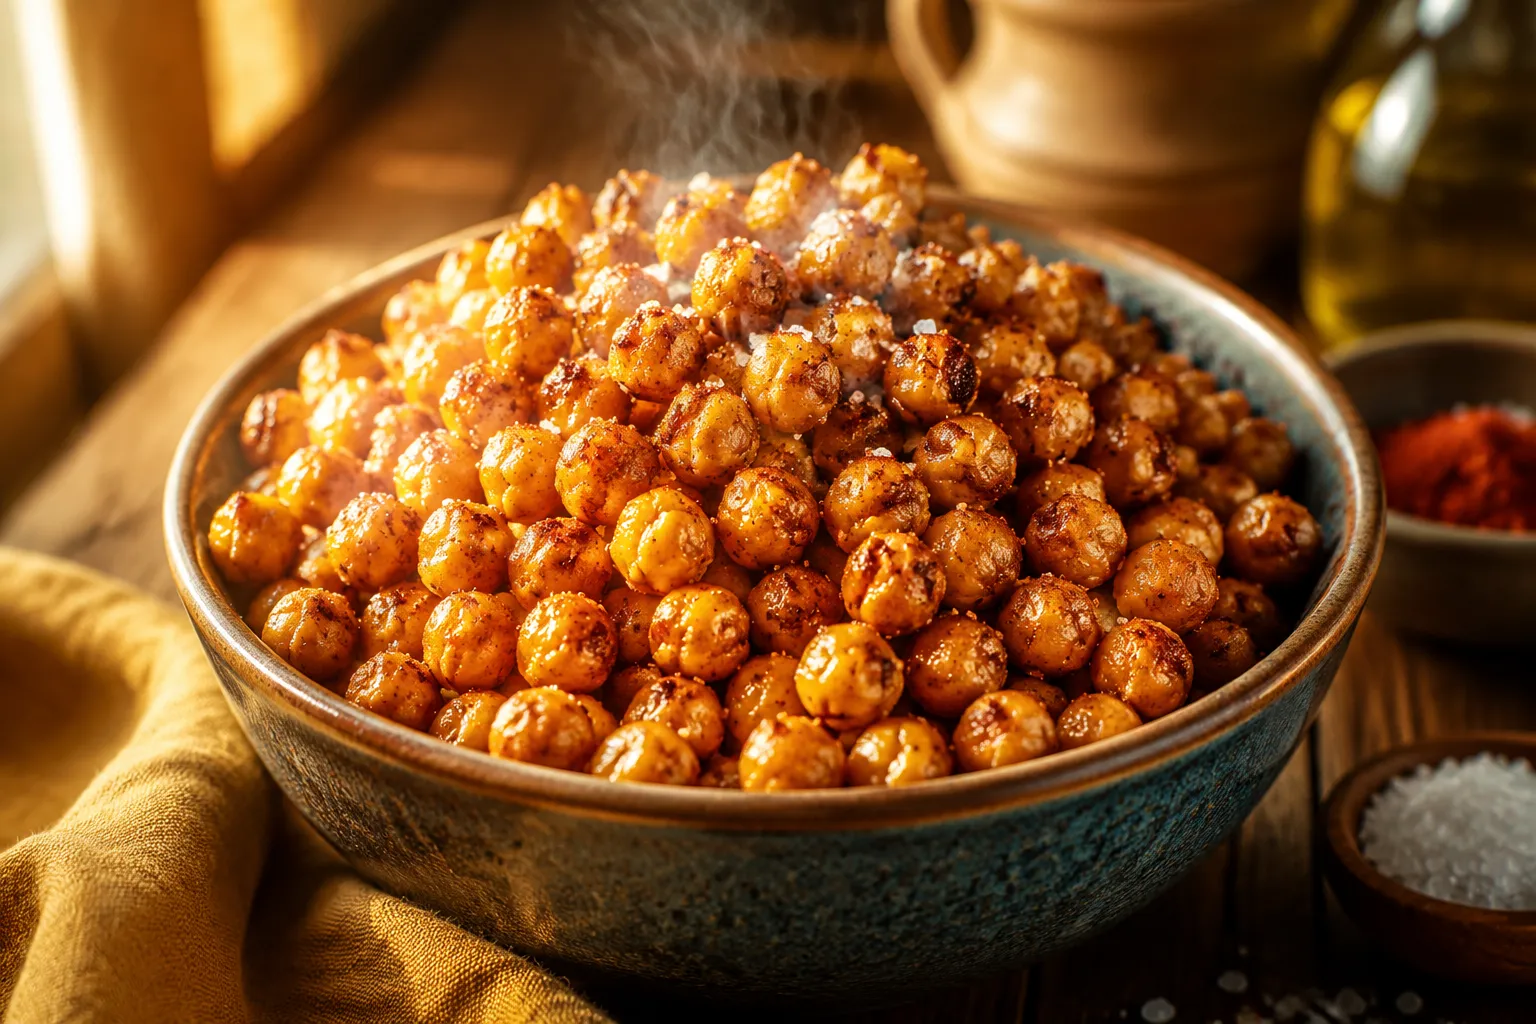
This is the kind of snack that earns a permanent spot in your hosting rotation. Dump a warm batch into your prettiest bowl, scatter a little flaky salt across the top, and set it out with a stack of cocktail napkins. No other instructions needed.

For movie night snacks, I love pairing a big bowl with something briny on the side, like rosemary cashews or marcona almonds, plus a cold sparkling drink. The sweet-salty back-and-forth keeps you reaching in long after you swore you were done. It also slots perfectly into a bigger holiday snack mix with mini pretzels, roasted pecans, candied ginger, and a handful of dark chocolate-covered espresso beans tossed through at the end.
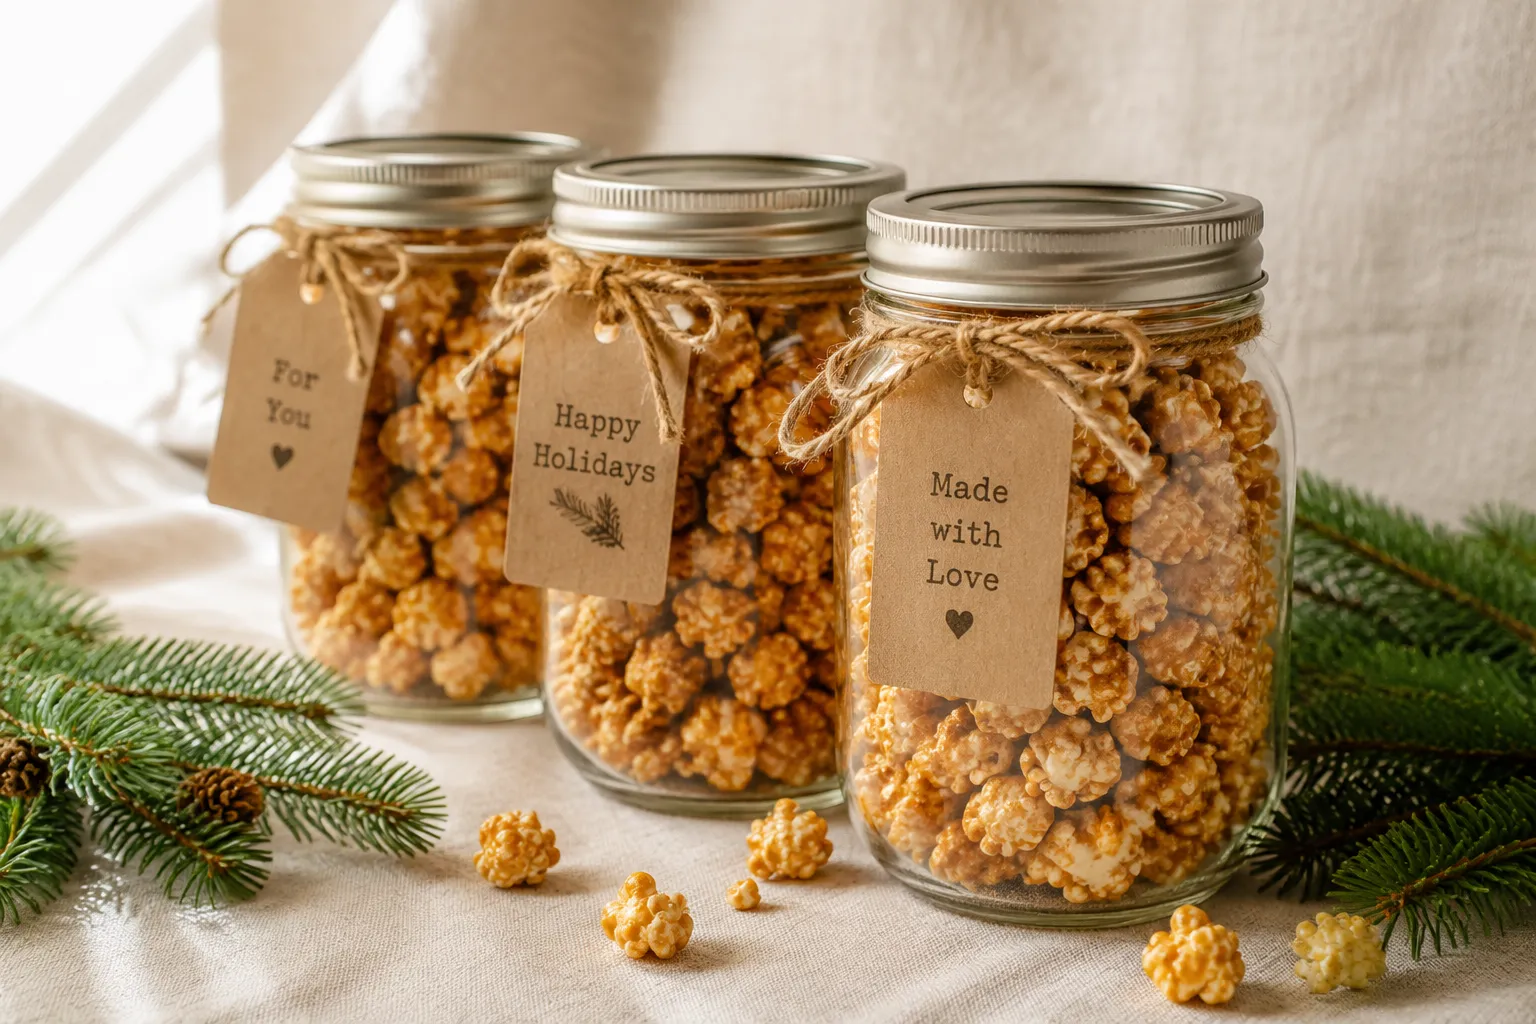
If you're gifting it, pack the fully cooled popcorn into pint mason jars, tie on a kraft tag with the recipe name and date, and you've got a present that costs about three dollars and looks like twenty. Teachers, neighbors, your mail carrier, your kid's piano teacher, all very into receiving a jar of homemade caramel popcorn instead of another candle. For party favors, smaller cellophane bags tied with bakers' twine work just as well and travel home in a coat pocket.
Use the largest bowl in your house for tossing. Whatever you think is big enough, go up one size. Caramel coats much more evenly when there's room to fold, and a too-small bowl is the single most common reason home cooks end up with bare patches and clumps. A turkey roasting pan works in a pinch.
Heavy saucepans are your friend here. Thin pans scorch sugar fast, and once even a few specks of caramel turn black, the whole batch tastes acrid. A 3- to 4-quart stainless or enameled cast iron pan gives you the thermal cushion to walk through this calmly. And one last thing: keep a bowl of cool water and a silicone spatula in the sink. Sugar cleanup is shockingly easy if you soak everything immediately, and miserable if you don't.
Once you've nailed the base recipe, the flavor riffs are nearly endless. The caramel coating is forgiving, so feel free to play with mix-ins and finishes.
Stored airtight at room temperature, this caramel popcorn stays crunchy for up to a week. Use a glass jar with a tight lid, a zip-top bag with the air pressed out, or a metal tin lined with parchment. Avoid the refrigerator at all costs; the humidity will soften the coating overnight and turn that beautiful crackle into a chewy mess.
For longer storage, freeze it. Spread the cooled popcorn in a single layer on a sheet pan, freeze until solid, then transfer to a freezer bag for up to 2 months. Pull it straight from the freezer to a serving bowl and it crisps back up within minutes at room temperature. For edible gifts, pack into mason jars or cellophane bags within 24 hours of baking, when it's at peak crunch, and tie on a tag noting the made-on date so the recipient knows the timeline.