French Silk Pie Recipe (Silky, No-Fail Chocolate Classic)
Ingredients
Scale
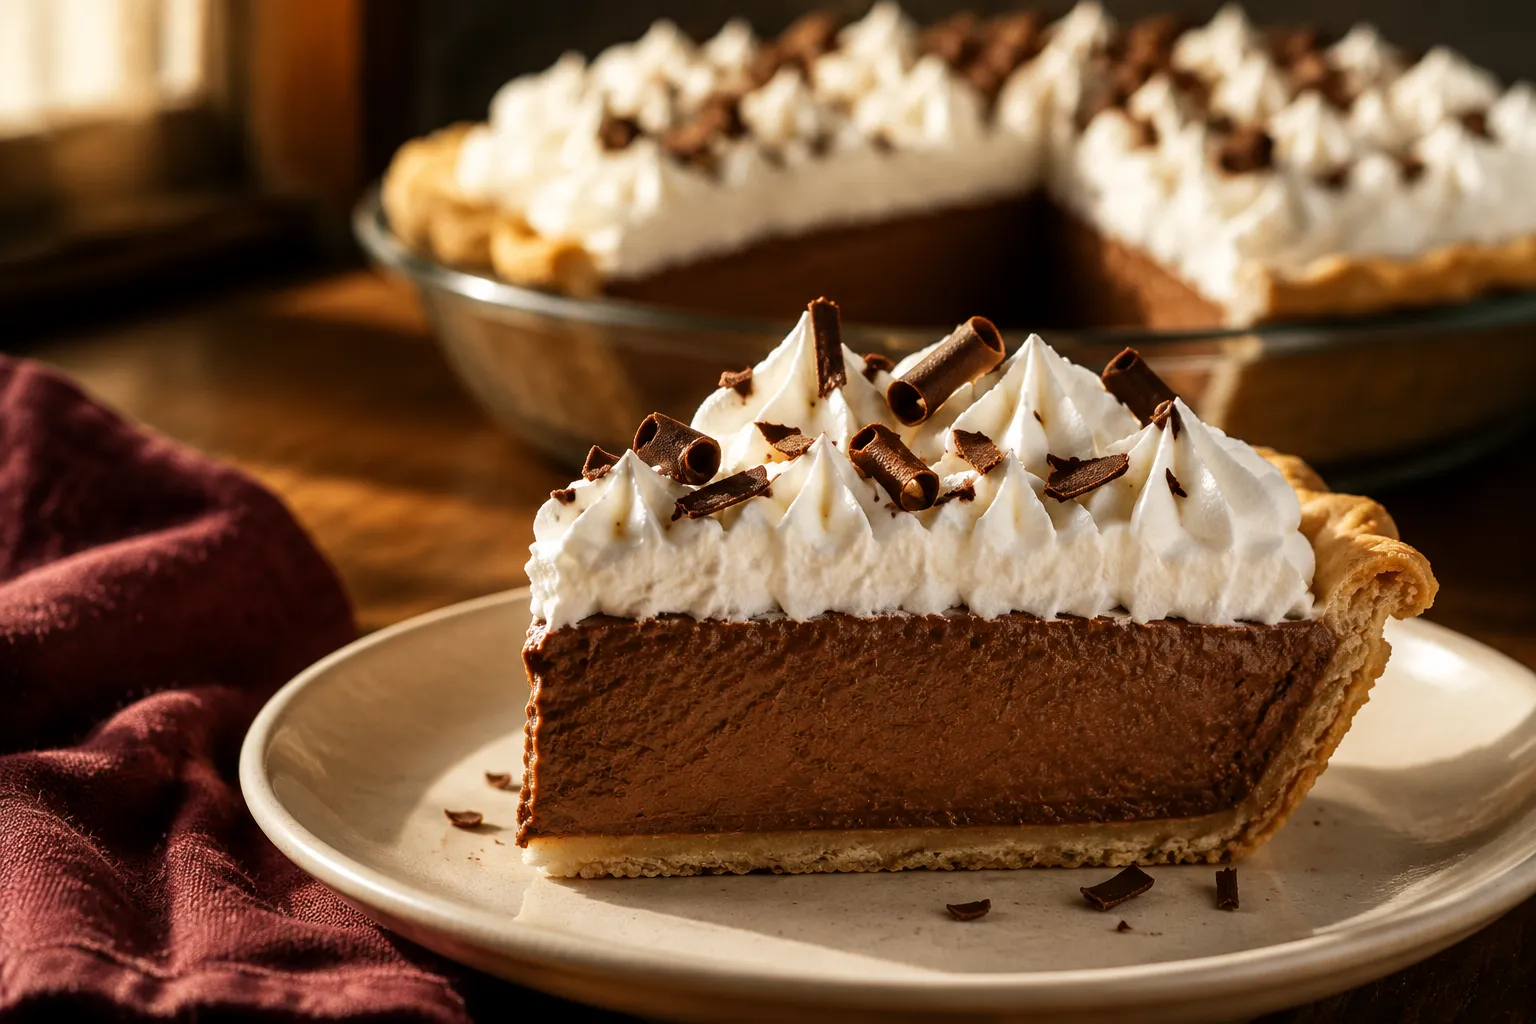
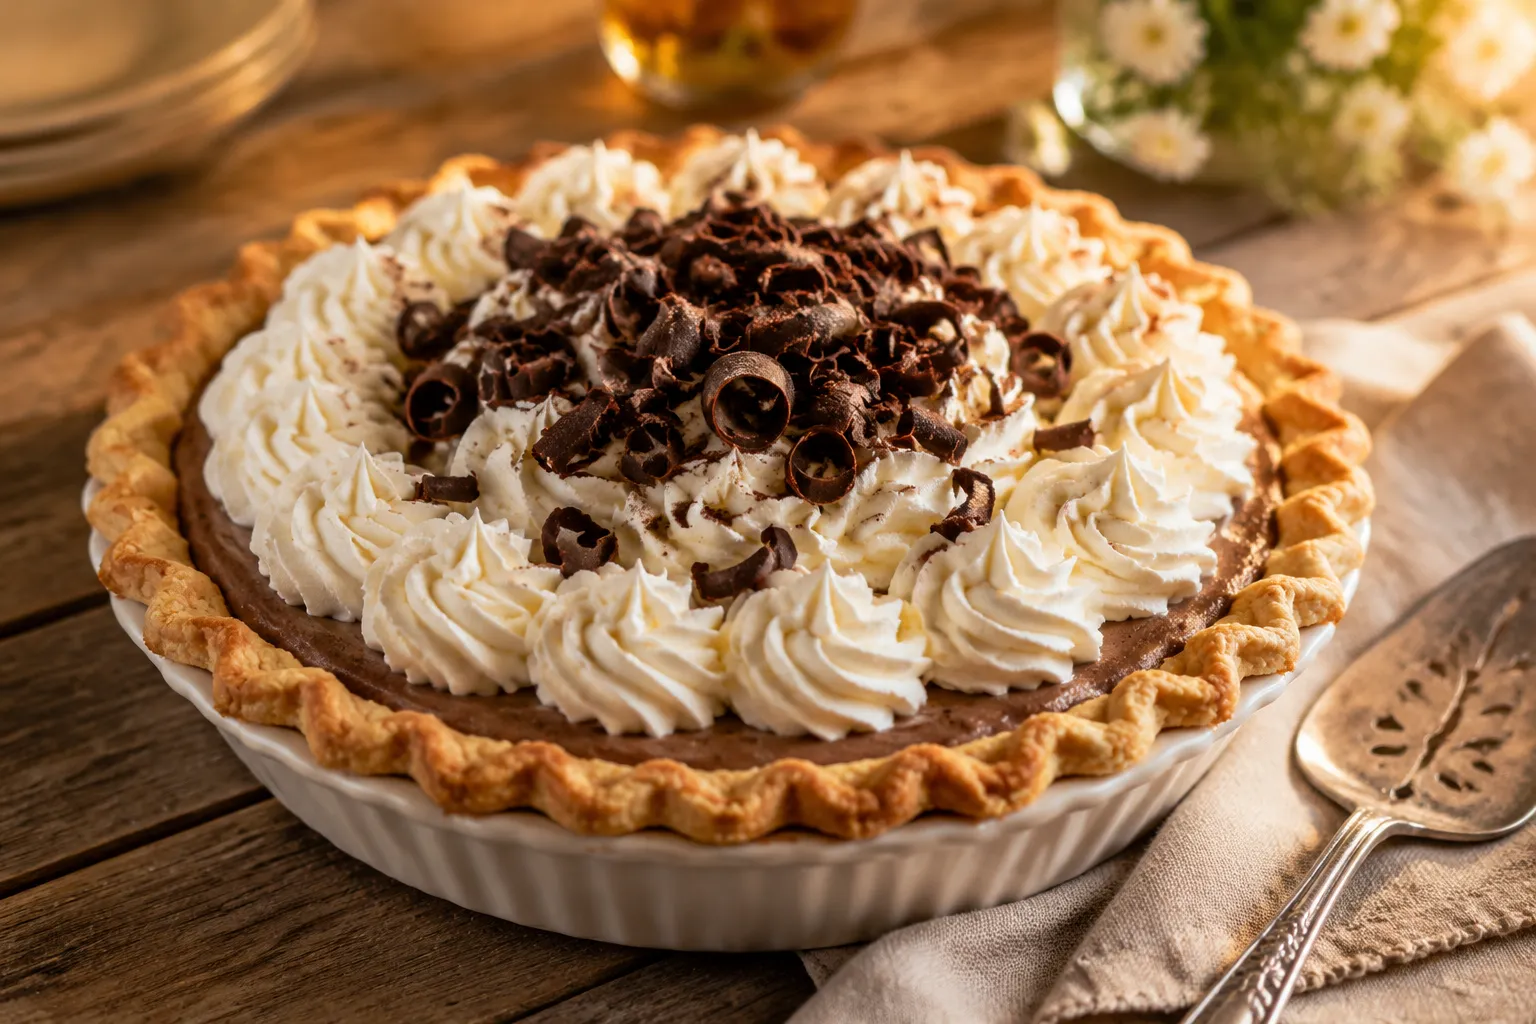
This French silk pie is the silkiest, most decadent chocolate pie you'll ever make, with a flaky crust, satin-smooth filling, and clouds of whipped cream.
This french silk pie recipe is the dessert I make when I want to stop a room mid-conversation. It's the silkiest, most chocolate-forward slice you can pull from a fridge, with a flaky golden crust on the bottom, a satin-smooth chocolate buttercream filling in the middle, and clouds of whipped cream piled on top like new snow. Every bite tastes like a rich french silk pie should: cool, light, and somehow simultaneously decadent.
The original showed up at the 1951 Pillsbury Bake-Off and never really left America's holiday table. The catch with old-school versions is that they lean on raw eggs, which makes a lot of home bakers (and grandparents) understandably nervous. This version solves that with a quick tempered-egg method — you cook the egg-and-sugar base over a double boiler to 160°F so the filling stays food-safe without losing any of its airy, mousse-like texture.
If you've been collecting Thanksgiving pie recipes or just need a showstopping finish for a dinner party, this is the one to bookmark. It's make-ahead friendly, freezer-friendly, and forgiving as long as you respect a few small details around butter temperature and whip time. Let's walk through it.
French silk pie was invented by Betty Cooper for the third Pillsbury Bake-Off in 1951, where it took third place and a $1,000 prize. The "French" part is a bit of marketing romance — the technique is essentially a French-style chocolate buttercream poured into a pie shell — but the name stuck, and the dessert became a quiet diner staple from Bakers Square to small-town cafés across the Midwest. Decades later, it still feels like grown-up nostalgia in a slice, the kind of pie you order on a road trip and remember weeks later.
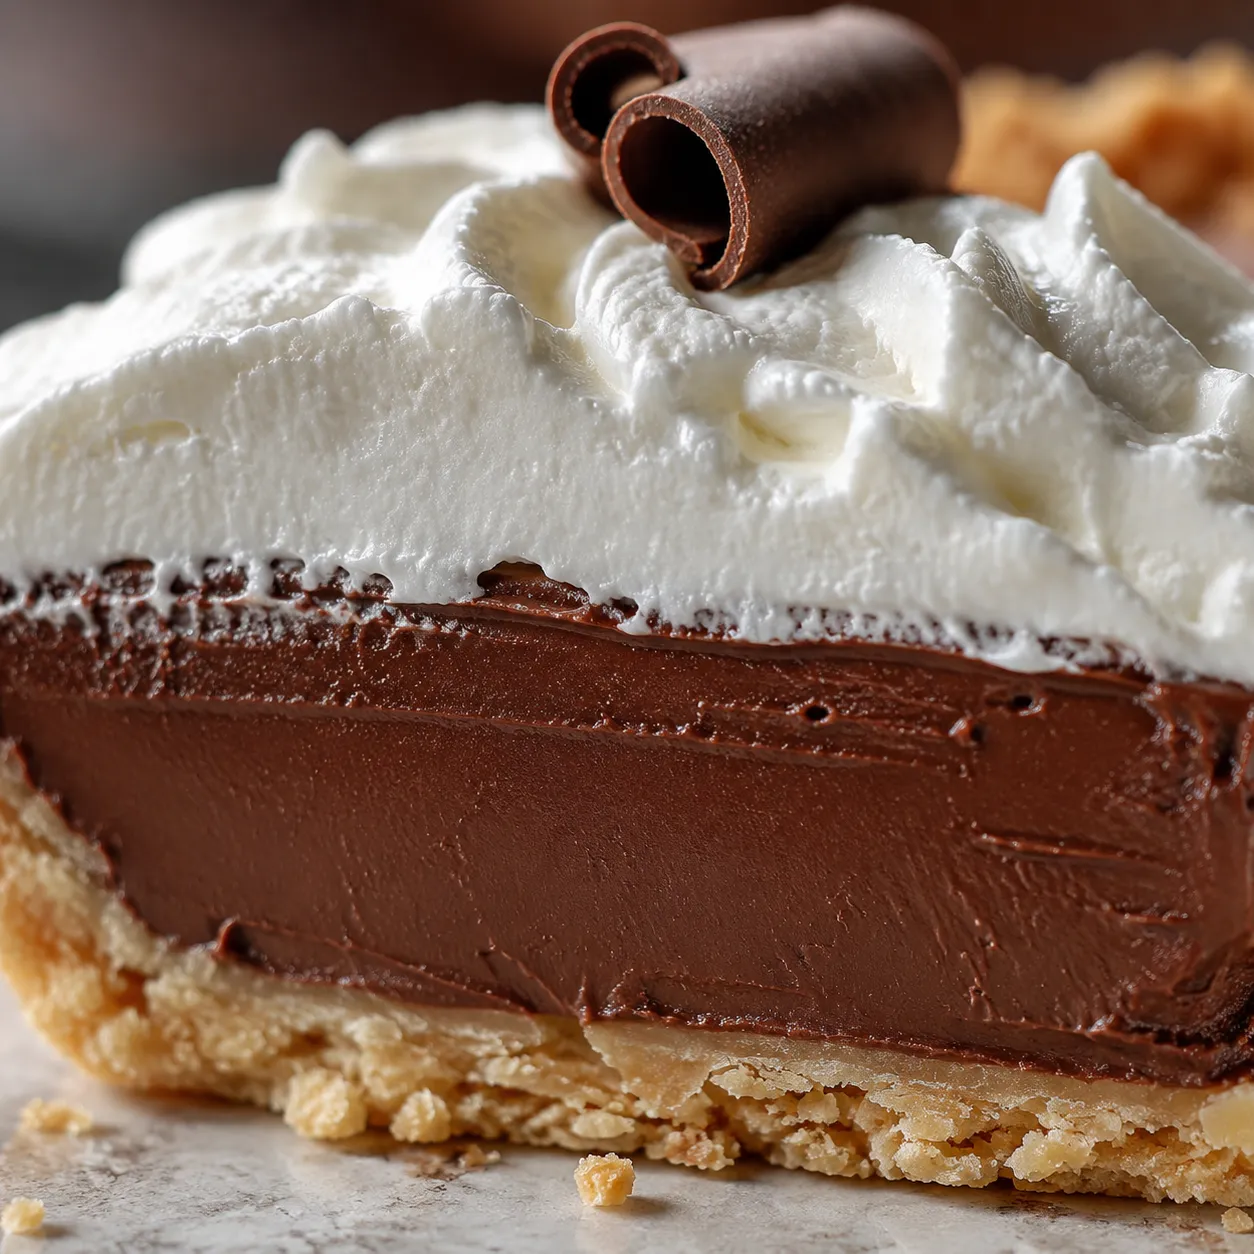
People mix these up constantly, but they aren't twins. A traditional chocolate cream pie is built on a cooked cornstarch pudding — heavier, denser, custard-like. A silky chocolate pie like this one skips starch entirely and gets its lift from whipped butter, sugar, eggs, and air. The result is closer to chilled chocolate mousse than pudding: lighter on the tongue, but somehow richer, with a clean cocoa finish that lingers.
Three things make the texture sing. First, properly softened butter that you whip until it's almost ivory-pale. Second, a long, patient mix after the chocolate goes in — this is what aerates the filling and gives it that signature satin sheen. Third, real bar chocolate (not chips), which melts cleanly without the stabilizers that can turn the filling waxy. Get those right and the slice will glide off the fork.
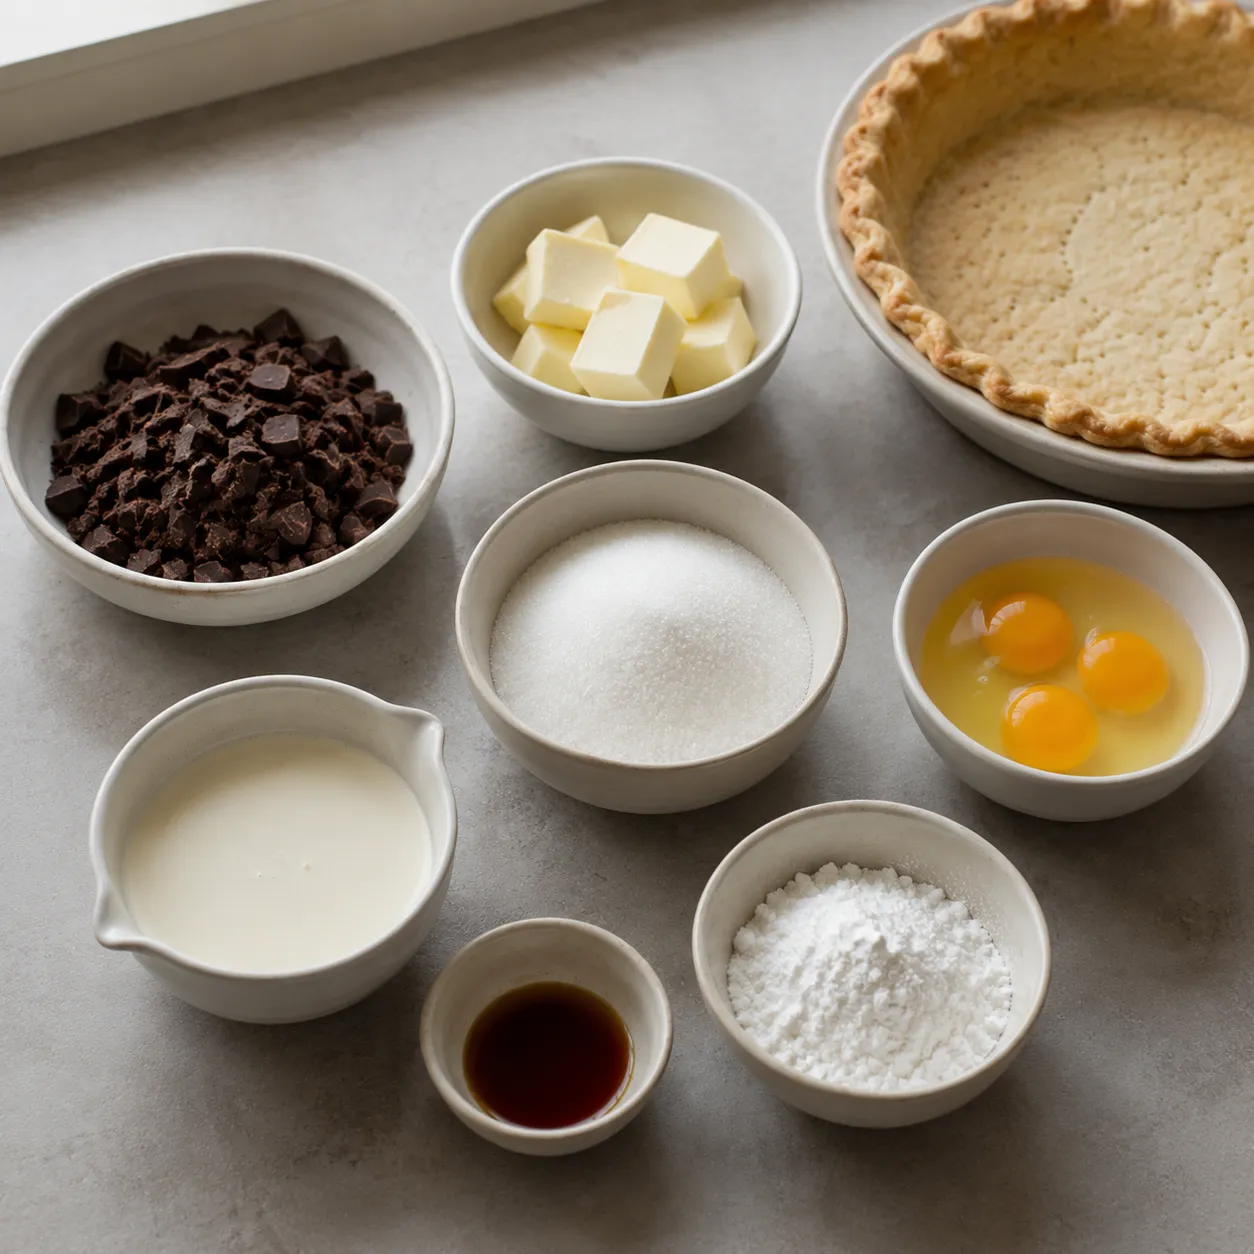
The ingredient list is short, but every item earns its keep. This is one of those recipes where quality really shows up on the plate, so use the best butter and chocolate you can comfortably afford.
A from-scratch homemade pie crust gives you the buttery, shattering edges that make this slice feel special, but a good store-bought all-butter crust will absolutely work in a pinch. Whatever you use, it must be fully blind-baked and cooled before the filling goes in — a soggy bottom is the one thing that can sink this otherwise foolproof dessert. If you're new to pastry, an all-butter crust handles more easily than a butter-shortening blend and forgives a little overworking.
You'll need 4 ounces of bittersweet chocolate (60–70% cacao), 1 cup of unsalted butter at true room temperature, 1¼ cups of granulated sugar, 4 large eggs, 2 teaspoons of pure vanilla, and a pinch of fine sea salt. Skip chocolate chips — the soy lecithin and stabilizers in chips dull the texture you're working so hard to build. A good bar like Ghirardelli, Guittard, or Valrhona melts into something glossy and smooth, almost like a loose chocolate ganache, and that's exactly the consistency you want before it hits the butter.
A simple homemade whipped cream topping (1½ cups heavy cream, 3 tablespoons powdered sugar, a splash of vanilla) is all you need. If you're making the pie the day before serving or hauling it to a holiday dinner, switch to stabilized whipped cream — a teaspoon of cornstarch or a half teaspoon of bloomed unflavored gelatin keeps the peaks crisp for 24+ hours without weeping.
The active work here is about 30 minutes; the rest is patience while the pie chills. Read the steps once before you start so the timing feels easy and you have everything cooled and measured in advance.
Roll your dough into a 9-inch pie plate, crimp the edges, and freeze for 15 minutes so it holds its shape. Line with parchment, fill with pie weights or dried beans, and bake at 400°F for 18 minutes. Remove the weights, dock the bottom with a fork, and bake another 8–10 minutes until deeply golden. Cool completely before filling — and I mean completely, not "kind of."
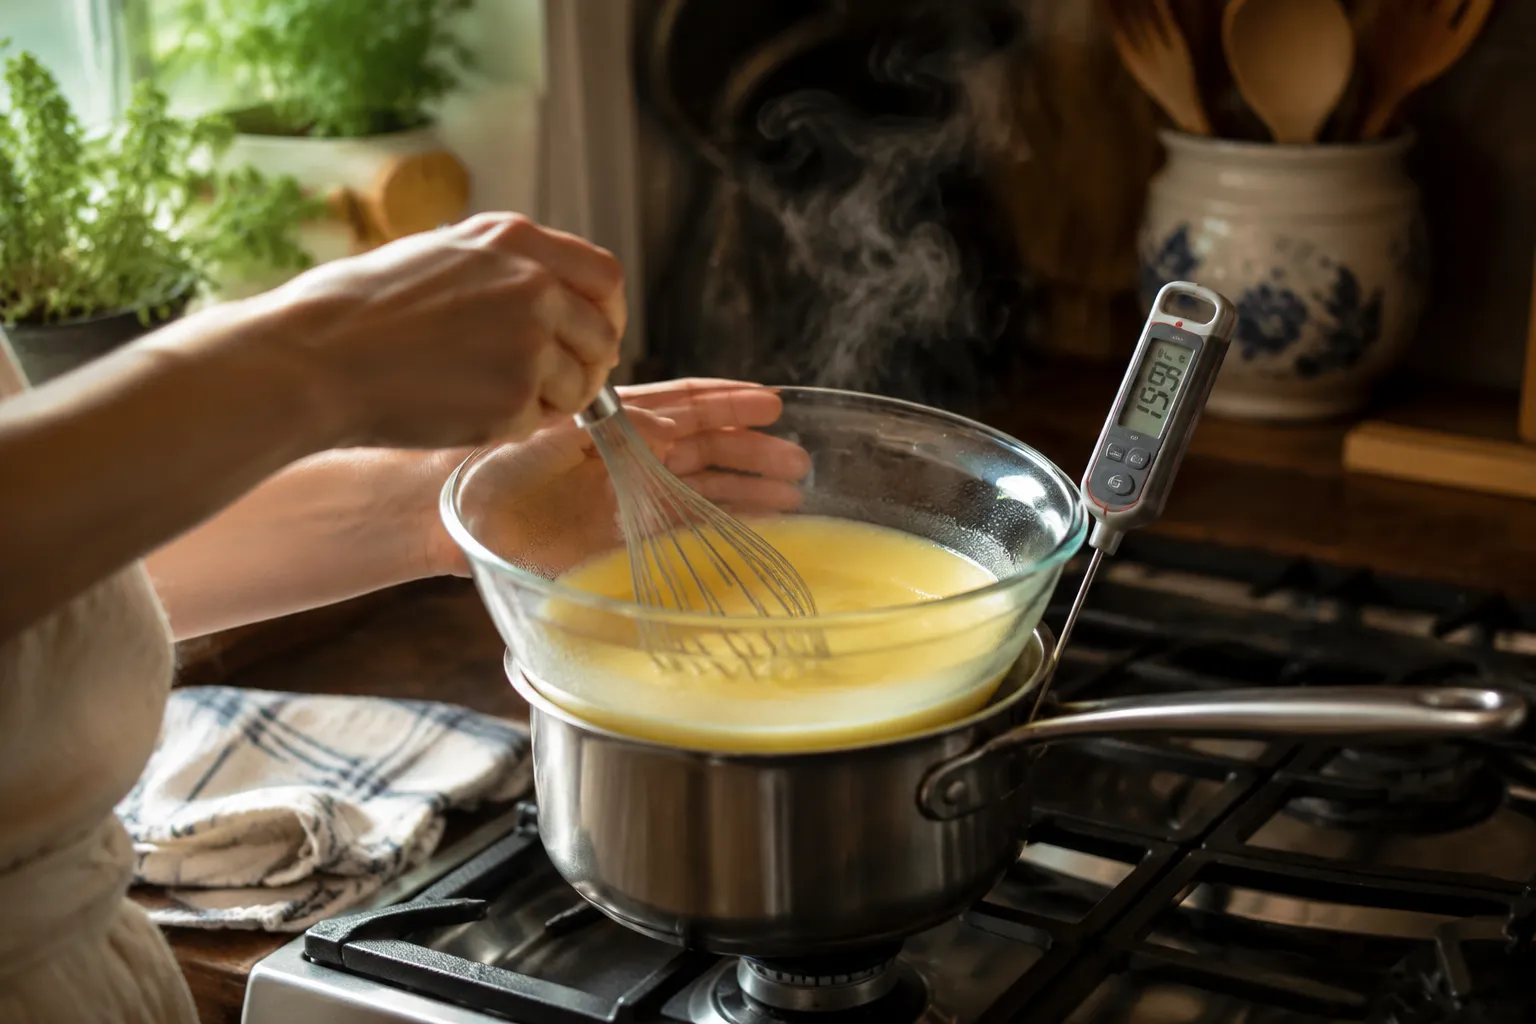
Set a heatproof bowl over a saucepan with an inch of barely simmering water (the bowl shouldn't touch the water). Whisk the eggs and granulated sugar in the bowl constantly for 8–10 minutes, until the mixture reaches 160°F on an instant-read thermometer and looks pale, thickened, and ribbon-like. This is the step that makes the filling food-safe. Once it hits temp, pour it into your stand mixer bowl and whip on high for 4–5 minutes until cooled to room temperature and tripled in volume.
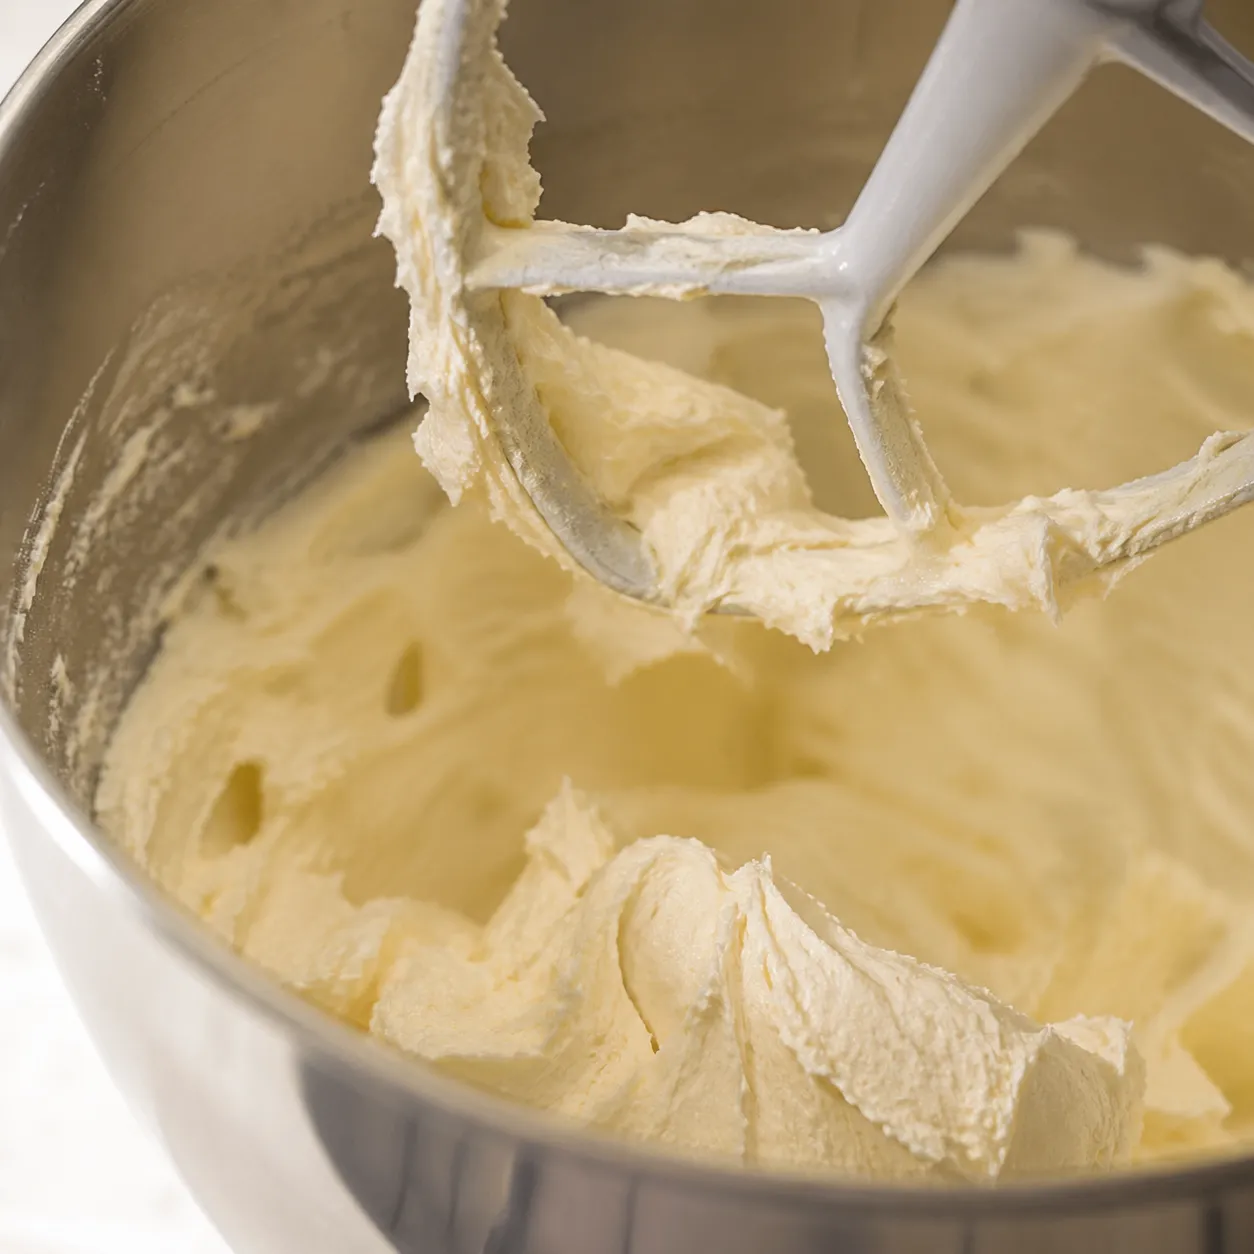
Transfer the cooled egg mixture to a separate bowl. Wipe out the mixer, switch to the paddle attachment, and beat the room-temperature butter on medium-high for a full 4 minutes until it's almost ivory-white and noticeably fluffy. Don't rush this — the volume you build here is what gives the filling its mousse-like lift. Scrape the bowl thoroughly so no clumps of cold butter hide at the bottom.
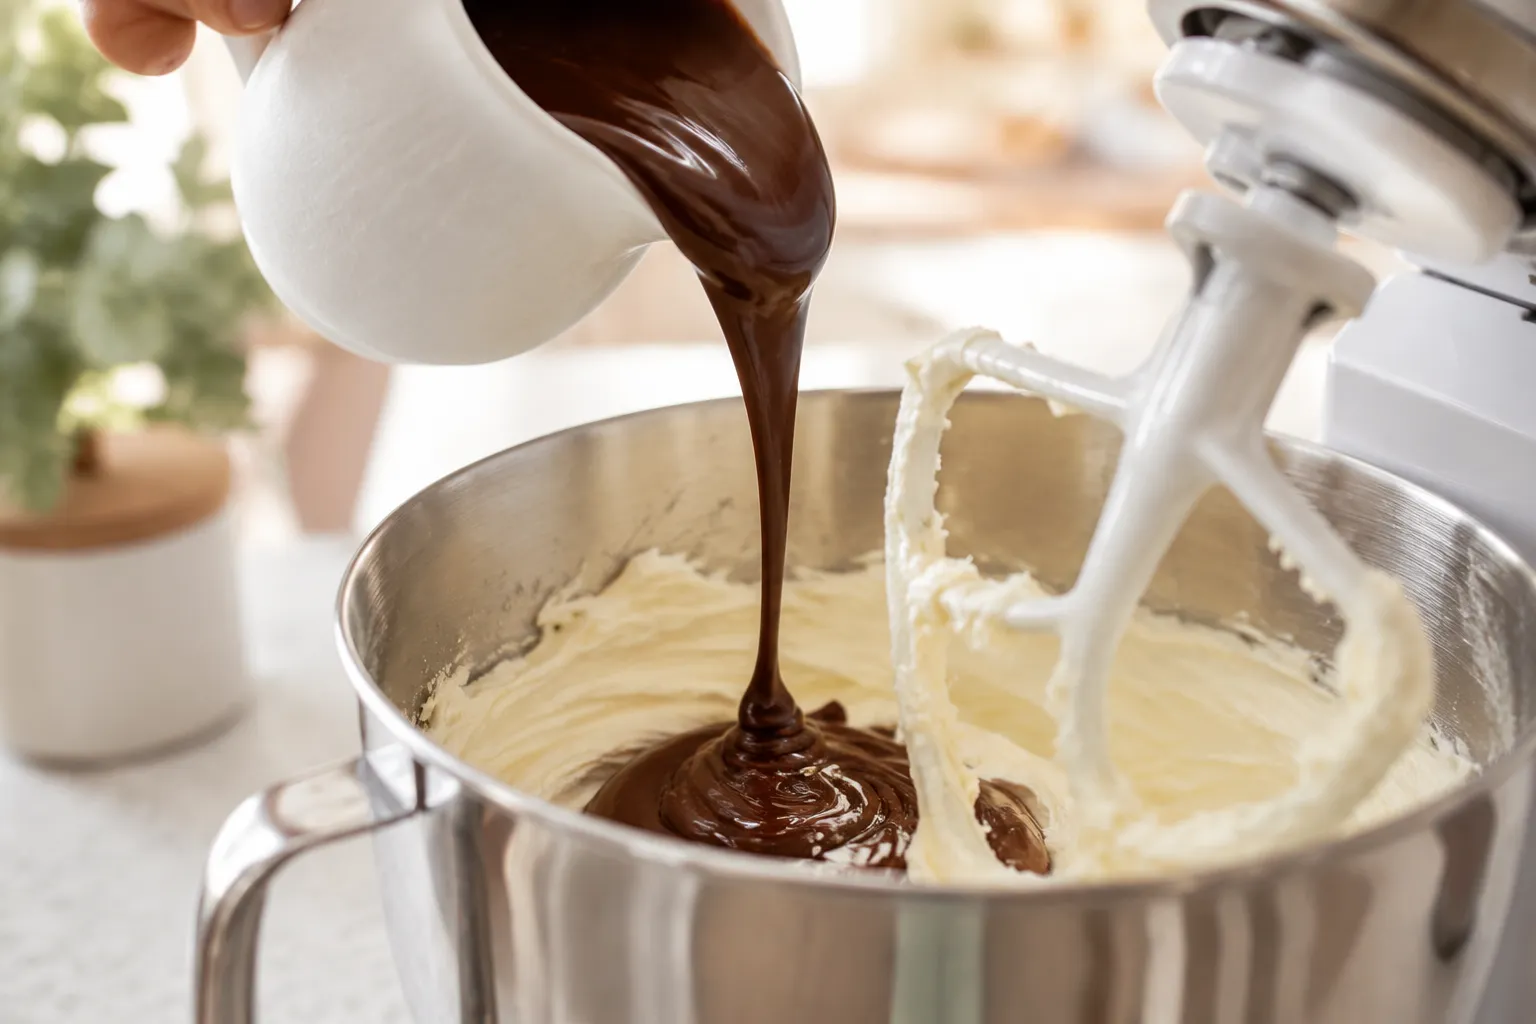
With the mixer running on low, slowly drizzle in the melted, cooled bittersweet chocolate and the vanilla. The mixture will deepen to a glossy mahogany and look almost like a thick frosting. Now add the cooled egg mixture in three additions, beating well between each one. Increase to medium-high and whip for a full 5–7 minutes — set a timer, because this is non-negotiable. The filling will lighten visibly, hold soft peaks, and feel like the love child of buttercream and mousse.
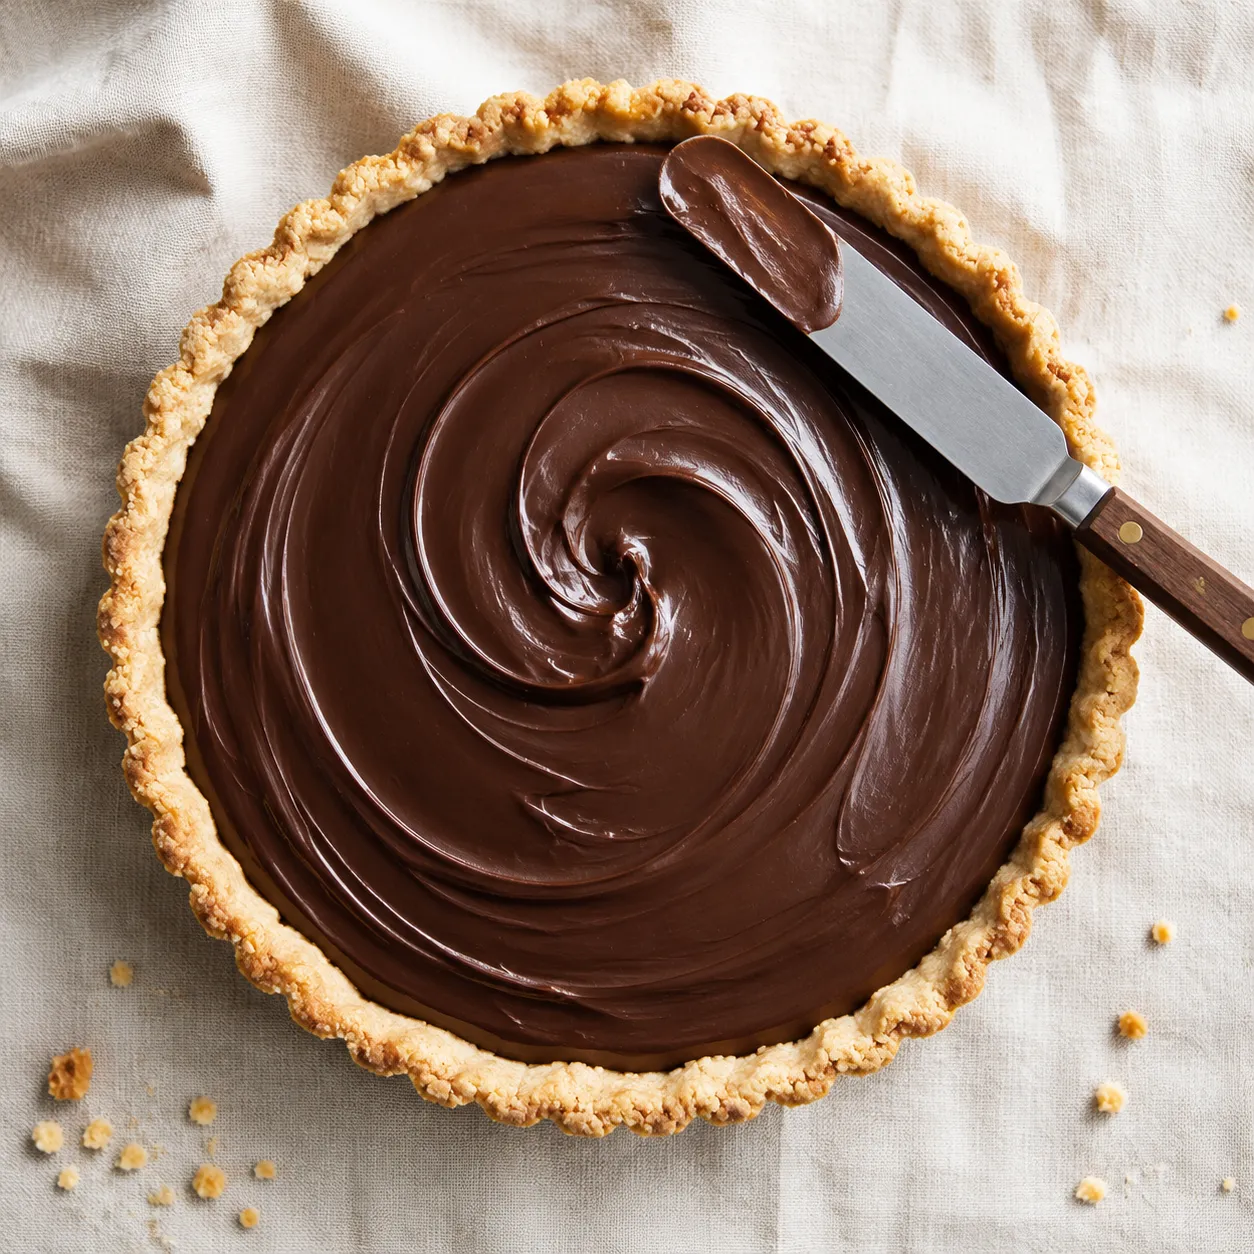
Scoop the filling into your cooled crust and smooth the top with an offset spatula, swirling gently for that bakery-style finish. Cover loosely and chill for at least 4 hours, or overnight. Right before serving, whip the heavy cream with powdered sugar and vanilla to stiff peaks, then pipe rosettes (or just dollop generously) over the top. Finish with a heavy shower of dark chocolate curls or shavings.
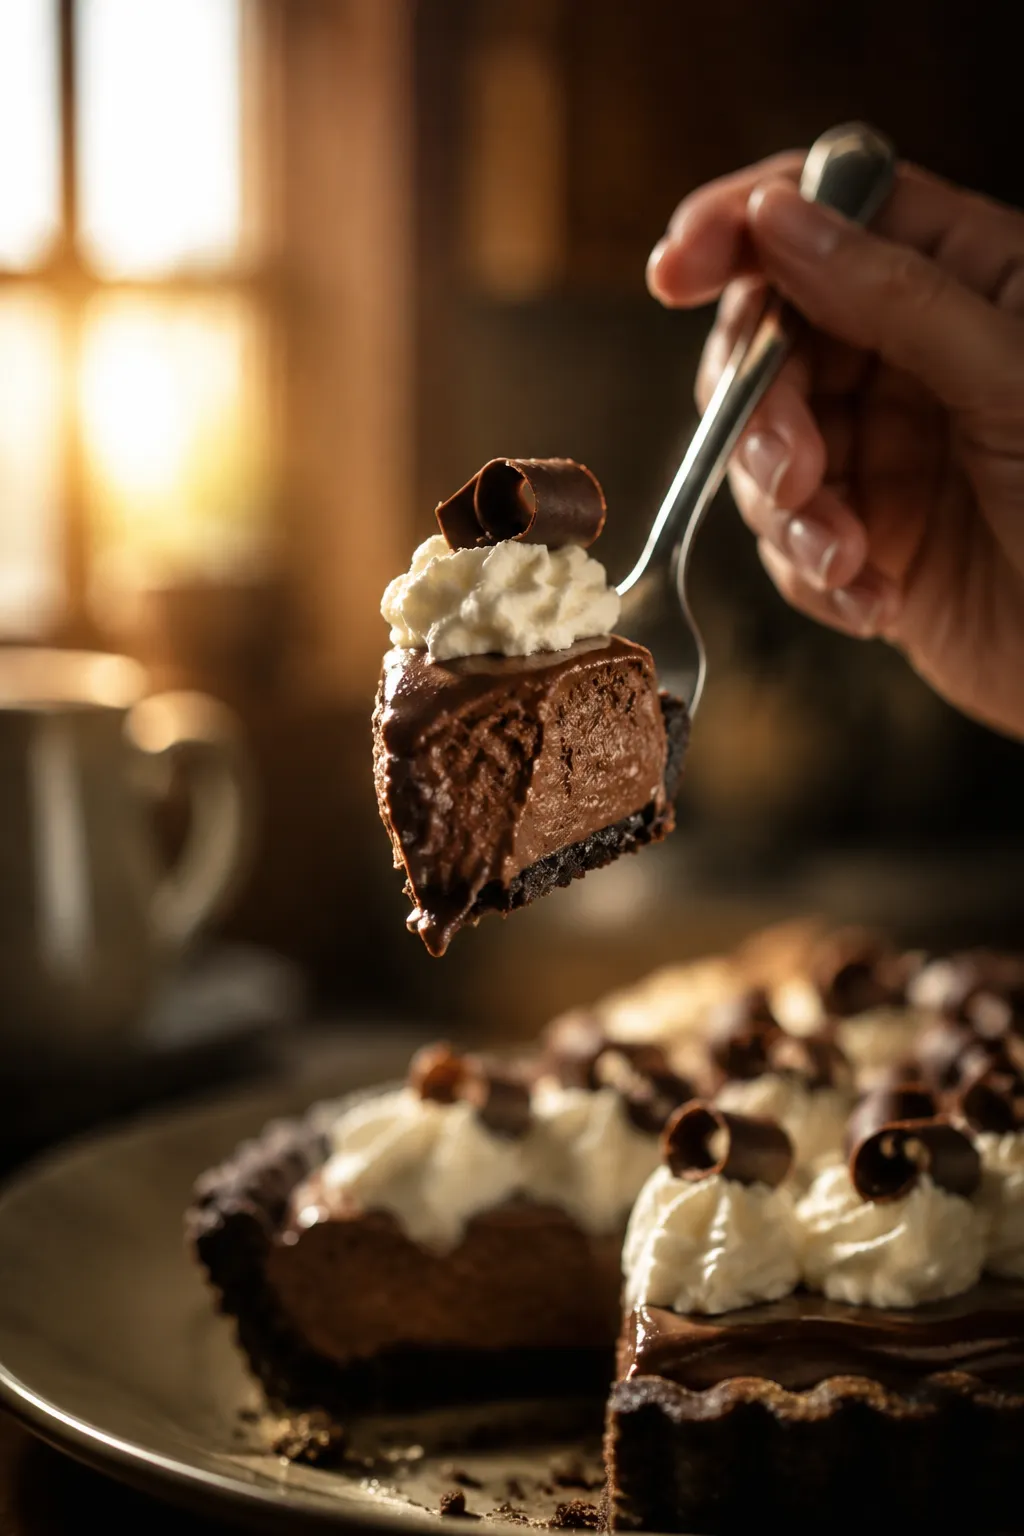
This is a rich slice, so I keep portions modest — a 9-inch pie generously serves 10. Pull it from the fridge about 15 minutes before serving so the filling softens just slightly; you want it cold but yielding, not stiff. A small spoonful of fresh raspberries or a few flakes of flaky sea salt on each plate cuts the richness beautifully. For coffee pairing, a strong dark roast or even a shot of espresso is the move — the bitterness echoes the cocoa in the filling and stretches each bite.
If you're rounding out a holiday dessert spread, this slots in alongside pumpkin and pecan beautifully. It's also a good entry point if you've been hunting easy chocolate desserts that look bakery-level but stay friendly to home cooks. The technique is the only thing standing between you and a make-ahead pie that disappears in minutes — and now you've got the technique.
Once you've nailed the base method, this recipe is a blank canvas for chocolate lovers. The filling formula stays the same; the swaps live in the crust, the flavor accents, and the garnish.
Refrigerator: Store the finished pie loosely covered in the fridge for up to 4 days. The filling actually firms up nicely overnight, and the flavor deepens by day two. If you've already topped it with whipped cream, keep the cover from touching the rosettes by inserting a few toothpicks before draping plastic wrap over the top — pressed wrap will deflate the peaks and pull off chocolate curls.
Freezer: For longer storage, freeze the un-topped pie for up to 1 month. Freeze uncovered until solid (about 2 hours), then wrap tightly in two layers of plastic and a final layer of foil. Thaw overnight in the refrigerator — never on the counter, which can cause the butter-based filling to weep — and finish with fresh whipped cream and chocolate curls just before serving.