DessertsJune 7, 2026

Chocolate Mug Cake: 90-Second Single-Serve Recipe

4.8 from 12 reviews
0SHARES

Now Playing

Chocolate Mug Cake: 90-Second Single-Serve Recipe

0:00
0:00
Chocolate Mug Cake: 90-Second Single-Serve Recipe

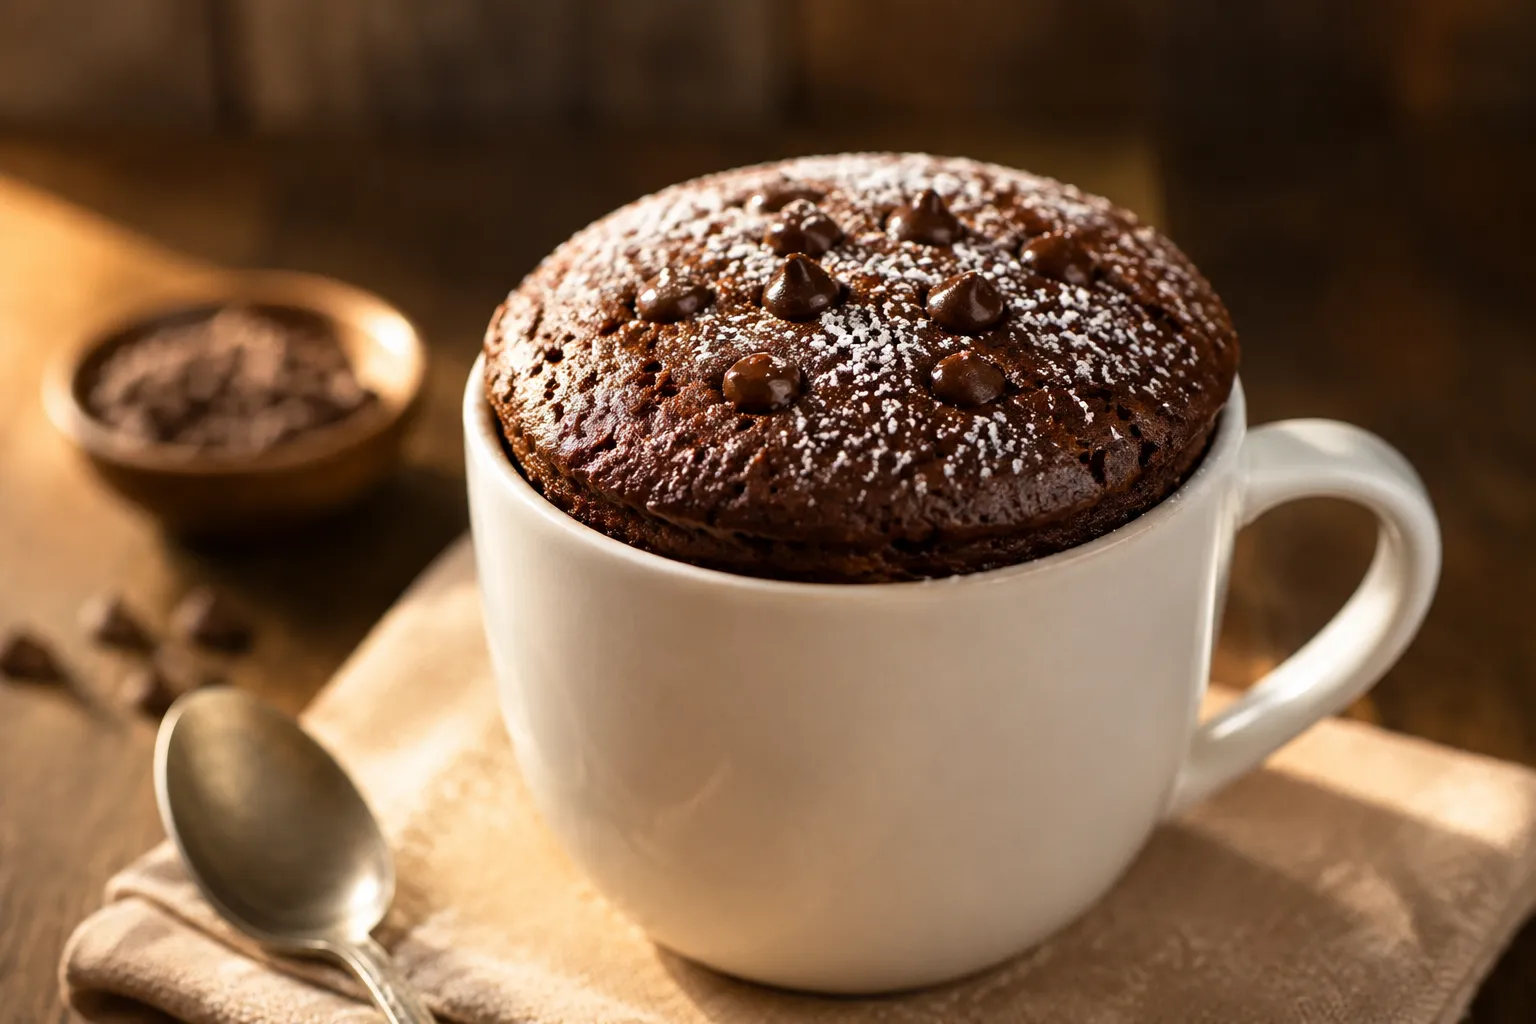
A rich, fudgy chocolate mug cake ready in 90 seconds. One mug, pantry staples, no eggs required, and a gooey molten center every single time.

Why You'll Love This Recipe
  • Ready in 90 seconds. No oven, no preheat, no patience required — straight from craving to spoon.
  • Pantry staples only. Flour, cocoa, sugar, milk, oil — nothing exotic, nothing you don't already own.
  • Naturally eggless. No awkward fractional egg measurements and no failed binding. Easy to make dairy-free, too.
  • Guaranteed molten center. The buried chocolate-chip pocket gives every bite that fudgy, gooey core no matter how the rest of the cake bakes.
  • One-mug cleanup. Mix and eat from the same vessel. Zero dishes beyond a fork and a spoon.
  • Wattage-tested timing chart. No more rubber pucks — the recipe accounts for microwaves from 700 to 1200 watts.

There's something almost magical about a chocolate mug cake — the kind of dessert that goes from craving to spoon in under five minutes, with no oven preheat, no mixer, and no leftover batter to wrestle with. Whether it's a Tuesday-night sweet tooth or a midnight scroll-induced chocolate emergency, this single-serve format has rescued more late-night cravings than I can count.

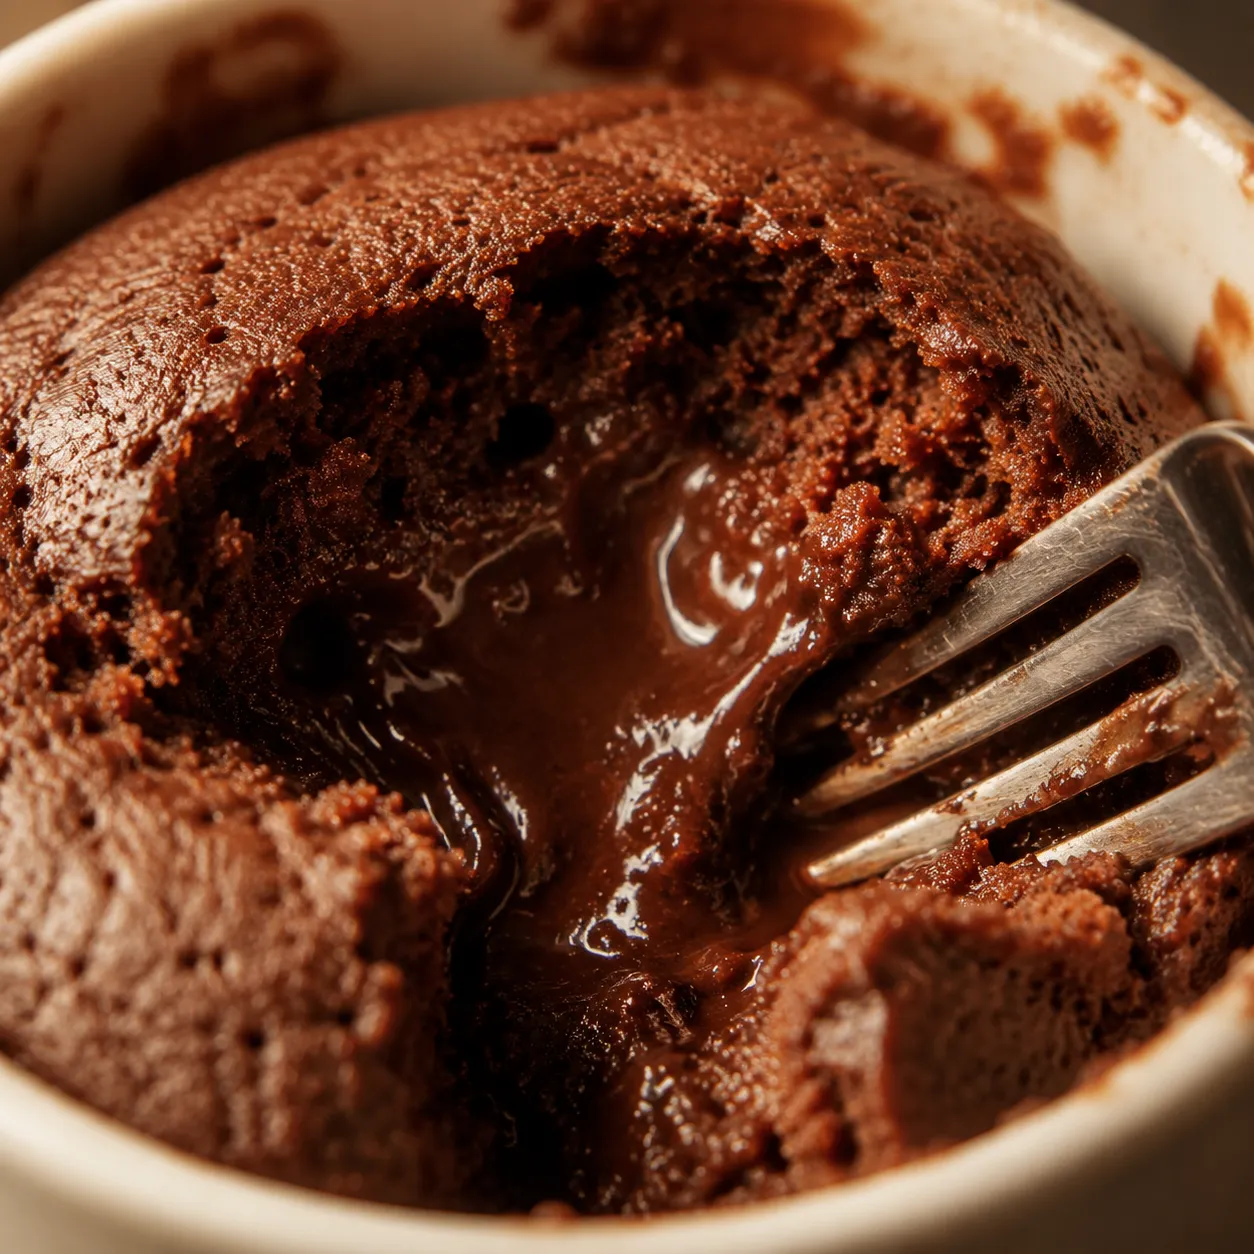
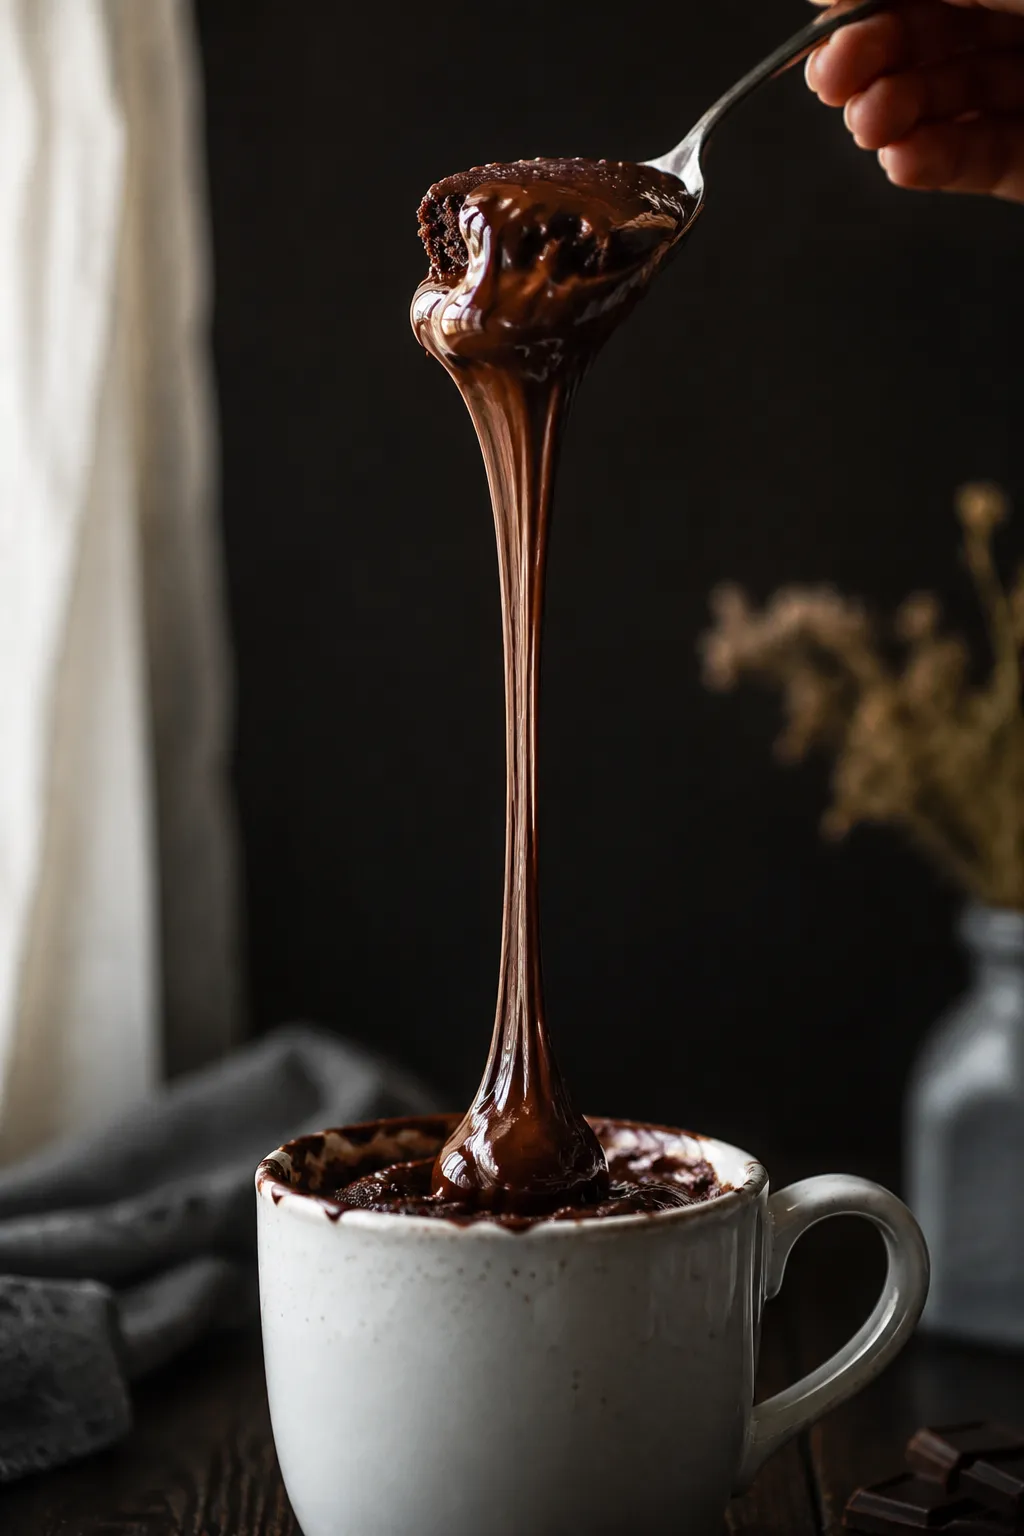
What sets this version apart from every other microwave recipe you've scrolled past is the buried pocket of semisweet chips that sinks halfway into the batter and melts into a glistening, fudgy molten center as it cooks. No eggs, no dirty bowls, no measuring catastrophes — just pantry staples whisked right in the mug you'll eat from.

If you've ever pulled a rubbery, dry puck out of the microwave and sworn off the entire genre, this is the recipe that wins you back. We've built it around a wattage-based timing chart so you actually nail the texture instead of guessing.

Chocolate mug cake recipe with a molten center and vanilla ice cream on top

What Makes This Single-Serve Chocolate Cake Work

Most microwave desserts fail for the same reason: they're either treated like a shrunken oven cake or scaled up like a pancake. A great single serve chocolate cake lives in the middle — enough leavening for lift, enough fat for tenderness, and a precise milk-to-flour ratio that won't go gummy under microwave heat. Cocoa powder also dries batter faster than you'd expect, so the milk and oil quantities here are dialed in to fight that effect.

Add the buried chocolate chips and you get a fudgy molten center that quietly forgives any minor over- or under-baking. It's a dessert engineered to be foolproof. Even better, the formula scales naturally for small-batch baking: double or triple the ingredients to feed a crowd, but always microwave one mug at a time so the wattage isn't divided across multiple cakes.

Ingredients for the Best Mug Cake with Chocolate

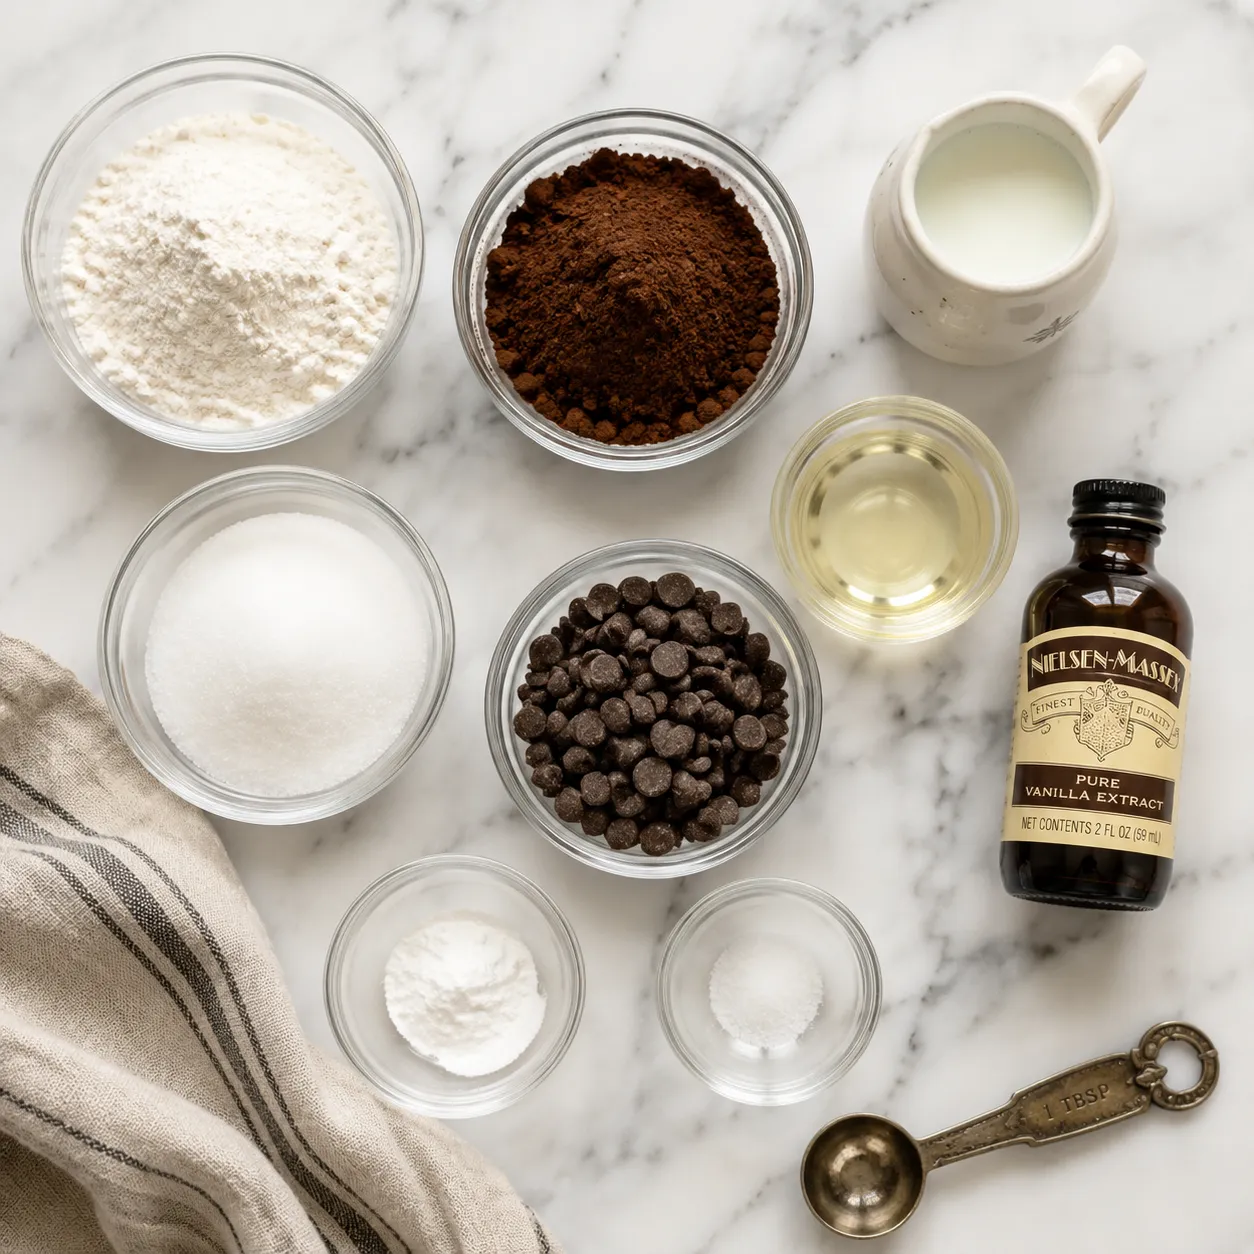
Every component here is doing real work, and skipping any one of them shifts the texture noticeably. The good news is that everything lives in a typical American pantry — that's the entire appeal of easy chocolate desserts. You shouldn't have to run to the store at 10 p.m. for one bite of cake.

  • All-purpose flour: The structure. Stick with regular AP — bread flour goes chewy and cake flour collapses under microwave heat.
  • Unsweetened cocoa powder: The flavor backbone. Dutch-process gives a deep, dark profile; natural cocoa is brighter and more classic. Either works.
  • Granulated sugar: Three tablespoons hits the sweet spot. Less and the cocoa turns bitter; more and it crystallizes around the edges.
  • Baking powder: The lift. Make sure it's fresh — old baking powder is the silent killer of single-serve desserts.
  • Pinch of salt: Don't skip. It sharpens cocoa flavor more than you'd believe.
  • Milk: Whole milk gives the most tender crumb, but 2%, oat, and almond milk all work in this eggless mug cake.
  • Vegetable oil: Keeps the cake fudgy and moist for hours. Melted butter works too but firms up faster as it cools.
  • Vanilla extract: A quarter teaspoon rounds out the cocoa edges.
  • Semisweet chocolate chips: The entire reason the molten center happens. Use a brand you actually like to eat — this is where you'll taste the difference.
Chocolate mug cake ingredients flatlay with cocoa powder, flour, sugar, and chocolate chips

How to Make a Chocolate Mug Cake (Step by Step)

The whole point of this recipe is speed and minimal cleanup, so the technique is built around mixing everything in the same vessel you'll eat from. A few small details — the order of ingredients, the choice of mug, the wattage of your microwave — separate a tender, fudgy cake from a dry, sad one.

Choose a Tall, Straight-Sided Mug

Use a 12 to 16 ounce ceramic mug with straight sides. Anything smaller will overflow when the batter climbs (and it climbs fast), and anything wider will spread the batter so thin that it cooks before it has a chance to develop a tender crumb. Avoid travel mugs, vintage mugs with metallic trim, and anything labeled microwave unsafe.

Whisk Dry First, Then Wet

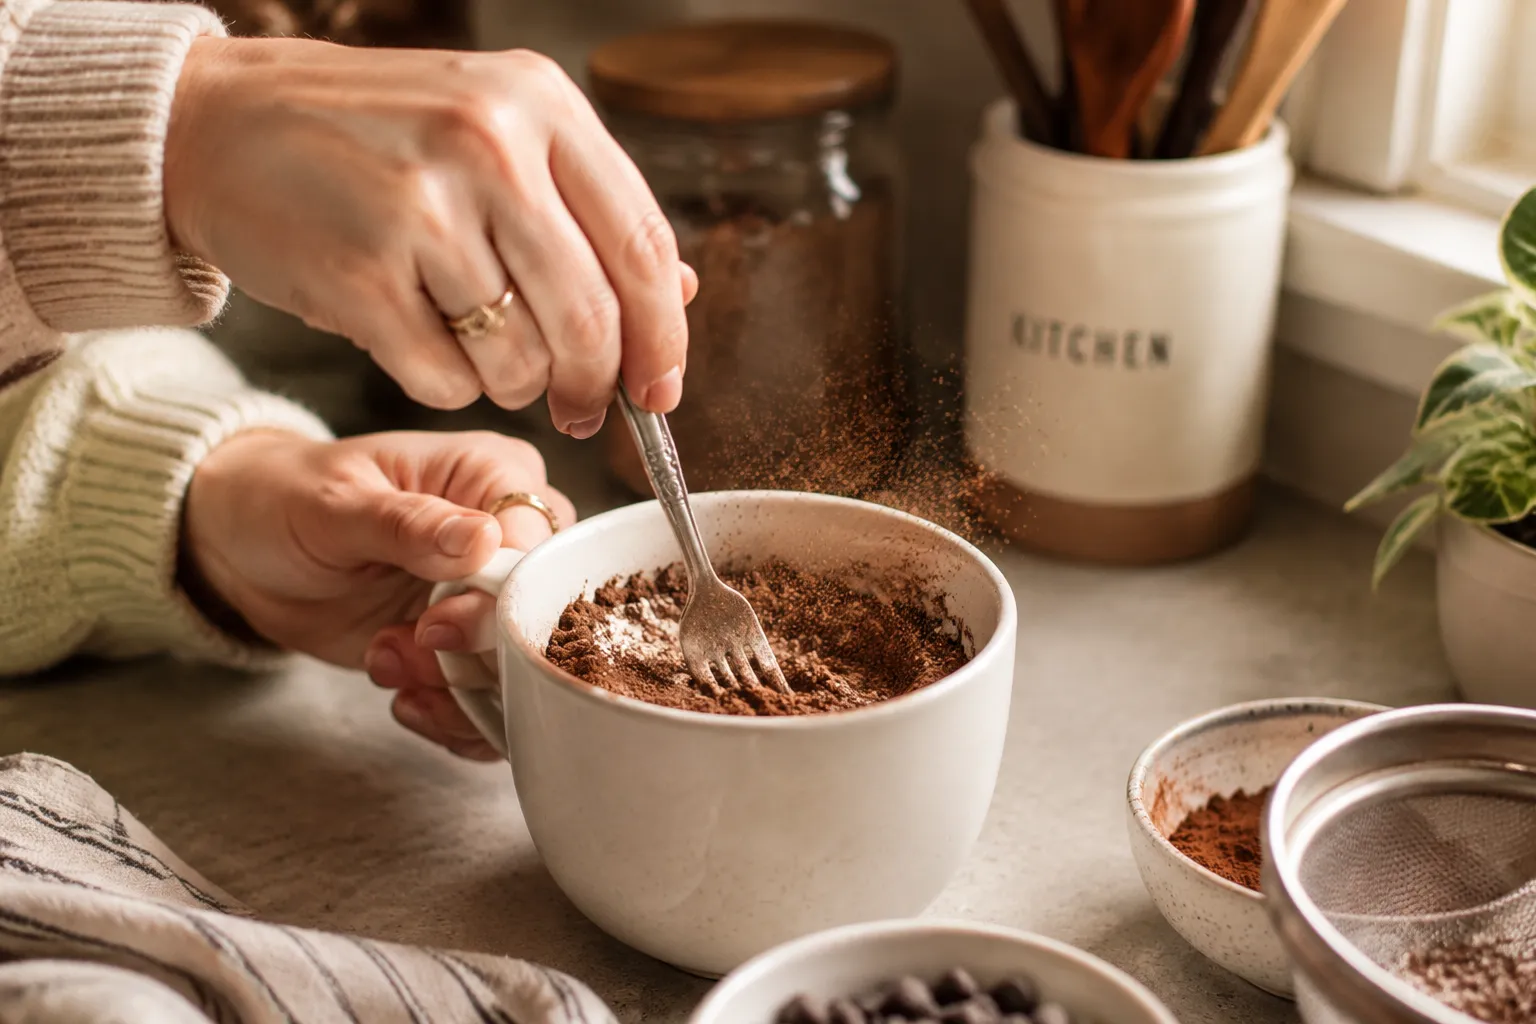
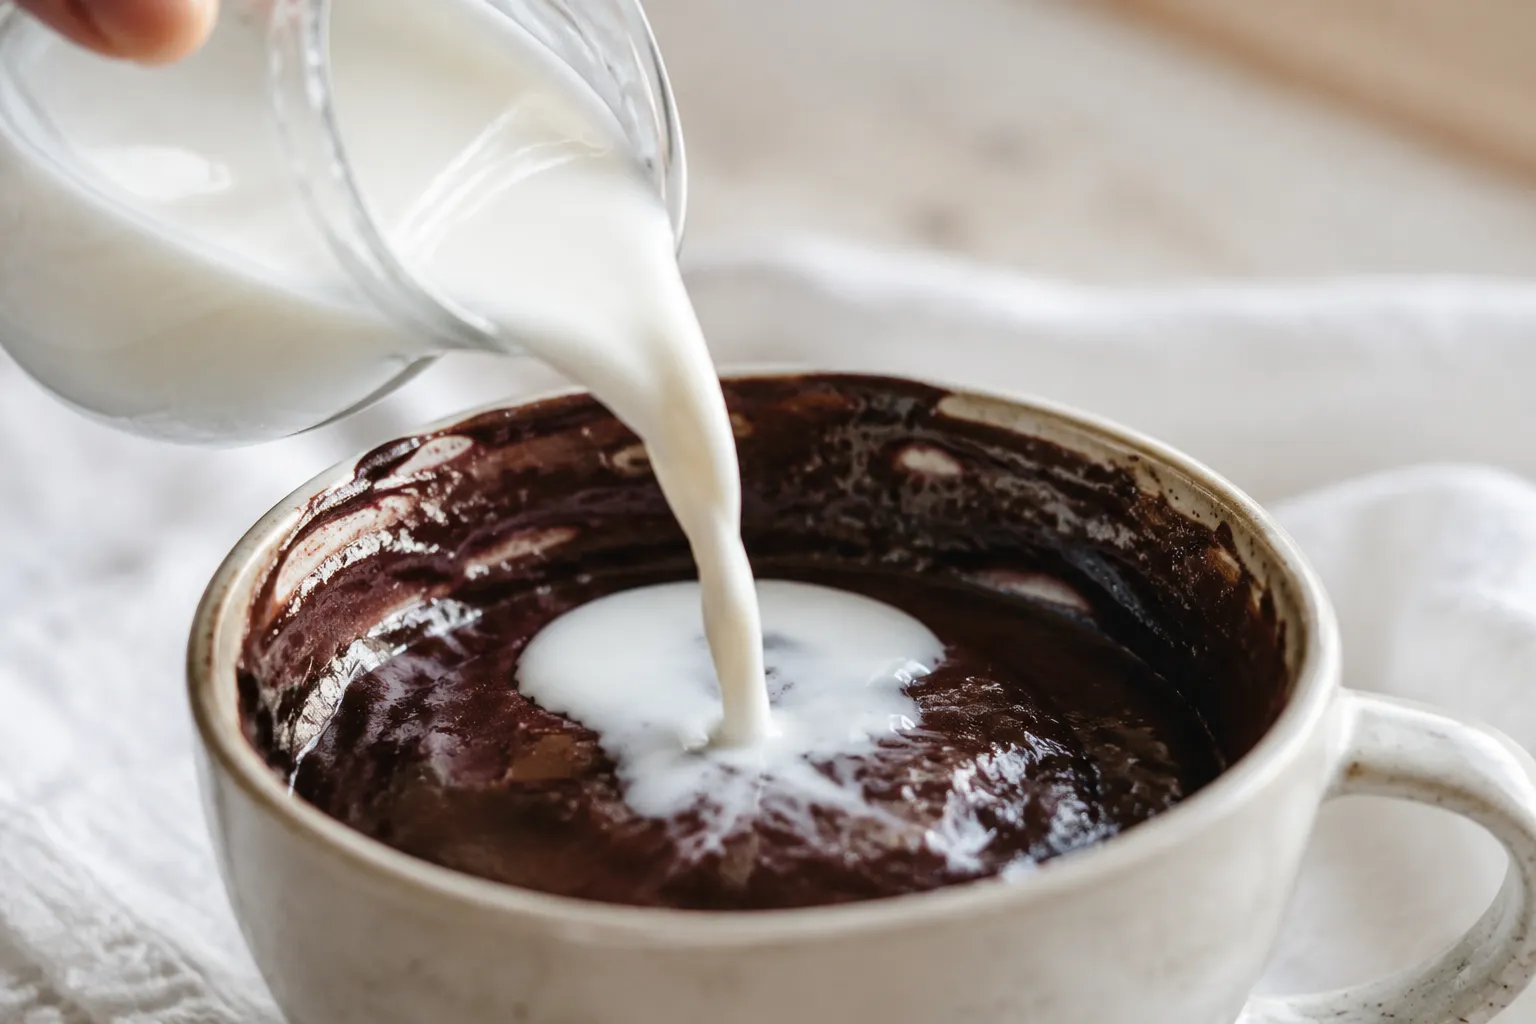
Add the flour, cocoa, sugar, baking powder, and salt directly to the mug. Whisk with a small fork for about 15 seconds until uniform — this is where most lumps come from, so don't shortcut it. Then add the milk, oil, and vanilla and stir until the batter is glossy and just combined. Stop the moment dry pockets disappear; overmixing develops gluten and turns the cake tough.

Whisking dry ingredients for chocolate mug cake in a white mug
Pouring milk into chocolate mug cake batter

Bury the Chocolate Chips

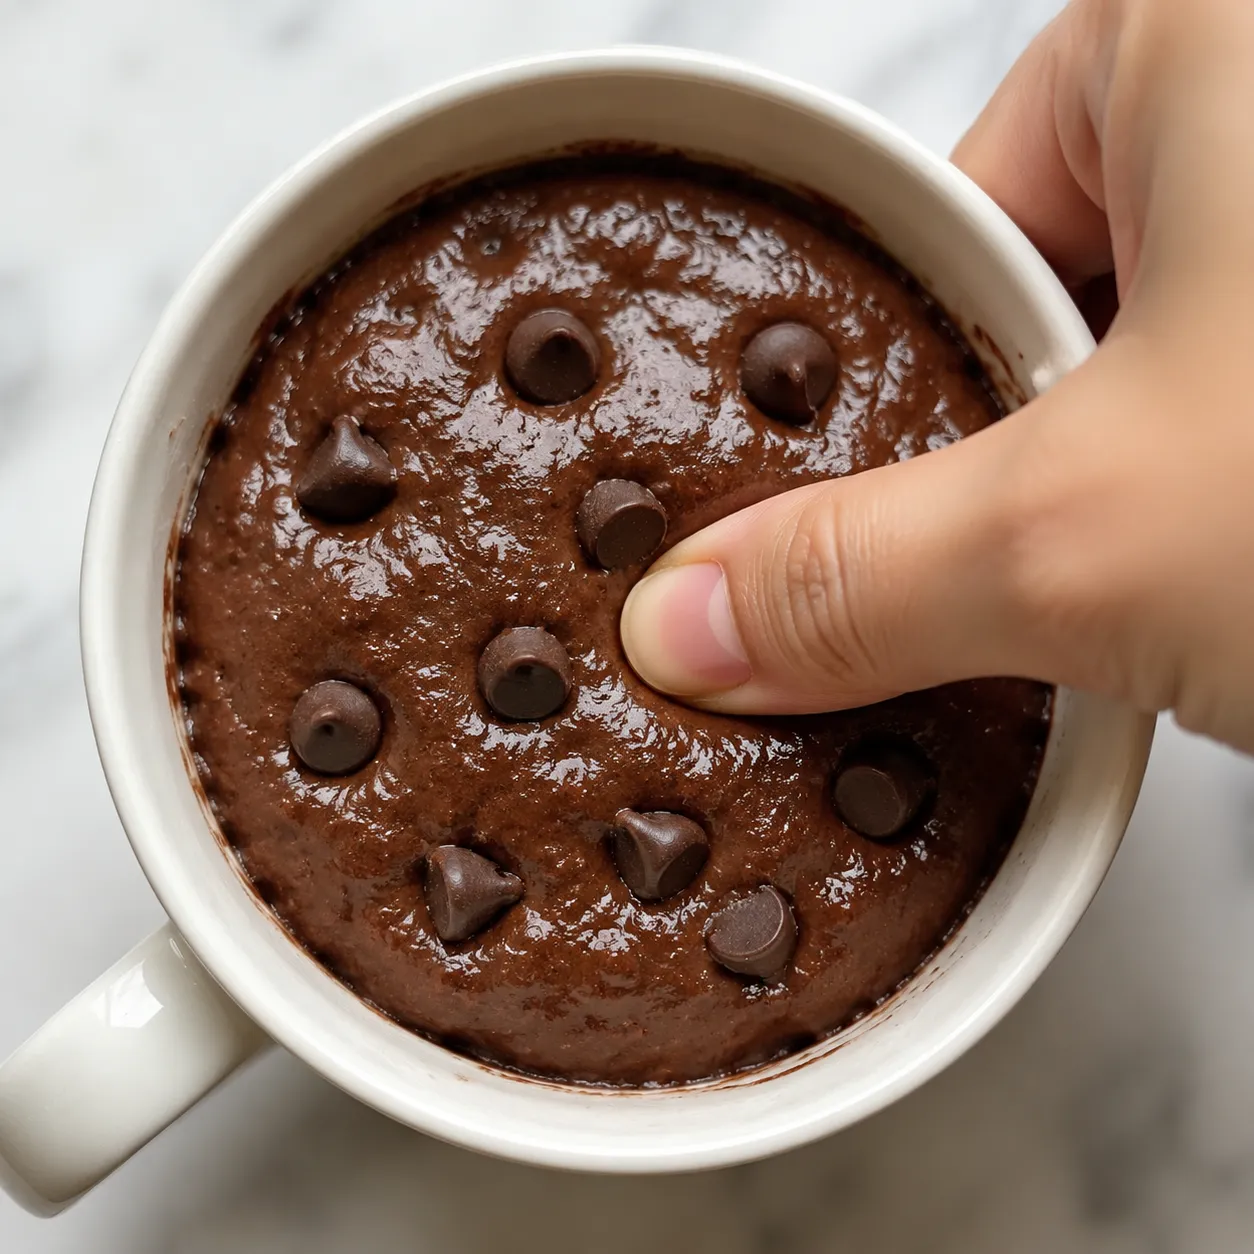
Drop the chocolate chips on top of the batter and gently push them halfway in with the back of a spoon. Don't fold them through — you want them concentrated in the middle so they melt into one molten pool rather than scattering as solid bits. This is the single trick that gives every bite the fudgy molten center that makes a chocolate mug cake feel restaurant-worthy.

Adding chocolate chips to mug cake batter before microwaving

Microwave Times by Wattage

Here's where most online recipes fail you. They give one fixed time, but home microwaves range from 700 to 1200 watts, and 30 seconds at the wrong wattage is the difference between molten and rubbery. Use this chart instead:

  • 700-watt microwave: 90 seconds, then 10-second bursts as needed
  • 900-watt microwave: 70 seconds, then 10-second bursts
  • 1100-watt microwave: 60 seconds, then 5 to 10-second bursts
  • 1200-watt microwave: 50 seconds, then 5-second bursts

The cake is done when the top looks set but still slightly tacky, and the edges have pulled away from the mug. The very center should look a touch underdone — that's the molten zone, and it firms up beautifully in the 30 seconds it takes you to grab a spoon and a topping.

Finished chocolate mug cake dusted with powdered sugar

Serving Suggestions for Your Microwave Mug Cake

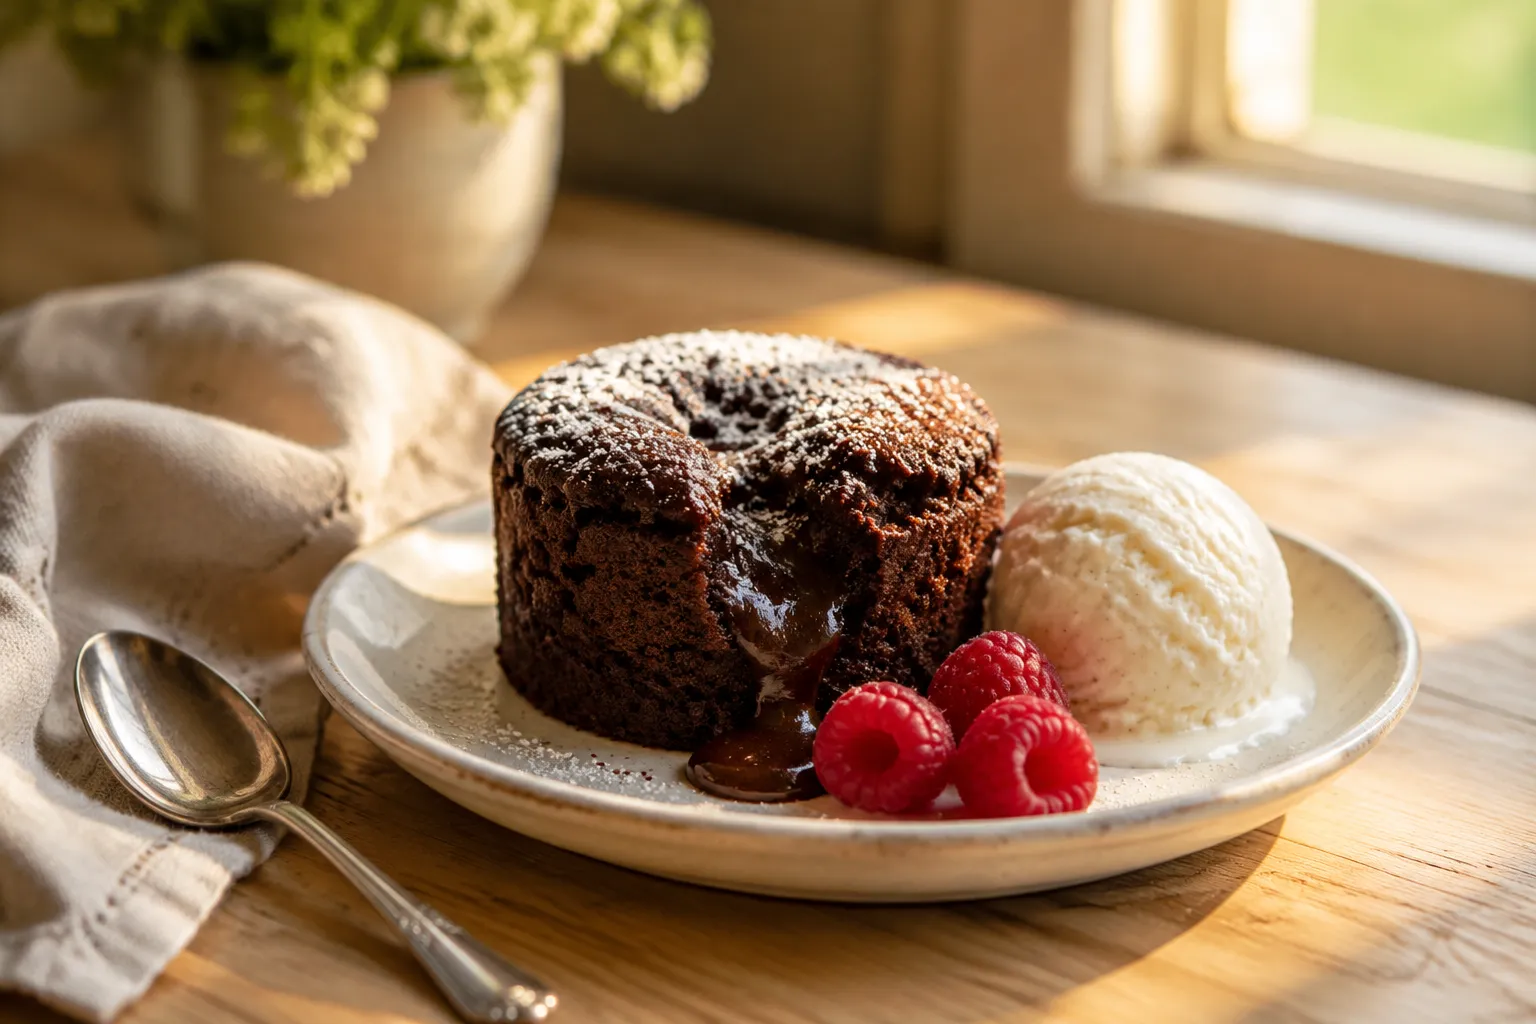
A bare mug cake is good. A topped mug cake is the reason this recipe gets requested twice a week in my house. Because it's so quick, you have plenty of time to dress it up while the cake rests for those crucial 30 seconds.

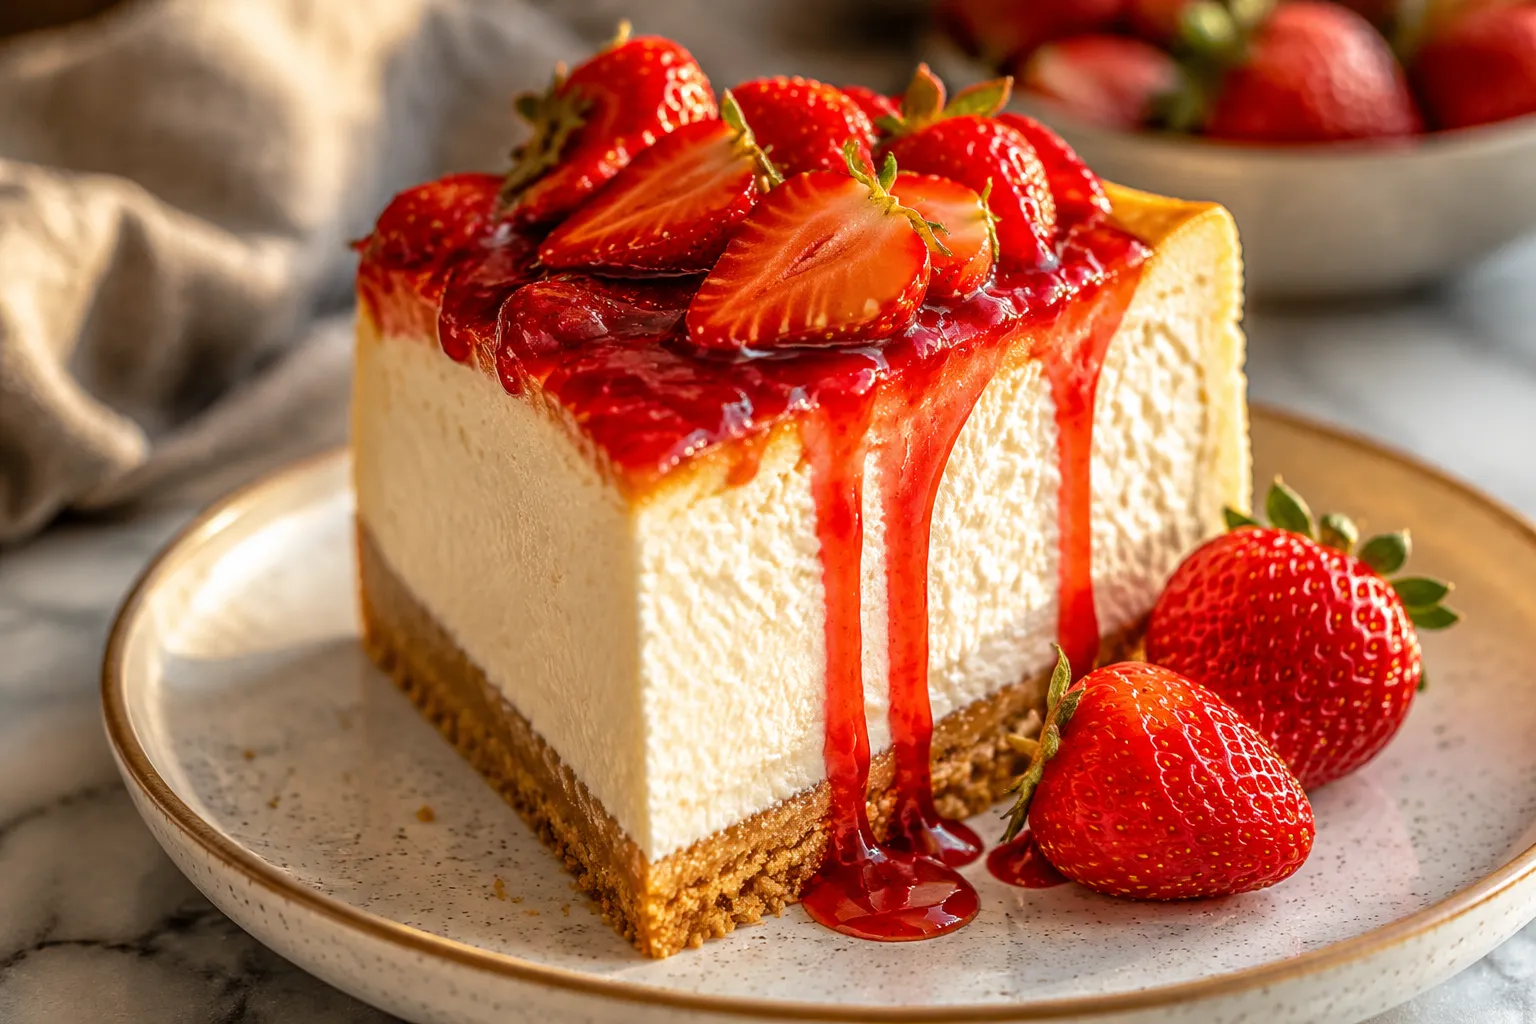
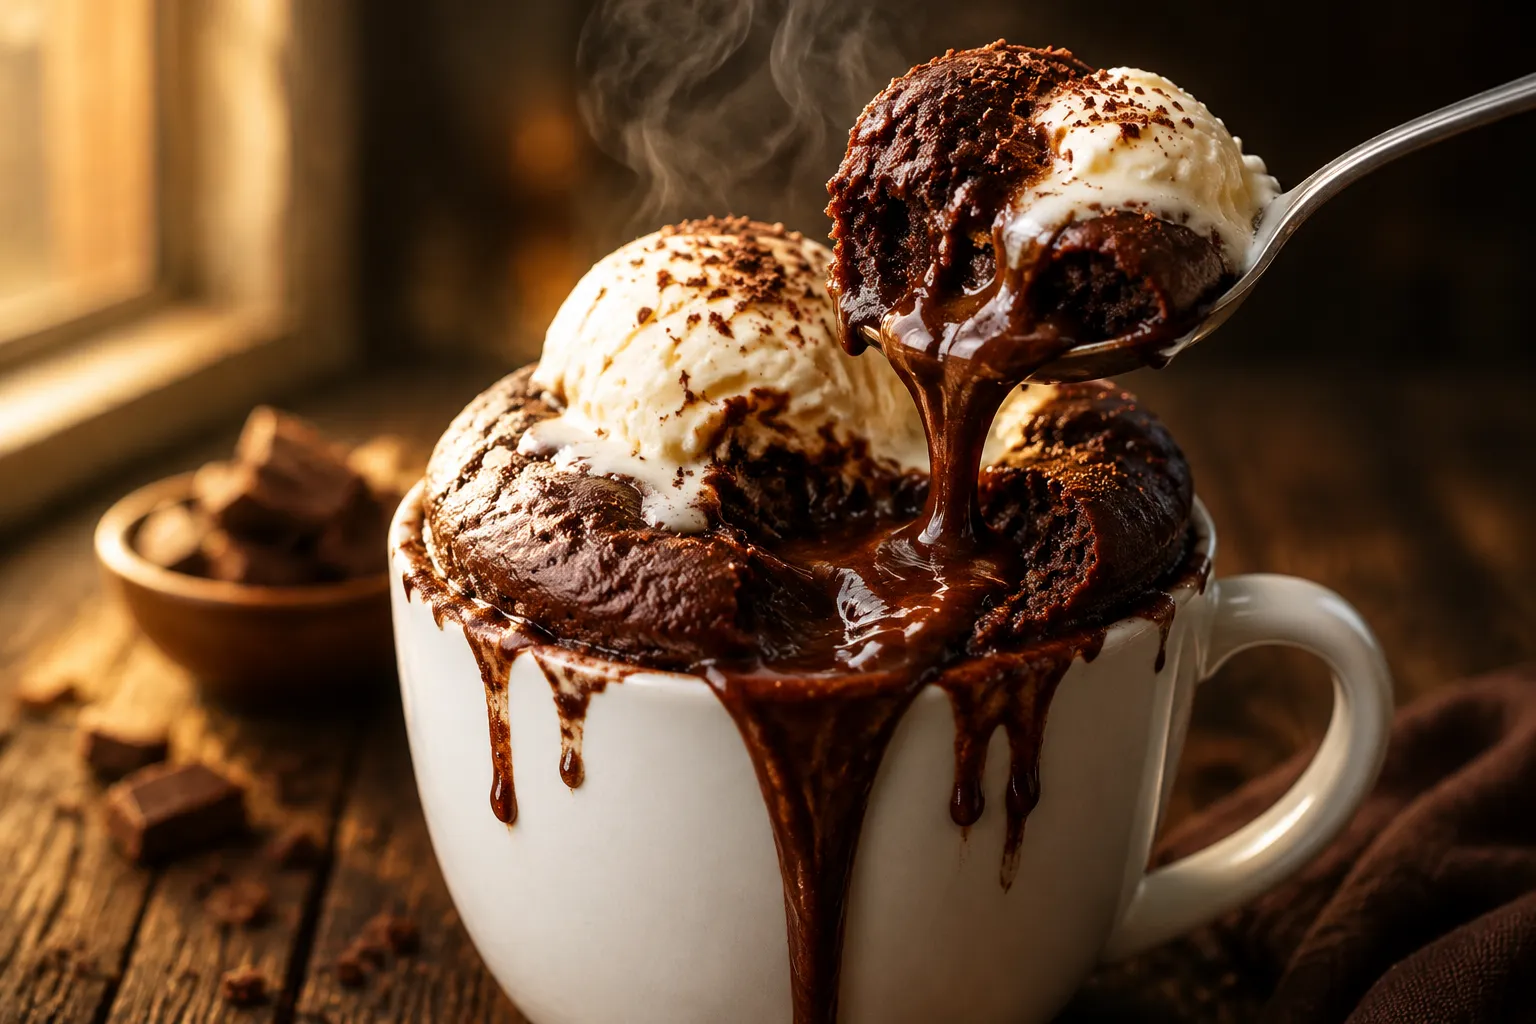
The classic move is a scoop of vanilla bean ice cream parked right on the warm dome — the contrast between molten chocolate and cold cream is the whole reason single-serve desserts exist as a category. From there, fresh raspberries cut through the richness, a drizzle of homemade chocolate frosting (thinned slightly with warm cream) doubles down on intensity, and a quick snowfall of powdered sugar makes it photo-ready in two seconds flat.

Close-up of molten chocolate center inside a chocolate mug cake

If you're entertaining, you can absolutely turn this into a casual dinner-party dessert. Mix the batter into individual mugs ahead of time and microwave them one at a time as guests finish their entrees — they only need 60 to 90 seconds each, so you can serve four people in under 10 minutes. Pair with espresso, a pinch of flaky sea salt on top, or a splash of Bailey's stirred into the batter for an adults-only version.

Chocolate mug cake served with vanilla ice cream and raspberries

Common Mistakes to Avoid

Even a recipe this short has a few traps, and avoiding them is the difference between a cake you photograph and a cake you scrape into the trash.

Overmixing the batter. The biggest culprit behind tough mug cakes. Stop stirring the second the dry pockets disappear. The batter should look glossy with a few faint streaks, not perfectly smooth.

Microwaving too long. Microwaves overcook fast, and residual heat keeps cooking the cake after the timer stops. Always start at the low end of the time range and add 10-second bursts. A cake that looks slightly wet on top will firm up in 30 seconds; a cake that looks fully baked is already past done.

Using the wrong mug. A short, wide mug bakes unevenly and loses the dome that makes a chocolate mug cake feel cake-like rather than pancake-like. A too-small mug overflows and leaves you scrubbing batter off the microwave ceiling. Stick to that 12-to-16 ounce sweet spot with straight walls.

Skipping the salt or baking powder. Both are tiny amounts that punch well above their weight. Without them, the cake tastes flat and bakes into a dense, chewy puck.

I've baked this chocolate mug cake more times than I can count — for late nights, for kids who refused dinner, for myself on a Sunday afternoon when nothing else would do. It's the dessert equivalent of a warm hug, and the fact that it takes 90 seconds is almost beside the point. Make it once and you'll have it memorized by the second time, ready for whatever chocolate craving the night sends your way.

Gooey chocolate pull from a chocolate mug cake on a spoon

💡 Expert Tips

  • Tap the mug twice on the counter after stirring in the wet ingredients. It releases trapped air bubbles that otherwise create hot spots and a hollow, domed top.
  • Use room-temperature milk. Cold milk firms up the oil into tiny droplets that don't disperse evenly, leaving streaks of plain flour and uneven crumb.
  • Sprinkle a few extra chips on top before microwaving. They melt into glossy puddles that double as instant decoration and add a second hit of chocolate.
  • Add 1/4 teaspoon instant espresso powder to the dry mix for a deeper, mocha-style flavor. It amplifies the cocoa without making the cake taste like coffee.
  • Always start short and add bursts. Carryover heat continues cooking the cake for 20 to 30 seconds after the microwave stops, so pull it while the center still looks slightly wet.

🔄 Variations & Substitutions

This base recipe is essentially a blank canvas — once you've nailed the texture, the flavor combinations are nearly endless. A few of my favorite riffs to keep on rotation:

  • Peanut butter swirl: Drop a tablespoon of creamy peanut butter on top before microwaving. It melts into the cake and creates a salty-sweet ribbon.
  • Nutella molten center: Replace the chocolate chips with a heaping spoonful of Nutella, buried in the middle for a hazelnut-chocolate lava effect.
  • Espresso mocha: Add 1/4 teaspoon instant espresso to the dry mix for a grown-up, coffeehouse twist.
  • Mud cake upgrade: Top with warm ganache (1 tablespoon cream microwaved with 2 tablespoons chopped dark chocolate) for full chocolate mud cake intensity.
  • Cookie style: Skip the cocoa, double the chocolate chips, and microwave for 60 seconds for a soft, chewy cookie-cake hybrid.
  • Salted caramel: Drizzle a tablespoon of caramel sauce on top after baking and finish with flaky sea salt.
  • Mint chocolate: Swap vanilla for 1/8 teaspoon peppermint extract and use mint chocolate chips for a thin-mint vibe.

🧊 Storage & Leftovers

Honestly? This is the rare recipe I don't recommend storing. A cooled mug cake loses its appeal fast — the texture goes from tender to dense within about an hour, and a microwaved-twice cake turns rubbery in seconds. The whole genre is built on immediacy, so try to eat it within 5 to 10 minutes of baking while the molten center is still glossy.

If you do want to plan ahead, pre-mix the dry ingredients in a small mason jar and label it with the wet-ingredient quantities so you don't have to look them up later. Stored in a cool pantry, the dry mix keeps for up to 3 months. When the craving hits, dump it into a mug, add the milk, oil, and vanilla, press in the chips, and microwave. It's a single-serving DIY cake mix that's miles better than anything from a box.

Frequently Asked Questions

Why is my chocolate mug cake rubbery?
Overcooking is by far the most common cause. Microwaves vary widely between 700 and 1200 watts, so a fixed time from someone else's recipe almost never matches yours. Start at 60 to 70 seconds and add 10-second bursts until the top is just set but still slightly tacky. The cake should look almost underdone when you pull it — carryover heat firms it up in the next 30 seconds. Other culprits include overmixing the batter (which develops gluten) and using too little milk or oil, both of which produce a tough, dry crumb. When in doubt, always err on the side of underbaking.
Can I make a chocolate mug cake without eggs?
Absolutely — this version is naturally eggless and was developed that way on purpose. Single-serve baking with eggs is awkward because you can't easily portion a fraction of an egg without wasting most of it. Instead, milk and oil keep the crumb tender and moist, while baking powder provides all the lift the cake needs. The result is actually fudgier than many egg-based mug cakes, which can sometimes turn spongy or rubbery in the microwave. If you want to make it dairy-free as well, swap in oat milk or almond milk and the texture stays nearly identical to the original.
What's the best mug size for a mug cake?
Use a straight-sided ceramic mug between 12 and 16 ounces. Anything smaller — like a standard 8-ounce coffee cup — will overflow as the batter rises during cooking, and you'll spend more time cleaning the microwave than eating cake. Mugs larger than 16 ounces spread the batter too thin, which dries it out before the center has a chance to set properly. Tall, straight walls also help the cake build a proper dome rather than spreading wide and flat. Avoid mugs with metallic trim, narrow handles that make stirring difficult, or anything labeled microwave-unsafe.
Can I bake this in the oven instead of the microwave?
Yes, the same batter works beautifully in a 6 to 8 ounce oven-safe ramekin or oven-safe mug. Preheat the oven to 350°F, pour the batter into a lightly greased ramekin, press the chocolate chips into the surface, and bake for 12 to 15 minutes. The cake is done when the edges are set, the top has a slight crust, and the very center still looks just slightly soft to the touch. Let it rest for 5 minutes before digging in — the molten center will firm up just a touch but stay glossy and pourable. The oven version has a slightly cakier crumb than the microwave version.
How is a mug cake different from a chocolate mud cake?
A traditional chocolate mud cake is a dense, oven-baked dessert built around melted dark chocolate, butter, and often a splash of strong coffee or liqueur. It's slow, decadent, and meant to be sliced and shared. A mug cake is its scrappy, fast-living cousin — lighter, faster, and built around cocoa powder rather than melted chocolate so the ingredients stay shelf-stable in any pantry. Both have their place: mud cake for dinner parties and birthdays, mug cake for Tuesday nights. You can absolutely upgrade a mug cake toward mud-cake territory by topping it with warm ganache or stirring a square of melted dark chocolate into the batter.

Chocolate Mug Cake: 90-Second Single-Serve Recipe

Pin Recipe
  • Prep Time3 min
  • Cook Time2 min
  • Total Time5 min
  • Yield1 servings

Ingredients

Scale

Instructions