Homemade Apple Pie Filling Recipe (Easy & Freezer-Friendly)
Ingredients
Scale
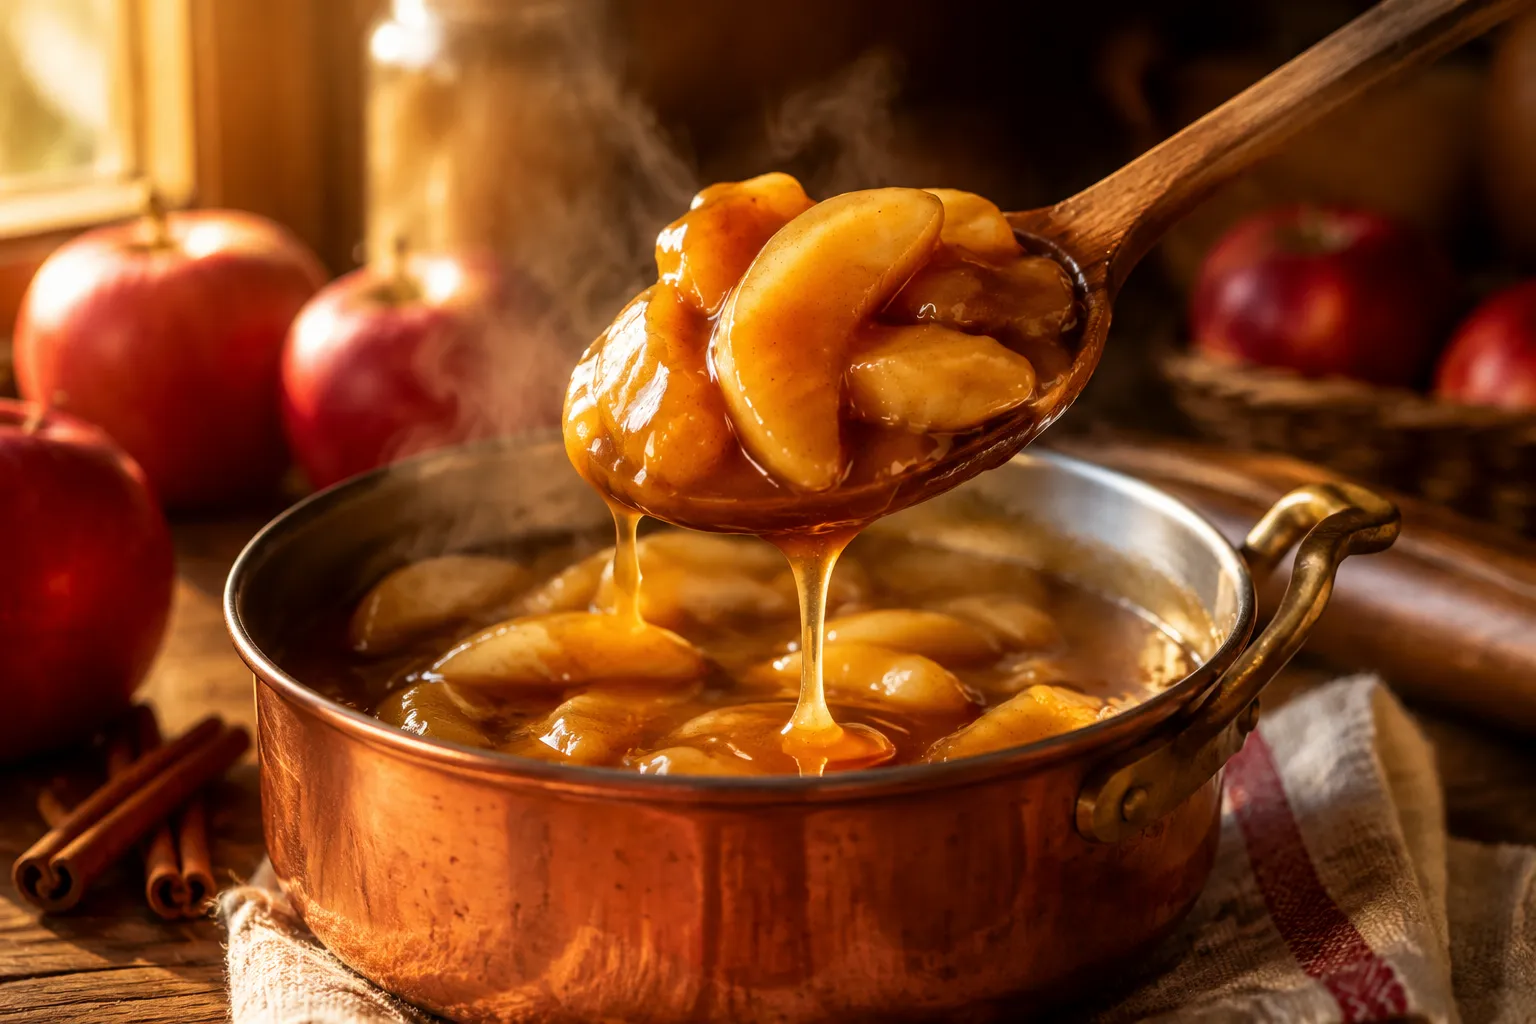
This homemade apple pie filling recipe is buttery, cinnamon-spiced, and miles better than canned. Make a batch tonight, freeze the rest for pies all year.
This homemade apple pie filling recipe is the kind of thing you make once and immediately wonder why you ever bought the canned version. We're talking tender wedges of apple bathed in a glossy, cinnamon-brown-sugar syrup that smells like every great fall kitchen you've ever stepped into. Whether you're packing it into a double-crust pie, layering a weeknight crumble, or spooning it warm over vanilla ice cream on a random Tuesday, this is the kind of recipe that earns a permanent spot in your fall and holiday rotation.
What makes it so good is the blend. Most grocery-store fillings rely on one mushy apple variety and call it a day. Here, we use a 50/50 mix of tart Granny Smith apples and sweet, snappy Honeycrisp, simmered in real apple cider for an extra layer of orchard flavor. A whisper of nutmeg, a knob of butter at the end, and a splash of vanilla turn it into something that tastes like the inside of a bakery pie, but it all comes together on the stovetop in 30 minutes flat, no oven required.
Best of all, this apple pie filling recipe scales beautifully. You can double or triple the batch and tuck the rest into the freezer for later, which means come Thanksgiving morning you'll be the smug person pulling pre-cooked filling out of the freezer while everyone else is still hunched over the sink with a peeler. Let's get into it.
Pick the right fruit and you've already done eighty percent of the work. The best apples for pie are firm, tart-leaning varieties that hold their shape when cooked instead of dissolving into a sad puddle of sauce. My go-to combination is roughly half Granny Smith apples for backbone and tartness, and half Honeycrisp for sweetness and that signature snappy bite.
If you can't find Honeycrisp at your store, swap in Braeburn, Pink Lady, Jonagold, or Golden Delicious without missing a beat. Each variety brings something a little different to the pan. Braeburn is wine-like and aromatic, Pink Lady leans floral and bright, and Jonagold splits the difference between sweet and tart. The point is to combine at least two varieties so the finished filling has real dimension instead of one flat note.
Skip the soft apples that turn to mush in a hot pan: Red Delicious, McIntosh, Gala, and Cortland are wonderful for snacking but they collapse the second they hit heat. You want each slice to keep its bite even after it's been simmered on the stove, baked into a double-crust pie, and reheated for breakfast the next morning over yogurt or oatmeal. Texture matters as much as flavor here.
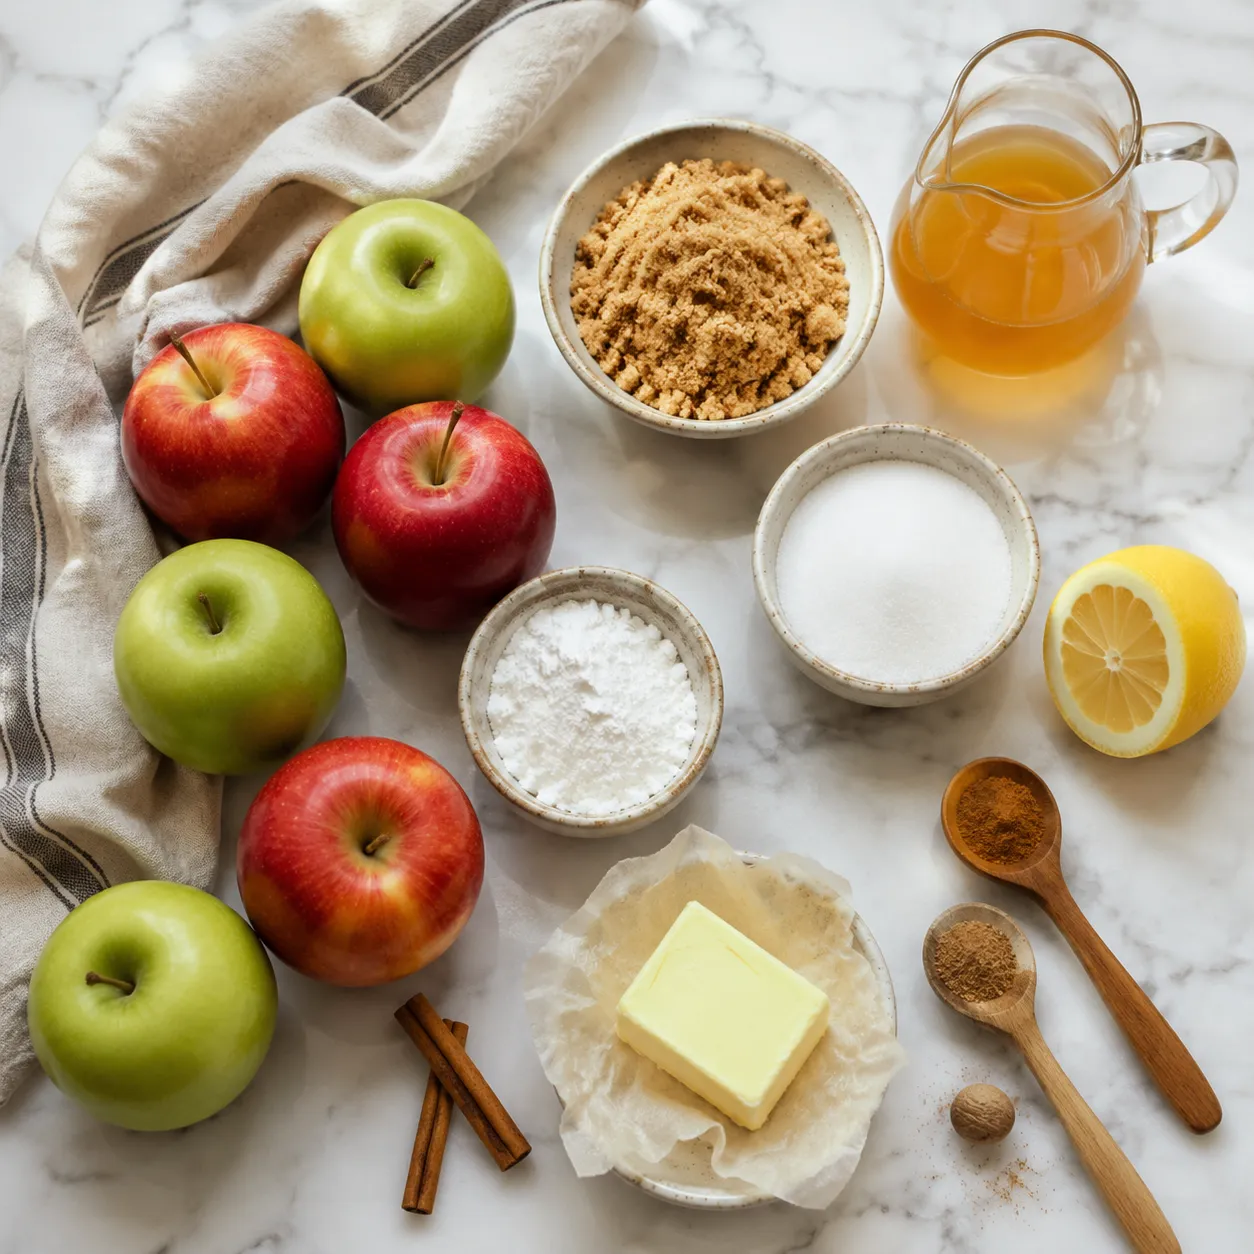
Most of what you need is already sitting in your pantry. The short list is apples, sugar (a mix of brown and granulated), cornstarch, warm spices, butter, lemon, and a splash of liquid to tie it all together.
A few notes on the key players. Light brown sugar gives the syrup its caramel backbone, and dark brown sugar works too if you like a deeper molasses flavor. Granulated sugar softens the edges and helps the syrup glaze the apples evenly. Cornstarch is what turns the cooking liquid into that signature glossy, spoon-coating sauce, and it's also why the filling sets cleanly when you cut into a finished pie. Ground cinnamon does the heavy lifting on spice, but that quarter teaspoon of nutmeg adds warmth without tipping into holiday-candle territory.
For liquid, I strongly prefer apple cider over plain water. Cider doubles down on the apple flavor and gives the syrup a rounder, fuller taste, almost like the filling has been reducing on the stove for hours instead of minutes. If you only have water on hand, add an extra half teaspoon of vanilla and a pinch of allspice to make up the difference. Fresh lemon juice keeps the apples from going dull and balances all that sweetness, and two tablespoons of unsalted butter stirred in at the end give the whole thing a glossy, bakery-style finish you simply cannot get from a can.
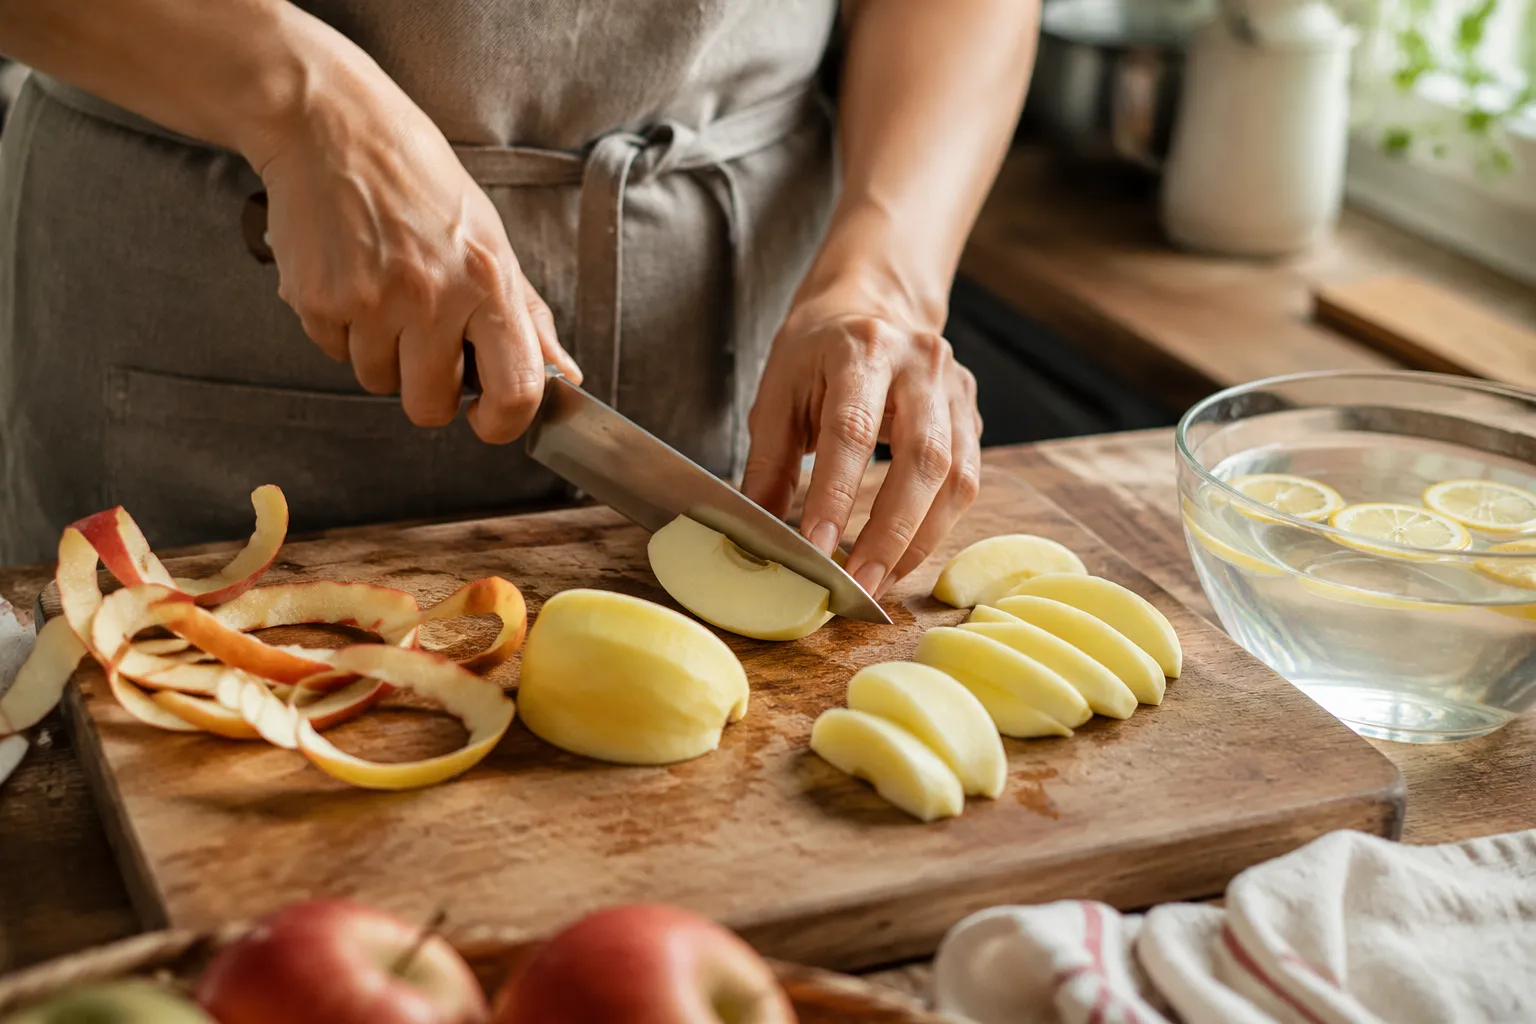
The method is honestly easier than making a homemade pie crust. Start by peeling, coring, and slicing your apples into roughly half-inch wedges, thick enough to hold their shape under heat, thin enough to cook through evenly. Toss the slices with a tablespoon of fresh lemon juice as you go to keep them from browning while you prep the rest of the ingredients.
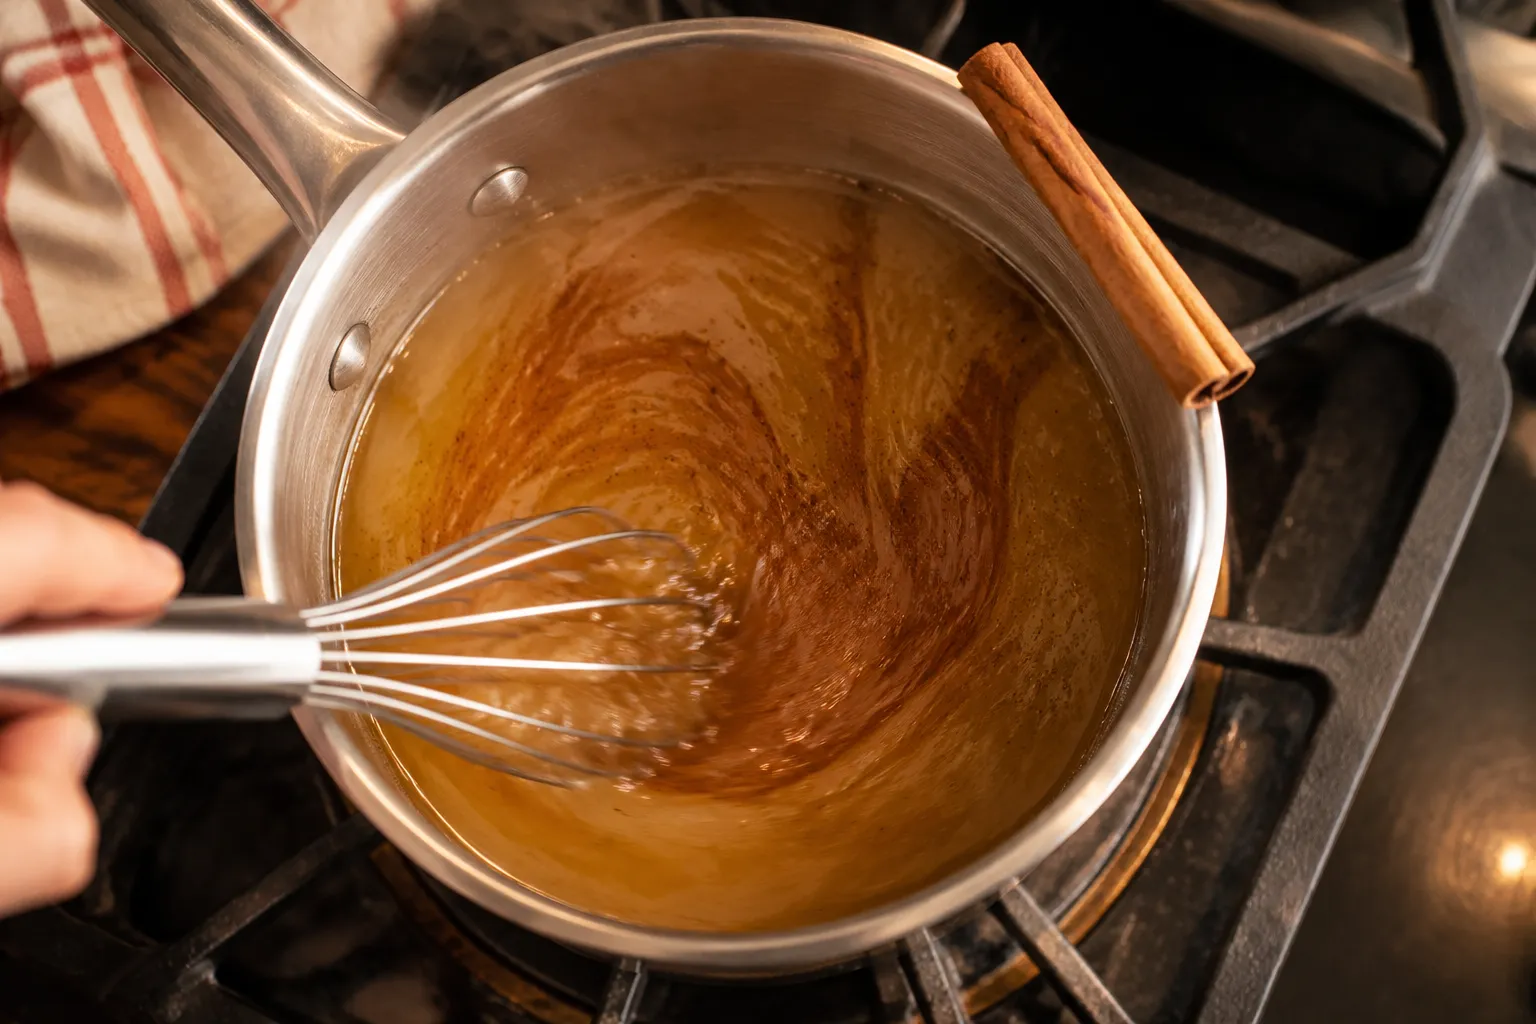
Next, build the syrup. In a large, heavy-bottomed saucepan, whisk together the brown sugar, granulated sugar, cornstarch, cinnamon, and nutmeg before adding any liquid. This is the single most important tip in the whole recipe: pre-mixing the cornstarch with the dry ingredients prevents the lumps and clumps that ruin so many homemade fillings. Once everything is combined and looks like wet sand, pour in the apple cider and lemon juice and whisk over medium heat until the mixture is smooth and just starting to thicken.
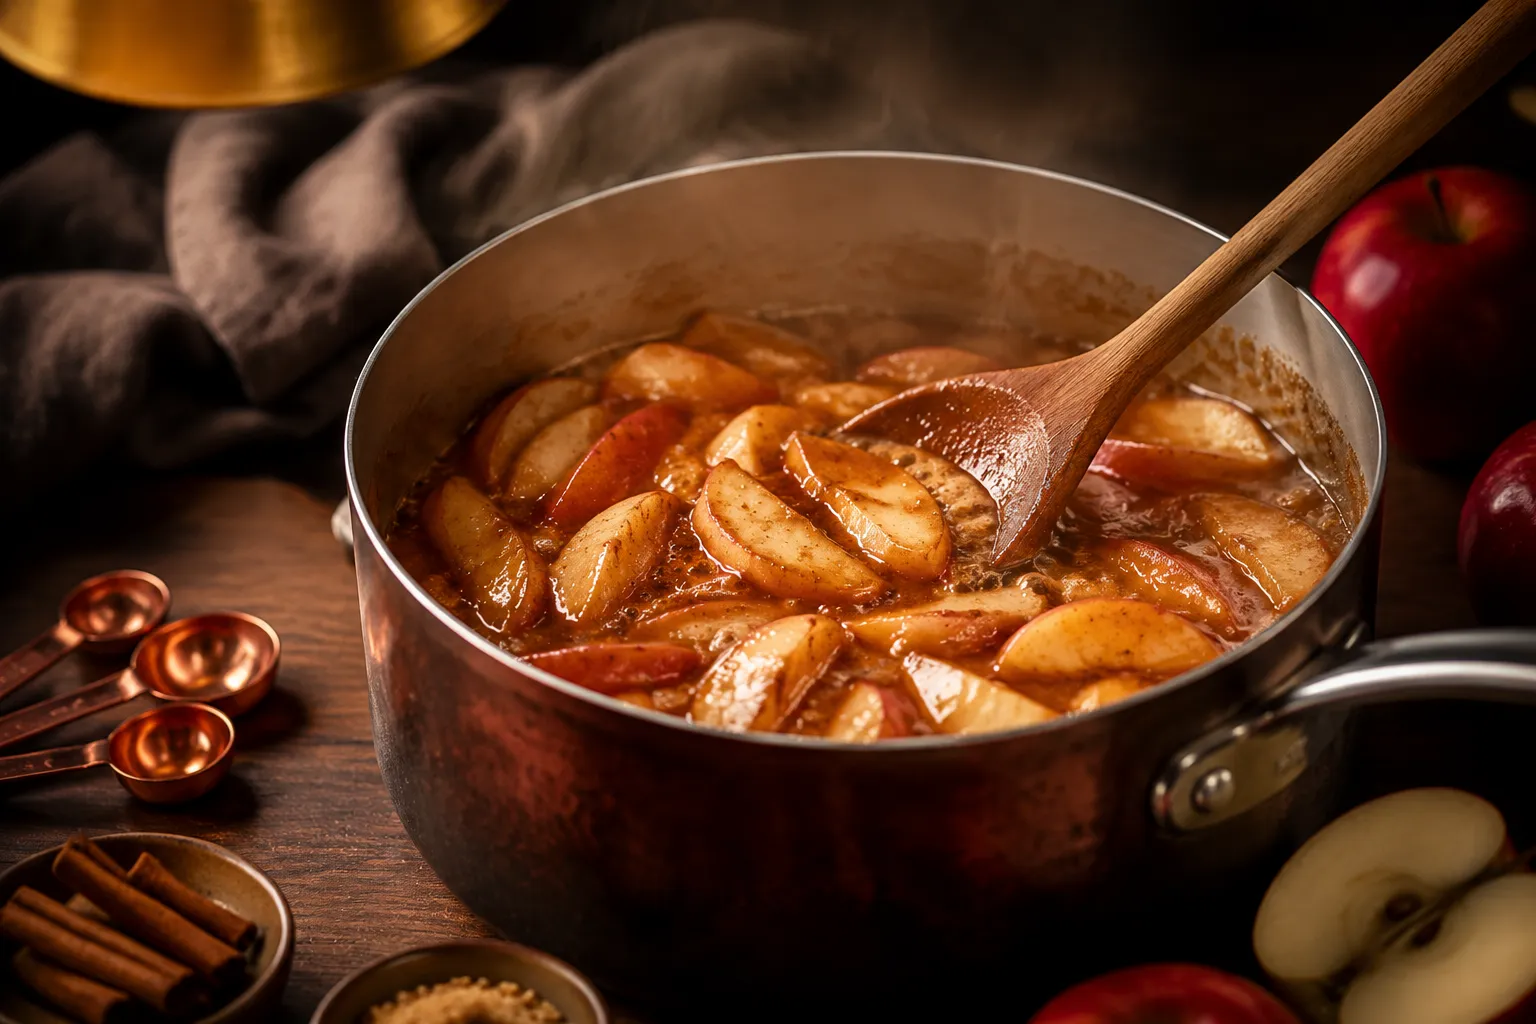
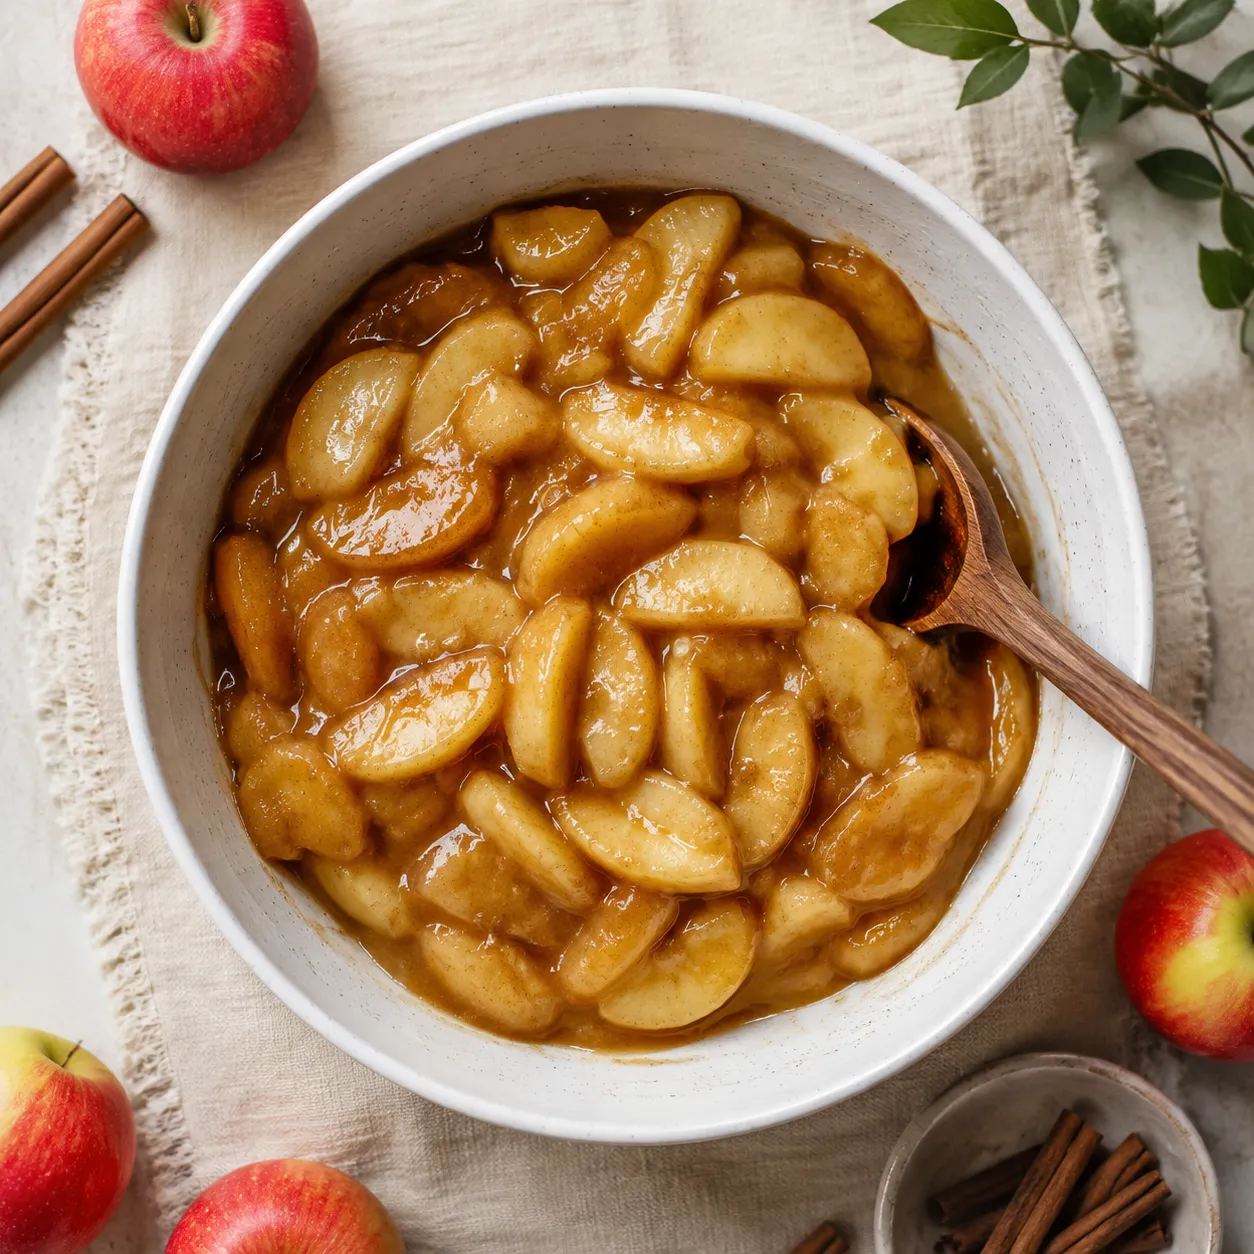
Add the apple slices, stir gently with a wooden spoon to coat every piece, and let the whole thing bubble for about 8 to 10 minutes. The apples should turn glossy and just barely fork-tender, while the syrup transforms into a thick, amber-colored glaze that coats the back of a spoon. You're not trying to fully cook the apples here, since they'll finish in the oven if you're using the filling for a pie or crisp. Pull the pan off the heat, stir in the butter and vanilla, and let everything cool to room temperature before using or storing. The syrup will thicken even more as it sits, so don't panic if it looks a touch loose right off the heat.
That's it. One pan, about half an hour of hands-on time, and you've got enough filling for a generous 9-inch pie, a 9x13 crisp, or a big batch of mini hand pies. The fully measured, numbered version of this apple pie filling recipe lives in the recipe card down below for easy printing and saving.
Once you have a jar of this in the fridge, you'll start finding excuses to use it. The obvious move is a classic double-crust apple pie: roll out two rounds of dough, scoop the cooled filling into the bottom crust, top with the second, vent the lid, brush with egg wash, sprinkle with coarse sugar, and bake at 400°F until the crust is deeply golden and the filling bubbles up through the slits.
But this apple pie filling recipe is just as good in a Dutch apple pie crowned with buttery brown-sugar streusel, or stretched across a free-form galette when you don't feel like wrestling a top crust into submission. It folds beautifully into an apple crisp recipe too: just spread the cooled filling into a baking dish, blanket it with oat-and-brown-sugar streusel, and bake until the topping is crunchy and the edges are bubbling.
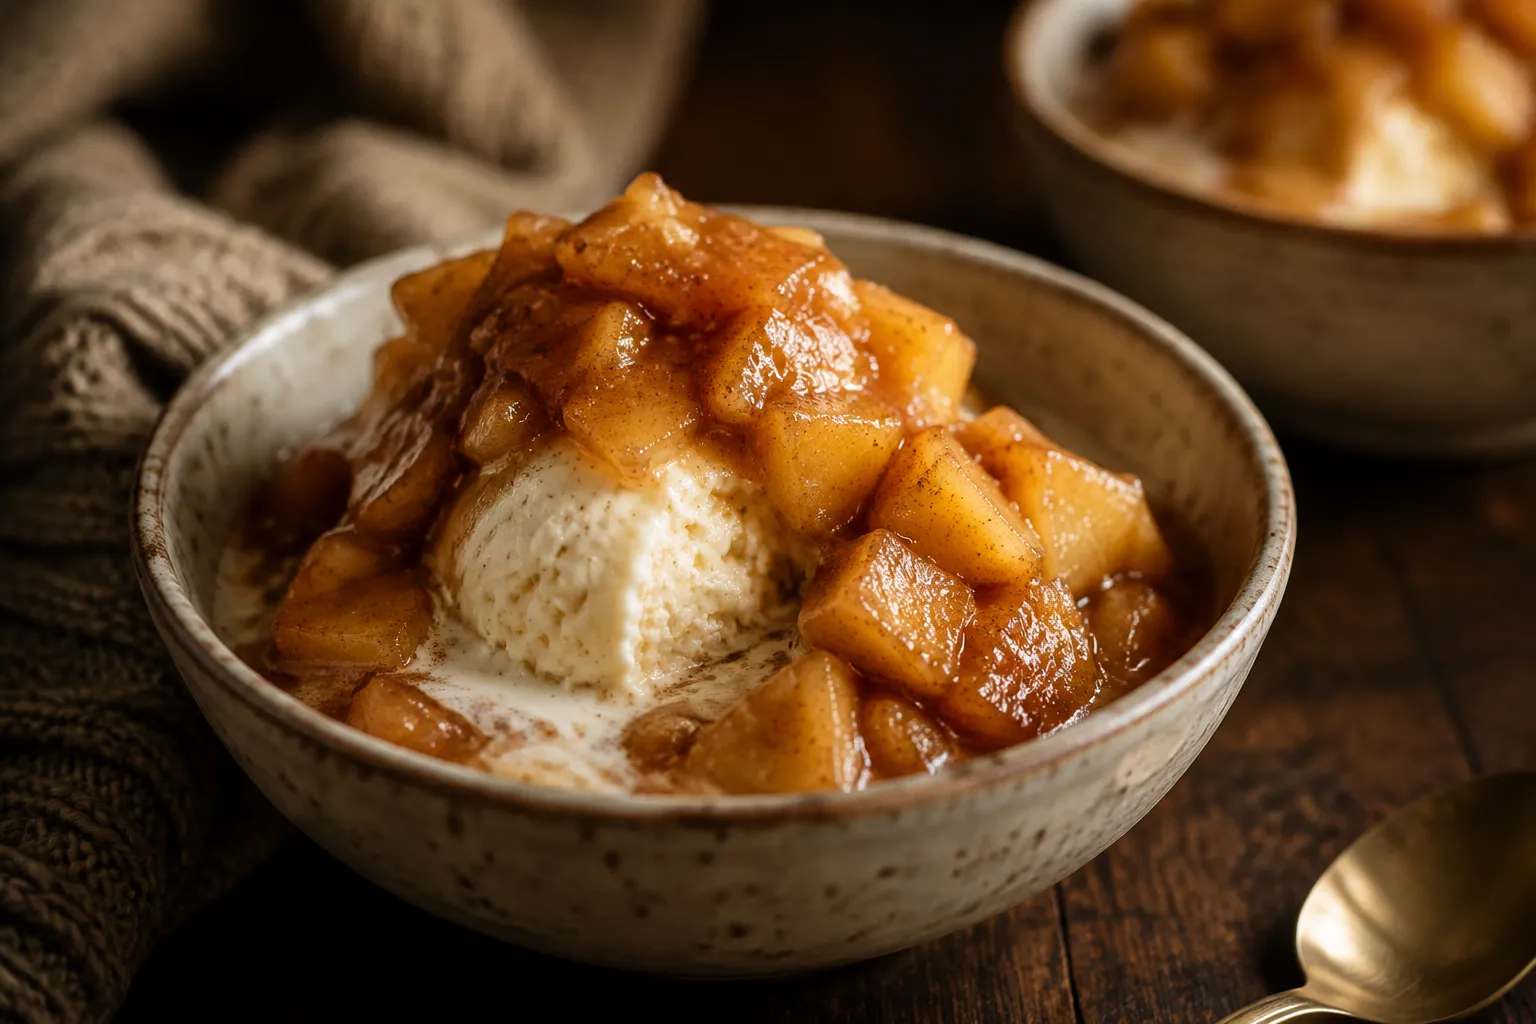
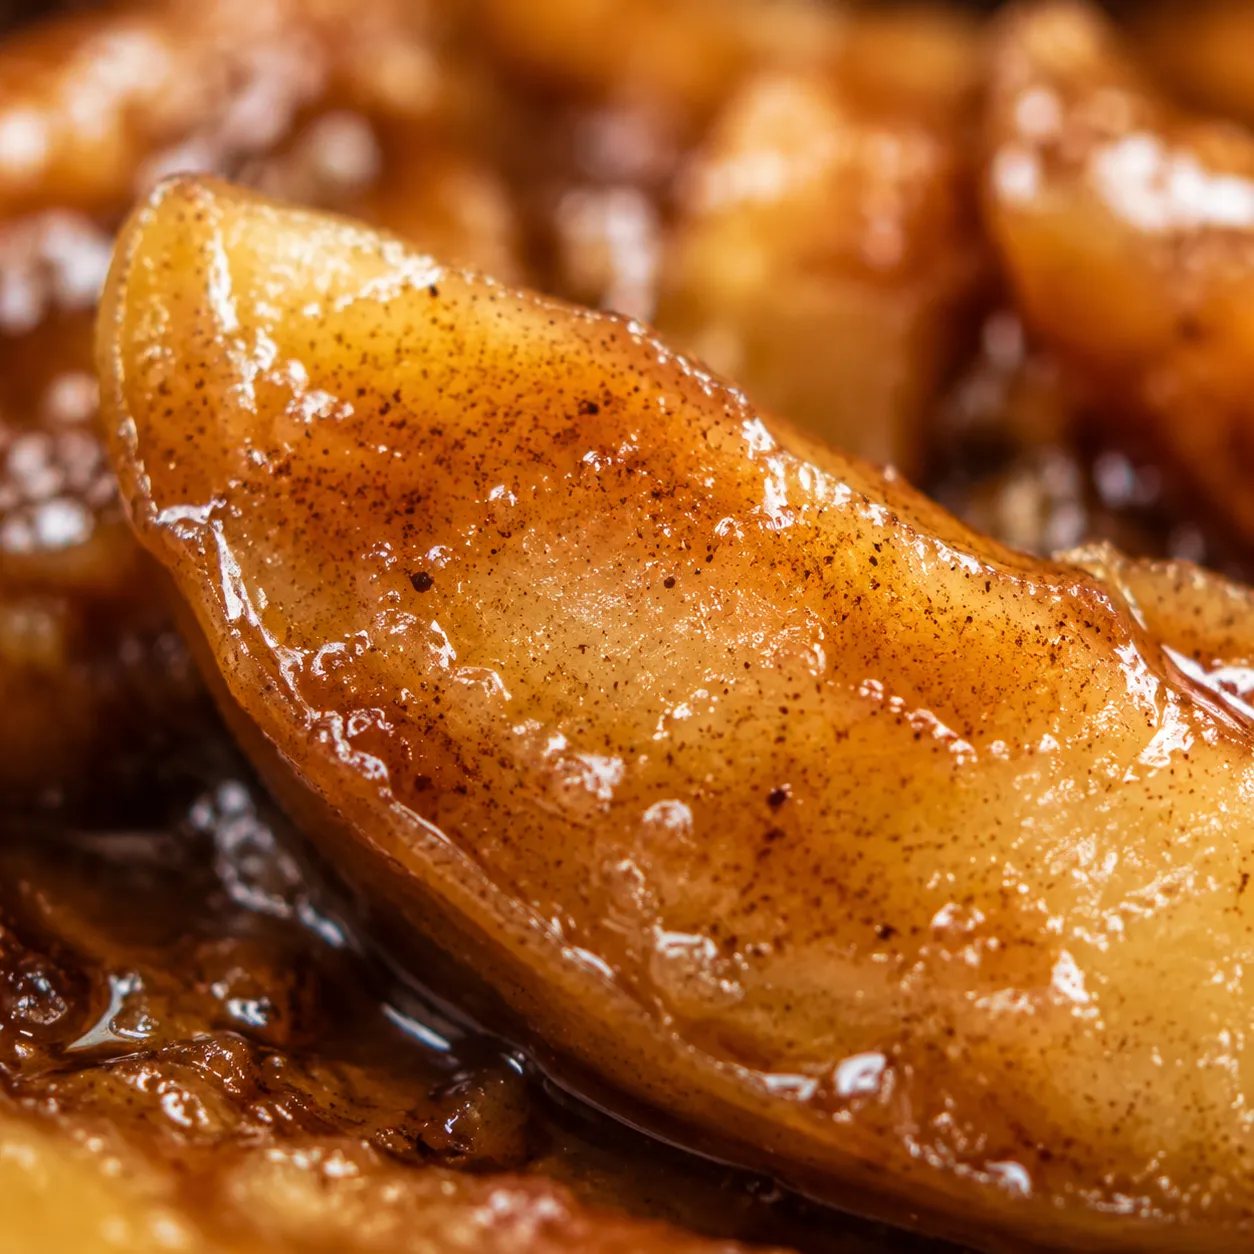
And then there's everything else. Spoon it warm over vanilla bean ice cream, swirl it into thick Greek yogurt, pile it onto a stack of pancakes or French toast, layer it into morning oatmeal, or eat it cold straight from the jar with a spoon (no judgment from me). Cinnamon sugar apples like these are also a sleeper-hit topping for cheesecake, a wedge of sharp cheddar on a cheese board, or a tower of buttermilk waffles. If you're feeding a crowd, turn it into a slab pie or a quick crostata and let the filling do the heavy lifting.
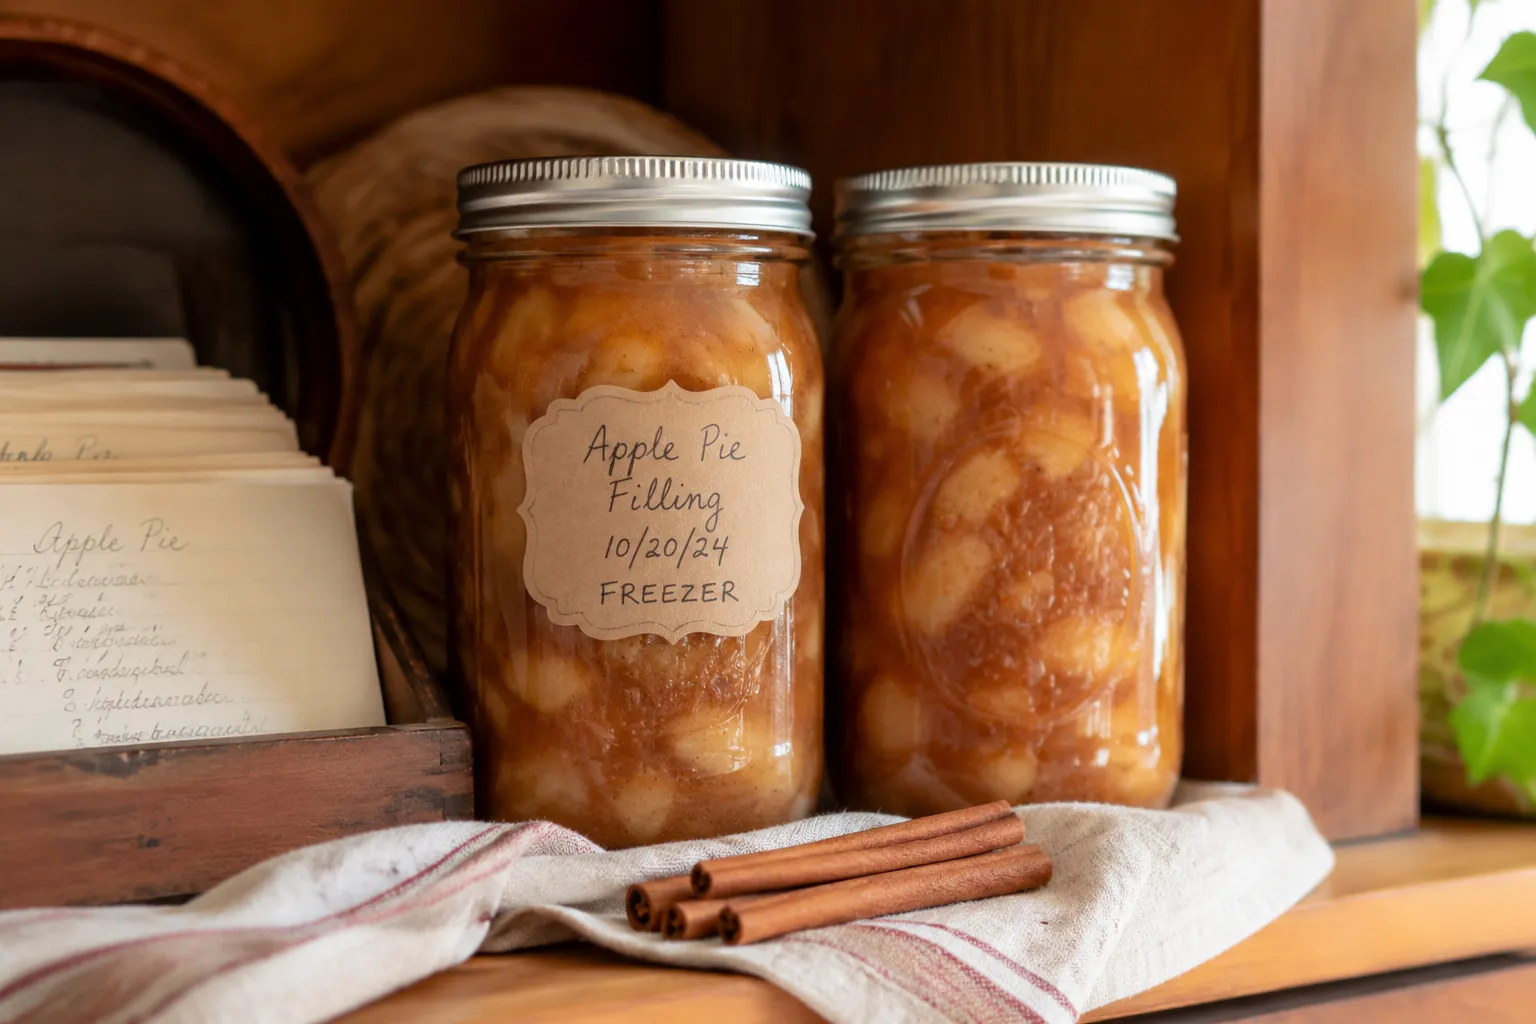
This is one of those recipes that genuinely improves with a little time. The flavors deepen overnight in the fridge as the spiced syrup soaks deeper into the apples, so making it a day ahead is a real strategy rather than a compromise. If you're trying to figure out how to freeze pie filling for long-term storage, this homemade apple pie filling recipe is a perfect candidate. It holds beautifully in the freezer for up to six months without losing texture, as long as you cool it fully before sealing it into bags or jars.
I like to make a triple batch in early October when the orchards are dripping with fruit, then portion it into quart freezer bags labeled with the date. Each bag is enough for one 9-inch pie, ready to thaw the night before a holiday or weekend bake. Full fridge and freezer timelines, plus a quick note on canning safety, live in the storage section just below the recipe card.
This filling is a flexible base that takes well to seasonal twists and personal flavor preferences. Once you've nailed the master recipe, try one of these spins to keep things interesting through the fall and winter:
Refrigerator: Once the filling is fully cooled, transfer it to an airtight container or glass jar and refrigerate for up to 5 days. Stir gently before using, and warm on the stovetop or in 20-second microwave bursts if you'd like to spoon it over ice cream, oatmeal, or pancakes.
Freezer: For longer storage, ladle the cooled filling into quart-size zip-top freezer bags (each holds enough for one 9-inch pie) or rigid freezer-safe containers, leaving 1/2 inch of headspace for expansion. Press out the air, label with the date, and freeze flat for up to 6 months. Thaw overnight in the fridge before assembling a pie or crisp.
A note on canning: This recipe is not designed for shelf-stable home canning, since cornstarch isn't approved for water-bath processing. If pantry storage is your goal, look for a Clear Jel-based recipe tested and published by the USDA or your local extension office.