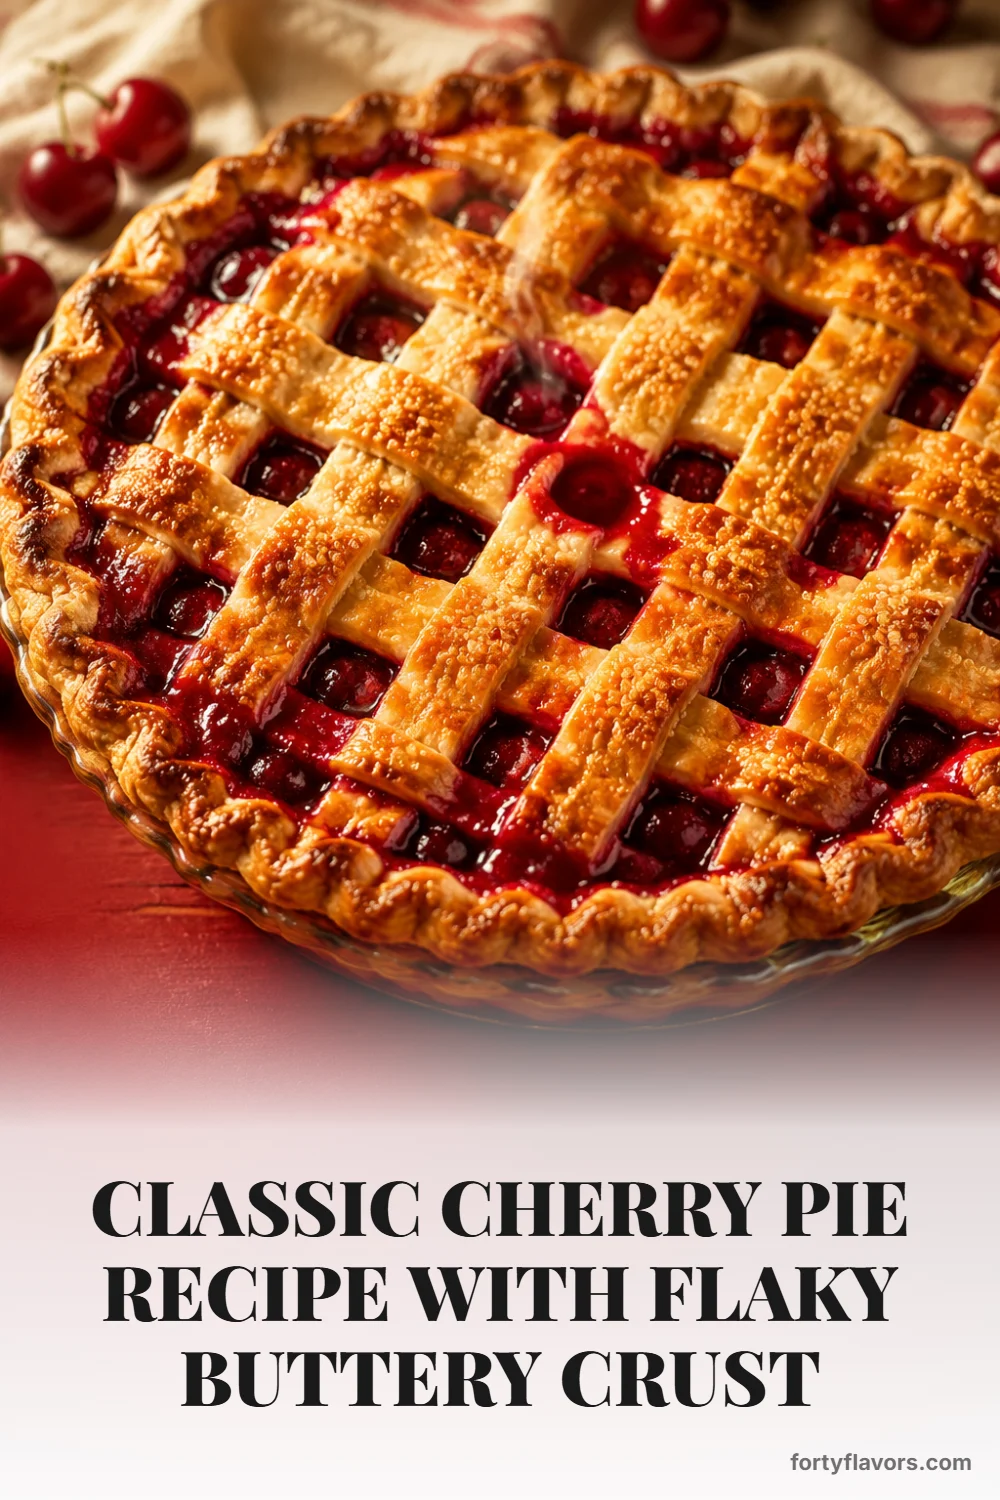
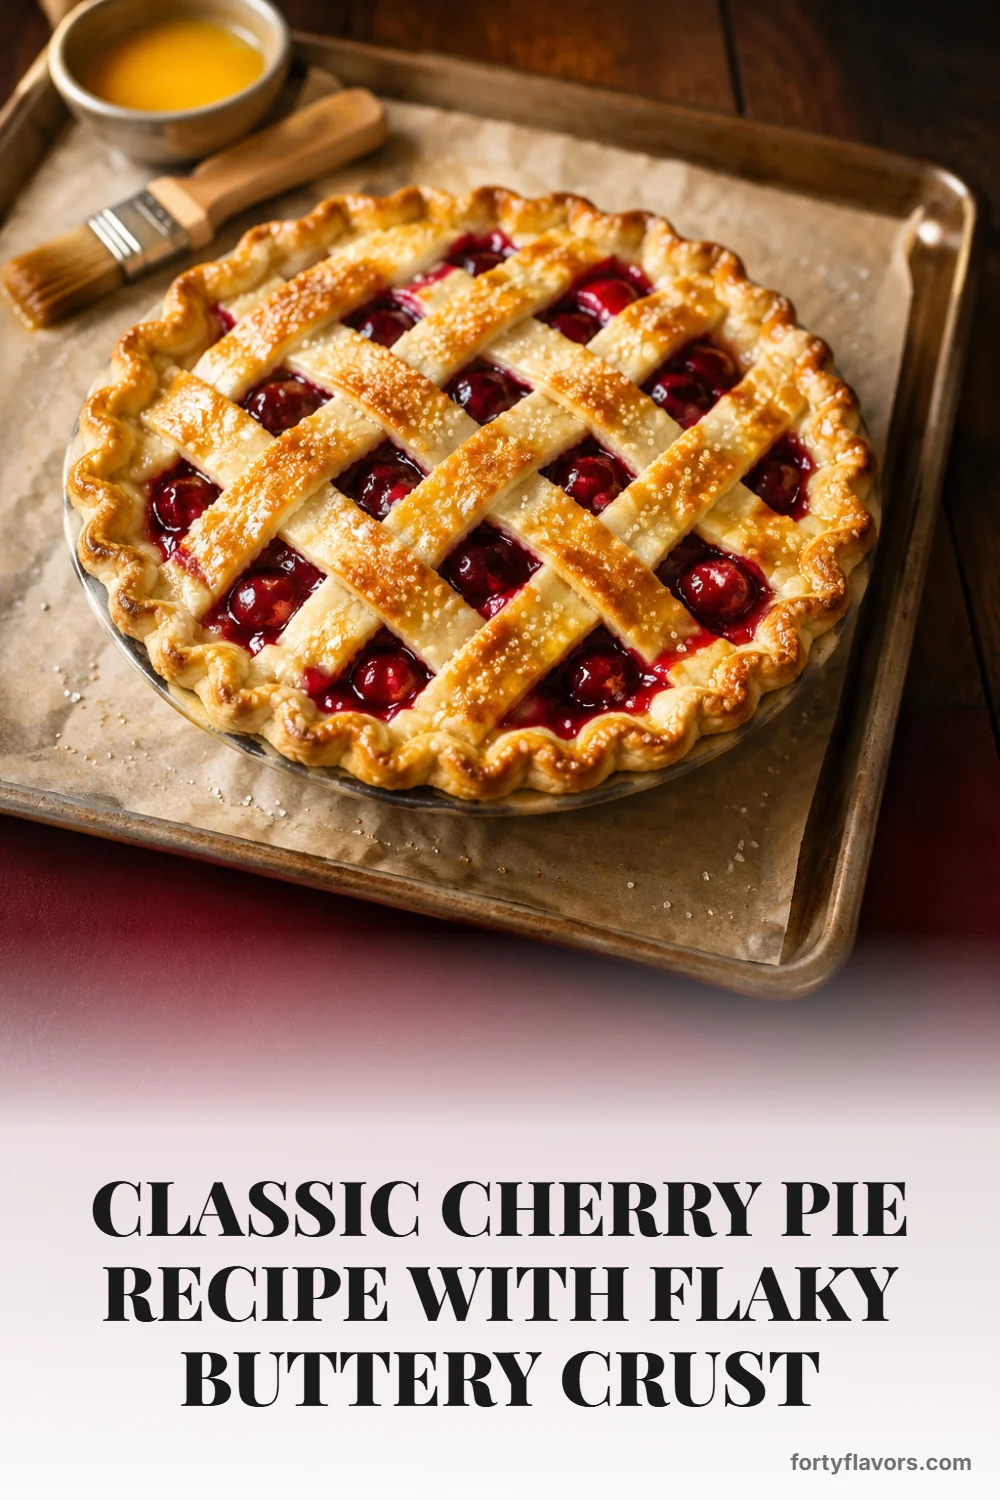
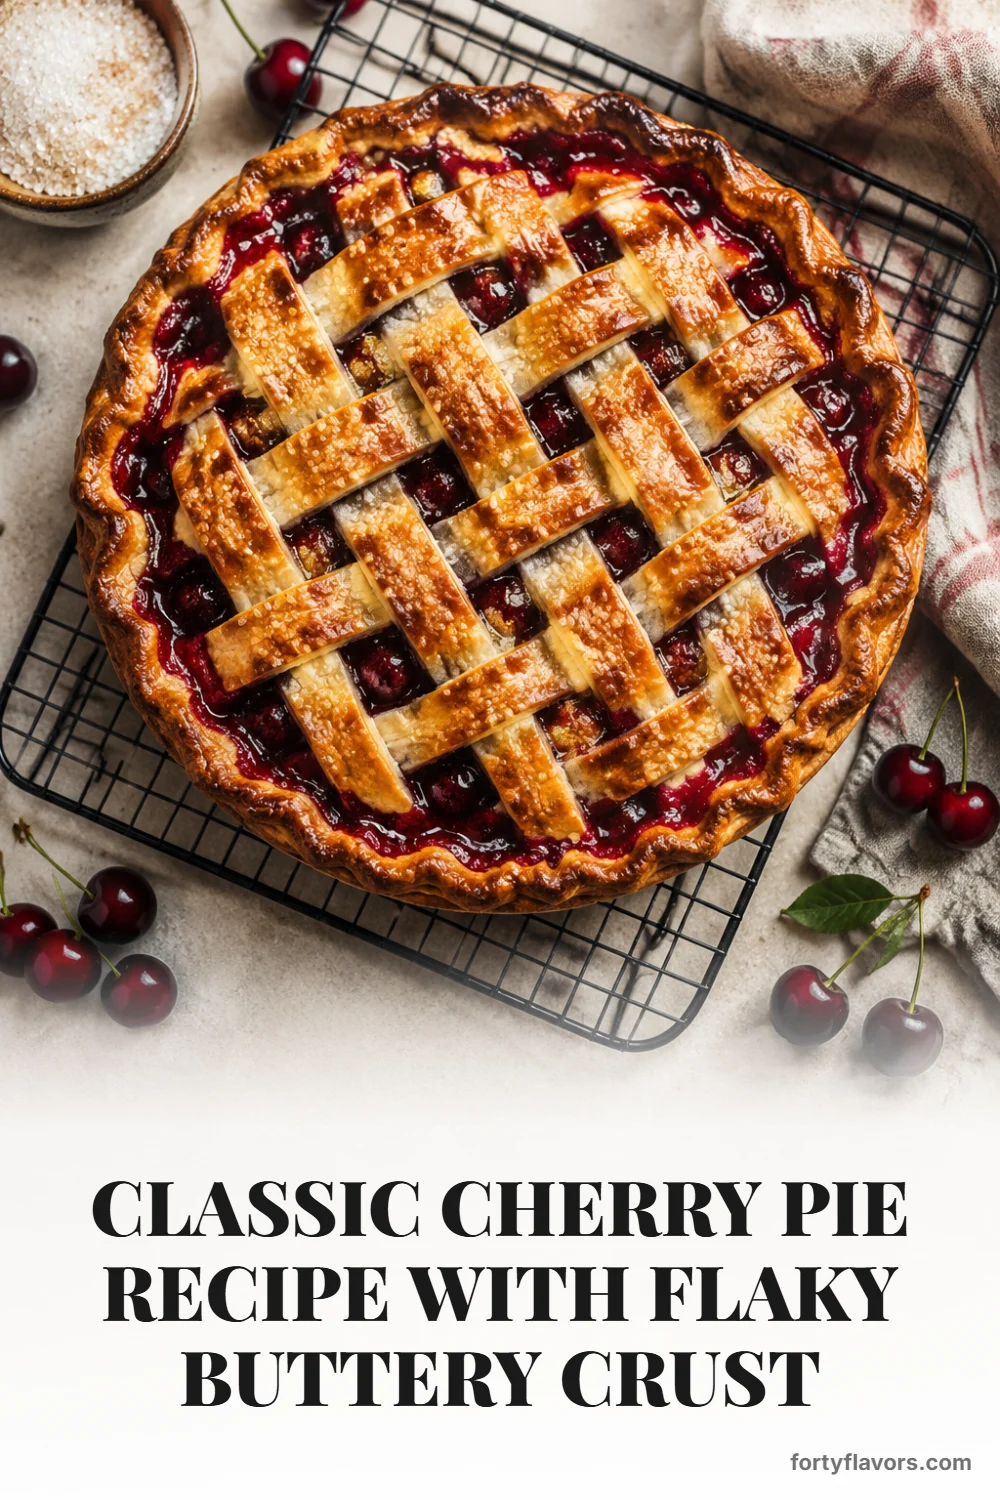
Classic Cherry Pie Recipe with Flaky Buttery Crust
Ingredients
Scale
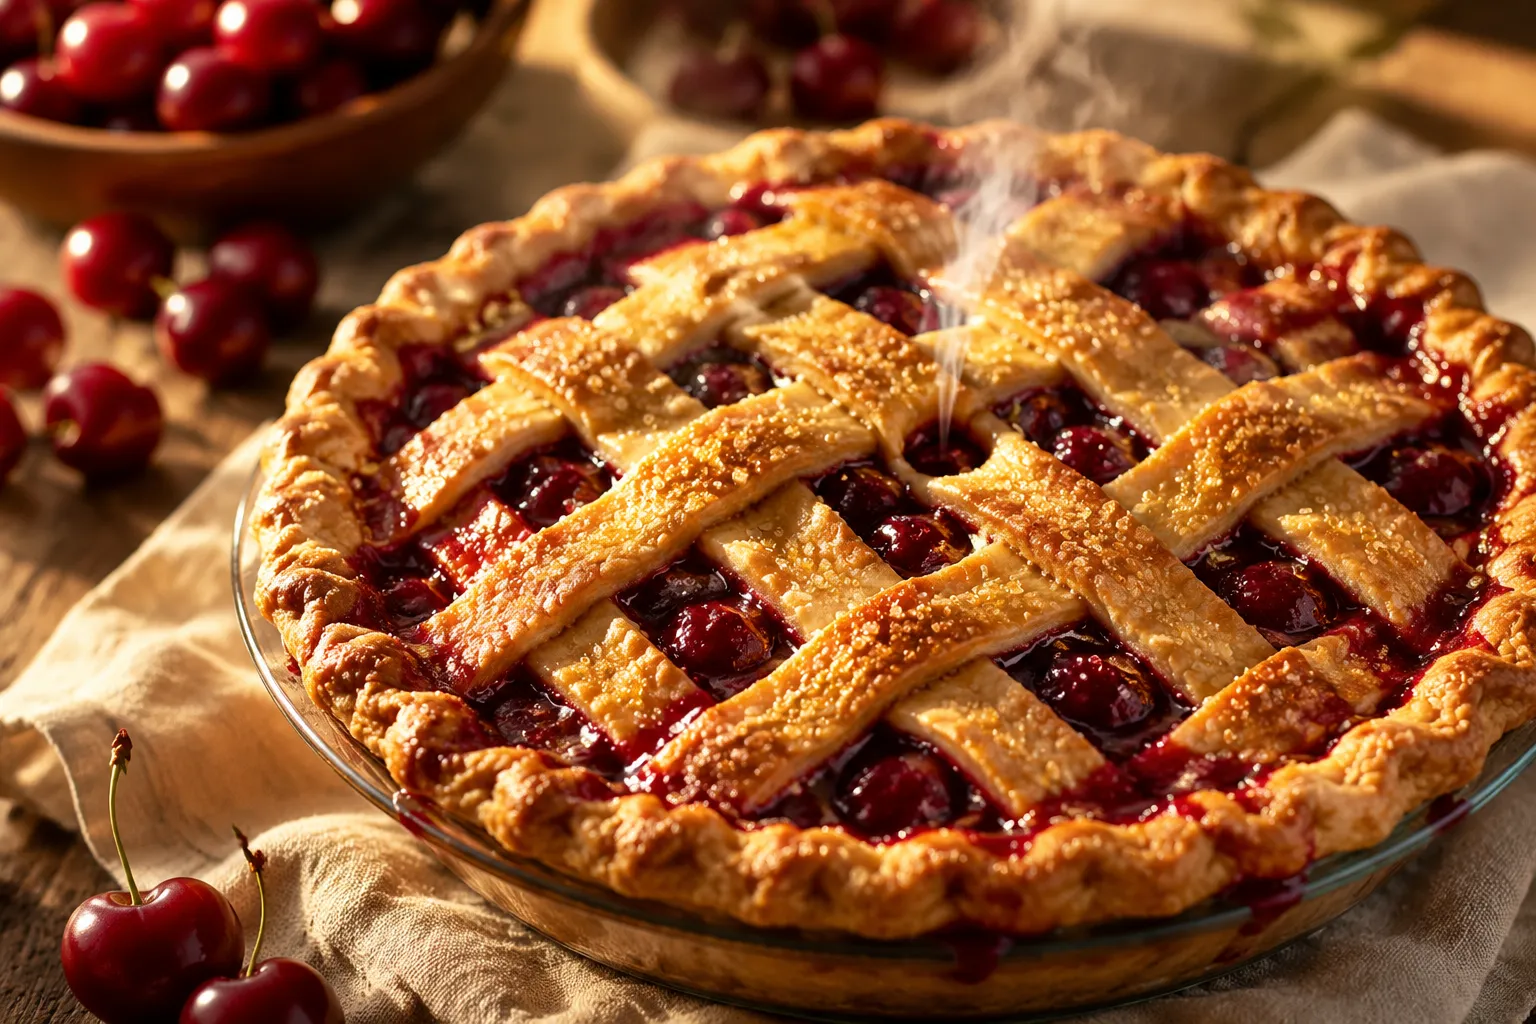
A bakery-style cherry pie recipe with a buttery, flaky double crust and a glossy ruby filling that holds a clean slice every single time.
This cherry pie recipe is the one I reach for when I want a truly classic, bakery-style dessert: a deeply golden flaky pie crust, a ruby-red filling that bubbles up through the lattice, and slices that actually hold together on the plate. It has that old-fashioned cherry pie charm, but the method is dialed in for modern home bakers who want reliable results without mystery or guesswork.
The filling is bright and glossy with fresh lemon juice, a little vanilla, and just enough almond extract to make the cherries taste more like themselves. You can use fresh cherries in peak summer, frozen cherries in the middle of winter, or even canned cherries in a pinch, and the thickening method still gives you that clean-slice finish.
What makes this homemade cherry pie feel special is the contrast: buttery, shattery pastry against juicy fruit that tastes lush but not heavy. It belongs at a Fourth of July cookout, a Sunday supper, or right alongside your favorite Thanksgiving pie recipes when you want something bright and nostalgic on the dessert table.
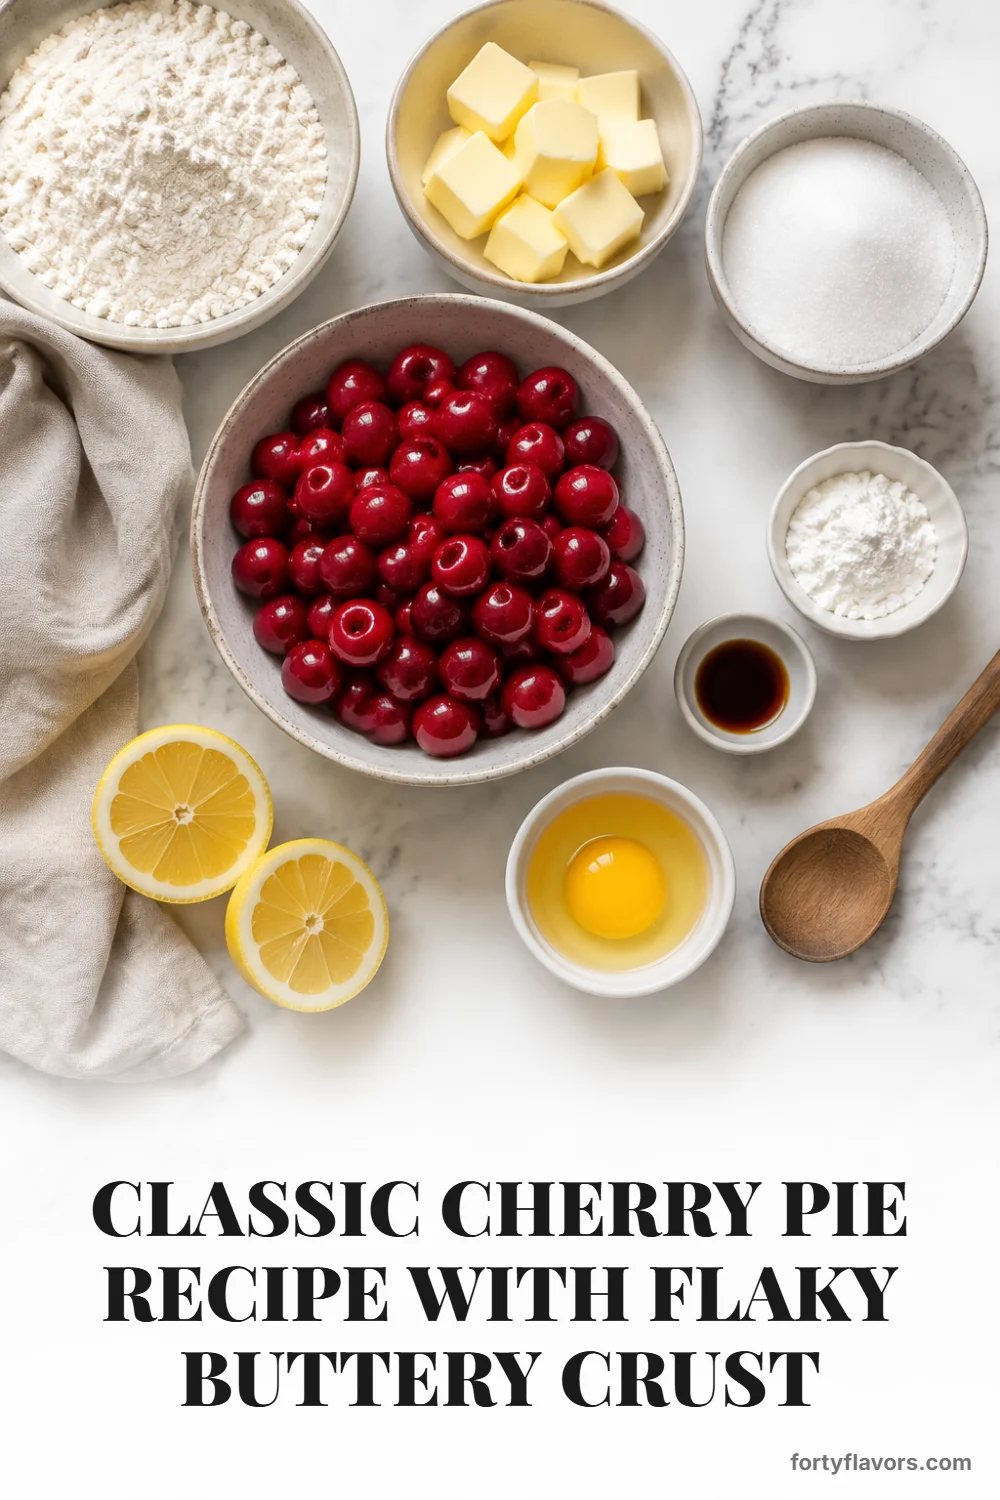
Great pie begins with simple ingredients treated thoughtfully, and this filling-and-crust combination keeps the flavor clean, buttery, and fruit-forward. For the crust, you’ll need all-purpose flour, cold unsalted butter, a little salt, a touch of sugar, and ice water. If you already have a trusted homemade pie crust, you can absolutely use it here, but an all-butter pie dough gives the most delicate flavor and those gorgeous crisp layers.
The filling relies on 6 cups of pitted cherries, granulated sugar, cornstarch, lemon juice, vanilla extract, and almond extract. Cornstarch is the quiet hero here; it thickens the cherry juices into a glossy sauce without clouding the color or dulling the flavor. Lemon juice balances the sweetness, while almond extract adds that classic bakery aroma you notice before you can quite name it.
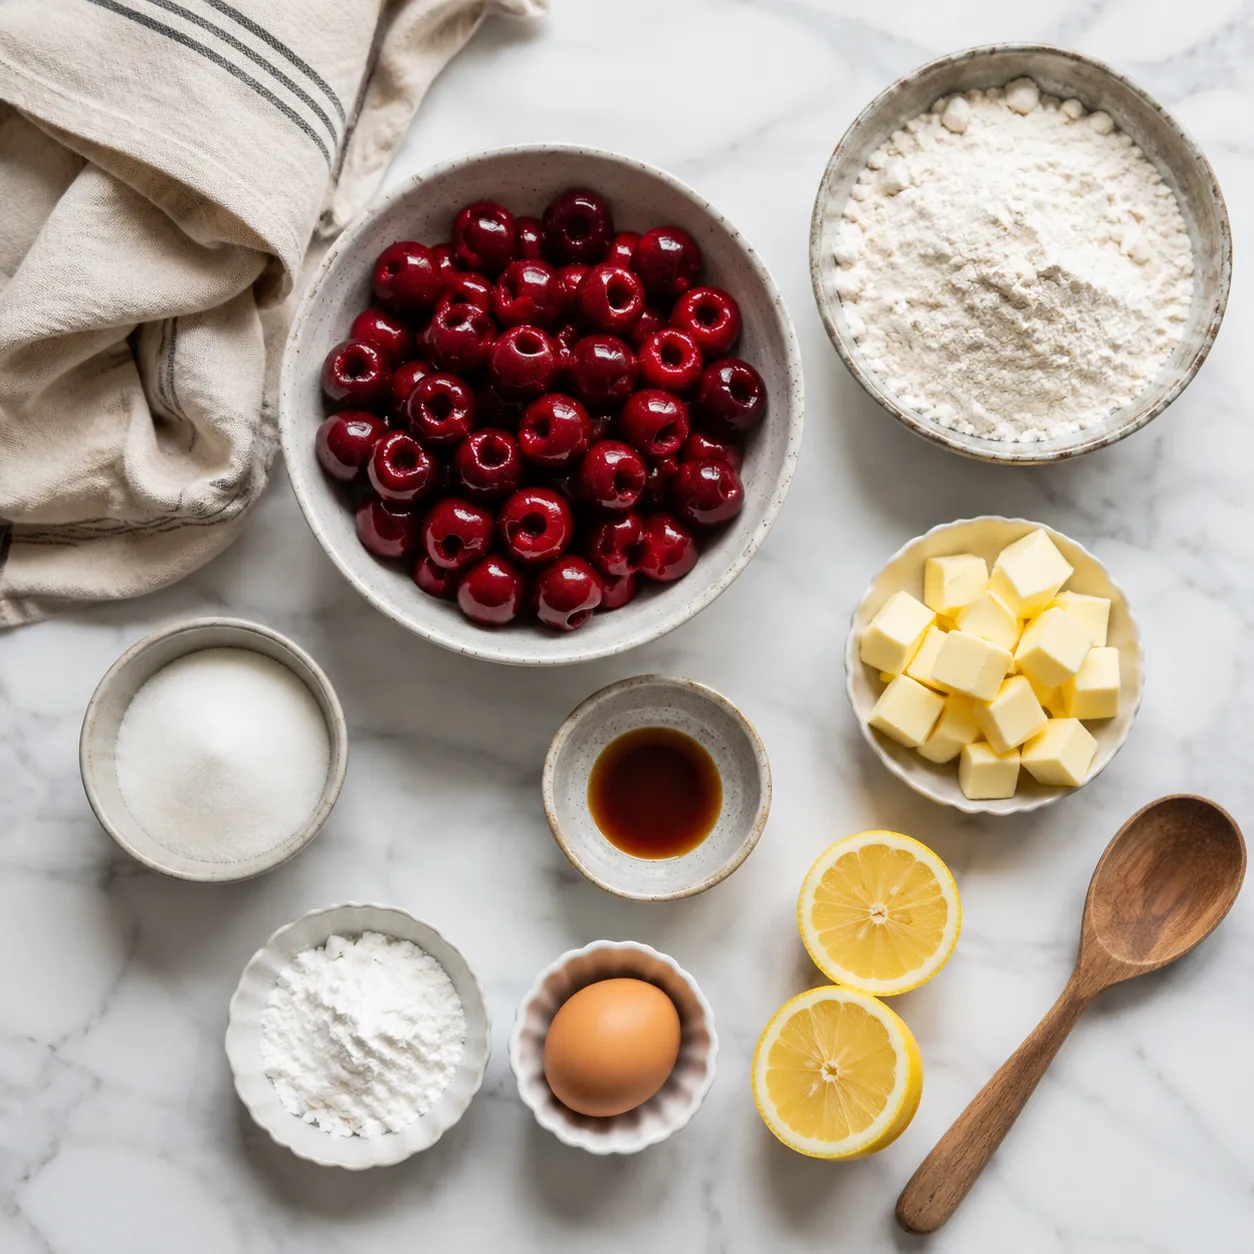
If you are working with fresh cherries, look for fruit that is plump, shiny, and firm, with deep color and no wrinkling around the stem. A cherry pitter makes quick work of the prep, but a chopstick or sturdy straw can do the job if you’re patient. Frozen cherries are wonderfully convenient and often picked at peak ripeness, so don’t hesitate to use them when fresh fruit is out of season.
The final flourish is an egg wash and coarse sparkling sugar. The egg wash gives the lattice crust a burnished, glossy finish, while the sugar adds crunch and a little sparkle. It’s a small step that makes the finished pie look like it came from a neighborhood bakery case.
A good cherry pie filling should be juicy, not soupy; soft, not jammy; and bright enough to taste like real fruit. This cherry pie recipe uses cornstarch because it sets cleanly and creates that beautiful translucent ruby sheen. The key is giving the thickener enough time and heat to activate, which means the center of the pie needs to bubble visibly before it comes out of the oven.
Sugar does more than sweeten the cherries. As the fruit sits, sugar pulls out some of the juices, creating a syrupy base that blends with the cornstarch and flavorings. That little rest before baking helps the filling bake evenly and reduces the chance of dry pockets of starch.
Almond extract is powerful, so this recipe uses just a whisper. It rounds out the cherries without making the pie taste like marzipan. If you love a more traditional diner-style cherry pie, use tart cherries when you can find them; if you prefer a softer, sweeter fruit flavor, sweet Bing or dark sweet cherries are perfect.
Making pie from scratch is a rhythm more than a complicated technique: keep the butter cold, handle the dough gently, and bake until the filling tells you it is ready. The full measured instructions are in the recipe card below, but the overview here will help you understand what you’re looking for at each stage. Once you’ve made this cherry pie recipe a time or two, the process starts to feel wonderfully familiar.
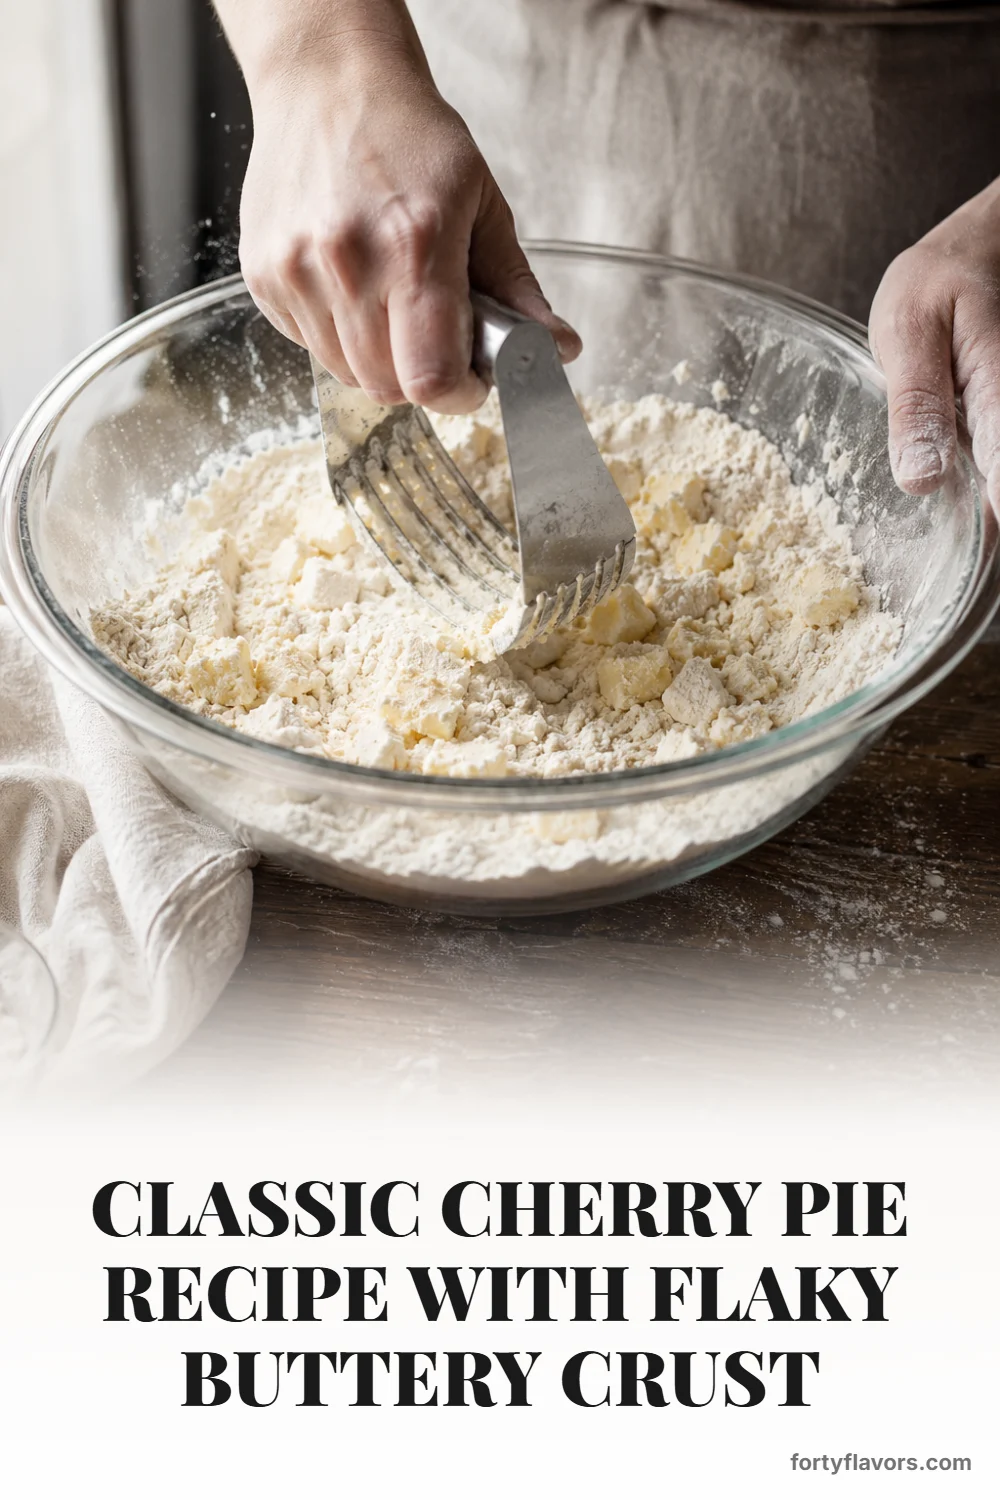
Start by cutting cold butter into the flour until you have a mix of pea-sized pieces and a few flatter shards. Those visible pieces of butter are exactly what create lift and flakiness as they steam in the oven. Add ice water gradually, just until the dough clumps when squeezed, then divide it into two disks and chill until firm.
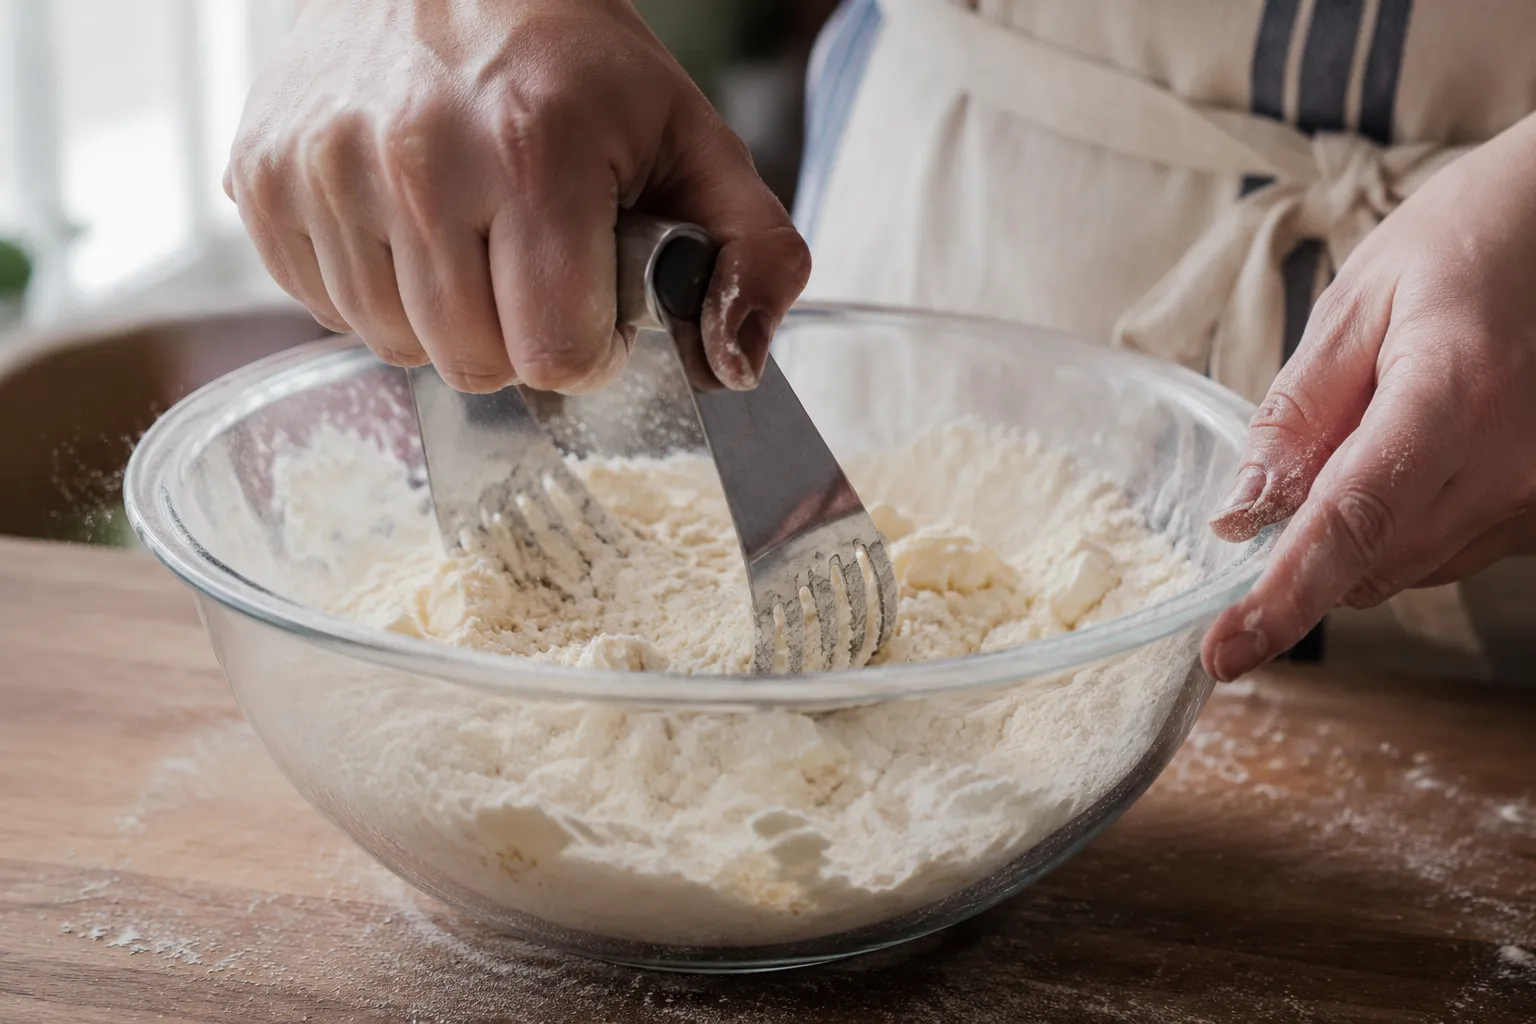
Try not to knead the dough the way you would bread. A few shaggy edges are better than overworked pastry, because too much mixing develops gluten and can make the crust tough. If the dough cracks a bit when you first roll it, let it sit for a few minutes at room temperature, then continue rolling from the center outward.
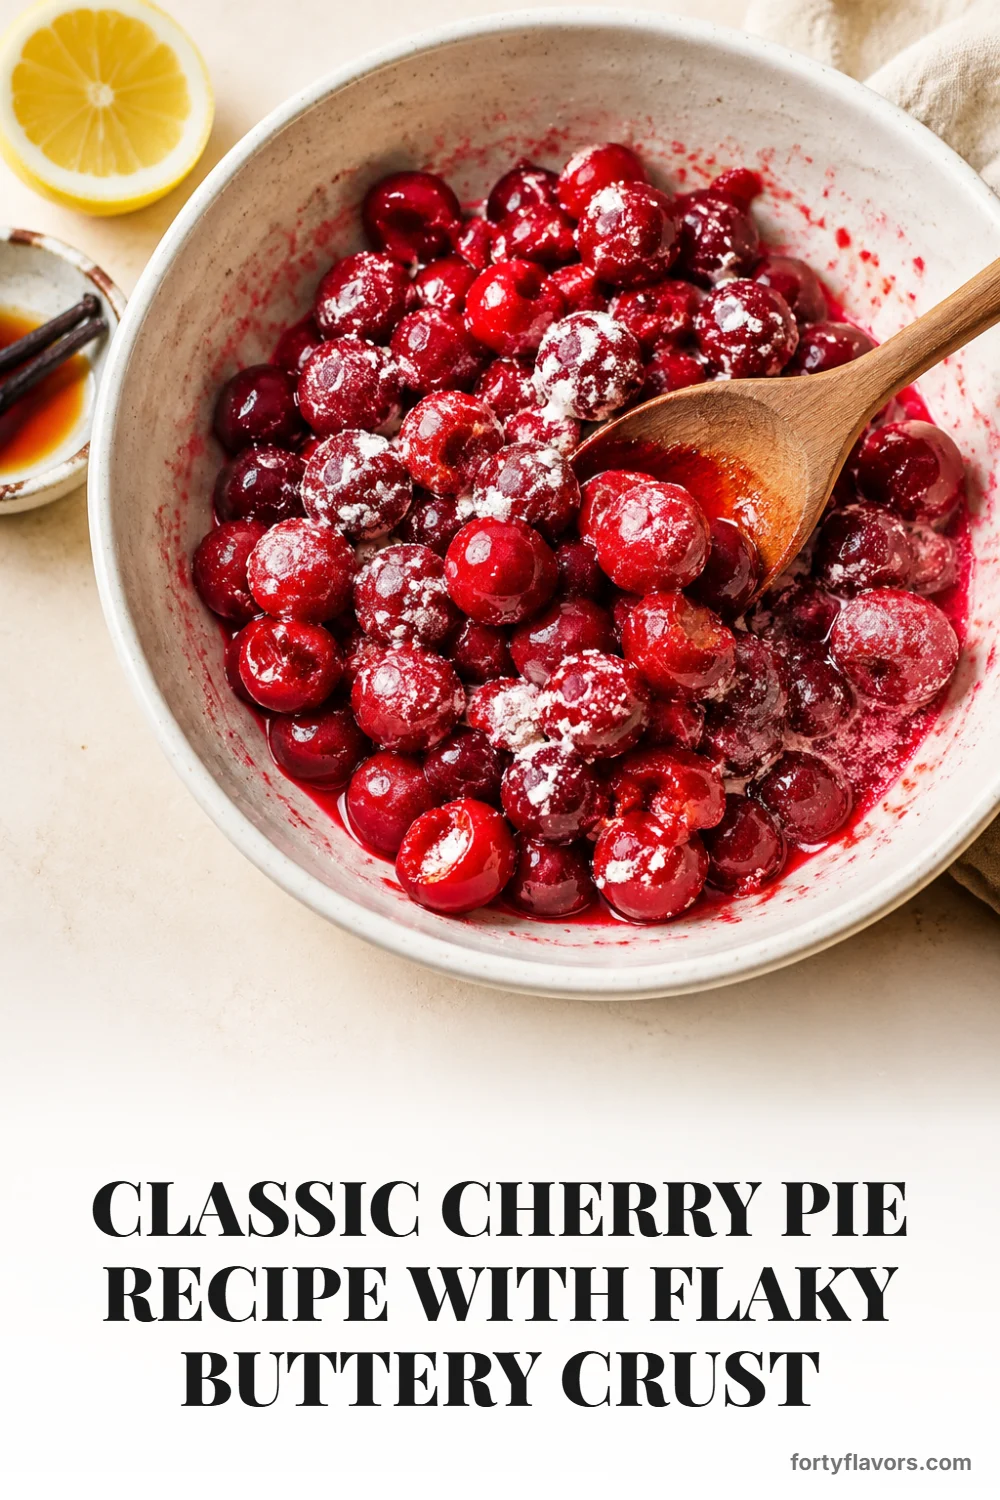
While the dough chills, toss the cherries with sugar, cornstarch, lemon juice, vanilla, almond extract, and a pinch of salt. The fruit will begin to glisten as the sugar draws out its juices, and the cornstarch will disappear into the mixture as you stir. If you’re using frozen fruit, keep it frozen while mixing so it doesn’t release too much liquid before it reaches the oven.
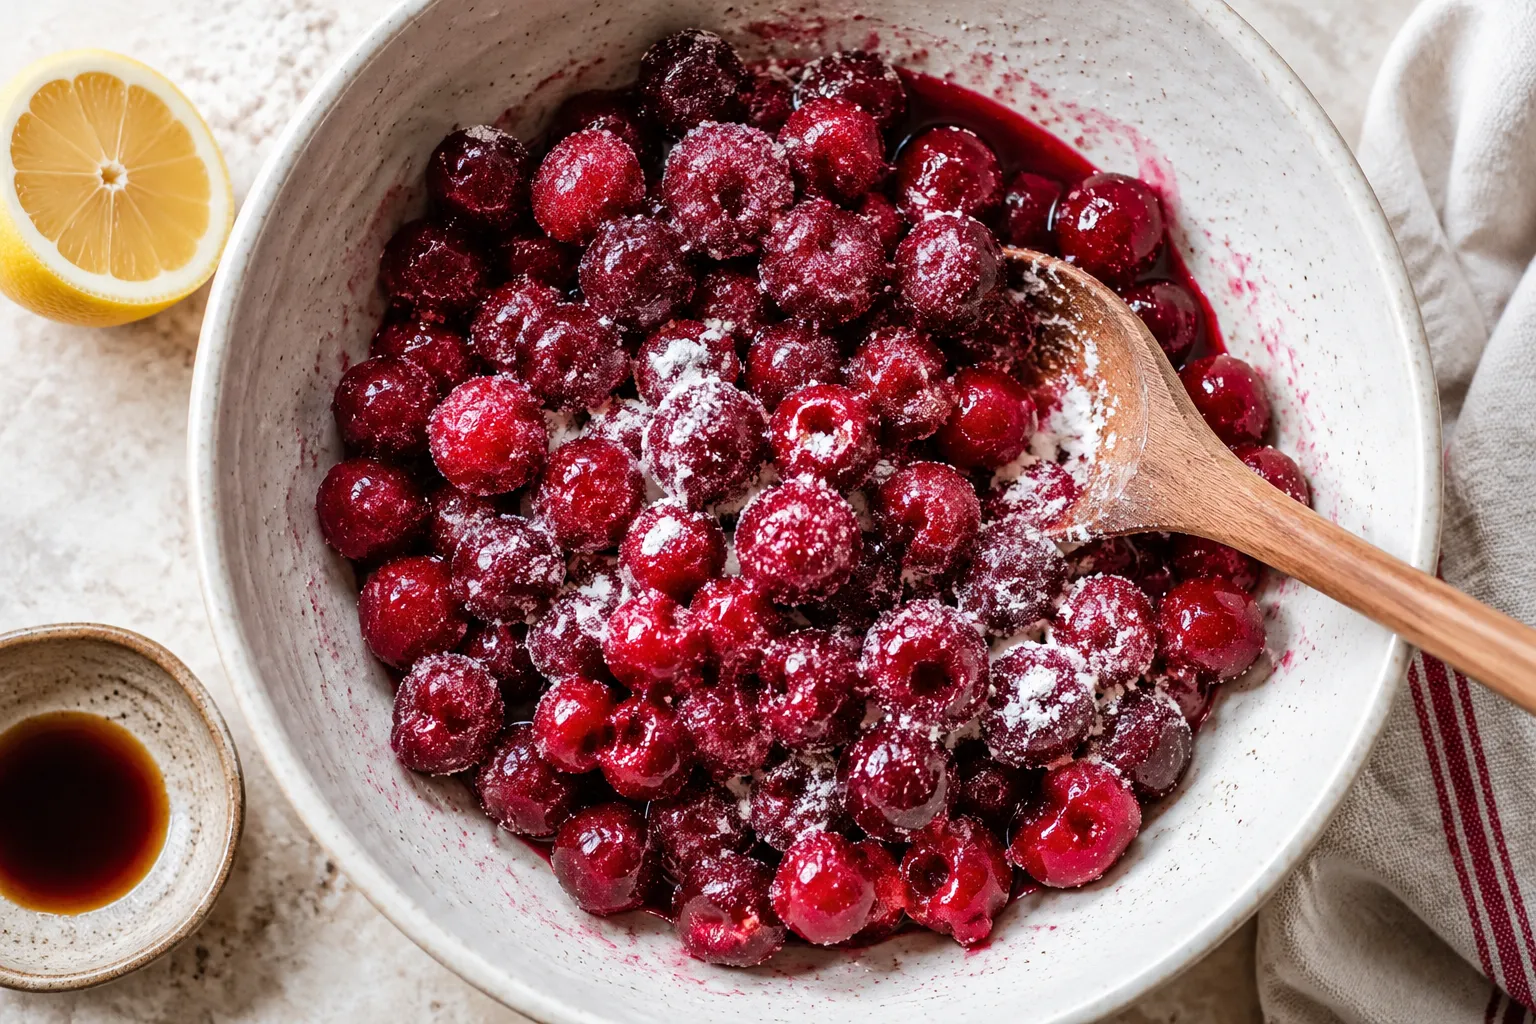
This is also the moment to taste and adjust. Sweet cherries may need a little extra lemon juice for brightness, while very tart cherries may appreciate an additional spoonful or two of sugar. The filling should taste slightly bold before baking, because the buttery crust will mellow it in the finished pie.
Roll the bottom crust into a round large enough to fit a 9-inch pie plate with a generous overhang. Ease it into the dish without stretching, then spoon in the cherry pie filling and spread it into an even layer. Roll the second dough disk and cut it into strips for a classic woven top, or keep it whole and cut vents if you prefer a simpler double crust.
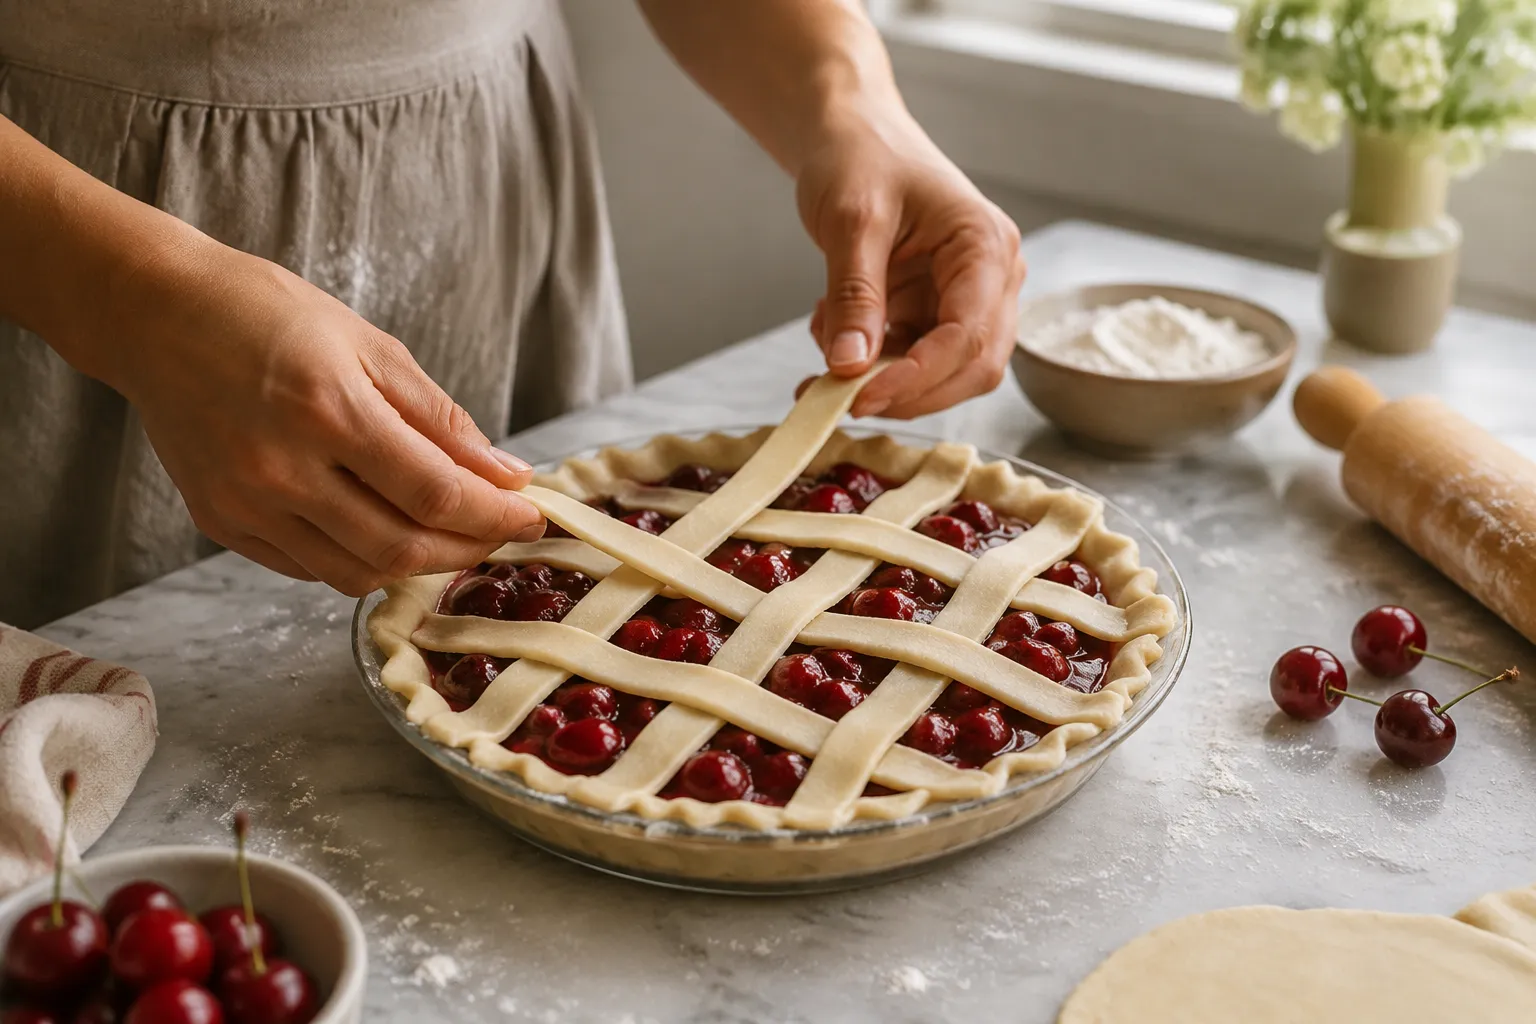
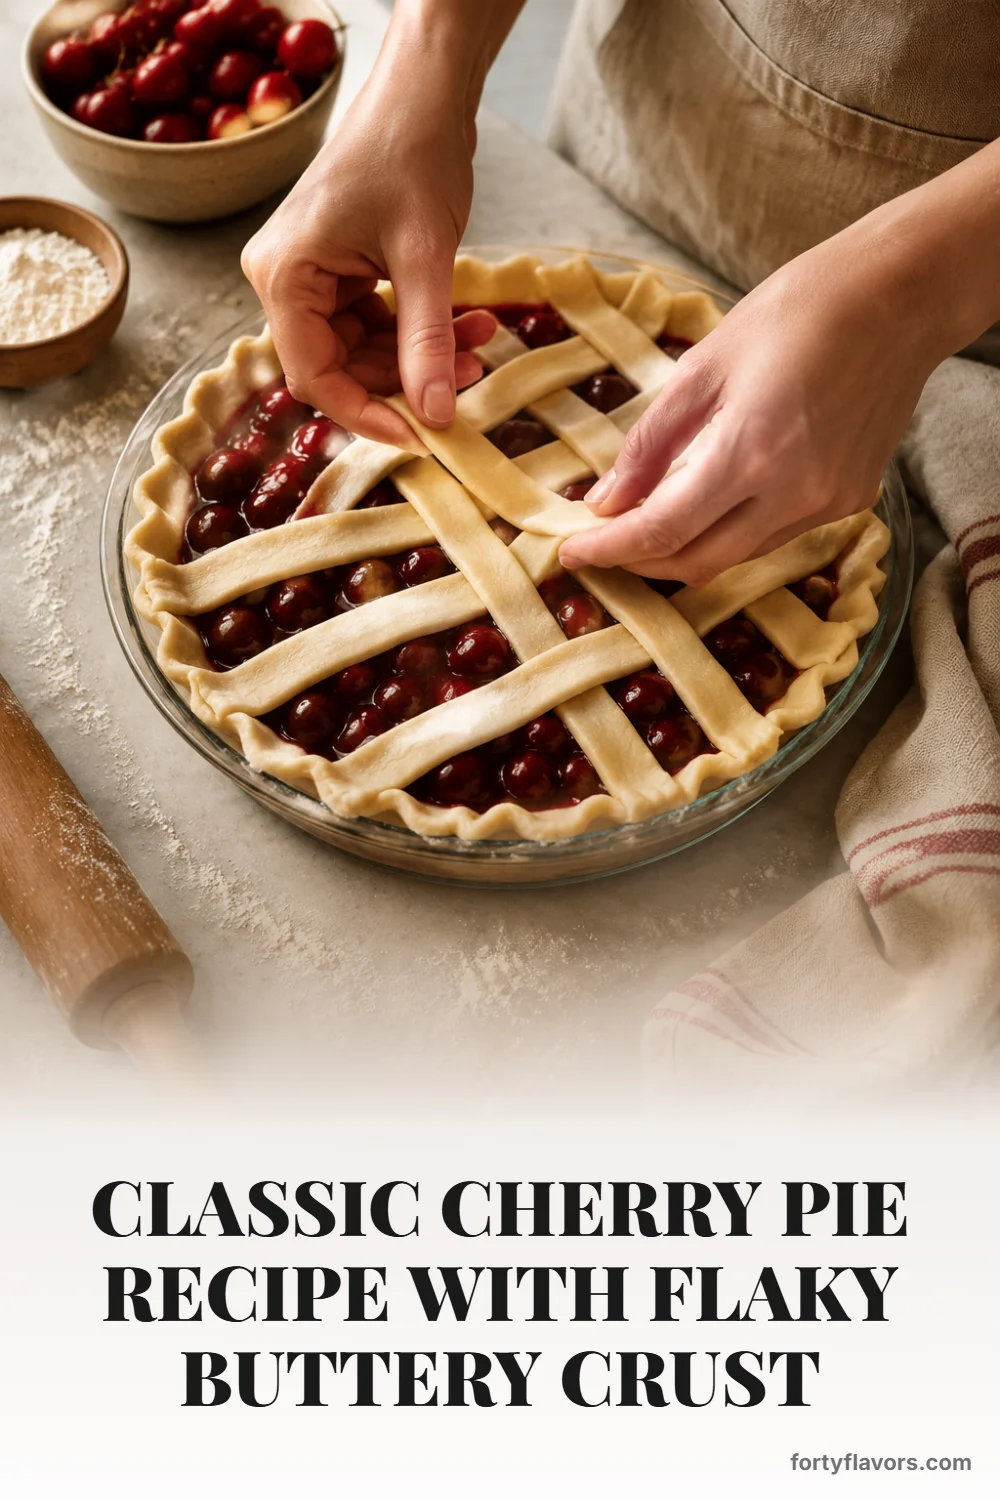
A lattice top looks impressive, but it’s really just a gentle over-under pattern. If you want more visual guidance, a lattice pie crust tutorial can be helpful the first time, especially for learning how to fold back alternate strips without tugging the dough. Once the strips are in place, trim the edges, tuck them under, and crimp with your fingers or a fork.
Before baking, brush the pastry with egg wash and sprinkle with sparkling sugar. Place the pie on a preheated sheet pan so the bottom crust gets a strong burst of heat and any bubbling juices are caught before they reach the oven floor. This step is especially helpful for a juicy fruit pie because it encourages the underside of the crust to brown instead of steam.
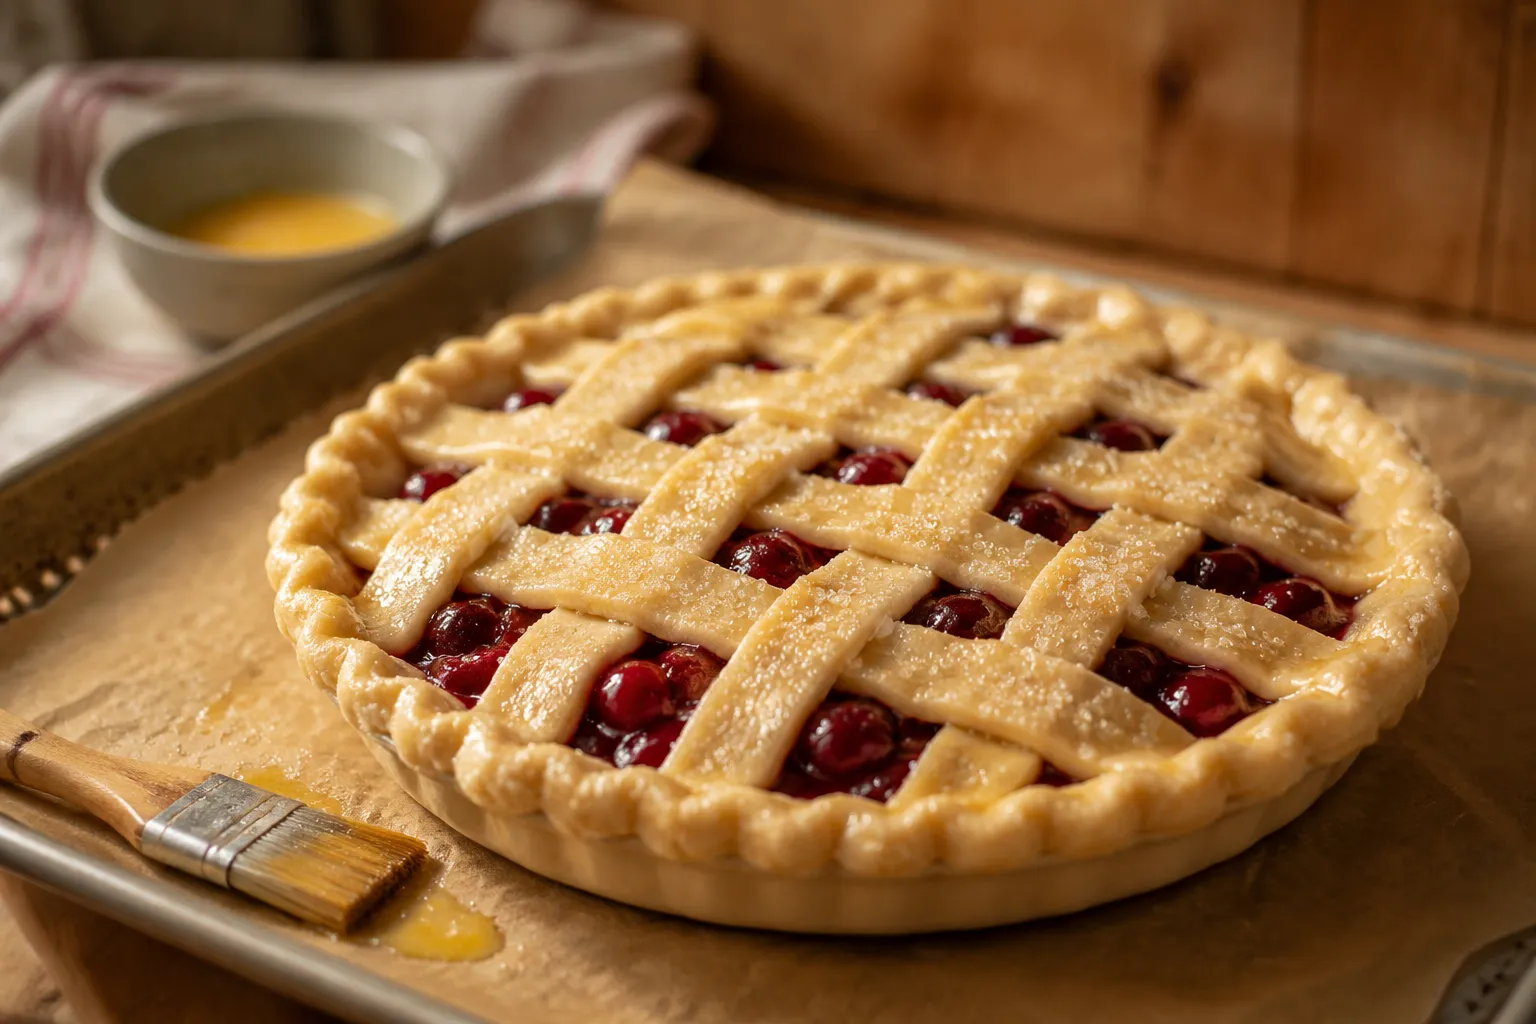
The pie is done when the crust is deeply golden and the filling is bubbling thickly in the center, not just around the edges. If the crust browns too quickly, loosely tent it with foil while the filling finishes. Then comes the hardest part: cooling the pie for several hours so the juices can set into clean, glossy slices.
This cherry pie recipe is flexible because the thickener and bake cues matter more than the exact form of the fruit. Fresh cherries give the most vibrant texture, with individual pieces of fruit that stay plump and distinct. They’re lovely when cherries are in season and you have a little time to pit them.
Frozen cherries are a smart year-round option and often have wonderful flavor. Use them straight from the freezer rather than thawing, and expect the pie to need a little more time in the oven. If the cherries are especially icy or release a lot of liquid, an extra tablespoon of cornstarch helps the filling set.
Canned cherries can work too, especially if they are water-packed or lightly sweetened rather than already suspended in heavy syrup. Drain them well and taste before adding the full amount of sugar. The texture will be softer than fresh or frozen, but the flavor can still be cozy and classic.
A lattice crust does more than look pretty; it lets steam escape so the filling can thicken instead of becoming watery beneath a sealed lid. The strips also create those irresistible pockets where cherry juices bubble up and caramelize against the pastry. For the most polished look, use a ruler or pastry wheel to cut even strips, but don’t worry if they’re not perfect—pie should always feel a little handmade.
Keep the dough cool as you work. If the strips become stretchy, soft, or shiny, slide them onto a baking sheet and chill for 10 minutes before weaving. Cold pastry is easier to handle and bakes into more defined layers, while warm pastry can slump and lose its shape.
After crimping, chill the assembled pie briefly while the oven finishes heating. That last cold rest helps the butter firm up again, which supports a beautifully flaky pie crust and sharper lattice definition. It’s a quiet little bakery trick that makes a big difference in the finished pie.
When the pie comes out of the oven, the filling will still be molten, even if it looks thick and glossy. Letting it cool at least 4 hours gives the cornstarch time to fully set and the fruit juices time to settle. Slice too early and you’ll have a delicious puddle; wait, and you’ll get that gorgeous wedge with cherries tucked neatly into every bite.
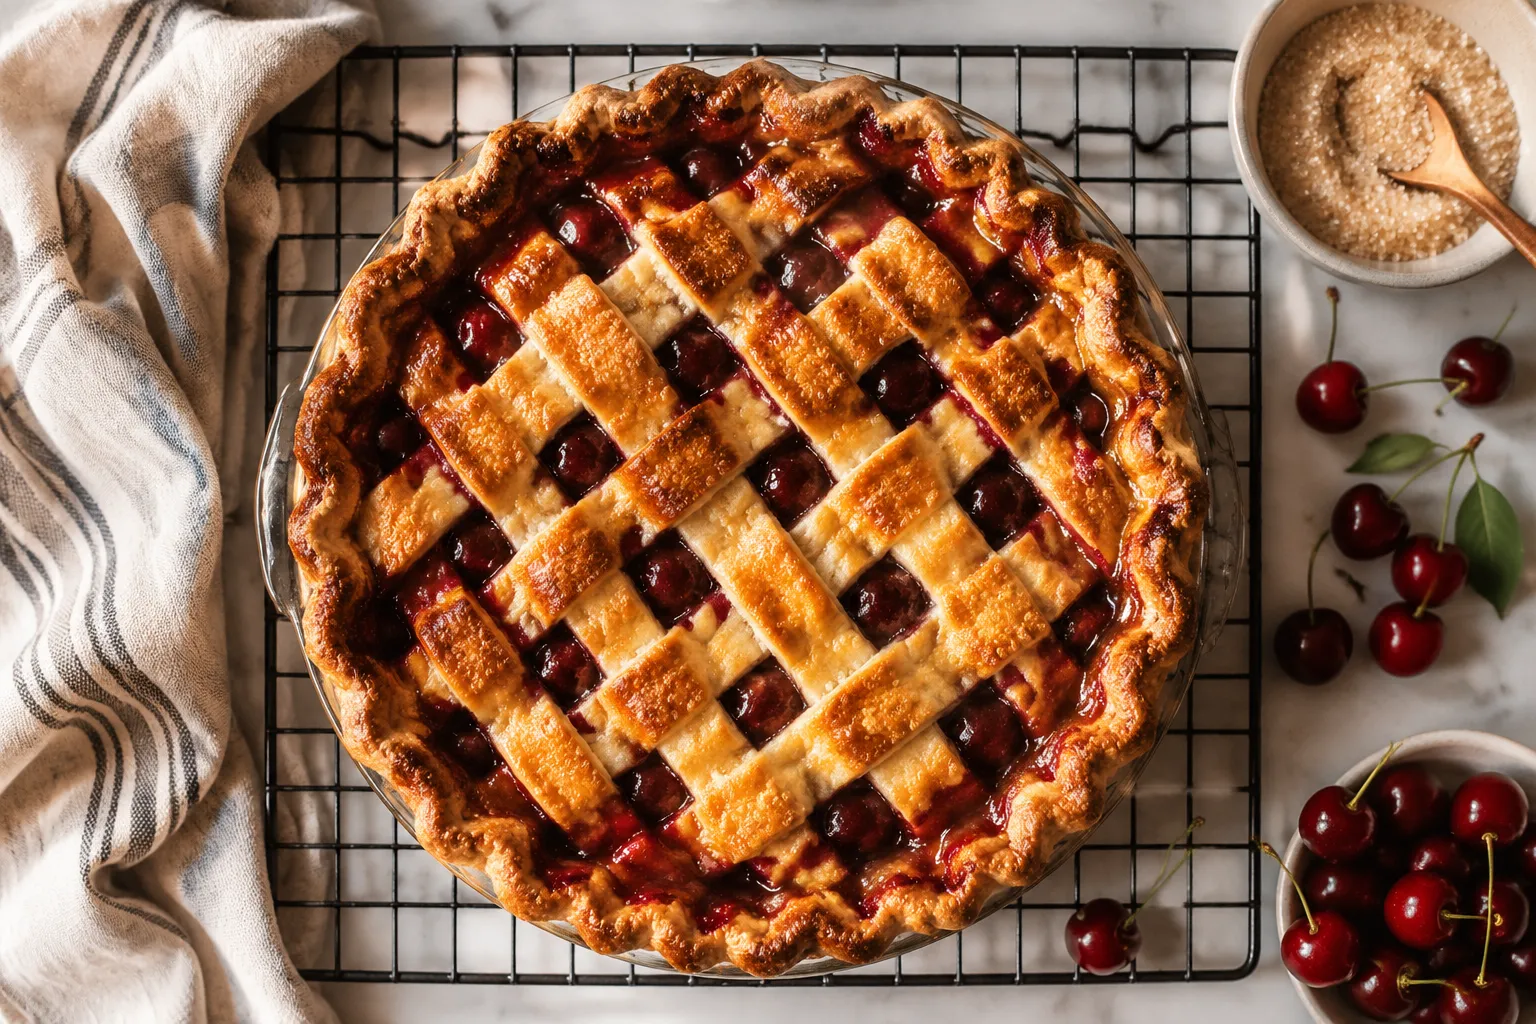
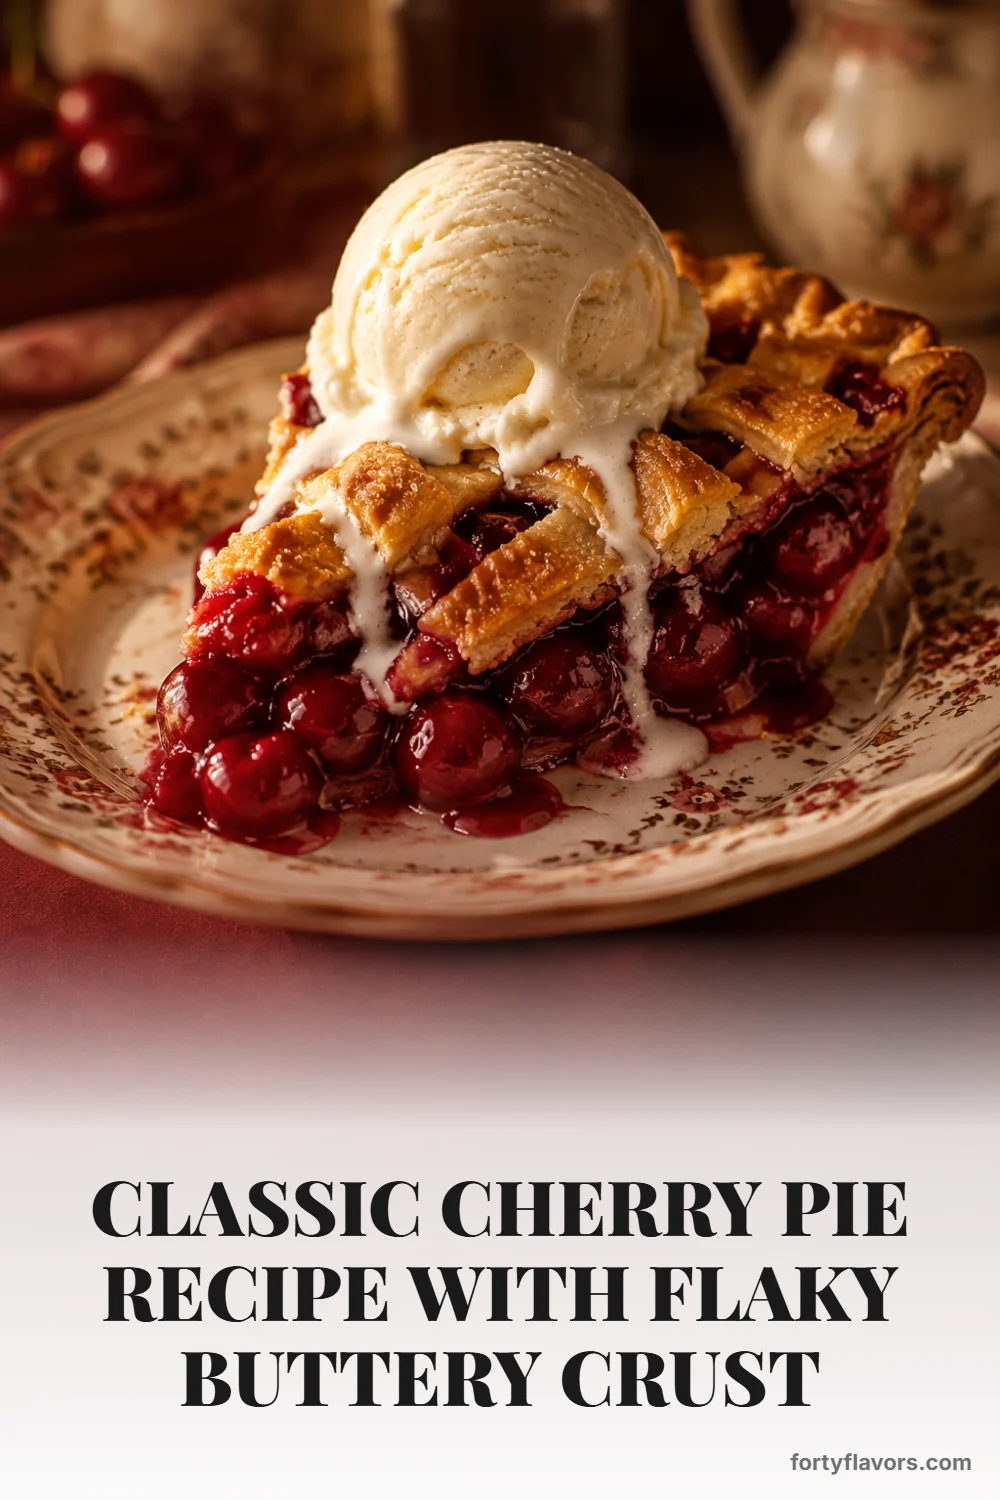
Serve the pie slightly warm or at room temperature, depending on your mood. A scoop of vanilla bean ice cream melting into the crust is classic for a reason, but softly whipped cream is lovely if you want something lighter. For a summer dessert spread, pair it with a strawberry pie recipe or little bowls of lemony blueberry pie filling spooned over biscuits.
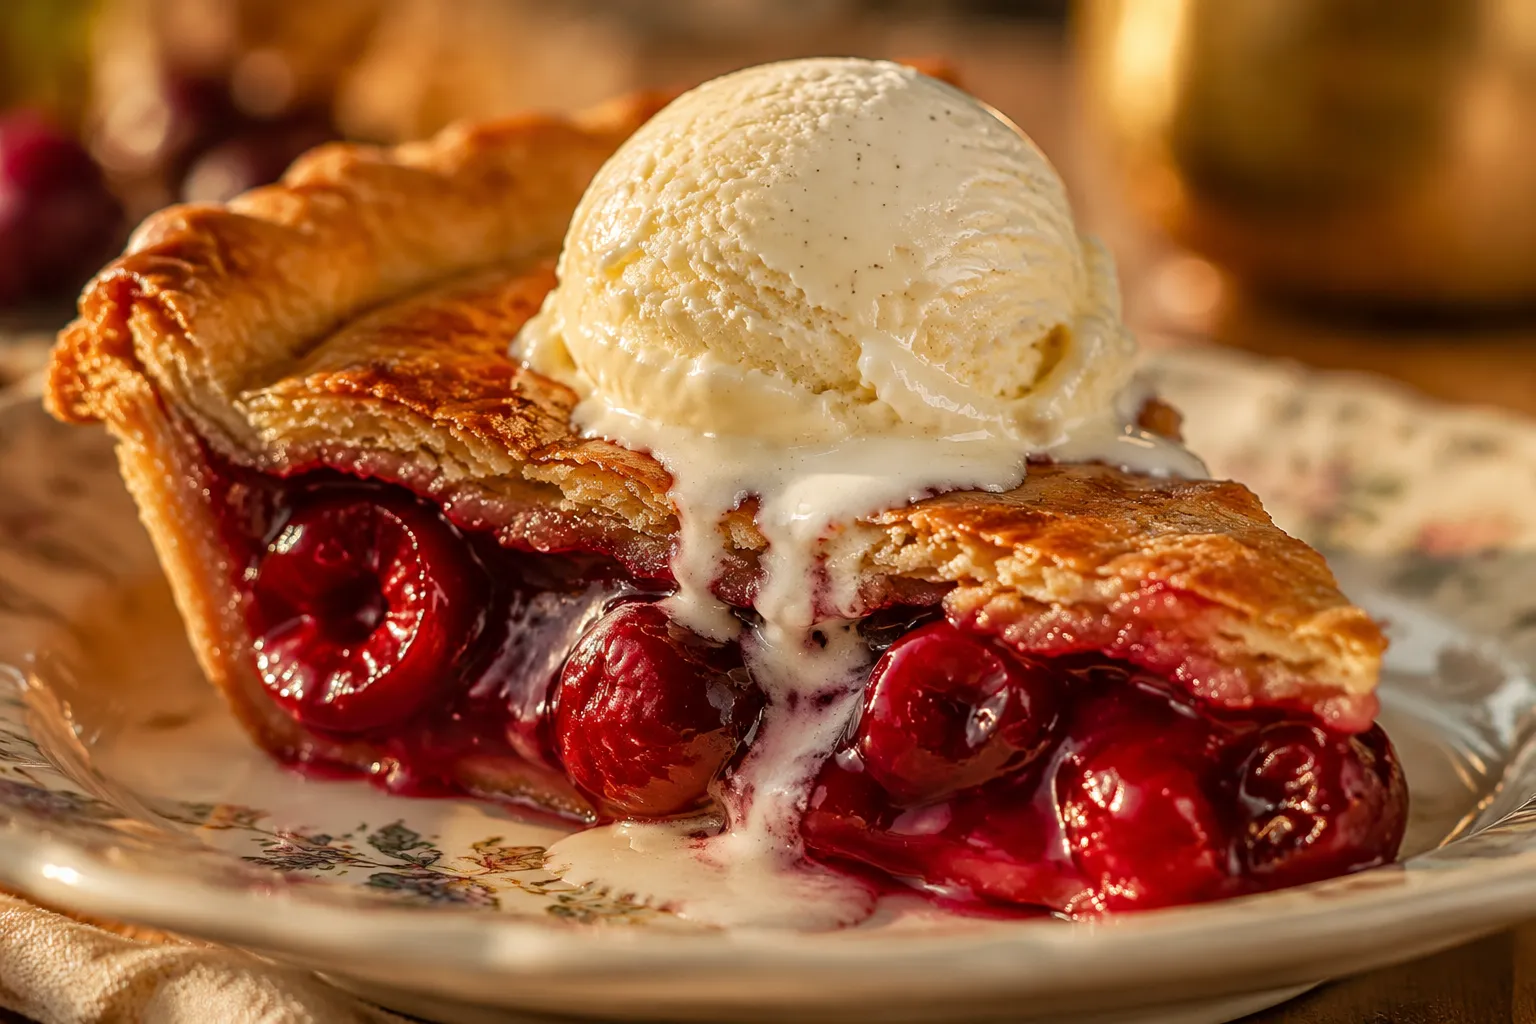
This pie also plays beautifully with coffee, black tea, or a glass of cold milk. The almond note in the filling makes it feel special without becoming fussy, and the buttery pastry keeps the fruit from tasting overly sweet. It’s the kind of dessert people wander back to for “just one more sliver.”
A homemade cherry pie is a natural centerpiece, but it also fits easily into a larger menu. For summer gatherings, serve it after grilled chicken, corn on the cob, and a big green salad. For holidays, it brings a bright pop of color and tart fruit flavor next to richer desserts like pecan pie, pumpkin pie, or chocolate cake.
If you are baking several desserts in one day, make the dough ahead and refrigerate it until you’re ready to roll. You can also mix the dry filling ingredients in advance, then toss them with the cherries when it’s time to assemble. Small bits of planning make this pie feel relaxed rather than rushed.
This cherry pie recipe is the kind of from-scratch bake that rewards patience: cold butter, bubbling filling, and a long cool-down all working together. Set it on the table whole if you can, because the golden lattice and ruby filling are half the joy. Then cut in, pass the plates, and let the quiet little moment of flaky crust and warm cherries do the talking.
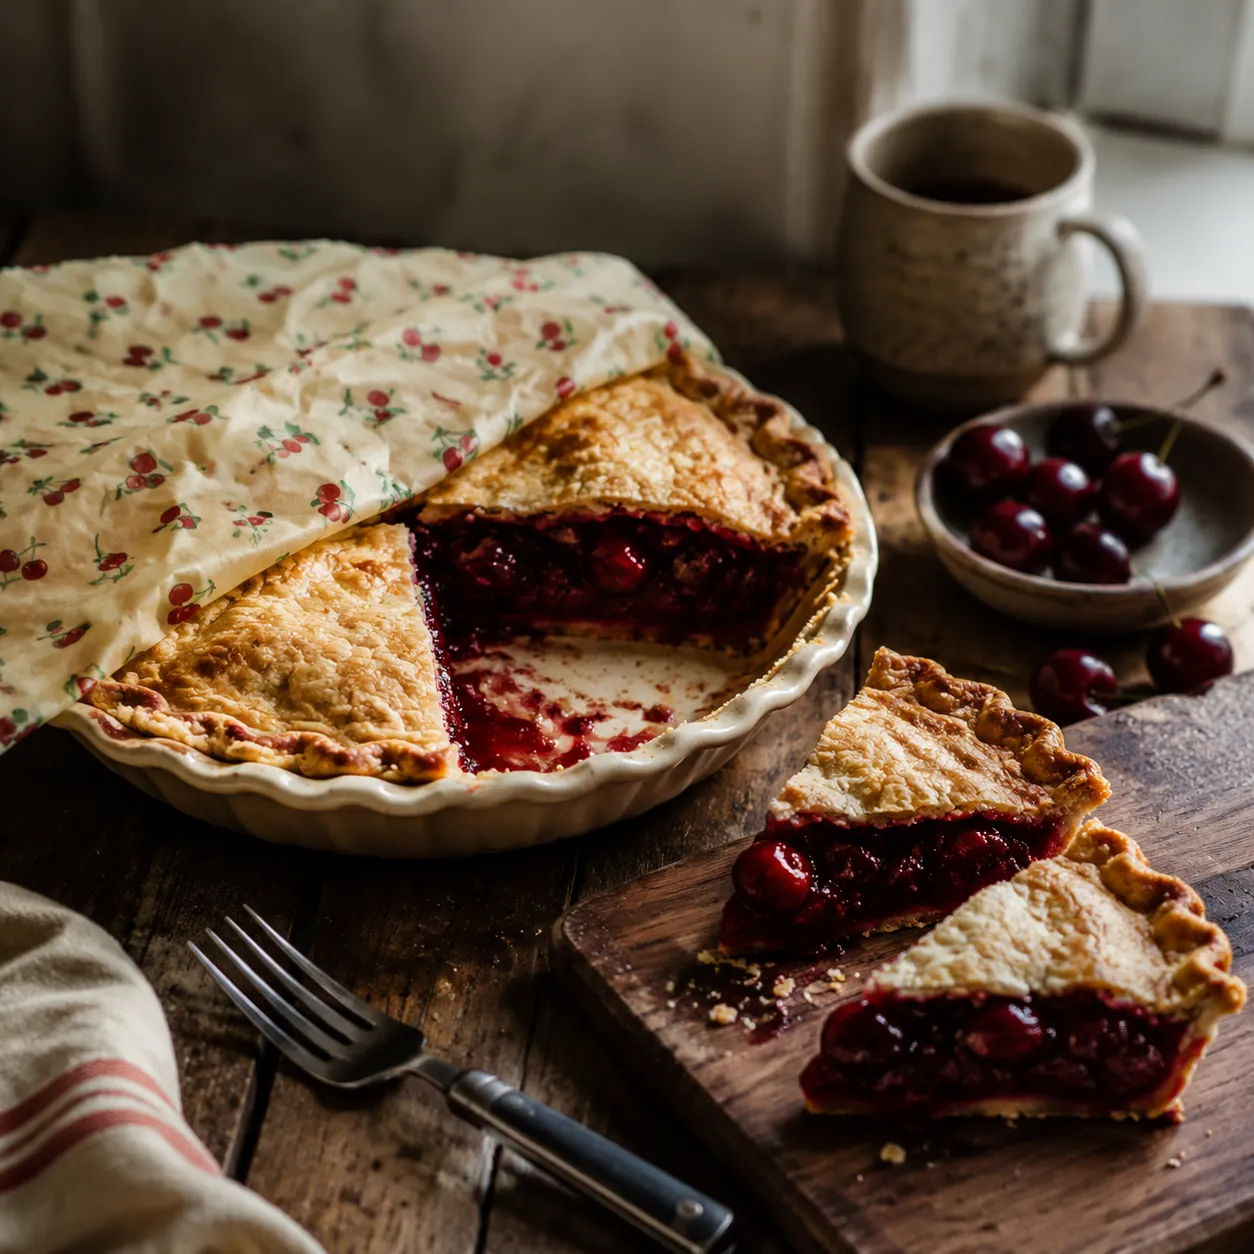
Store fully cooled cherry pie loosely covered at room temperature for up to 1 day. For longer storage, refrigerate it for up to 4 days; the crust will soften slightly, but the flavor stays wonderful.
To freeze, wrap a baked and cooled pie tightly and freeze for up to 3 months, or freeze the assembled unbaked pie until solid and bake from frozen. Reheat slices in a 325°F oven until warmed through to bring back some of that just-baked crispness.
Hover any image and hit “Pin it” to save it to your Pinterest boards.