Easy Peanut Butter Fudge: 4-Ingredient No-Bake Recipe
Ingredients
Scale
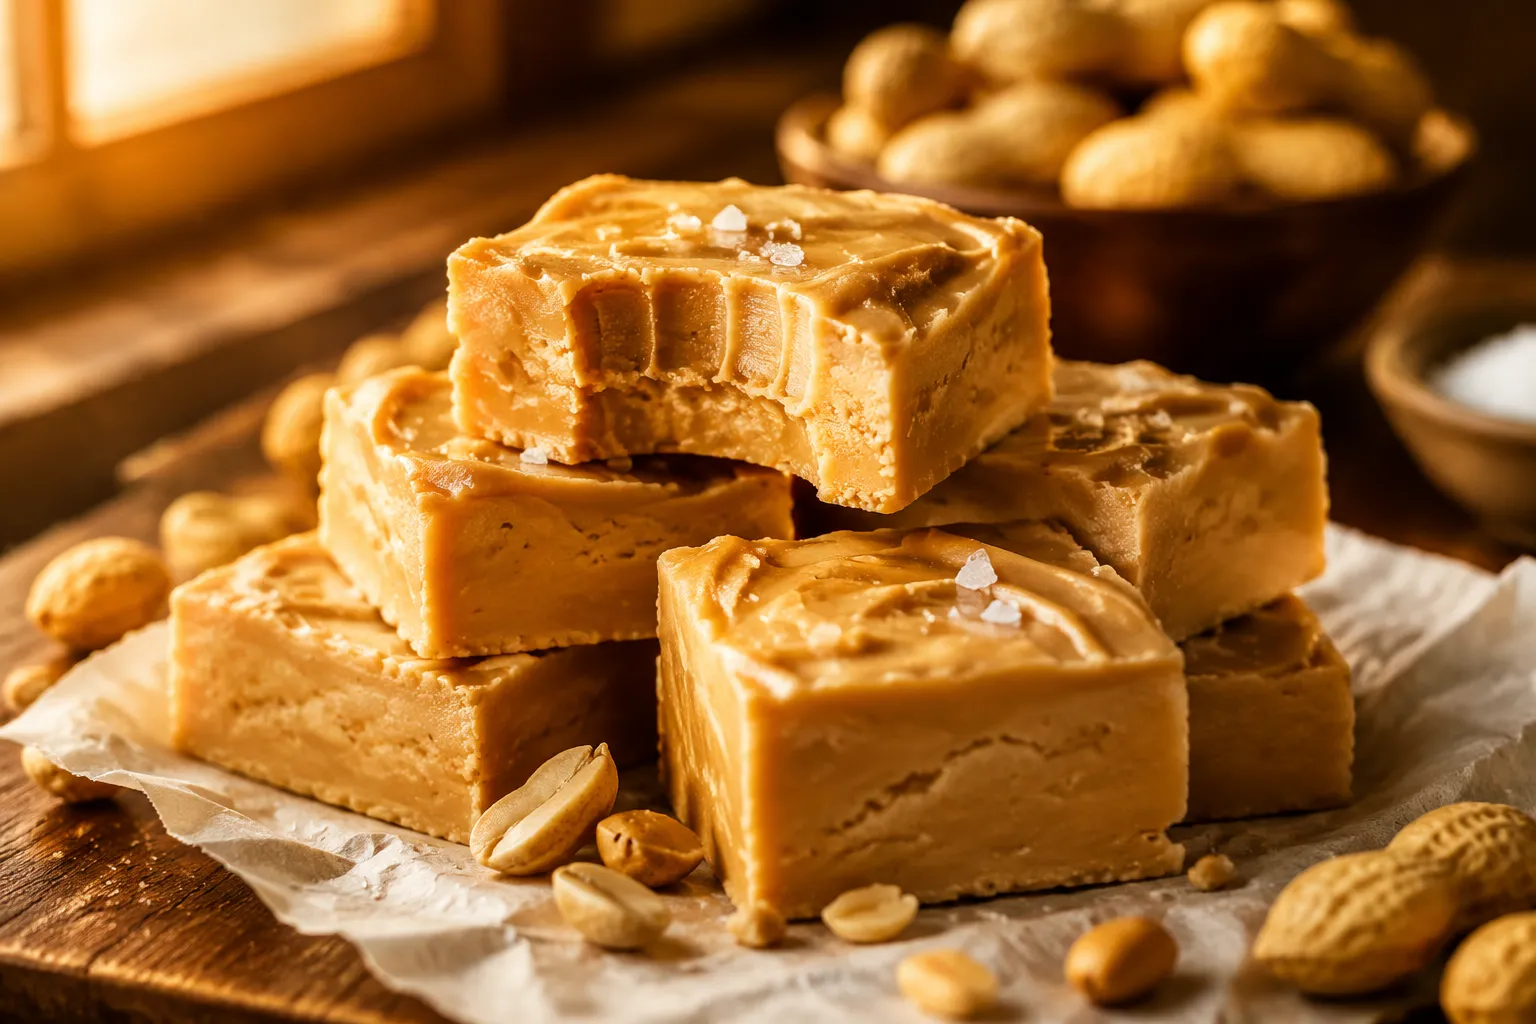
Creamy, dreamy peanut butter fudge made with 4 pantry staples in under 15 minutes — no candy thermometer, no fuss, just rich peanut butter perfection.
This easy peanut butter fudge is the kind of treat that disappears from the dessert tray before anything else even gets touched. Four pantry ingredients, no candy thermometer, no boiling sugar drama — just creamy, melt-in-your-mouth squares with that deep peanutty flavor that hits every comfort note at once. Whether you're rounding out a holiday cookie tray, packing gift tins, or just craving something sweet on a quiet Tuesday, this is the recipe I keep coming back to year after year.
I grew up watching my grandma make her stovetop version with a candy thermometer she eyed like a hawk, and while I love the ritual of that, most of us don't have an extra hour to babysit a sugar pot. This streamlined microwave method delivers the same dense, fudgy bite in under fifteen minutes of active time, with way more forgiveness built in. If you've ever ended up with grainy, dry, or oily fudge in the past, this version fixes all three problems by skipping the cooked candy method entirely.
What I really love is how flexible the base is. Once you've nailed the technique, you can swirl in melted chocolate, fold in chopped peanuts, sprinkle with flaky sea salt, or layer it with caramel. It's earned a permanent spot in my rotation of no-bake desserts, right next to peanut butter cookies and chewy chocolate chip blondies for when company drops by unannounced.
The beauty of a good 4-ingredient fudge is in what it leaves out. No thermometer, no soft-ball stage, no anxious stirring while you wait for a temperature to climb. Powdered sugar does the heavy lifting here, giving the fudge its smooth set without any cooked-sugar science. Melted butter and creamy peanut butter form the rich base, and a splash of vanilla rounds out the flavor. The microwave gets things warm enough to fully dissolve the sugar, which is the real secret to a satin-smooth bite without a hint of grit.
Texture-wise, expect something denser and more candy-shop than a frosting square — firm enough to slice cleanly, but soft enough to yield the second it hits your tongue. The peanut butter flavor sits front and center without being one-note, and a final pinch of flaky salt keeps the sweetness in check. If you've made tahini fudge or cookie butter fudge before, the method is nearly identical, which means once you've got this technique down you can riff on it endlessly.
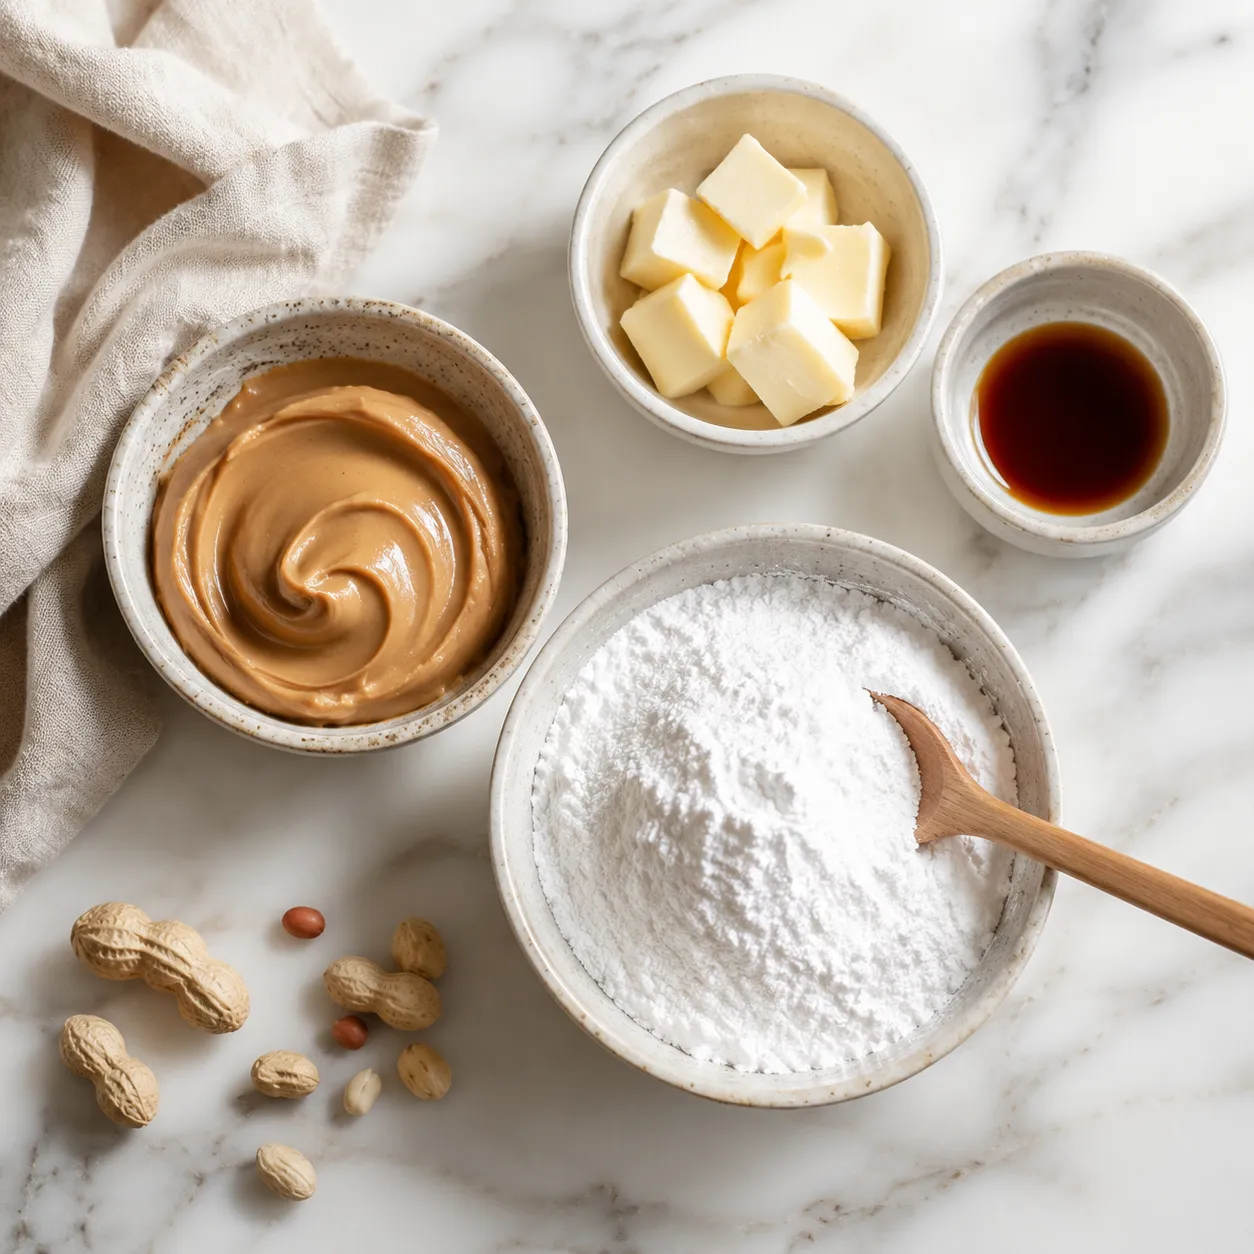
Before we get to the method, let's talk about why each ingredient matters — because with only four of them, there's nowhere for a poor substitution to hide. Pull everything out and have it measured before you start; the actual mixing moves quickly and you don't want to be hunting for the vanilla mid-stir.
This is the one ingredient where I'd push back gently against the "natural is always better" instinct. For this no-bake fudge, conventional creamy peanut butter — Jif, Skippy, the classic shelf-stable kind — gives the most reliable result. It's emulsified, meaning the oil and solids stay blended, which translates to fudge that sets up firm and slices cleanly. Natural peanut butter, the kind you stir before each use, has a tendency to weep oil and produce a crumbly or greasy texture, especially after a day or two. Save the good stir-it-yourself jar for morning toast and use the standard stuff here.
Unsalted butter lets you control the salt level, and you'll want to use real dairy butter, not margarine or a vegan spread — those have too much water content and won't set the same way. As for powdered sugar (also called confectioners' sugar or 10X), it's the structural backbone of the recipe. The cornstarch in it helps the fudge set up firm, and the fine grind dissolves into warm butter without crystallizing. Do not swap in granulated sugar; you'll end up with sandy, gritty fudge that never quite comes together.
A teaspoon of vanilla extract might feel like a small detail, but it does serious work, deepening the peanut butter flavor and rounding out the sweetness. Use pure vanilla if you have it — imitation works in a pinch but tastes flatter and more chemical. If you want to push the flavor further, half a teaspoon of vanilla bean paste or even a tiny splash of bourbon turns this into something that tastes far more sophisticated than a four-ingredient recipe has any right to.
The whole process comes together in three quick stages: melt, mix, press. Total active time is about ten minutes, and the only patience required is the chill at the end. Read through once before you start so you're not scrambling for the powdered sugar with sticky hands.
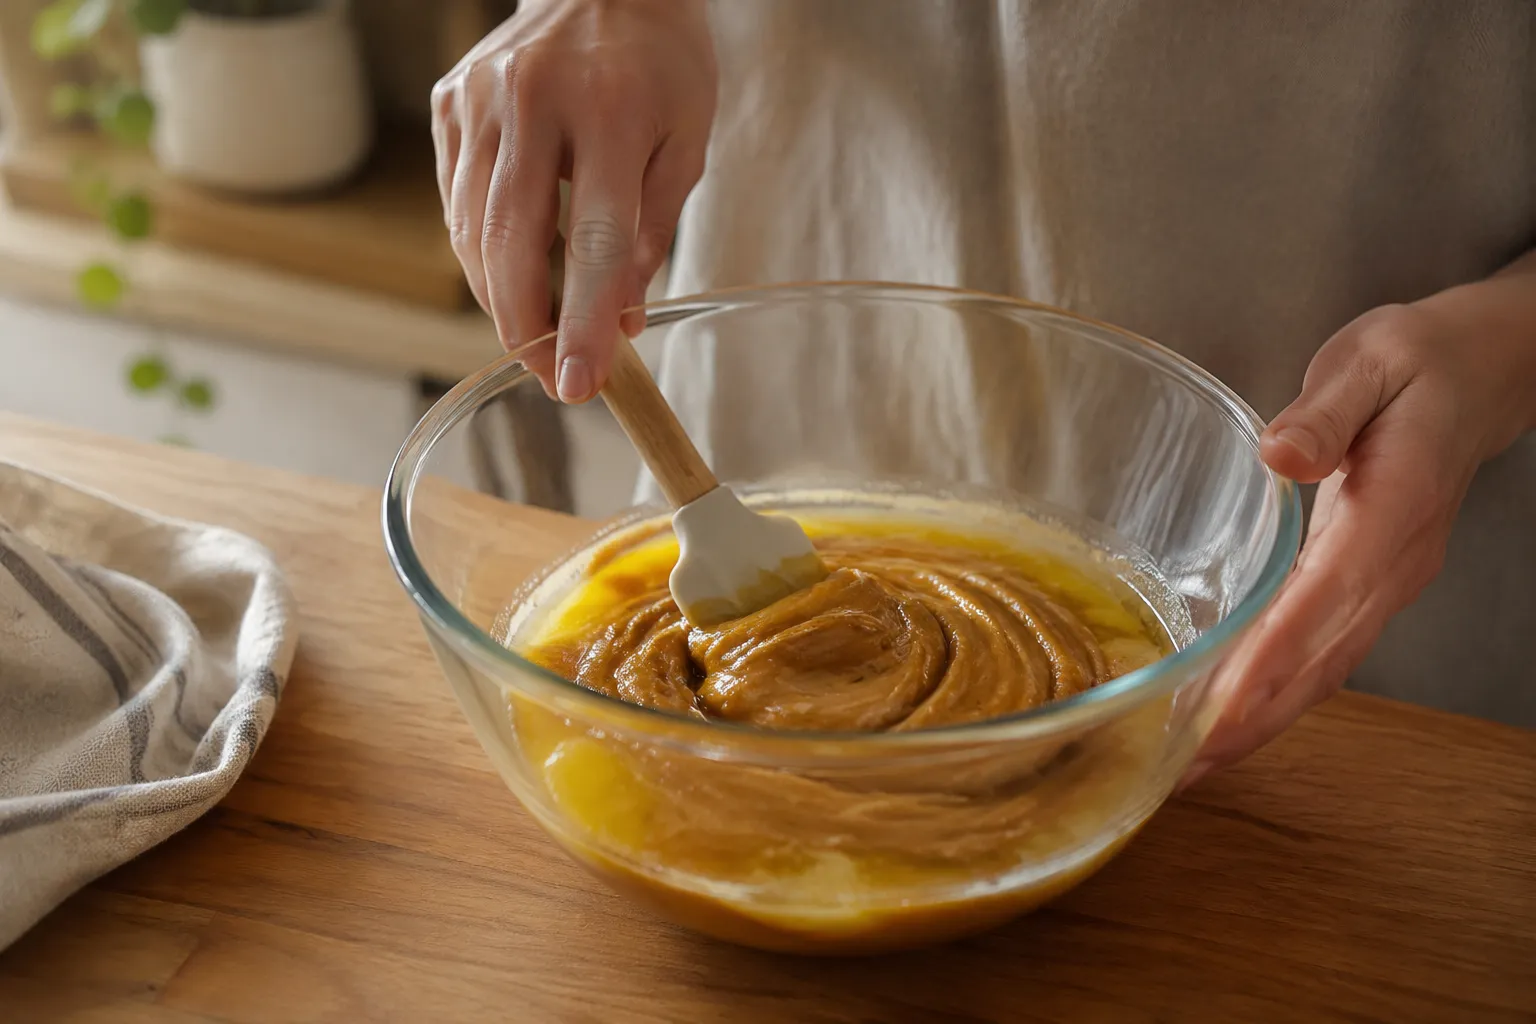
Combine the butter and creamy peanut butter in a large microwave-safe glass bowl and heat in 30-second bursts, stirring between each, until everything is glossy and pourable. You want the mixture warm and fluid, not bubbling — overheating can split the peanut butter and cause an oil slick on the surface. A clear glass bowl helps you see exactly what's happening as you stir, which is a small thing that makes a big difference.
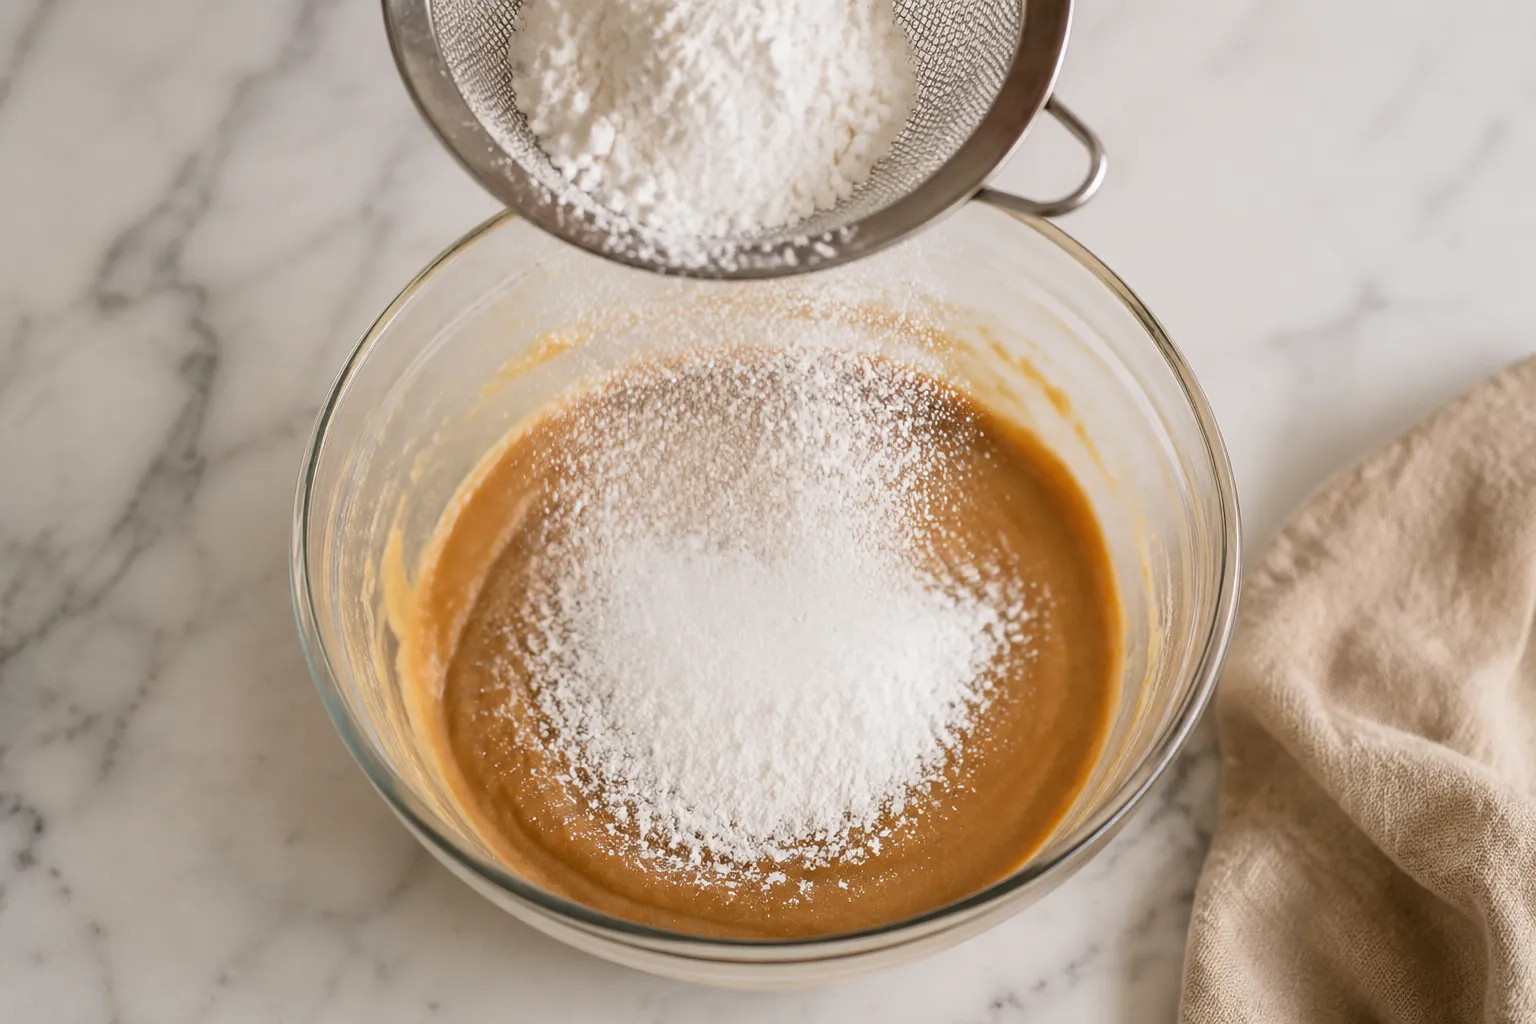
Stir in the vanilla, then sift the powdered sugar over the warm mixture in two batches, beating vigorously with a sturdy spatula after each addition. Sifting matters here — clumps of powdered sugar are the number one cause of grainy fudge, and they're nearly impossible to break up once the mixture starts to stiffen. The base will go from loose and shiny to thick, dough-like, and slightly tacky as the sugar hydrates. That's exactly the consistency you're looking for before pressing.
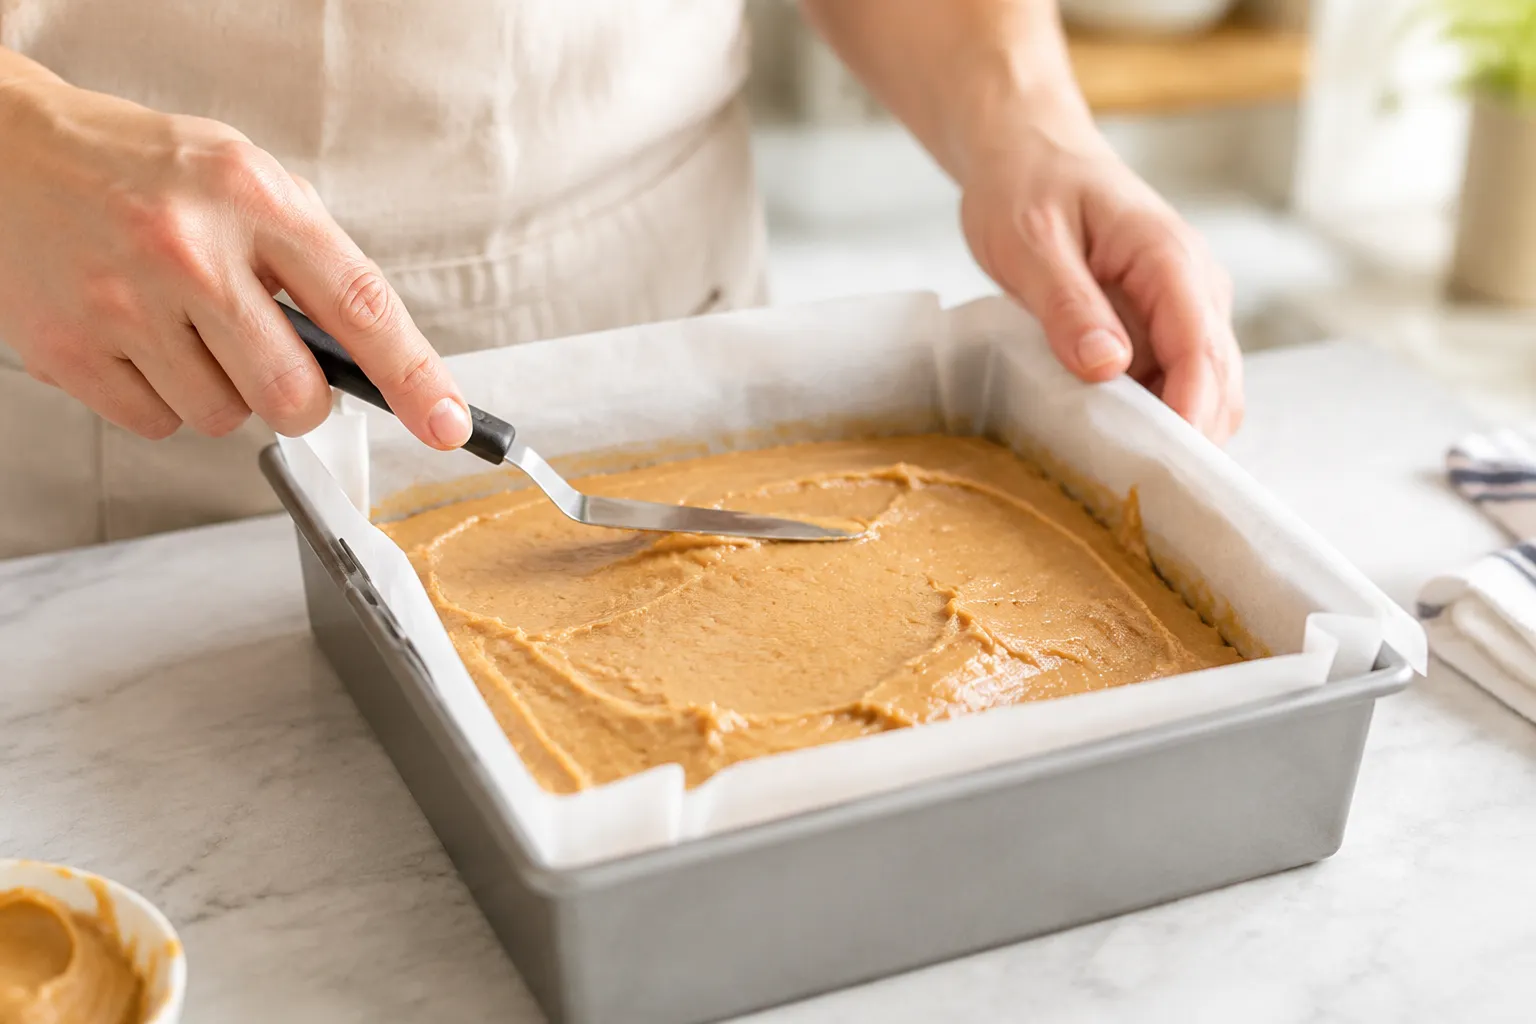
Scrape the mixture into a parchment-lined 8x8-inch pan, leaving a couple of inches of overhang on two sides for easy lifting later. Press it firmly with an offset spatula or the flat back of a measuring cup — really compact it, because pressing is what gives you those clean, sharp edges later instead of a crumbly mess. Refrigerate for at least two hours, or until completely firm, then lift the slab out by the parchment and cut into 24 squares with a sharp knife. Wipe the blade clean between cuts for picture-perfect edges.
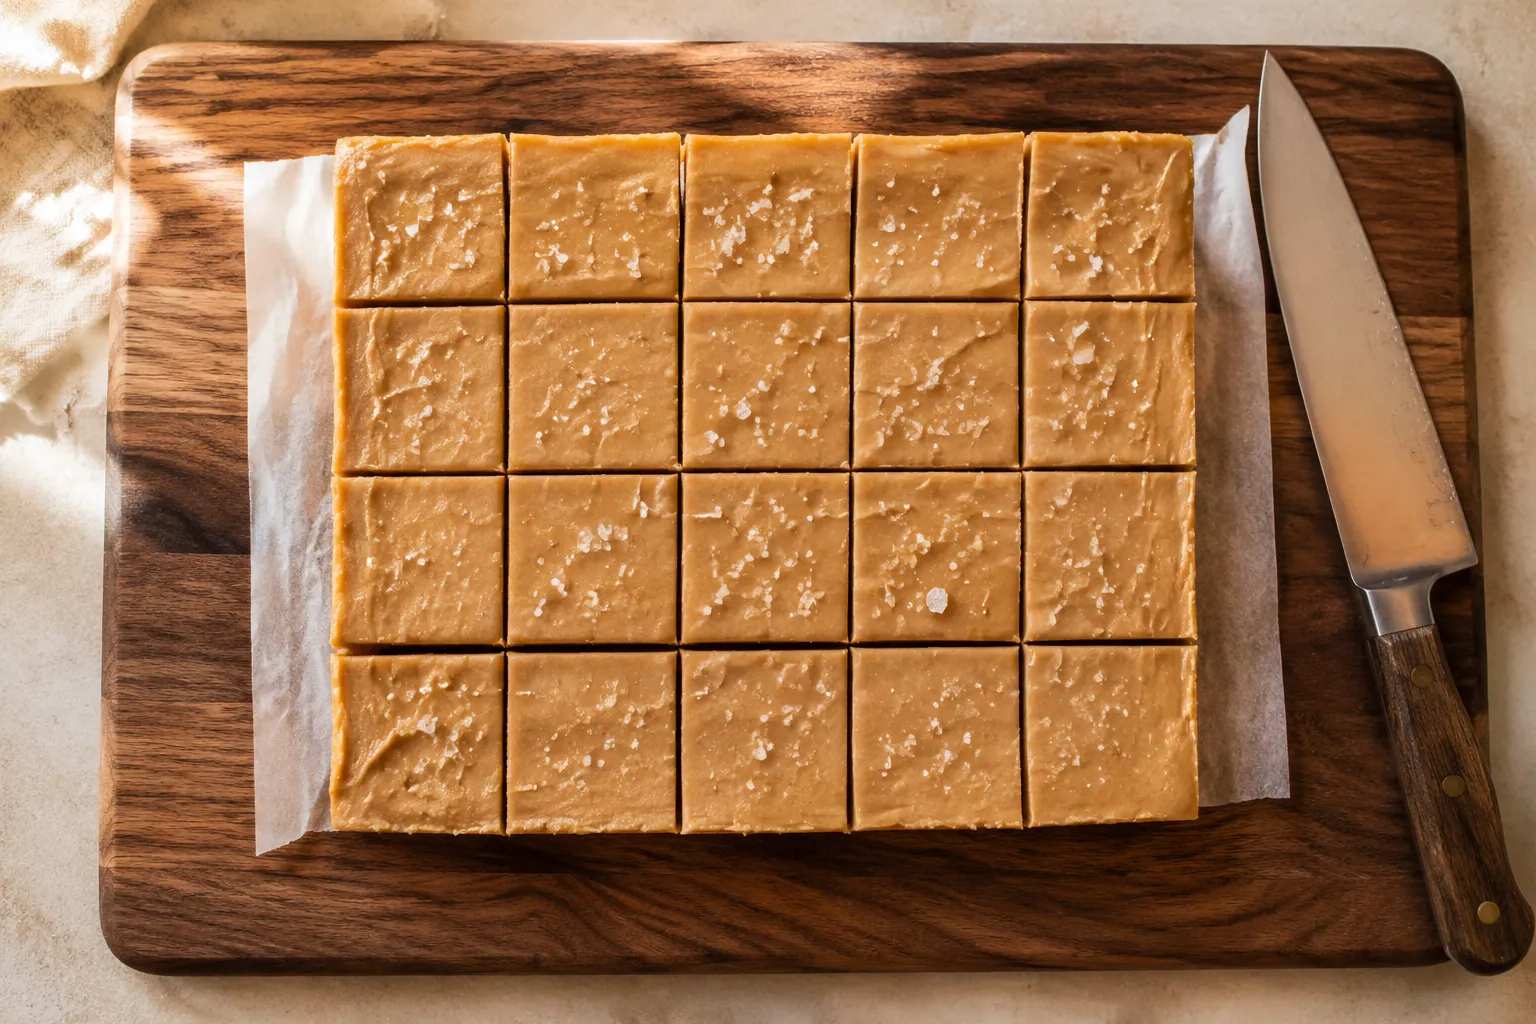
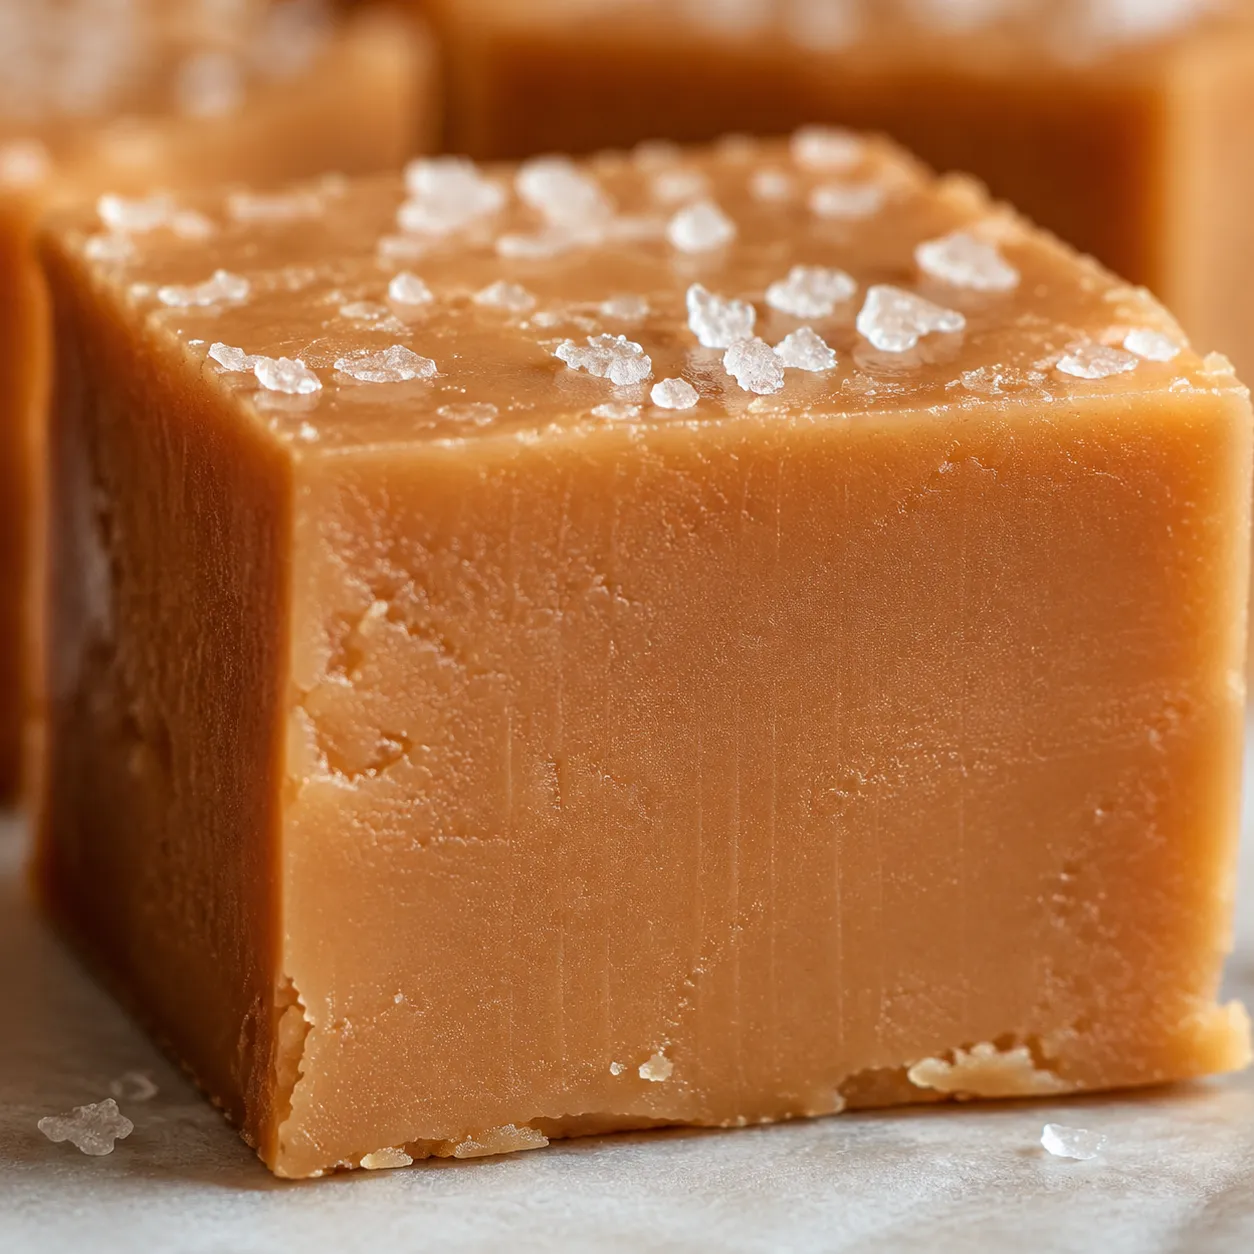
Once cut, these squares are ready to eat straight from the cutting board, though I think the texture peaks after sitting at room temperature for about ten minutes — that's when the firm-from-the-fridge feel softens into the signature melt-in-your-mouth bite. Serve a few alongside espresso after dinner, tuck them into lunchboxes, or crumble pieces over vanilla ice cream for an instant sundae. They also pair beautifully with a cold glass of milk, in the most unironic possible way.
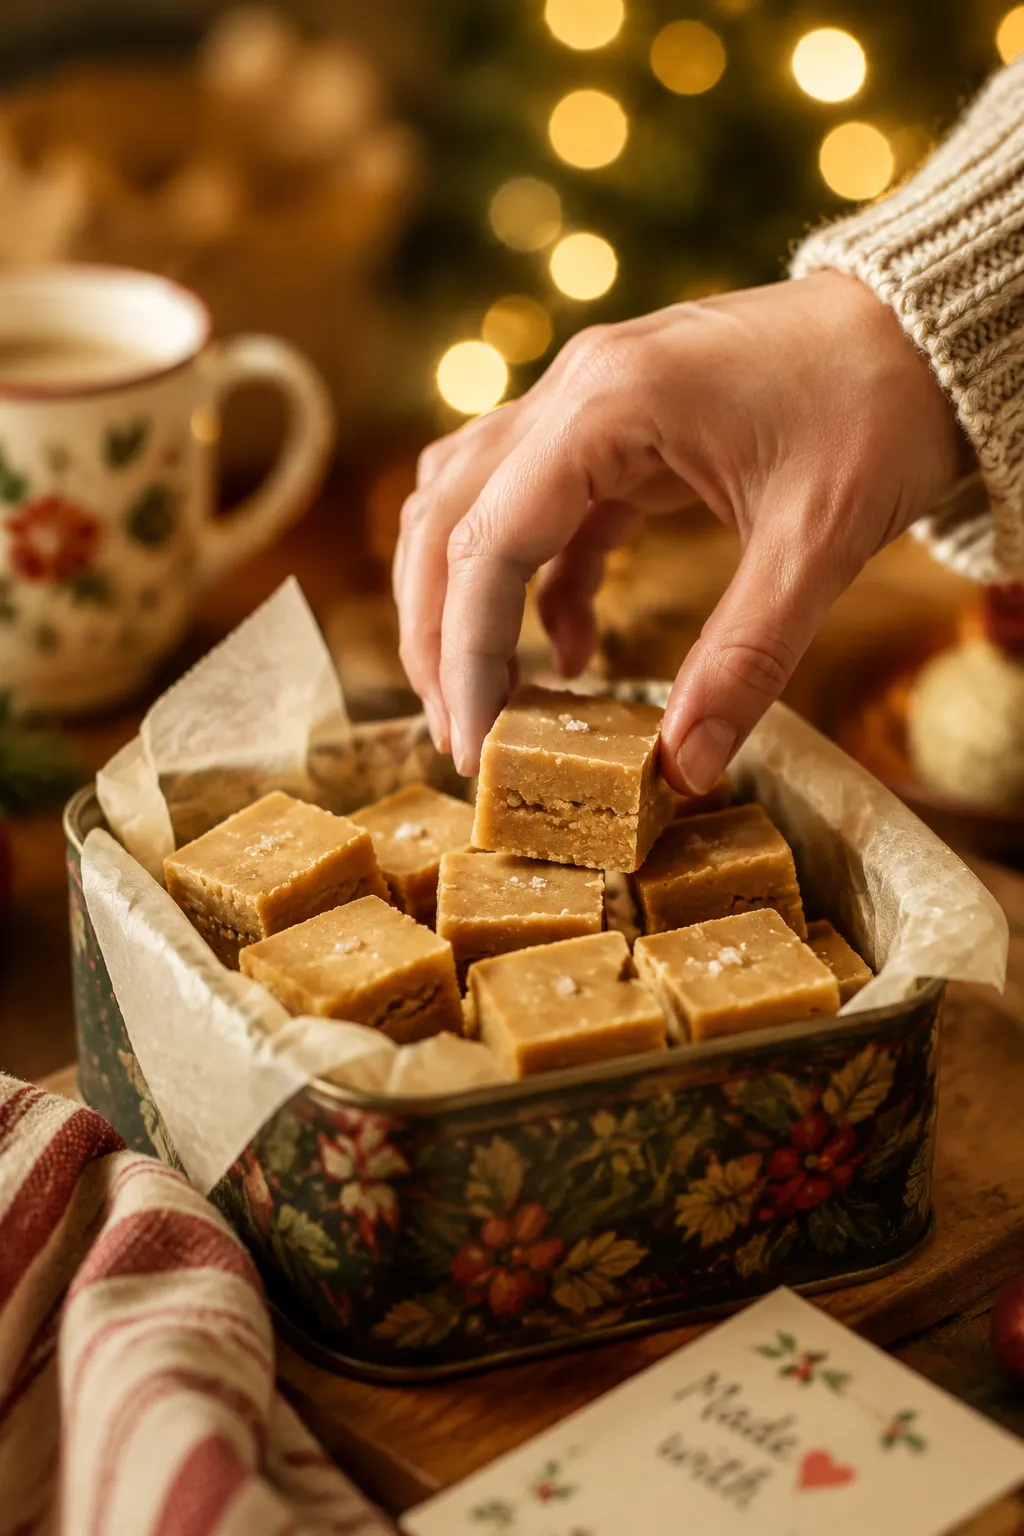
This is one of my favorite homemade fudge recipe contributions to a cookie swap or gift basket because it travels well, looks stunning stacked in a tin, and feels far more thoughtful than store-bought candy. For holiday dessert ideas that don't require firing up the oven on a busy December day, this peanut butter fudge sits at the top of my list, right alongside truffles and chocolate bark. Tuck a few squares between layers of parchment in a pretty mason jar, tie on a length of twine and a sprig of rosemary, and you've got a gift that anyone with a sweet tooth will love.
Make-ahead is where this recipe really shines. You can prep a batch up to a week before you need it, store it covered in the fridge, and slice fresh just before serving. If you want to dress it up for company, try a chocolate peanut butter fudge swirl by spooning melted chocolate over the pressed slab and dragging a knife through it before chilling — it's the same easy peanut butter fudge base, just with a little extra outfit on for the holidays.
Once you've made this peanut butter fudge once, I'd bet good money it earns a regular spot in your kitchen. It's the kind of recipe that pulls its weight: easy enough for a weeknight craving, polished enough for a party, and forgiving enough for kids to help with start to finish. Save the recipe card below, screenshot the ingredient list for your next grocery run, and let me know in the comments how you ended up customizing your batch — I'm always game for new variations.
The base recipe is a blank canvas, and a small tweak completely changes the personality of your fudge. Once you've made it straight a time or two, try one of these riffs to keep things interesting through the holidays and beyond:
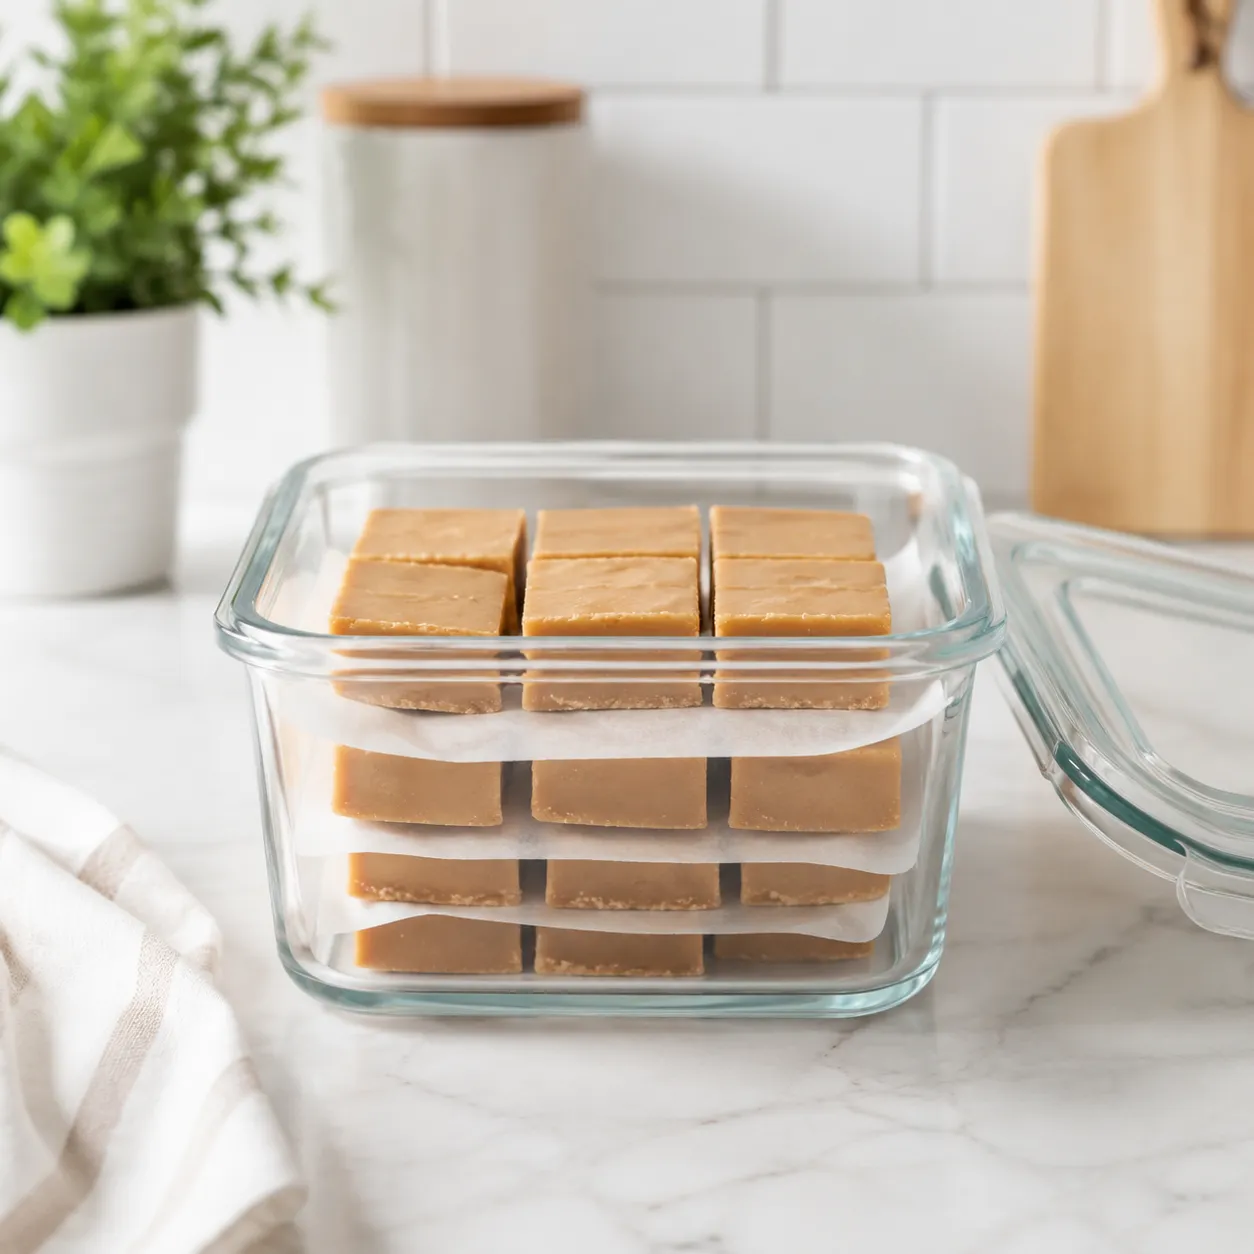
Store leftover fudge in an airtight container in the refrigerator, with parchment or wax paper between layers to keep the squares from sticking together. It will keep beautifully for up to 2 weeks, though in my house it never lasts more than a few days. Pull pieces out about 10 minutes before serving so they soften back to that perfect creamy texture — straight from the fridge, the squares are a little firmer than they should be.
For longer storage, this fudge freezes like a dream. Wrap individual squares in plastic wrap, then transfer to a freezer-safe zip-top bag or container, and they'll keep for up to 3 months without any loss in quality. Thaw overnight in the fridge, or let sit at room temperature for a couple of hours before serving. This makes it ideal to prep ahead during the holiday rush so you're not scrambling on the day of your cookie swap or family gift exchange.