Fishtail Braid Tutorial: Easy Step-by-Step Guide
Ingredients
Scale

The fishtail braid looks intricate but is surprisingly simple once you learn the two-strand trick. Here's exactly how to do it yourself.
The fishtail braid is one of those hairstyles that always looks like it took an hour and a salon visit, even though it really doesn't. If you can split your hair down the middle and pinch tiny strands, you already have ninety percent of the skill set required. This fishtail braid tutorial walks you through the whole technique — from prep through that final boho pull-apart — in a way that finally makes the motion click, even if you've fumbled with it before.
I've been wearing this style for years on lazy weekends, road trips, brunches, and exactly one outdoor wedding where my fancy updo decided it was done by minute thirty. It's earned a permanent spot in my rotation of easy braided hairstyles because it photographs beautifully, holds up through wind, and only takes about fifteen minutes once you've done it a couple of times. Best of all, it works on second-day hair — actually, it prefers it.
Below you'll find the full method, the tools that make it foolproof, the small texture tricks pros use, and a few styling spins so the look never feels repetitive.
The technique is a woven plait built from just two sections of hair instead of the standard three. The name comes from the chevron-like V-pattern it creates as you go, which really does resemble the spine of a fish — or a herringbone weave, if you're a sewing person. It looks complicated because the woven texture is so dense and detailed, but the motion you're repeating is actually simpler than a classic French braid. You're only ever moving one tiny strand at a time.
In a traditional braid, you cross three sections over each other in a left-middle-right pattern. A two-strand braid uses only two larger sections, and you build the woven look by pulling thin strands from the outside of one section and crossing them to the inside of the other. The result is much more textured, because you're using ten or twelve crossovers per inch instead of three or four. That density is what gives the finished plait its intricate, salon-quality look — even when your technique is still a little rough around the edges.
The trick most beginners miss is that the motion never changes. You aren't switching directions, alternating grips, or counting strands. You take a small piece from the outside of the right section and move it to the inside of the left. Then you take a small piece from the outside of the left and move it to the inside of the right. That's the entire technique, repeated until you run out of hair. Once your hands learn the rhythm, it becomes meditative — the kind of thing you can do while half-watching a show.
You don't need any specialty hair tools for this, which is part of the appeal. A handful of basics handles the whole job, and most of them are probably already sitting in your bathroom drawer.
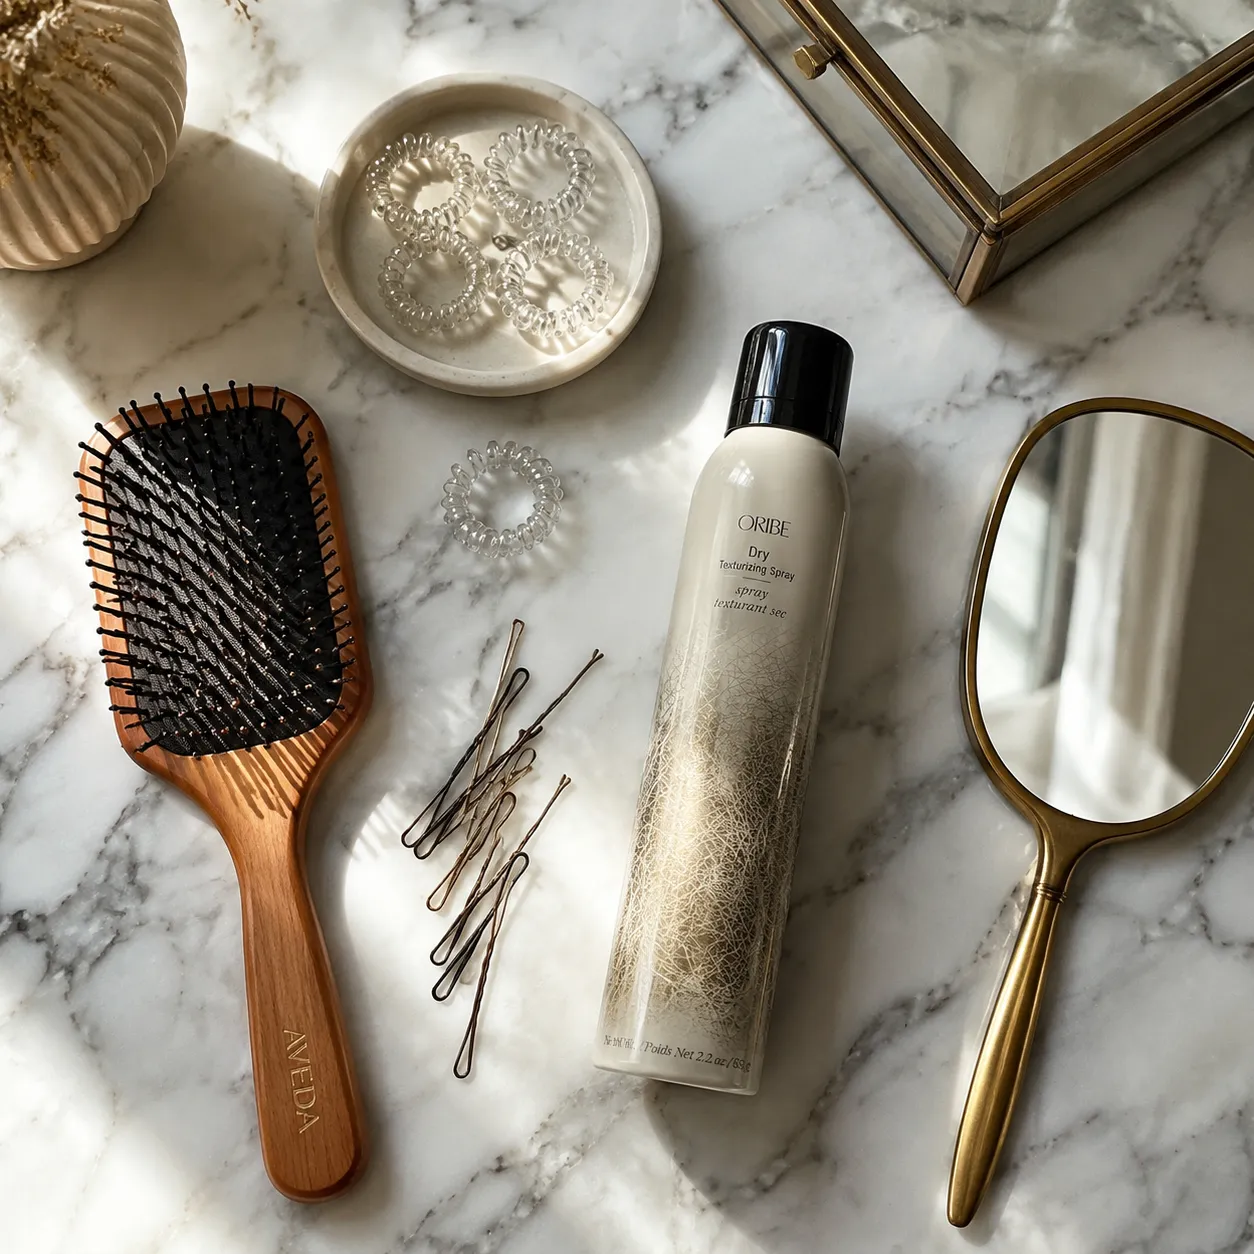
Grab a paddle brush for detangling, a clear elastic hair tie (or two, if you want to anchor the top), a small handful of bobby pins for shorter face-framing layers, and a can of texture spray or dry shampoo. A light-hold hairspray at the end keeps everything in place without going crunchy. If your hair is poker-straight or freshly washed, the texture spray is non-negotiable — slippery hair will not hold the weave no matter how careful your technique is.
Shoulder length is the realistic minimum, because you need enough length below the elastic to actually weave a few inches of pattern. Mid-back to waist-length hair is the dream, since the woven texture really shows off on a longer canvas. All hair types work — wavy and curly hair often looks the most beautiful because the natural texture makes the braid extra dimensional. Fine, straight hair benefits hugely from a pre-braid spritz of texture spray for grip.
Here's the full step-by-step walkthrough. Read through it once before you start so the rhythm makes sense in your hands. The whole thing should take about ten minutes from clean part to finished tail once you're comfortable with the motion.
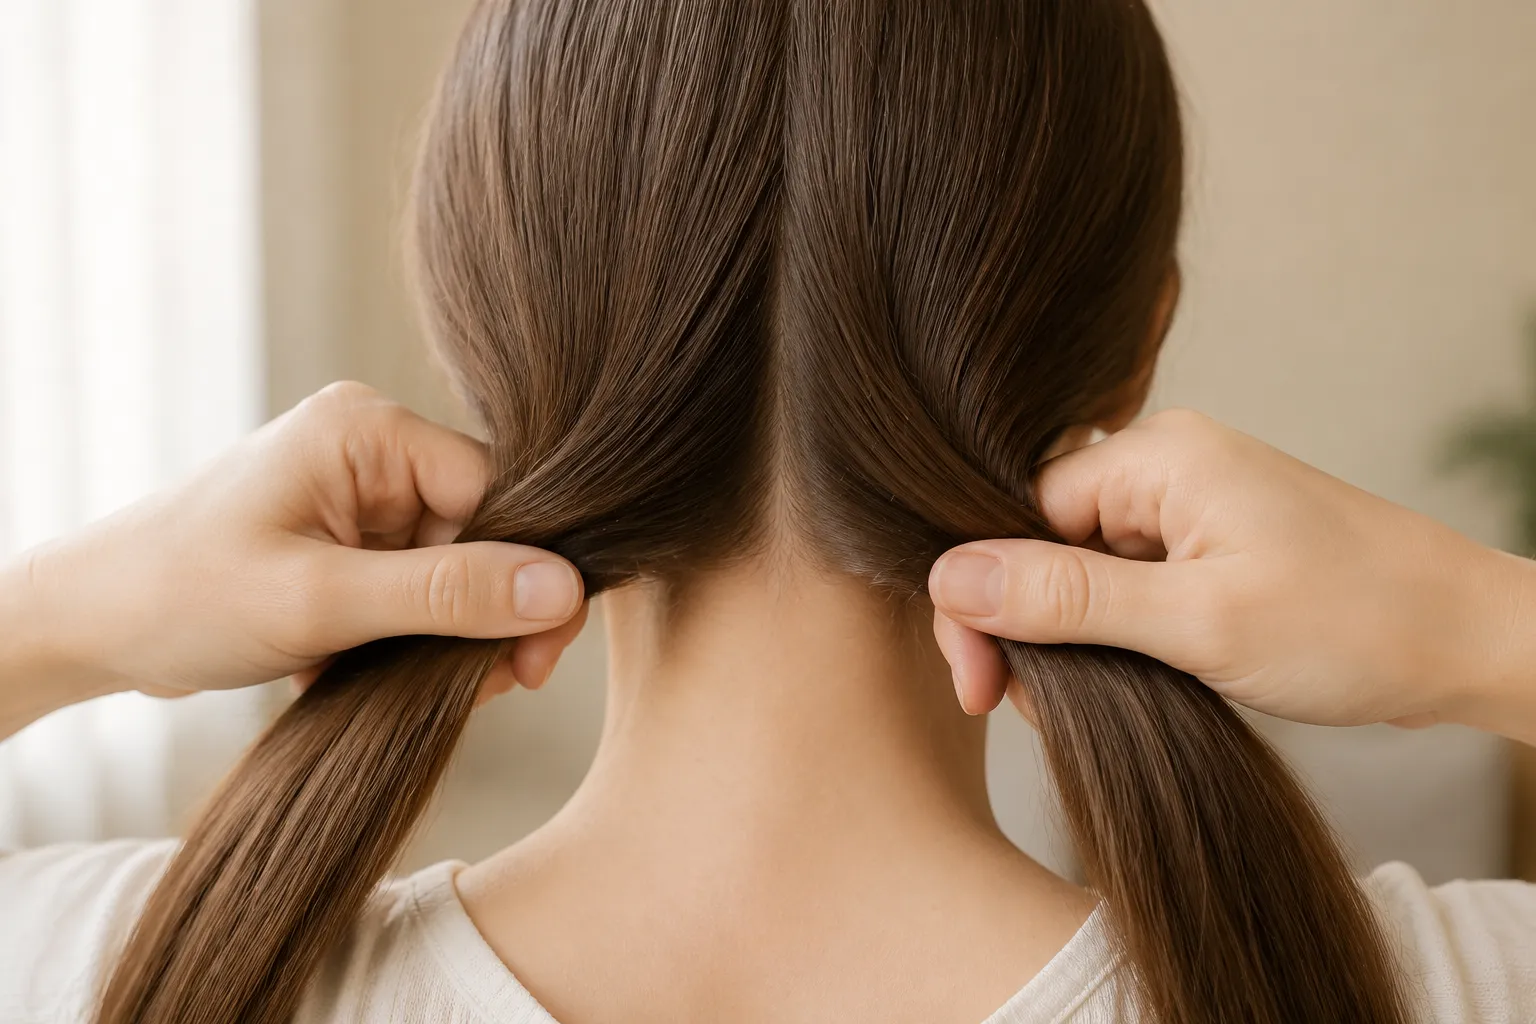
Start with brushed-out, slightly textured hair — day-two is ideal, but a quick mist of texture spray gets clean hair there in seconds. Decide whether you want a center braid down the back or one swept over a shoulder, and gather all your hair into that position. Now split the ponytail into exactly two equal sections. That's it — no subdividing, no middle strand. Just two halves, one in each hand.
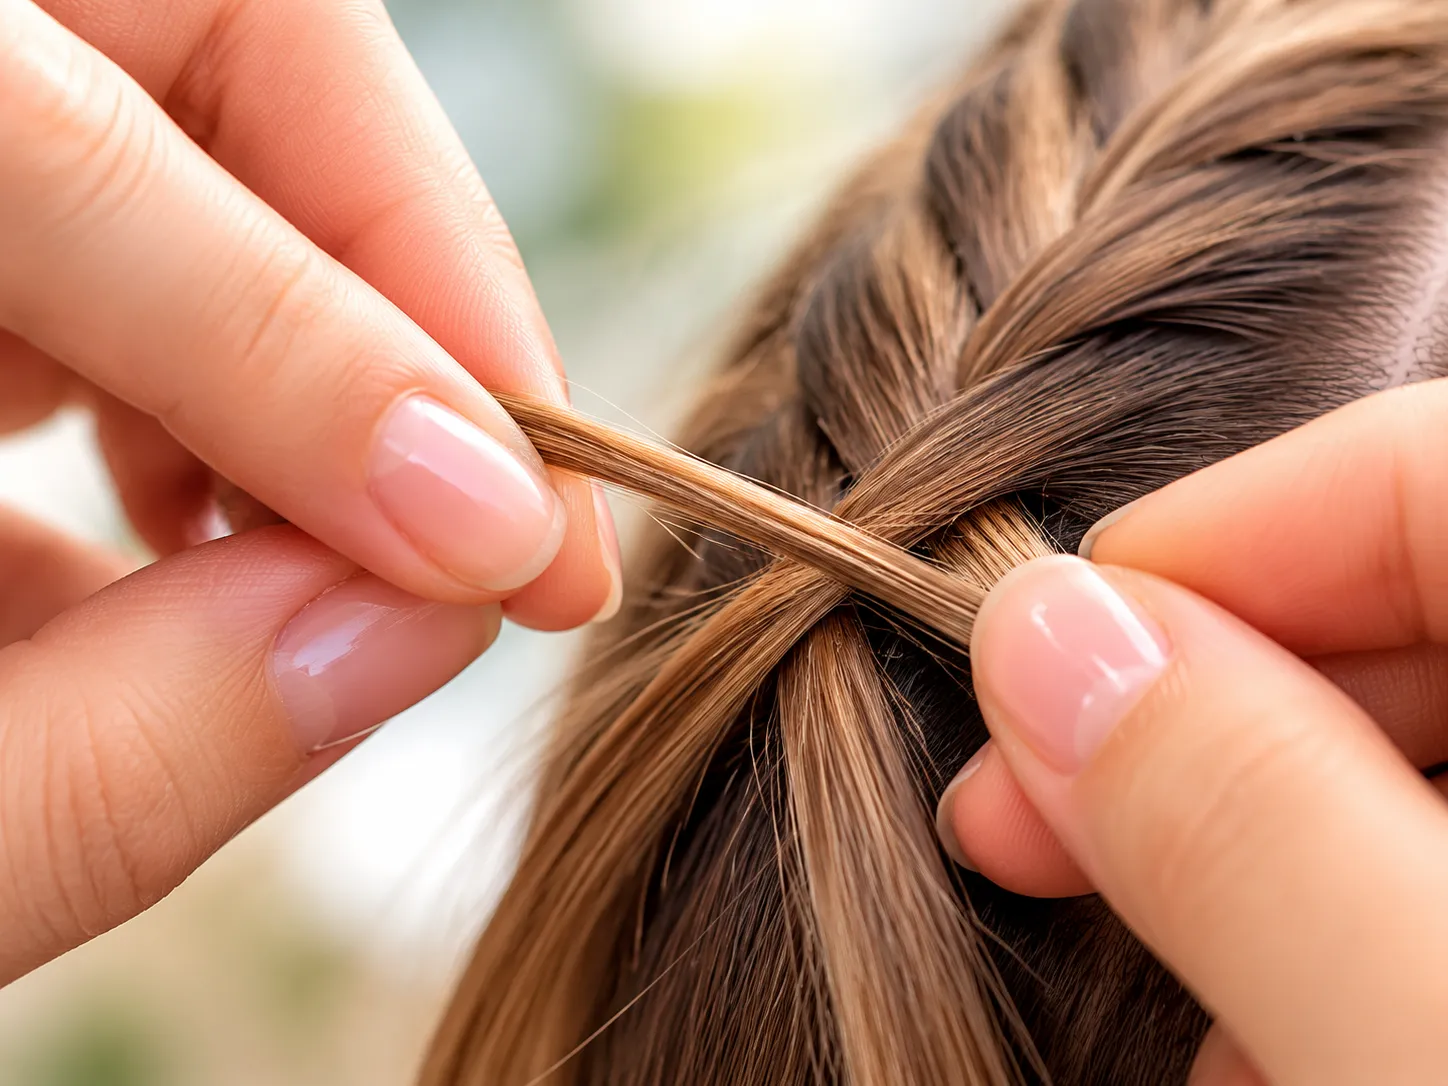
Here's the entire move, and once you've got it, you've got the whole braid. With your right hand, pinch a small strand — about the width of a shoelace — from the outer edge of the right section. Pull it across and add it to the inside of the left section. Then mirror the motion: pinch a small strand from the outer edge of the left section and bring it across to join the inside of the right. The thinner the strands you pick, the more detailed and "professional" the finished weave will look.
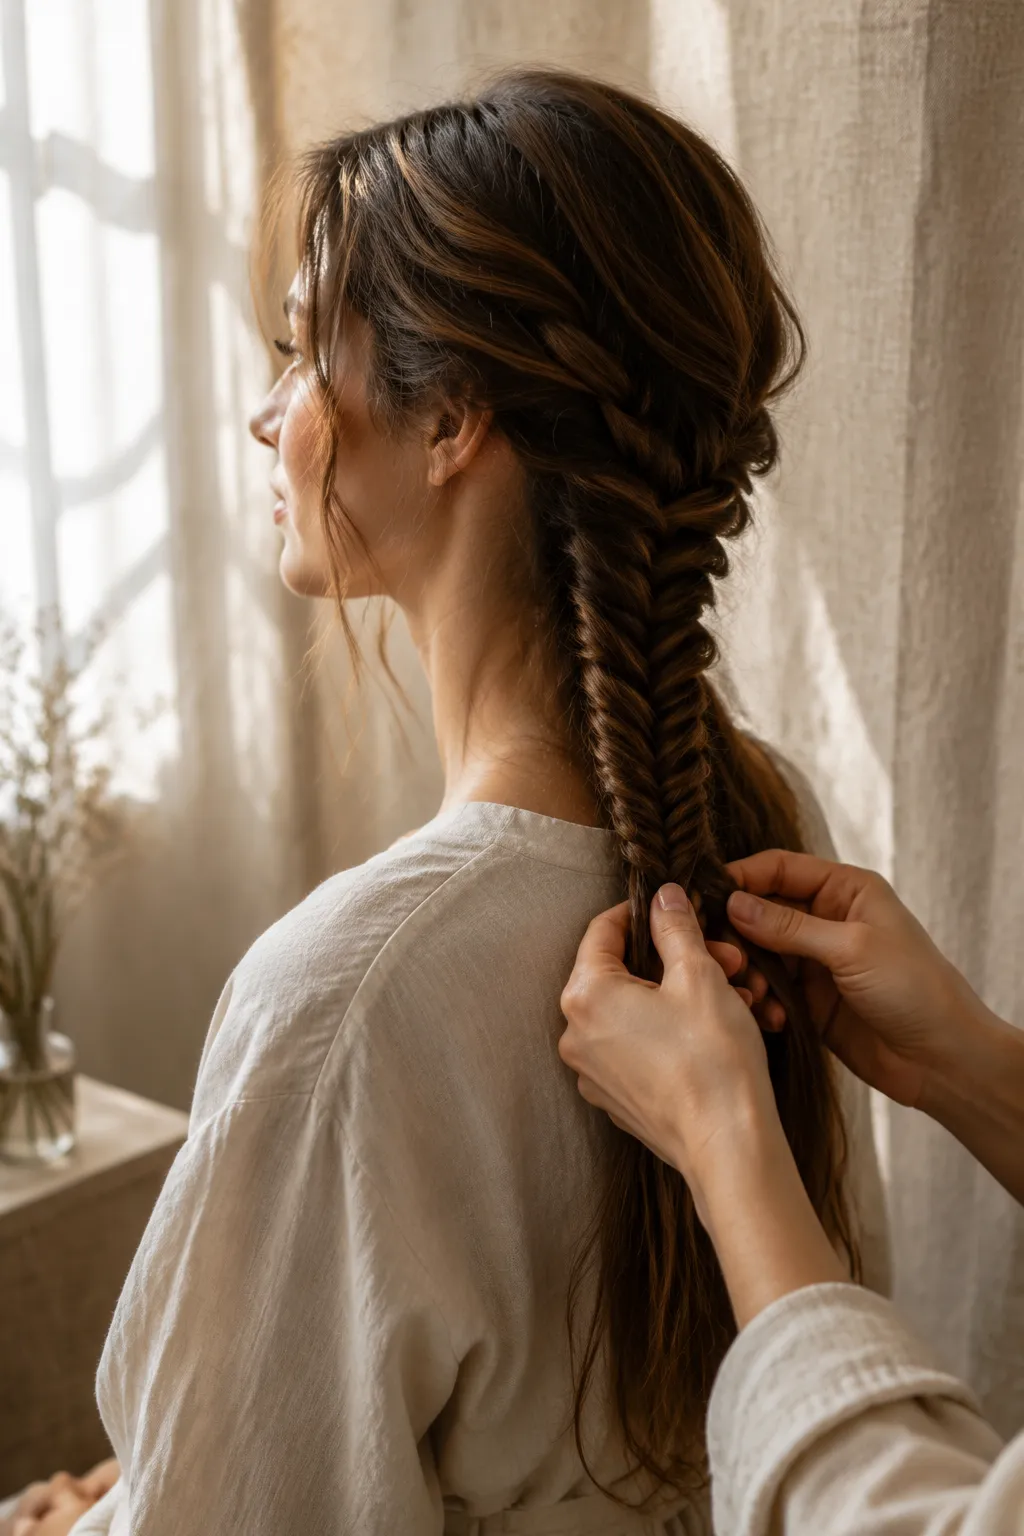
Just keep alternating. Right outer to left inner. Left outer to right inner. Right outer to left inner. Pull each crossover taut as you go so the pattern stays tight and visible — looseness can come later, once the structure is locked in. After about six or eight crossovers, you'll start to see the signature V-shape emerge. That's how to fishtail braid in a nutshell, and from this point you're essentially on autopilot until you reach the ends.
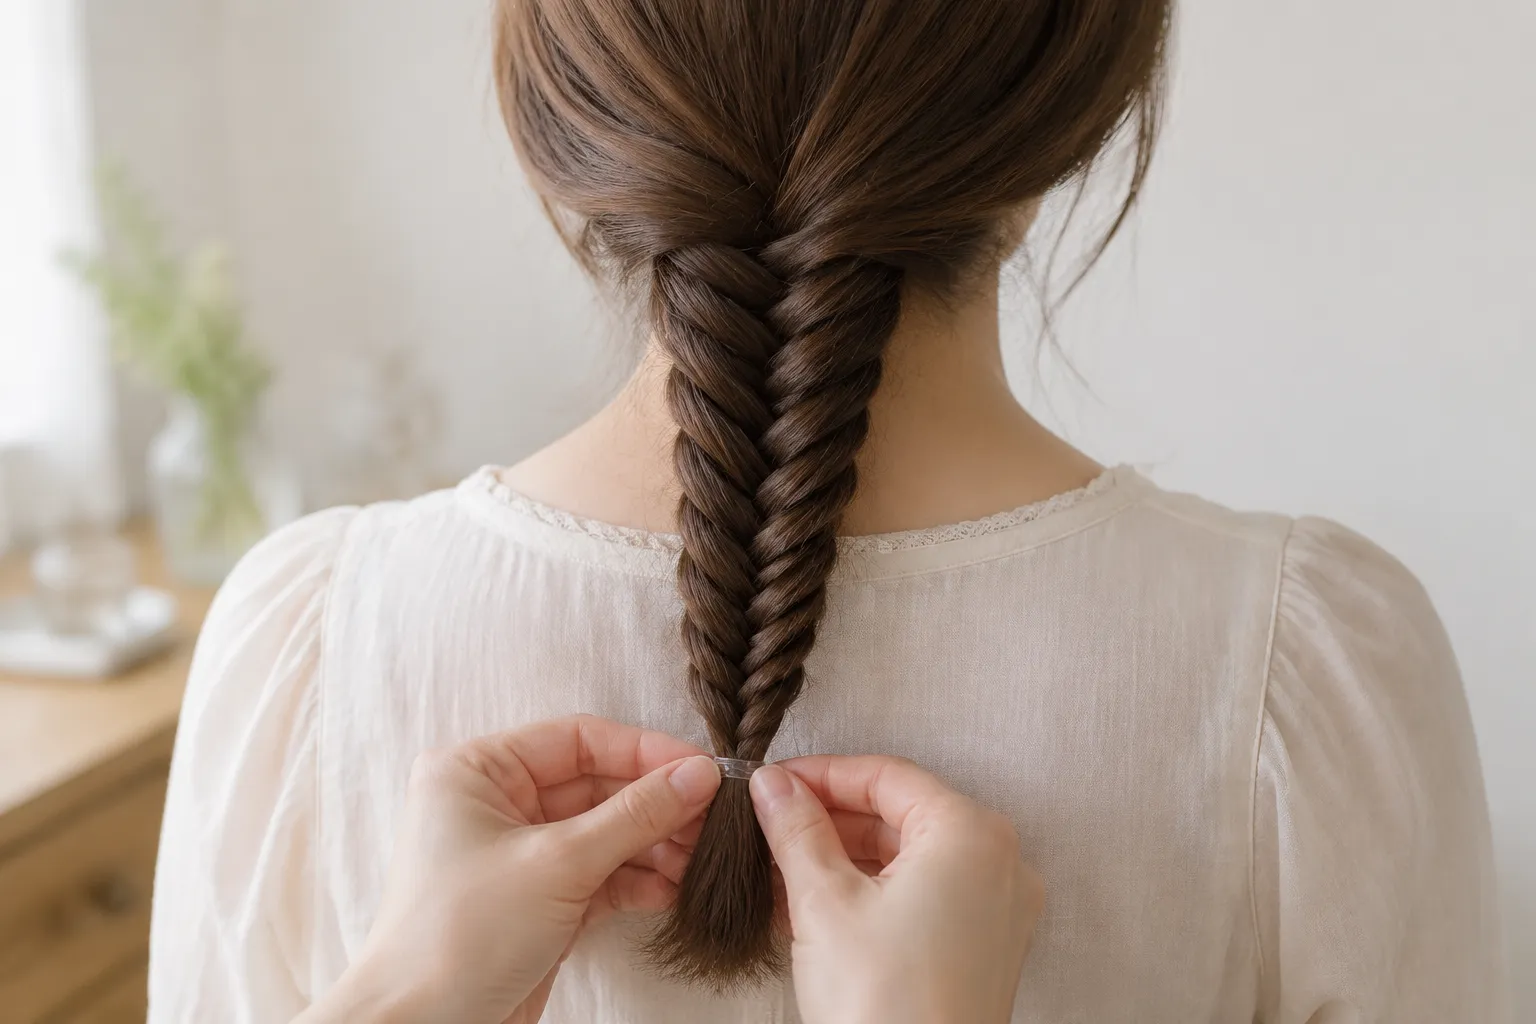
When you've braided down to about an inch or two from the ends, stop and wrap a clear elastic around the tail. Now comes the magic step that turns "neat braid" into "Pinterest braid": gently tug outward on each woven loop, working from the bottom up. This is called pancaking, and it widens and softens the plait without unraveling the structure. Finish with a light mist of hairspray about ten inches away to set the shape.
Even with a clear method, there are two or three places where most people stumble during their first few attempts. Here's what to watch for, along with the simple fixes.
This is the single most common rookie mistake. When the strands you're crossing over are too thick, the result looks like a chunky two-strand twist rather than that delicate woven look. Aim for strands no wider than your pinkie finger. Yes, this means more crossovers and a slightly longer braiding time, but the finish is worth it — that fine-woven detail is exactly what makes the weave feel elevated rather than basic.
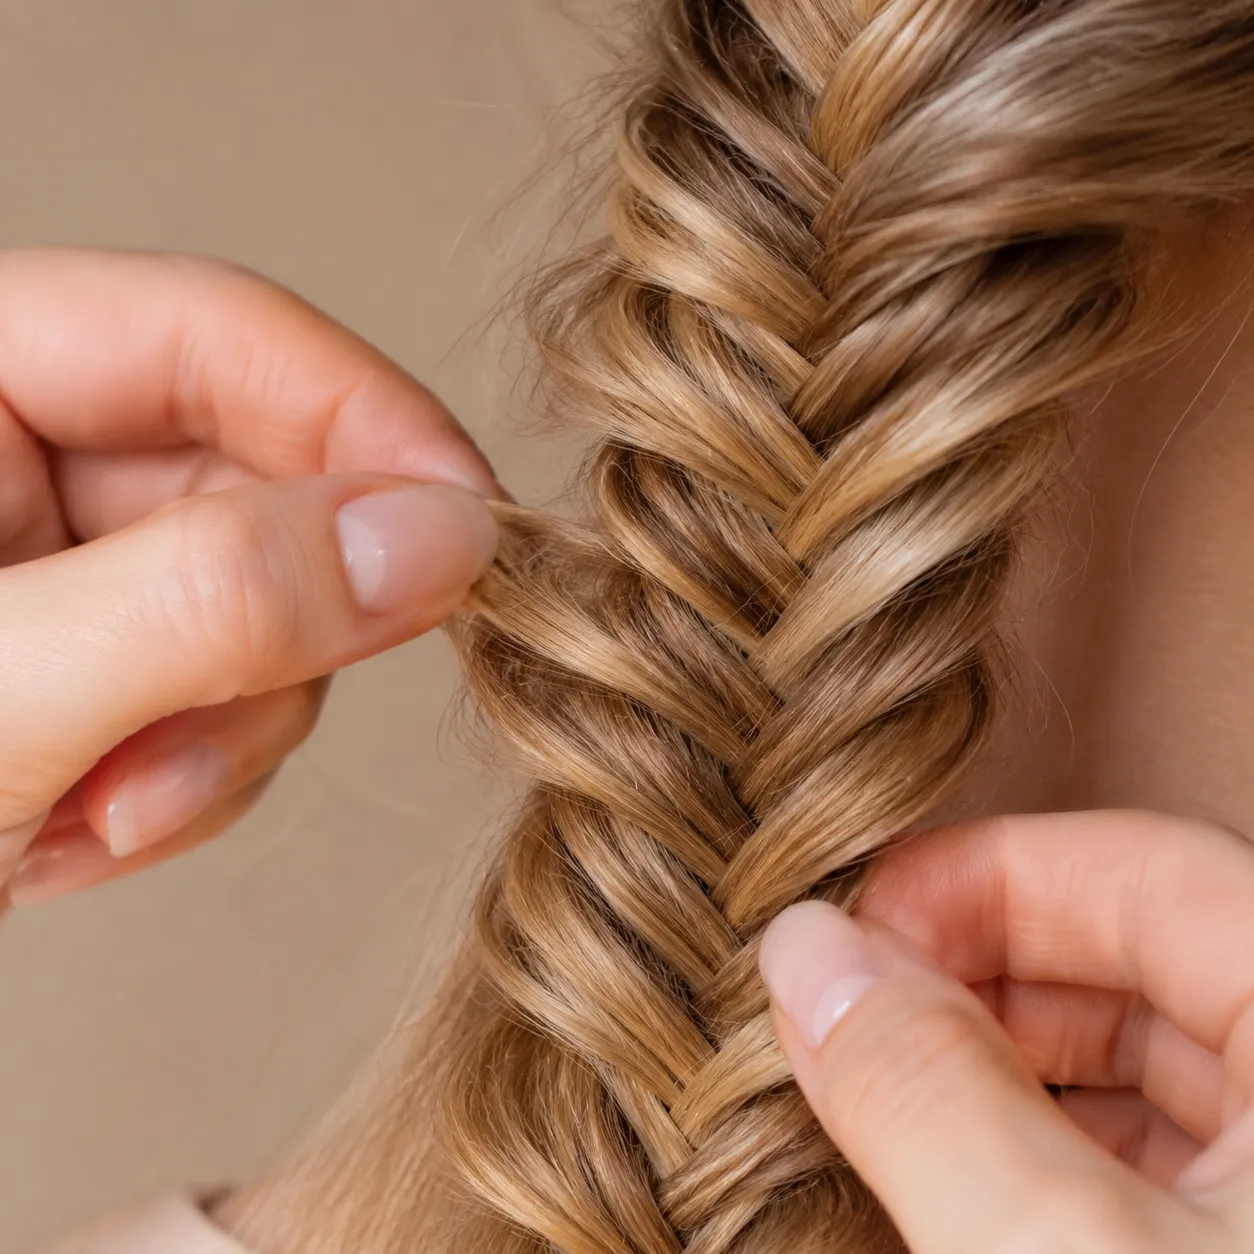
If you grip one section more tightly than the other, the plait starts to drift sideways and the V-pattern goes lopsided. Try to keep equal tension in both hands the whole way down, and pause every few crossovers to gently re-center the braid behind your head. A wall mirror plus a hand mirror is genuinely useful for the first couple of attempts. After that, your hands learn what even tension feels like and you can do it without looking.
A well-built braid can last from morning coffee straight through dinner — and even into a second day if you're strategic. The keys are the right products at the start and a small amount of overnight care.
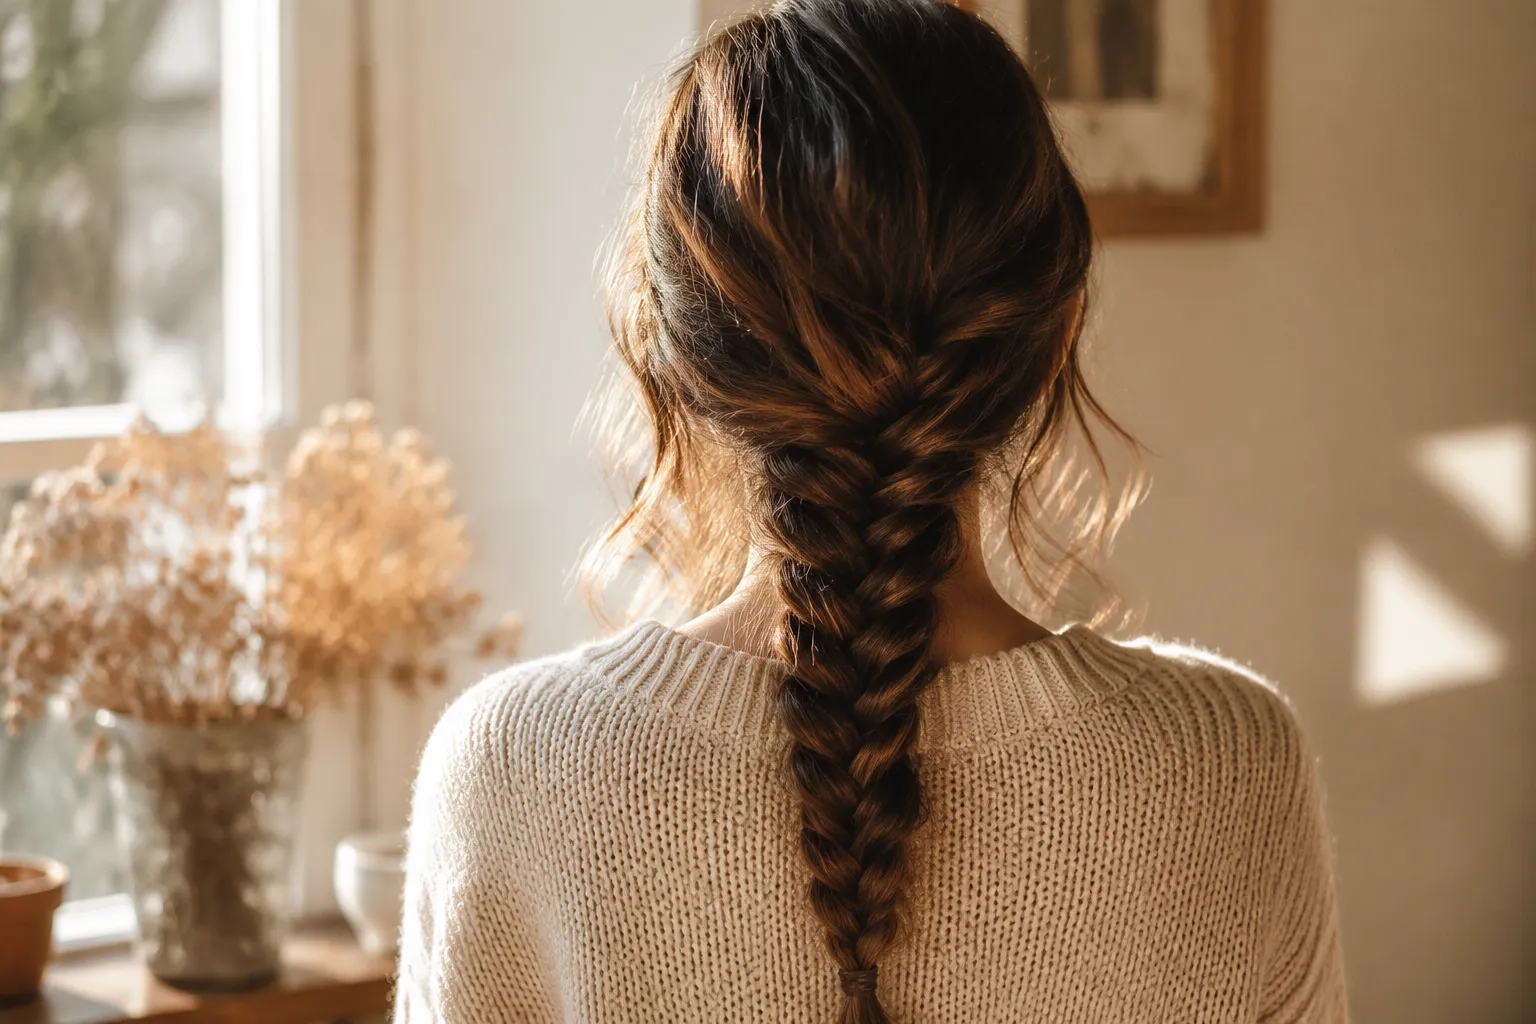
After you've pancaked the braid and you're happy with the shape, mist a flexible-hold hairspray about ten inches away from the hair. You want a soft veil of product, not a wet zone — too much spray flattens the texture you just worked to build. For all-day events, a quick re-mist around hour six keeps flyaways tucked. If you started with day-two hair and texture spray, you've already done most of the heavy lifting.

This style is one of the only looks that genuinely improves the second day, especially as a side fishtail braid pulled gently over one shoulder. Before bed, loosely tie a silk scarf around the length or sleep on a silk pillowcase to reduce friction. In the morning, gently re-pancake any loops that have tightened overnight, mist with texture spray, and you've got a perfectly imperfect, slightly messy fishtail braid that looks like you spent thirty minutes on it. Honestly, this is my favorite version — it's where the style truly earns its boho reputation.
Once you've nailed the basic technique, the same two-strand motion opens up a whole wardrobe of styling options. Pull the braid over one shoulder, double it up, or rough it up — the structure is identical, only the placement and finish change.
A finished fishtail pulls double duty as overnight prep — sleep on it and you'll wake up with gorgeous beachy waves. To preserve the braid itself for a second day of wear, sleep on a silk pillowcase or wrap a silk scarf loosely around the length to reduce friction and frizz. In the morning, refresh with a quick mist of dry shampoo at the roots and run a few drops of lightweight hair oil over the exterior to tame any flyaways. If anything has tightened up overnight, gently re-pancake the loops to bring back that soft, voluminous shape.
To convert the braid into beachy waves, simply slide the elastic off and finger-comb from the bottom upward — never with a brush, which will frizz the texture out. Spritz with a flexible-hold hairspray to set, and the crimped, mermaid-like waves will hold for several hours. This makes the style genuinely a two-for-one investment: a polished look on day one, easy waves on day two.