Homemade Vanilla Pudding Recipe (Creamy & Easy)
Ingredients
Scale
Skip the boxed mix. This homemade pudding is silky, vanilla-rich, and ready in 20 minutes with 6 pantry staples you already have.
There's nothing quite like a homemade pudding recipe to make an ordinary Tuesday feel like an occasion. This silky, vanilla-flecked stovetop version comes together in 20 minutes from just six pantry staples — milk, sugar, cornstarch, egg yolks, butter, and real vanilla extract — and it's the kind of dessert that turns skeptics into believers the moment a cold spoonful hits their tongue. Once you've tasted the from-scratch version, the boxed mix you grew up on simply can't keep up.
I grew up on the just-add-milk box, the kind you whisk for two minutes and refrigerate for an hour. It was fine. Functional. But this version — thickened with both cornstarch and egg yolks, the way classic French pastry shops build their crème pâtissière — is genuinely transformative. The yolks bring a custardy richness that pure cornstarch can't manufacture, while the starch gives it enough structure to hold a swoop of whipped cream topping without weeping into a puddle.
If you've been intimidated by the idea of making vanilla pudding from scratch, let me reassure you up front: this is one of those forgiving stovetop techniques where if you can whisk steadily and watch a saucepan for ten minutes, you can absolutely nail it on your first try. There's no candy thermometer, no specialty equipment, and no scary moment where everything could collapse. Just patient stirring and a little vanilla bean magic.
This recipe earns its keep in three specific ways: technique, ingredients, and time. The technique borrows from French pastry kitchens, where pâtissiers have been combining starch and yolk for two centuries. The ingredients are six things you almost certainly have right now. And the time investment — twenty minutes of active work plus a couple of hours of patient chilling — fits neatly inside one episode of your favorite show. There's really no excuse not to try it.
The beauty of pudding from scratch is how few ingredients it actually takes — and you almost certainly already have all of them on hand. There's no specialty thickener, no condensed milk, no shopping detour required. Just real, honest pantry staples that transform on the stovetop into something silky and magical. Here's how each one earns its place in the bowl.
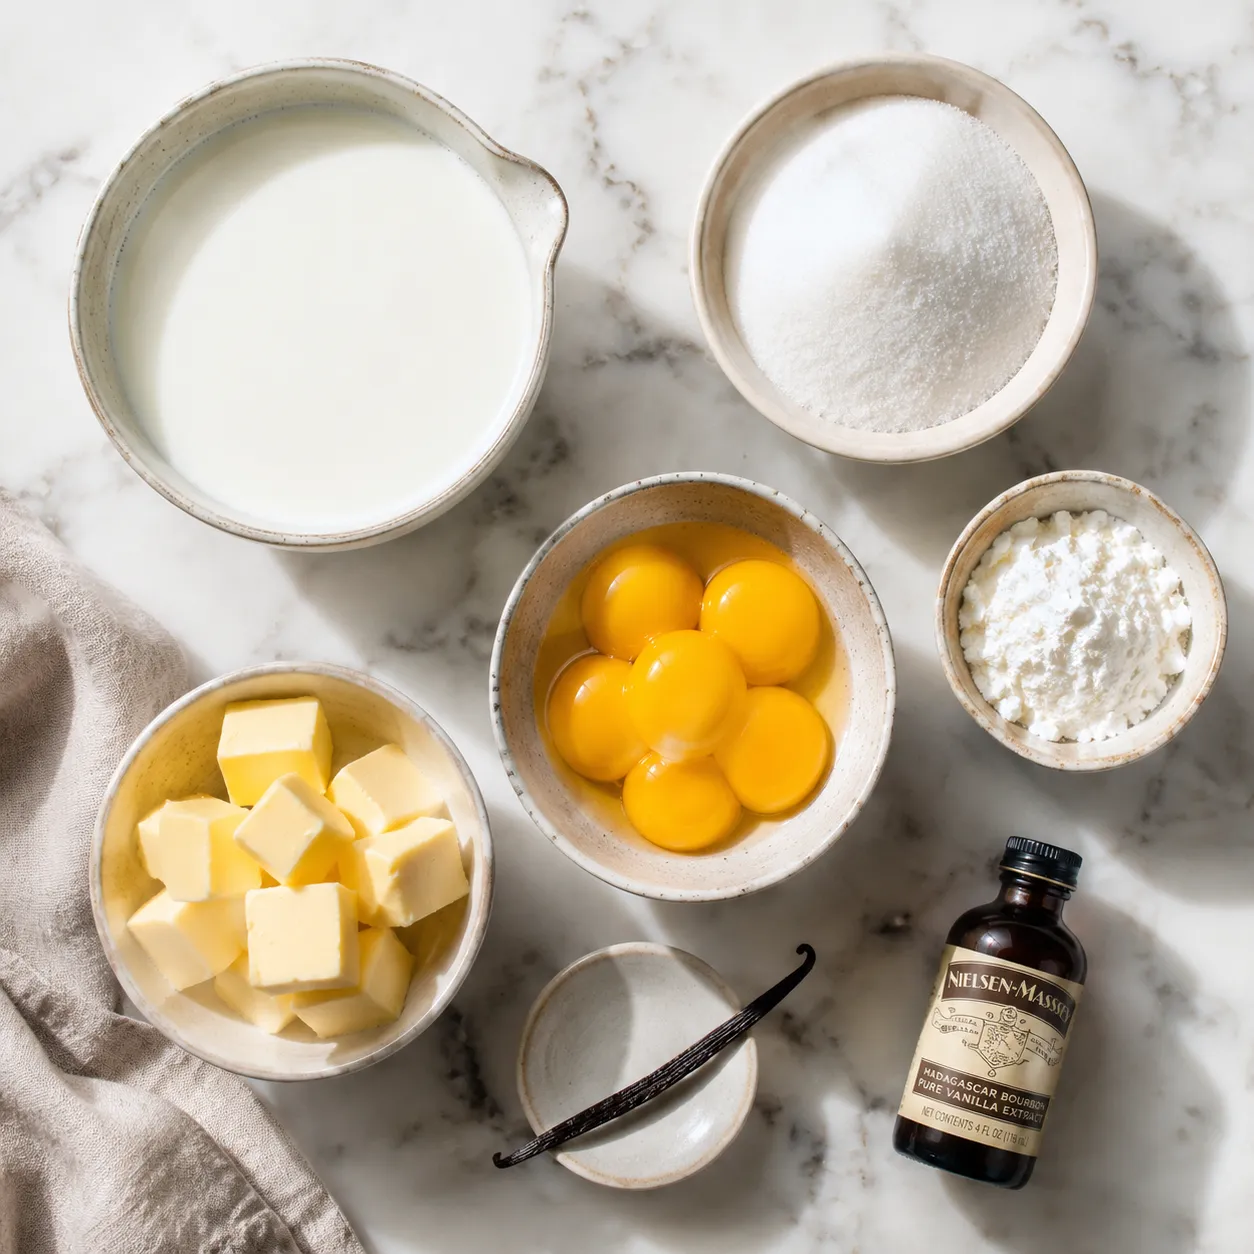
Whole milk is the workhorse here. That full fat content is what gives the finished dessert its rich, silky body — using 2% will work in a pinch, but the texture trends toward thin and the flavor loses its creamy roundness. If you want to push toward decadent territory, swap a half cup of the milk for heavy cream. For dairy-free bakers, full-fat oat milk or unsweetened canned coconut milk both produce a respectable result, though the final texture will be a touch looser.
This is where my method diverges from a typical cornstarch-only custard recipe. Cornstarch alone makes a perfectly fine result, but adding three egg yolks pushes it into proper pastry-cream territory — silkier, more luxurious, with that pale-gold tint that signals real-deal homemade. Think of the cornstarch as the framework and the yolks as the soul: starch handles the structure, yolks handle the flavor and that signature velvet mouthfeel.
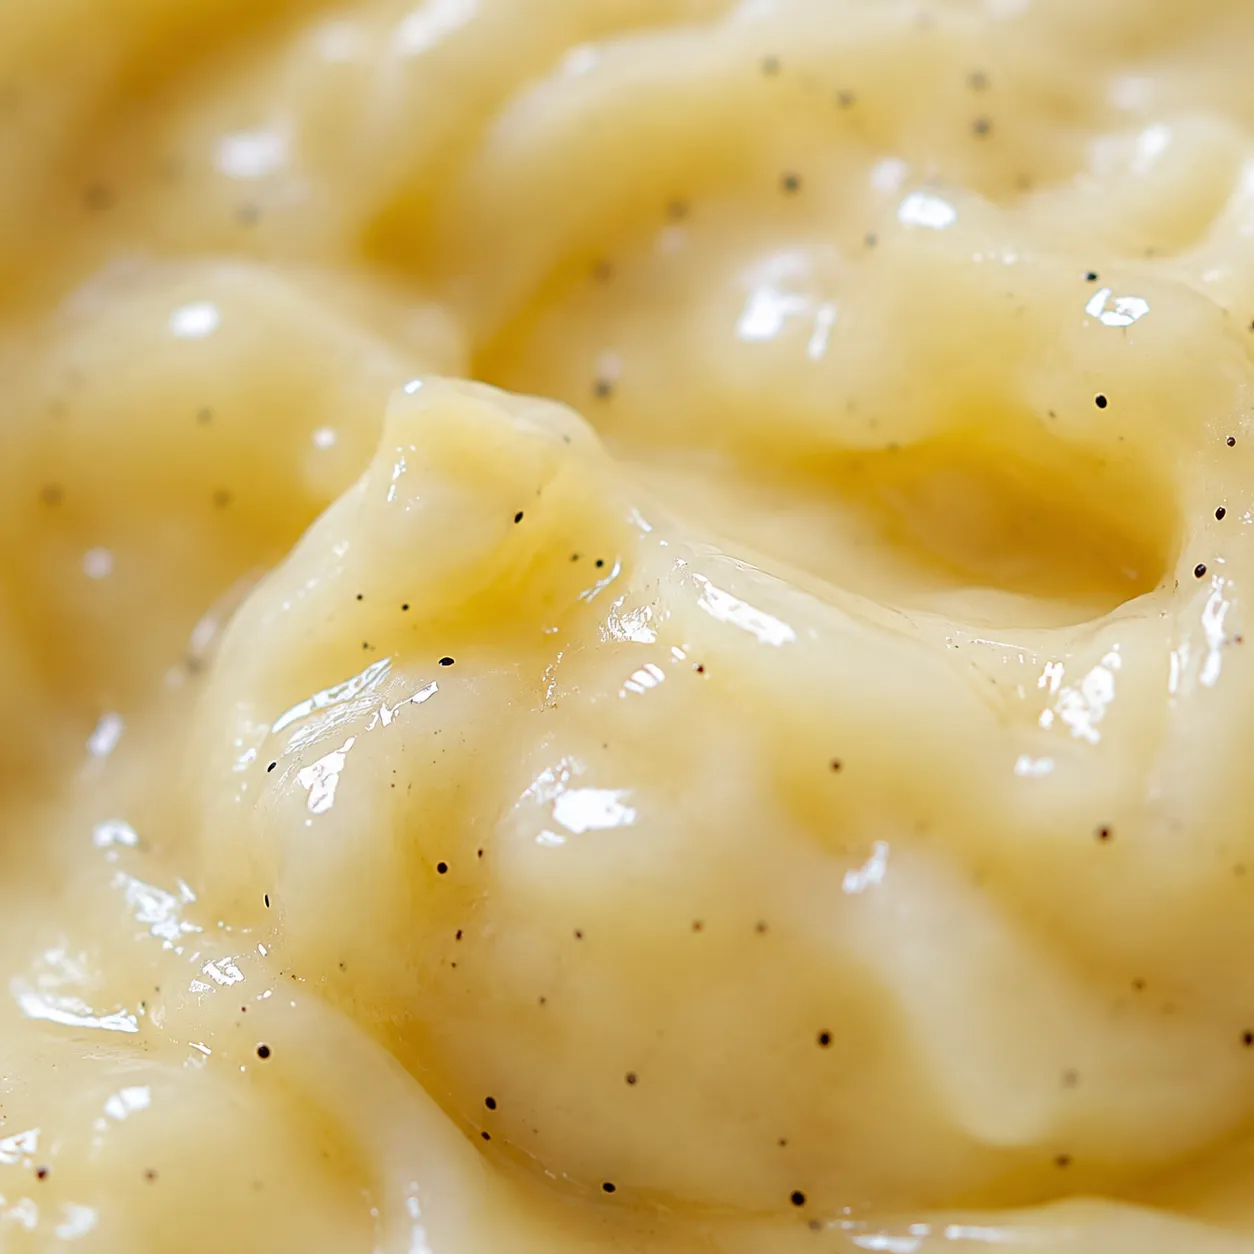
A pinch of fine sea salt, a pat of cold unsalted butter stirred in at the end, and a generous splash of pure vanilla extract are the finishing notes. The salt sharpens the sweetness, the butter adds gloss, and good vanilla is non-negotiable — this dessert is named for it, after all. If you have a vanilla bean, scrape one in alongside the extract; those tiny black flecks are the visual signature that says you didn't reach for the box. A teaspoon of orange zest, a pinch of cardamom, or a tablespoon of bourbon all play beautifully here too if you want to lean seasonal.
Ready to make this happen? The full step-by-step measurements live in the recipe card below, but here's the visual walk-through so you know exactly what to look for at each stage. The whole process takes about 15 minutes of active stovetop time, and the only real skill it asks of you is patient, continuous whisking. Don't walk away from the pot — that's where most home cooks get into trouble. Watch the texture more than the clock; your stove's medium-low may run hotter or cooler than mine, so trust your eyes.
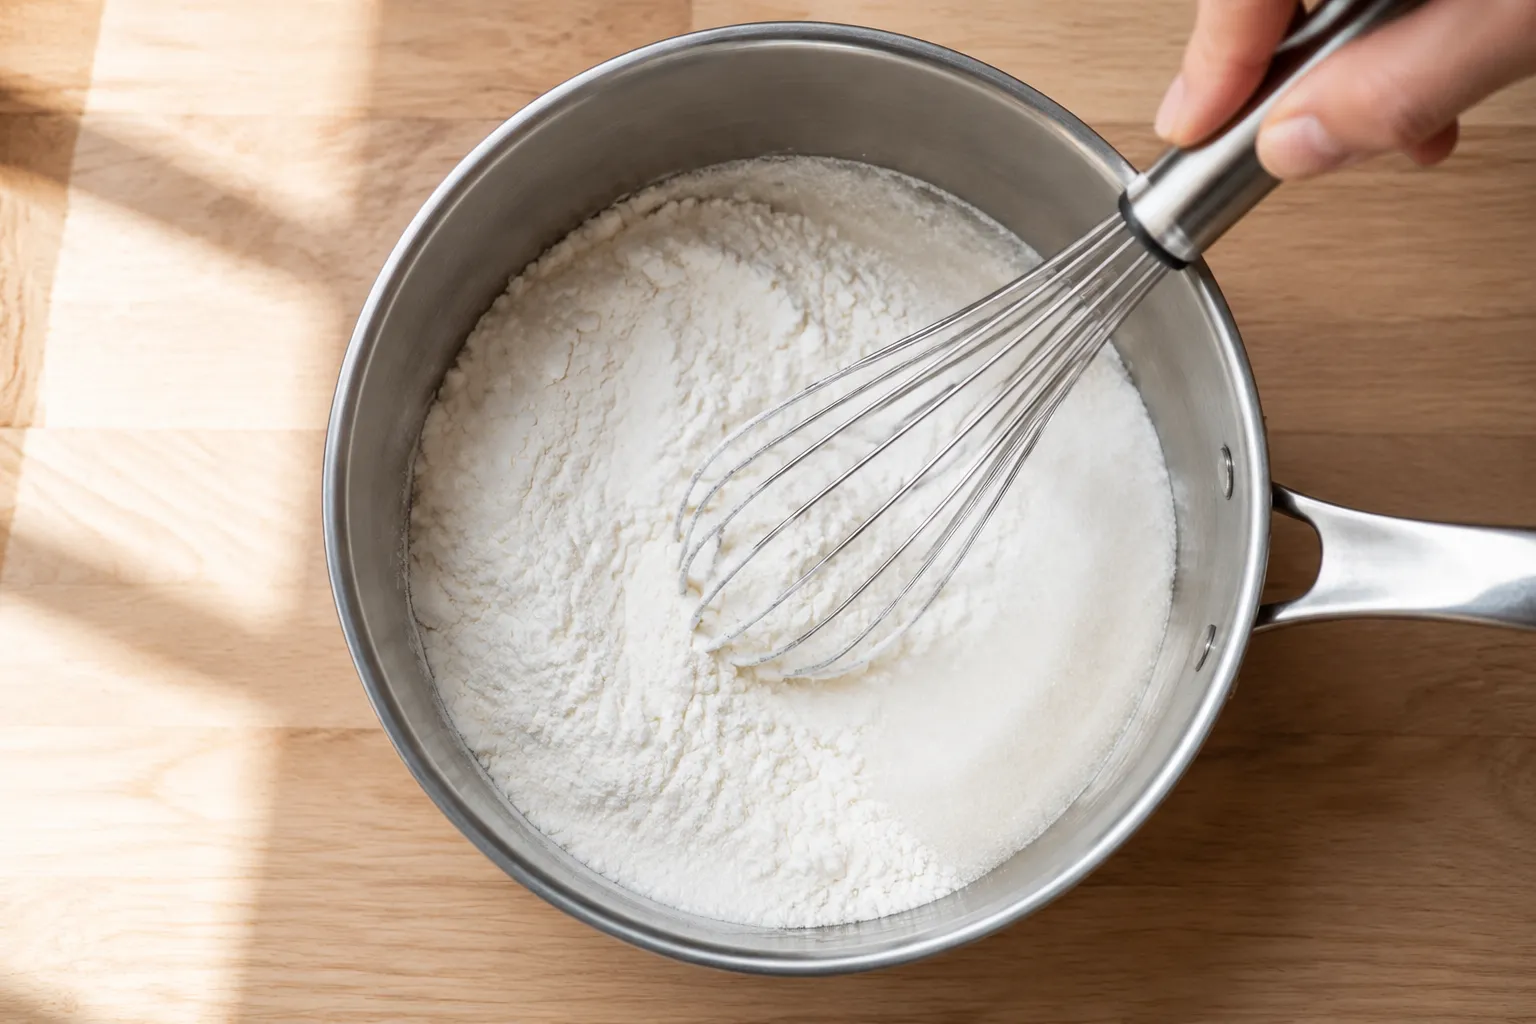
Start by whisking the sugar, cornstarch, and salt together in a heavy-bottomed saucepan before adding any liquid. This dry mixing step is the single most important move for avoiding lumps later on. Cornstarch loves to clump the moment it hits cold milk, but coating each granule with sugar first keeps everything separated and easy to dissolve. Whisk for a full thirty seconds — longer than feels necessary — to make sure the cornstarch is evenly distributed throughout.
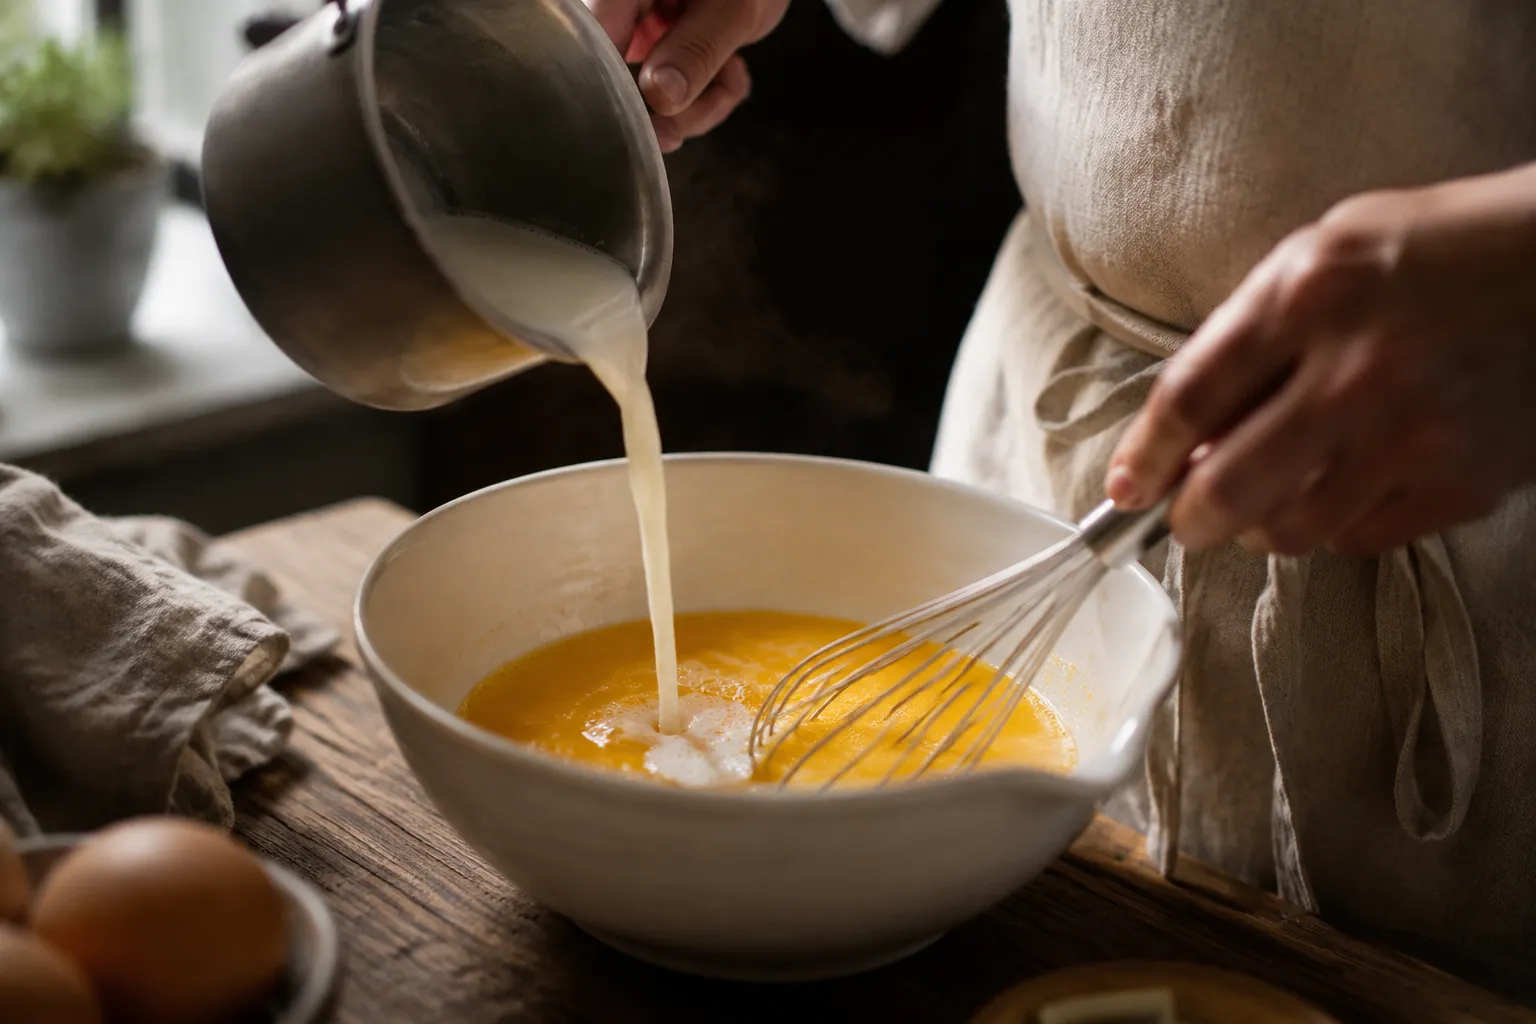
Once your milk mixture is warm and just starting to thicken, ladle about a cup of it slowly into the beaten yolks while whisking constantly. This is called tempering, and it raises the yolk temperature gradually so the proteins don't seize up and scramble when they hit the hot pot. Stream the milk in thin and steady, like you're drizzling olive oil into mayonnaise — quick pours equal scrambled eggs, and there's no rescuing those.
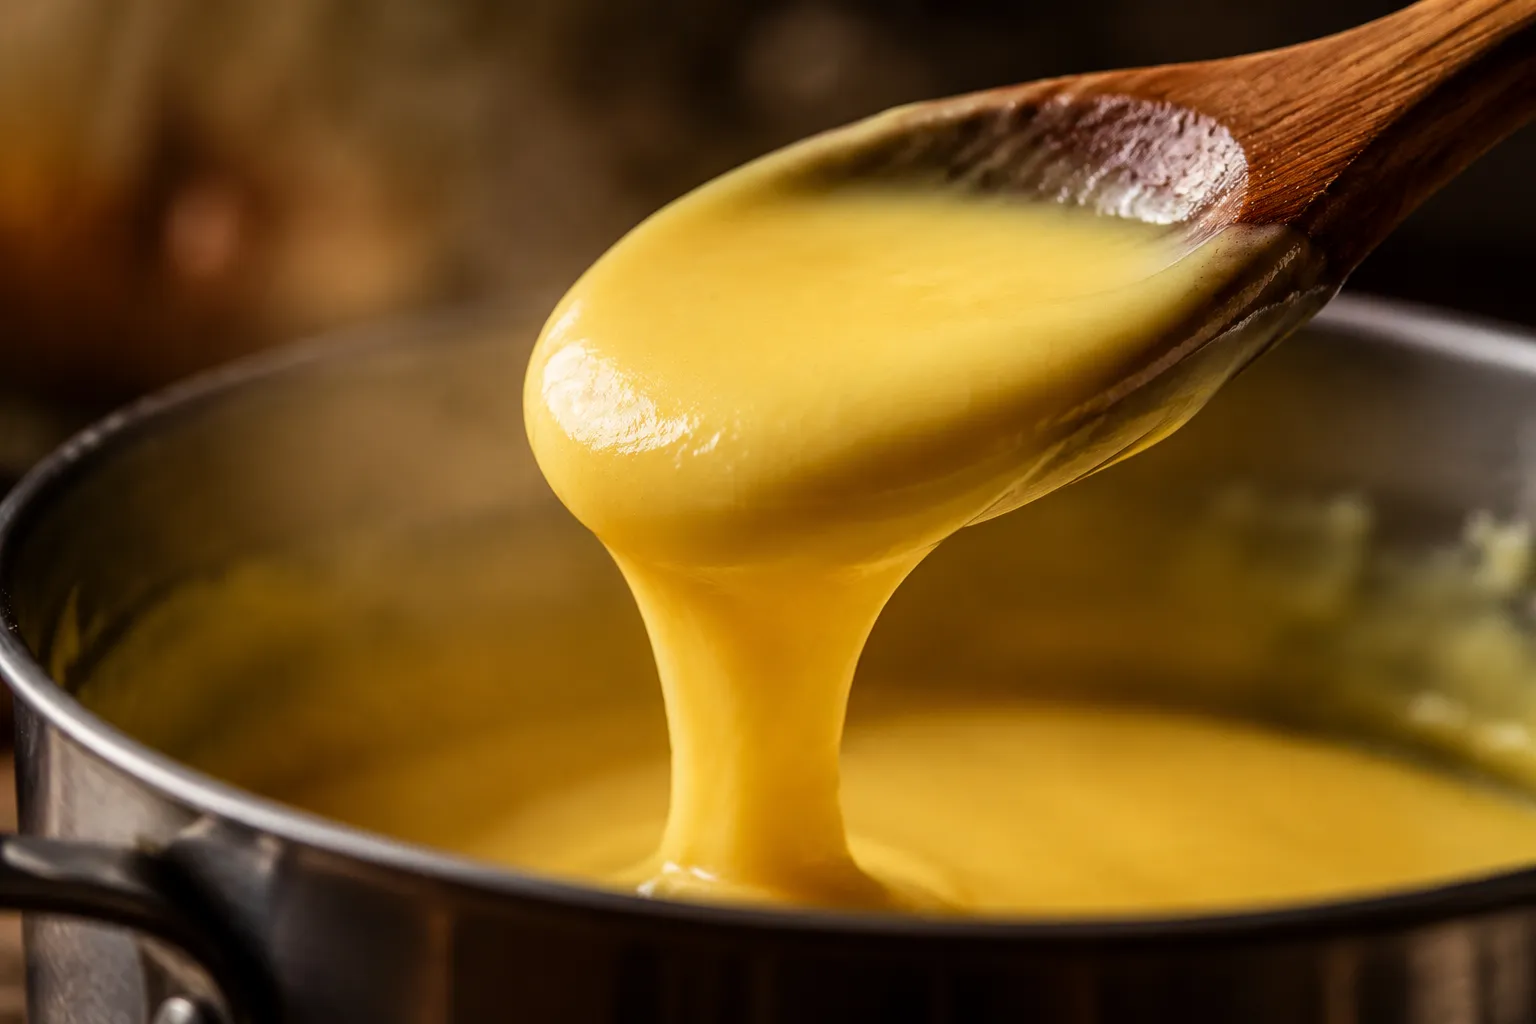
Return the tempered yolk mixture to the saucepan and cook over medium-low heat, whisking the entire time. The mixture will thicken suddenly and dramatically — one moment it's loose and milky, the next it's coating the back of a wooden spoon and pulling away from the sides of the pan in glossy ribbons. Once it reaches that consistency, let it bubble gently for one full minute to cook out the cornstarch's raw starchy taste. That minute matters; skipping it leaves a chalky finish on the tongue.
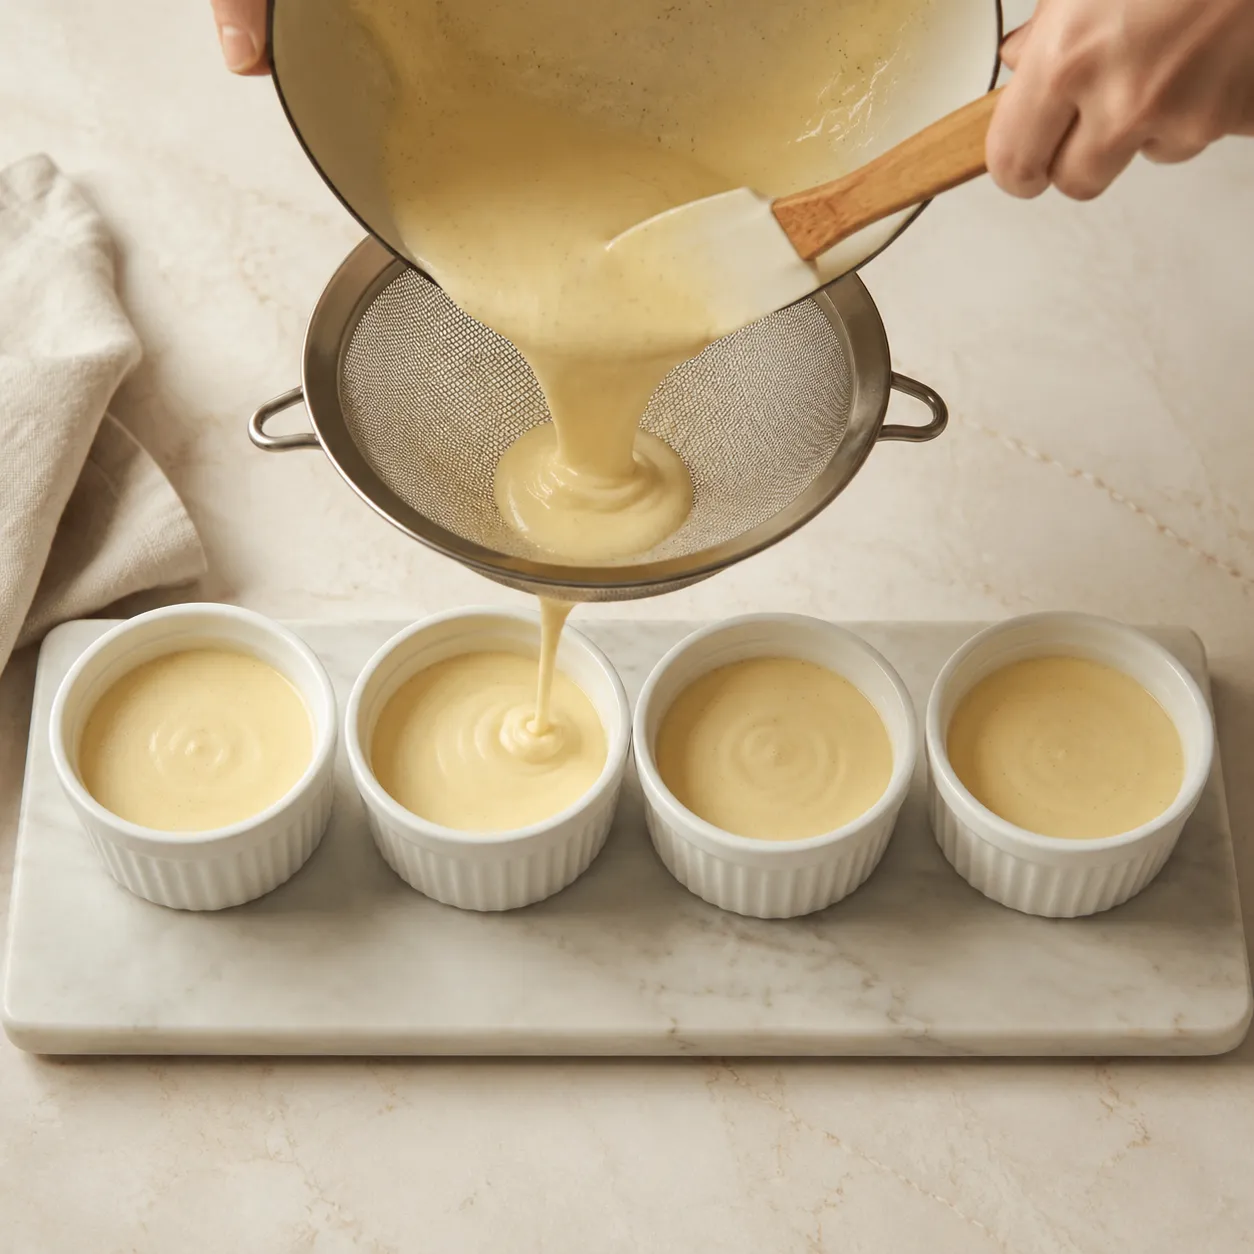
Off the heat, whisk in the cold butter and vanilla extract until smooth and glossy, then push the warm mixture through a fine-mesh sieve directly into your serving dishes. Straining catches any stray bits of cooked egg or undissolved cornstarch and guarantees that signature velvet-smooth finish. Press a piece of plastic wrap directly onto the surface of each ramekin to prevent a skin from forming, then chill for at least two hours, or up to overnight, before serving.
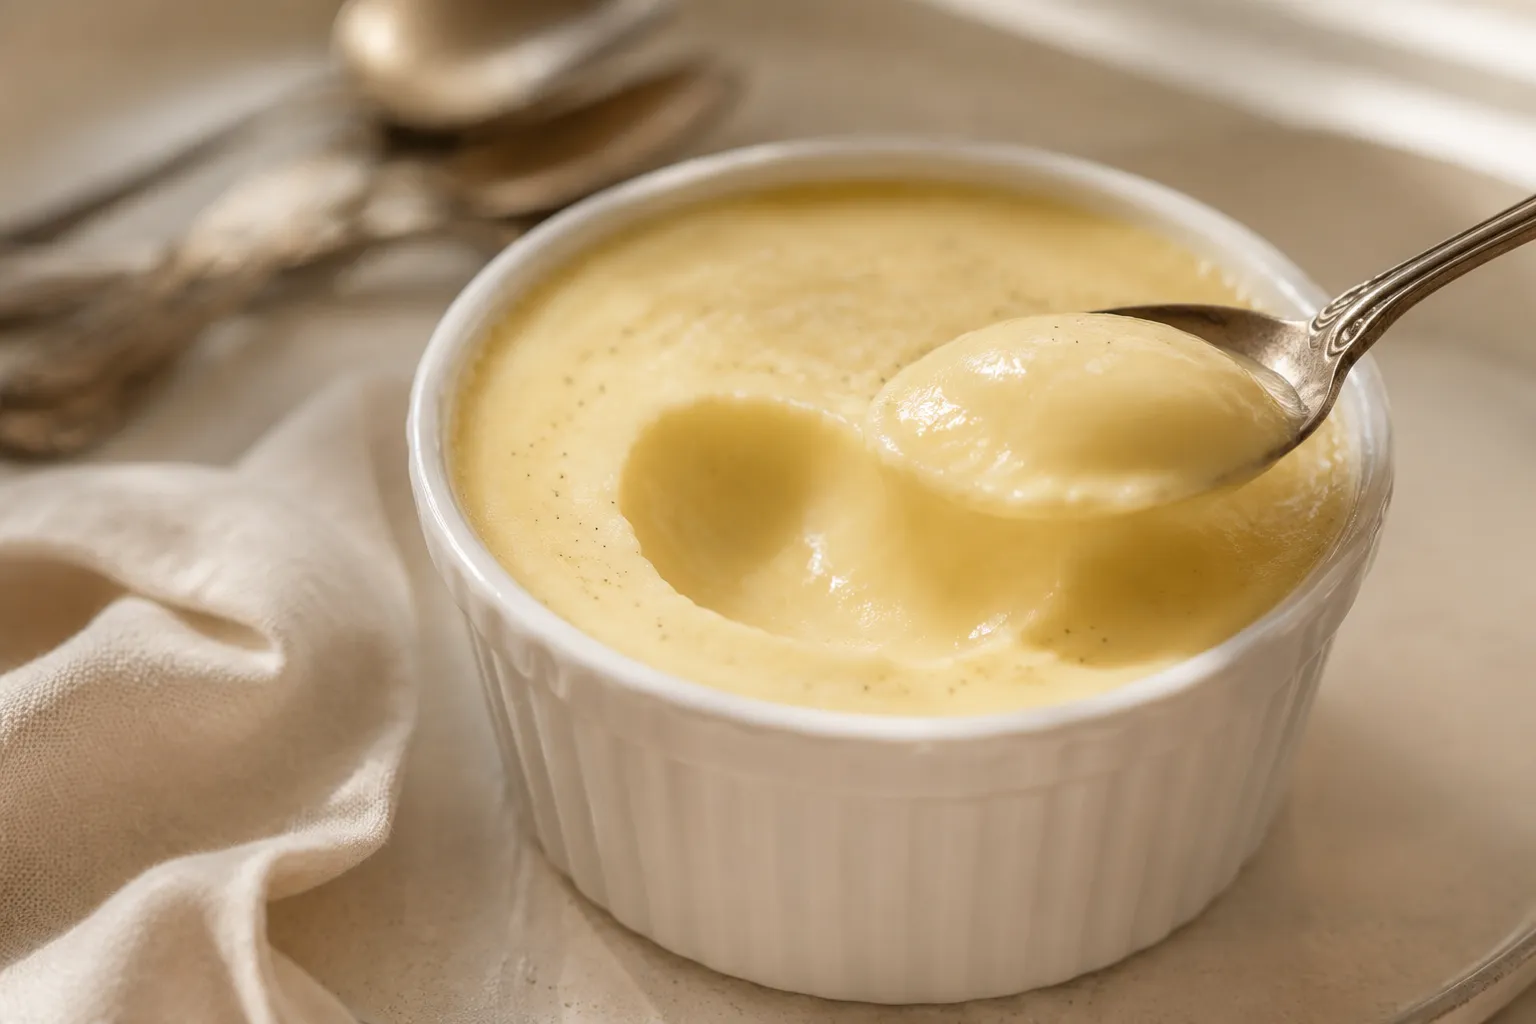
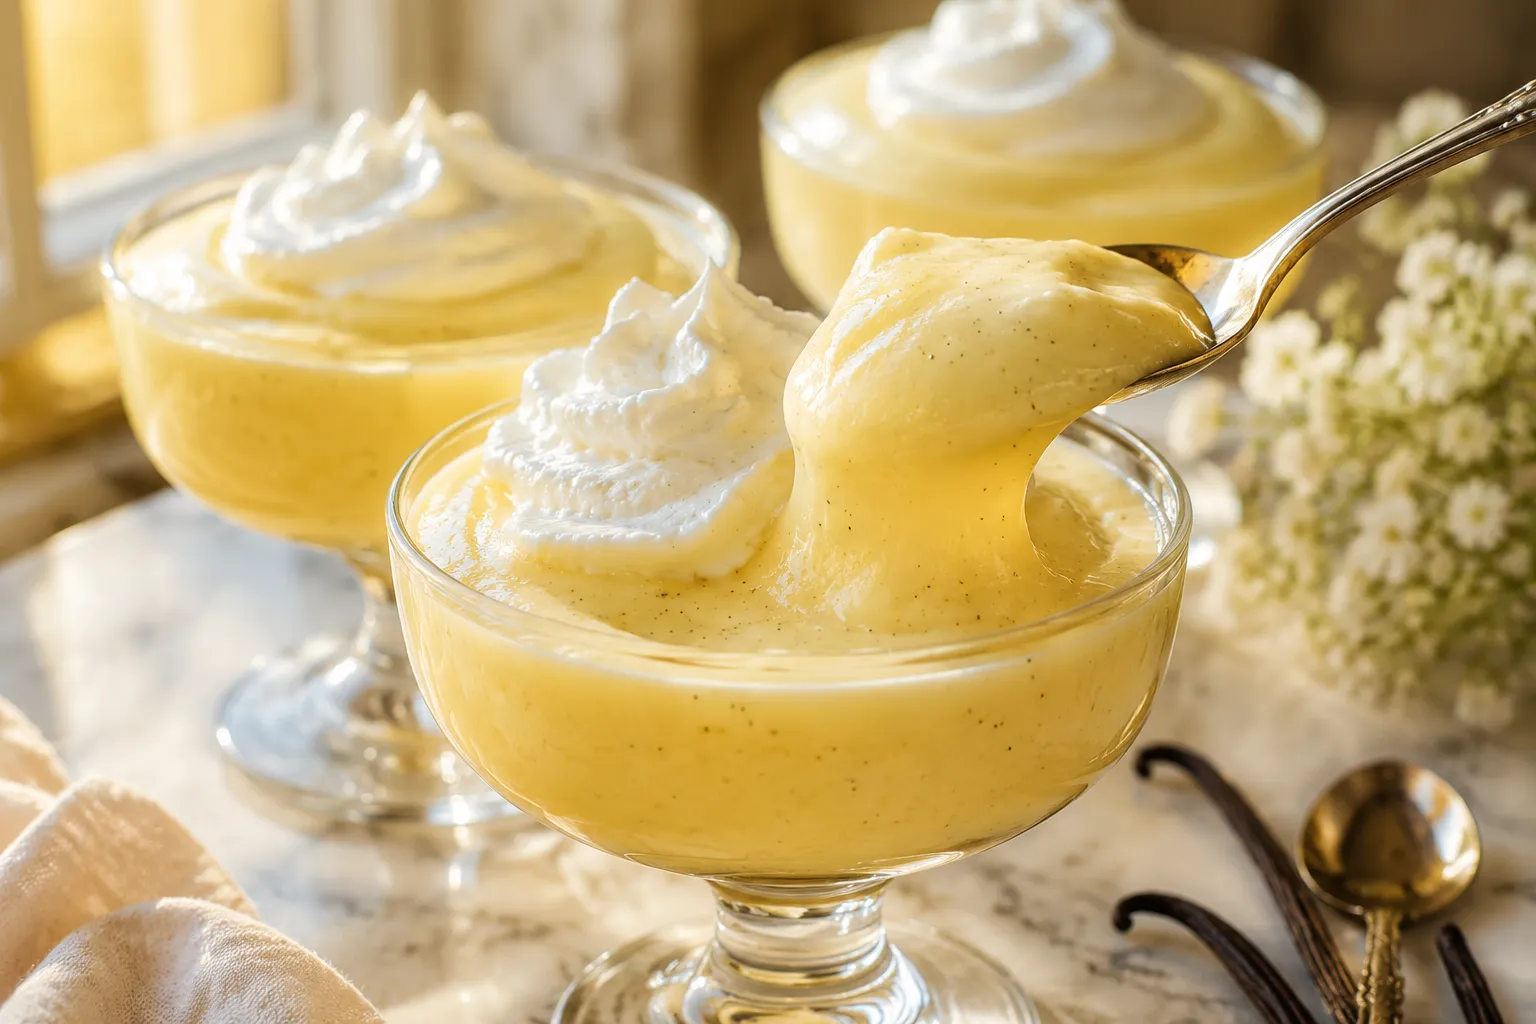
Once this dessert is fully chilled and set, the real fun begins. This is one of those rare easy desserts that's equally at home in a stemmed coupe glass at a dinner party and scooped straight from a mason jar while standing at the open fridge in your pajamas. Both are correct, and I won't tell.
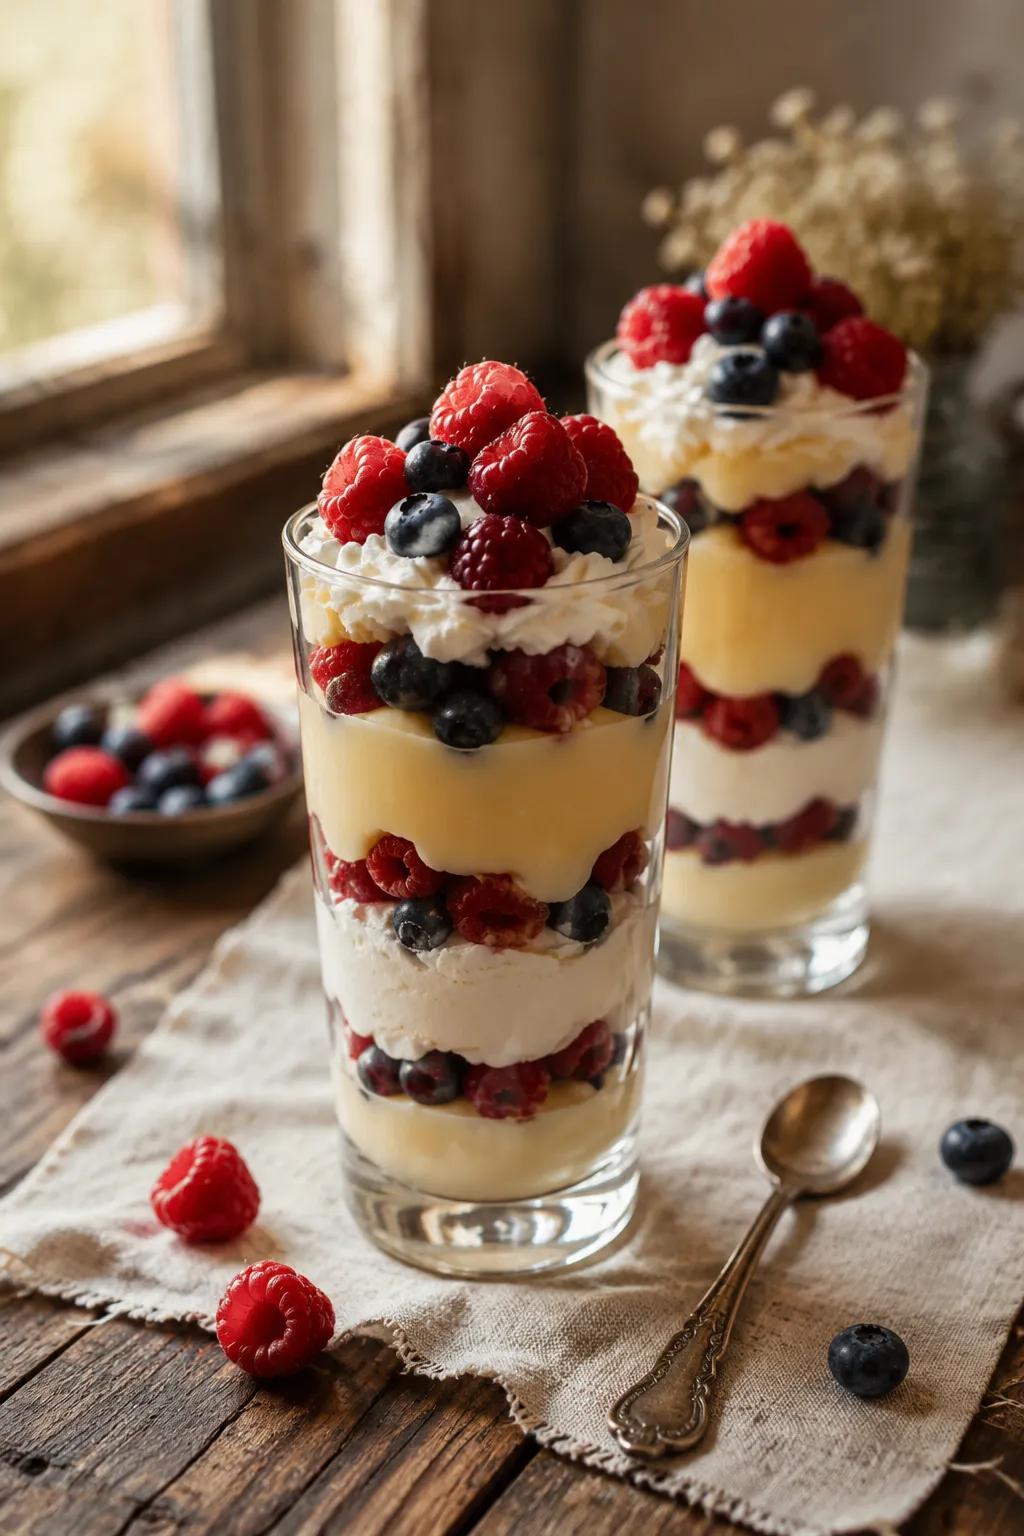
For the simplest presentation, finish each serving with a generous dollop of softly whipped cream, a dusting of cinnamon or freshly grated nutmeg, and a few crumbled shortbread cookies or vanilla wafers for crunch. If you want to dress things up, layer the chilled custard into tall parfait glasses with sliced strawberries, raspberries, and crushed graham crackers — you'll land somewhere between a banana-pudding-style trifle and a proper English fool, and it always pulls a crowd at potlucks.
For a more grown-up presentation, top each ramekin with a thin slick of caramel and a pinch of flaky sea salt, or spoon a few macerated berries with a splash of bourbon over the surface. Craving something deeper and more chocolatey? The same base technique works beautifully as a chocolate pudding — just whisk three ounces of chopped bittersweet chocolate into the warm mixture before straining. It also makes an exceptional filling for cream puffs, eclairs, or tart shells if you want to dress it up as proper pastry cream.
Beyond toppings, think about what to serve alongside. A scoop next to a warm slice of pound cake or a still-warm chocolate chip cookie is a transcendent pairing — the temperature contrast alone is worth the effort. It also works as the silky middle layer in trifles, charlottes, or layered icebox cakes. And if you have a few spoonfuls left after dessert, swirl them into your morning coffee or yogurt the next day; you've earned it.
However you choose to serve it, that pale-gold custard layer beneath your toppings is doing all the heavy lifting. This is the kind of dessert that quietly proves how much better the from-scratch version of a familiar classic can be — and once you've made it, you may never reach for a boxed mix again.
Once you've nailed the master recipe, the same base technique flexes into a half-dozen different desserts. Mix and match toppings, stir-ins, and infusions until you find your house favorite.
Cover each portion tightly with plastic wrap pressed directly onto the surface (or a lid if it touches the pudding) and store in the refrigerator for up to 4 days. The texture stays best within the first 48 hours; after that, you may notice a slight loss of gloss, though the flavor holds up beautifully. Always serve cold, straight from the fridge.
Freezing is not recommended. The starch-and-egg structure breaks on thawing and the texture turns grainy and weeping rather than smooth. If you need to make this ahead for an event, the fridge window of 1 to 2 days produces the best presentation. Give a quick whisk before topping with whipped cream if any liquid has separated at the edges.