Fried Apples Recipe: Southern-Style in 20 Minutes
Ingredients
Scale
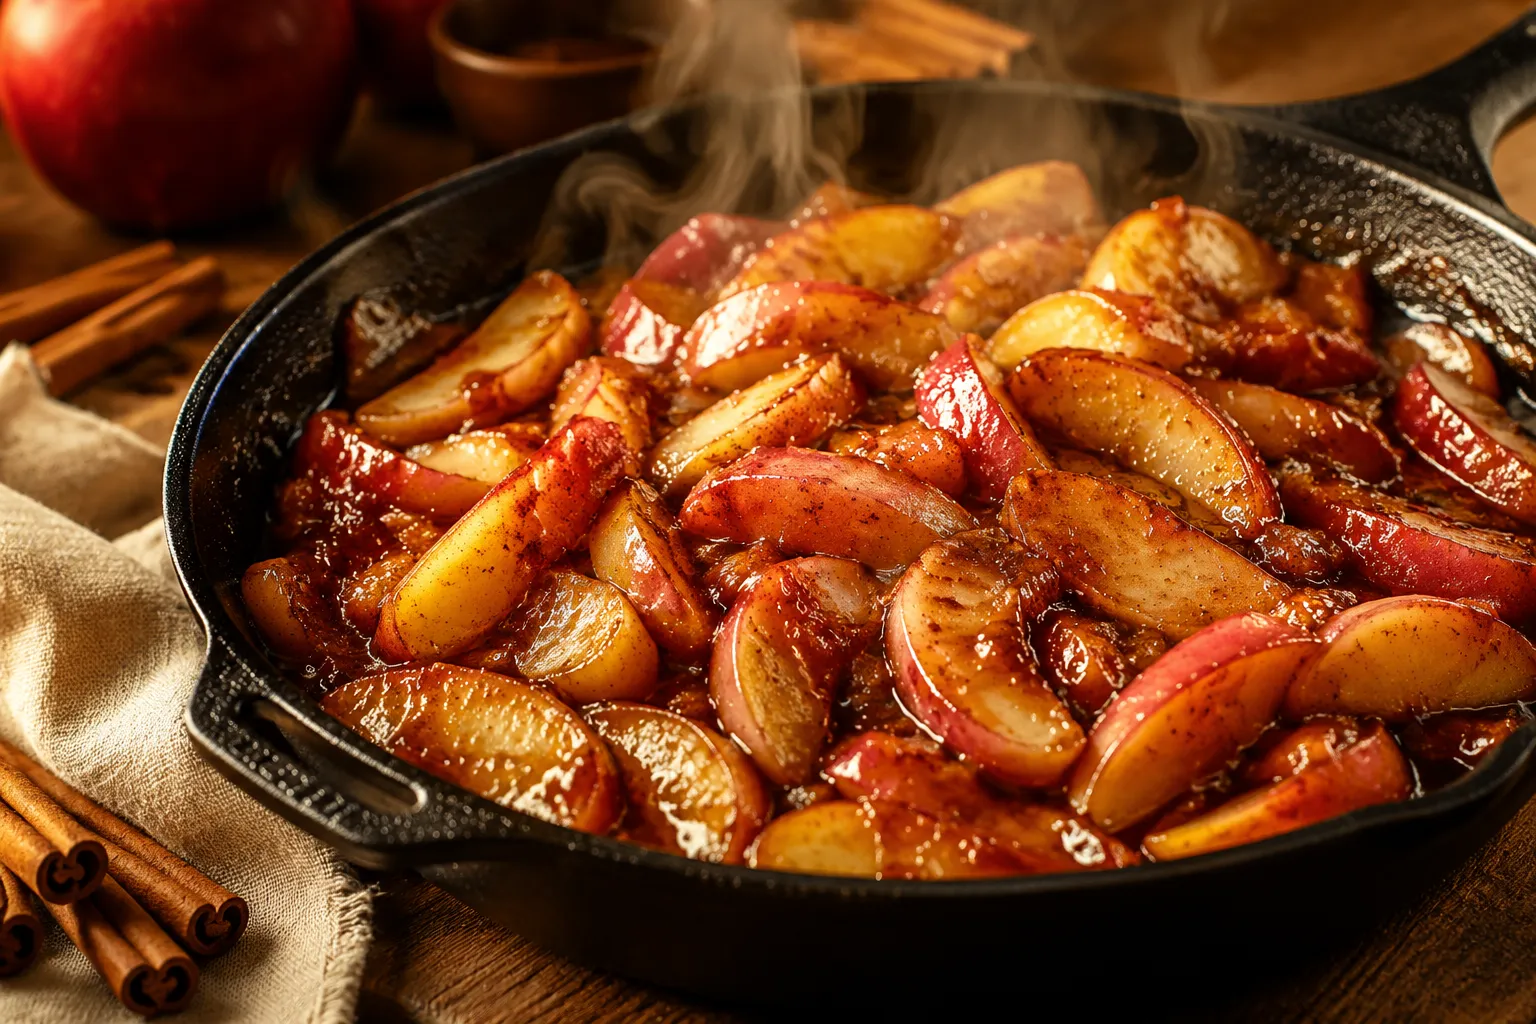
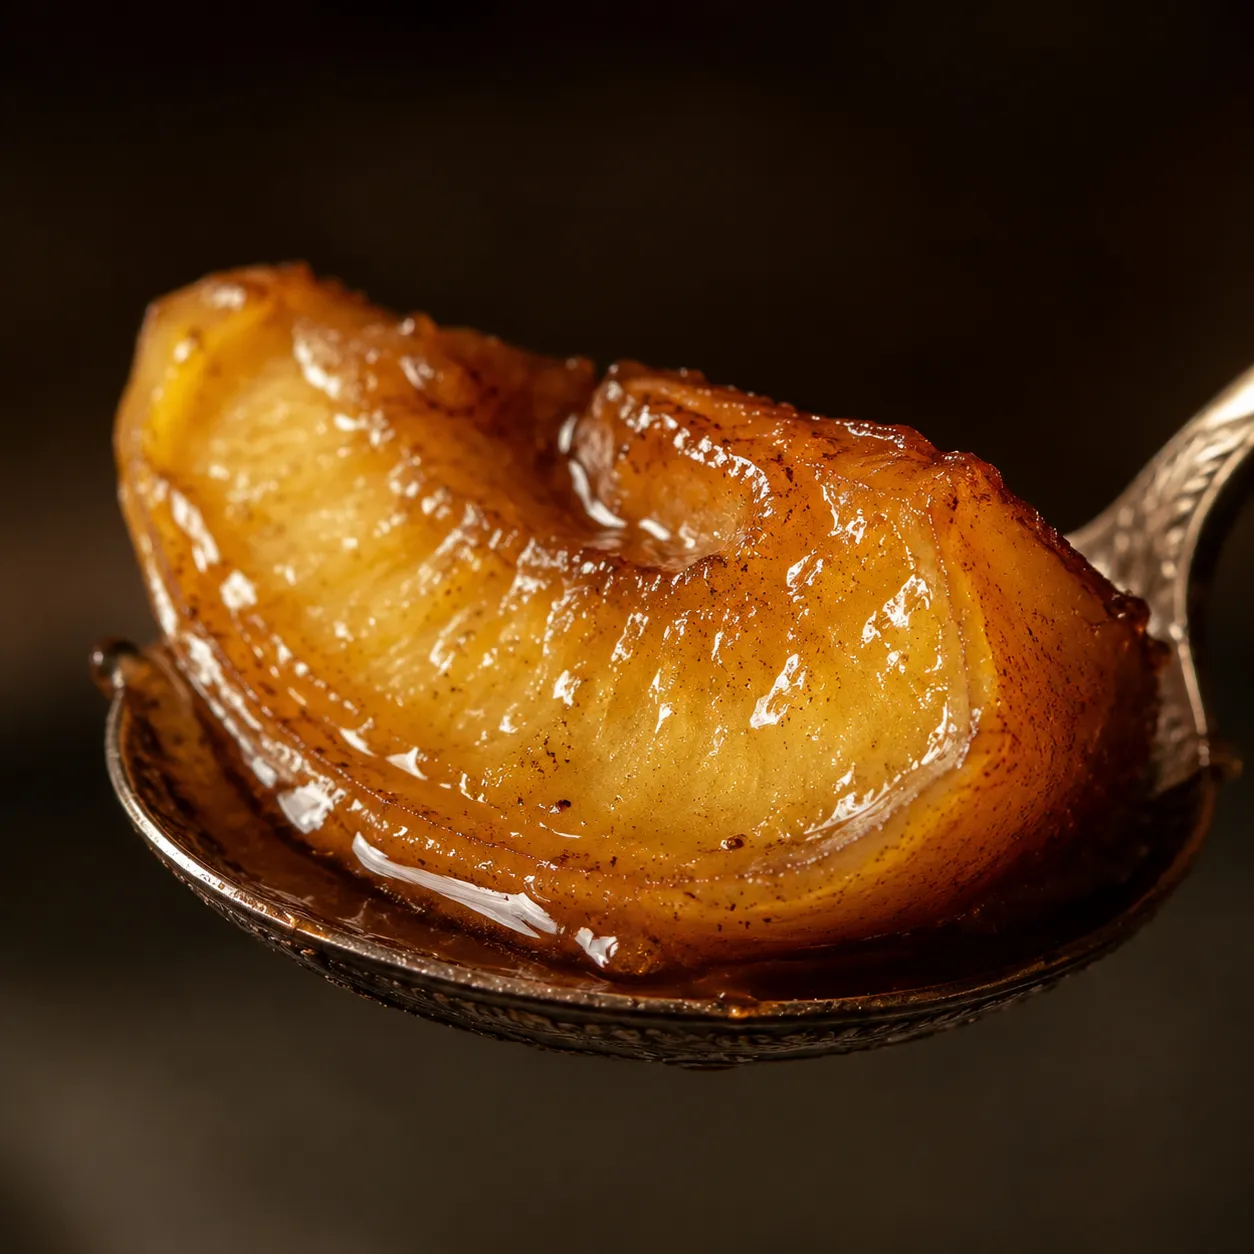
Buttery, cinnamon-kissed fried apples with caramelized edges and tender centers, ready in 20 minutes. The Southern side that doubles as dessert.
This fried apples recipe is the kind of cozy, buttery, cinnamon-spiced skillet dish that turns four ordinary apples into something Sunday-supper worthy in about 20 minutes. One pan, half a stick of butter, packed brown sugar, and a heavy dusting of warm spices. That's the whole story. The payoff tastes like the inside of a homemade apple pie filling, with caramelized edges, glossy syrup, and tender slices that hold their shape instead of collapsing into mush.
I grew up eating Southern fried apples next to country ham at brunch and over warm biscuits at supper, but the same pan works just as well draped over a scoop of vanilla ice cream after dinner. It's a recipe that bends to whatever meal you're feeding, never gets fussy, and rewards even the most distracted home cook. The trick most people miss is using two kinds of apples, one tart and one sweet, so you get layered flavor and varied texture in every single bite.
If you've ever ended up with a sad, watery skillet of overcooked fruit, stick with me. We're going to slice the apples right, bloom the spices in browned butter, and finish with a quick cornstarch slurry so the cinnamon brown sugar sauce coats every slice instead of pooling at the bottom of the pan. By the time you're done reading, you'll have a foolproof method, a smart ingredient swap, and a half-dozen ways to put it on the table tonight.
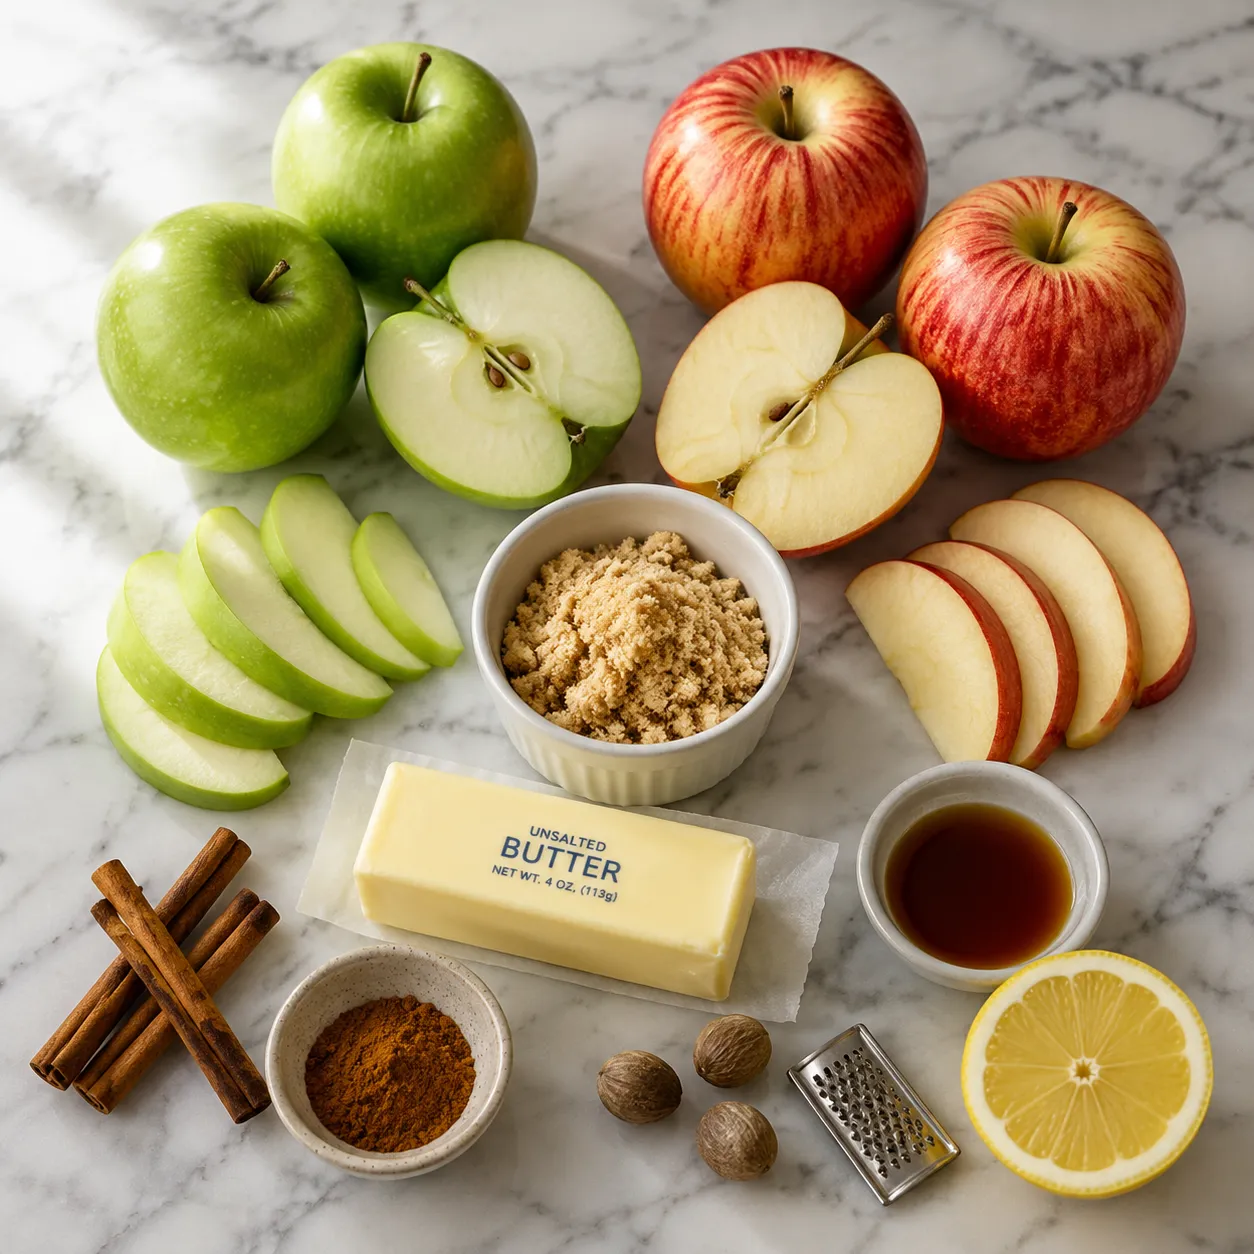
The ingredient list reads like a pantry inventory, but every item earns its keep. Choosing the right apples is the single most important decision in this whole skillet, which is why I almost always reach for a blend rather than a single variety. Tart apples bring backbone and structure; sweet apples melt down just enough to thicken the sauce and round out the flavor.
For my go-to mix, I use two large Granny Smith and two large Honeycrisp. Granny Smith apples are firm and tart and stubbornly refuse to turn to applesauce, even after a hard sear. Honeycrisp lean sweet and floral and break down at the edges into an almost jammy glaze. Gala, Braeburn, Pink Lady, and Fuji all qualify as best apples for baking and pan-frying, so grab whatever looks freshest at the store. Avoid Red Delicious, which turns mealy the second it hits heat, and skip the bagged "baking apples" mix unless you know what's in it.
Beyond the fruit, you'll need unsalted butter, packed light brown sugar, ground cinnamon, a pinch of nutmeg, a splash of fresh lemon juice, and pure vanilla extract. A tiny cornstarch slurry is optional, but it's the difference between syrupy puddles and a glossy glaze that actually clings to every wedge. Salted butter works in a pinch — just skip any added salt at the end. When you nail this fried apples recipe once, you'll find yourself reaching for the same handful of pantry staples on repeat all fall.
The whole process runs about 20 minutes from cutting board to serving bowl, and most of that is hands-off skillet time. The key moves are even slicing, a hot enough pan to caramelize without scorching, and a final thickening step that ties the sauce together. Walk yourself through it once and you'll never need to look at the recipe again.
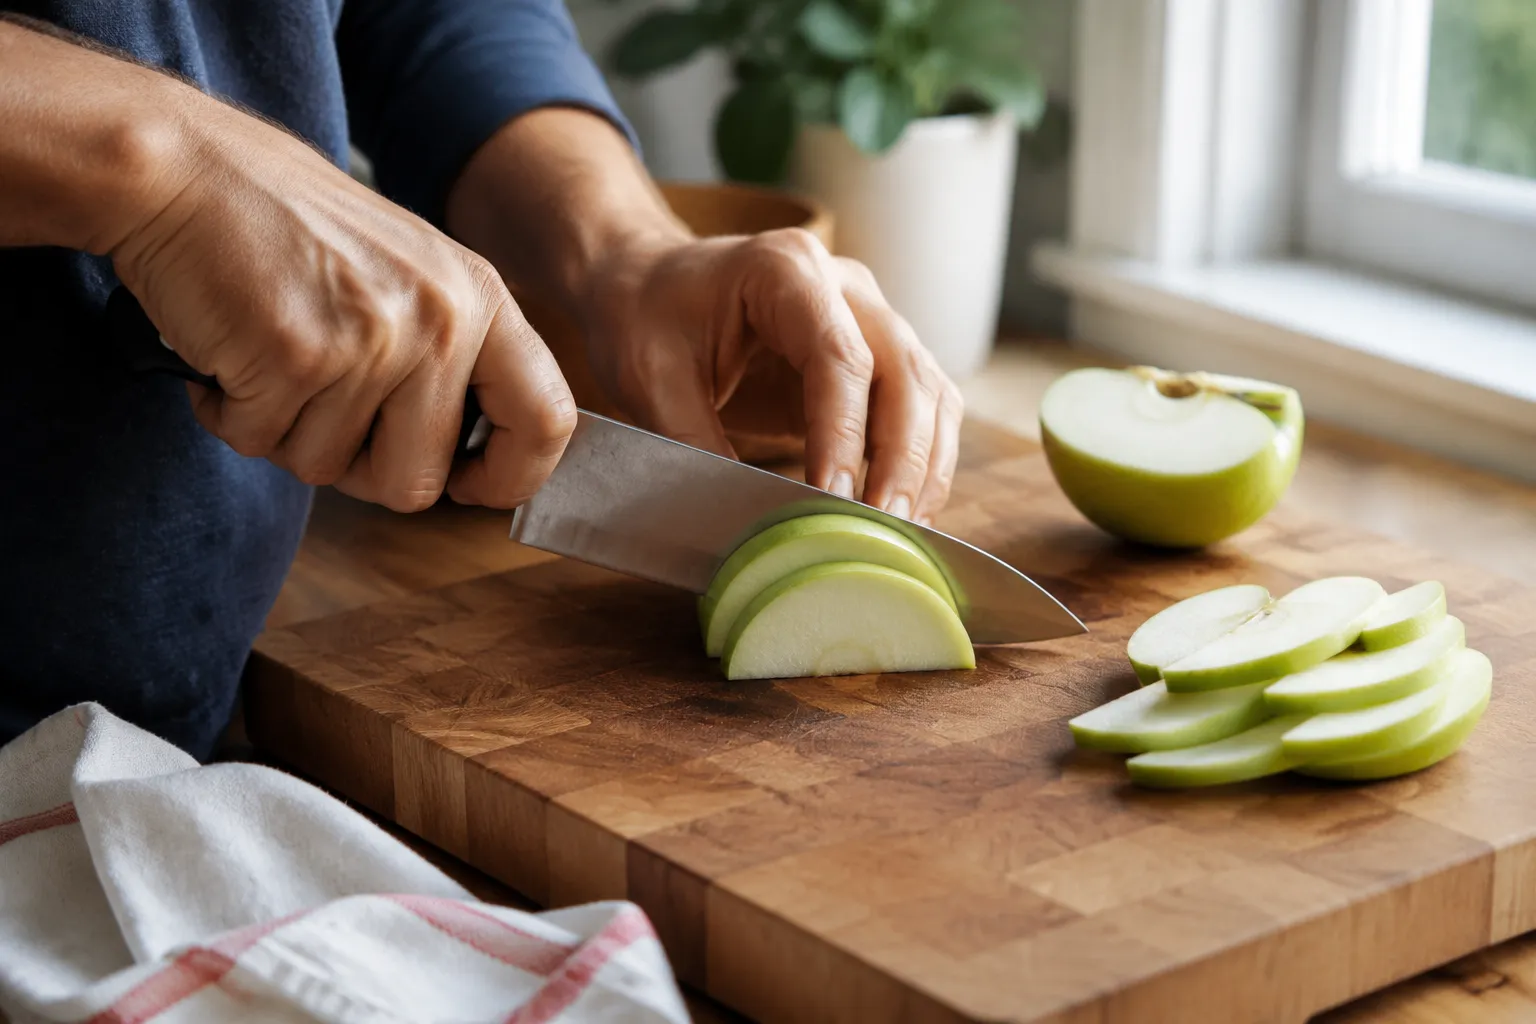
Start by coring your apples and slicing them into even quarter-inch wedges. Uniform thickness matters more than you'd guess; thicker wedges stay raw in the middle while thinner ones go soft, and a mixed pile cooks unevenly and looks messy in the pan. Whether to peel is up to you. Skin-on slices keep more shape and add ruby color and a little fiber, while peeled wedges feel softer and more old-fashioned, the way my grandmother always made them on Sunday mornings.
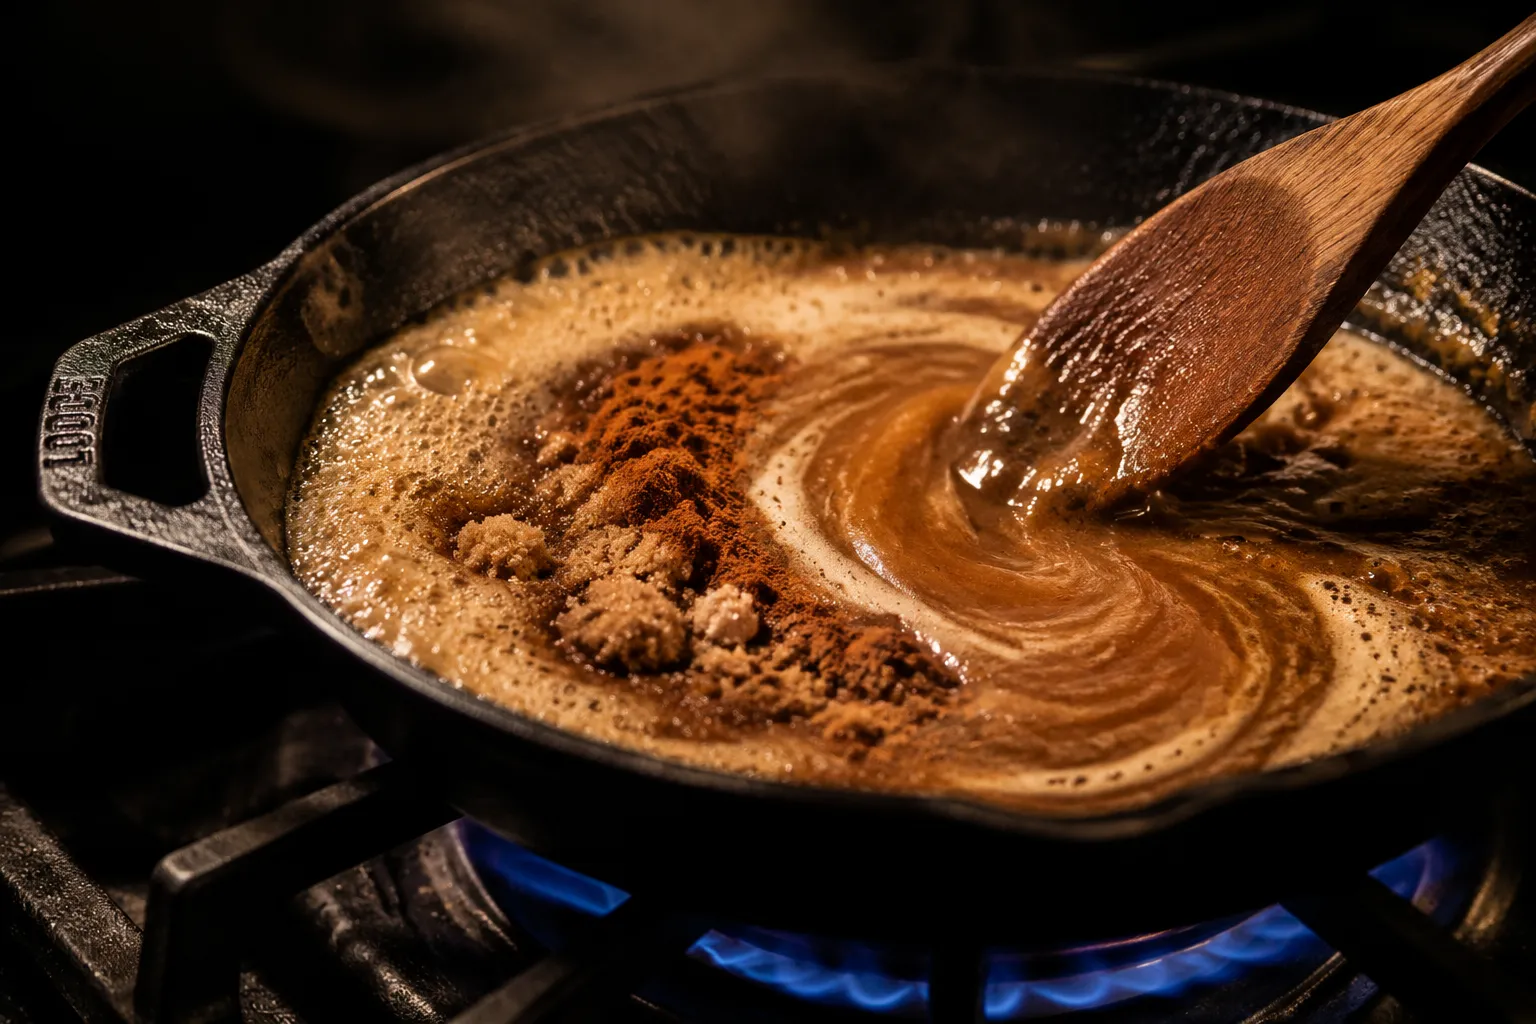
Set a 12-inch cast-iron or stainless skillet over medium heat and melt the butter until it foams and turns the color of light honey. That little bit of browning adds nutty depth that plain melted butter just can't touch, and it takes maybe two minutes of patience. Sprinkle in the brown sugar, cinnamon, and nutmeg and whisk until the mixture looks like wet sand and smells deeply spiced, about 30 seconds. Blooming the spices in fat is what gives this skillet its bakery-window aroma the moment the apples hit the pan.
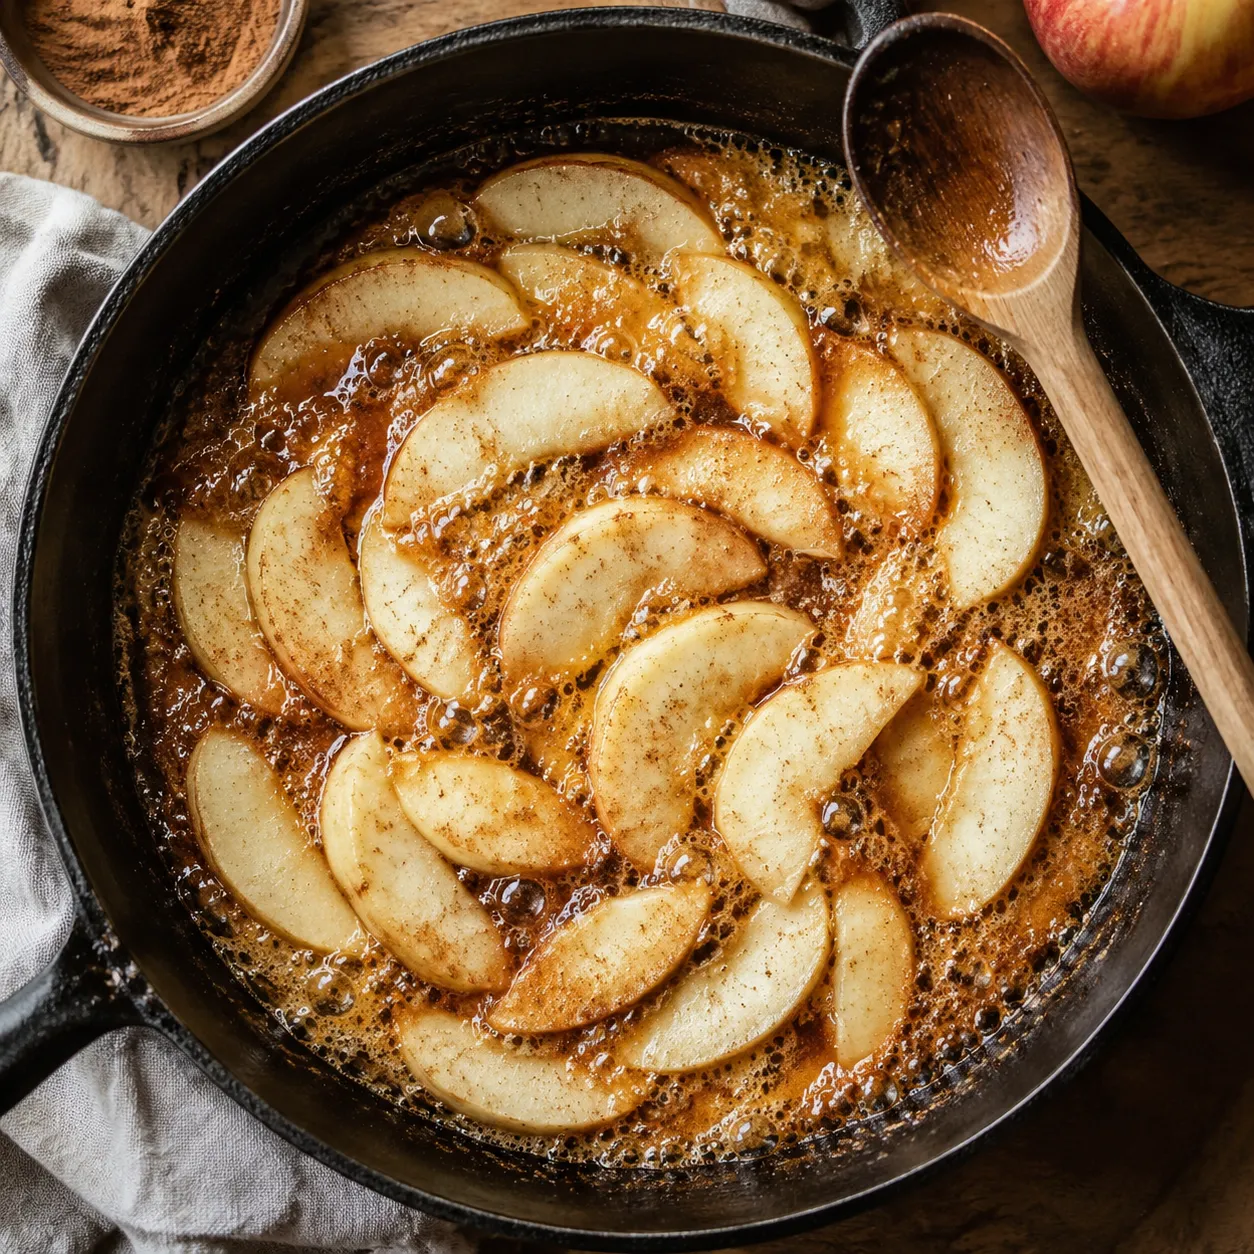
Add the apple slices in a mostly-even layer and toss to coat. Let them sit undisturbed for a full two minutes before stirring so the bottoms can caramelize against the hot surface. Cook for 8 to 10 minutes total, stirring every couple of minutes, until the slices are fork-tender but still hold their shape. Stir in the lemon juice and vanilla in the last minute. If the juices look thin, whisk the cornstarch slurry together, drizzle it in, and simmer another 30 to 60 seconds until the sauce turns glossy and clings.
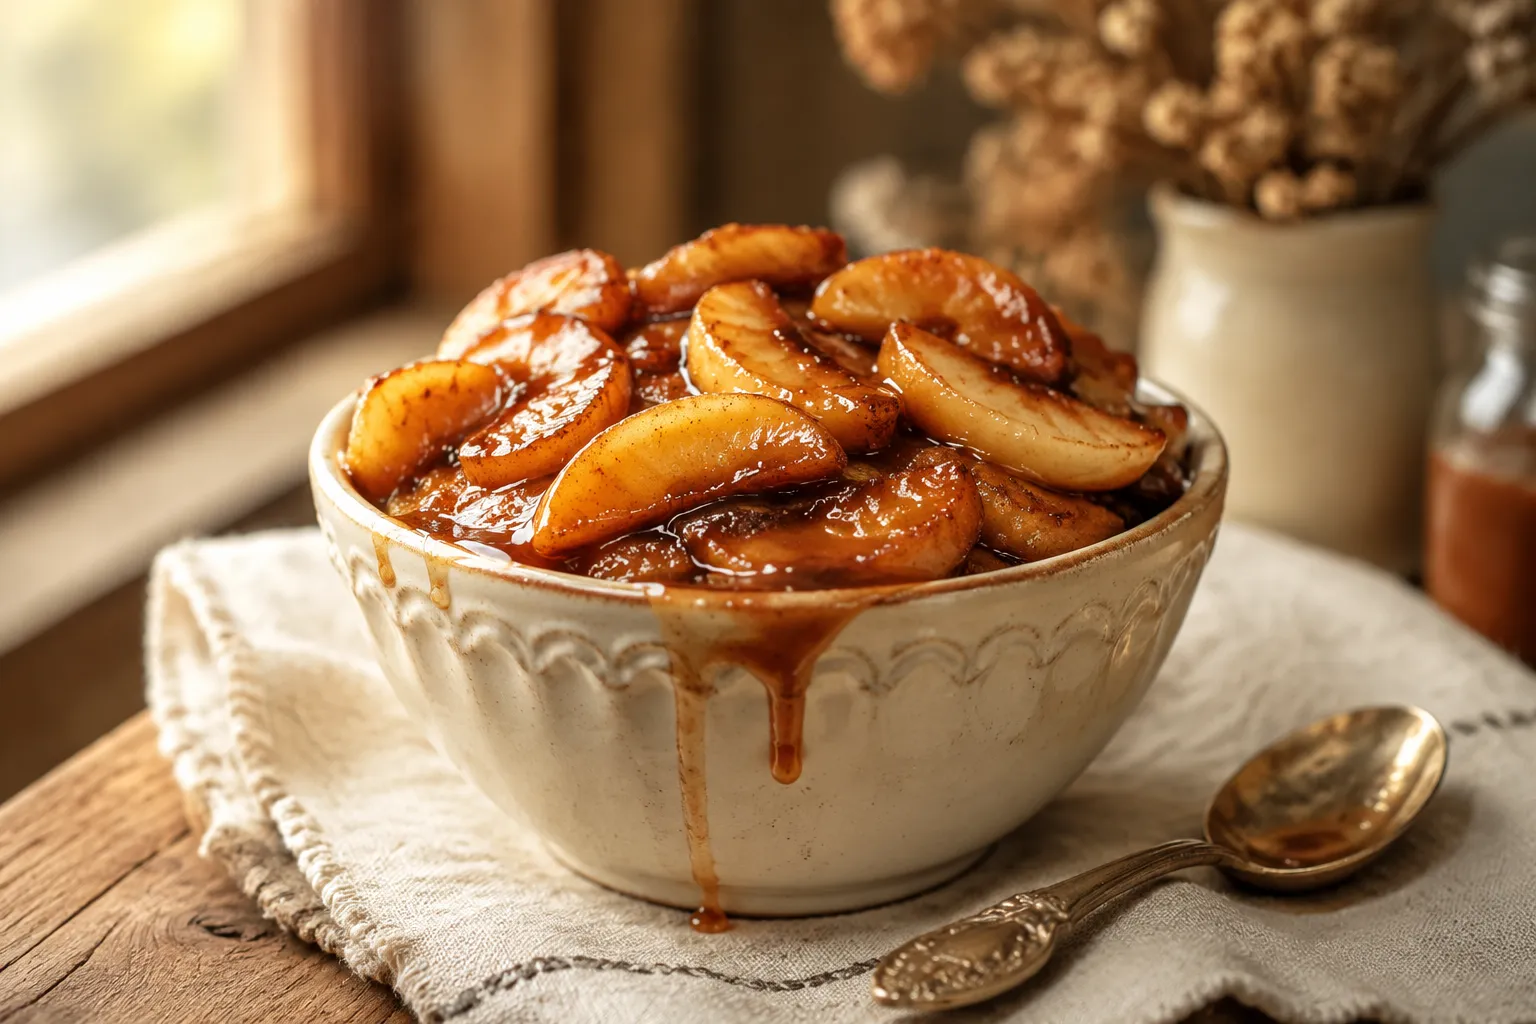
Pull the pan off the heat and let everything rest for five minutes. The sauce thickens as it cools, and the apples drink in even more flavor while they sit. Taste, and add a small pinch of salt or another squeeze of lemon if it needs lifting. Pile into a warm bowl, scrape every last drop of caramel from the pan, and serve while the sauce is still glossy.
Both dishes start with the same ingredients, but the cooking method changes the personality entirely. Fried apples are sautéed in butter over medium-high heat, which gives them caramelized edges, a glossy glaze, and slices that keep their shape on a plate. Stewed apples, on the other hand, are simmered low and slow with apple juice, water, or cider until they break down into something between chunky applesauce and warm compote.
If you want a side dish with texture, structure, and a little chew, fry them in butter the way you just learned. If you're spooning something silky over yogurt, oatmeal, or a slice of pound cake, a stewed apples recipe is the move. The good news is you don't have to choose: cook the same blend a few minutes longer with a splash of water or cider and you've crossed straight from one camp to the other. Stewed apples freeze beautifully and double as a quick homemade apple pie filling for a last-minute galette, hand pie, or crumble.
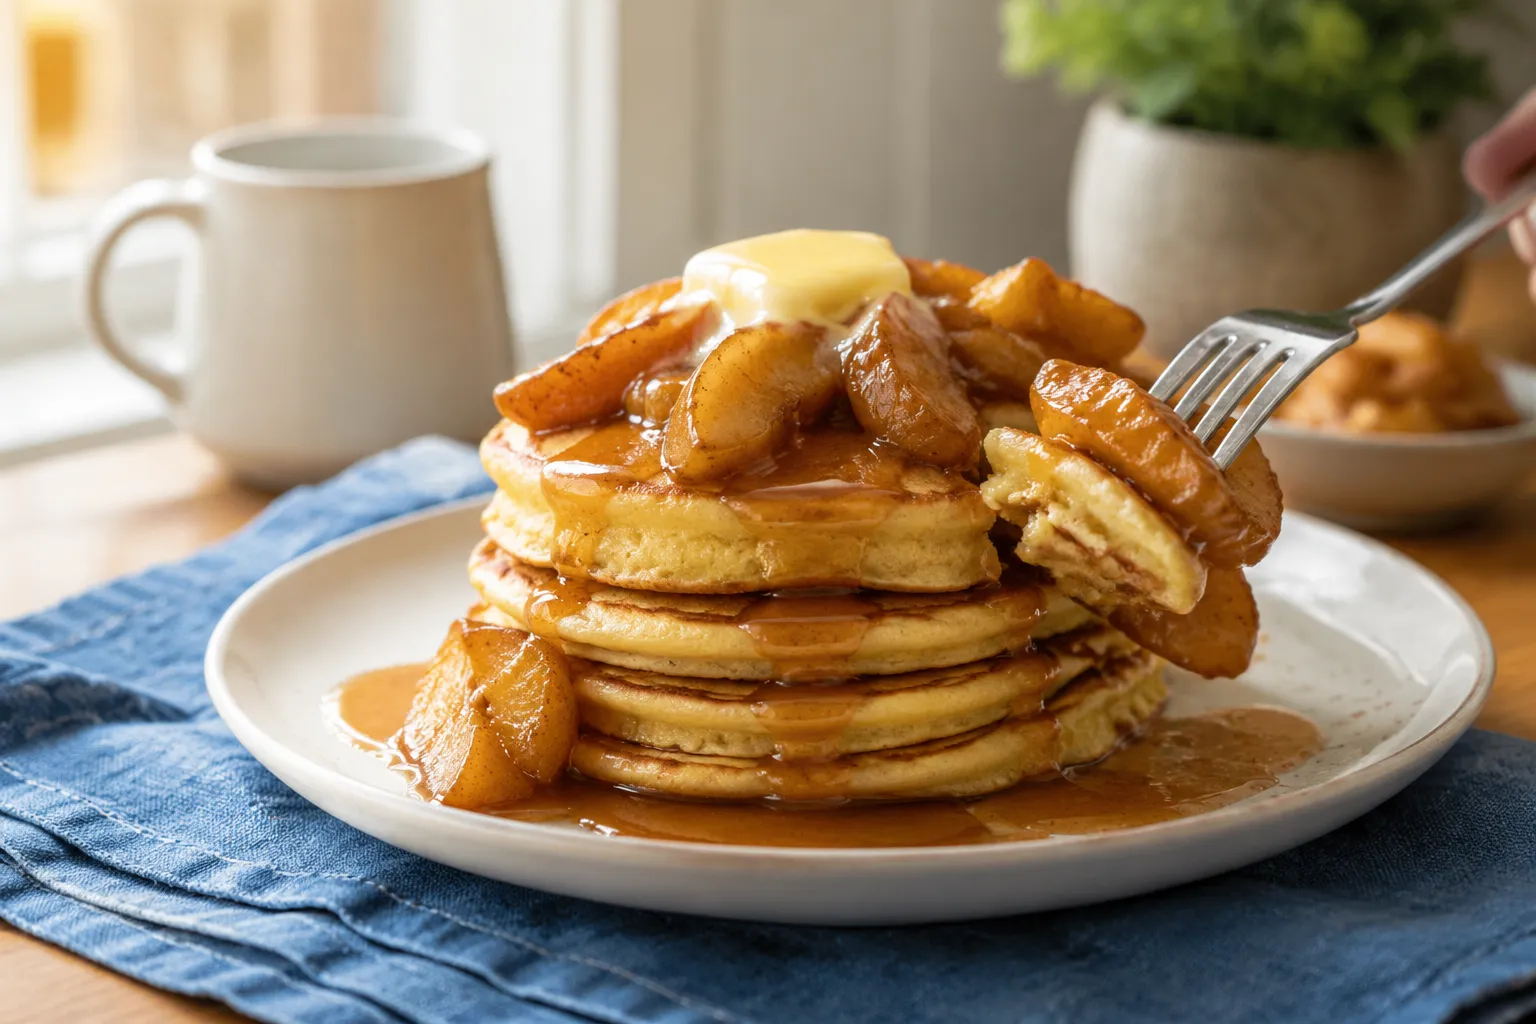
This skillet is the rare side that crosses the line between sweet and savory without breaking stride. For breakfast, spoon the warm apples over fluffy buttermilk pancakes or apple cinnamon pancakes for a stacked, syrupy plate that needs no maple syrup at all. They're equally at home over hot oatmeal, Greek yogurt with granola, French toast, or piled into a warm split biscuit with a curl of salted butter melting down the sides.
For dinner, fried apples are the classic Southern partner to pork chops, baked ham, and roast pork loin. The sweet-tart sauce cuts richness the way applesauce does, only with infinitely more character and caramel depth. Roast chicken, breakfast sausage, smoked turkey, and even seared duck breast all welcome a generous spoonful on the side. I've also been known to slide a few warm slices into a grilled cheese with sharp cheddar — try it once and you'll see.
For dessert, this is where the recipe really shines. Warm apples over a scoop of vanilla bean ice cream becomes an instant skillet apple sundae, especially with a crumble of toasted pecans on top. Spoon them over pound cake, gingerbread, cheesecake, or a stack of waffles. Layer them into a parfait with whipped cream and crushed graham crackers for an easy no-bake apple crisp situation. Or just eat a bowl with a spoon, standing at the counter, no judgment.
One quick make-ahead note before you go: this fried apples recipe actually tastes better the next day, after the cinnamon and vanilla have time to settle into the sauce. Cook a double batch on Sunday and you'll be set for breakfast all week long. Detailed storage and reheating tips are right below the recipe card so your second-day apples stay every bit as good as the first.
Once you've nailed the basic skillet, this recipe takes flavor detours like a champ. Swap the spices, add a splash of booze, or layer in fall ingredients depending on what's hanging out in your pantry. Each variation uses the exact same method — just adjust the seasonings before the apples go in.
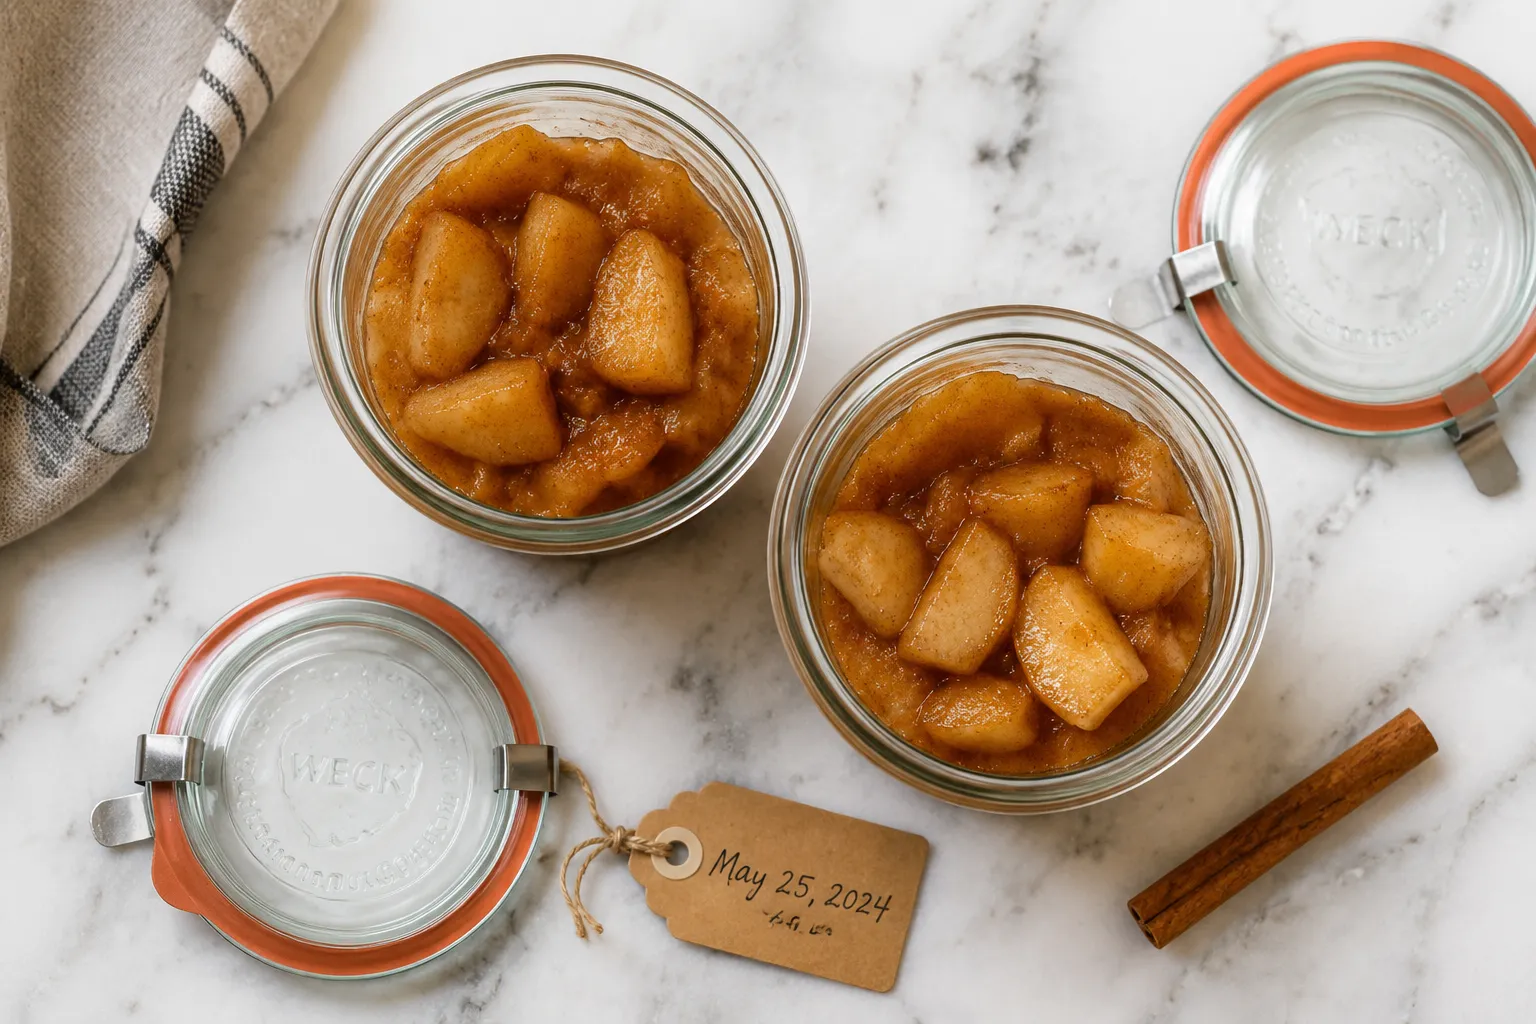
Cooled fried apples store beautifully in an airtight container or glass jar in the refrigerator for up to 4 days. The flavor actually deepens overnight as the cinnamon and vanilla settle into the sauce, so leftovers are arguably better than the original batch. For longer storage, freeze portions in zip-top freezer bags or jars (leave half an inch of headspace) for up to 3 months and thaw overnight in the fridge before reheating.
To reheat without losing texture, warm gently in a skillet over medium-low heat with a splash of water or apple cider, stirring just until heated through. The microwave works in a pinch — 30 to 45 seconds at 50% power, stirring halfway — but be careful not to overdo it or the apples will turn soft and lose their shape. If the sauce tightens up too much during storage, loosen it with another spoonful of water or cider before serving and it'll come right back to life.