Chocolate Peppermint Cookies (Chewy & Fudgy)
Ingredients
Scale
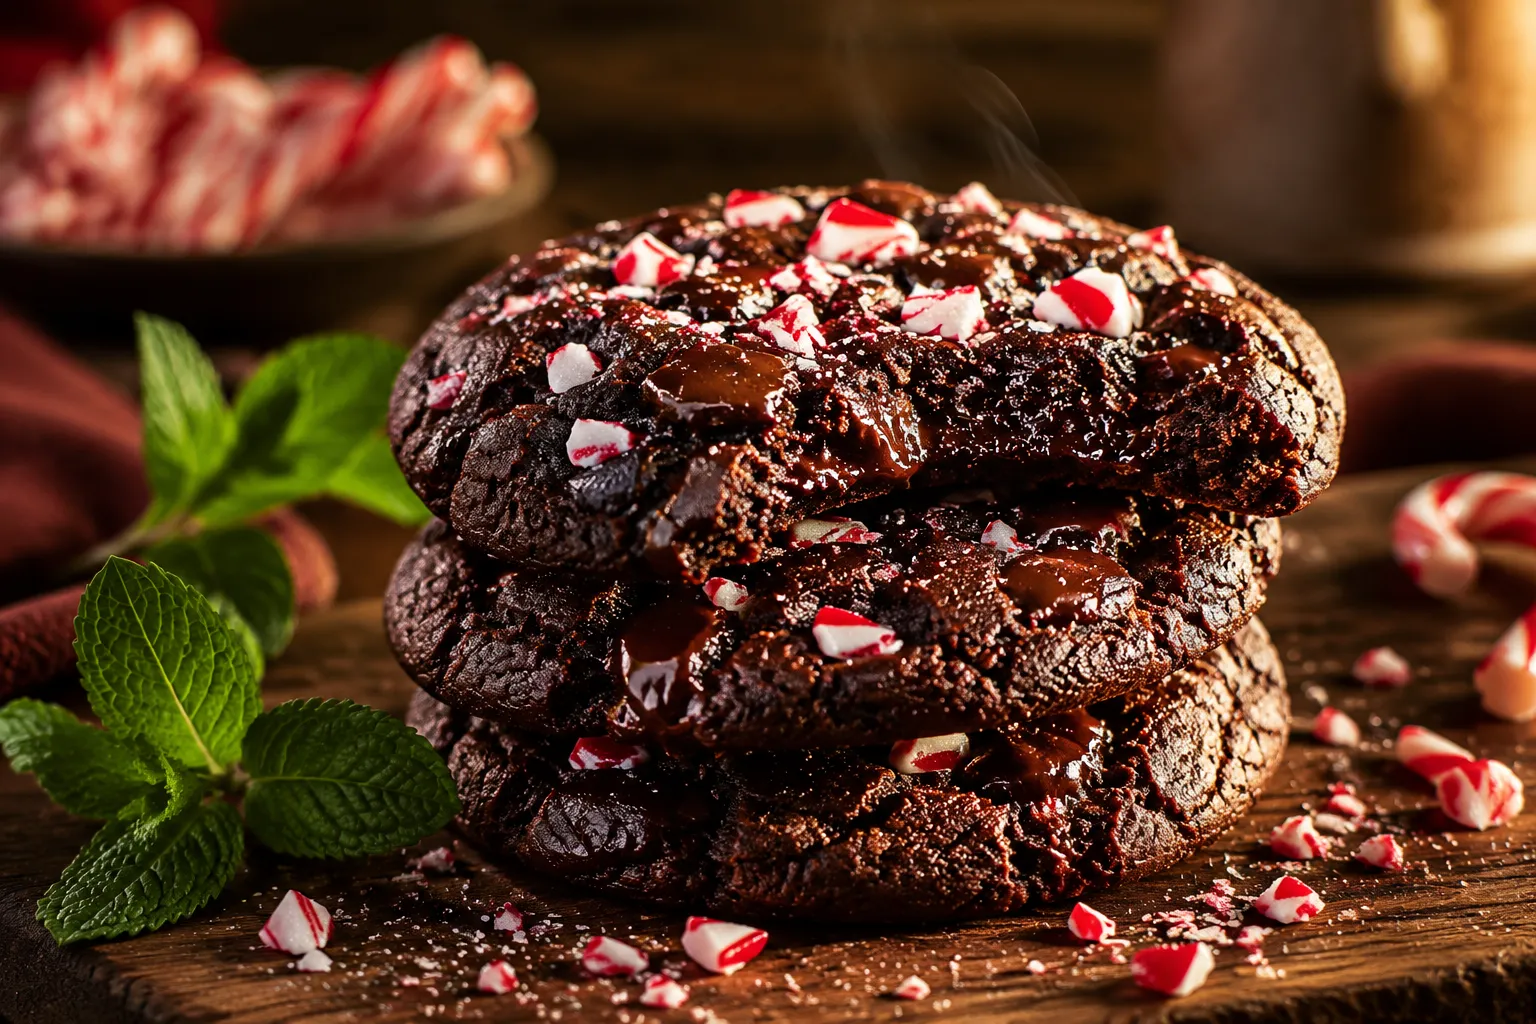
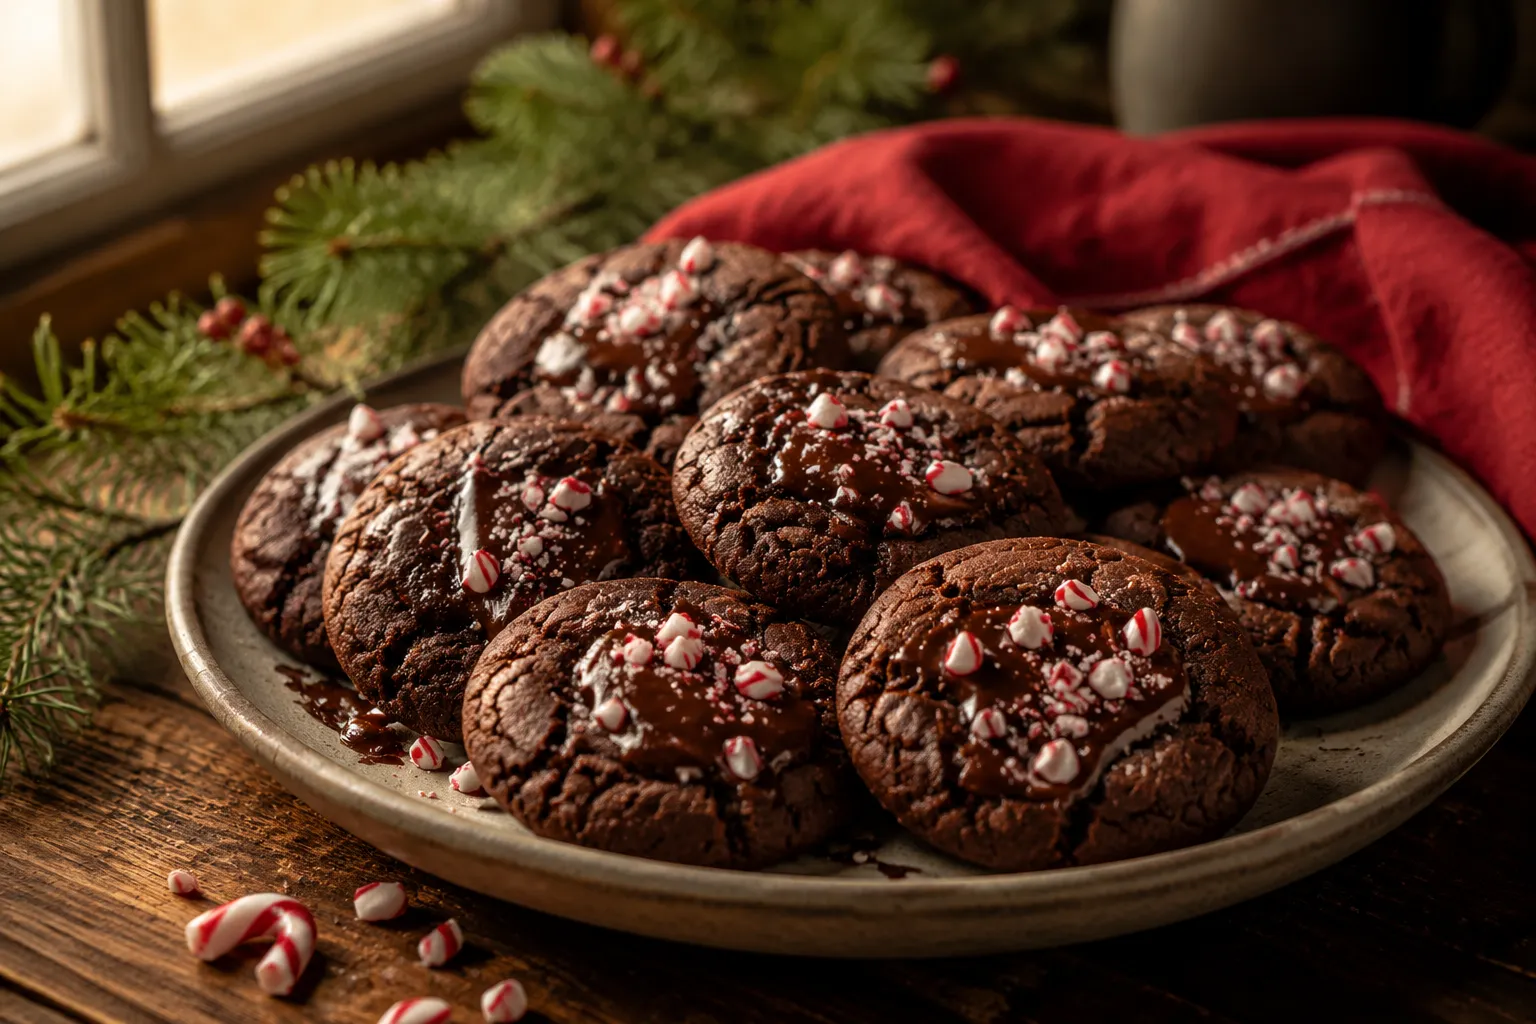
Rich, fudgy chocolate peppermint cookies with crackly tops, melty chocolate chunks, and a festive crunch of crushed candy canes in every bite.
Chocolate peppermint cookies are the holiday cookie I bake every December without fail, and after years of testing tray after tray, this is the version I'm convinced belongs on your cookie plate this year. The dough is rich and dark, almost like a flourless brownie, then studded with big chunks of semi-sweet chocolate that stay melty and puddly even after the cookies cool. A whisper of pure peppermint extract runs through every bite, and the moment they come out of the oven, I press a generous shower of crushed candy canes onto the tops so the sugar half-melts into the surface and locks in with a glossy, jewel-like crackle.
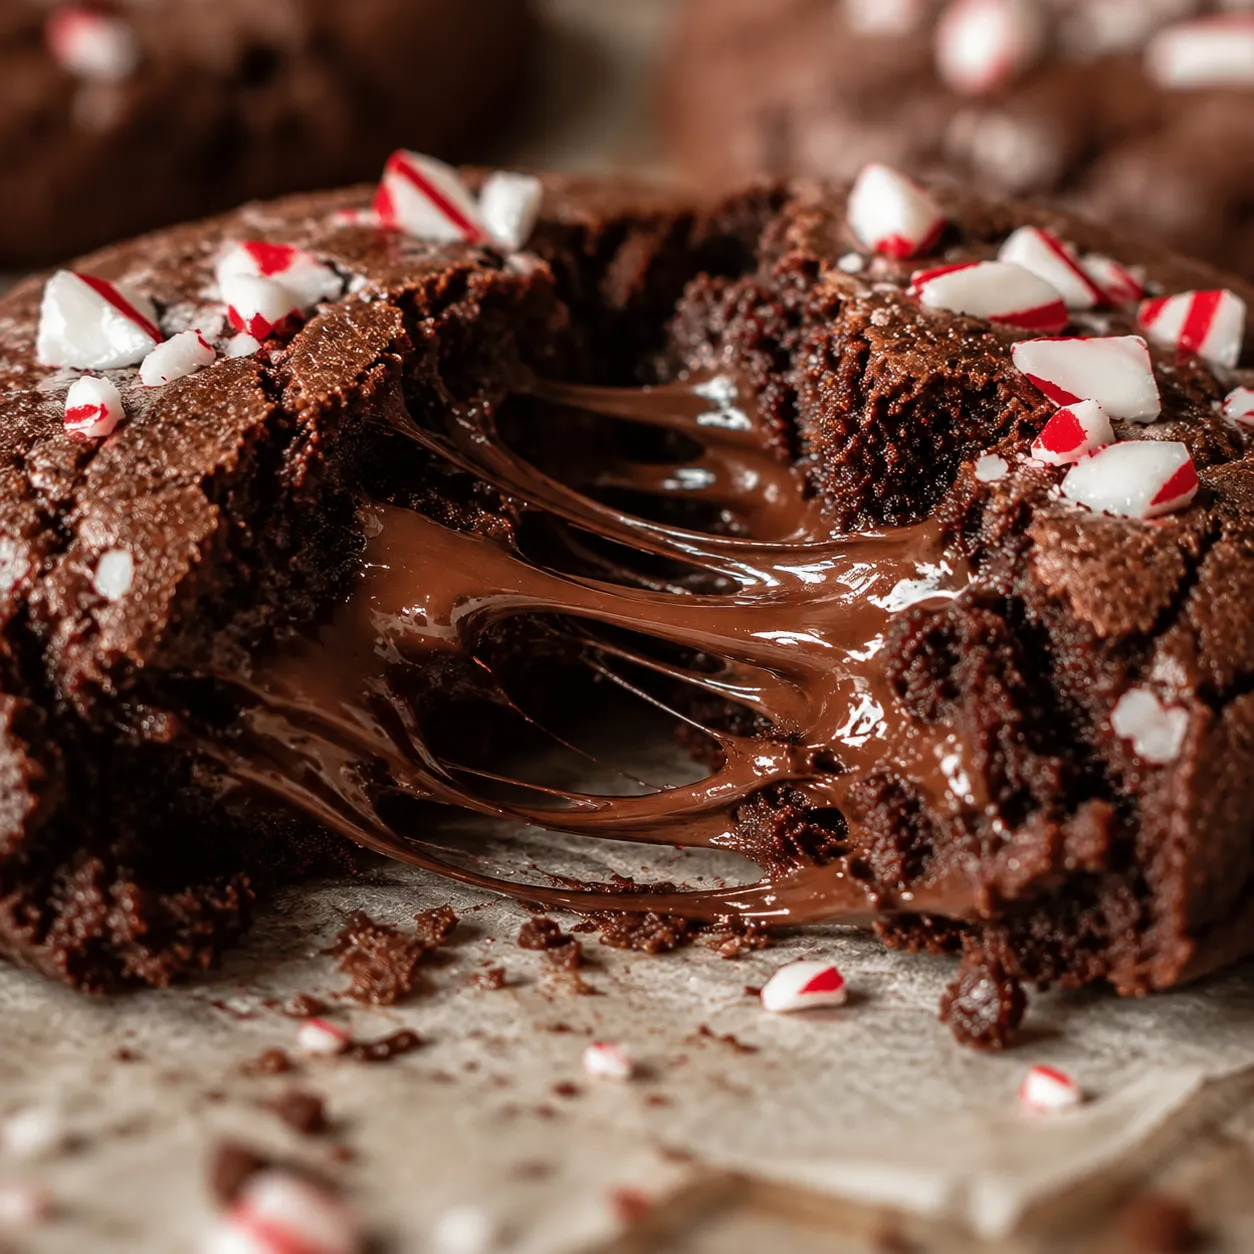
If you've ever wanted a cookie that looks straight out of a holiday magazine but actually tastes as good as it photographs, this is the recipe to bookmark. The texture is soft and fudgy in the middle with crinkled tops and just enough chew at the edges, and the candy cane finish is genuinely festive without veering into novelty territory. They're built from pantry staples, the dough freezes beautifully for fresh-baked cookies on demand, and they hold up gorgeously in cookie tins, which makes them my go-to for last-minute gifting and Christmas cookie exchange ideas.
I've baked a lot of double chocolate cookies in my life, and what makes these chocolate peppermint cookies stand out is the balance. The cocoa is deep but not bitter, the peppermint is bright but never toothpaste-sharp, and the chunks of chopped chocolate keep things lush rather than dry. Once you bake a batch, they tend to become a non-negotiable on the holiday baking list.
The ingredient list is short and forgiving, but a few choices make a real difference in the final cookie. You want every component to pull its weight, especially the cocoa, the chocolate, and the peppermint, because there's nowhere for a dull ingredient to hide in a cookie this dark and intense.
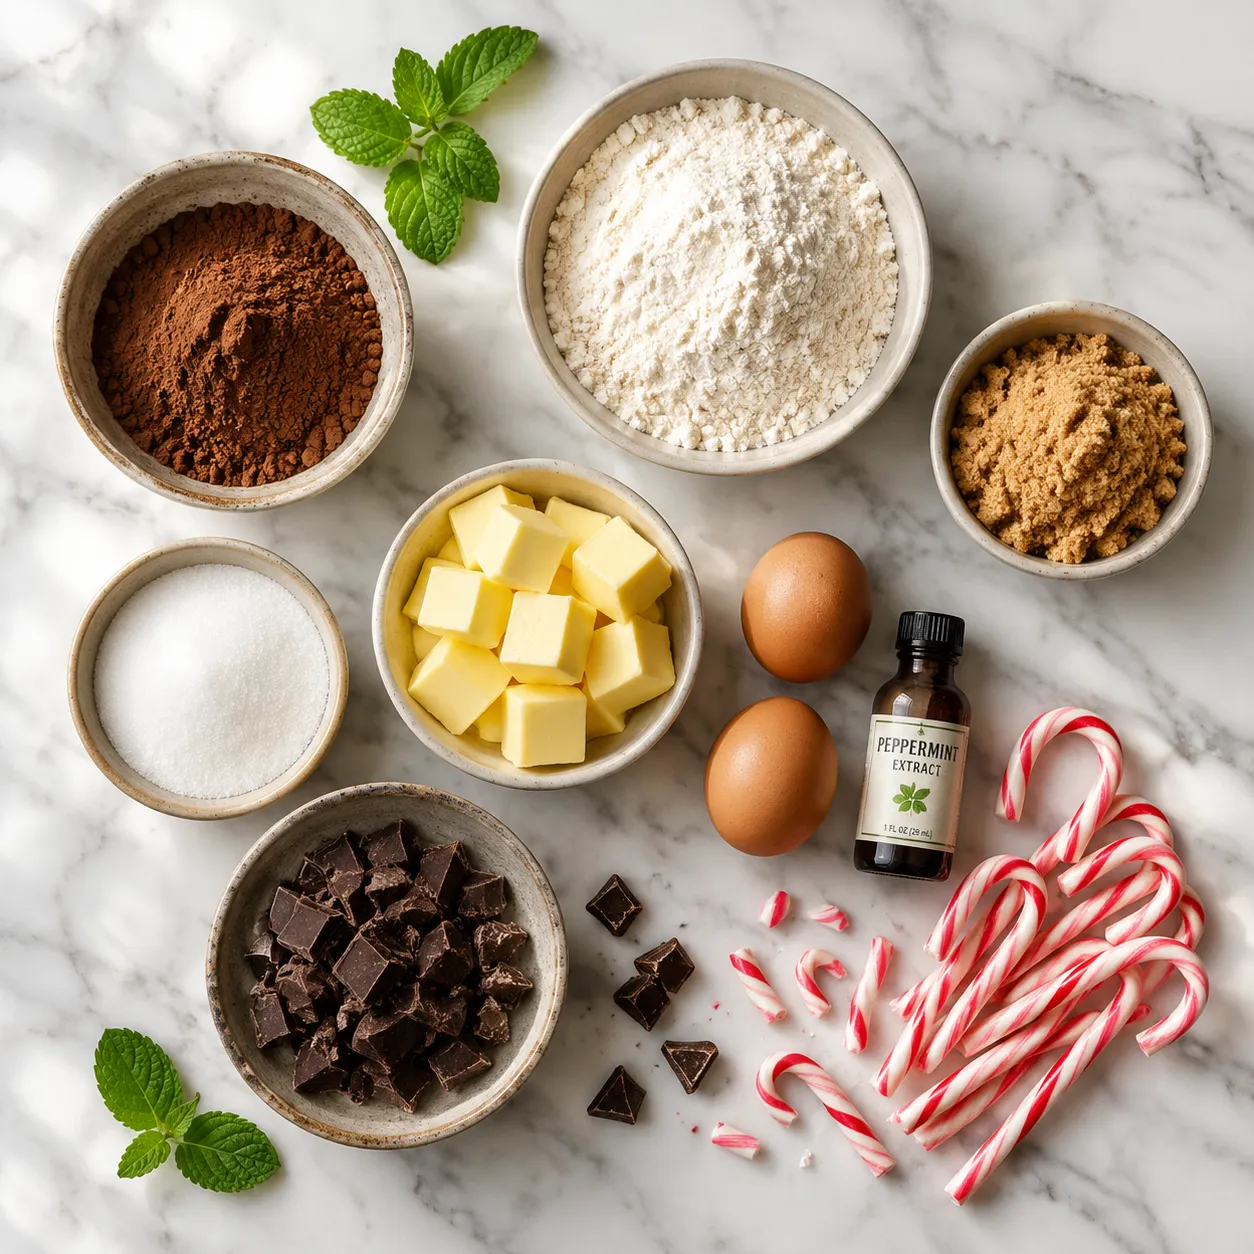
The base of the dough leans on two forms of chocolate working together. Unsweetened cocoa powder gives the cookie its deep, almost-black color and bittersweet backbone, while a generous amount of chopped semi-sweet chocolate or chocolate chunks delivers those gooey, melty pockets you want when you tear a warm cookie in half. I prefer Dutch-process cocoa for an even darker, fudgier crumb, but natural cocoa works beautifully too. Use a chocolate bar you'd actually snack on, since waxy budget chips don't ooze the same way and can taste a little flat.
This is the single biggest place home bakers get tripped up. Pure peppermint extract is distilled from peppermint oil and tastes like the inside of a candy cane, which is exactly what you want here. Mint extract, on the other hand, is a blend of peppermint and spearmint and reads more herbal, leaning toward toothpaste rather than dessert. Always check the bottle and reach for one labeled pure peppermint extract. A single teaspoon is plenty for the whole batch, since peppermint is potent and easy to overdo.
Crushed candy canes give these cookies their signature look and a sharp peppermint crunch. Use regular red-and-white candy canes or the larger peppermint sticks from the bulk bin, and crush them just before baking so they stay glossy and don't weep. If you want to push the peppermint flavor further, fold in a half cup of peppermint baking chips along with the chocolate chunks. They melt into soft, minty pockets that complement the candy cane crunch on top without overwhelming the chocolate.
The method here mirrors a classic American chocolate chip cookie: cream the fats and sugars, add the eggs and extract, fold in the dry ingredients, then chill before baking. The chill step is what separates a thick, bakery-style cookie from a flat, greasy one, so don't skip it even when you're tempted to rush. The full numbered method lives in the recipe card below, but here's what's happening at each stage.
Start with softened (not melted) butter and beat it with both granulated and light brown sugar until the mixture is pale, fluffy, and clearly increased in volume, about three to four minutes on medium speed. The brown sugar adds molasses notes and chew, while the granulated sugar helps build those crackly, shiny tops. This is the structural foundation of the cookie, so give it real time, then beat in the eggs one at a time followed by the peppermint extract.
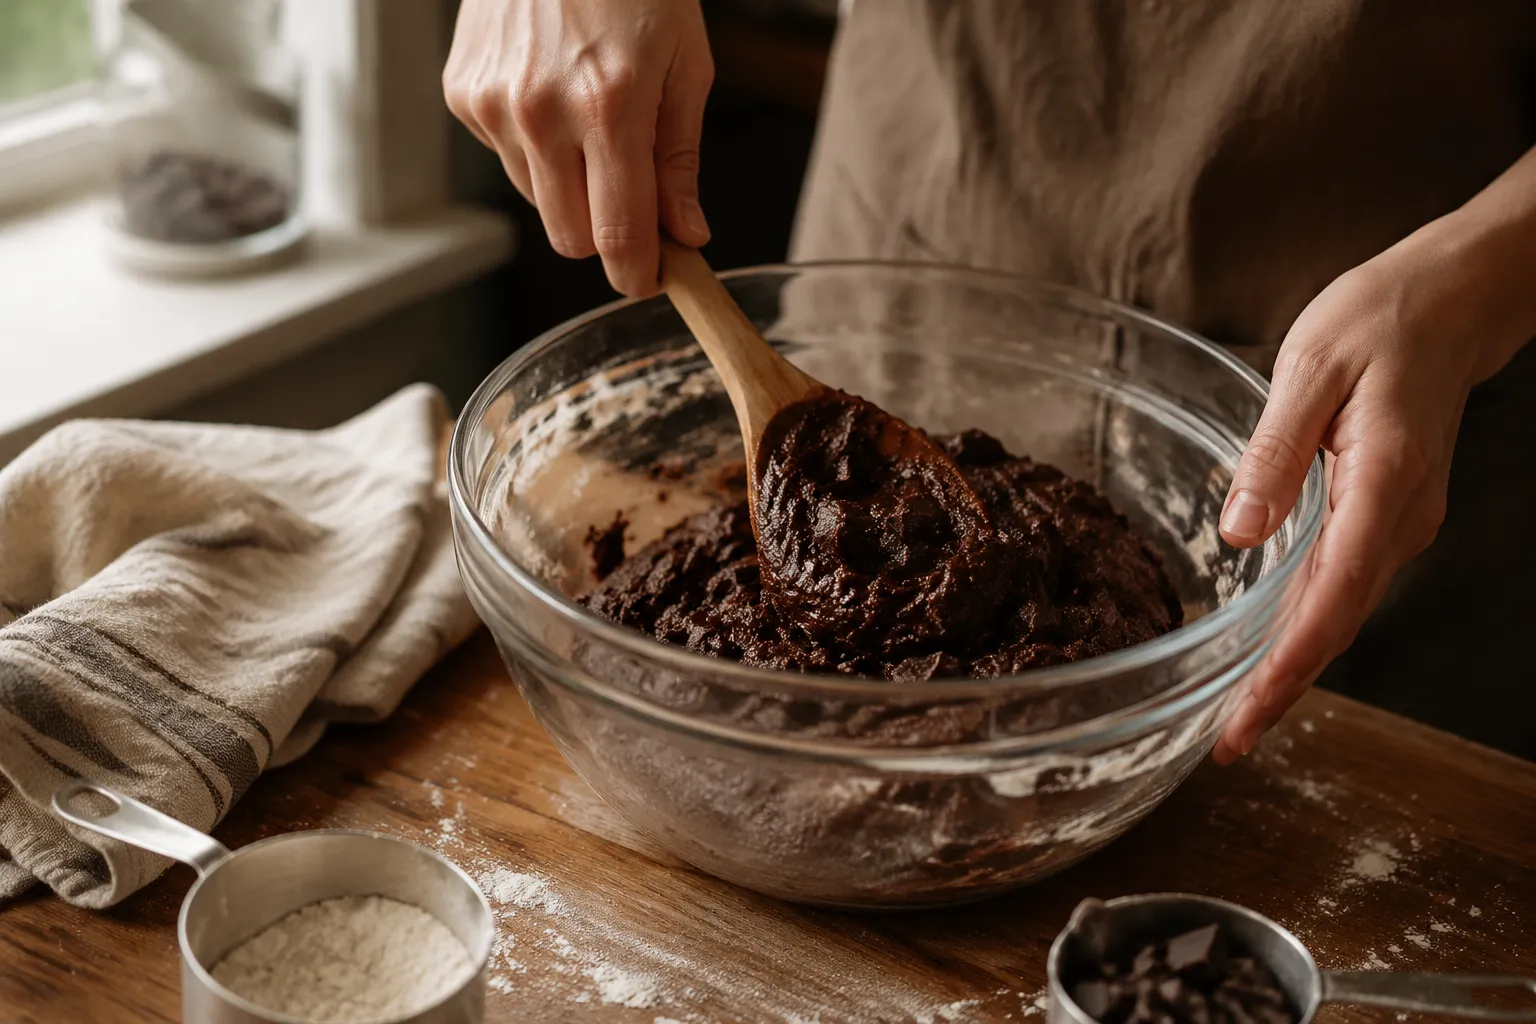
Whisk the flour, cocoa powder, baking soda, and fine sea salt together in a separate bowl, then add it to the wet ingredients in two additions, mixing on low just until you no longer see streaks of flour. Overmixing develops gluten and turns the cookies tough, so stop as soon as the dough comes together. Fold in the chopped chocolate or chocolate chunks by hand with a sturdy spatula. The dough will look glossy, almost-black, and slightly tacky to the touch.
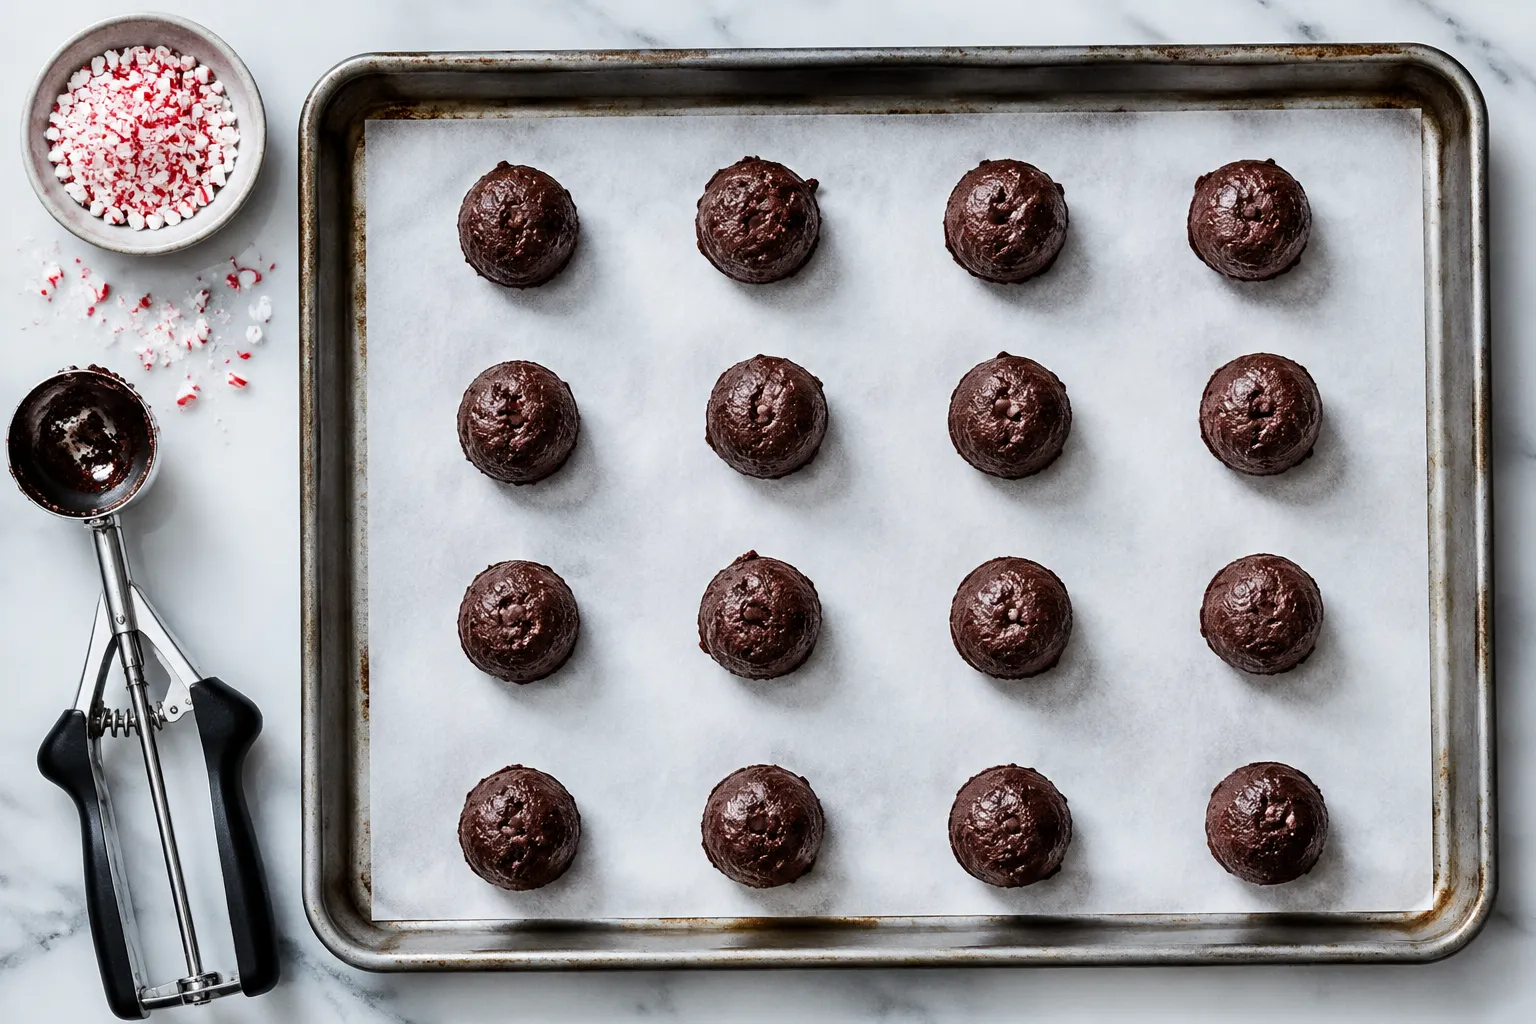
Use a large cookie scoop (about three tablespoons) to portion the dough into balls, then arrange them on a parchment-lined sheet pan and chill for at least 30 minutes, or up to overnight. Chilled dough holds its shape, bakes up taller, and develops deeper flavor as the flour fully hydrates. When you're ready to bake, space the cookies several inches apart on a fresh parchment-lined sheet and bake at 350°F for 10 to 12 minutes, until the edges look set but the centers still look soft and a touch underdone.
The finishing move is what makes these cookies look like the cover of a holiday cookbook. The second the cookies come out of the oven, while they're still puffy and glossy, scatter a generous pinch of crushed candy canes over the tops and lightly press them in with your fingertips. The residual heat melts the sugar just enough to glue the shards in place, giving you that gorgeous stained-glass finish. If you're not sure how to crush candy canes without sending shards across the kitchen, seal unwrapped canes in a zip-top bag, wrap that bag in a kitchen towel, and tap firmly with a rolling pin until you get a mix of fine dust and small shards.

Let the cookies rest on the pan for five minutes to finish setting, then transfer to a wire rack. They'll firm up as they cool but stay deeply fudgy in the center, which is exactly the texture you're after.
These cookies are show-stopping enough to serve on their own, but they really shine alongside other holiday classics. The peppermint chocolate combination plays well with creamy, cozy drinks and is sturdy enough to hold up as the base of more elaborate desserts, so it's worth thinking past the cookie plate.
There's a reason peppermint chocolate is a winter beverage staple, and these cookies were practically engineered to be dunked. Serve them with a steaming mug of hot cocoa topped with whipped cream and a few extra crushed candy cane shards, or pour an espresso shot over warm milk for a peppermint mocha that mirrors the cookie's flavor profile. For a slightly more grown-up presentation, drizzle the cookies with homemade chocolate ganache and serve with strong black coffee.

If you're putting together a tin of mixed holiday cookies for friends, neighbors, or coworkers, these are the anchor cookie. Their dark color and red-and-white tops contrast beautifully with buttery shortbread, snickerdoodles, and almond crescents. I like to stack them in a parchment-lined tin alongside other easy holiday cookie recipes, layered with wax paper to keep the candy canes crisp and the chocolate from sticking. Tie the lid with twine, slip in a kraft tag, and you've got an instant gift that looks like you spent the whole weekend on it.

For a dessert that takes these cookies into proper showpiece territory, sandwich a scoop of peppermint or vanilla ice cream between two cooled cookies, roll the exposed ice cream in extra crushed candy canes, and freeze until firm. They're spectacular on a holiday dessert table and make an unexpected addition to a tray of candy cane desserts. You can prep them up to a week ahead, which is a small miracle during the chaos of late December.
These chocolate peppermint cookies are the kind of recipe that earns a permanent spot in your holiday rotation. They look impressive without being fussy, they freeze and travel like champs, and they hit that exact sweet-spot of nostalgic and elevated that defines the best holiday cookies. Bake a batch this weekend, tuck a few into a tin for a friend, and save the prettiest ones for yourself alongside a mug of something hot.
This base recipe is endlessly adaptable, which is exactly what you want during a busy baking season. The chocolate-peppermint flavor combination plays well with everything from espresso to white chocolate, so once you've nailed the master version, try one of these spinoffs:
Store cooled cookies in an airtight container at room temperature for up to 5 days. Tuck a slice of plain white bread into the container to keep them soft and chewy — the cookies will pull moisture from the bread instead of drying out. Stack with parchment between layers so the candy canes don't stick or get sticky from contact with chocolate.
For longer storage, the dough freezes better than the baked cookies. Scoop the dough into balls, freeze them solid on a sheet pan, then transfer to a labeled zip-top bag for up to 3 months. Bake from frozen at 350°F for about 13 to 14 minutes, adding the candy canes immediately after baking just like you would with fresh dough. Baked cookies can also be frozen, well-wrapped, for up to 2 months — thaw at room temperature and refresh in a 300°F oven for 3 minutes if you want that just-baked feel.