Ice Cream Machine Ice Cream Maker: Best Homemade Recipe
Ingredients
Scale
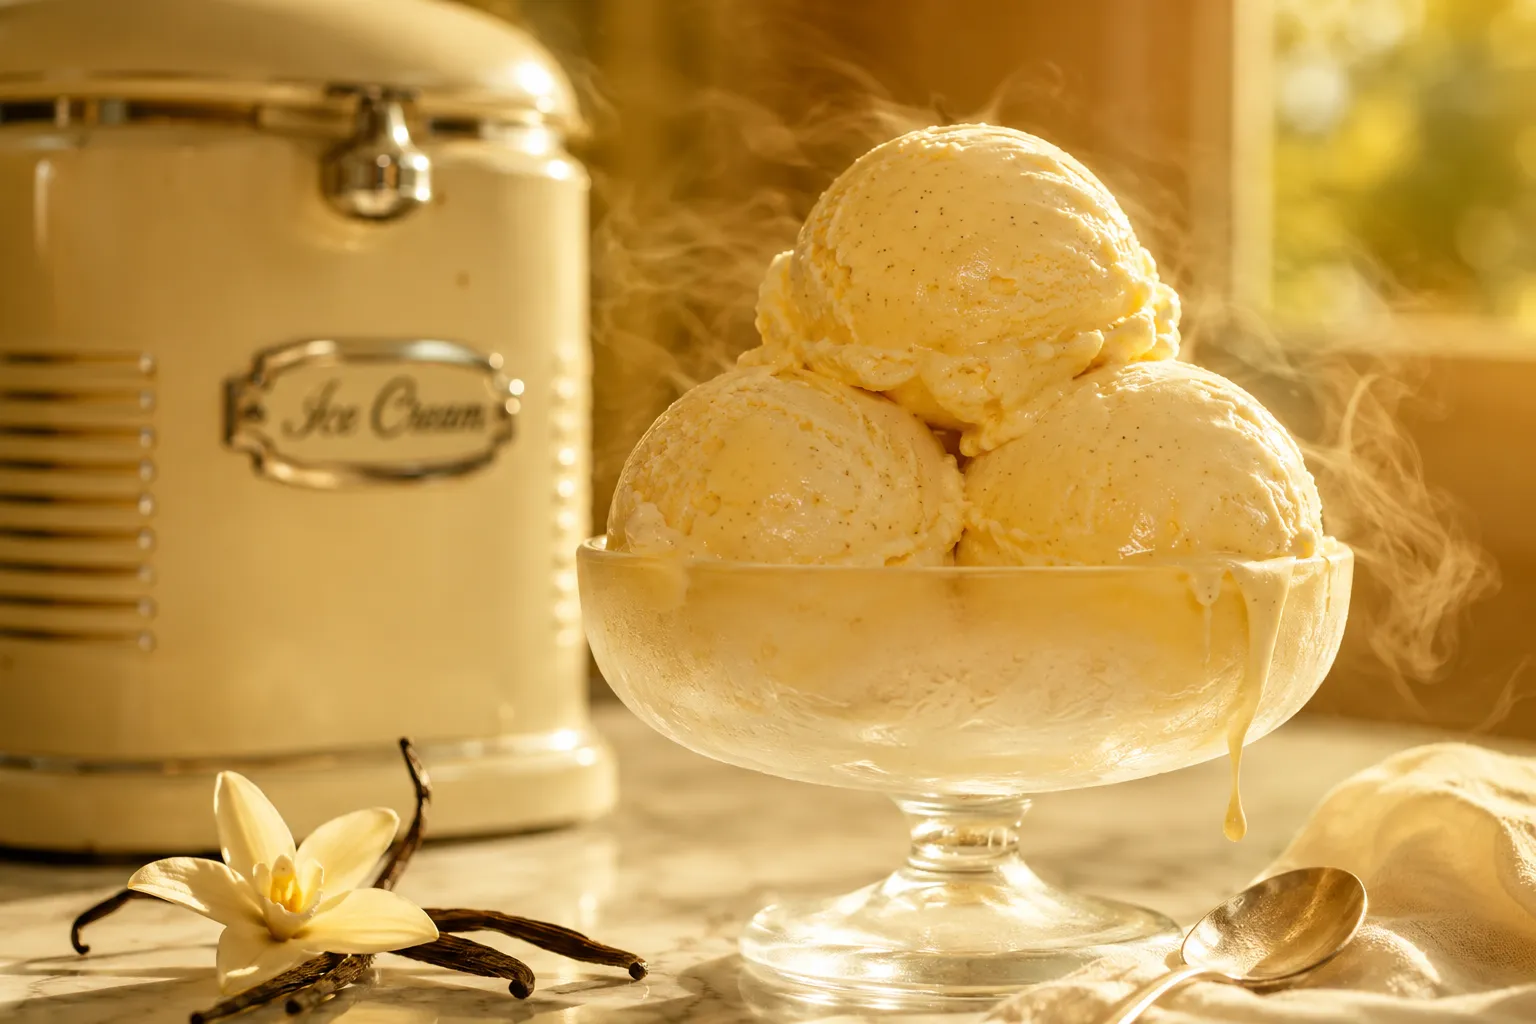
Pull your ice cream machine off the shelf and turn out scoop-shop quality vanilla at home, with a silky custard base that churns up creamy in 25 minutes.
The ice cream machine ice cream maker is the fastest way to turn a humble custard base into something that tastes straight from the parlor. This version leans into rich dairy, egg yolks, and pure vanilla for a scoop that is smooth, plush, and deeply satisfying. If you have ever wanted homemade ice cream with true scoop-shop character, this is the recipe to keep close.
What makes this approach so dependable is that it respects the mechanics of the machine as much as the ingredients. A well-chilled base, the right dairy ratio, and proper churning all work together so the final texture stays soft and creamy instead of sandy or icy. The payoff is a bowl of vanilla ice cream that feels classic enough for a Sunday dessert and flexible enough for birthdays, cookouts, and late-night spooning straight from the freezer.
Not every machine behaves the same, but this recipe was written to work with the common countertop styles most home cooks own. Whether you are using a frozen bowl unit, a compressor model, or a more old-fashioned churn, the goal is the same: keep the base cold, keep the movement steady, and stop at the right moment. That is what gives you a creamy scoop instead of a brick.
These are the machines most people mean when they say ice cream maker, and they usually need a bowl that has been frozen solid ahead of time. Because the bowl is doing the cooling, the base has to start very cold or it will struggle to thicken. If your freezer runs warm or you are making dessert on a busy day, give the bowl at least 24 hours and keep the custard in the fridge until the last possible second.
Compressor machines are the easiest route to spontaneous frozen desserts because they chill on demand. You do not need to plan a day ahead, which makes them ideal for weeknight cooking or whenever a vanilla craving hits. The texture they produce is often a little smoother because the mix freezes more steadily during churning.
If your setup uses salt and ice, think of it as the most hands-on path to the same dreamy result. The machine or canister needs consistent packing, and the salt lowers the freezing point so the mixture can set. It is charming, a little nostalgic, and very rewarding when you want homemade ice cream to feel like a summer event.
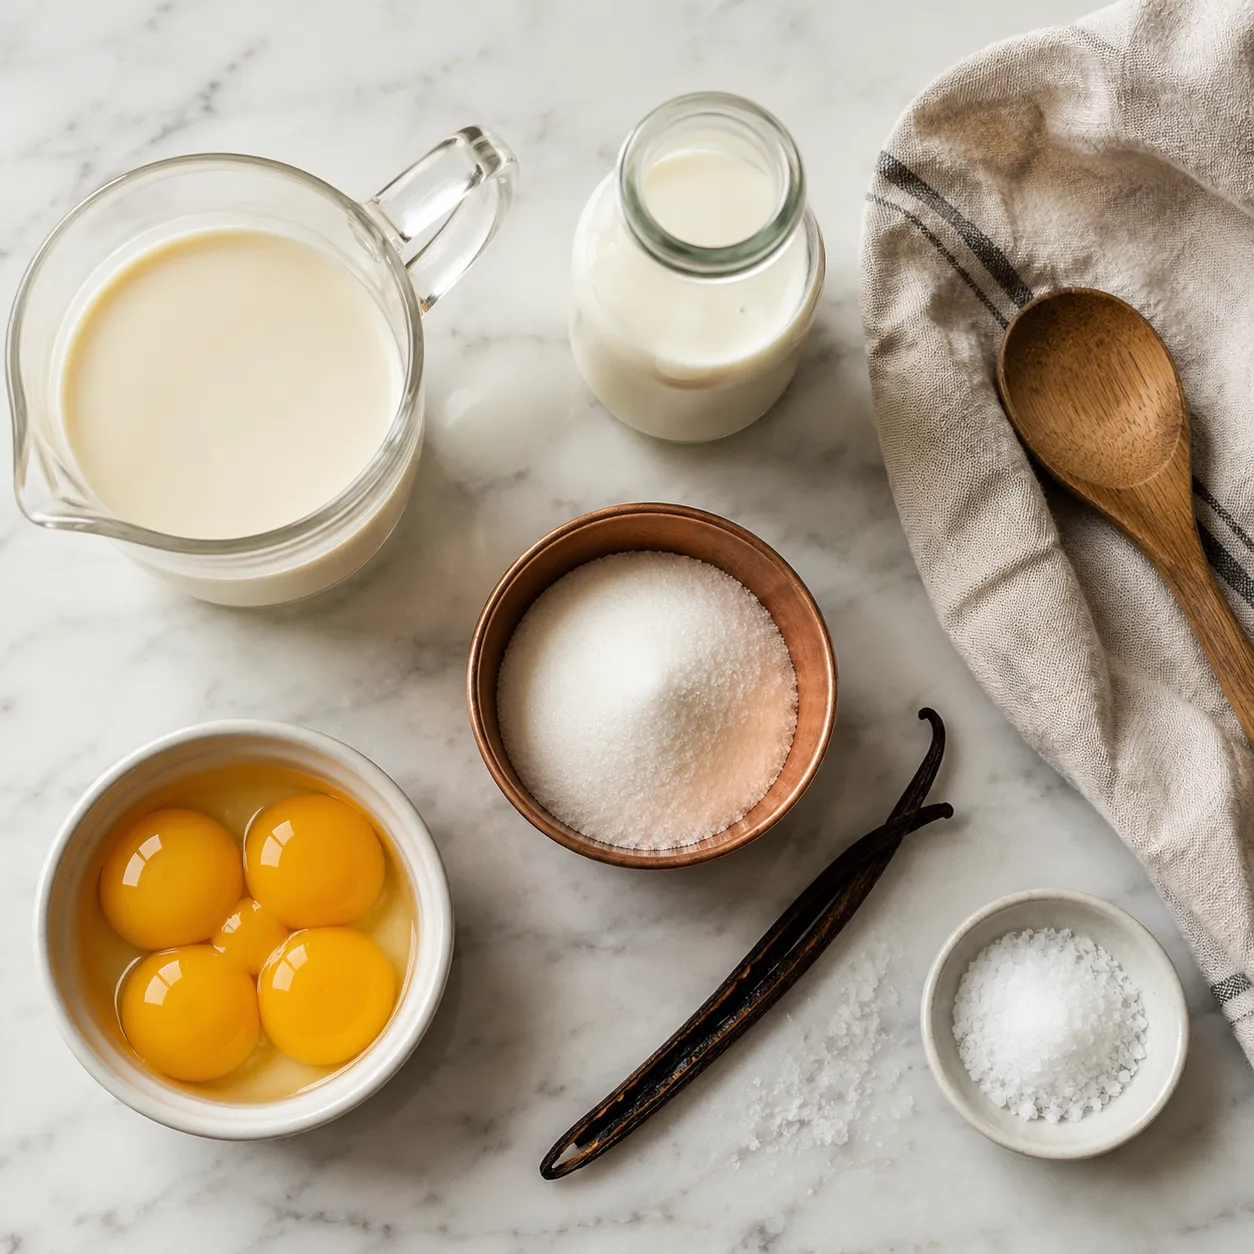
This custard base is built on a simple cream-to-milk balance that gives you richness without feeling greasy. The heavy cream brings body, the whole milk keeps the texture from becoming too dense, and the egg yolks give the finished ice cream its velvety mouthfeel. If your goal is homemade vanilla ice cream, this ingredient list is intentionally short so the flavor stays clean and elegant.
The base also sits in the same family as a frozen custard recipe, but it is tuned for a little extra scoopability after freezing. Sugar does more than sweeten here; it helps control ice crystal formation and keeps the mixture tender. Salt sharpens the vanilla, and a generous tablespoon of extract gives the final flavor that familiar bakery-style warmth.
The ratio here matters because too much cream can make the texture heavy while too much milk can freeze too hard. Two cups of heavy cream and one cup of whole milk create a balanced custard that churns beautifully in most home machines. It is rich enough to taste indulgent but still light enough to scoop cleanly after ripening.
Egg yolks are what transform the base from sweet dairy into a true custard. They thicken the mixture gently on the stove and lend that silky, almost pudding-like body people love in premium shop ice cream. When whisked and tempered correctly, they give you a stable base that freezes creamy instead of brittle.
Granulated sugar does the obvious work of sweetening, but it also helps the churned mixture stay supple in the freezer. Kosher salt keeps the sweetness in check and makes the vanilla taste fuller. Use pure vanilla extract if you can, because the flavor carries all the way through the final scoop and makes the whole batch taste like a classic ice cream machine ice cream maker moment at home.
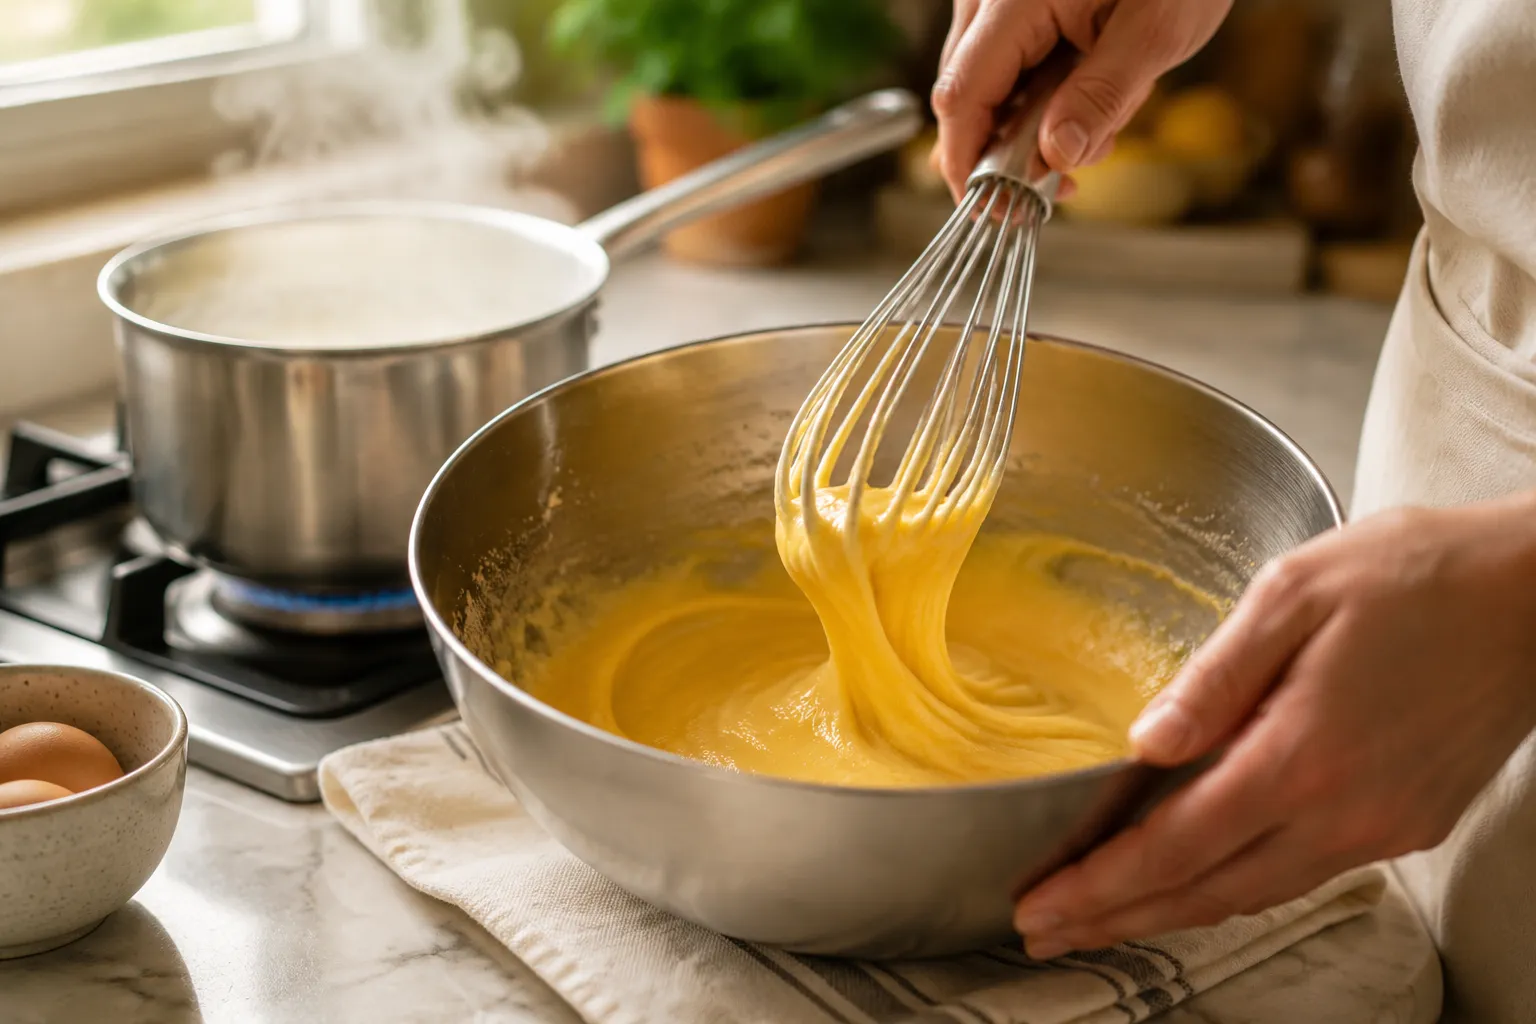
Once the custard base is chilled, the ice cream machine ice cream maker does the rest of the heavy lifting. The mixture will look loose at first, then gradually thicken into a texture that resembles soft-serve consistency before it is fully set. If you remember nothing else, remember this: cold base, patient churning, and a little restraint at the stove.
Warm the dairy with the sugar and salt until steaming, then slowly whisk it into the yolks so the eggs do not curdle. Return everything to the saucepan and cook over medium-low heat until the custard lightly coats the back of a spoon. It should look glossy and slightly thickened, not boiling or lumpy.
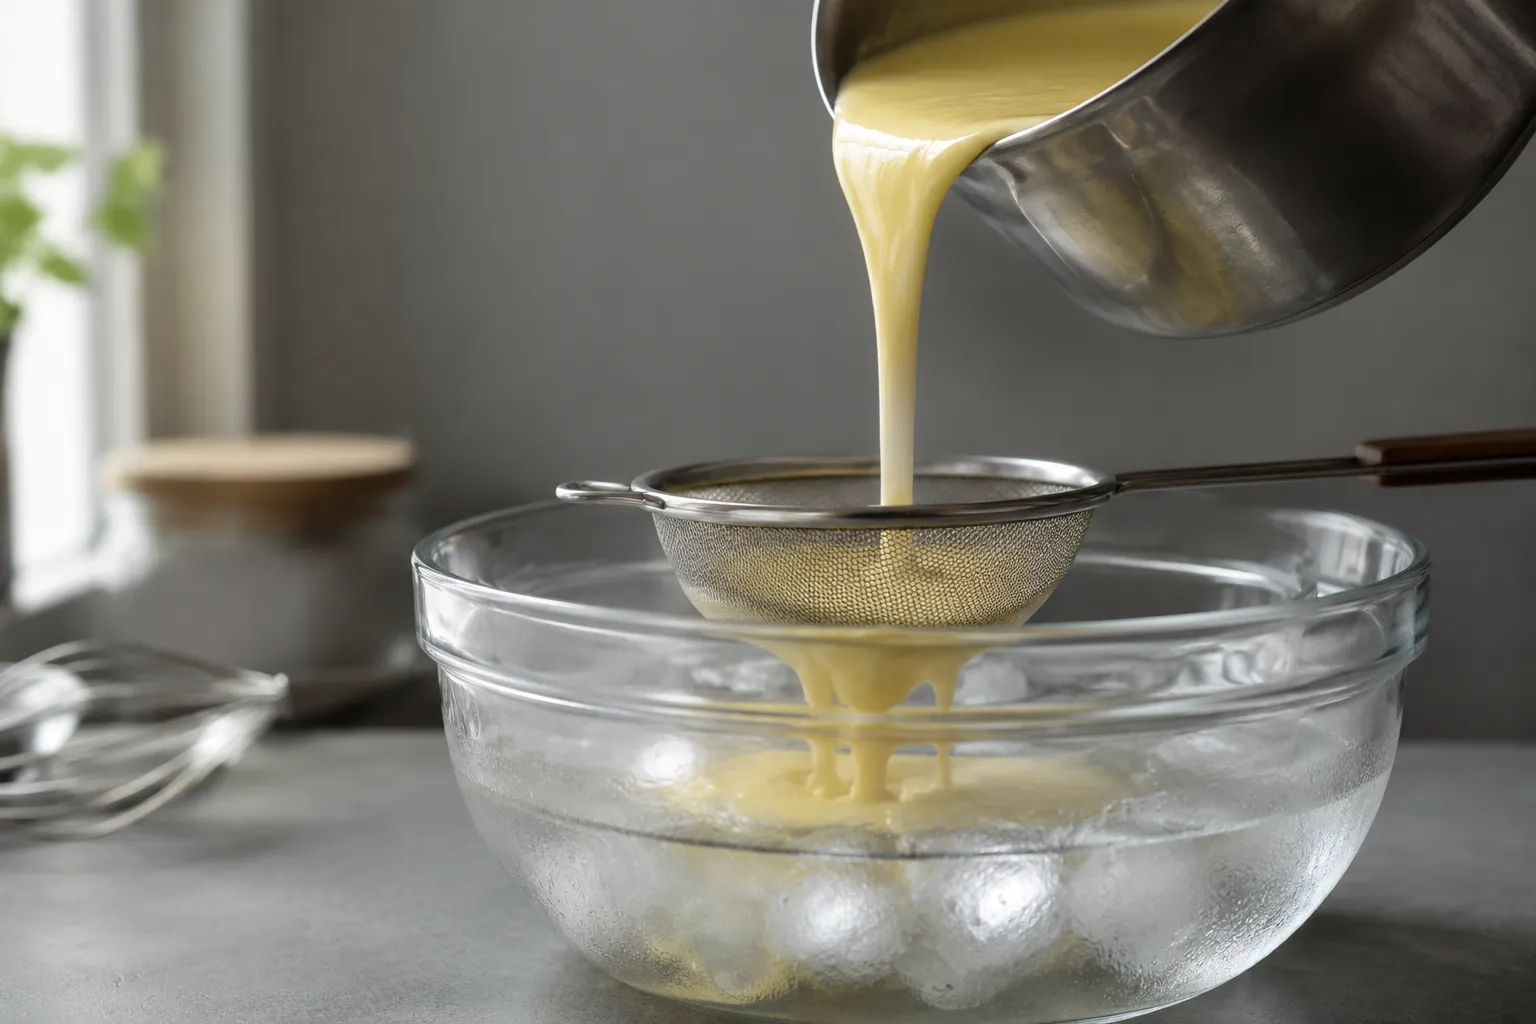
Strain the custard into a clean bowl to catch any little bits of cooked egg and leave you with a silkier finish. Then cover it and chill until very cold, ideally overnight. This waiting period is not optional if you want the best texture, because a thoroughly chilled base freezes faster and churns more evenly.
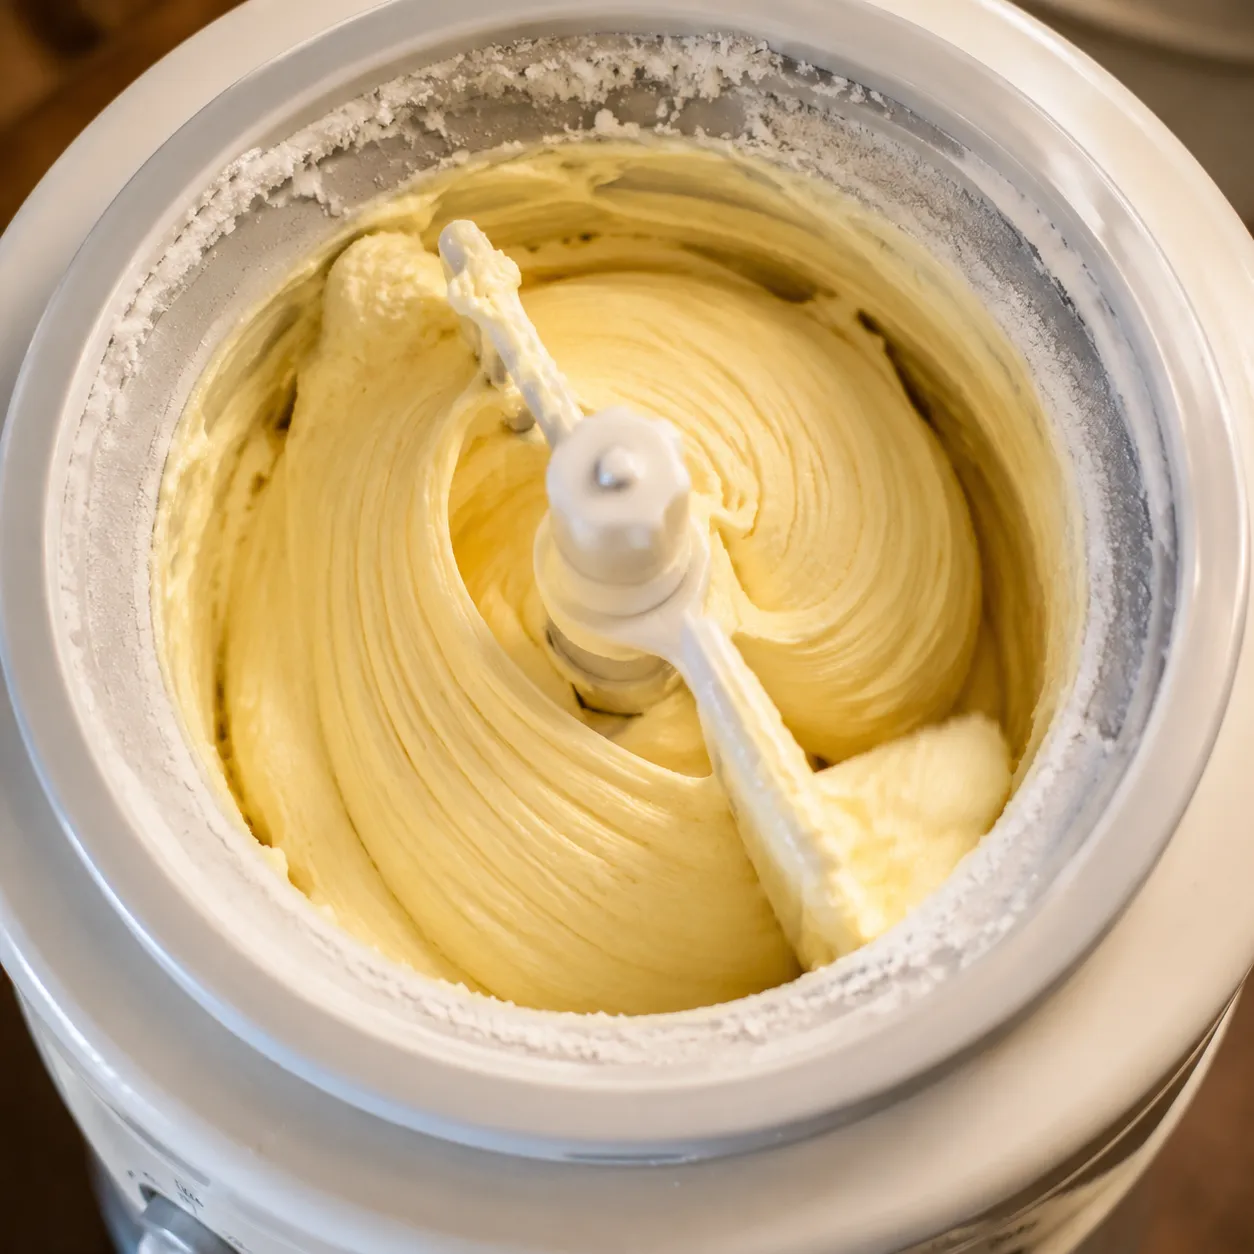
Pour the cold custard into your machine and let it run until it looks thick, pale, and billowy. The total time depends on the model, but most batches need about 20 to 30 minutes before they reach the right stage. Stop when the mixture holds gentle ridges and looks like a very soft scoop of frozen cream.
Transfer the churned ice cream to a freezer-safe container and smooth the top. A short ripening period helps it firm up into scoopable texture, which is why the first taste after churning is usually soft and the second taste, after a few hours, is even better. That final freeze is where the texture settles into true vanilla ice cream perfection.
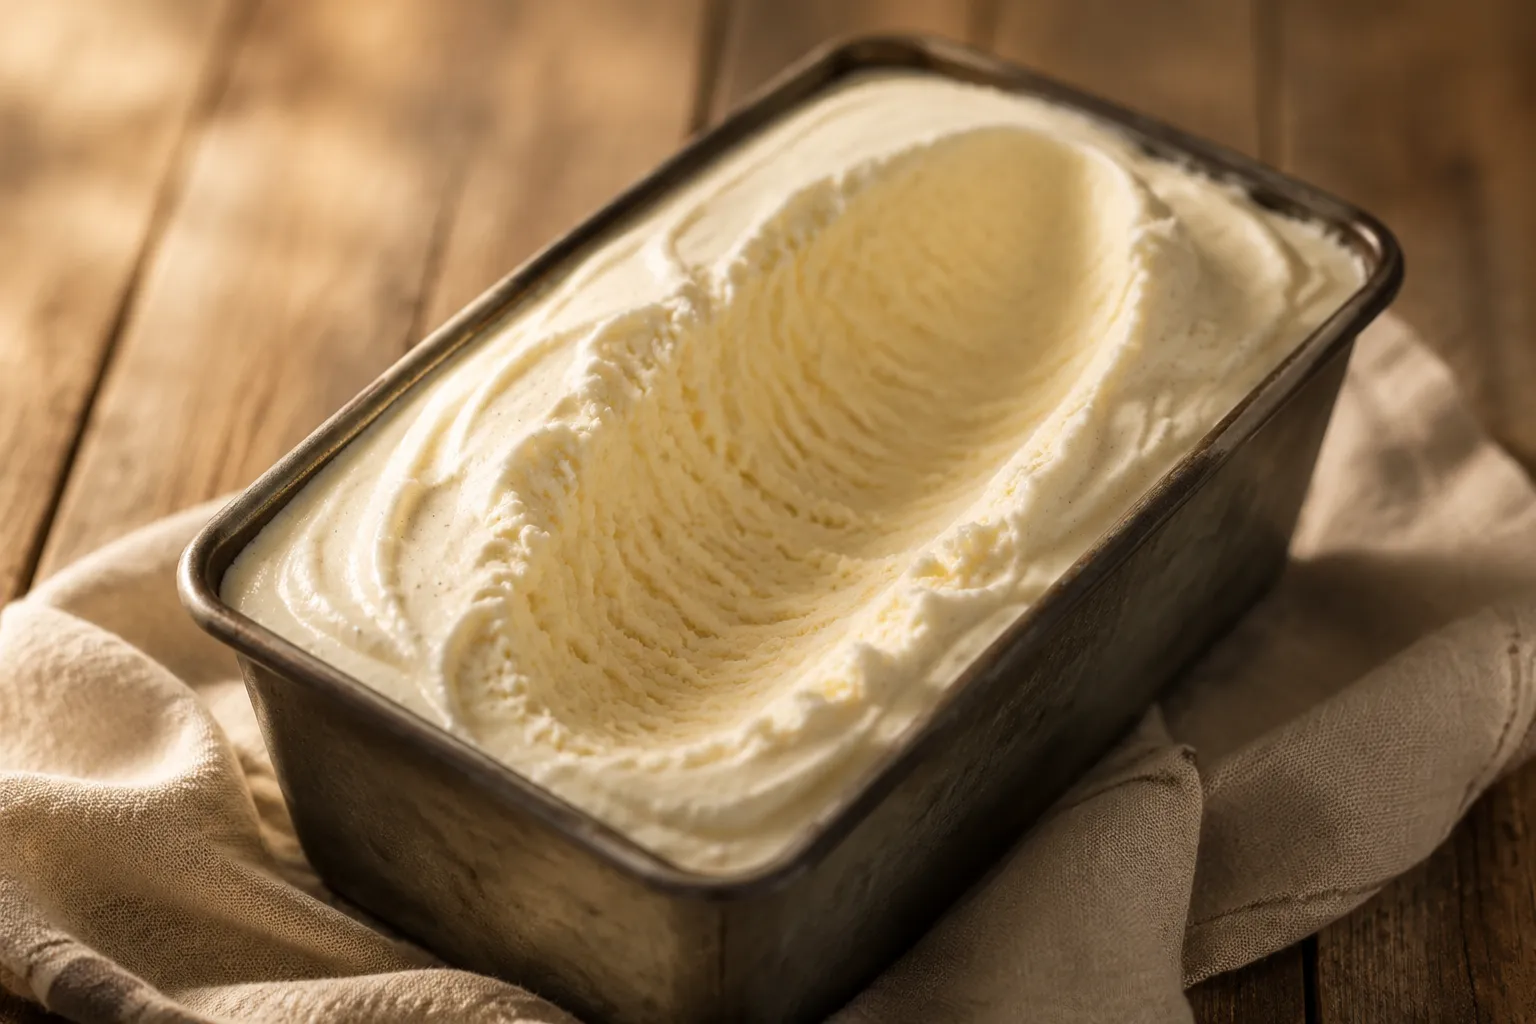
The first bowl is always the best kind of temptation, especially when the texture is still just-firm and creamy. If you own an ice cream machine ice cream maker, this is the recipe that earns its place on repeat because it works for birthdays, weeknights, and every sunny day in between. Spoon it into a chilled bowl, or go classic with a crisp cone and a few pieces of chocolate or berries on top.
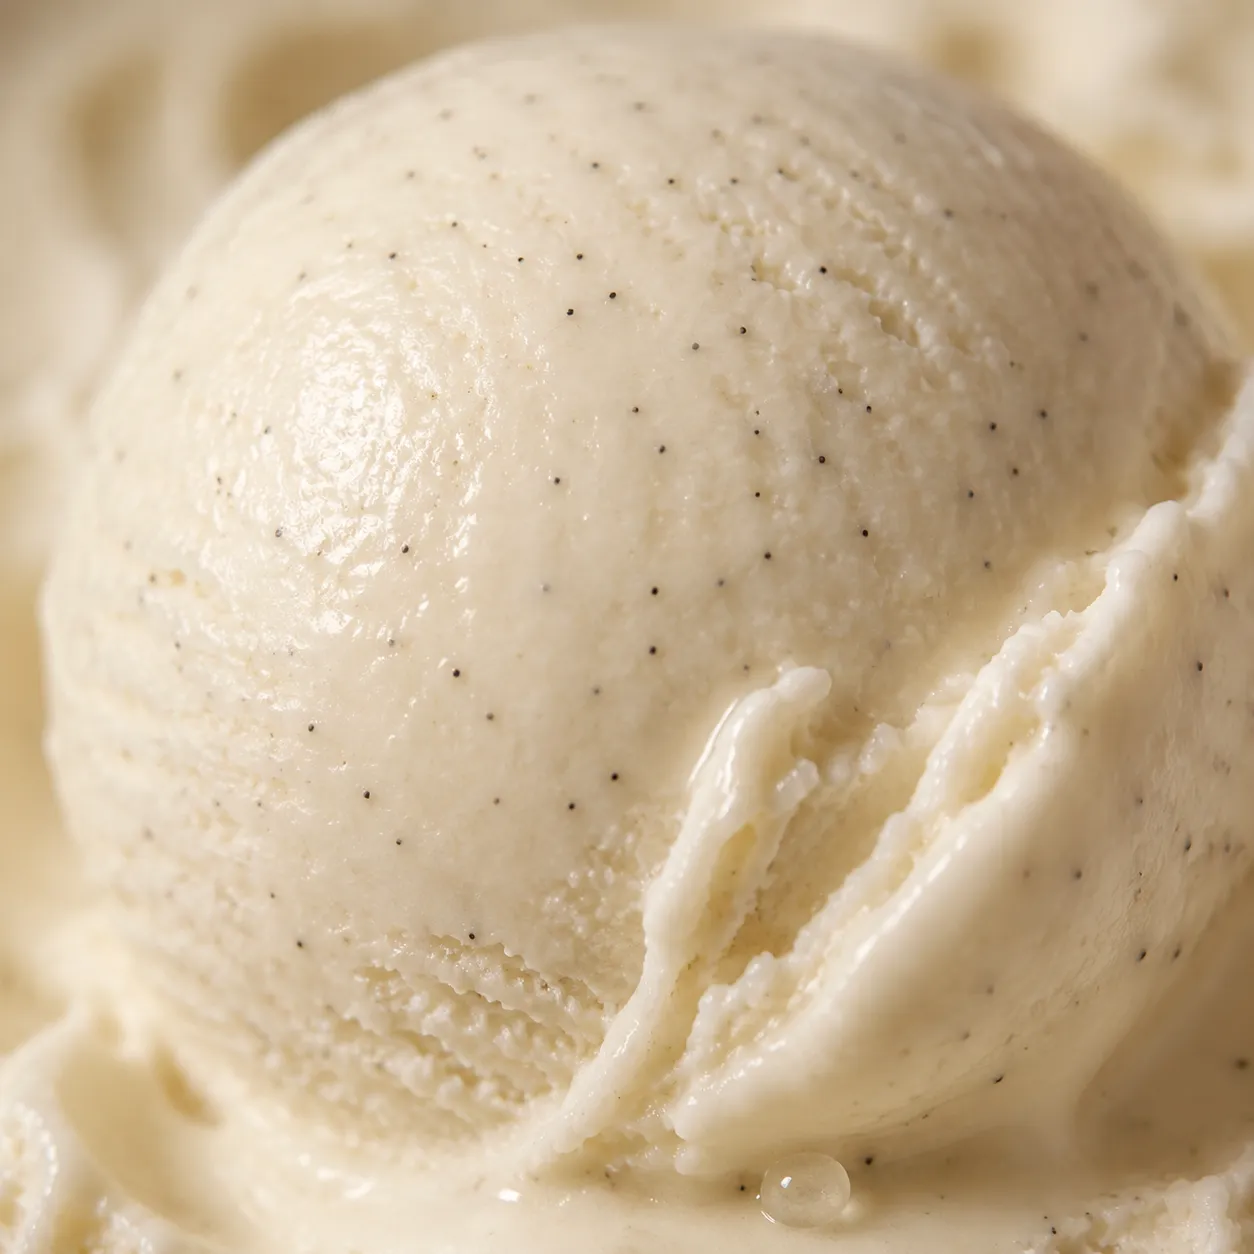
For a dessert that feels a little more special, drizzle on salted caramel sauce and add a pinch of flaky salt. You can also tuck scoops into a waffle cone recipe for an easy handheld treat that disappears fast at summer parties. If you are planning a dessert bar, set out toppings like toasted nuts, crushed cookies, and fresh peaches so everyone can build their own sundae.
And if you like to keep things varied, this base is a perfect starting point for homemade vanilla ice cream one week and a richer chocolate ice cream base the next. When you want something even quicker, no-churn ice cream is always there for backup, but this custard version has a depth and silkiness that is hard to beat. 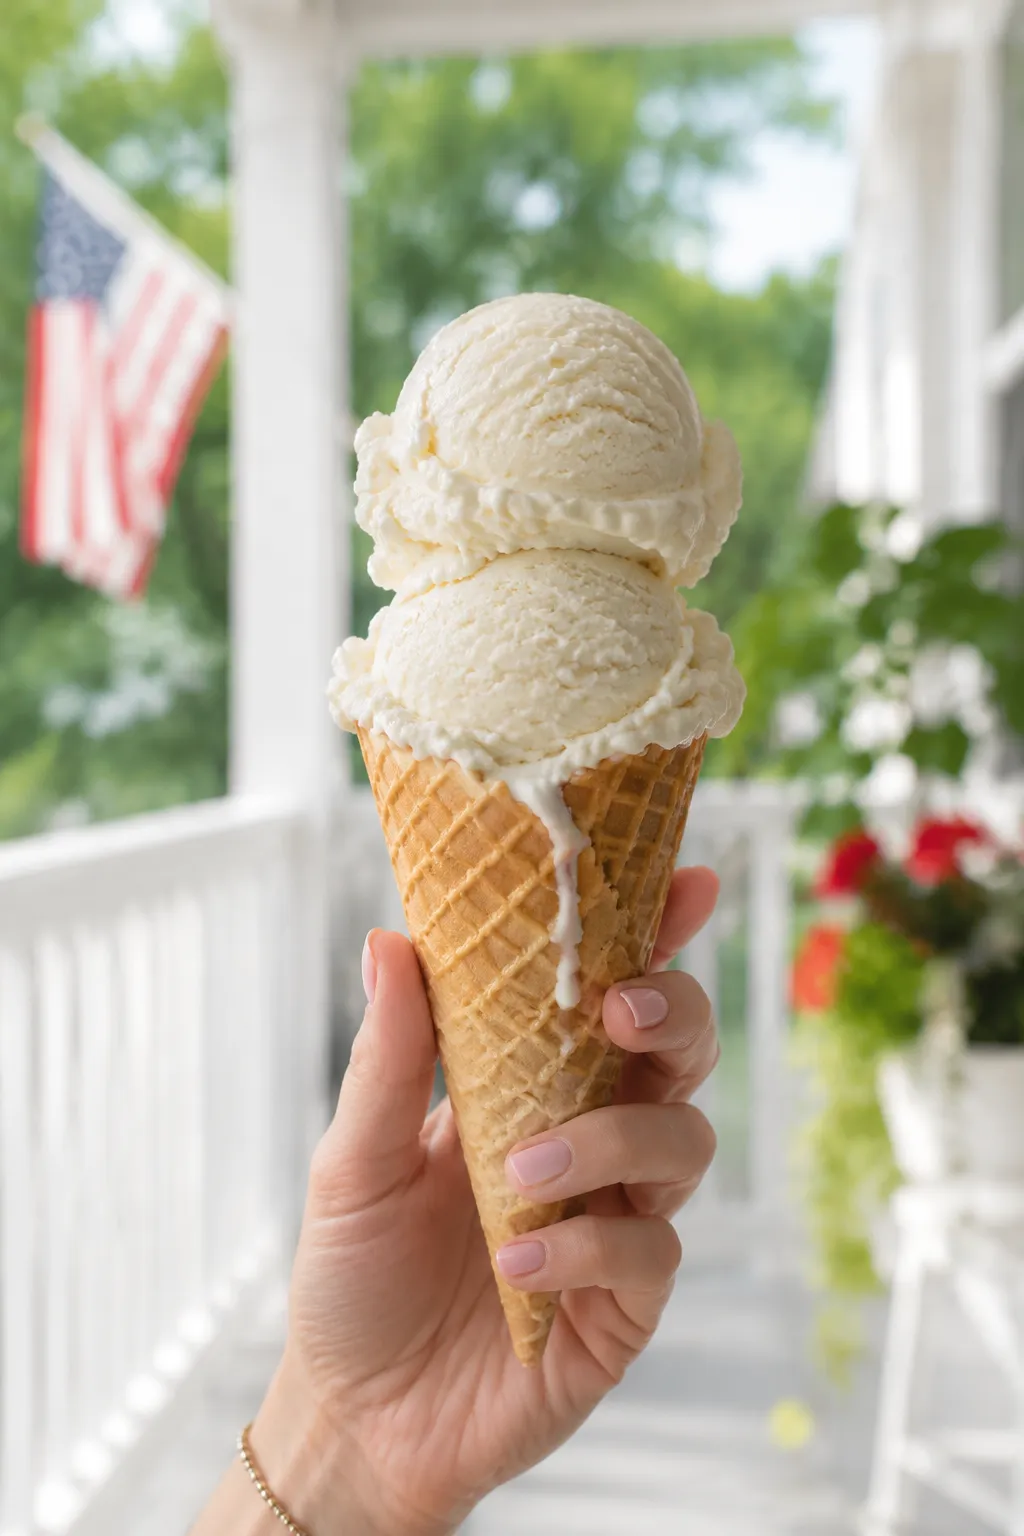
If you are making extra for later, pack the leftovers into a shallow container while the ice cream is still pliable and press parchment against the surface. That small step helps keep the texture smooth and keeps freezer air from drying out the top. 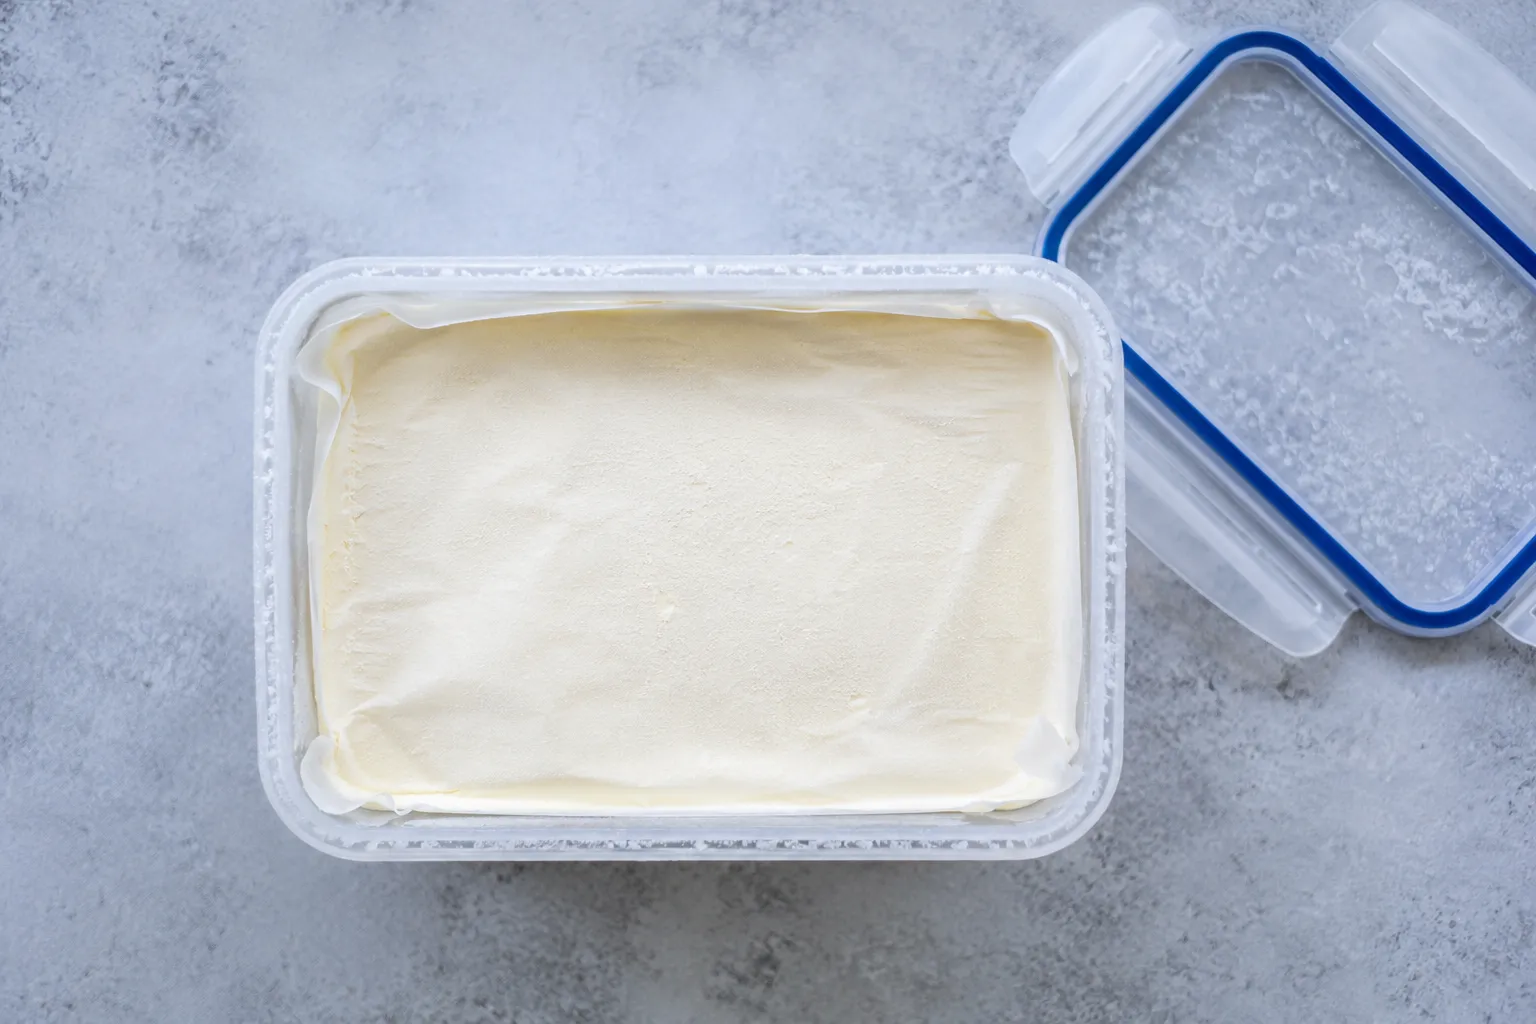
This custard base is a blank canvas, which is exactly why it deserves a permanent spot in your dessert rotation. Keep the vanilla version as your classic, then lean into mix-ins and swirls whenever you want to change the mood. The key is to preserve the base ratio, then layer in flavor once the custard is cooked and chilled.
For the best texture, store homemade ice cream in a shallow freezer-safe container with a tight-fitting lid. Press a sheet of parchment or plastic wrap directly on the surface before sealing to reduce ice crystals and freezer burn. Stored this way, the ice cream will stay at its best for about two weeks.
When you are ready to serve, let the container sit at room temperature for 5 to 10 minutes so the edges soften slightly. That short rest makes it easier to scoop without melting the whole batch. If the ice cream has been in the freezer longer, a warm scoop or brief counter rest will help bring back that creamy texture.