Chicken Katsu Recipe: Crispy Japanese Cutlets in 30 Minutes
Ingredients
Scale
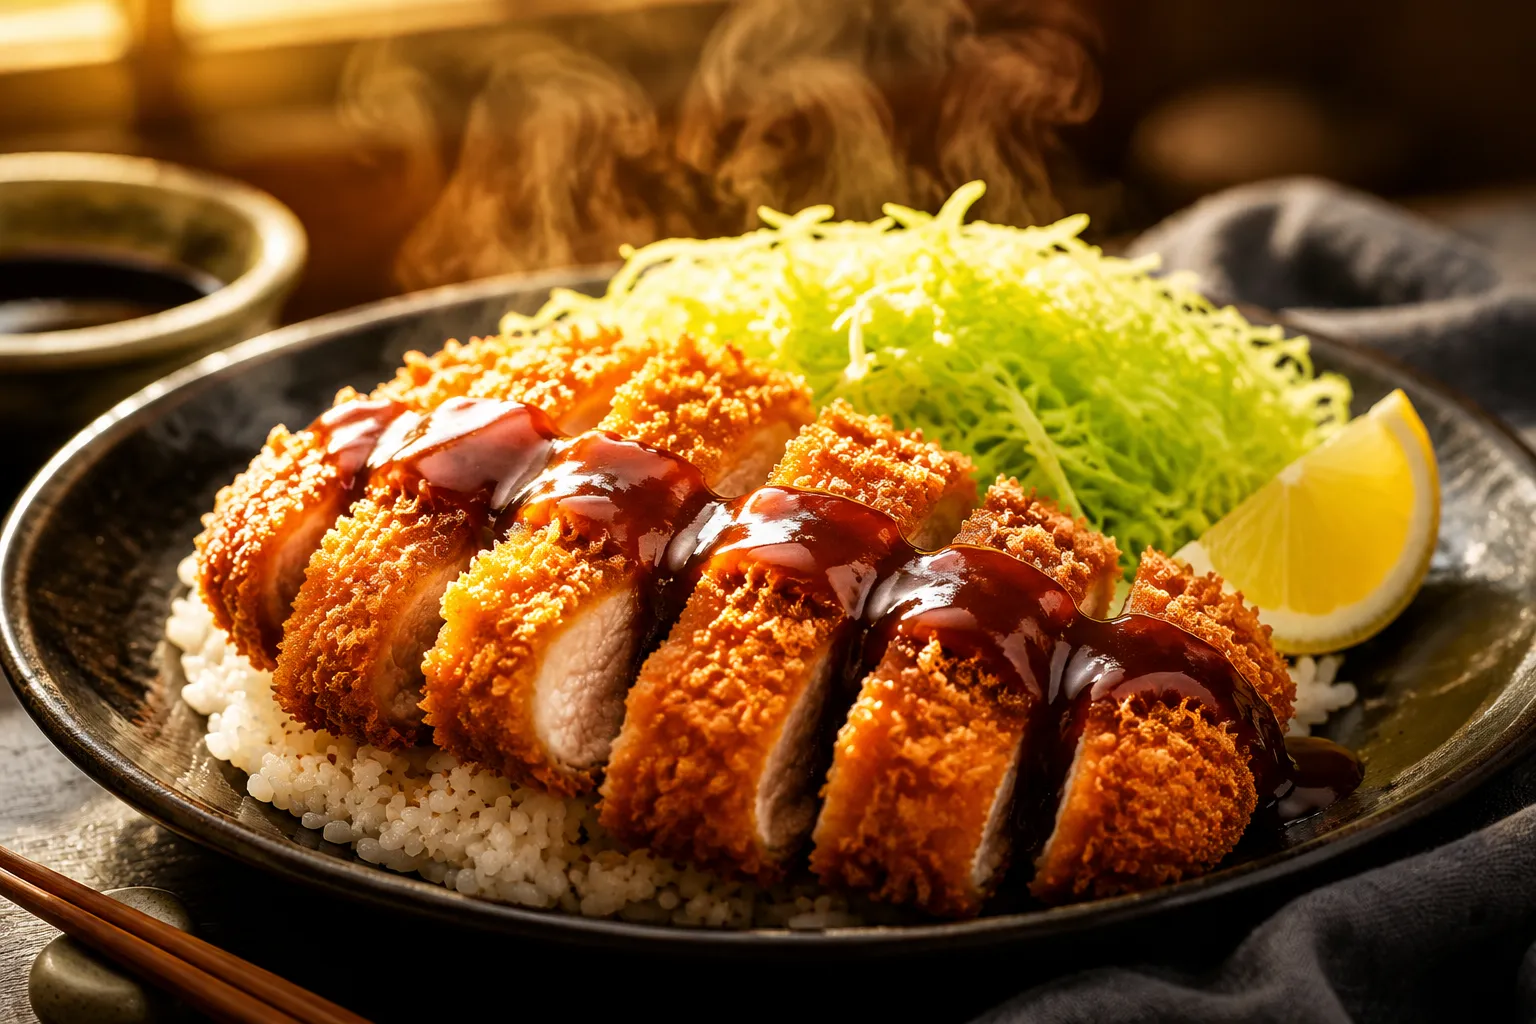
Shatter-crisp panko crust, juicy chicken inside, and a tangy-sweet tonkatsu drizzle. This chicken katsu recipe nails the Japanese classic in 30 minutes flat.
This chicken katsu recipe is the kind of dinner that ends arguments about what to make on a Tuesday night. The crust shatters when you slice through it, the chicken stays unreasonably juicy, and the whole plate comes together in about 30 minutes from raw bird to dinner table. If you've spent money at a Japanese cafeteria-style spot for a katsu plate that costs $14 and disappears in four bites, you already know the appeal. The good news is that a hot skillet, a sleeve of panko, and a five-ingredient pantry sauce get you almost exactly the same thing at home.
I keep this in heavy rotation because it punches above its weight. Boneless chicken breasts get pounded thin so they cook in three minutes a side, and the double-pressed panko coating turns into a craggy, golden shell that stays crisp long after it leaves the pan. Pair the cutlets with sticky rice, a heap of crunchy shredded cabbage, and a drizzle of homemade tonkatsu sauce, and you have a meal that tastes like takeout but eats like a restaurant.
Below you'll find the full method, the why behind every step, three cooking options (skillet, oven, air fryer), and a quick education on what katsu actually is, where it came from, and why no other breadcrumb will give you this texture.
If you've ever wondered what is chicken katsu beyond a menu item at your local izakaya, the answer is satisfyingly simple: it's a Japanese chicken cutlet that's been breaded in panko and shallow-fried until the crust turns deep gold and the meat inside stays tender. It's served sliced into thick fingers, fanned over rice, and topped with a glossy ribbon of katsu sauce. The dish reads like comfort food in any language, but it's specifically and uniquely Japanese in technique and seasoning.
Katsu has roots in the late 1800s Meiji era, when Japan opened its kitchens to Western influence and chefs started adapting European cutlets to local palates. The original yoshoku dish was tonkatsu (pork), invented in Tokyo around 1899, and chicken katsu followed naturally as a lighter, faster, more weeknight-friendly cousin. Today both are served with shredded cabbage, hot mustard, and the signature sweet-savory sauce at specialty katsu houses across Japan.
The trio looks similar but eats differently. Tonkatsu uses thick-cut pork loin or fillet and tends to be more substantial. Chicken katsu uses pounded chicken breast or thigh, so it cooks faster and stays leaner. Schnitzel, the Austrian relative, uses fine breadcrumbs and is fried thinner, giving you a lacy crust rather than a craggy one. Same family tree, very different mouthfeel.
Panko is what makes a Japanese chicken cutlet look and sound like a Japanese chicken cutlet. The flakes are larger, drier, and more shard-like than American breadcrumbs, which traps less oil during frying and stays audibly crunchy long after plating. If you swap in regular breadcrumbs, you'll get a perfectly fine cutlet, but it won't have that wide-flake, light-as-air shell that defines the dish. Stock up on panko breadcrumbs and you'll find yourself reaching for them anytime you need a crispy coating.
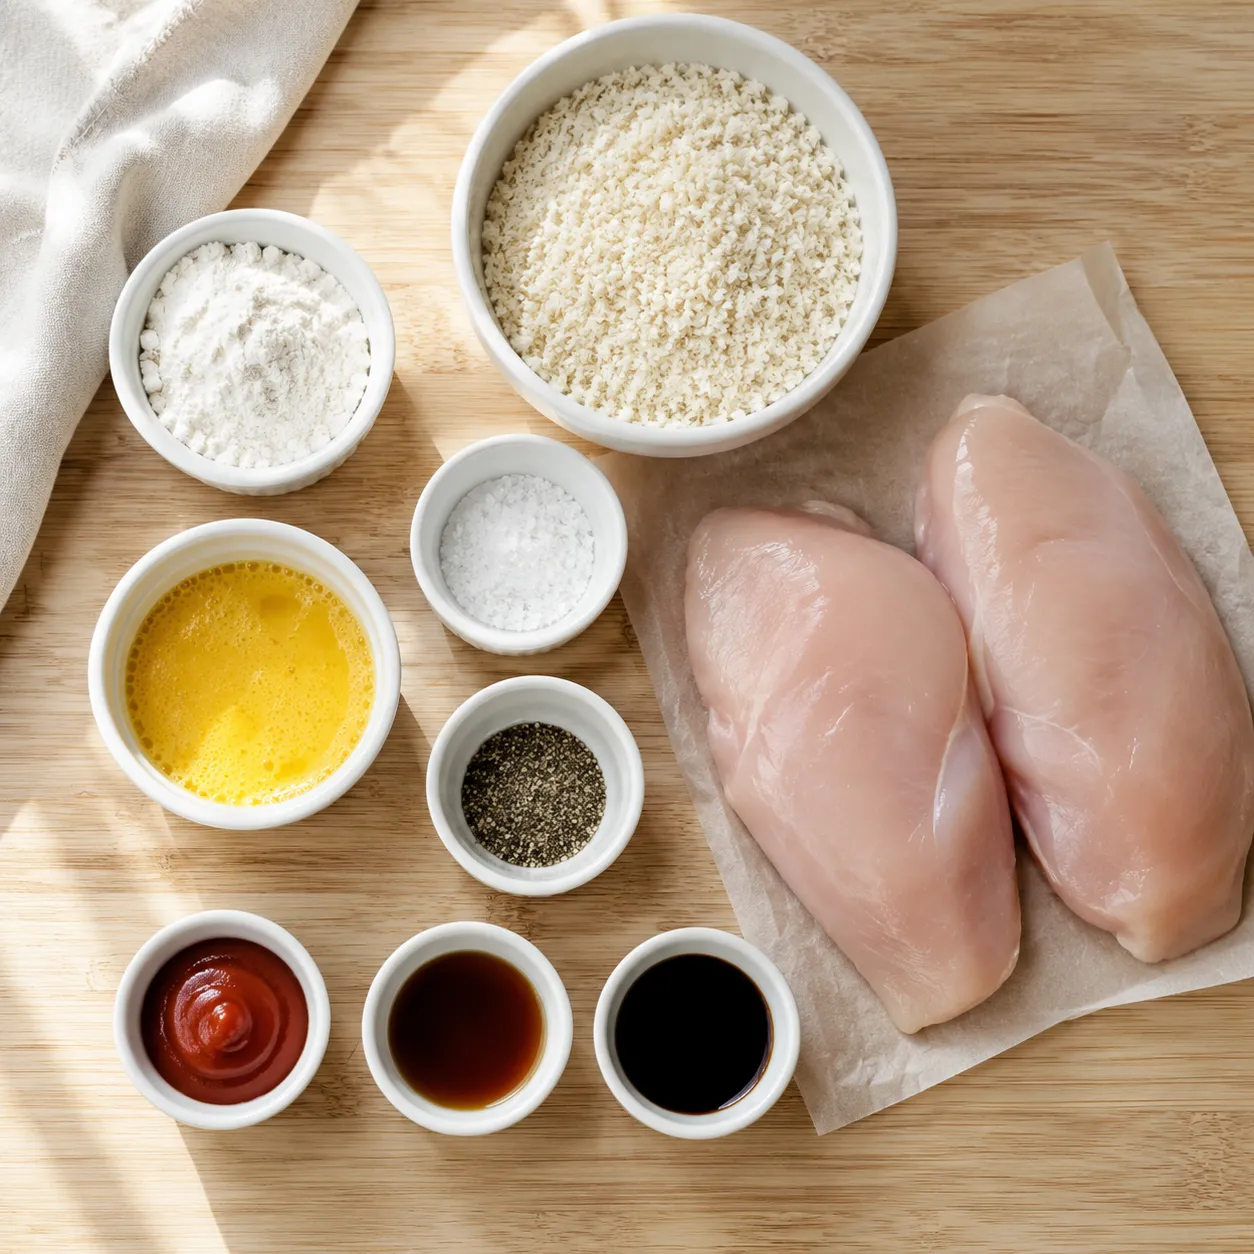
The ingredient list is short and likely already half-stocked in your kitchen. The cutlets themselves only need chicken, flour, eggs, and panko, plus a smart hit of seasoning that goes directly into the flour and the breadcrumbs so flavor lives in every layer. The sauce comes together in a single bowl with five pantry staples and tastes shockingly close to bottled Bull-Dog.
Use boneless skinless chicken breasts butterflied into thin halves, or boneless thighs if you prefer richer meat. You'll also need all-purpose flour, large eggs, kosher salt, freshly cracked black pepper, garlic powder, and a generous pile of crisp panko breadcrumbs. A neutral high-smoke-point oil like canola, vegetable, or rice bran is the right choice for frying.
Whisk together ketchup, Worcestershire, soy sauce, sugar, and a touch of Dijon mustard, and you have a respectable homemade tonkatsu sauce in 60 seconds. The Worcestershire does most of the heavy lifting because it carries the umami, tamarind, and anchovy notes that bottled katsu sauce relies on. Taste and adjust with more sugar if you want it sweeter or more soy if you want it deeper.
Chicken thighs work beautifully and are nearly impossible to overcook. Gluten-free? Swap in gluten-free panko and a 1:1 GF flour blend; the technique doesn't change. No Worcestershire? A splash of fish sauce plus a little balsamic gets you in the same neighborhood. For a lower-sodium version, use reduced-sodium soy and skip the added salt in the flour.
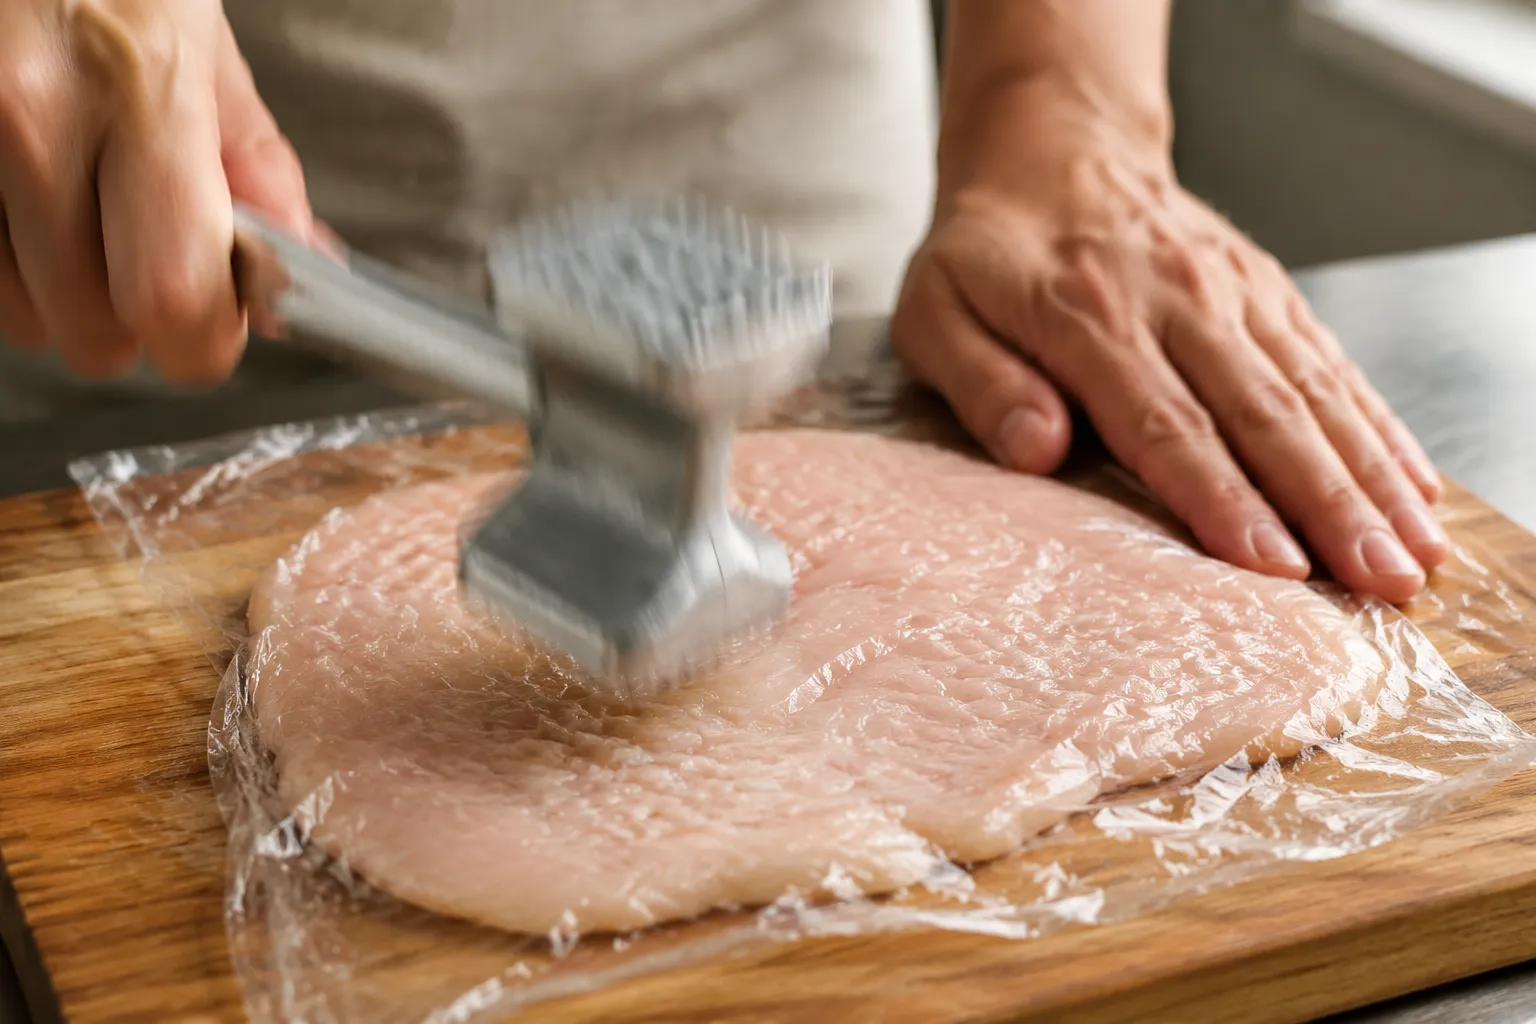
The full step-by-step is in the recipe card below, but here's the bird's-eye view so you understand the choreography before you start. Total active time is about 25 minutes, and there are no tricky techniques, no thermometer required (though one helps), and no deep fryer in sight. The whole thing happens in one 12-inch skillet.
First, butterfly your chicken breasts horizontally and pound the halves to an even half-inch thickness under plastic wrap. Even thickness is the single biggest factor in juicy katsu, because anything thicker than that will overcook on the outside before the center hits 165°F. Season the cutlets directly with salt and pepper before they ever touch the breading.
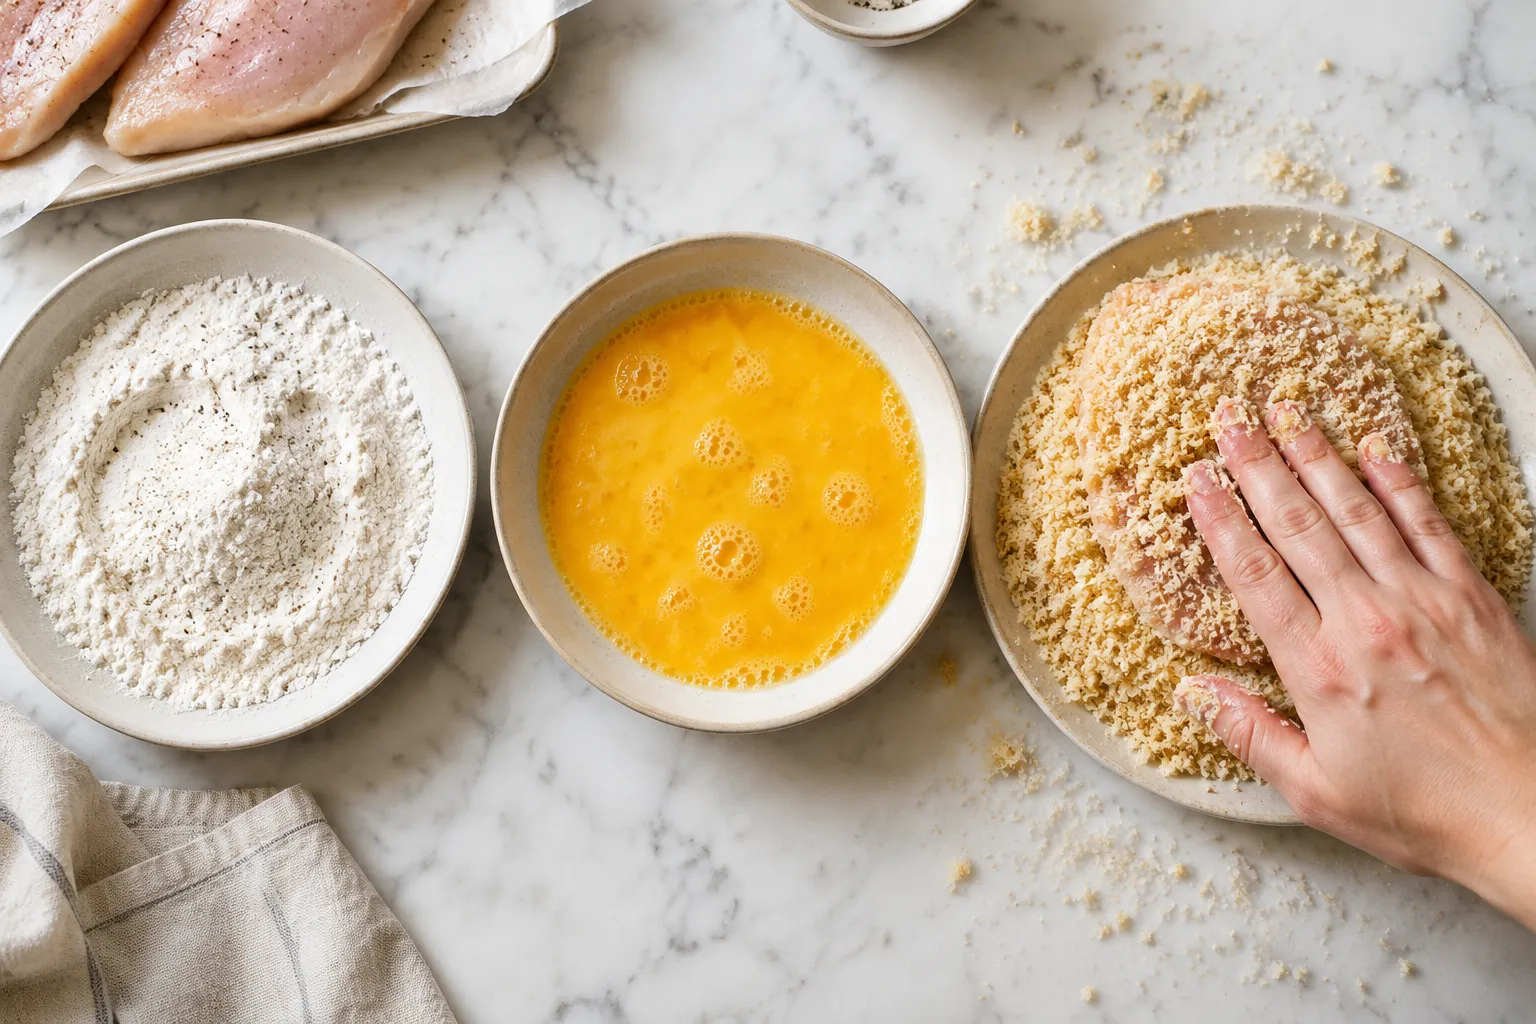
Set up a classic three-bowl breading station: seasoned flour on the left, beaten eggs in the middle, panko on the right. Dredge each cutlet in flour and shake off the excess, dunk in egg, then press it firmly into the panko with the flat of your hand. That press is what turns a thin coating into a thick, craggy crust that survives the hot oil.
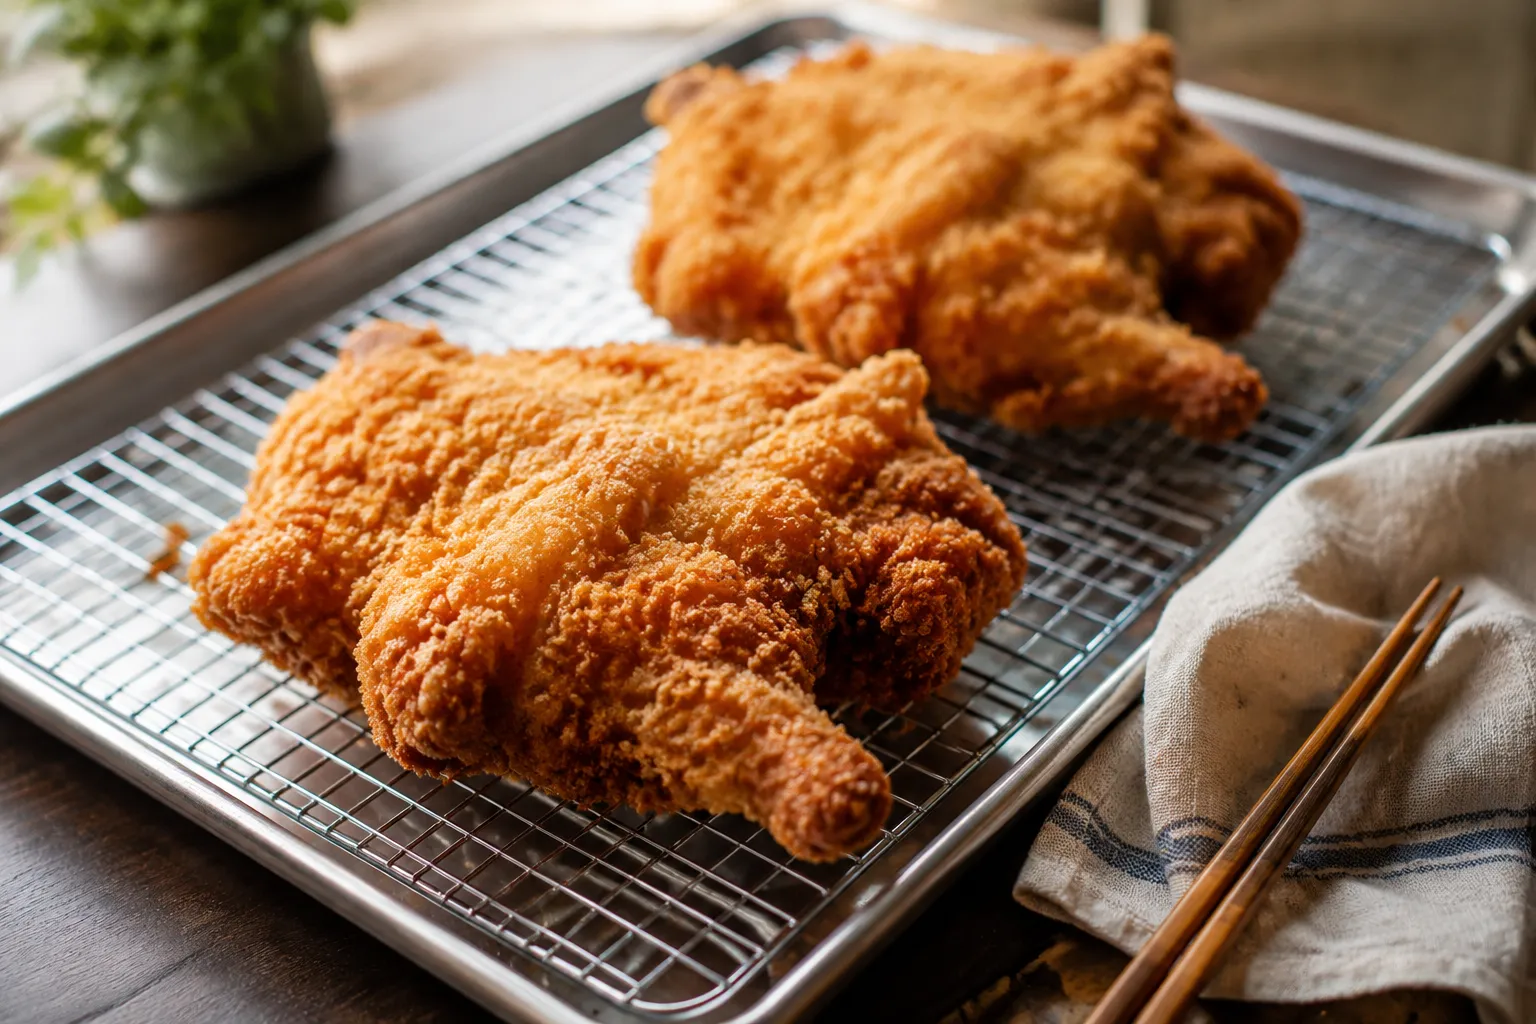
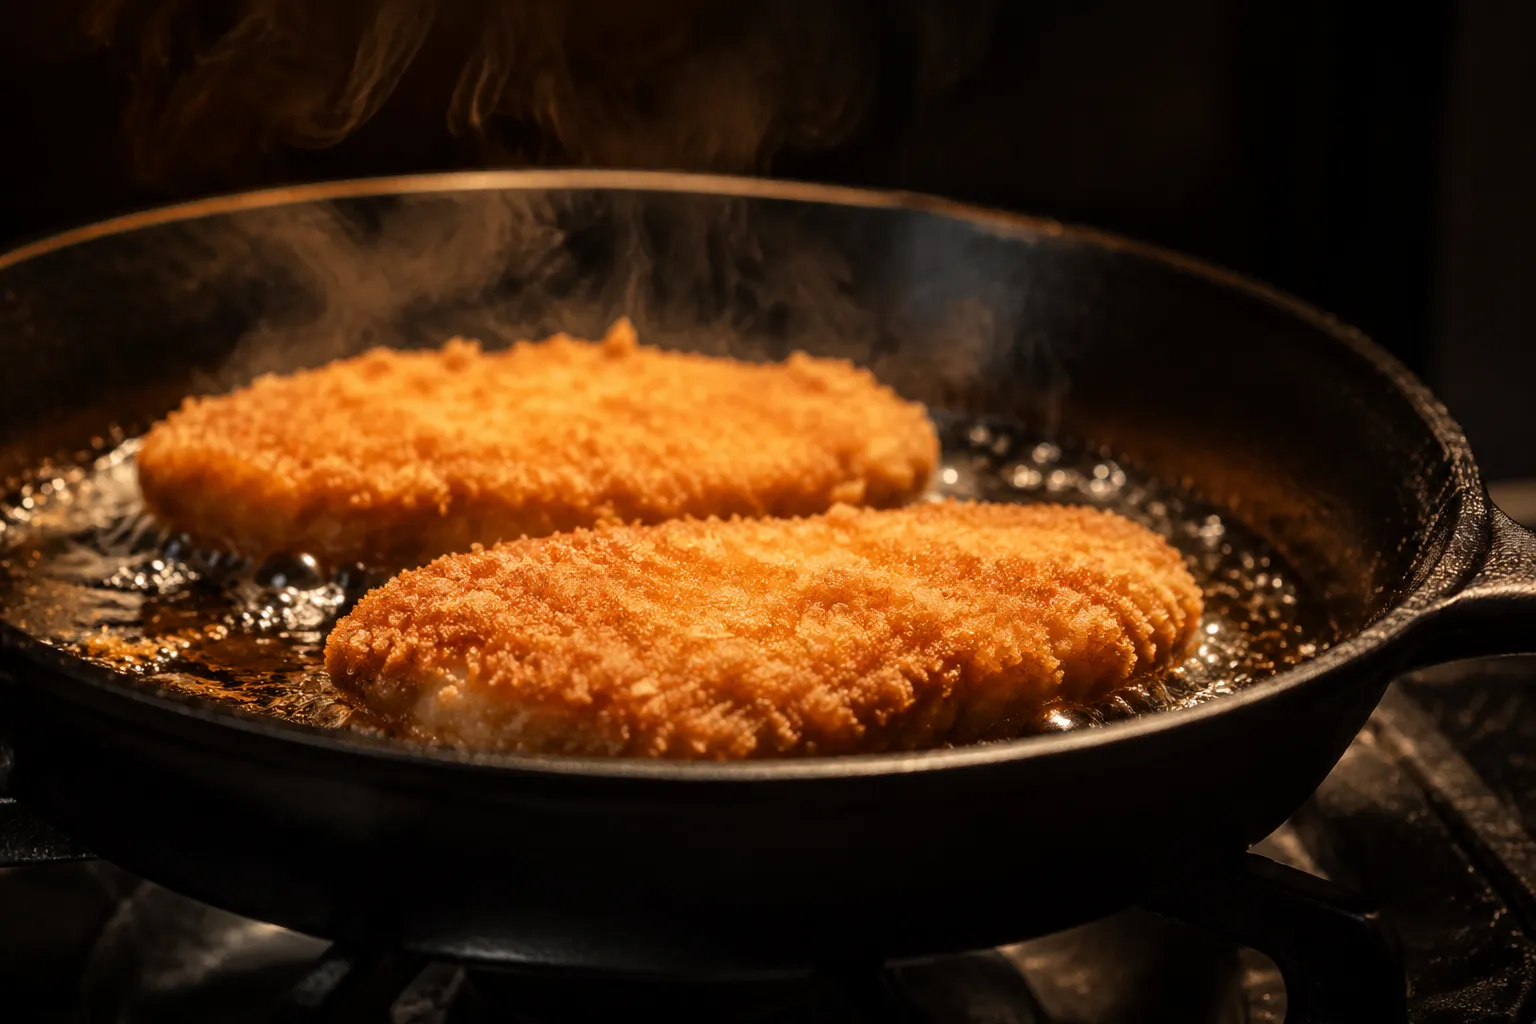
Heat about a half-inch of neutral oil in a heavy skillet to 340 to 350°F. The cutlets fry for roughly three minutes per side, turning a rich amber gold. Pull them with tongs onto a wire rack set over a sheet pan so steam escapes from underneath and the bottom stays as crisp as the top.
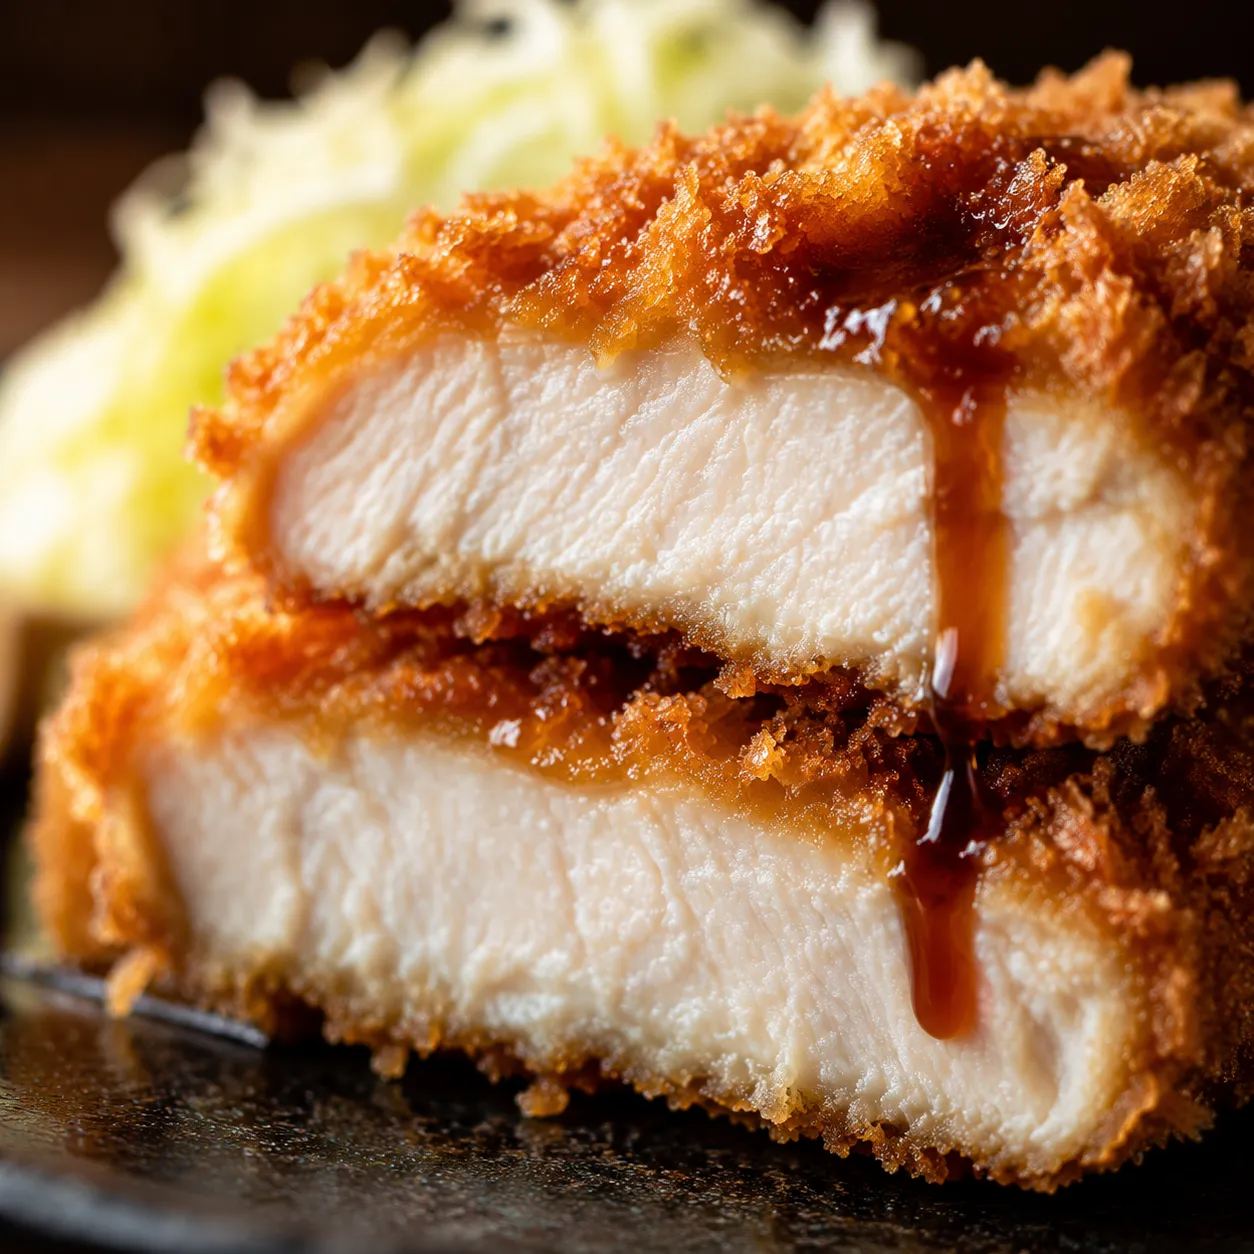
Let the cutlets rest two minutes, then slice crosswise into thick strips with a sharp knife. Resting redistributes the juices so they pool back into the meat instead of running out the second you cut. Fan the slices over rice, drizzle generously with sauce, and serve immediately.
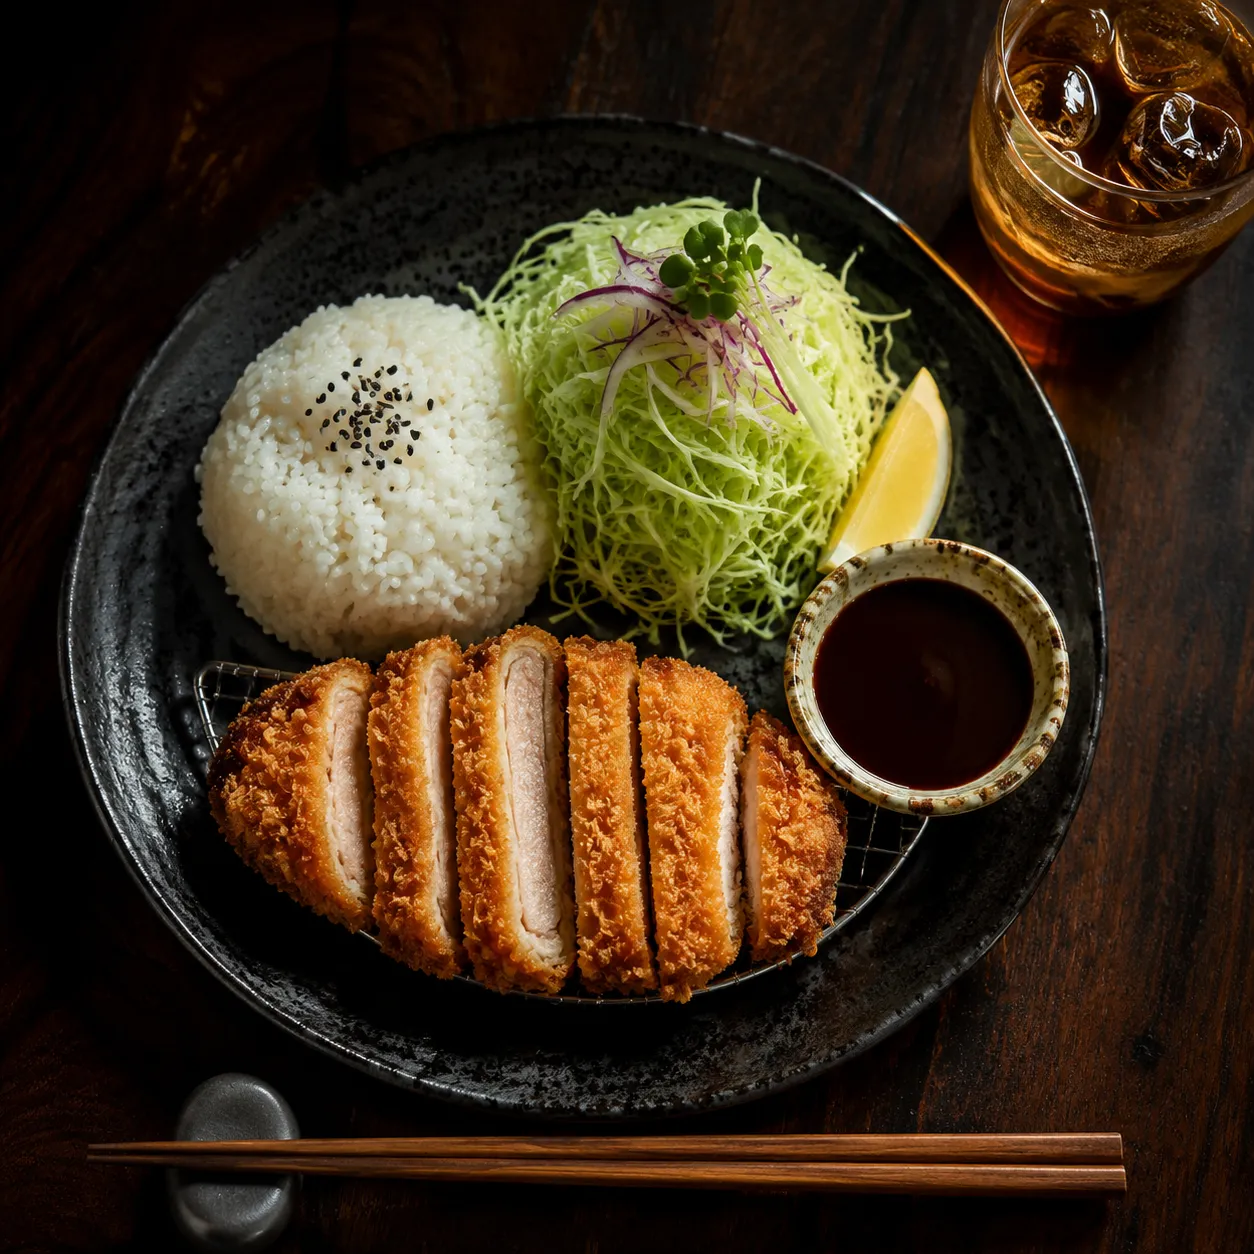
A katsu plate is a lesson in contrasts: crisp against soft, rich against fresh, savory against bright. The classic Japanese presentation pairs the cutlet with a generous mound of steamed jasmine rice and a tangle of finely shredded green cabbage dressed with a squeeze of lemon and a few drops of sesame oil. The cabbage isn't garnish — it's the palate cleanser that makes the second bite as exciting as the first.
Use short-grain Japanese rice if you have it, but long-grain works in a pinch. Slice the cabbage as thinly as you can — a mandoline makes this effortless — and rinse it briefly in cold water for extra crunch. A pinch of salt and a small dish of katsu sauce on the side rounds out the plate.
For a heartier meal, ladle thick Japanese curry over the rice and lay sliced katsu on top — that's katsu kare and it's the ultimate cold-weather dinner. You can also turn leftover cutlets into katsudon by simmering them briefly in dashi, soy, and mirin with sliced onions, then sliding a beaten egg over the top to set in soft curds. Either move stretches one batch into two completely different dinners.
A cool, vinegared Japanese cucumber salad balances the rich fried crust with bright acidity. Thinly sliced Persian cucumbers, rice vinegar, a pinch of sugar, and toasted sesame seeds — that's the whole recipe and it takes five minutes. Leftover cutlets also make a stellar katsu sandwich tucked between thick-cut milk bread with shredded cabbage and a smear of Kewpie mayo.
Once you nail this chicken katsu recipe, it becomes one of those weeknight templates you'll lean on monthly. The technique transfers directly to pork, eggplant, or thick slabs of firm tofu, so a single skill unlocks an entire menu. Keep a bag of panko in the pantry, a bottle of Worcestershire in the fridge, and dinner is genuinely never more than 30 minutes away.
The breading method is the framework — once you've got it, you can mix and match proteins, sauces, and serving styles all month without ever feeling like you're repeating dinner.
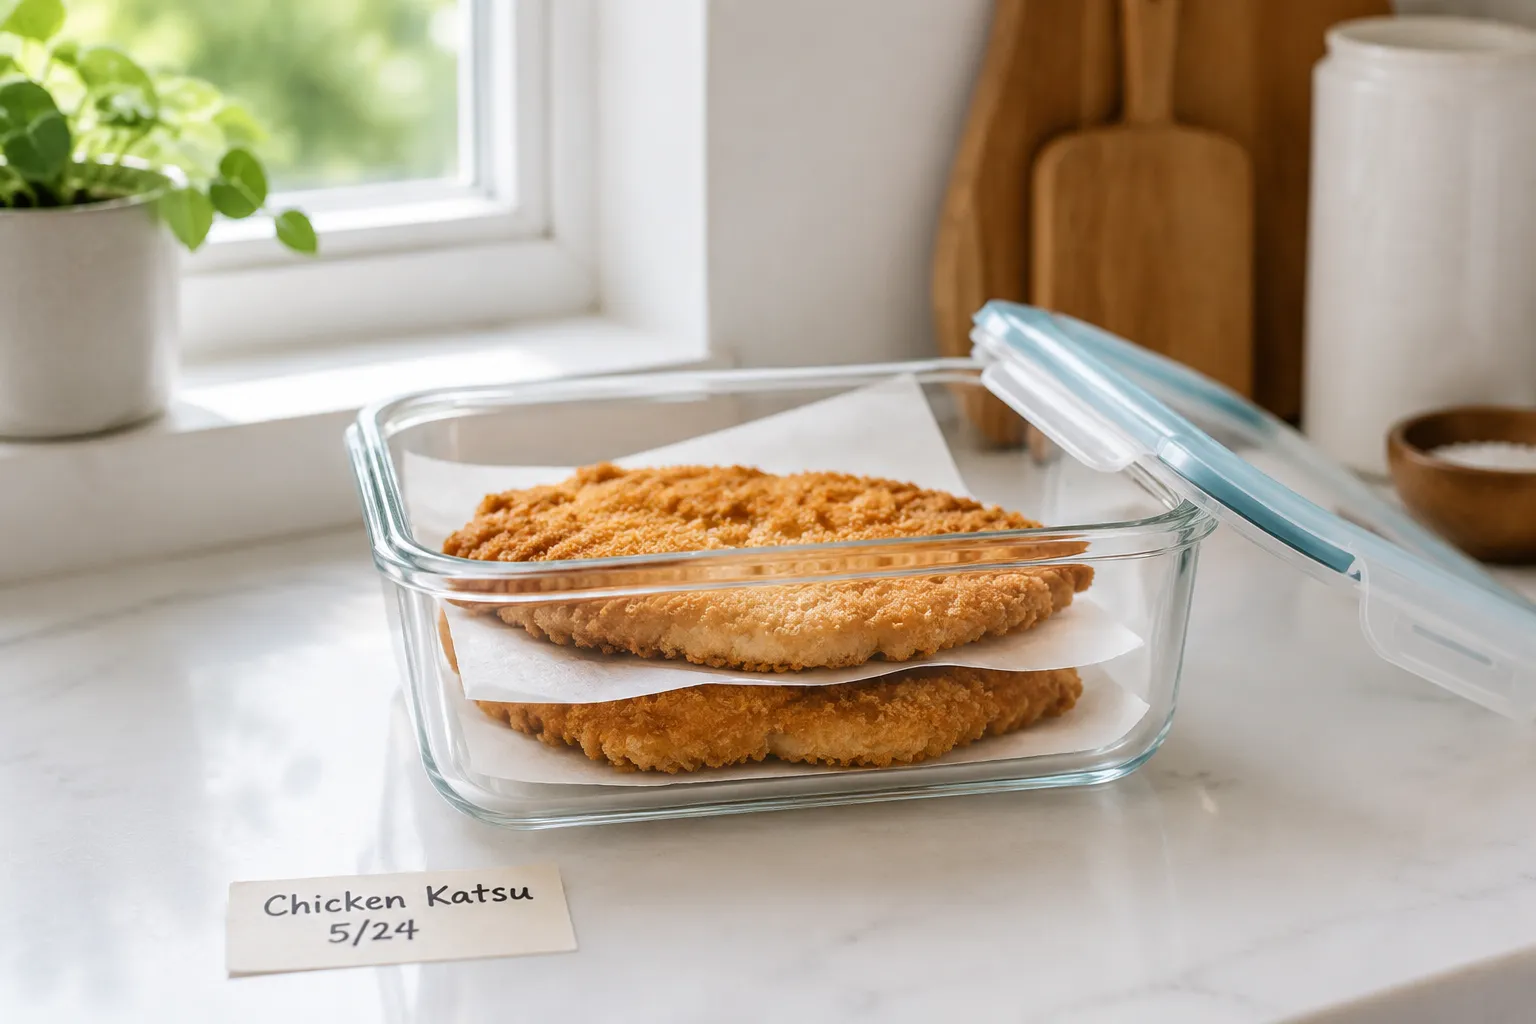
Cooked katsu keeps in an airtight container in the fridge for up to 3 days. To preserve the crunch, stack the cutlets between sheets of parchment so the crust doesn't sweat against itself. For longer storage, freeze fully cooked cutlets on a parchment-lined tray until solid, then transfer to a zip-top bag for up to 2 months.
Reheat in a 400°F air fryer for 4 to 5 minutes (from fridge) or 7 to 8 minutes (from frozen) — this is hands-down the best way to bring back the original crisp. A 400°F oven on a wire rack works too, about 8 to 10 minutes. Skip the microwave; it turns the panko into a damp sponge. You can also bread the cutlets up to 24 hours ahead and refrigerate them uncovered on a wire rack, which actually dries the surface and gives you an even crispier result when you finally fry.