Tamago Recipe: Authentic Japanese Sweet Egg Omelet
Ingredients
Scale
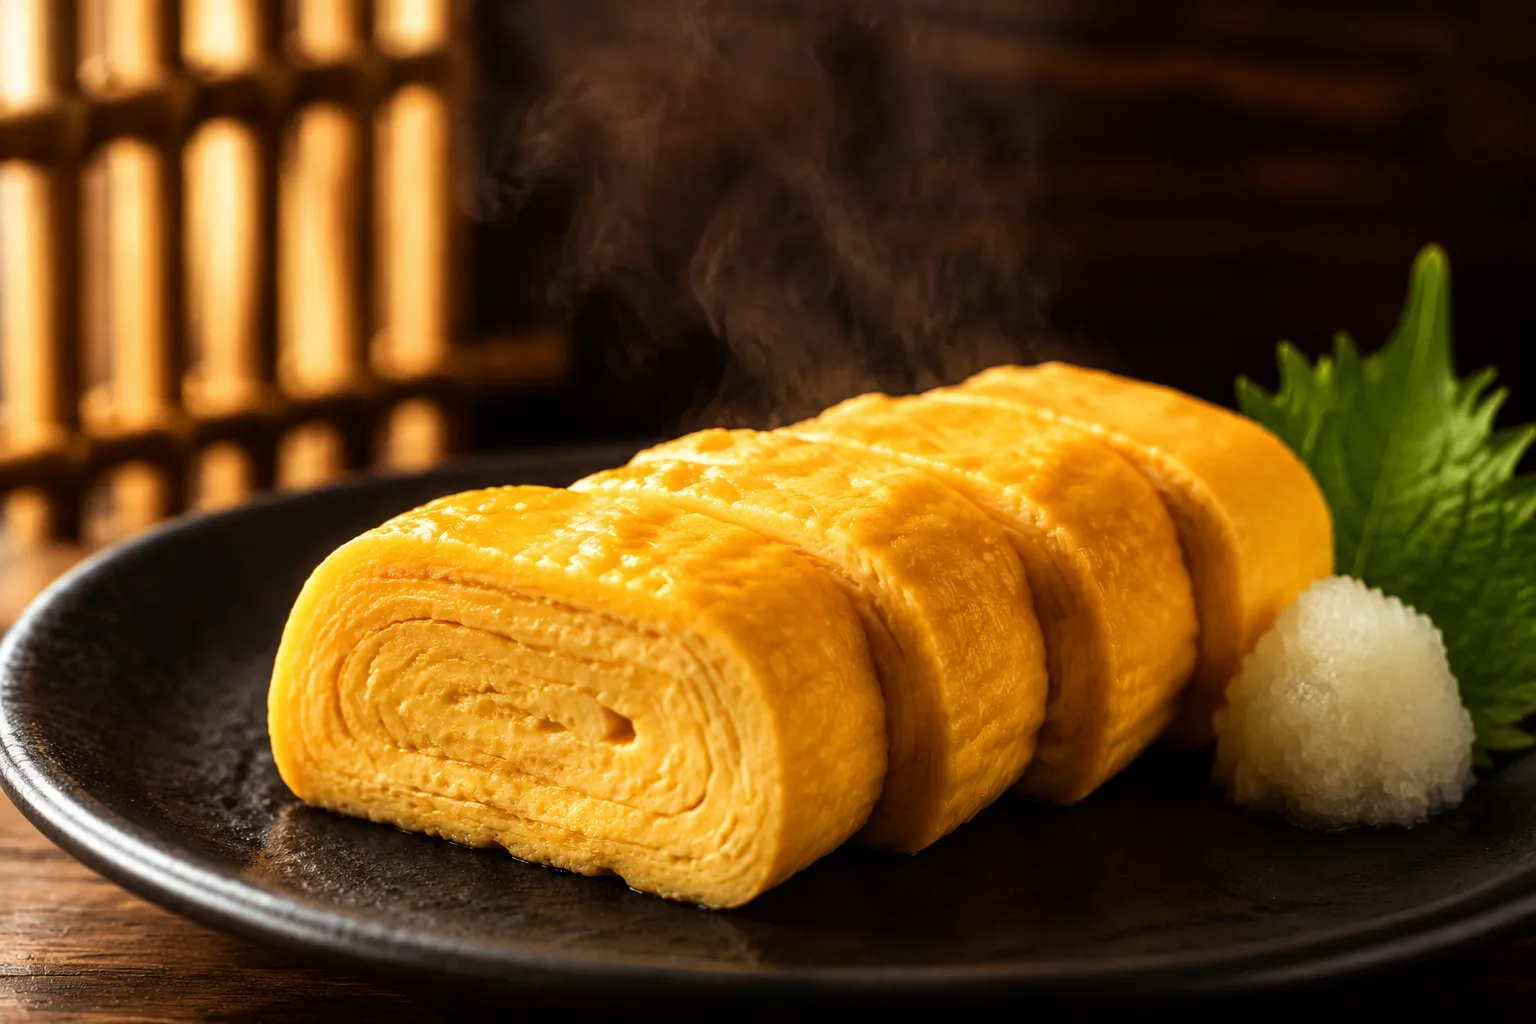
Tamago is the silky, slightly sweet Japanese rolled omelet you've spotted at every sushi bar. With one pan and 5 ingredients, you can make it at home in 20 minutes.
Tamago is the silky, golden-yellow rolled omelet that sits at the corner of every sushi platter and somehow steals the show. It looks fancy, almost architectural with those tidy spirals of egg, but the truth is it comes together with five everyday ingredients and one pan you almost certainly already own. If you've ever ordered the sweet egg sushi at a restaurant and wondered how on earth they get those pillowy layers, this is your moment.
I learned to make this Japanese rolled omelet on a tiny round skillet long before I owned anything specialized, and I want you to know that the homemade version can absolutely rival what you'd get at a sushi bar. The technique is mostly about patience and a few thin pours, not professional gear. We'll cover both the traditional rectangular tamago pan method and the round-skillet workaround so you can start tonight with whatever's in your kitchen.
Expect a custardy, gently sweet, deeply savory bite with whispers of umami from the dashi. It's the kind of recipe that turns into a regular weeknight habit once you taste a slice still warm from the pan.
The word tamago simply means egg in Japanese, but on a sushi menu it's shorthand for a specific preparation: a thin egg mixture seasoned with dashi, mirin, soy sauce, and sugar, then poured in stages and rolled into a multi-layered log. The version you slice and serve over rice as nigiri is technically called atsuyaki tamago ("thick fried egg"), while the broader category of rolled omelets is known as tamagoyaki. In casual conversation most home cooks use the words interchangeably, so don't get too tangled up in semantics.
You'll find this Japanese rolled omelet showing up everywhere from sushi counters and bento boxes to traditional Japanese breakfast spreads alongside grilled fish, miso soup, and a bowl of steamed Japanese rice. There's also a slightly less sweet, dashi-forward version called dashimaki tamago that leans more savory and is often eaten with grated daikon at breakfast. The flavor lands somewhere between French omelet and crustless quiche: tender, lightly sweet, and salty enough to feel grown-up.
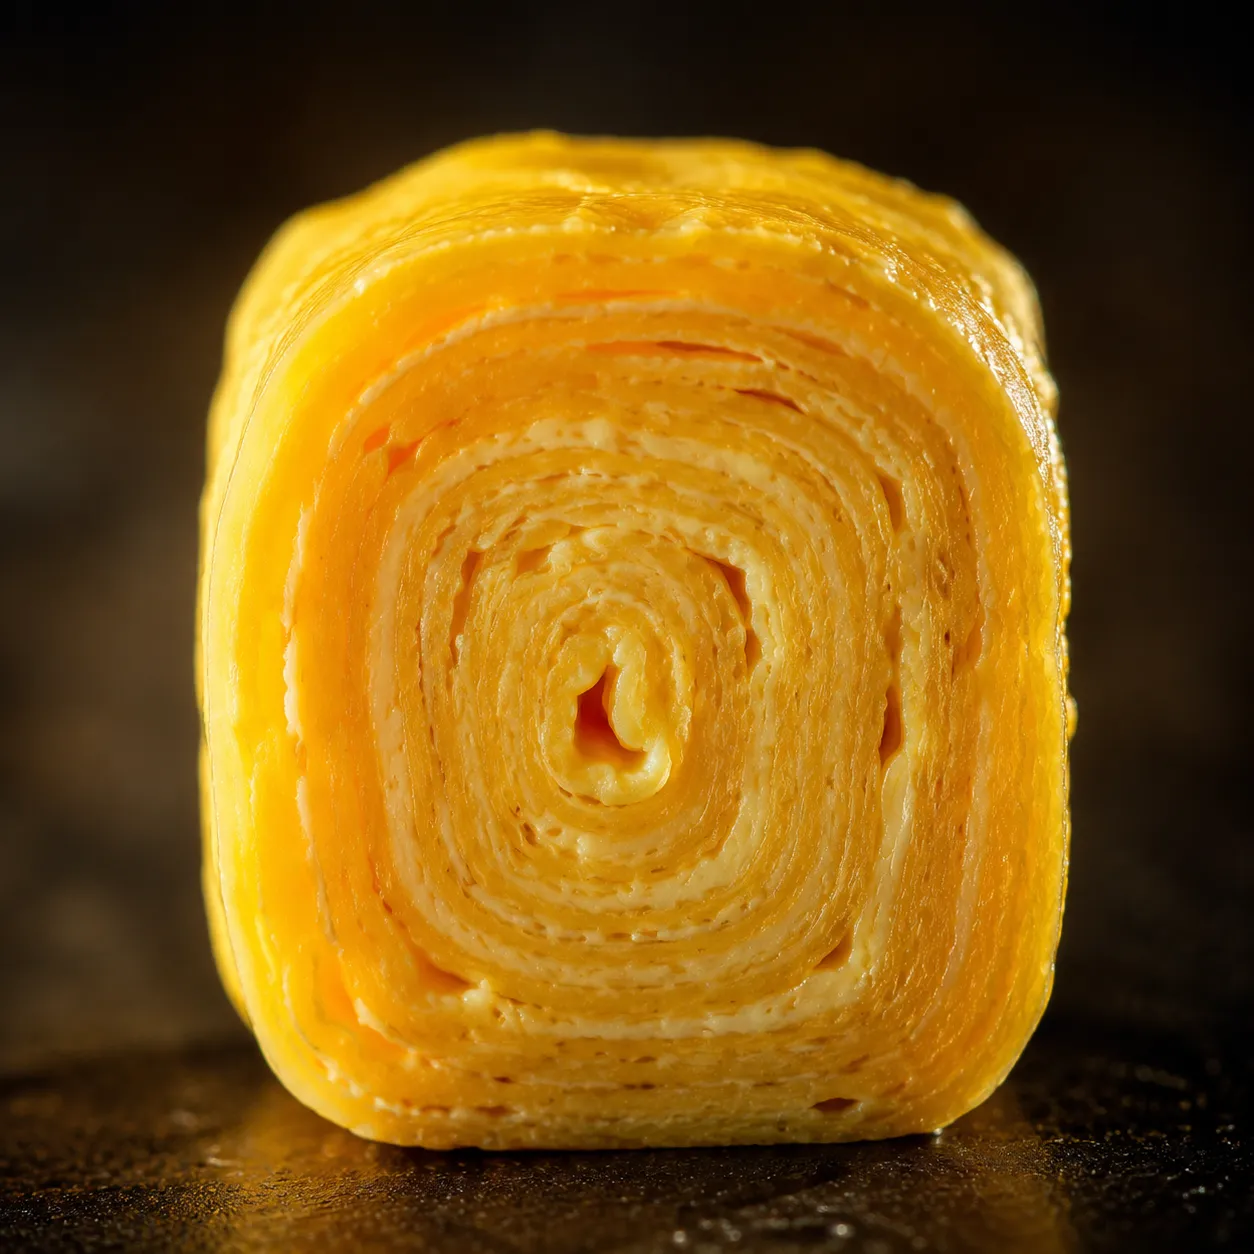
Texturally, a good slice should feel like layered silk. Each fold compresses just slightly into the next so when you cut it crosswise, you can see a clean spiral. That layering is what separates a homemade attempt from something that feels truly restaurant-style, and it's mostly a matter of pouring thin and rolling gently.
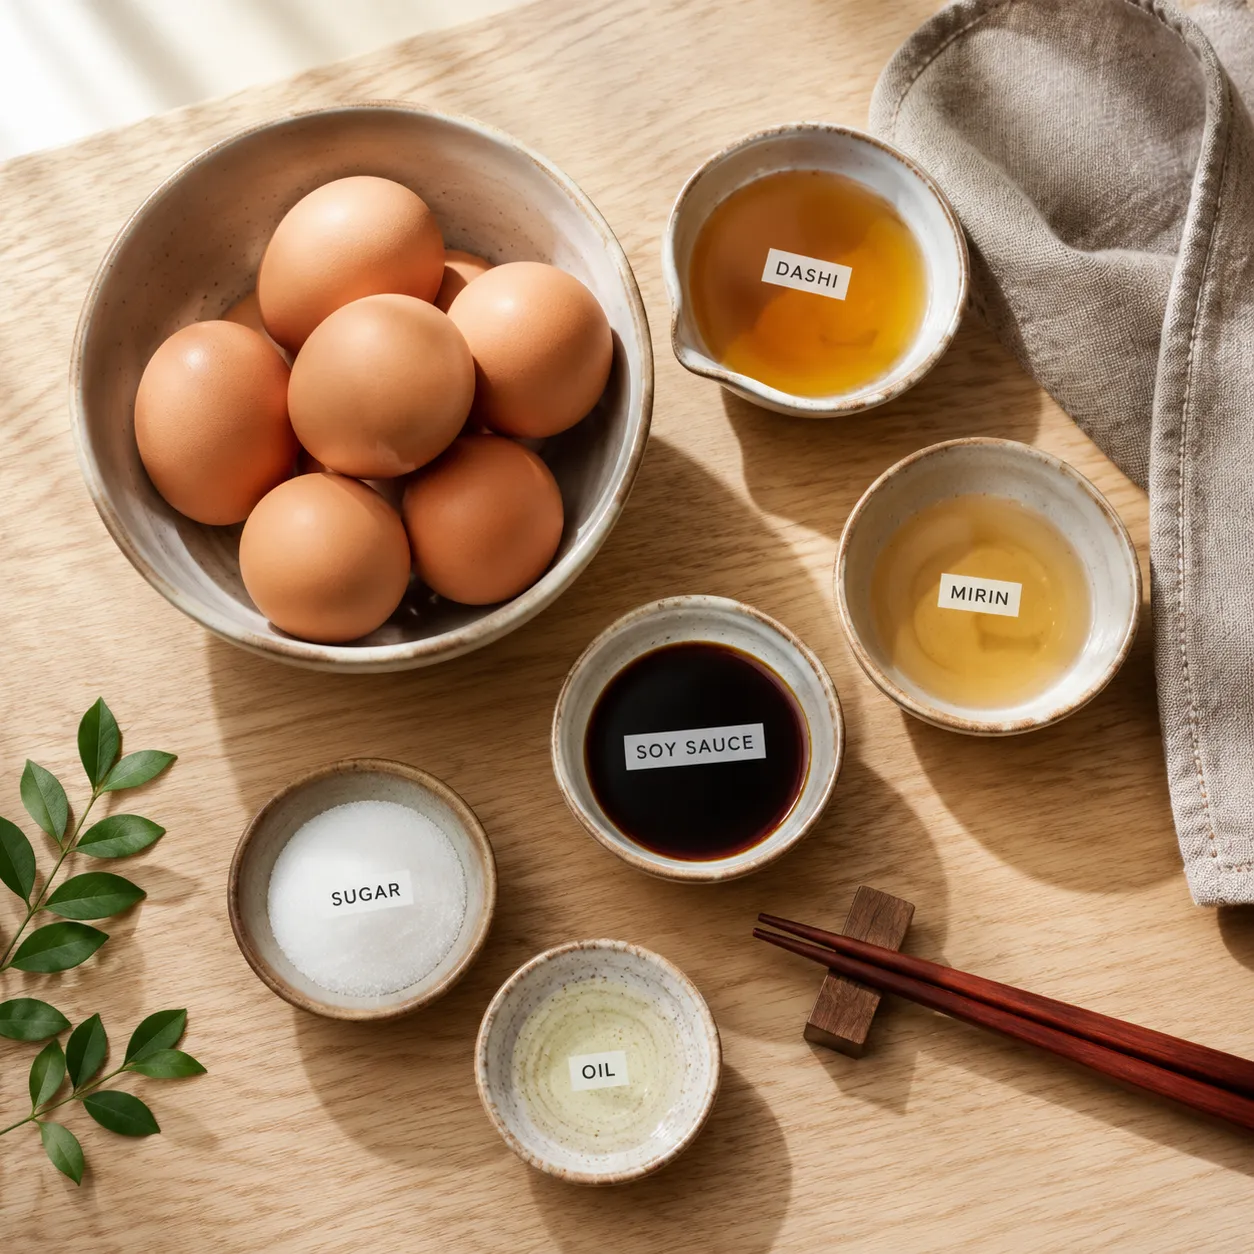
This is a five-ingredient recipe, which means each component matters. The egg-to-liquid ratio is what determines whether your finished omelet is dry and rubbery or custardy and tender. Aim for about three tablespoons of dashi per four large eggs and you'll land in the sweet spot.
Dashi is the secret weapon here. It's what gives this Japanese rolled omelet that elusive savory depth you can't quite name when you taste it at a restaurant. If you're new to Japanese cooking, even a packet of instant dashi will get you 90 percent of the way there.
Short answer: no, but it makes life easier. The traditional tool is a small rectangular nonstick skillet that lets you pour an even rectangle of egg and roll cleanly toward one short edge. A dedicated tamagoyaki pan runs about twenty dollars online and is genuinely fun to use if you plan to make this often.
If you don't want to buy one, a small round nonstick skillet (six to eight inches) works beautifully. You'll just trim the rounded edges off your finished log so the slices look neat — and yes, those scraps are the cook's snack. A bamboo sushi mat is the other tool I genuinely recommend; it costs almost nothing and helps you compress the warm omelet into clean rectangular sides.
Beyond the pan, you'll need long wooden chopsticks or a thin silicone spatula for rolling, a small bowl of oil with a folded paper towel for greasing between layers, and a fine mesh strainer if you want truly silky results. That's it. No special whisks, no tweezers, no theatrics.
The full numbered method lives in the recipe card below, but here's the rhythm so you can picture it before you start. You whisk, strain, pour thin, roll, repeat. Each pour bonds to the previous roll because the surface is still slightly tacky, and that's how you build those signature layers.
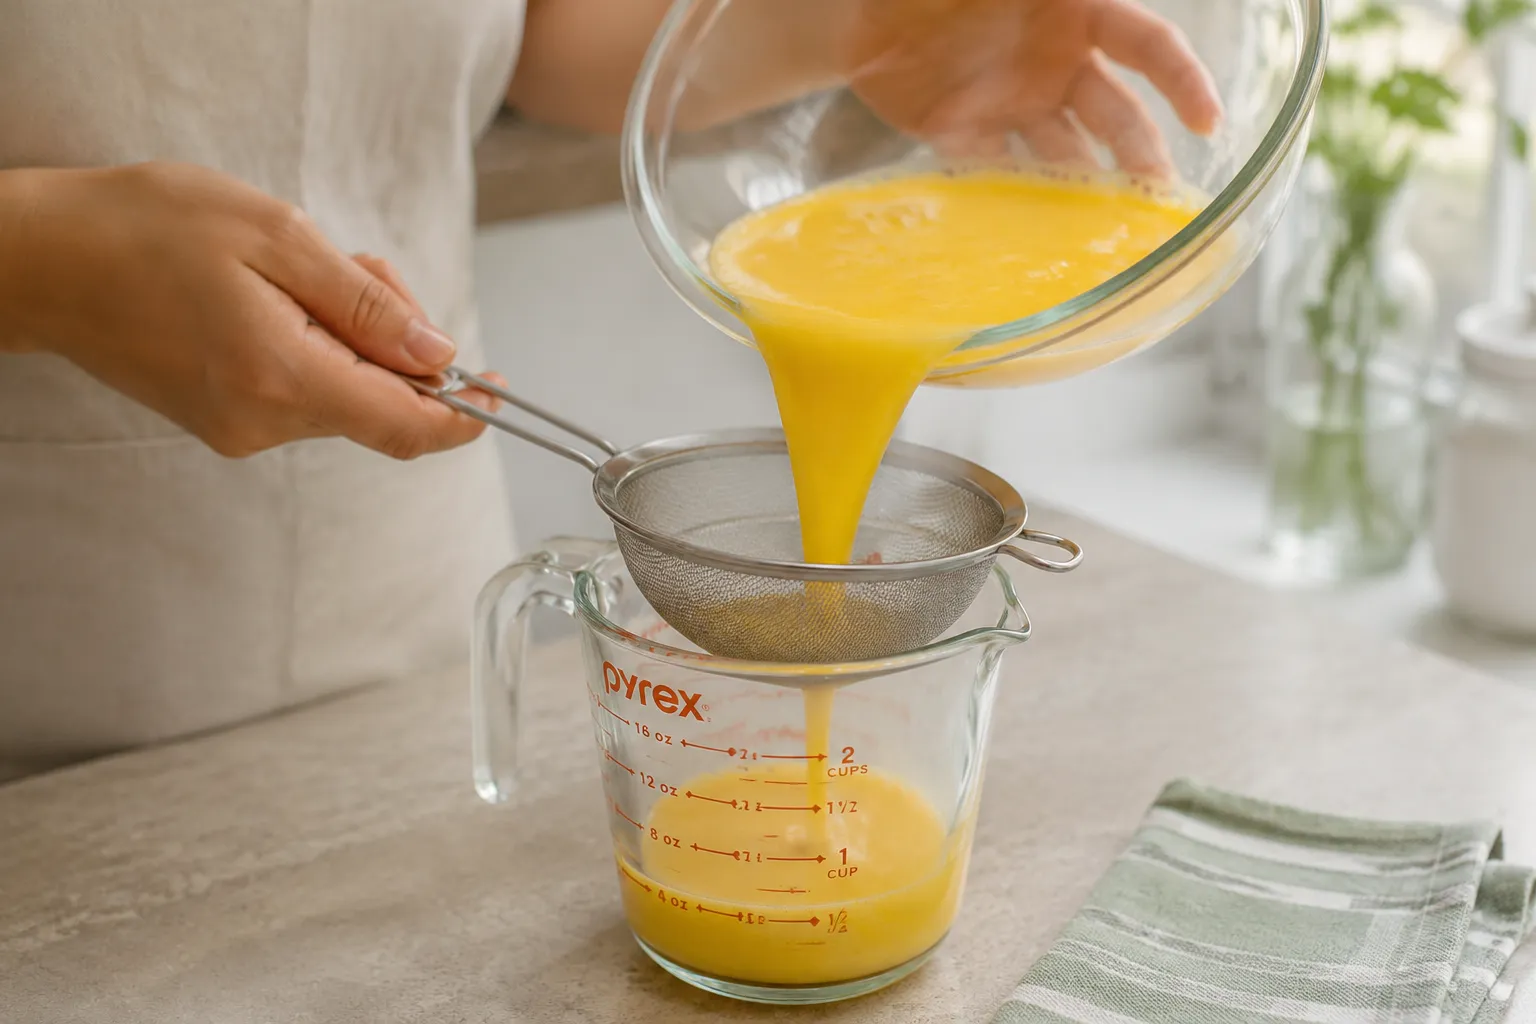
Start by whisking the eggs gently with the dashi, mirin, soy sauce, and sugar. The goal is to combine without whipping in air — bubbles become visible holes in your finished slice. Pour the mixture through a fine mesh strainer once or twice. This single step is the difference between a smooth, glossy interior and a spongey one.
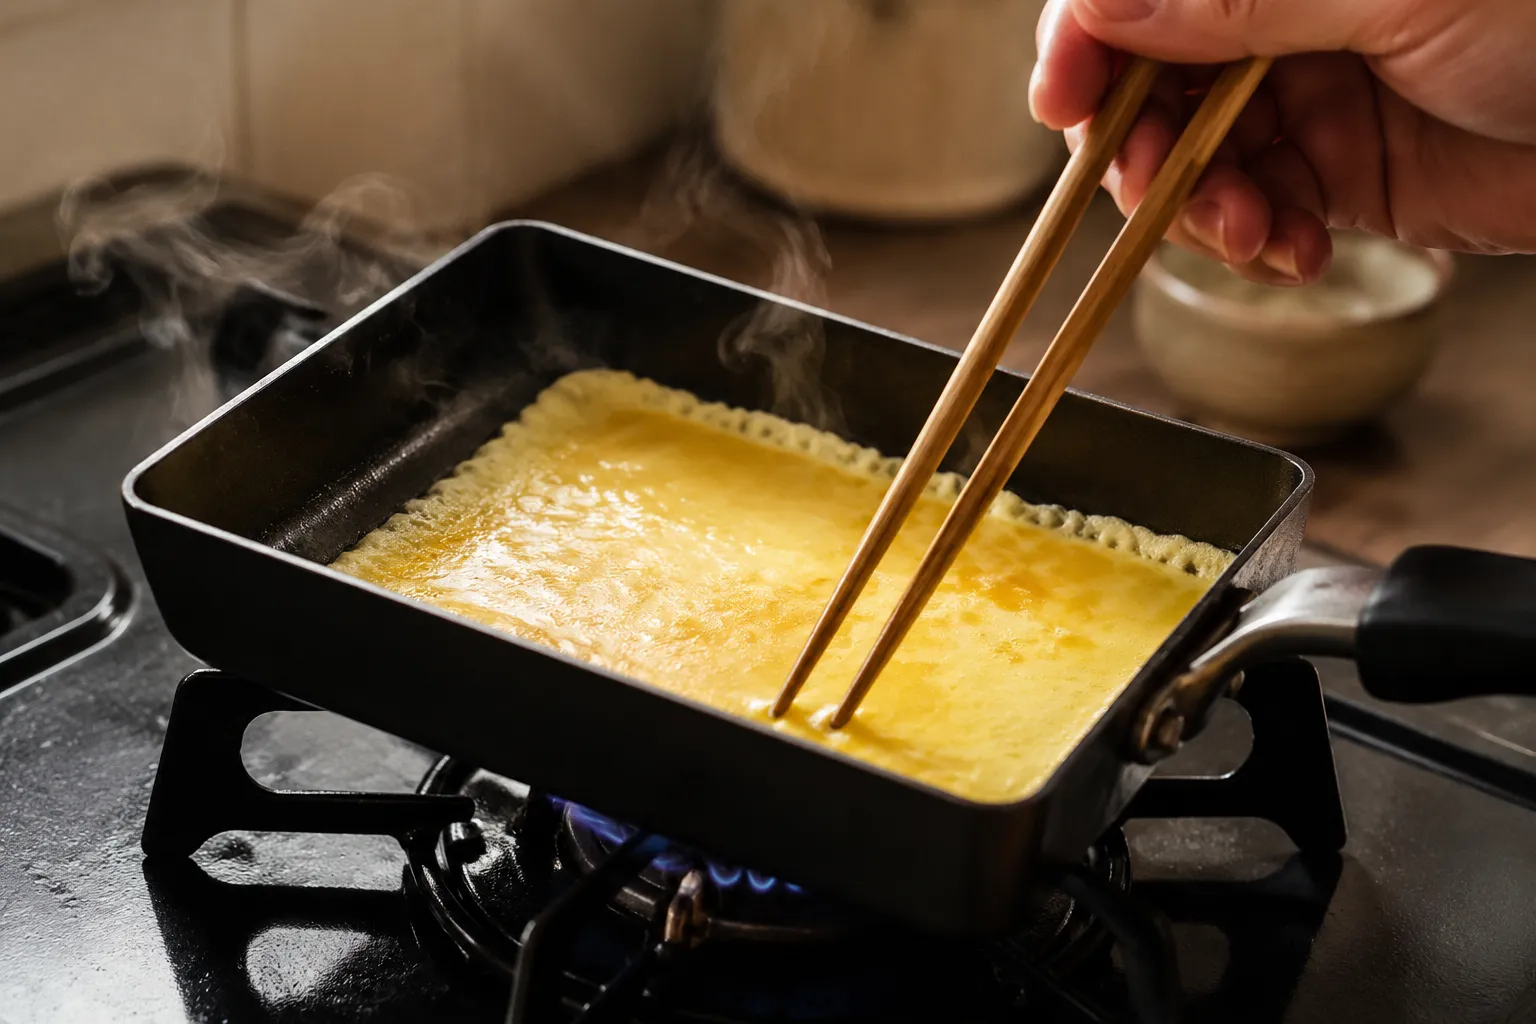
Heat your pan over medium-low and oil it lightly. Pour in just enough egg mixture to coat the bottom in a thin layer — you should hear a quiet sizzle, not an aggressive one. As soon as the surface looks set but the top is still glossy, start rolling from the far edge toward you (or back to front, whichever feels more natural).
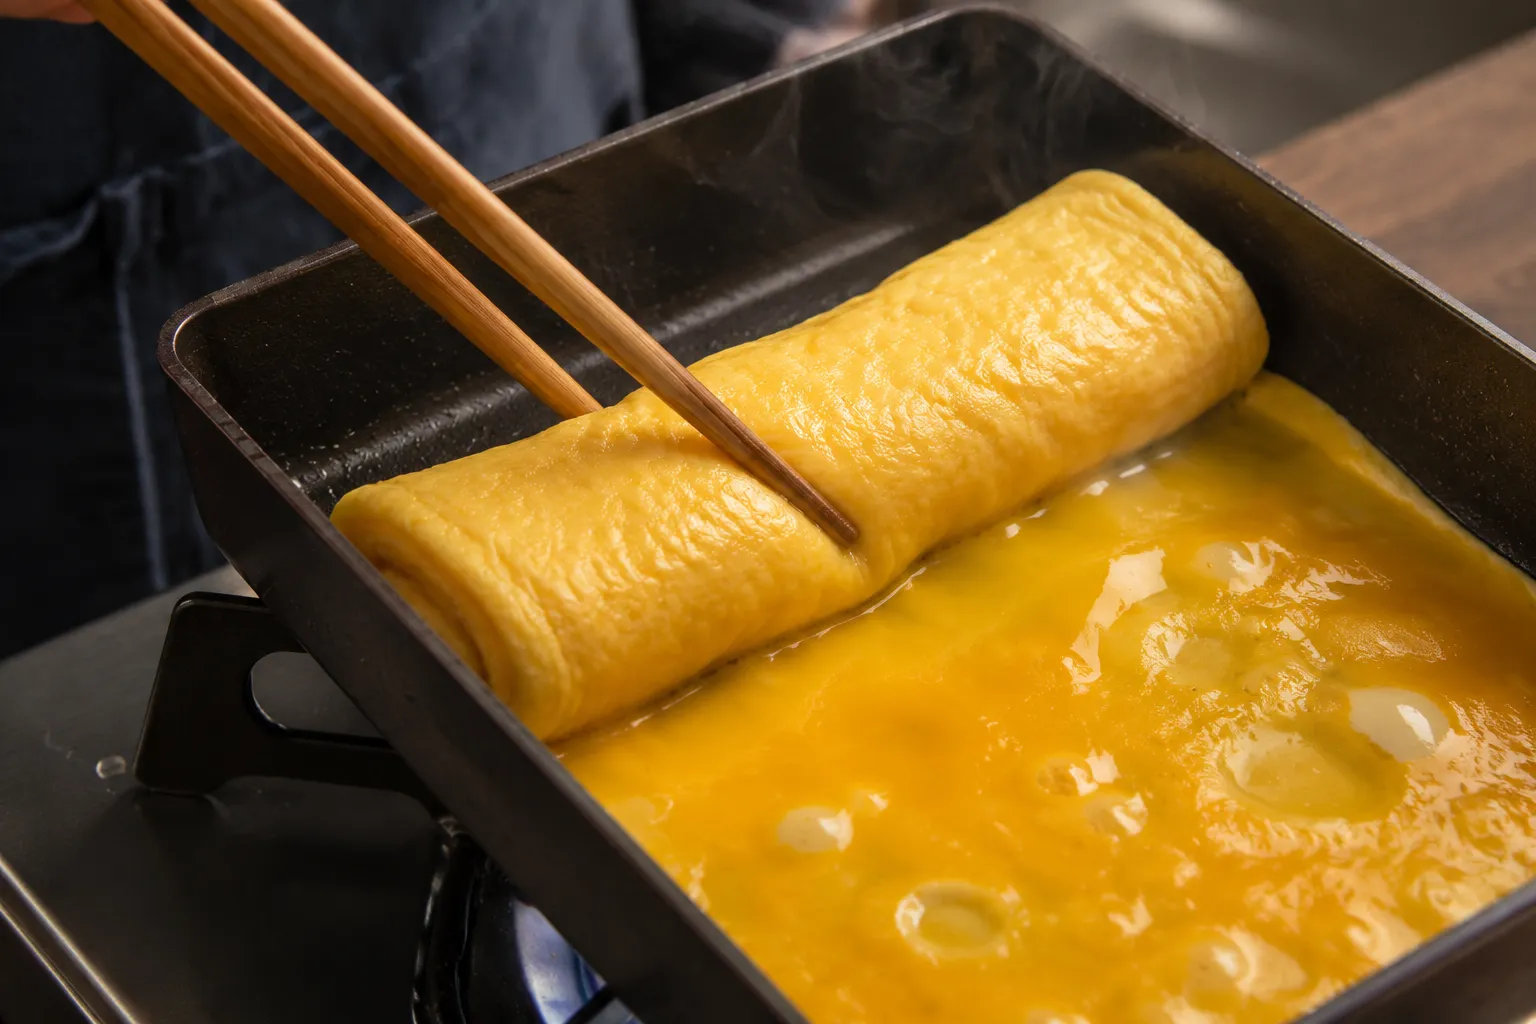
Push the roll back to the far end of the pan, oil the empty space, and pour another thin layer of egg, gently lifting the existing roll so the new mixture flows underneath. Let it set, roll again, repeat. You'll do this four to six times depending on pan size. Don't rush; medium-low heat is your friend.
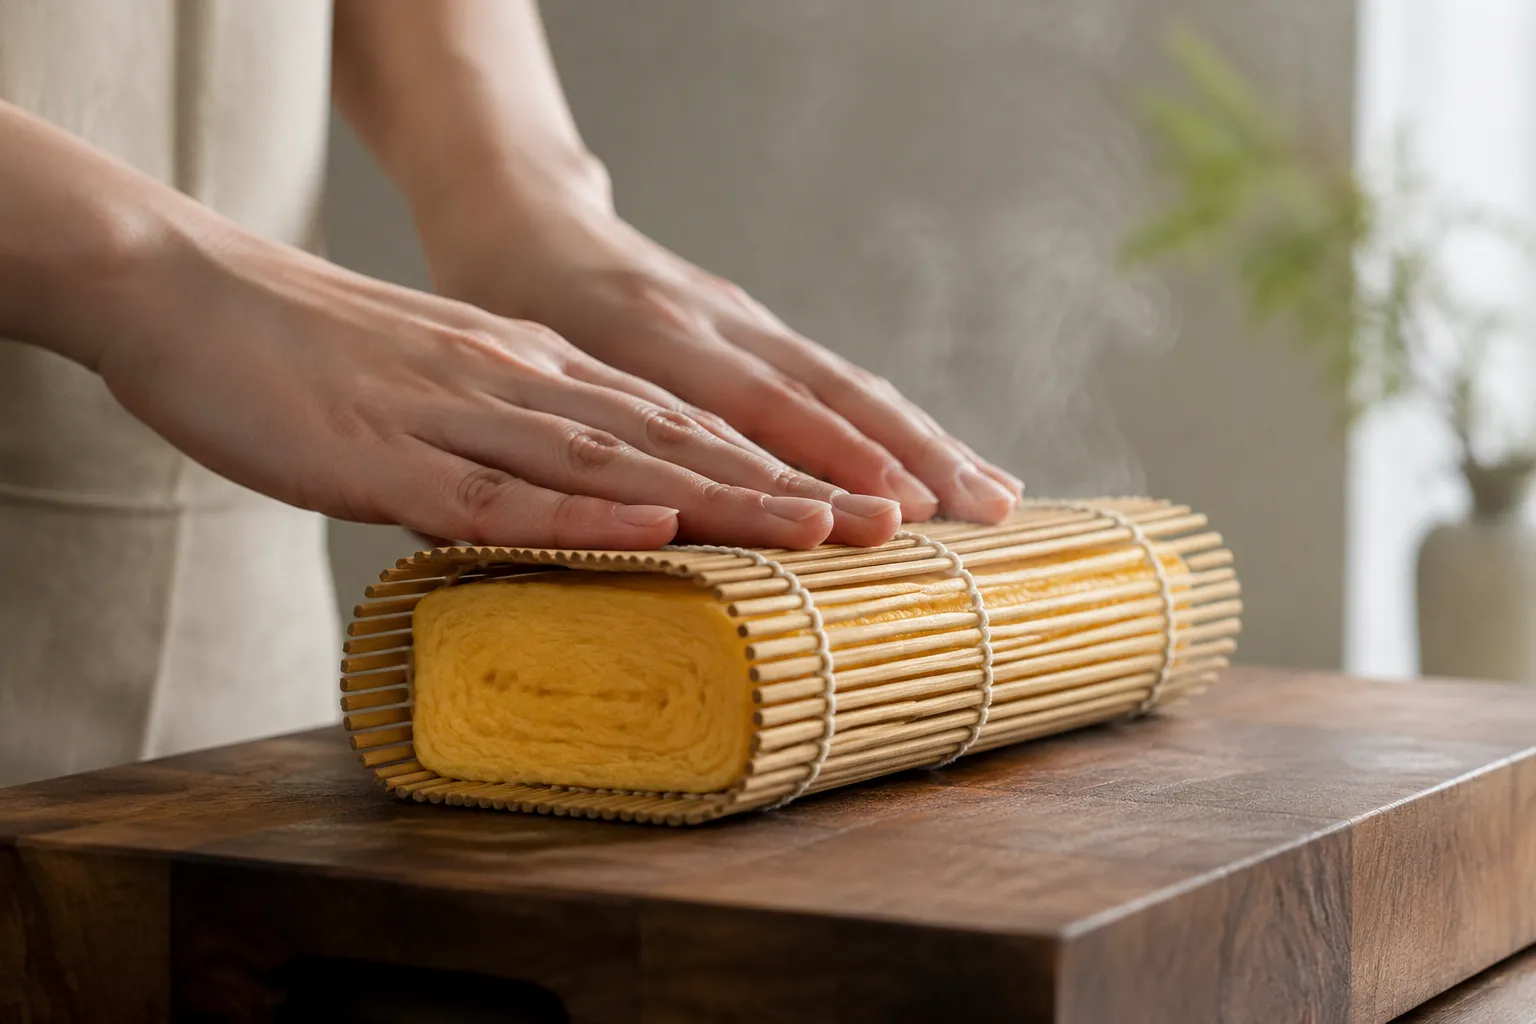
Once the final roll is done, transfer the hot log onto a bamboo sushi mat and wrap snugly. Press gently to encourage clean rectangular edges and let it rest for five minutes. This is when the layers settle and the flavors meld. Slice crosswise into half-inch pieces with a sharp knife wiped clean between cuts.
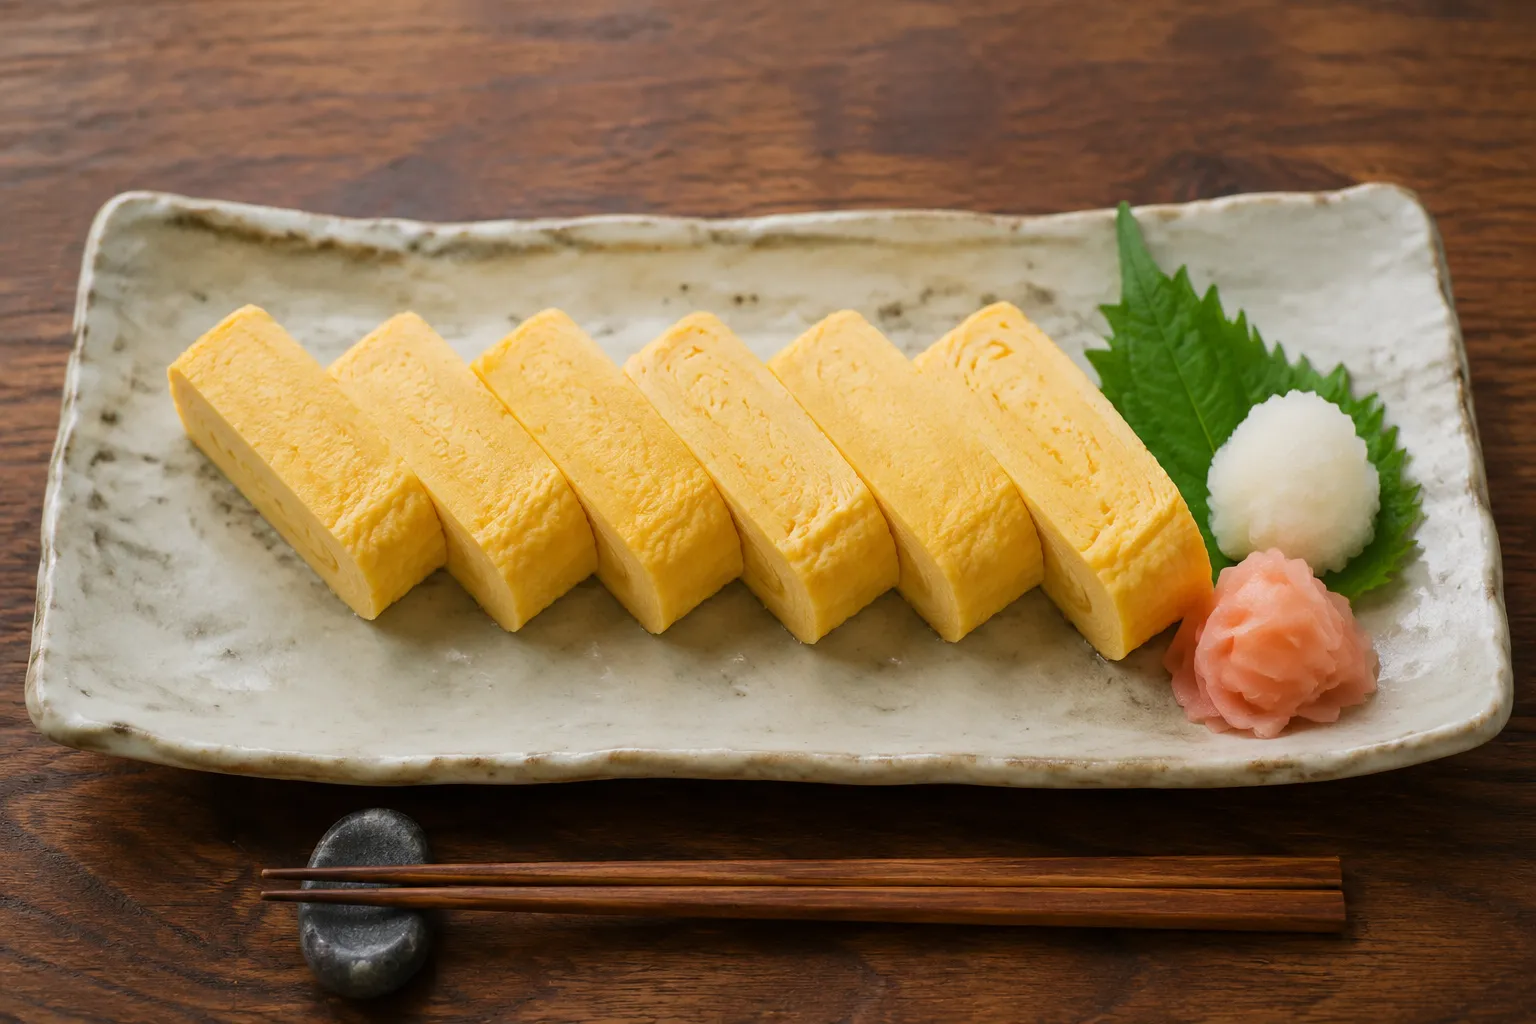
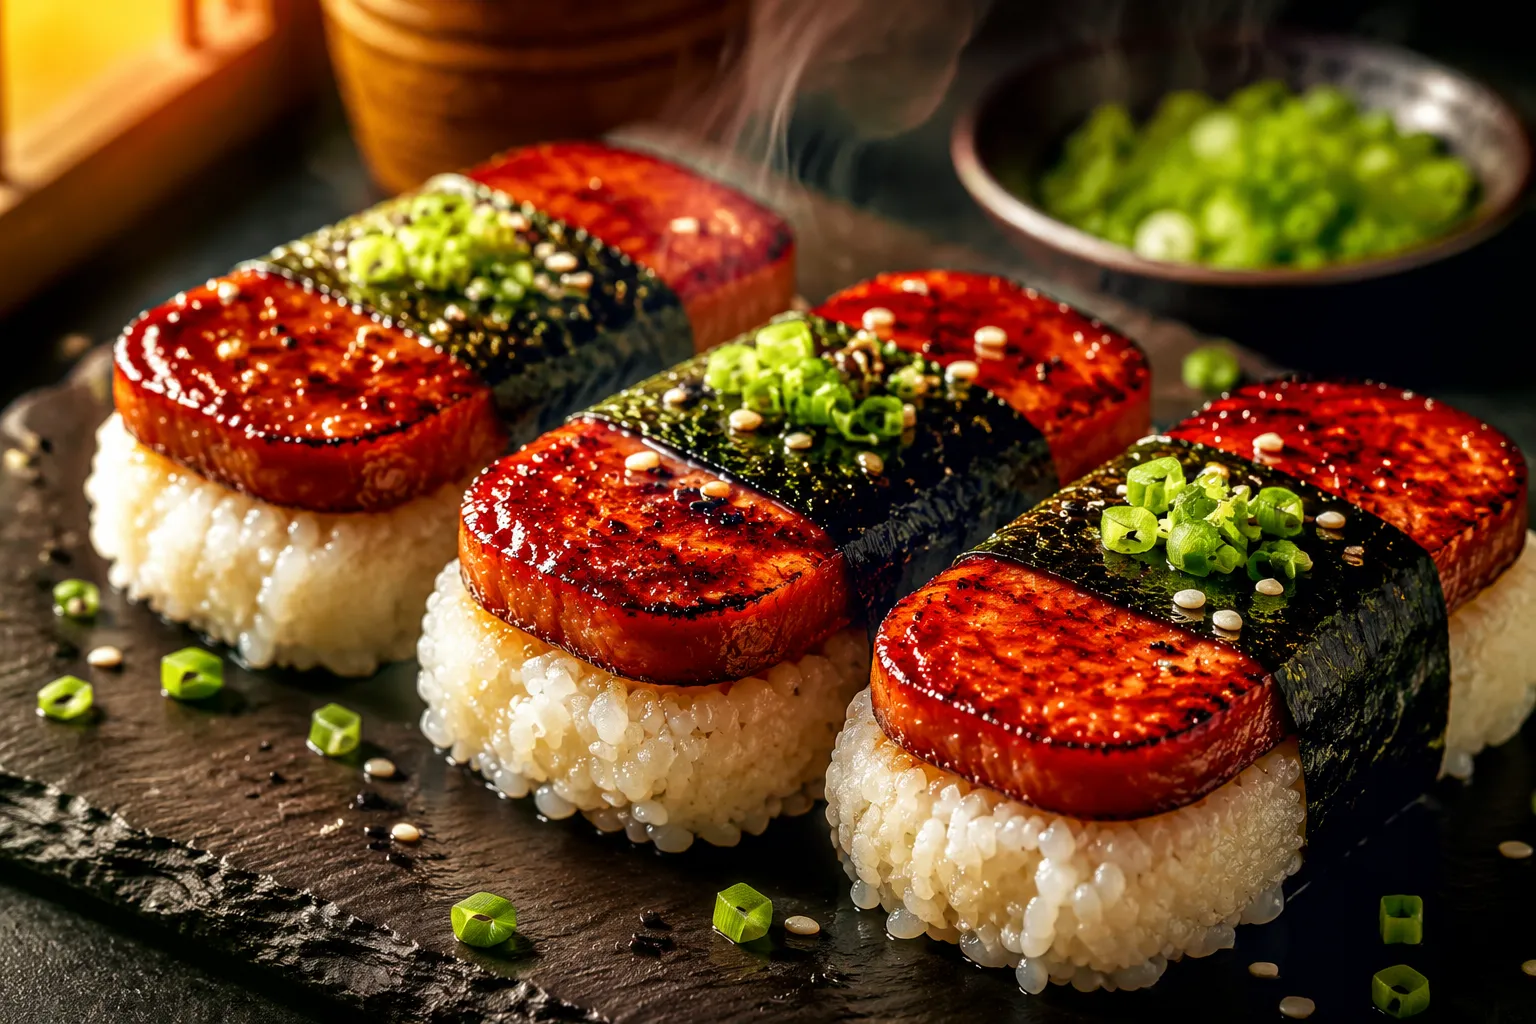
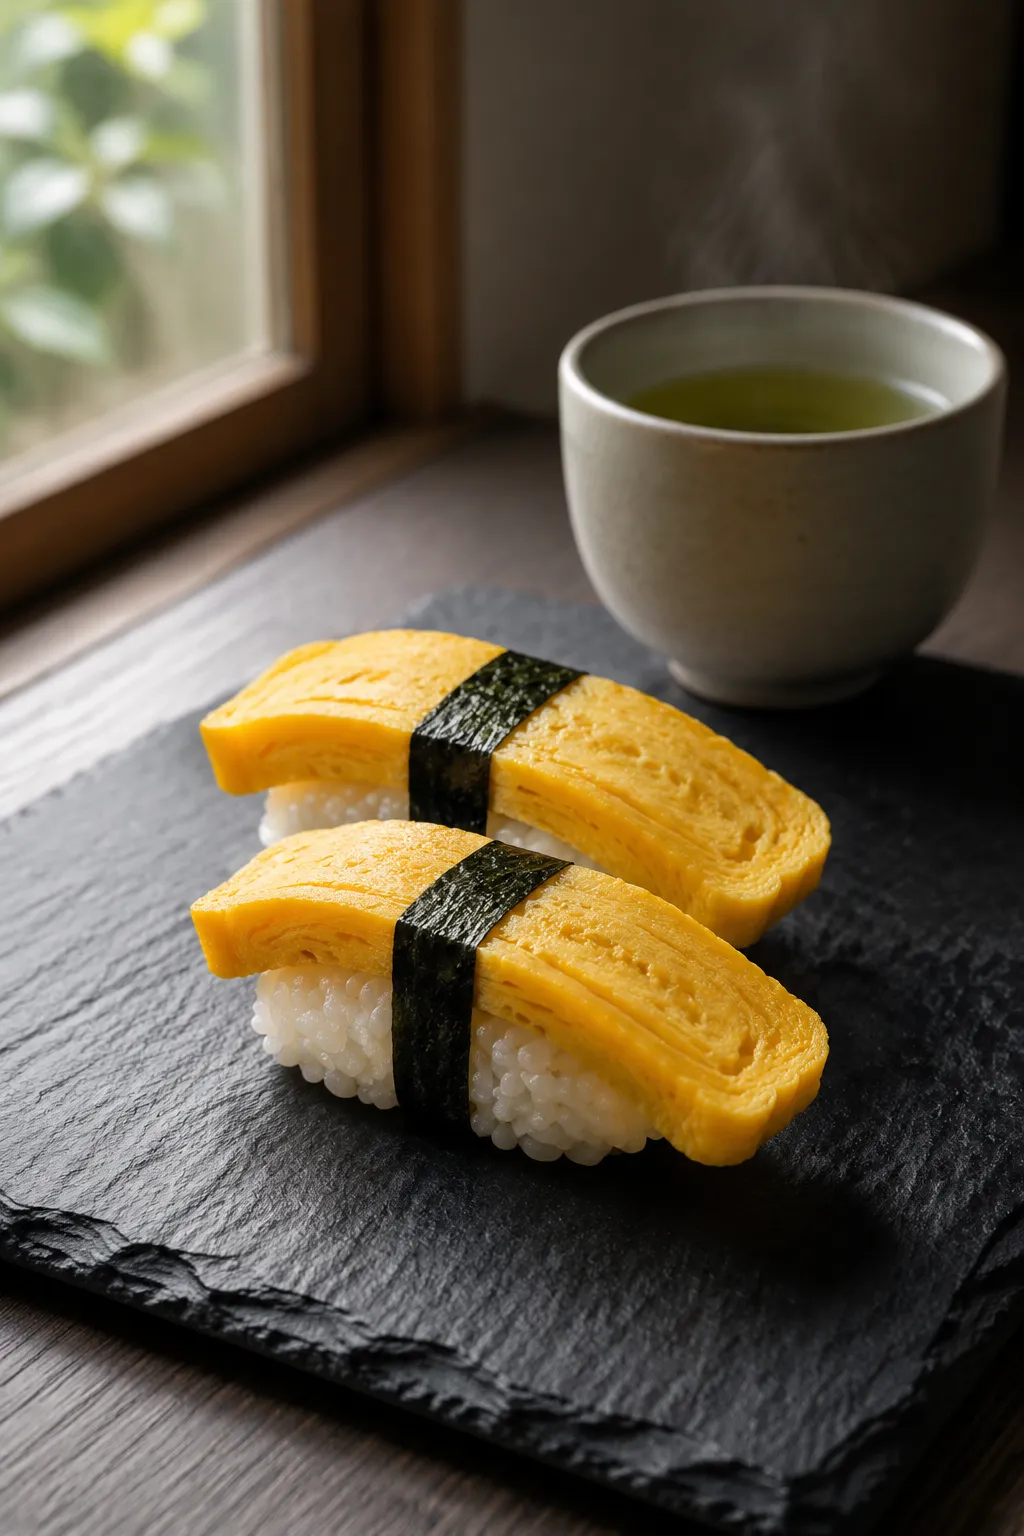
Sliced tamago is endlessly versatile. Lay a piece over a finger of seasoned Japanese rice and tie it with a thin strip of nori for classic tamago nigiri sushi at home. Tuck cubes into a bento box alongside rice, pickles, and a piece of grilled salmon. Or serve thick slices on a small plate with grated daikon and a few drops of soy as part of a traditional Japanese breakfast.
I love it cold from the fridge in a packed lunch, but it's honestly best slightly warm, when the layers are at their most tender. If you're putting together a brunch board, slice it thin and serve alongside cucumber, avocado, and a drizzle of toasted sesame oil — it's one of my favorite Japanese breakfast ideas for a slow weekend morning.
Once you nail this tamago recipe, you'll find yourself making it on autopilot for weeknight dinners, sushi nights, and packed lunches. It scales easily — double the eggs and use a slightly larger pan — and it freezes surprisingly well if you wrap each slice individually. Most importantly, it's the kind of recipe that gets better every time you make it. Your fifth one will look noticeably tidier than your first, and your tenth will look like it came from a sushi counter.
This recipe is a forgiving base, so once you have the technique down, play around with seasonings and add-ins to match how you're serving it.
Wrap the finished log tightly in plastic wrap or a damp piece of parchment and refrigerate for up to three days. Slice as needed rather than slicing the whole log up front — it stays moister stored as one piece. For best texture, pull it from the fridge about fifteen minutes before serving so the chill comes off; cold straight from the fridge tastes a little muted and feels firmer than ideal.
You can also freeze individually wrapped slices for up to one month. Thaw overnight in the refrigerator and warm gently in a covered skillet over low heat with a splash of water, or microwave at 50 percent power in ten-second bursts. Avoid high-heat reheating, which dries out the layers and makes the eggs squeaky. Leftover slices are fantastic chopped into fried rice or tucked into a sandwich the next morning.