This homemade pickled ginger tastes brighter and crunchier than any store-bought jar, and it comes together with just four pantry ingredients.
Why You'll Love This Recipe
- **Crisp, tangy-sweet flavor:** The rice vinegar brine is bright but balanced, so the ginger tastes fresh instead of harsh.
- **Just 4 pantry ingredients:** You only need fresh young ginger, kosher salt, unseasoned rice vinegar, and sugar.
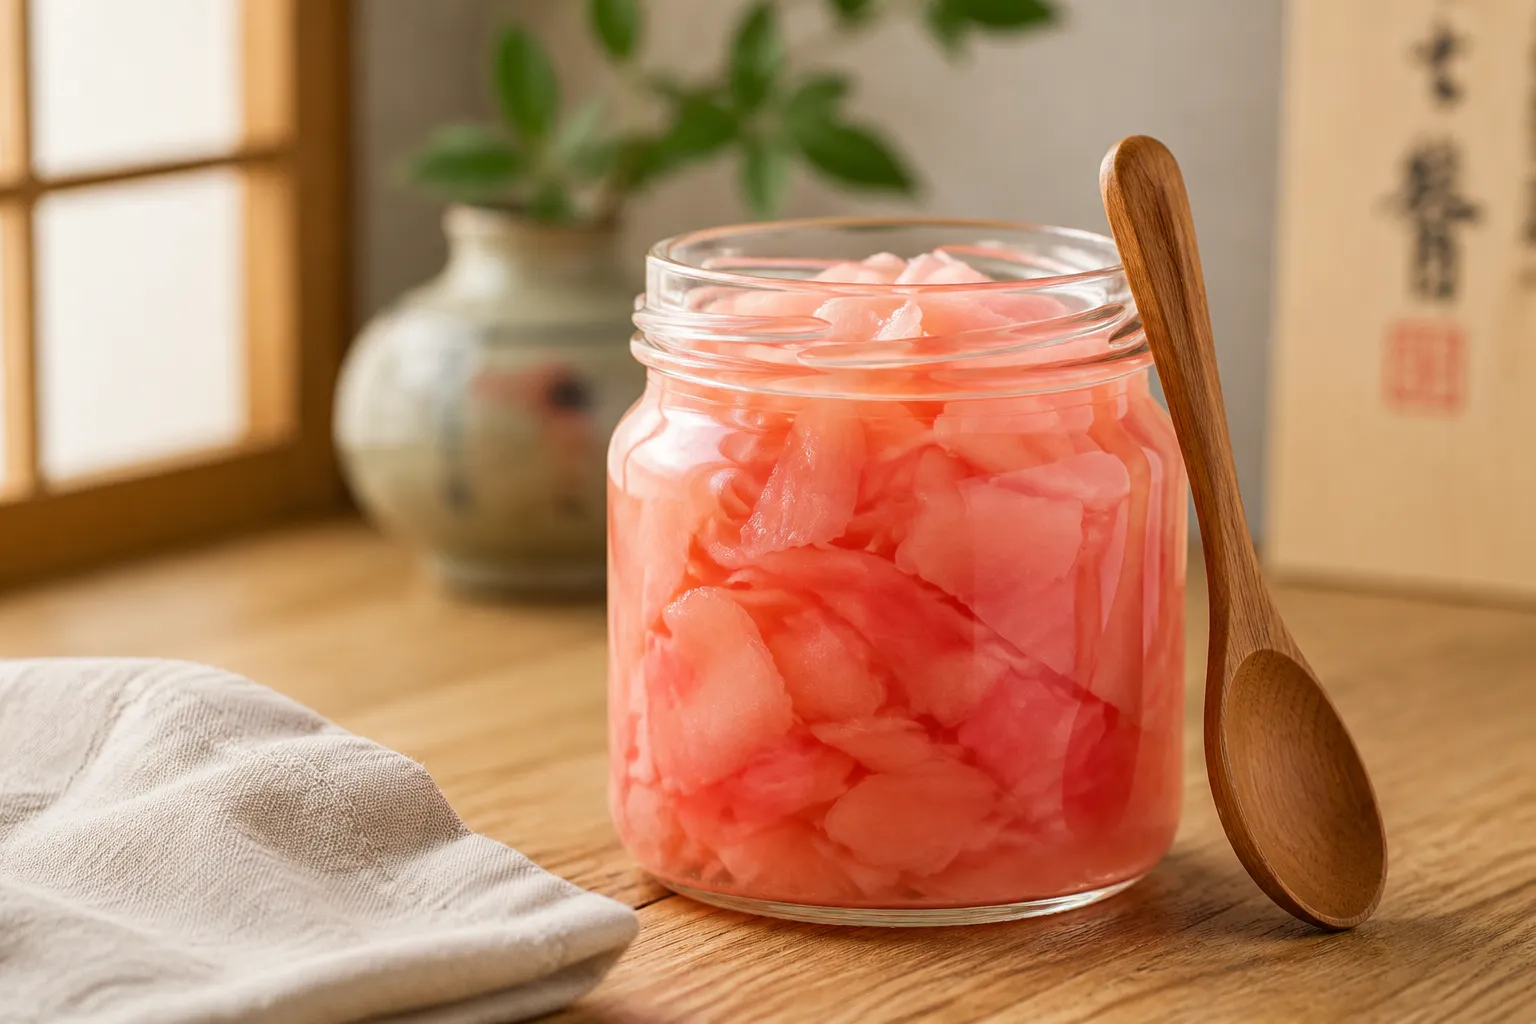
- **Naturally pink, no food coloring:** When young ginger is fresh enough, its pigments react with vinegar to create a soft blush color.
- **Better than store-bought:** Homemade gari has a cleaner flavor and crunchier texture, with no unnecessary additives.
- **Make-ahead friendly:** One jar keeps beautifully in the fridge and instantly upgrades sushi, rice bowls, noodles, and salads.
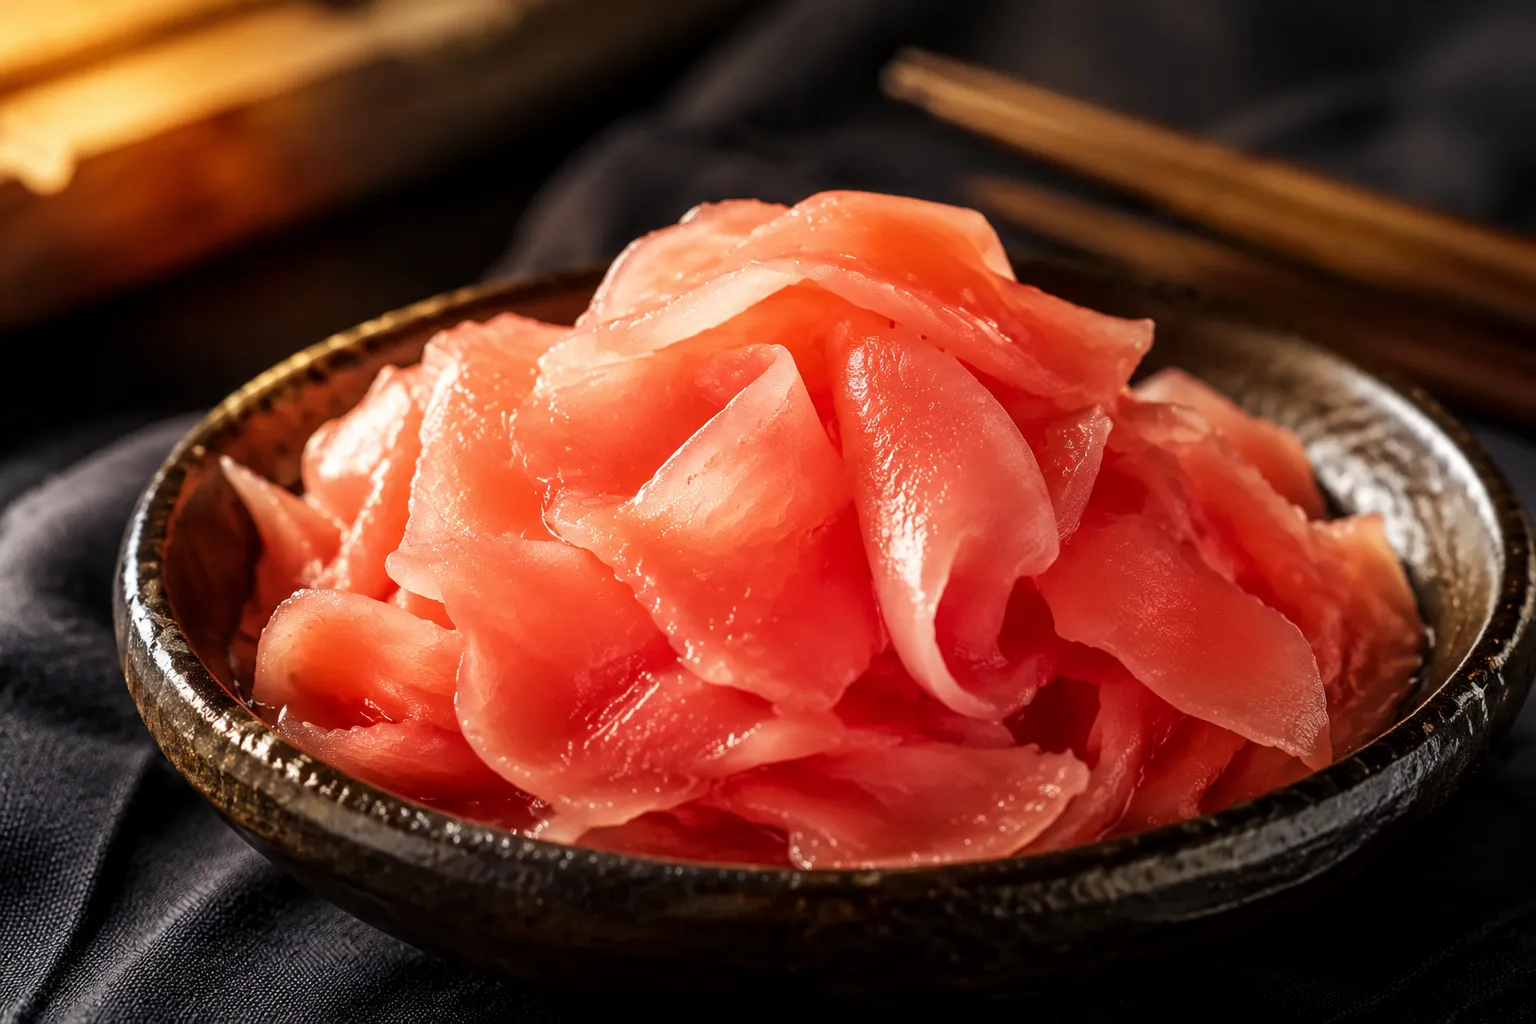
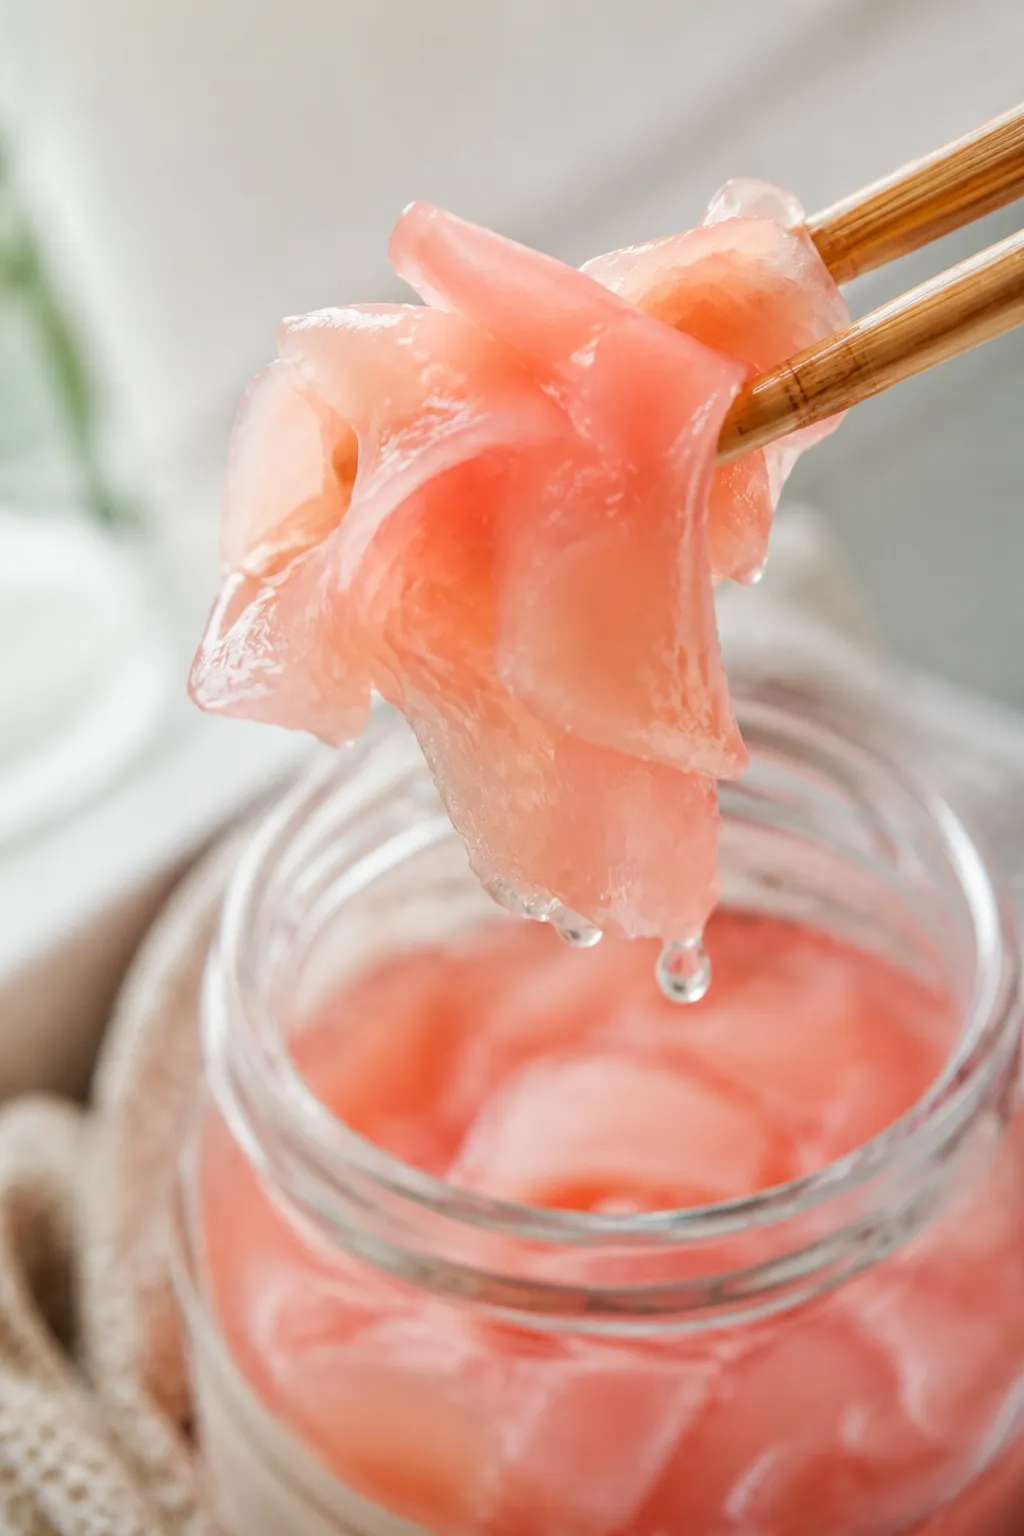
Pickled ginger is the little sushi-night condiment that somehow makes every bite taste cleaner, brighter, and more complete. This homemade gari is crisp, tangy-sweet, and delicately spicy, with translucent ribbons that curl in the jar like pale pink petals. If you’ve only had the packaged kind tucked into takeout trays, this version will feel like opening a window: fresher ginger flavor, a balanced vinegar brine, and no artificial color or preservatives.
The process is wonderfully simple: slice fresh ginger paper-thin, draw out a little moisture with salt, briefly soften it, then pour over a warm sweetened rice vinegar brine. The magic happens as it chills—the bite mellows, the texture stays snappy, and young ginger can naturally blush a soft pink without beet juice or dye. Make a jar before sushi night and you’ll have a restaurant-style Japanese pickle ready for nigiri, maki, rice bowls, and more.
What Is Gari?
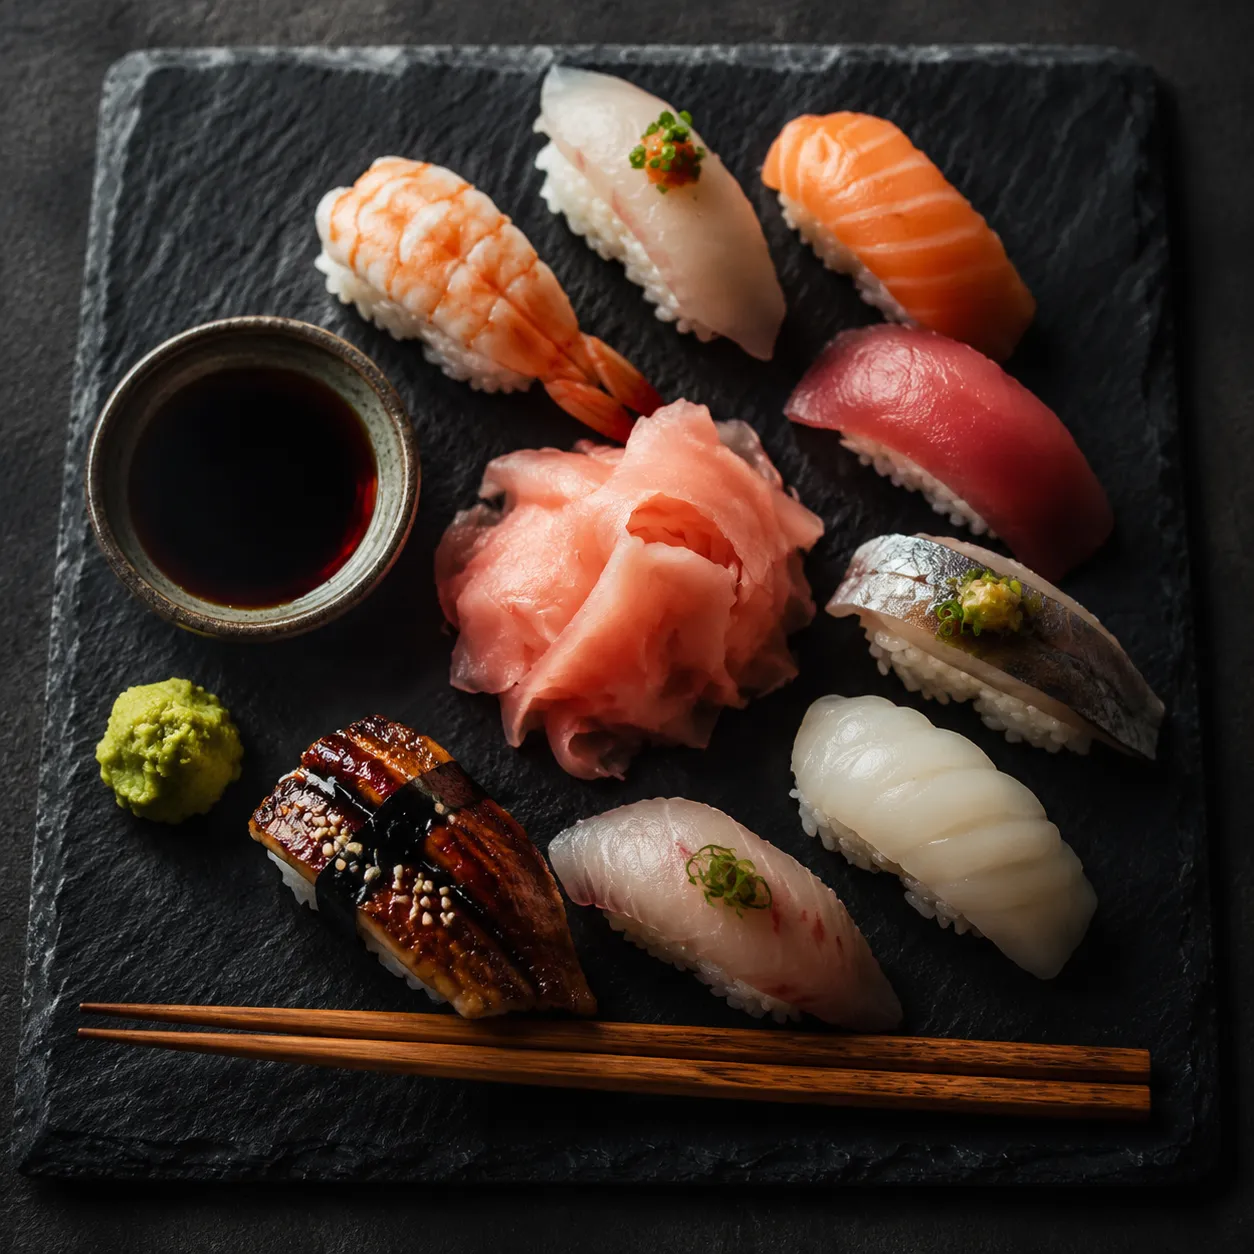
Gari is the Japanese name for the thinly sliced, sweet-tart sushi ginger traditionally served alongside sushi and sashimi. It is one of the most familiar Japanese pickles in the U.S., but it has a very specific purpose at the table: it refreshes your palate between different pieces of fish, rather than being piled directly on top of each bite. The flavor should be clean and lively—gently sweet, bright with vinegar, and warm from the ginger without tasting harsh or fiery. When made with young ginger, the slices are tender enough to fold and curl, and their natural pigments can react with vinegar to create that signature pale pink tone.
Gari is different from beni shoga, the vivid red ginger you may see on ramen, yakisoba, okonomiyaki, or gyudon. Beni shoga is usually cut into fine julienne strips and gets its color and bracing flavor from umeboshi plum brine, so it tastes sharper, saltier, and more assertive. Gari, by contrast, is sliced into broad, paper-thin sheets and has a softer sweet-sour balance made for delicate seafood. Both are ginger pickles, but they behave very differently on the plate.
Young Ginger vs. Mature Ginger
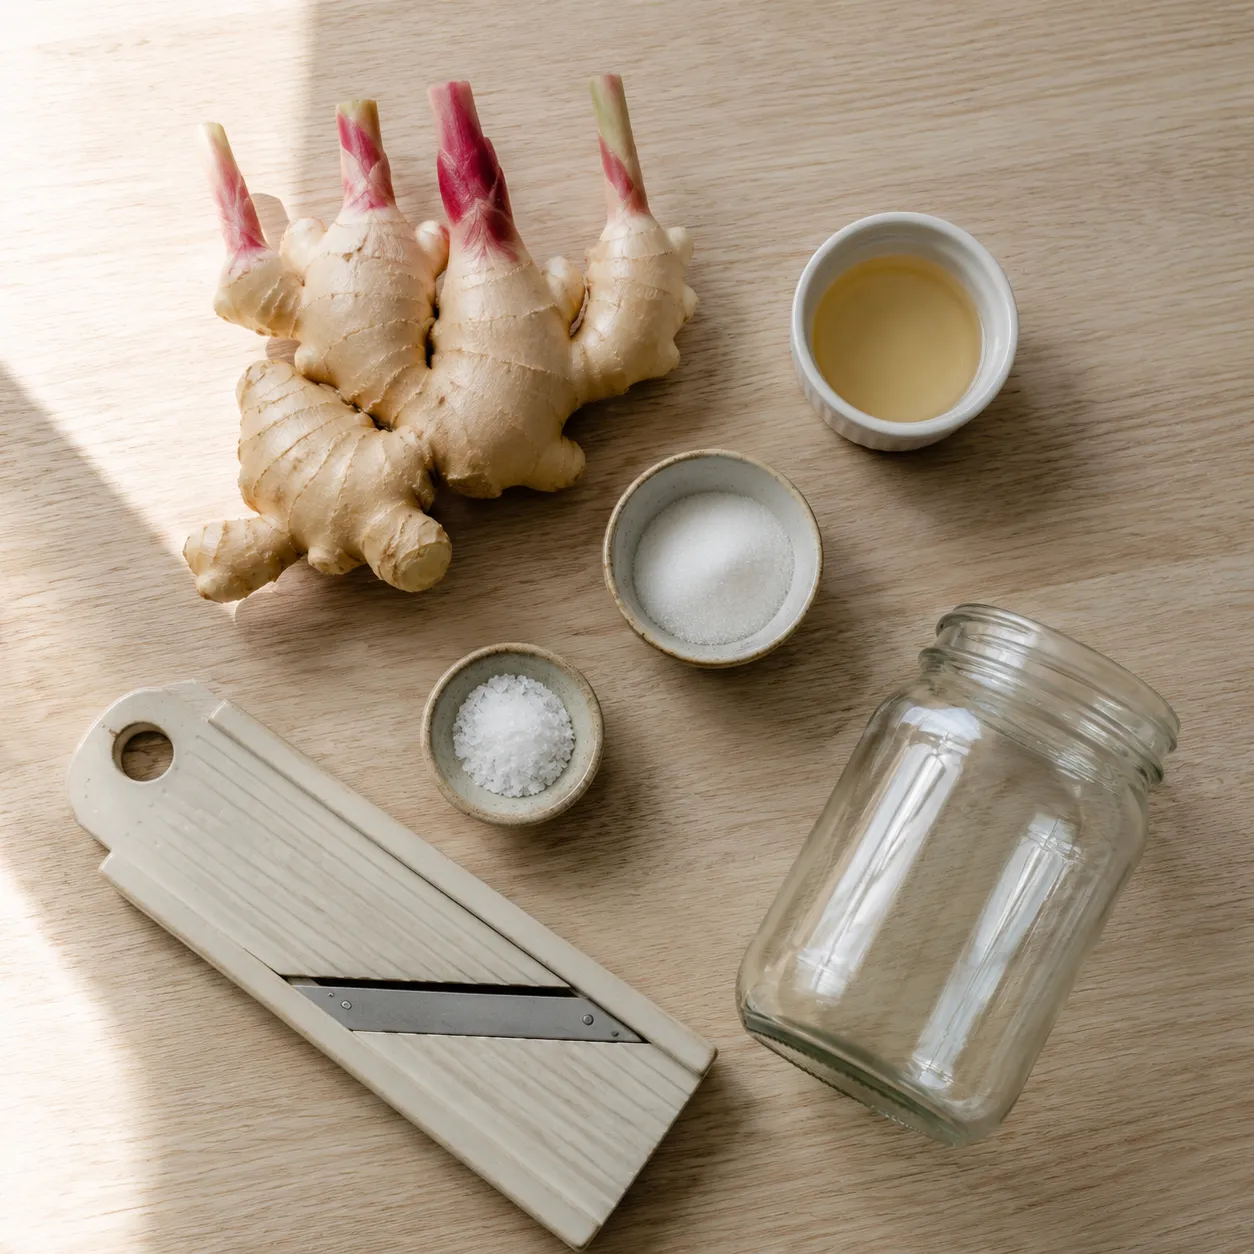
The best gari starts with young ginger, which is harvested earlier and has thinner skin, juicier flesh, and a more delicate heat than the knobby tan roots found in most supermarkets year-round. You can often spot it by its pale cream color, smooth skin, and pink-tipped stems or shoots. Asian markets, Japanese grocery stores, farmers markets, and well-stocked produce departments are your best sources, especially from spring through early fall. Because it is less fibrous, young ginger slices beautifully and keeps a pleasant, crisp-tender texture after pickling.
Mature ginger still works, especially if that is what you have, but it will be stronger, more fibrous, and usually pale yellow after pickling. If using mature ginger, choose pieces that feel heavy and firm, with taut skin and no shriveled areas. Peel it well, slice it as thinly as possible, and expect a slightly spicier finished condiment. The flavor will still be delicious, just less floral and less likely to develop the natural pink color associated with traditional sushi ginger.
Ingredient Notes for Homemade Gari
This recipe uses just four essentials: fresh ginger, kosher salt, unseasoned rice vinegar, and granulated sugar. The short ingredient list is part of the charm—each piece has a job, and there is nowhere for dull vinegar or tired ginger to hide. The salt draws out excess moisture and tempers the raw edge of the slices before they meet the brine. The sugar rounds out the acidity, giving the finished condiment that familiar restaurant-style sweet-tangy balance.
Use unseasoned rice vinegar if you can, since seasoned rice vinegar already contains salt and sugar and can throw off the balance. If you are comparing rice vinegar substitutes, apple cider vinegar is the closest pantry option, but it should be softened with a splash of water and a little extra sugar because it is fruitier and sharper. White distilled vinegar is generally too harsh here unless diluted significantly. For the cleanest flavor, keep the brine simple and let the ginger be the star.
The Natural Pink Color Explained
The soft pink shade in traditional gari is not a trick—it comes from anthocyanin pigments in young ginger reacting with the acid in the vinegar. The color is usually subtle, more like rose quartz than neon candy pink, and it deepens slightly as the jar chills. Commercial versions often look brighter because they use beet juice, red shiso, or food coloring for consistency. At home, the color depends on the age of the ginger, how much pink stem is present, and how fresh the root is.
If your batch stays pale, it does not mean anything went wrong. Mature ginger simply has less of the pigment needed for that vinegar reaction, so the finished slices may remain cream or light yellow. They will still be tangy, crisp, and absolutely worth keeping in the fridge. Think of the pink hue as a lovely bonus, not the measure of success.
How to Make Sushi Ginger at Home
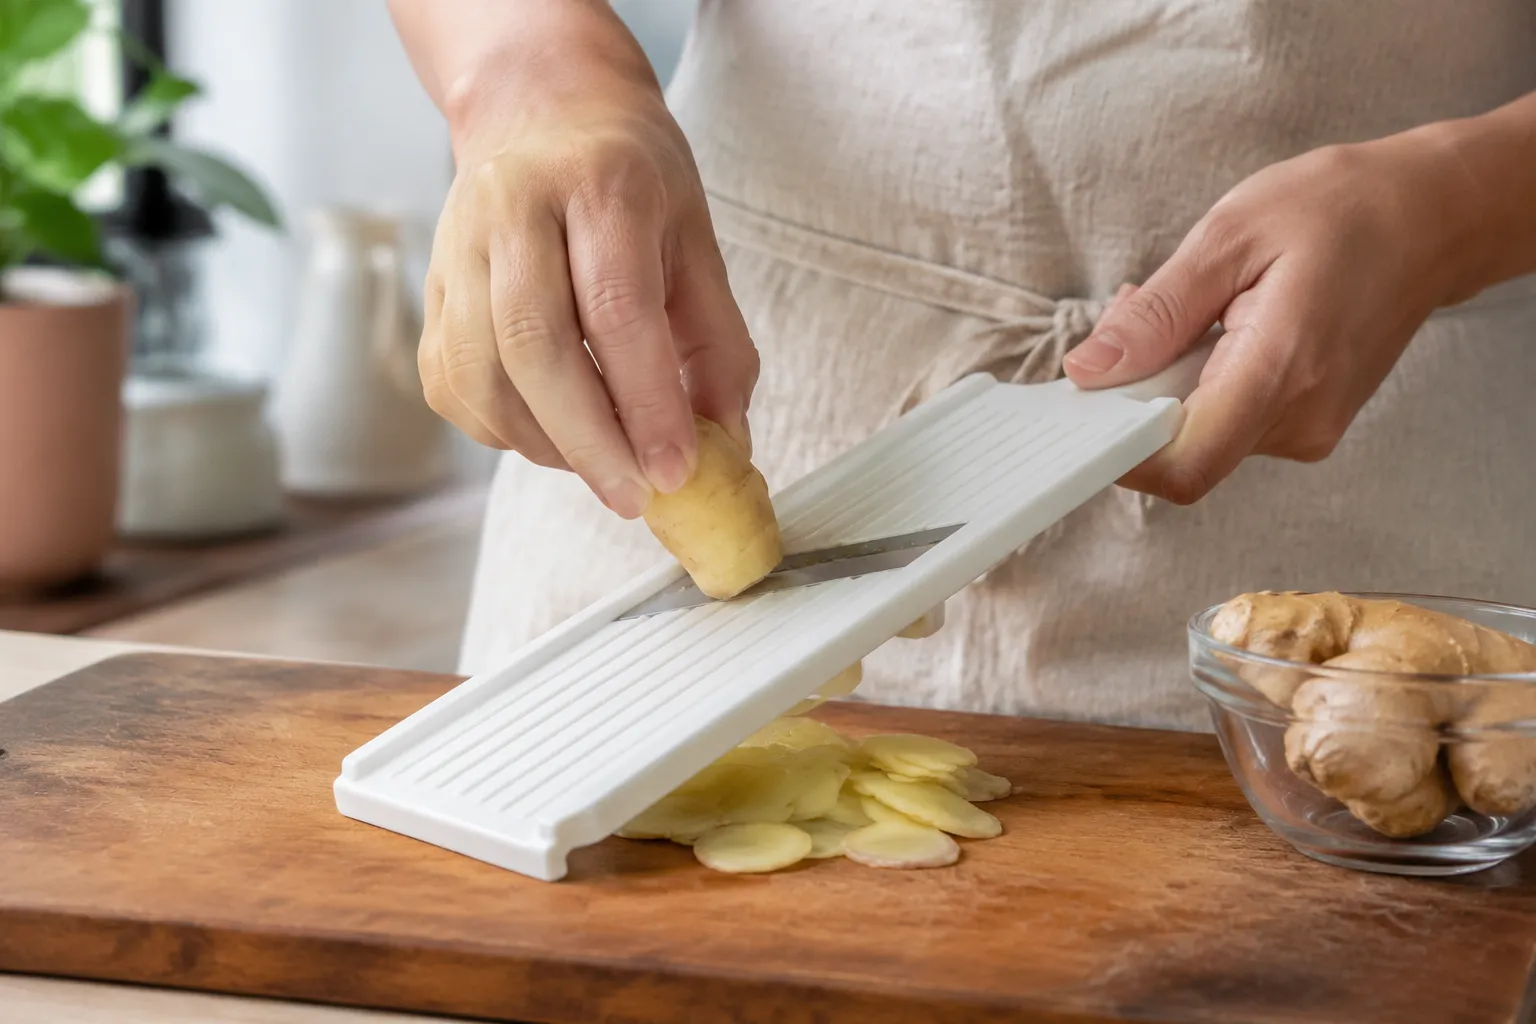
The most important technique is slicing the ginger as thinly as possible. A mandoline makes this easy and gives you those silky, translucent sheets that fold beautifully in the jar. A very sharp chef’s knife or vegetable peeler can work too, but consistency matters because thick slices stay aggressively spicy and tough. Keep your fingers protected, work slowly, and stop before the piece gets too small to hold safely.
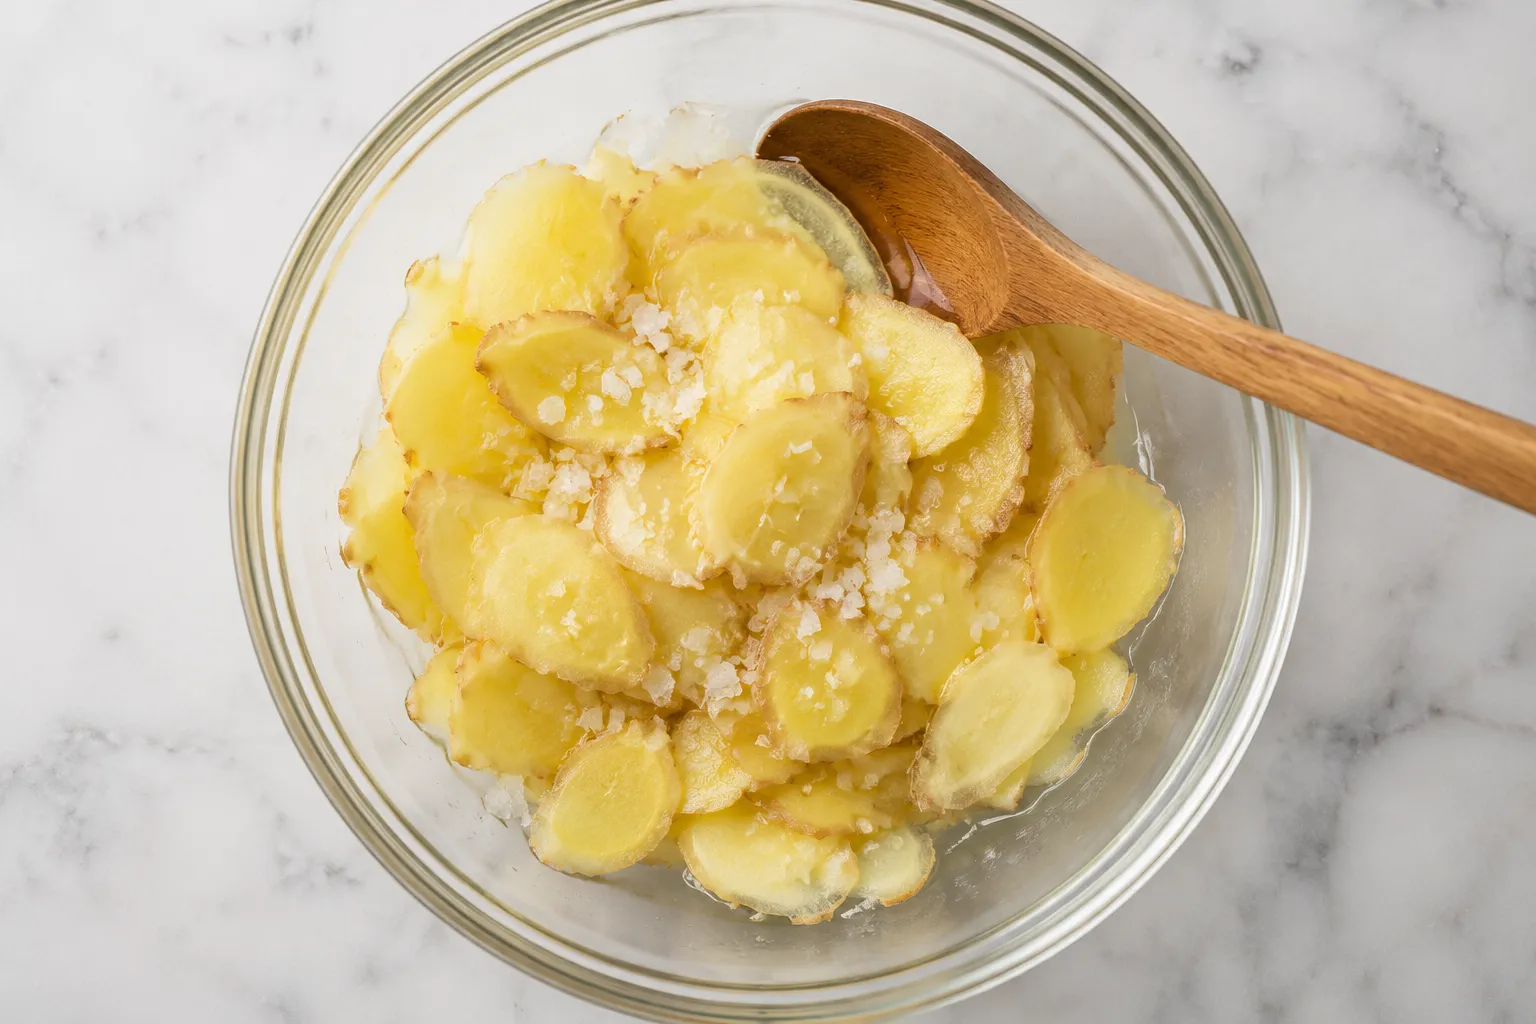
After slicing, toss the ginger with kosher salt and let it rest. This brief pause pulls out moisture, seasons the slices from within, and softens some of the raw bite. You may see a few beads of liquid collect in the bowl, which is exactly what you want. A quick rinse is not necessary for this recipe; instead, you’ll briefly blanch or warm the slices so they relax without losing all their crunch.
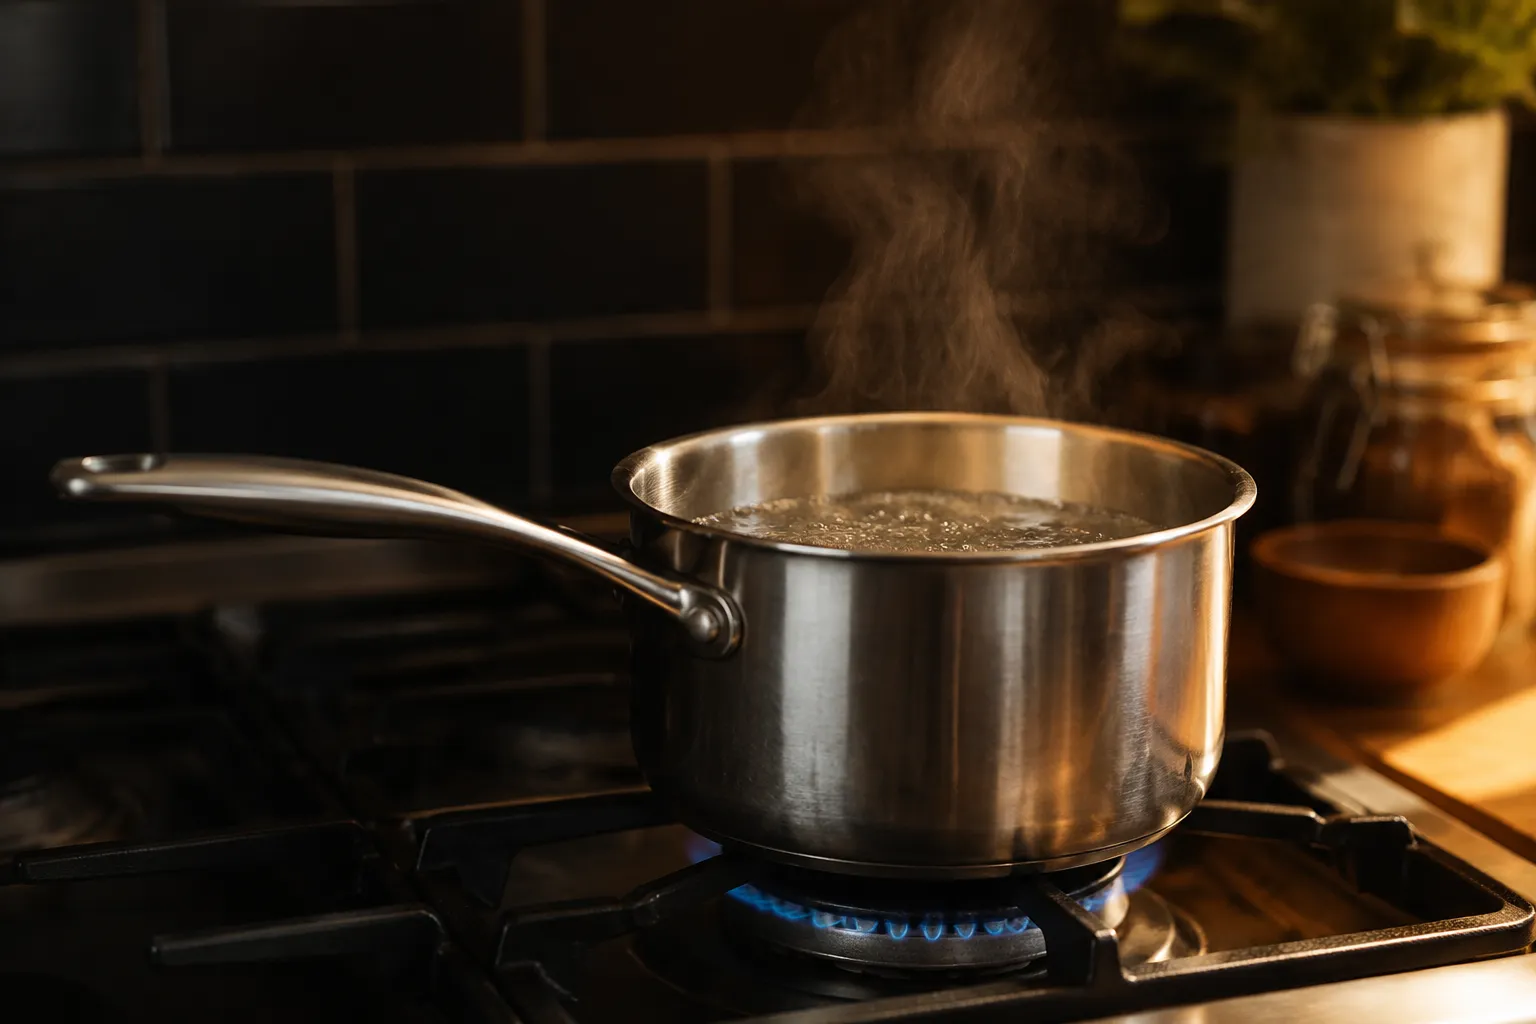
The brine is simply rice vinegar and sugar heated until the sugar dissolves. You are not reducing it or making syrup; a gentle simmer is enough. The goal is a clear, glossy liquid that is hot enough to finish softening the ginger and begin the pickling process. This sweet vinegar ratio gives the finished slices a classic sushi-bar flavor—bright, clean, and lightly sweet rather than syrupy.
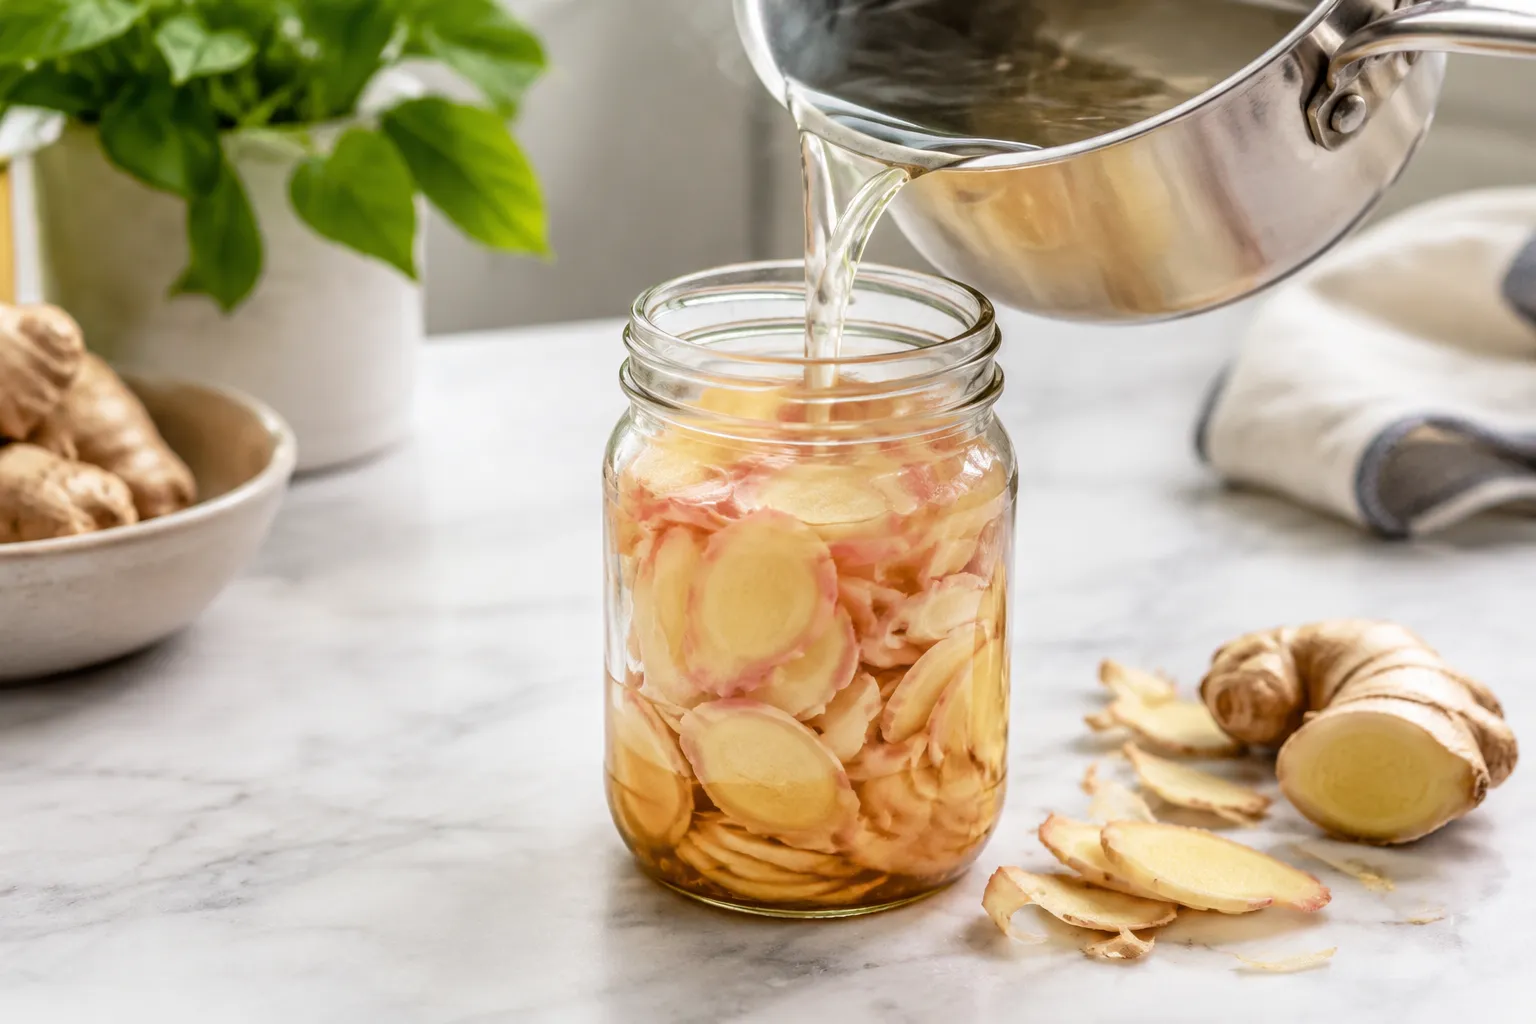
Pack the prepared ginger into a clean glass jar, then pour the hot brine over the slices until they are fully submerged. Press gently with a clean spoon or chopstick to release air bubbles and help every ribbon settle beneath the liquid. Within minutes, young ginger may begin to turn faintly pink at the edges. After cooling, the jar goes into the refrigerator, where the flavor becomes rounder and more harmonious over the next several hours.
Make-Ahead Timing and Flavor
You can taste the ginger once it has cooled, but the best flavor develops after at least a few hours in the refrigerator. Overnight is even better, giving the vinegar and sugar time to penetrate the slices fully. The heat softens, the acidity settles, and the texture becomes crisp-tender rather than raw and sharp. This is why it is such a good make-ahead condiment for homemade sushi rice and a platter of rolls.
For a full sushi-night spread, pair it with a spicy tuna roll, a simple miso soup recipe, and a chilled Japanese cucumber salad. The ginger cuts through rich fish and creamy sauces while making each bite feel refreshed. It is also wonderful next to tamari, wasabi, and toasted sesame seeds on the table, so everyone can build their perfect bite. A small bowl goes a long way, but you may be surprised how quickly it disappears.
A Few Serving Ideas Beyond Sushi
Of course, gari belongs beside sushi and sashimi, where it acts as a palate cleanser between different fish and rolls. But once you have a jar in the fridge, it becomes a tiny flavor tool you can use all week. Chop a few ribbons and scatter them over salmon rice bowls, poke-style bowls, cold soba noodles, or avocado toast with sesame. The sweet acidity wakes up anything rich, starchy, or savory.
It also shines in dressings and sauces. Mince a tablespoon into soy ginger dressing, whisk it into mayo for a quick sandwich spread, or stir a little brine into a vinaigrette for slaws and crunchy salads. The brine itself is liquid gold: try a splash in sparkling water with lime, a cucumber mocktail, or even a ginger-forward cocktail. Because the flavor is already balanced, it adds brightness without needing much else.
Clean, Additive-Free Flavor
One of the joys of making this at home is knowing exactly what is in the jar. Many store-bought versions include artificial dyes, preservatives, or extra sweeteners that can make the ginger taste flat or candy-like. Here, the brine stays clean and the ginger remains the main event. It is a small condiment, but it makes sushi night feel thoughtful and complete.
If you love Japanese flavors, this is a pantry project worth repeating whenever you find good ginger. It takes less active time than cooking a pot of rice, and the payoff is a fridge staple that makes simple meals feel restaurant-worthy. Keep the jar chilled, the slices submerged, and the brine clear, and you’ll have a bright little flourish ready whenever dinner needs sparkle.
💡 Expert Tips
- **Use a mandoline if you have one:** Paper-thin slices are the difference between tender, elegant gari and chewy, overly spicy ginger.
- **Look for pink-tipped young ginger:** Those rosy tips help create the natural blush color, so keep them if they look fresh.
- **Do not overcook the brine:** Heat it just until the sugar dissolves; boiling it hard can make the vinegar aroma feel sharper.
- **Keep the ginger submerged:** Press the slices below the brine before refrigerating so they pickle evenly and stay fresh longer.
- **Taste after chilling:** The flavor is sharper when warm, then mellows and balances once cold.
🔄 Variations & Substitutions
This classic version is intentionally simple, but you can nudge the flavor in a few subtle directions while keeping the clean sushi-bar spirit intact.
- **Extra-sweet restaurant style:** Increase the sugar to 1/2 cup for a sweeter, softer bite.
- **Lightly salted:** Add an extra pinch of salt to the brine if you like a more savory finish.
- **Citrus-bright:** Add one thin strip of lemon peel to the jar, then remove it after 24 hours.
- **Blush boost:** If you are not concerned with tradition, add a tiny slice of beet for a stronger pink color, then remove it once the shade is where you like it.
🧊 Storage & Leftovers
Store homemade gari in a clean glass jar in the refrigerator, making sure the ginger slices remain fully covered by brine. With clean handling, it keeps well for up to 2 months, though the texture is usually best in the first 3 to 4 weeks.
Freezing is not recommended because the delicate slices can turn limp and watery once thawed. For best results, use a clean spoon or chopsticks every time, keep the lid tightly closed, and discard the jar if the brine becomes cloudy, fizzy, or smells off.
Frequently Asked Questions
Why is my pickled ginger not turning pink?
The natural pink color comes from young ginger reacting with the acid in vinegar. If your ginger was more mature, very pale, or missing the pink-tipped stems, it may stay cream or light yellow even after chilling. That does not mean the recipe failed—the flavor and texture can still be excellent. Bright commercial gari is often colored with beet juice, red shiso, or food dye, so homemade batches are usually softer and more variable in color.
How long does homemade pickled ginger last?
Homemade pickled ginger keeps in the refrigerator for up to 2 months when stored properly. Use a clean glass jar, keep the slices fully submerged in brine, and always scoop with a clean utensil so you do not introduce rice, fish, or crumbs. The flavor will continue to mellow over time, while the texture is usually crispest during the first few weeks. If the brine turns cloudy, fizzy, or smells unpleasant, discard it.
Can I use regular vinegar instead of rice vinegar?
Rice vinegar gives gari its most authentic, gentle flavor because it is milder and slightly sweeter than many Western vinegars. In a pinch, apple cider vinegar is the best substitute, but dilute it with a splash of water and add a little extra sugar to soften the sharper edge. White distilled vinegar is much more aggressive and can make the ginger taste harsh unless carefully diluted. Avoid seasoned rice vinegar unless you adjust the salt and sugar.
Is pickled ginger the same as the red ginger on ramen?
No. The pale pink ginger served with sushi is gari, which is sliced into thin sheets and pickled in a sweet rice vinegar brine. The bright red ginger often served with ramen, yakisoba, okonomiyaki, or gyudon is beni shoga. It is usually cut into thin julienne strips and colored with umeboshi plum brine or red shiso, giving it a saltier, sharper, more vinegary flavor. They are both ginger pickles, but they are used differently.
Do I need to cook the ginger before pickling?
You do not need to simmer the ginger for a long time, but a brief blanch or hot-brine treatment helps soften its raw bite. In this recipe, the ginger is salted first, then briefly warmed and covered with hot sweetened vinegar brine. That is enough to relax the slices while preserving their crisp texture. The vinegar, sugar, and refrigerator time do the rest of the work as the ginger chills and mellows.