How to Make Rice: Perfect Fluffy White Rice Every Time
Ingredients
Scale
Learn how to make rice the foolproof way — fluffy, tender white rice on the stovetop with just 3 ingredients and zero guesswork.
Learning how to make rice is one of those quietly transformative kitchen skills that pays off for the rest of your cooking life. Once you nail the simple stovetop method, you will never reach for a sketchy boxed mix or stress about gummy, half-cooked grains again. This is the foolproof way to cook fluffy, tender, perfectly seasoned rice with three ingredients, one pot, and about 25 minutes of mostly hands-off time.
I have made rice probably a thousand times — burned it, undercooked it, accidentally turned it into porridge — and the technique below is the one I land on every single time. It works because it relies on a precise rice to water ratio, a tight-fitting lid, and a critical 10-minute steam off the heat. No rice cooker. No fancy equipment. Just light, separate, pillowy grains that taste better than anything from a package.
Whether you are cooking for yourself for the first time or you have been making sticky rather than fluffy rice for years and want to fix it, this guide walks you through every variable that matters and explains why each step works the way it does.
The beauty of this technique is that it removes the guesswork. Most rice failures come down to one of three things: the wrong water ratio, peeking under the lid, or skipping the off-heat rest. Lock those in and the rest is just timing.
You do not need a rice cooker, an Instant Pot, or any specialty equipment to pull off restaurant-quality results at home. A heavy-bottomed saucepan with a snug-fitting lid is all this approach requires. The thicker the pot, the more even the heat, and the less likely you are to scorch the bottom layer of grains.
This stovetop approach also gives you more control than a plug-in appliance does. You can hear when the simmer hits the right intensity, smell when the steam turns sweet and toasty, and feel the lift in the lid that tells you the grains are nearly there. Once you understand how to make rice this way, you will trust your instincts in the kitchen for everything else, too.
This recipe is famously short on ingredients, but each one earns its place. Quality matters more here than at almost any other point in your cooking, so let us break it down.
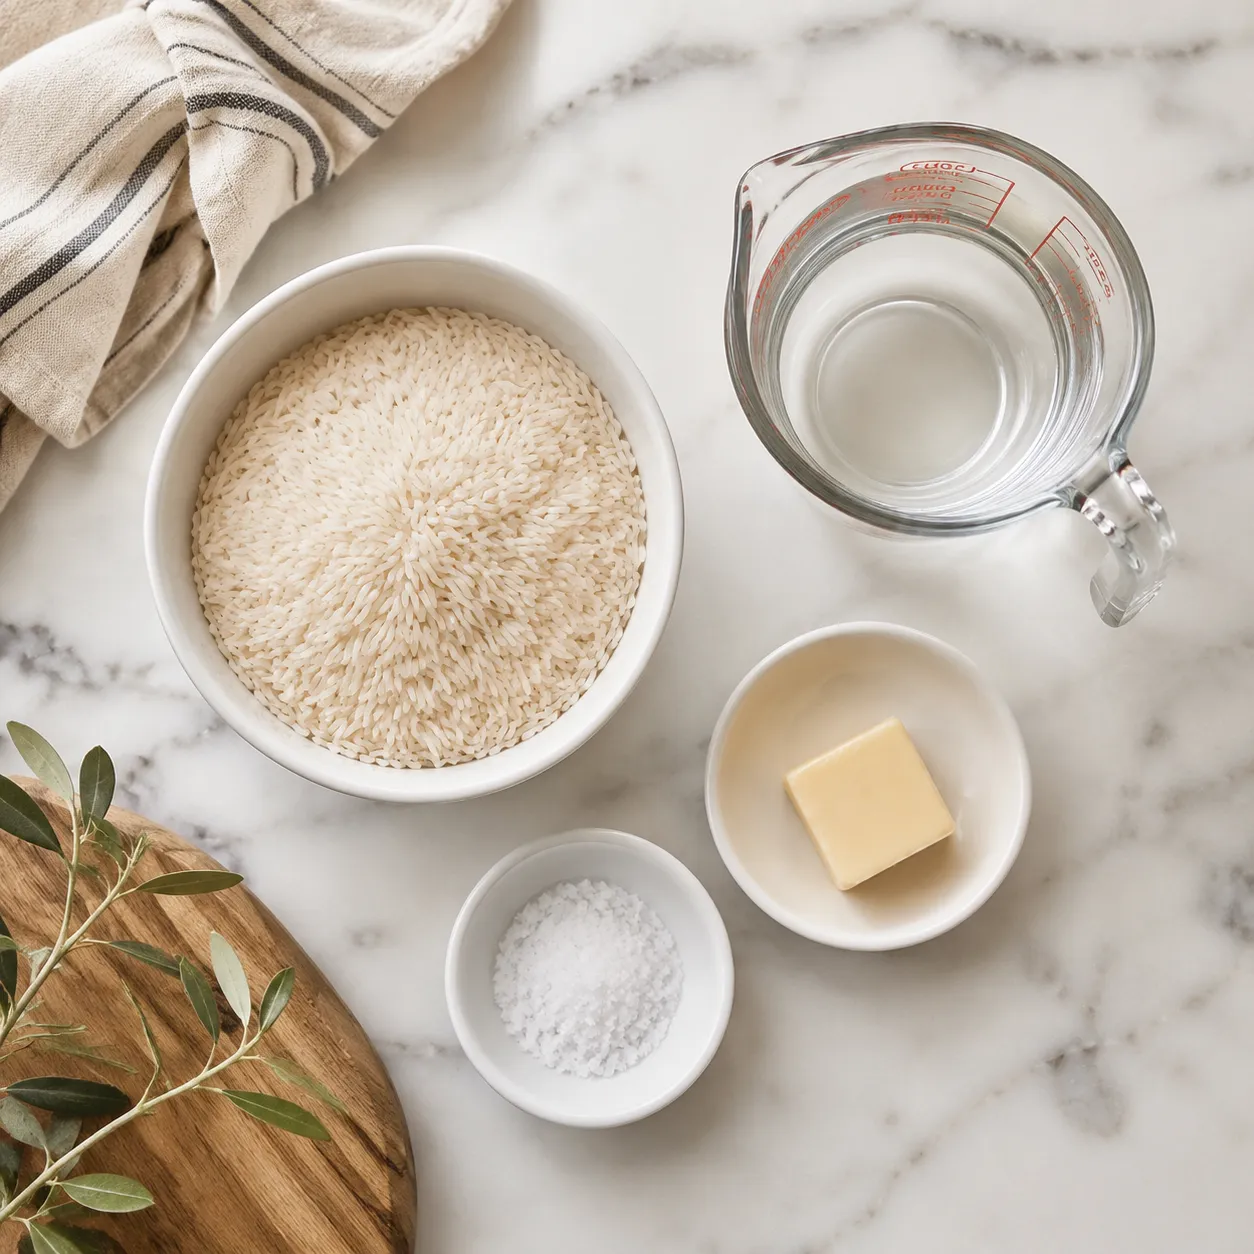
Long-grain white rice is the workhorse — think jasmine, basmati, or standard long-grain. These varieties cook up light and separate, which is exactly what we are after. Medium-grain rice (like Calrose) will work too, but it produces a slightly stickier, plumper grain that is better for sushi or rice bowls than for fluffy side-dish rice.
Water is what does most of the cooking, and yes, the amount really matters. We will get into the precise ratio in the next section, but for now know that measuring with a liquid measuring cup, not a dry one, makes a noticeable difference in your results.
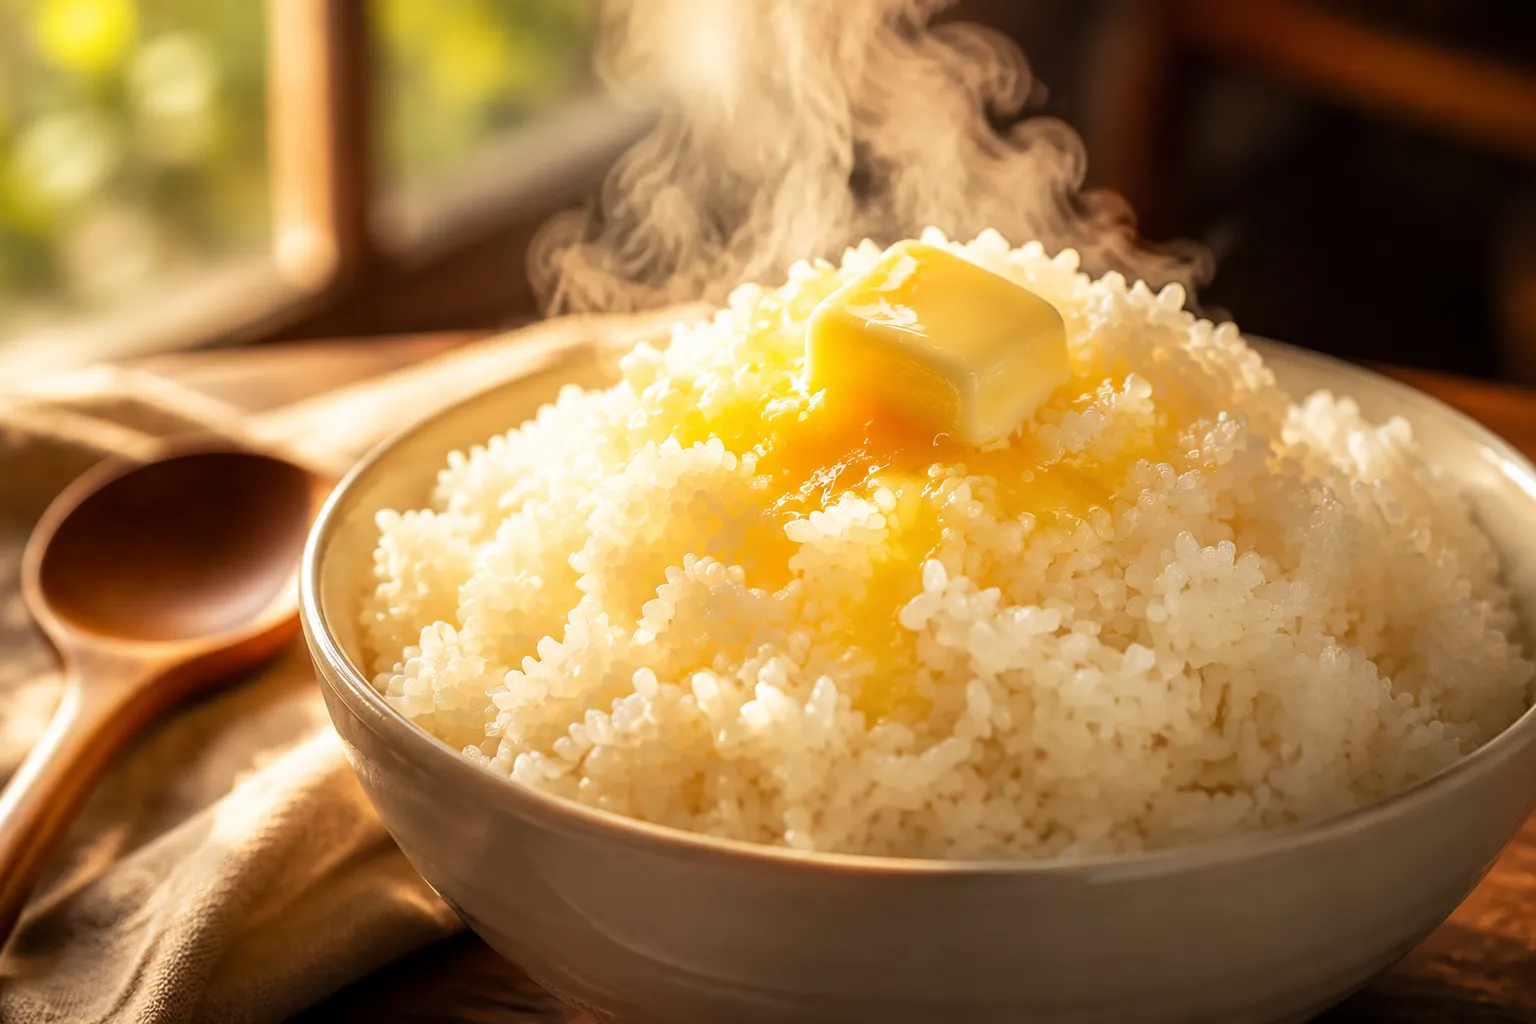
Kosher salt wakes up the flavor — without it, rice tastes flat and mealy no matter how perfectly cooked. Butter is technically optional, but a pat melted in at the start coats the grains and helps them cook up glossy and separate. Olive oil works beautifully if you want to keep things dairy-free, and a neutral oil like avocado is great if you will be flavoring the rice for a stir-fry-style meal.
If there is one number worth memorizing, it is the rice to water ratio. For long-grain white rice, you want 1 cup of rice to 1 ¾ cups of water. That extra quarter cup beyond a 1:1.5 ratio is what gives you grains that are fully tender but never waterlogged.
Different varieties want slightly different amounts. Medium-grain rice is happy at 1 cup rice to 1 ½ cups water, since the rounder grains absorb more efficiently. Basmati can take a touch less water (about 1 ⅔ cups per cup of rice) if you want extra-defined grains. Standard jasmine and American long-grain are most reliable at the full 1 ¾ ratio.
Altitude changes things, too. If you live above 3,000 feet, water boils at a lower temperature, which means rice needs more time and a splash more liquid. Add an extra 2 to 3 tablespoons of water per cup of rice and tack on 5 minutes to the simmer. Above 5,000 feet, bump it to a full ¼ cup more water and cook 8 minutes longer.
A quick note on doubling: when you scale up, you do not need to scale water linearly. For 2 cups of rice, use 3 ¼ cups of water rather than a strict double, since the bigger volume traps steam more efficiently and loses less to evaporation.
Here is the full sequence so you can see how it flows together. The numbered, foolproof method lives in the recipe card below, but this walkthrough explains the why behind each move so you can troubleshoot on the fly.
Start by rinsing. Place your dry rice in a fine-mesh strainer and run it under cool water, swishing with your fingers, until the water draining beneath the strainer runs mostly clear. This rinses away the surface starch — the same starch that turns into glue when it cooks.
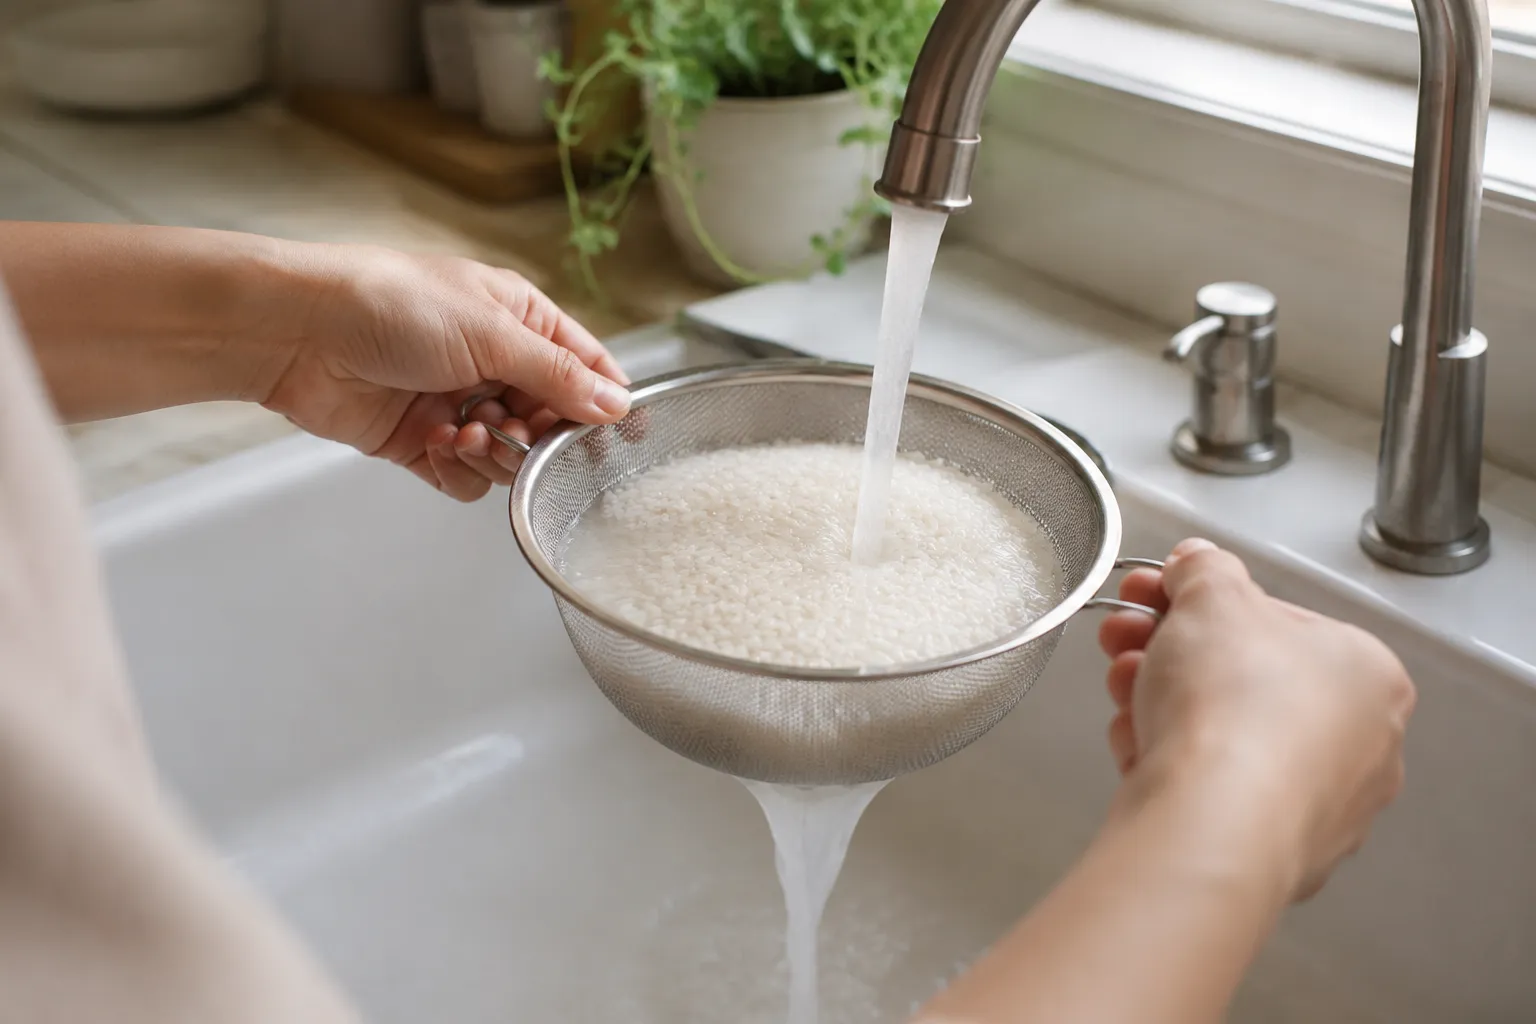
Some chefs argue rinsing is not strictly necessary for American long-grain rice, but I have side-by-side tested it dozens of times: rinsed rice is always lighter, fluffier, and less likely to clump. It takes 30 seconds. Just do it.
Next, combine the rinsed rice, water, salt, and butter in your heavy-bottomed pot. Bring everything up to a boil over medium-high heat, uncovered, so you can watch it. Once you see a true rolling boil, immediately reduce the heat to the lowest setting your stove offers and cover with a tight-fitting lid.
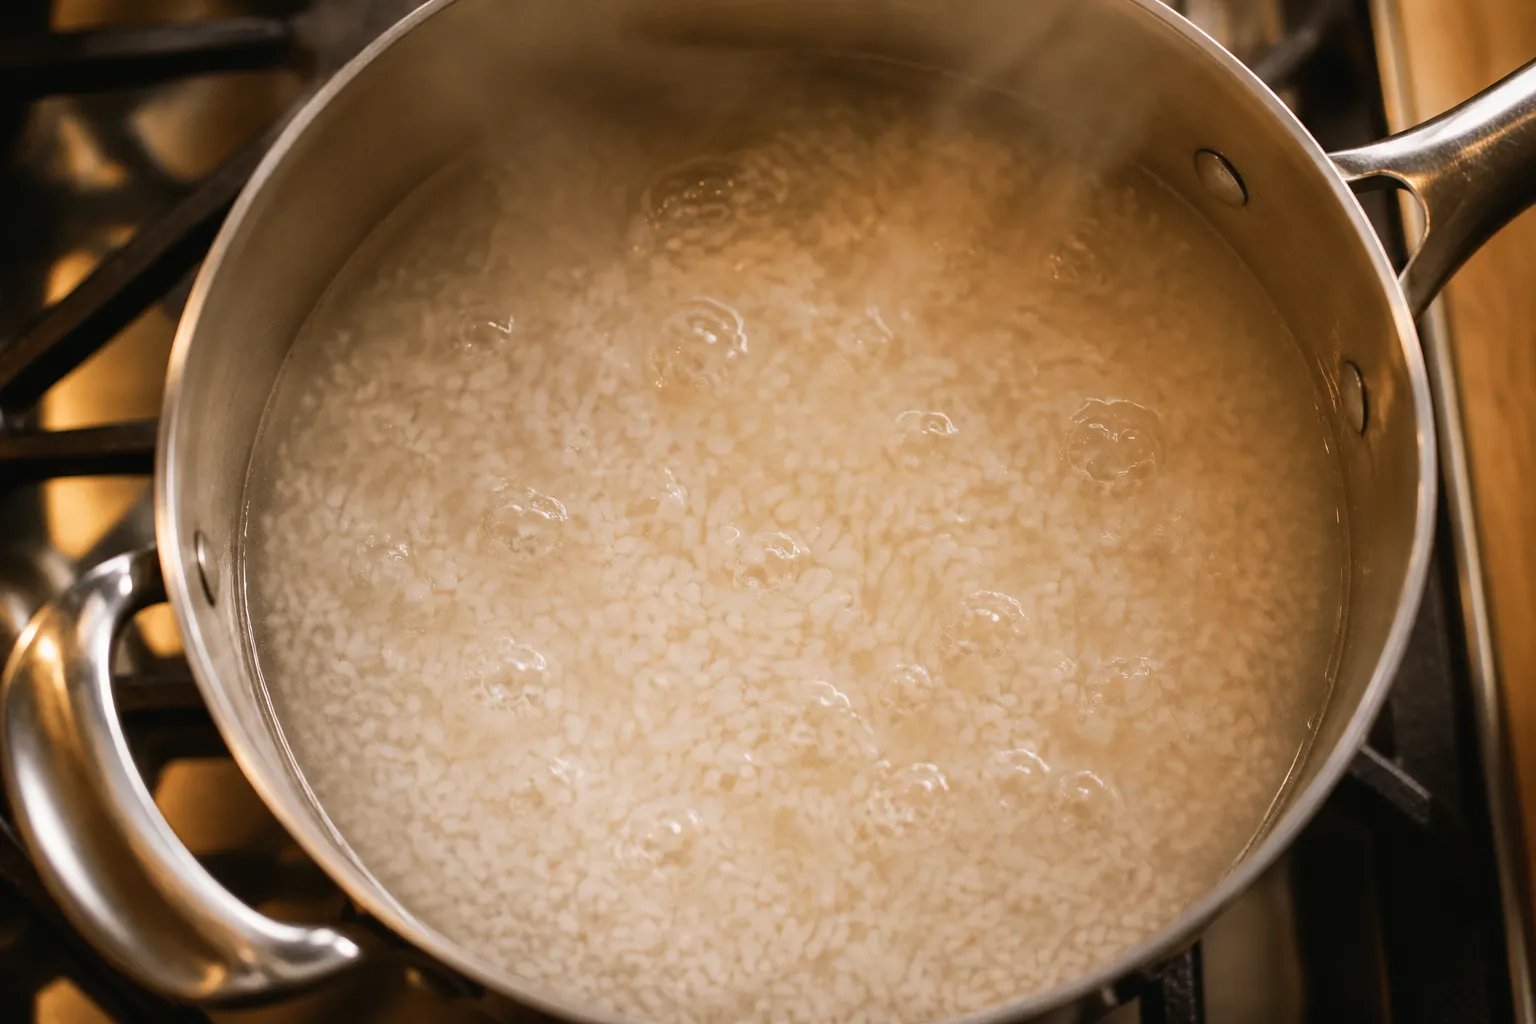
This is the make-or-break moment for cooking rice in a pot: the heat needs to drop enough that you get a barely-there simmer, not a hard boil. If your stove runs hot, slide the pot half off the burner. Set a timer for 18 minutes and walk away. Do not lift the lid. Not even once. Every peek lets out steam that the rice needs to finish cooking properly.
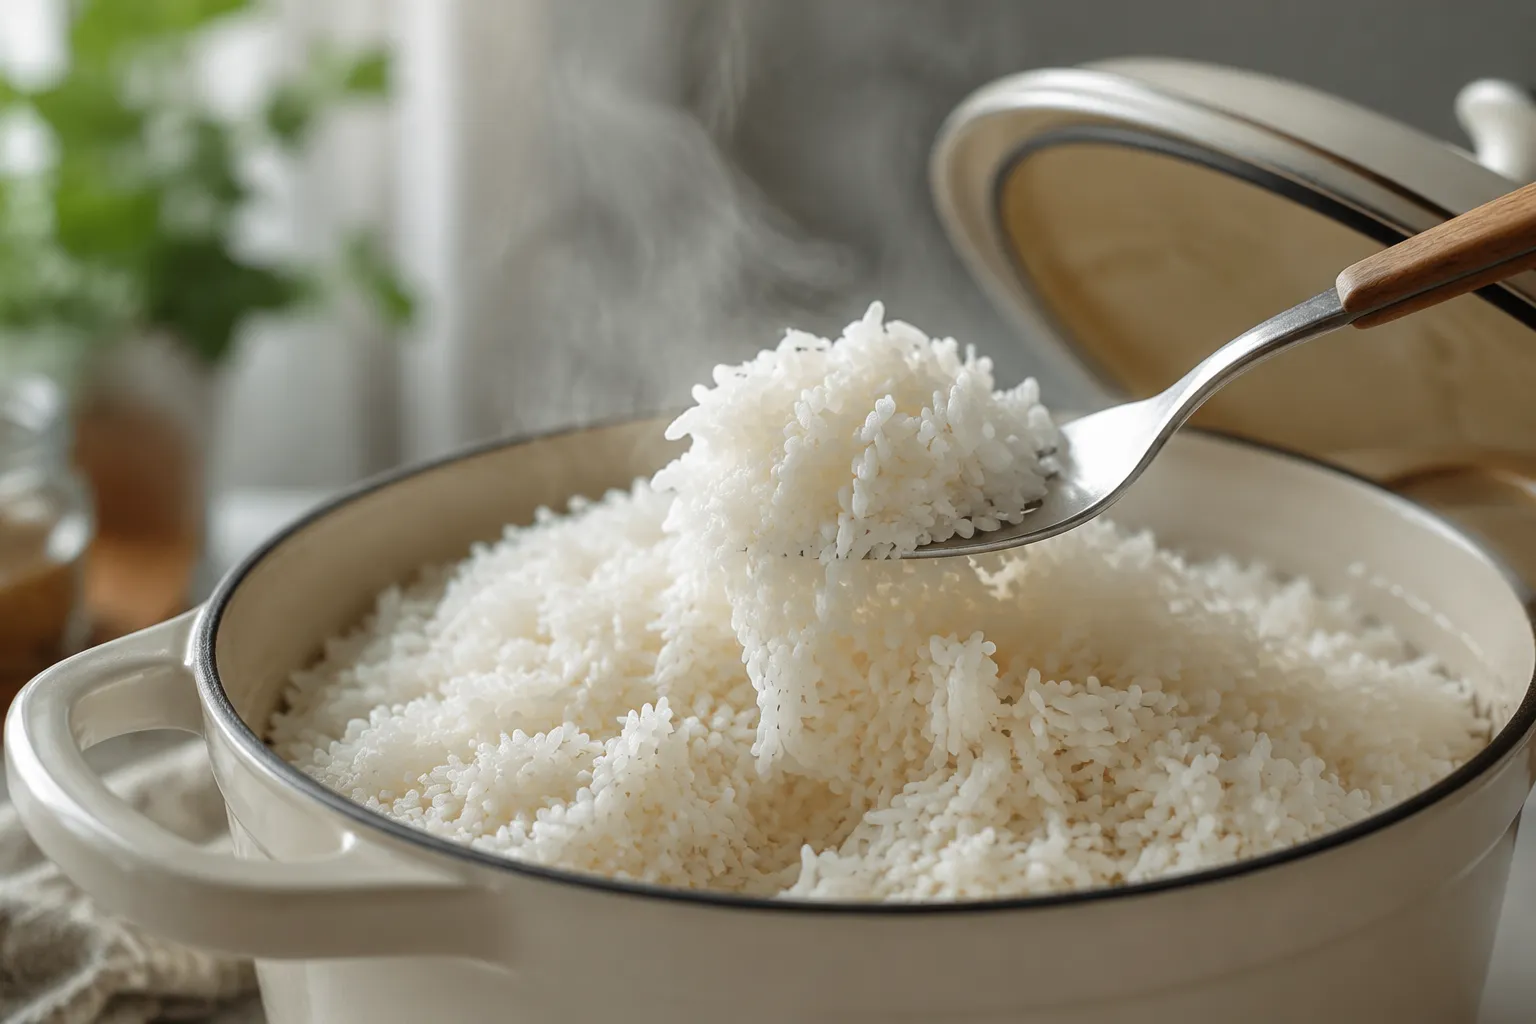
When 18 minutes is up, pull the pot off the heat entirely — but keep the lid on. Let it rest for a full 10 minutes. This off-heat steam is the single most underrated step in any rice recipe, because the residual heat redistributes moisture evenly through every grain and finishes cooking the centers without overcooking the edges.
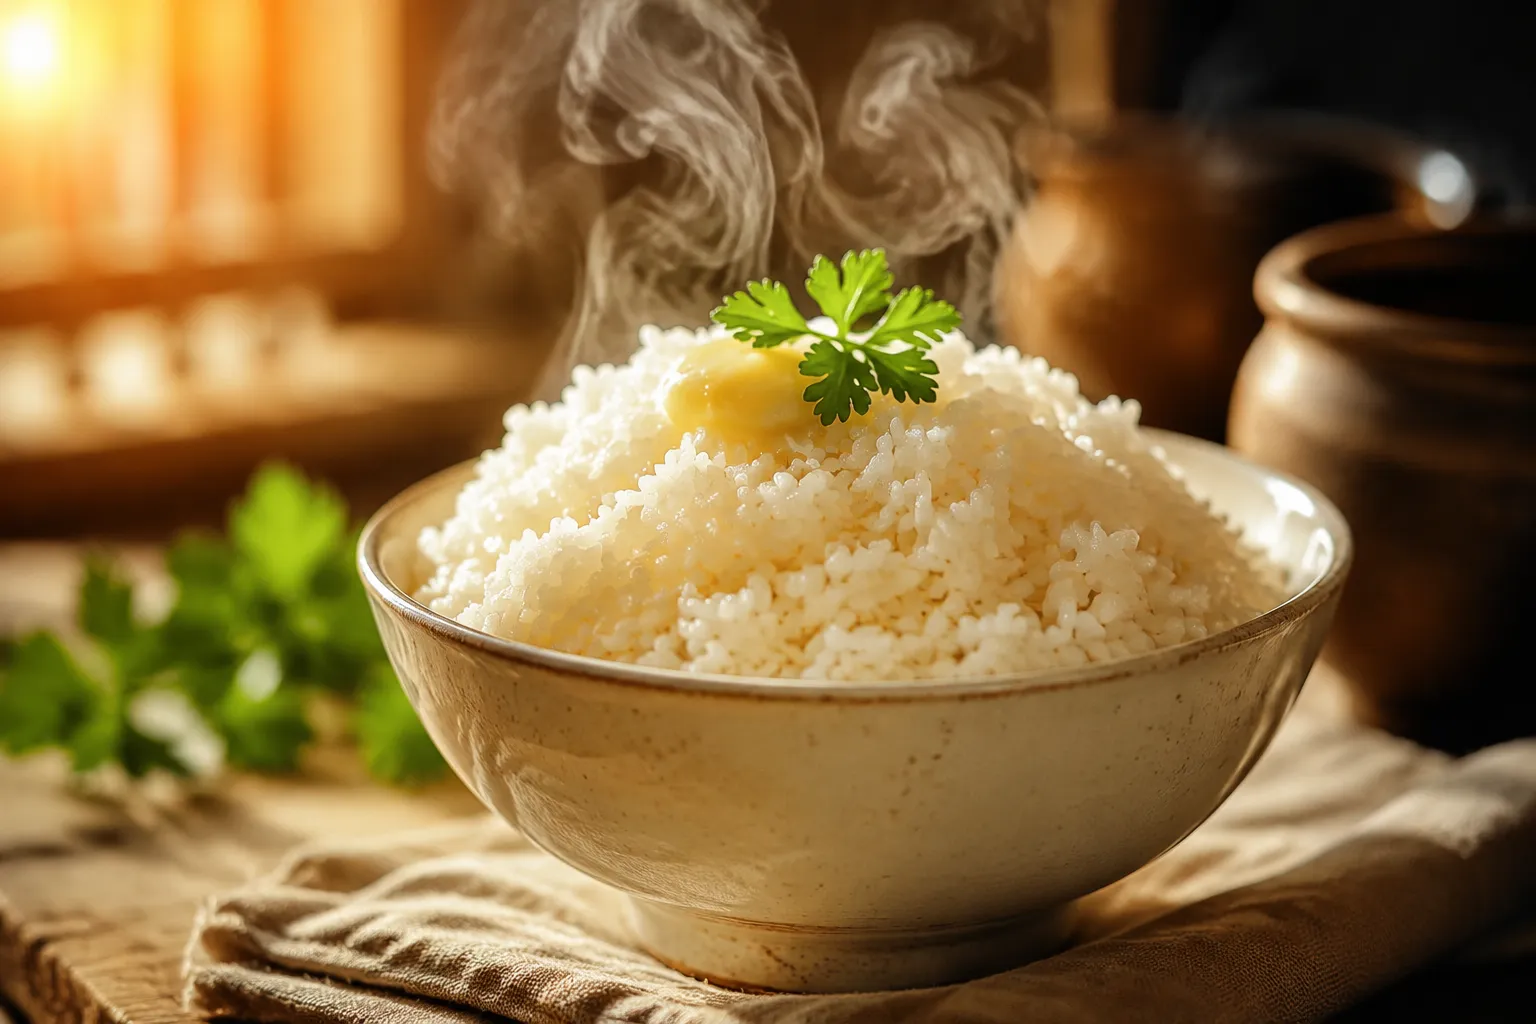
Finally, uncover and fluff with a fork — never a spoon, which compresses and breaks the delicate grains. Lift and separate gently, working from the edges to the center. You will see steam rise, smell that nutty aroma, and find each grain standing up on its own.
Even with a solid technique, rice can occasionally misbehave. Here is how to diagnose what went wrong so you can correct it next time — or rescue what is in the pot right now.
If your rice is mushy or sticky, you likely used too much water, lifted the lid mid-simmer, or skipped the rinse. Stick to the ratio, keep the pot covered, and rinse thoroughly. If it is crunchy or undercooked in the middle, your simmer was too aggressive (which boiled off water before the grains absorbed it), or you did not rest it long enough off heat. Add 2 tablespoons of water, cover, and steam another 5 minutes off the burner.
If the bottom scorched, your pot was too thin or the heat too high. Switch to a heavier pan and trust that low heat really means low. Most stoves overdeliver — even a low setting can be too aggressive on a thin pan. If your rice tastes bland, you probably underseasoned. A scant ½ teaspoon of salt per cup of dry rice is the floor; some cooks go up to ¾. Salt during cooking, not after, so the grains absorb seasoning from the inside out.
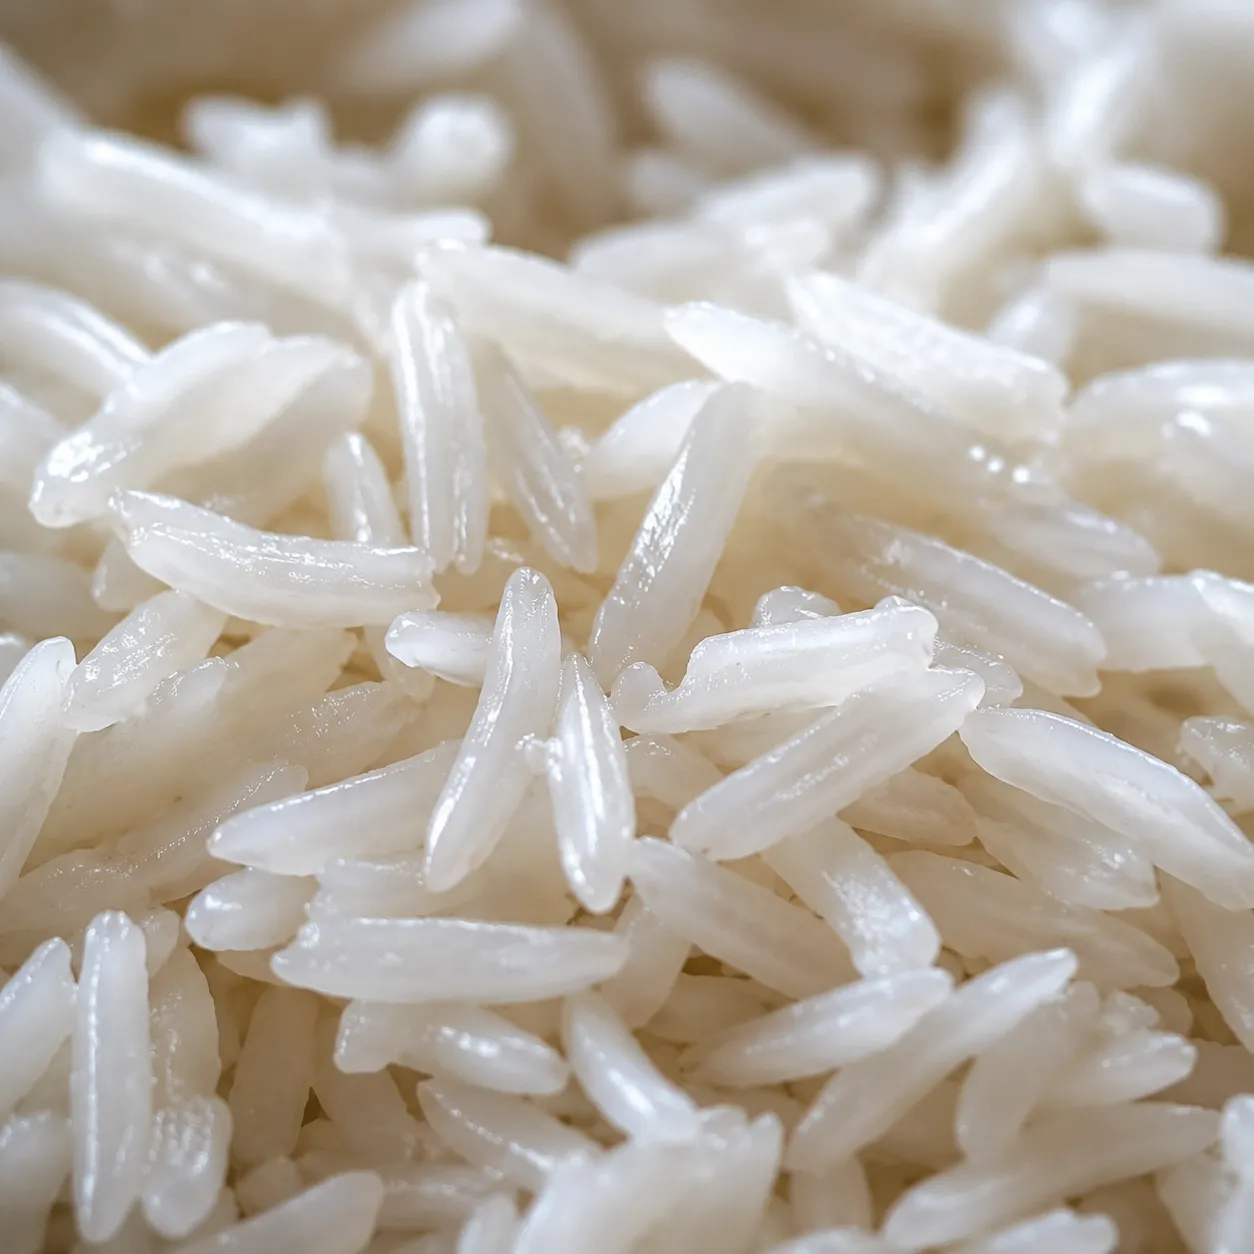
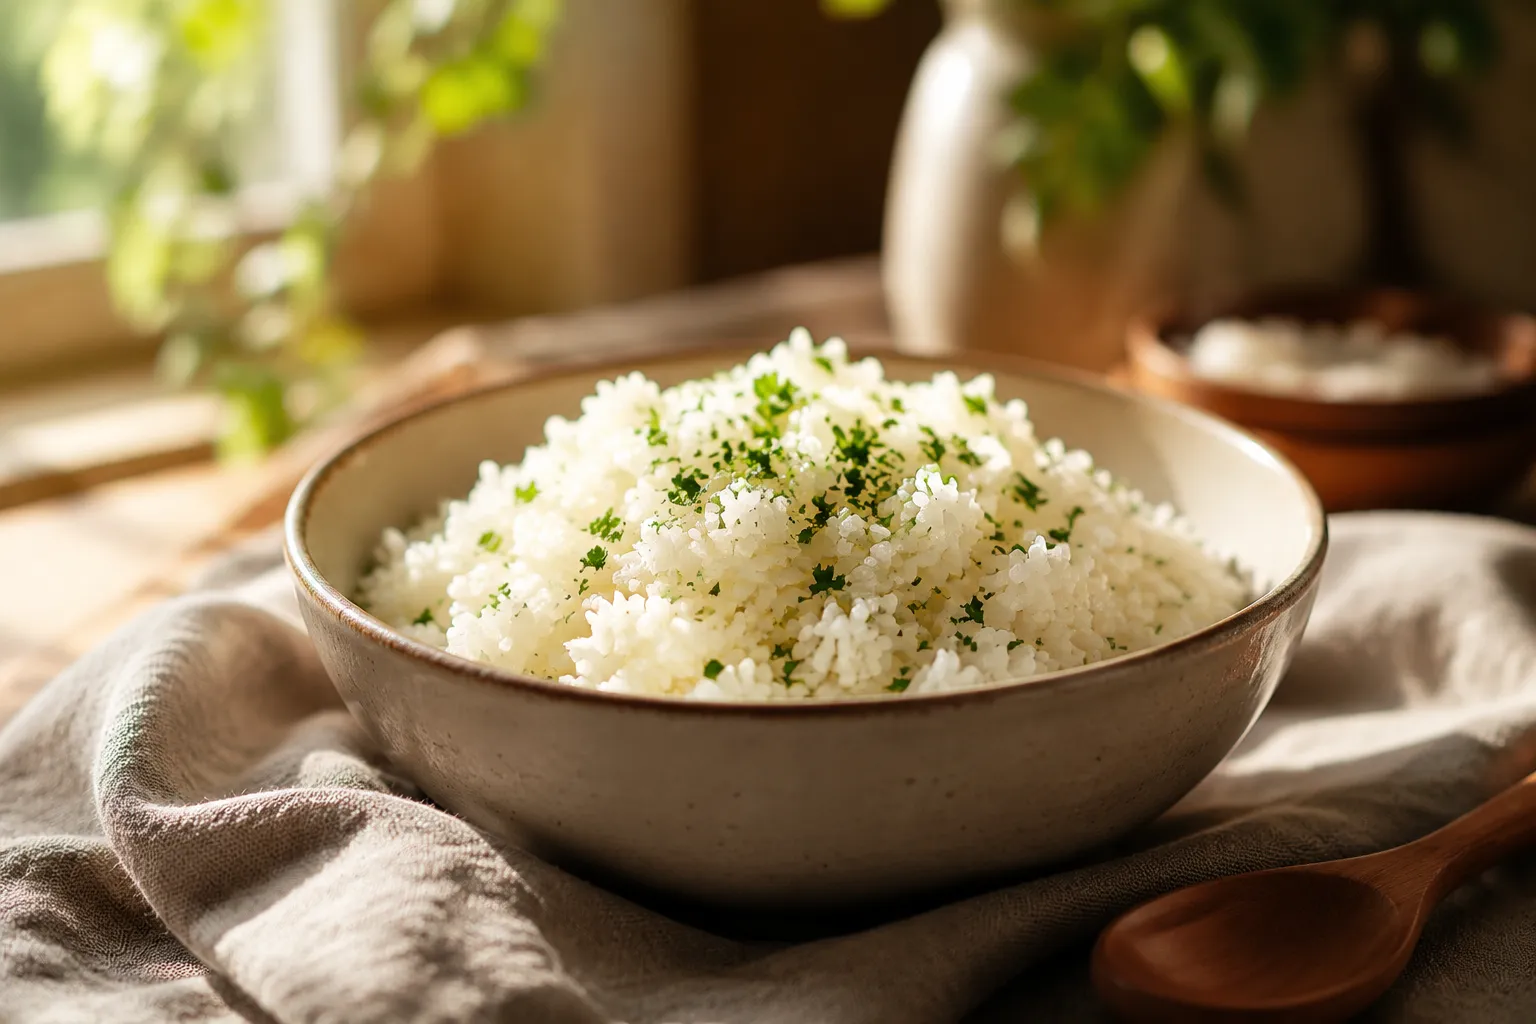
When everything goes right, you will see what perfectly cooked grains look like up close: each one defined, glossy, and slightly translucent at the tips. That visual cue is your reward, and it is the marker you can trust whenever you cook rice from now on.
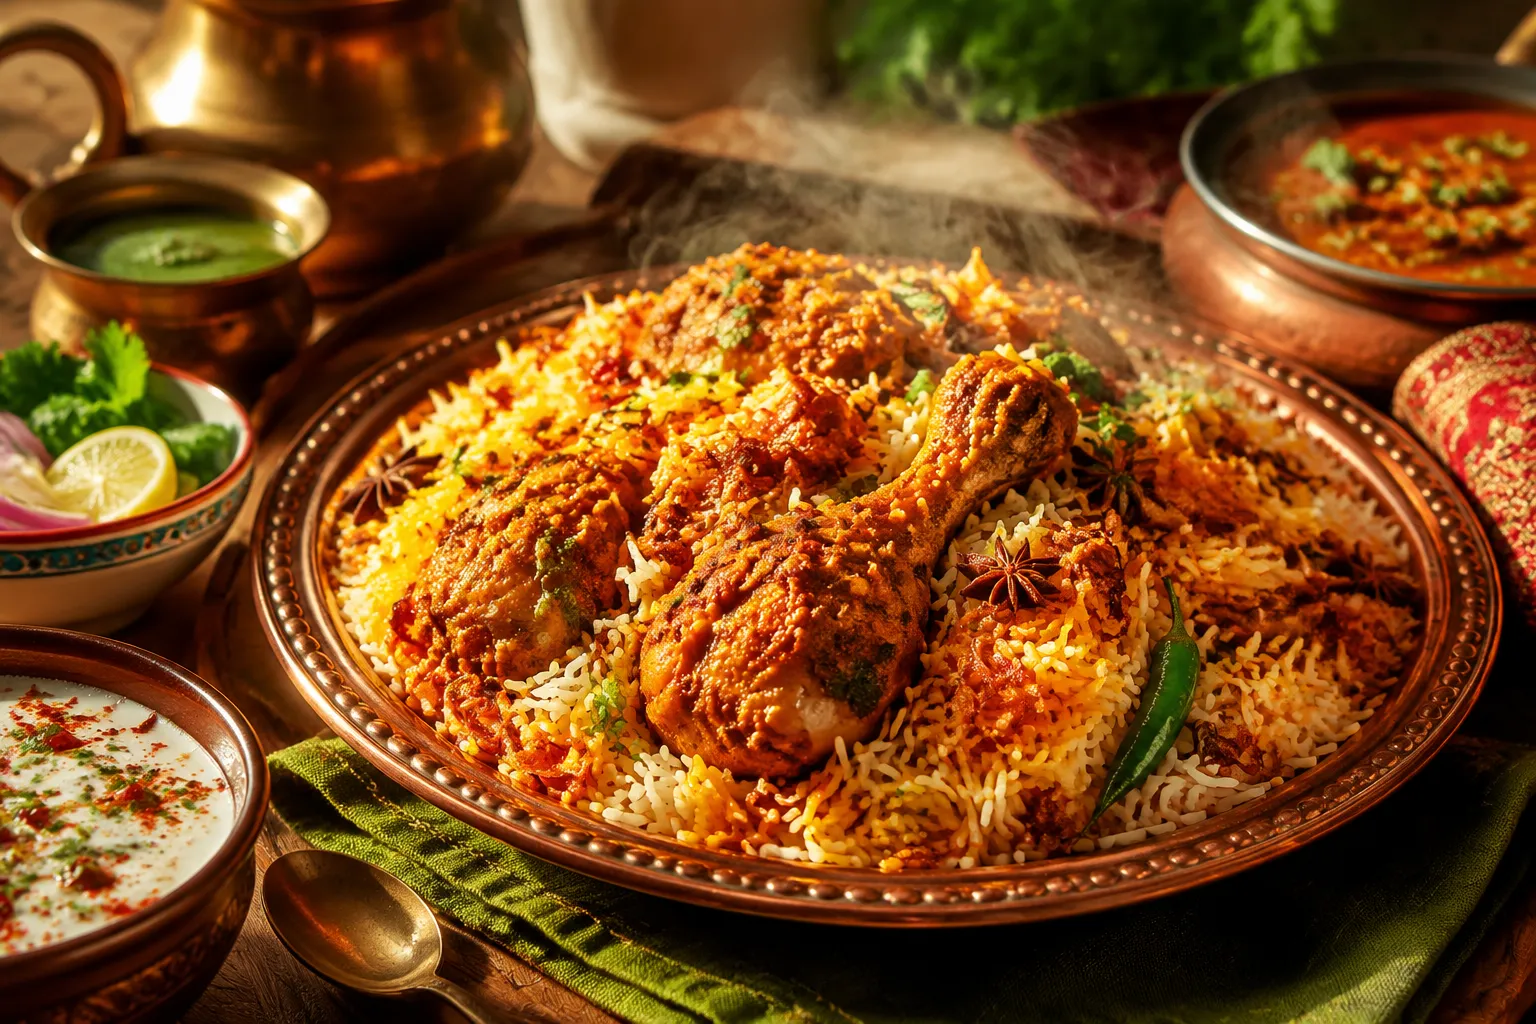
Once you have got tender grains in front of you, the world is your buffet. Fluffy white rice is one of the most versatile sides in any cuisine — it stretches a saucy main, balances spicy or rich flavors, and turns leftovers into instant lunch the next day.
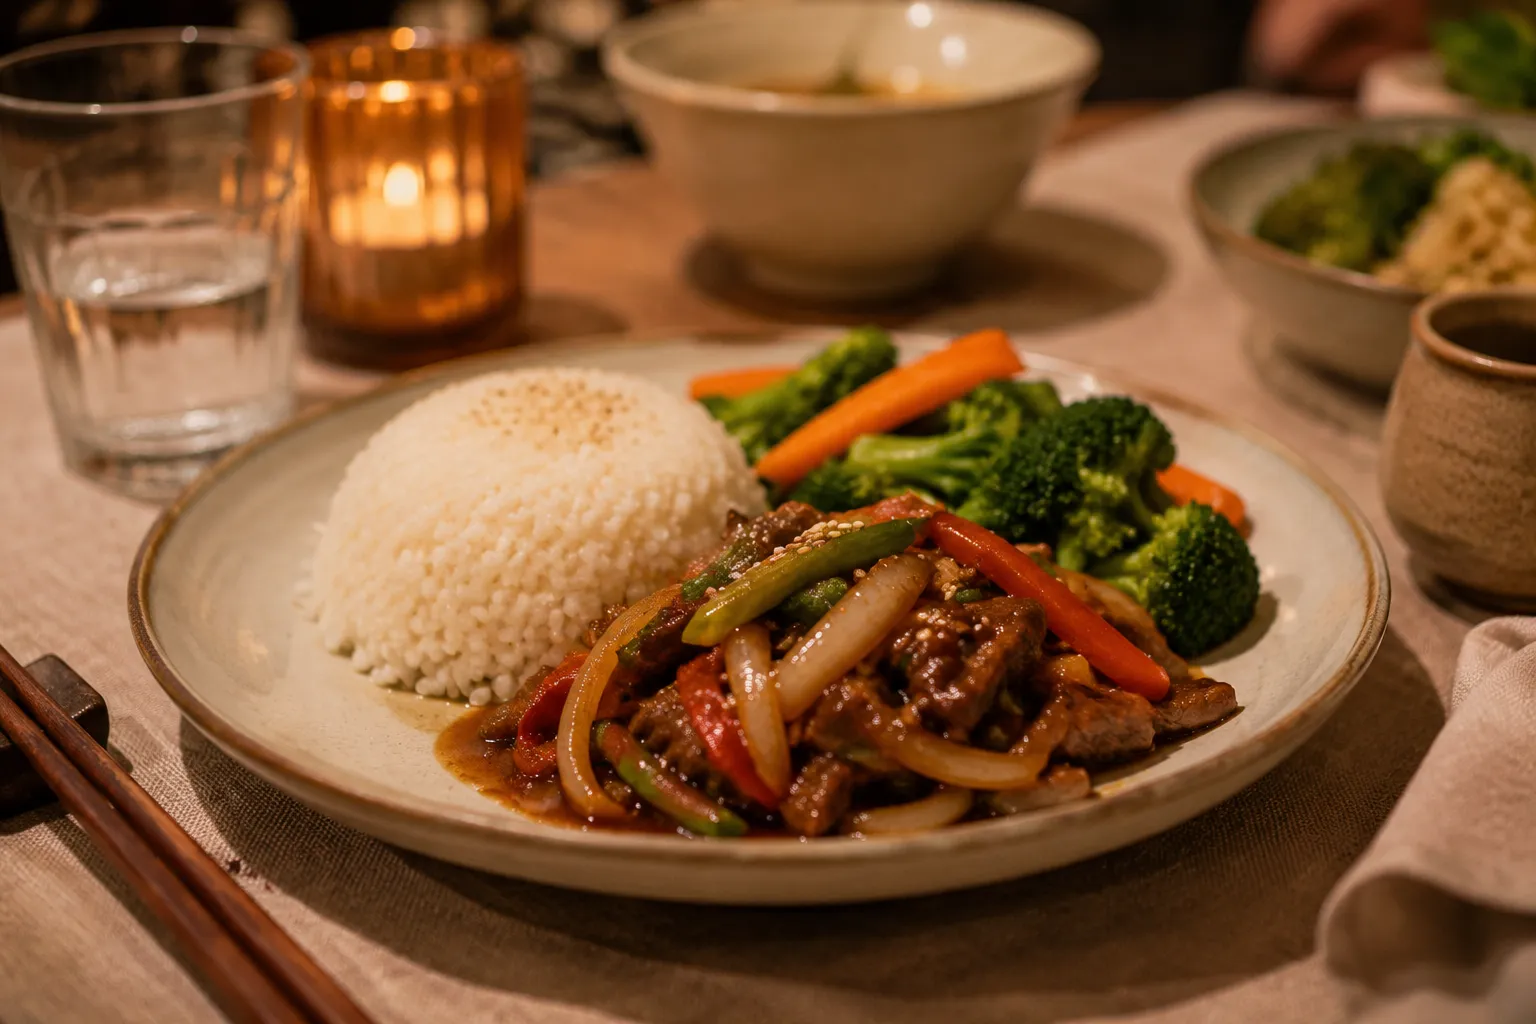
This is the rice I serve under stir-fries, alongside curries, scooped beside grilled chicken thighs, and folded into burrito bowls. It is the foundation for arroz con pollo, the bed for teriyaki salmon, and the canvas for a quick fried rice. Anyone learning how to cook white rice well will quickly discover it is not really a side dish at all — it is a starting point for an entire week of dinners.
For weeknight pairings, try it with soy-ginger glazed salmon, slow-cooker carnitas, or a simple lemon-garlic shrimp. For something heartier, pile it under a stew or a saucy braise where the grains can soak up every drop. A scoop also works as a base for grain bowls topped with roasted vegetables, a fried egg, and a drizzle of tahini or chili crisp.
Once you have the basic stovetop technique locked in, a whole world of variations opens up. You can simmer the grains in coconut milk for a tropical side, swirl in fresh herbs and butter at the end, or even use leftovers to learn how to make rice milk for smoothies and coffee drinks.
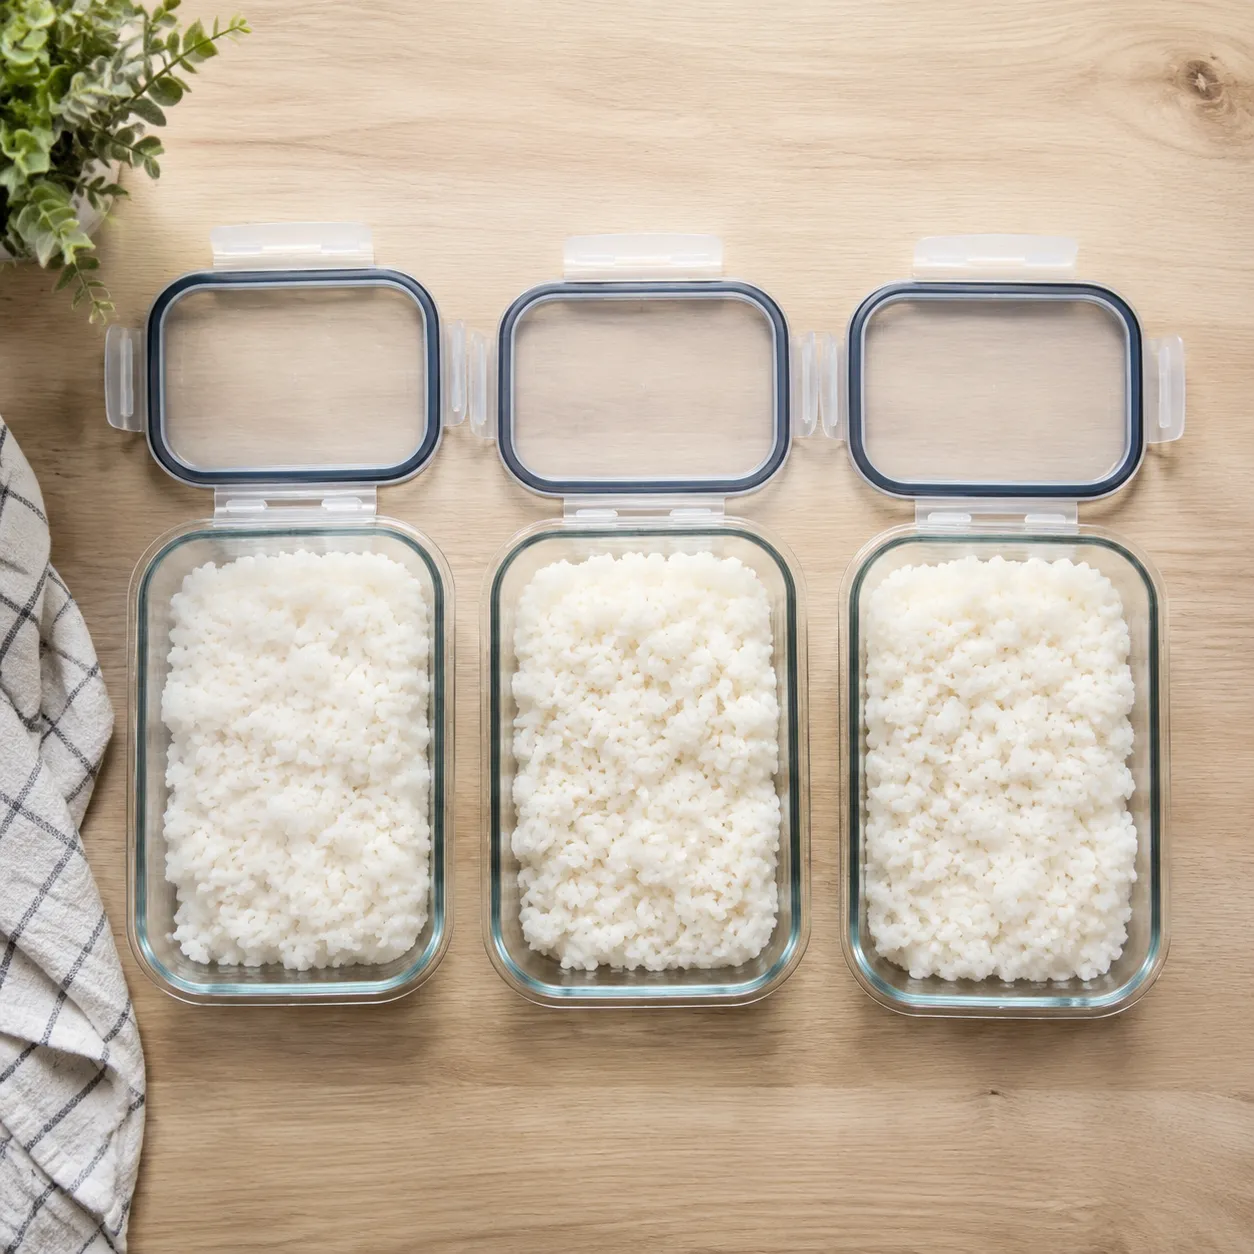
Cook a big batch on Sunday, portion it into containers, and you have got the easiest meal-prep base going. With one pot and three pantry ingredients, you have quietly leveled up your weeknight cooking forever — and that is exactly what learning how to make rice is supposed to do.
Once you have mastered the basic technique, this method is endlessly adaptable. The same rice-to-liquid ratio holds whether you are cooking in plain water, broth, or a 50/50 blend of coconut milk and water — only the flavor changes. Try one of these spins next time the basic version starts feeling routine:
Cooked rice keeps in an airtight container in the refrigerator for up to 4 days. Cool it to room temperature within an hour of cooking — leaving rice at room temp for too long can encourage Bacillus cereus growth, so transfer it to the fridge promptly. For longer storage, portion the cooled rice into freezer-safe bags or containers (½-cup or 1-cup portions work well) and freeze flat for up to 1 month.
To reheat, sprinkle 1 to 2 tablespoons of water over each cup of rice, cover loosely, and microwave on high for 60 to 90 seconds, fluffing halfway through. The added water creates steam that revives the grains and keeps them tender. For frozen rice, microwave straight from the freezer for about 2 minutes with the same water trick. Rice can also be reheated on the stovetop in a covered pan with a splash of broth over medium-low heat for 5 to 7 minutes, which is my favorite method when you have the time.