Chicken Brine Recipe: Juicy, Flavorful Every Time
Ingredients
Scale

This easy chicken brine is the secret to juicy, deeply seasoned chicken every single time. Works for whole birds, breasts, thighs, and wings.
If you've ever bitten into a piece of chicken that tasted like seasoned cardboard, this chicken brine recipe is about to change everything. A simple soak in salted water, sometimes with sugar, herbs, and citrus, rewires the muscle fibers so the meat holds onto moisture as it cooks. The result is chicken that's juicy from edge to center and seasoned all the way through, not just on the surface.
I started brining chicken at home about a decade ago after a frustrating run of dry roast chicken dinners. One four-hour soak later, I was ruined for the unbrined version forever. The difference isn't subtle. It's the gap between "fine" and "wait, did you actually make this?" Even better, the technique scales beautifully: same logic for boneless breasts, bone-in thighs, wings for game day, or a whole bird for Sunday supper.
In this guide we'll cover both wet and dry methods, the exact salt-to-water ratio that pros lean on, how long to brine each cut without going too far, and the cooking methods that show off brined meat best. Whether you're chasing the crackling skin of a roast chicken recipe or want backyard grilled chicken breast that doesn't dry out on the second flip, the formulas below have you covered.
A great chicken brine starts with a clean ratio and just enough flavor support. You don't need a fourteen-ingredient potion. You need salt, water, a little sweetness, and a few aromatics that match how you plan to cook the meat. Here's what goes into the standard wet brine that works for almost any cut.
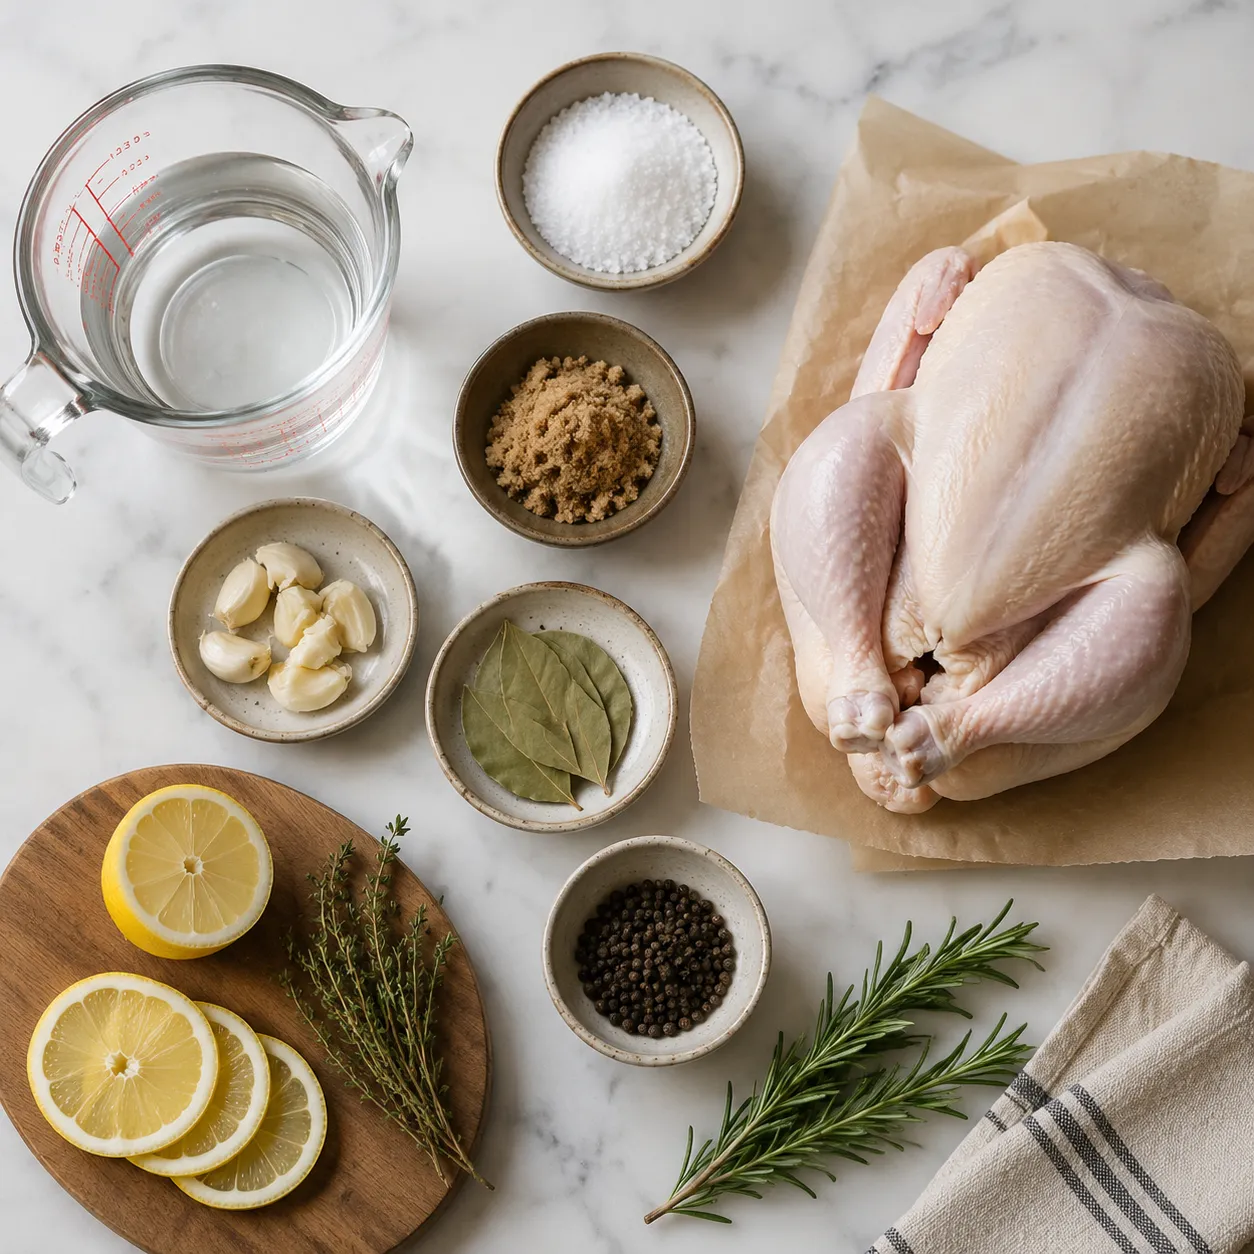
The backbone is 1/4 cup kosher salt per 4 cups (1 quart) of water, which is roughly a 4 percent solution by weight. That's strong enough to season the meat through without crossing into ham territory. I use Diamond Crystal kosher salt by volume here. If you only have Morton's kosher salt, scale back to about 3 tablespoons because the crystals are denser. Fine table salt is denser still, so drop to 2 1/2 tablespoons per quart and stir until completely dissolved.
Smashed garlic, bay leaves, whole peppercorns, and a few sprigs of thyme and rosemary make my default lineup. Sliced lemon adds a bright, clean note that plays nicely with chicken's mild flavor. For something warmer, swap in star anise, coriander seed, and orange peel for a vaguely Chinese five-spice direction, or chiles and cumin for southwestern. Whatever you choose, bruise the herbs and crack the spices so they actually contribute flavor instead of just looking pretty floating in the bowl.
Two tablespoons of brown sugar per quart is the sweet spot. It balances the salt, helps the skin brown beautifully in the oven, and rounds out any sharpness from the aromatics. Honey or maple syrup works in a 1:1 swap if you want a different aroma. Skip sugar entirely if you're planning a sauce-heavy preparation like a glazed grill or a sticky braise. The dish will already have plenty of sweetness on the back end.
The actual process is laughably easy. The only real skill is patience while the brine cools and the chicken soaks. Start it before work and you'll be set for dinner. Here's exactly how to brine chicken from cold tap water to roast-ready bird.
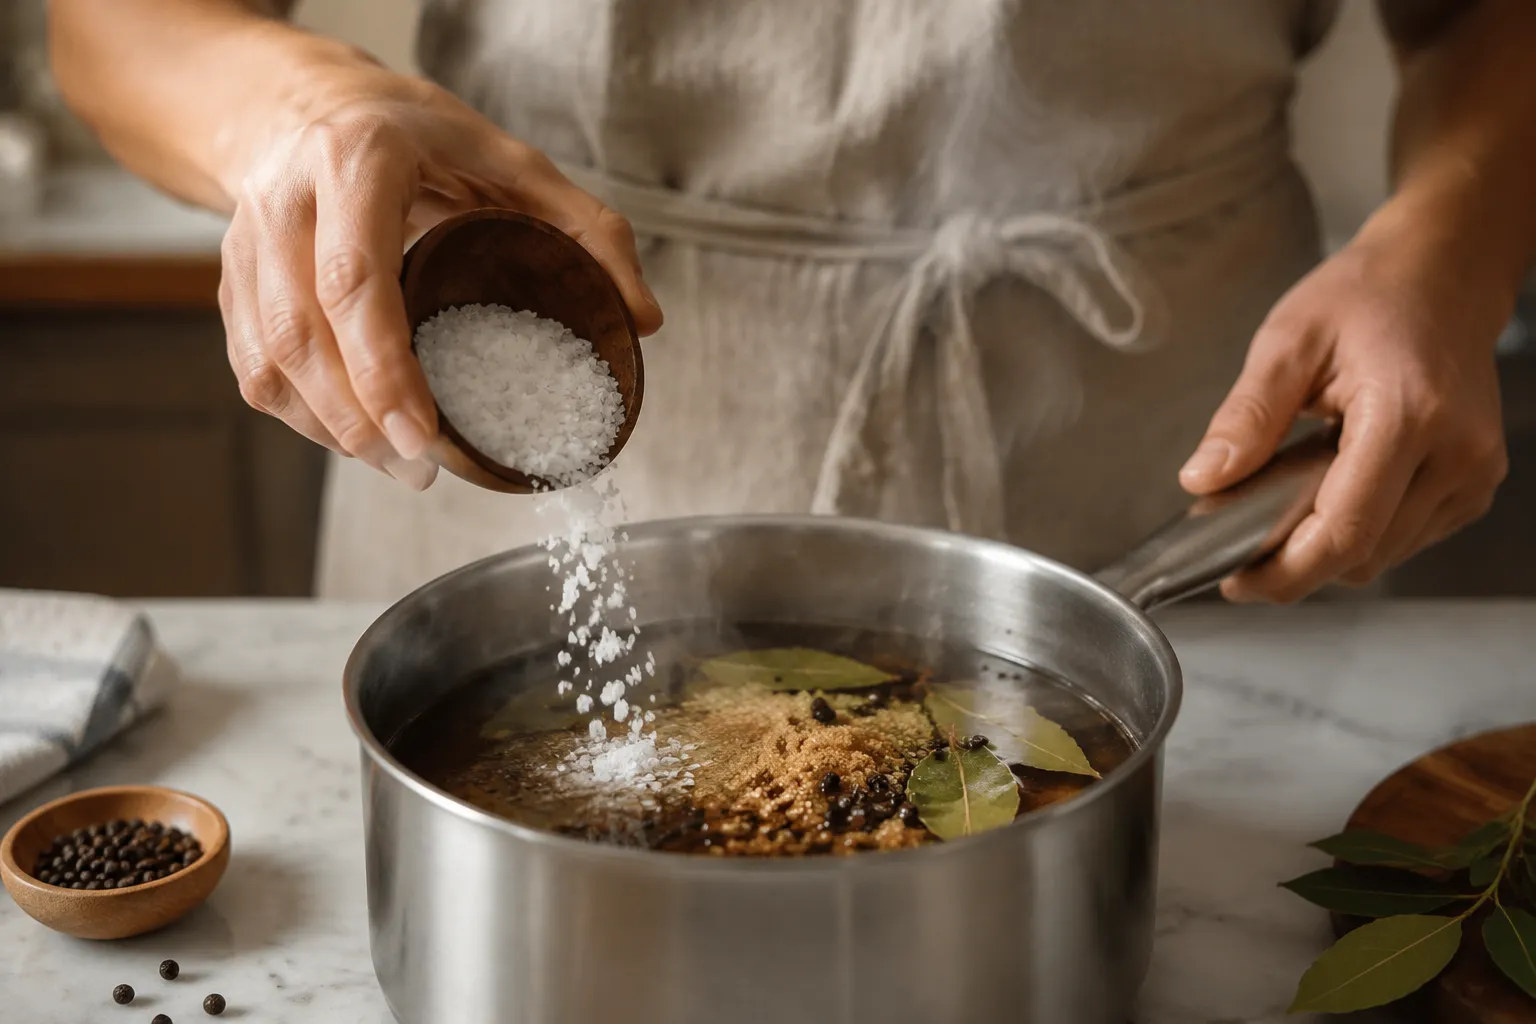
Combine 2 cups of water, the kosher salt, brown sugar, and aromatics in a saucepan and warm over medium heat. You're not making soup. You're just heating until the salt and sugar fully dissolve, about 3 to 5 minutes of gentle stirring. Skipping this step leaves grit in the bottom of your container and uneven seasoning across the meat, which is the opposite of what we're going for.
This is the step home cooks botch most often. Pour the warm brine into a heatproof bowl, then add 2 cups of ice water and the remaining 2 cups of cold water. The brine must be at or below 40°F before the chicken touches it. Warm brine is a fast track to bacterial growth and partially cooked meat. If you're in a hurry, set the bowl in an ice bath and stir until cold to the touch.
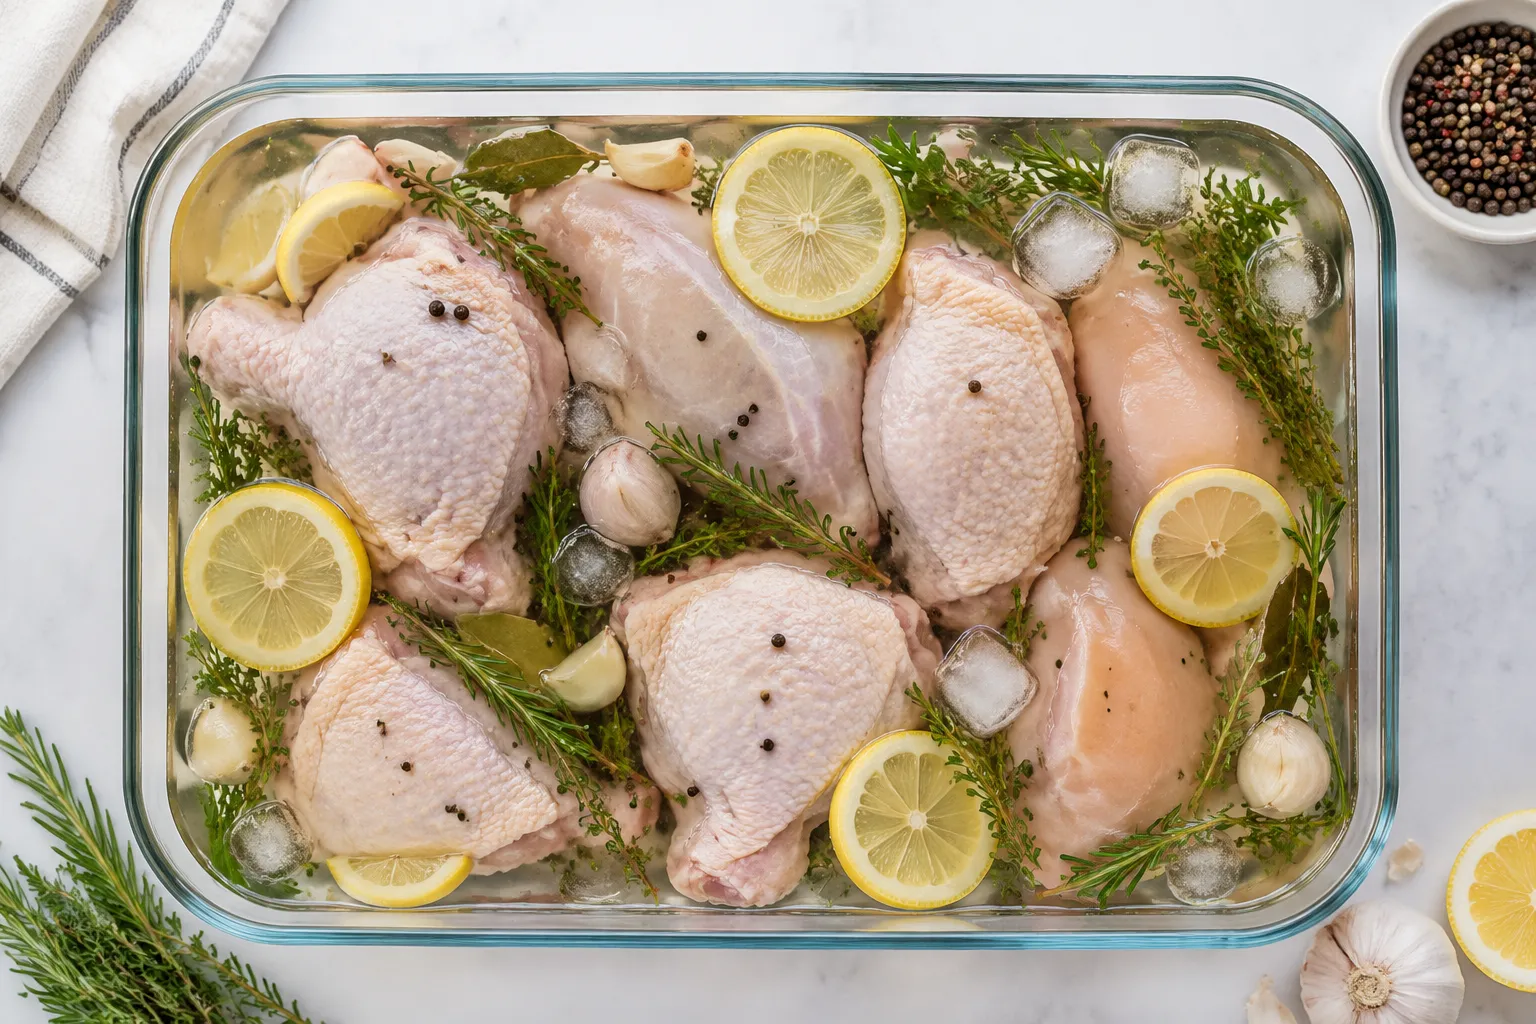
Place the chicken in a non-reactive container, like a stockpot, big glass bowl, or a heavy-duty zip-top bag set inside a baking dish to catch any leaks. Pour the cold brine over the meat until it's fully submerged, weighing it down with a small plate if pieces float to the top. Cover and refrigerate for the time recommended below for your cut. Don't be tempted to leave it out on the counter just for an hour.
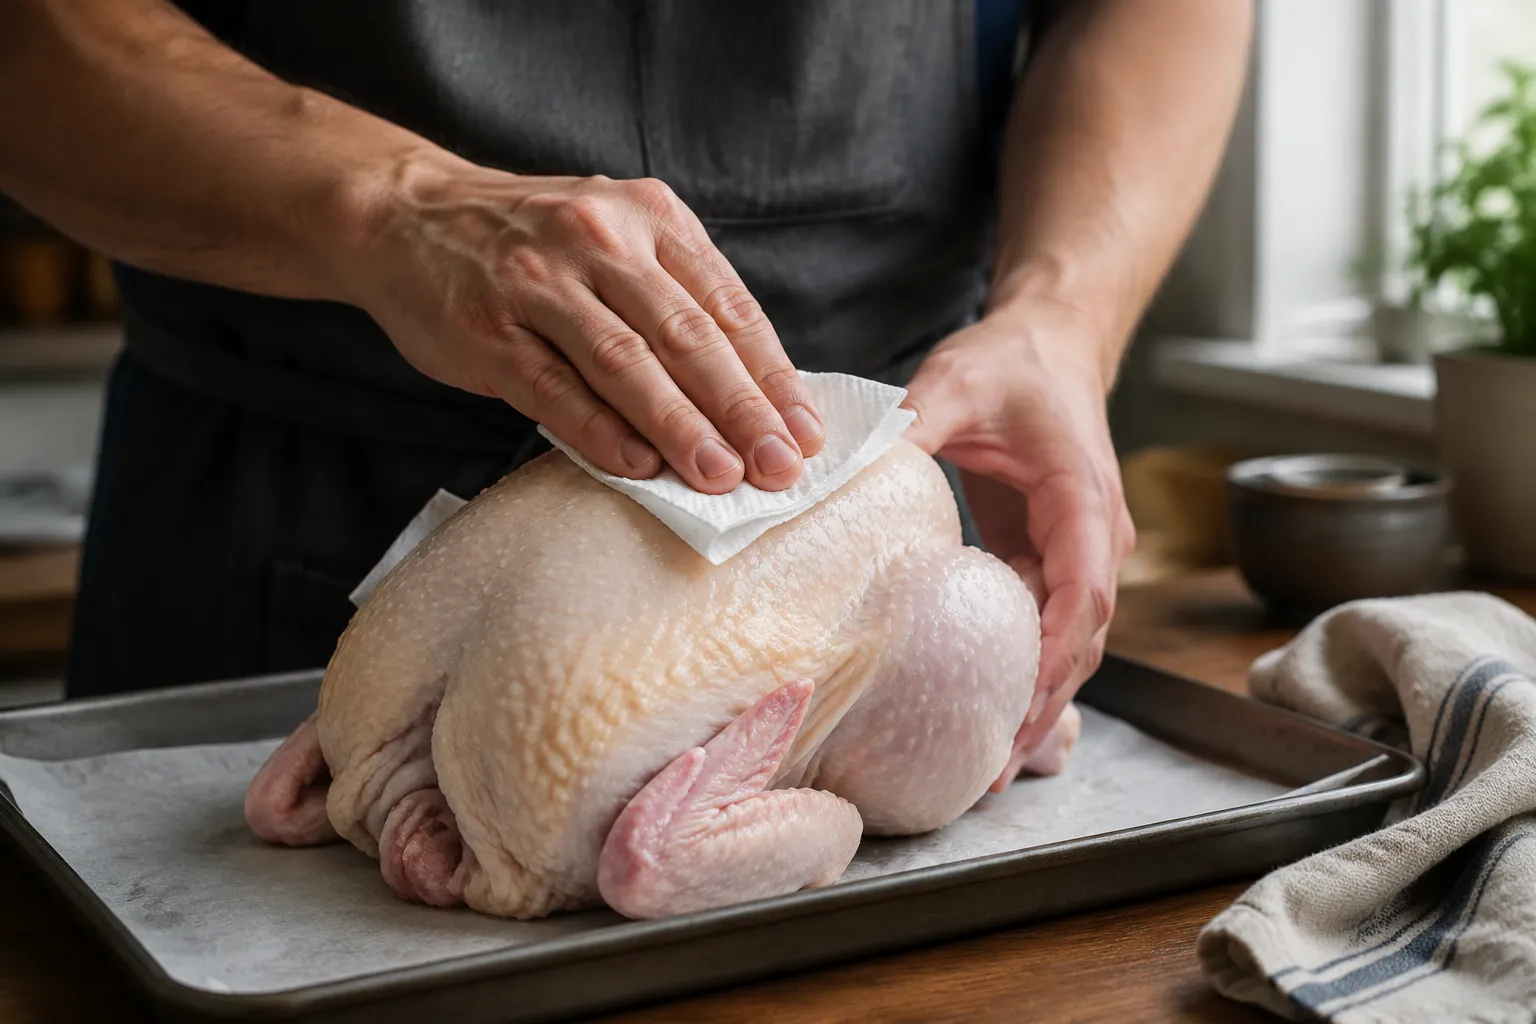
When the brining time is up, remove the chicken, give it a quick rinse under cold water, and pat it bone-dry with paper towels. This part is non-negotiable for crispy skin: any surface moisture turns to steam and prevents browning. For best results, set the chicken on a rack in the fridge uncovered for another hour to let the skin air-dry before roasting or grilling.
Time is where most home cooks go off the rails. Too short and you've barely seasoned the surface; too long and the texture turns spongy and weirdly cured. The right window depends entirely on the size of the cut and whether there's bone involved.
A 30-minute quick brine works wonders for thin cutlets you're searing for tacos or salads. Even short exposure improves moisture and seasoning noticeably. For dinner-party stakes, an overnight soak (8 to 12 hours) is hard to beat. Just don't push past 24 hours; the meat starts to cure rather than simply season, and the texture goes from juicy to ham-like. If you're scaling this approach up to a full Thanksgiving turkey brine, the same chicken brine ratio of 1/4 cup salt per quart holds. You'll just need more brine and a much bigger vessel.
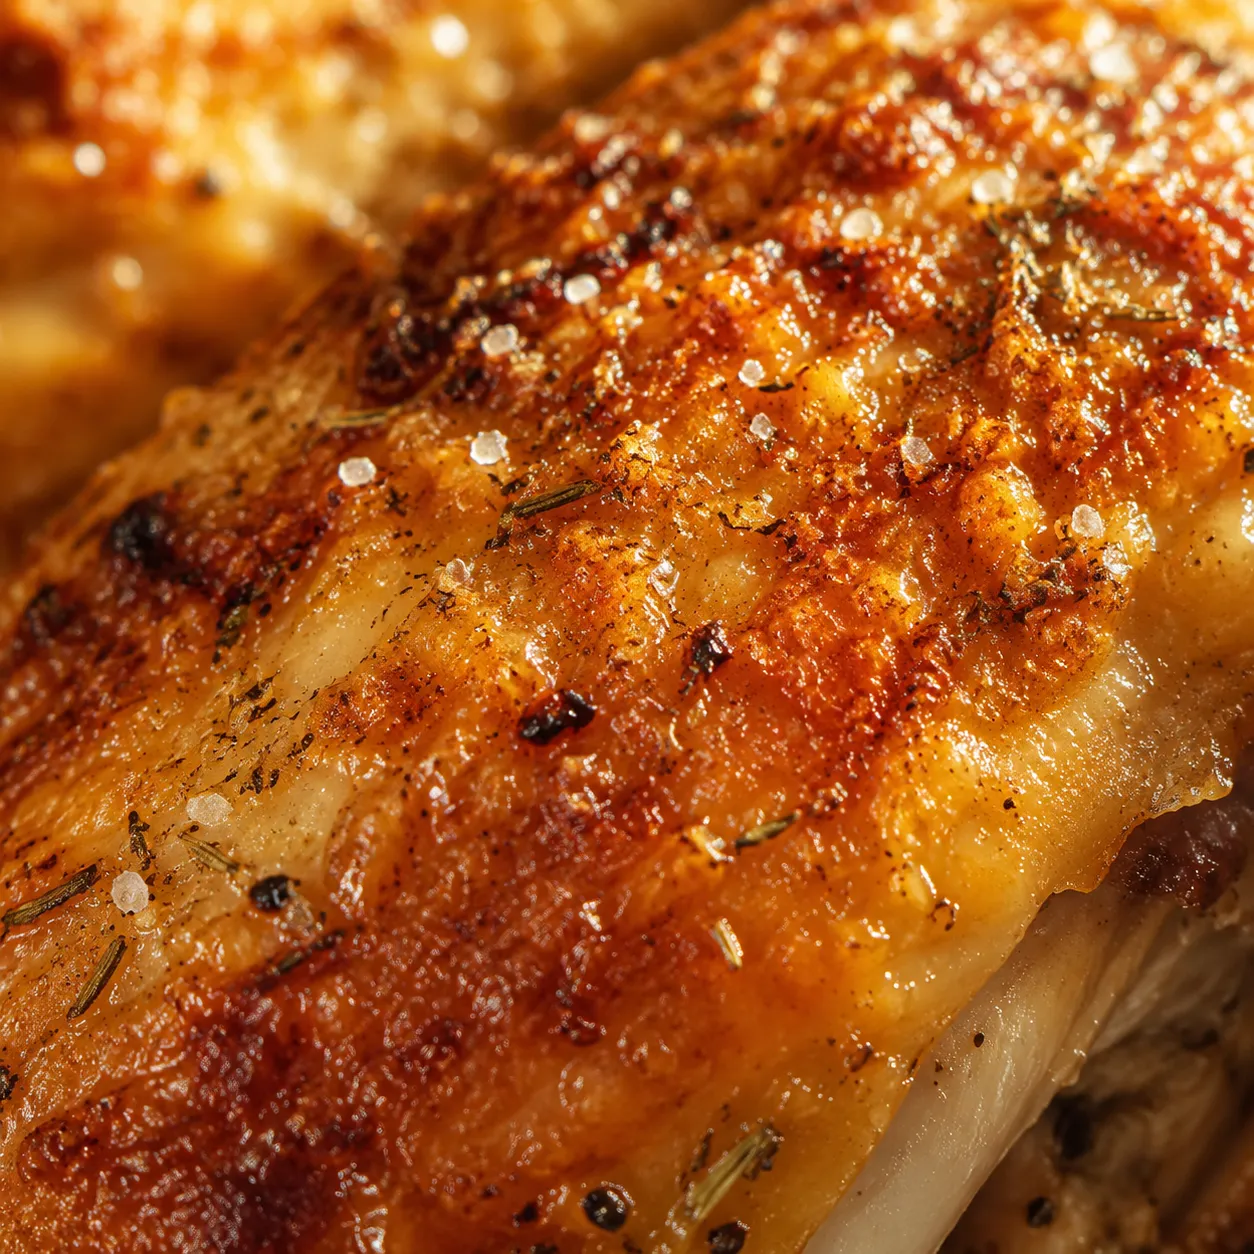
If maximum-crispy skin is your priority, a dry brine is the move. You skip the water entirely and rub salt directly onto the chicken, then let it rest uncovered in the fridge. The salt pulls moisture out, mixes with it, and gets reabsorbed back into the meat. You get all the seasoning benefits of a wet brine with none of the surface waterlogging that holds skin back from going truly crackly.
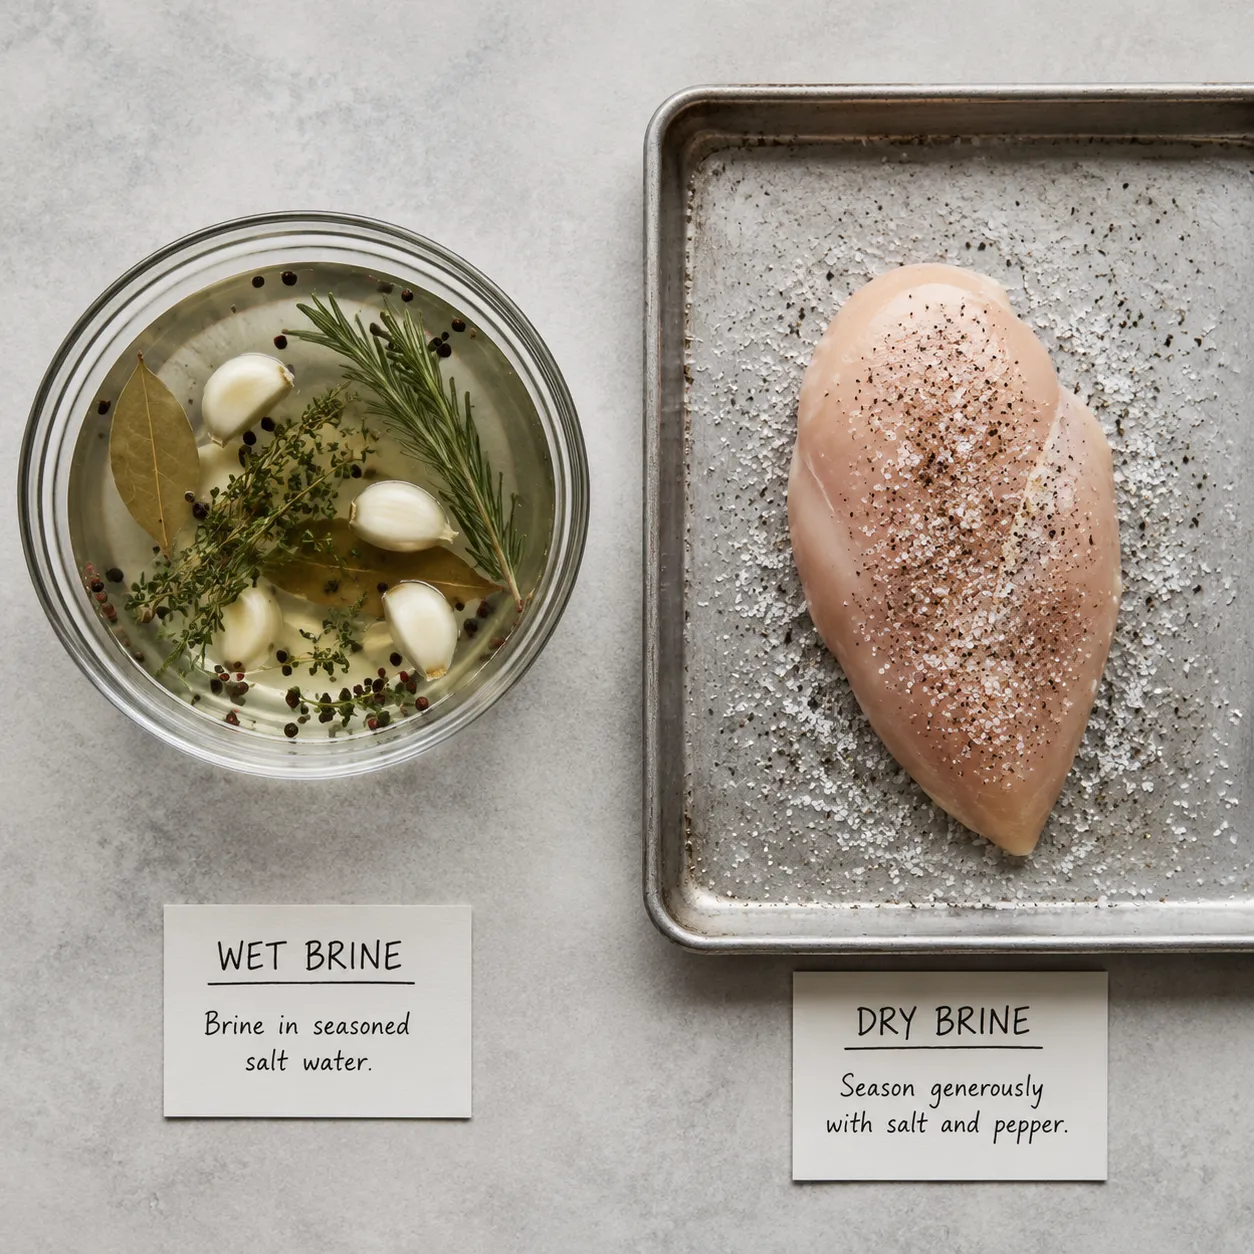
Reach for a dry brine when you're roasting a whole bird, going for shatter-crisp wings, or using a high-heat method that needs a dry surface to brown well. It's also the easiest option if your fridge is already too packed for a giant pot of liquid. The downside: it adds a touch less moisture than a wet brine, so very lean cuts like skinless breasts often benefit more from the wet method.
Use about 1/2 teaspoon of Diamond Crystal kosher salt per pound of chicken, applied evenly over and under the skin where you can reach. Add cracked pepper, garlic powder, or fresh herbs at the same time if you like. Place the seasoned chicken on a rack over a sheet pan and refrigerate uncovered for 8 to 24 hours. The skin will look tight, dry, and slightly translucent when it's ready, which is exactly what you want for that audible-crunch finish.
Once you've nailed the soak, the cooking part feels like cheating. Brined meat forgives small timing mistakes that would dry out an untreated bird, which means you can be a little more relaxed at the grill or oven and still serve something memorable. Here are the methods that show off a properly brined bird best.
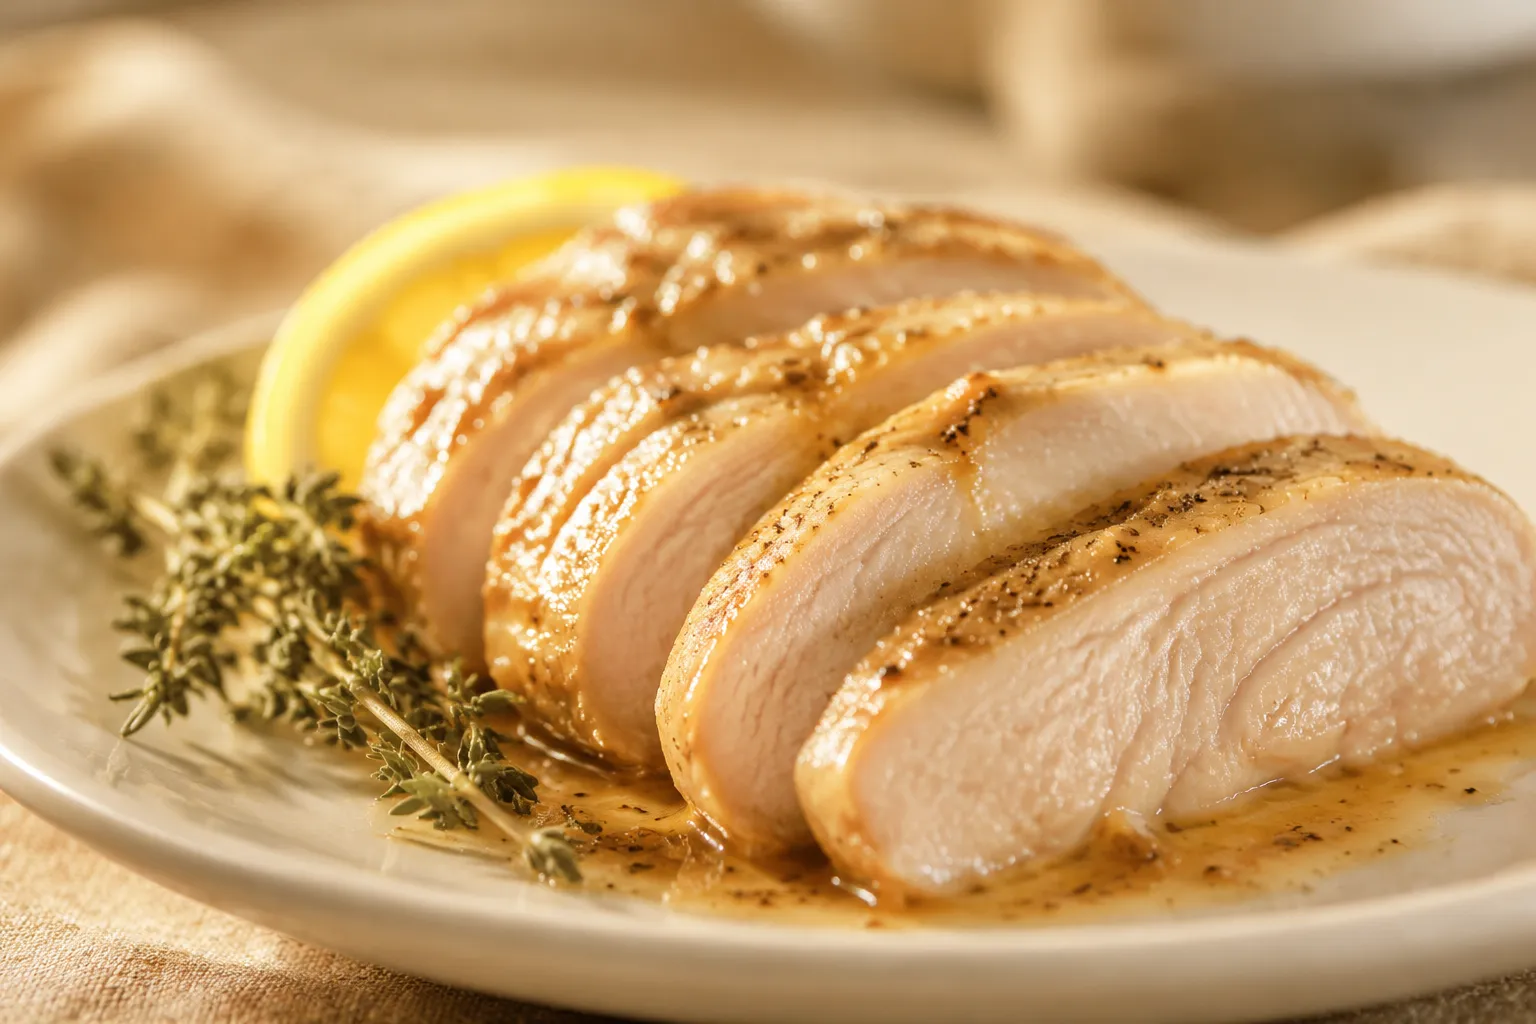
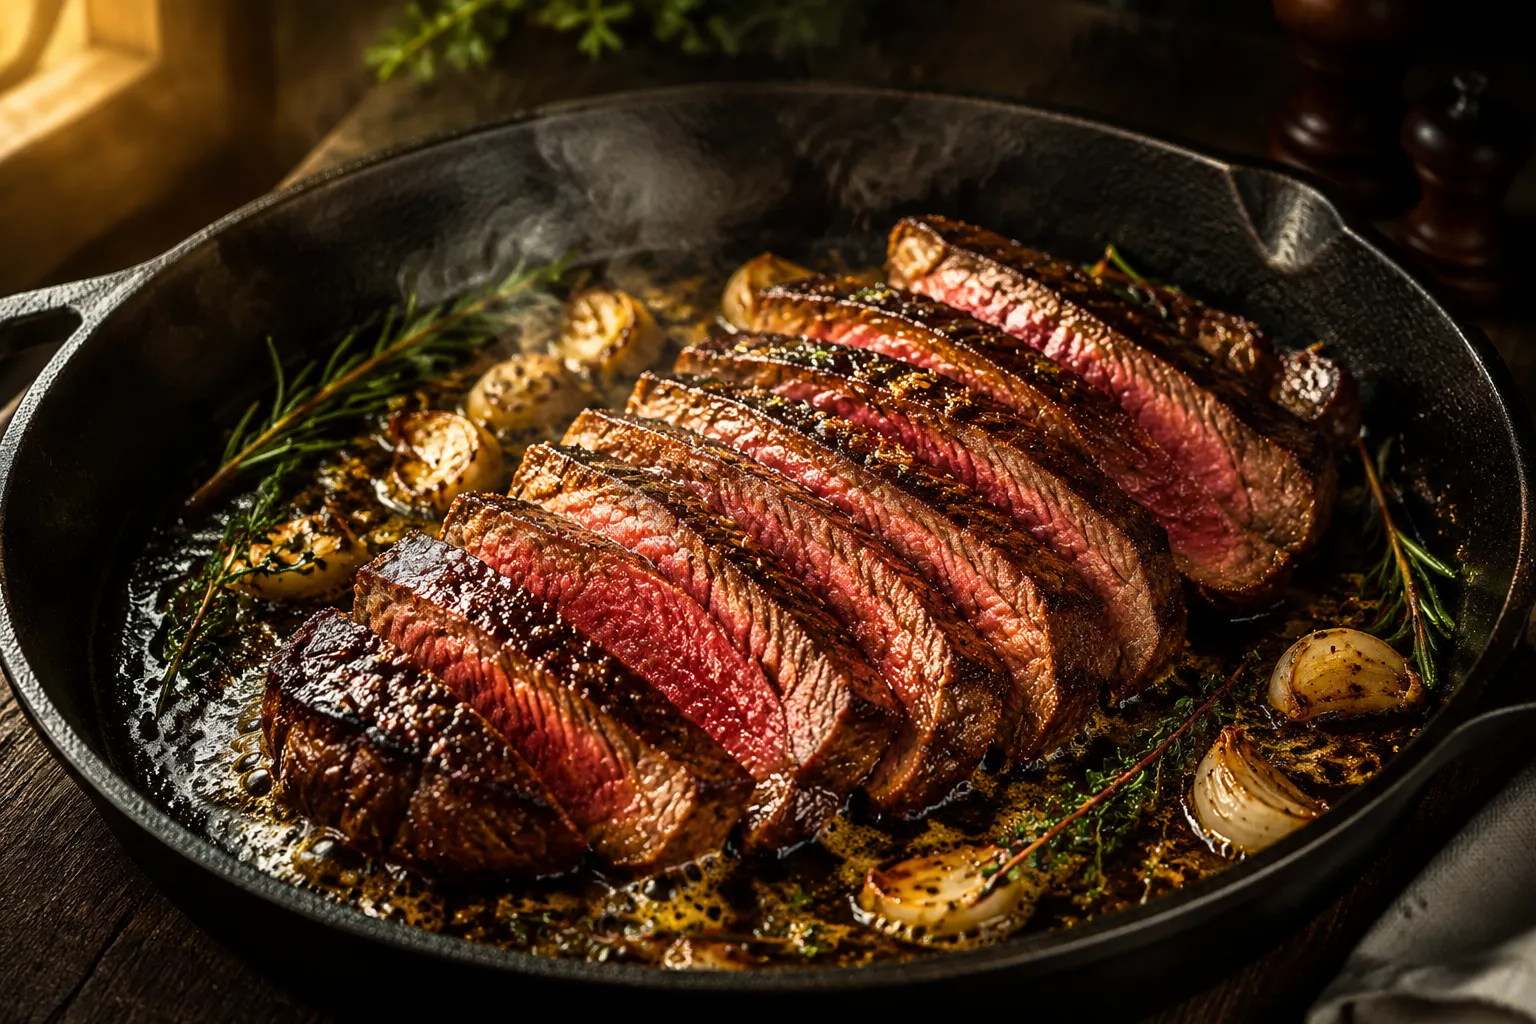
A high-heat oven (425°F) turns brined whole birds into burnished, glossy showstoppers in about an hour. For weeknight grilling, brined boneless breasts hit 160°F internal in 12 minutes flat without going leathery. Low-and-slow smoked chicken thighs come out of the smoker tender and deeply seasoned, with juice that beads on the surface when you slice in. And if you're frying, a quick brine before dredging is the secret to seriously good buttermilk fried chicken; the salty interior plays beautifully against the crackling crust.
Brined chicken plays well with almost anything. Roasted potatoes with rosemary, a simple lemony arugula salad, charred broccoli, or buttery rice pilaf all work. For backyard meals, lean into corn on the cob, slaw, and warm cornbread. The chicken brings deep seasoning to the table, so let the sides stay bright and uncomplicated. That contrast is where dinner really shines.

Once you see what a quart of salty water does to a $10 chicken, there's really no going back. The chicken brine method is the kind of low-effort, high-leverage trick that separates good home cooks from great ones: five minutes of active work for a result that genuinely tastes like a restaurant. Try it once on a whole roast bird this weekend, and you'll find yourself reaching for the salt and water before every chicken dinner from here on out.
This base recipe is a launching pad. Once you understand the salt-to-water ratio, you can pivot the flavor direction in a hundred ways without breaking the formula. A few favorites:
Brine itself doesn't store well once it's been in contact with raw chicken; always discard the used liquid. If you've made the brine but haven't used it yet, you can keep it in an airtight container in the fridge for up to 3 days before adding the chicken.
Cooked brined chicken keeps beautifully. Store leftovers in an airtight container in the refrigerator for up to 4 days. Because the meat is already well-seasoned and moist, it reheats far better than unbrined chicken: warm gently in a 325°F oven covered with foil, or shred cold for salads, sandwiches, and tacos. For longer storage, freeze cooked portions in zip-top bags with the air pressed out for up to 3 months, then thaw overnight in the fridge before reheating.