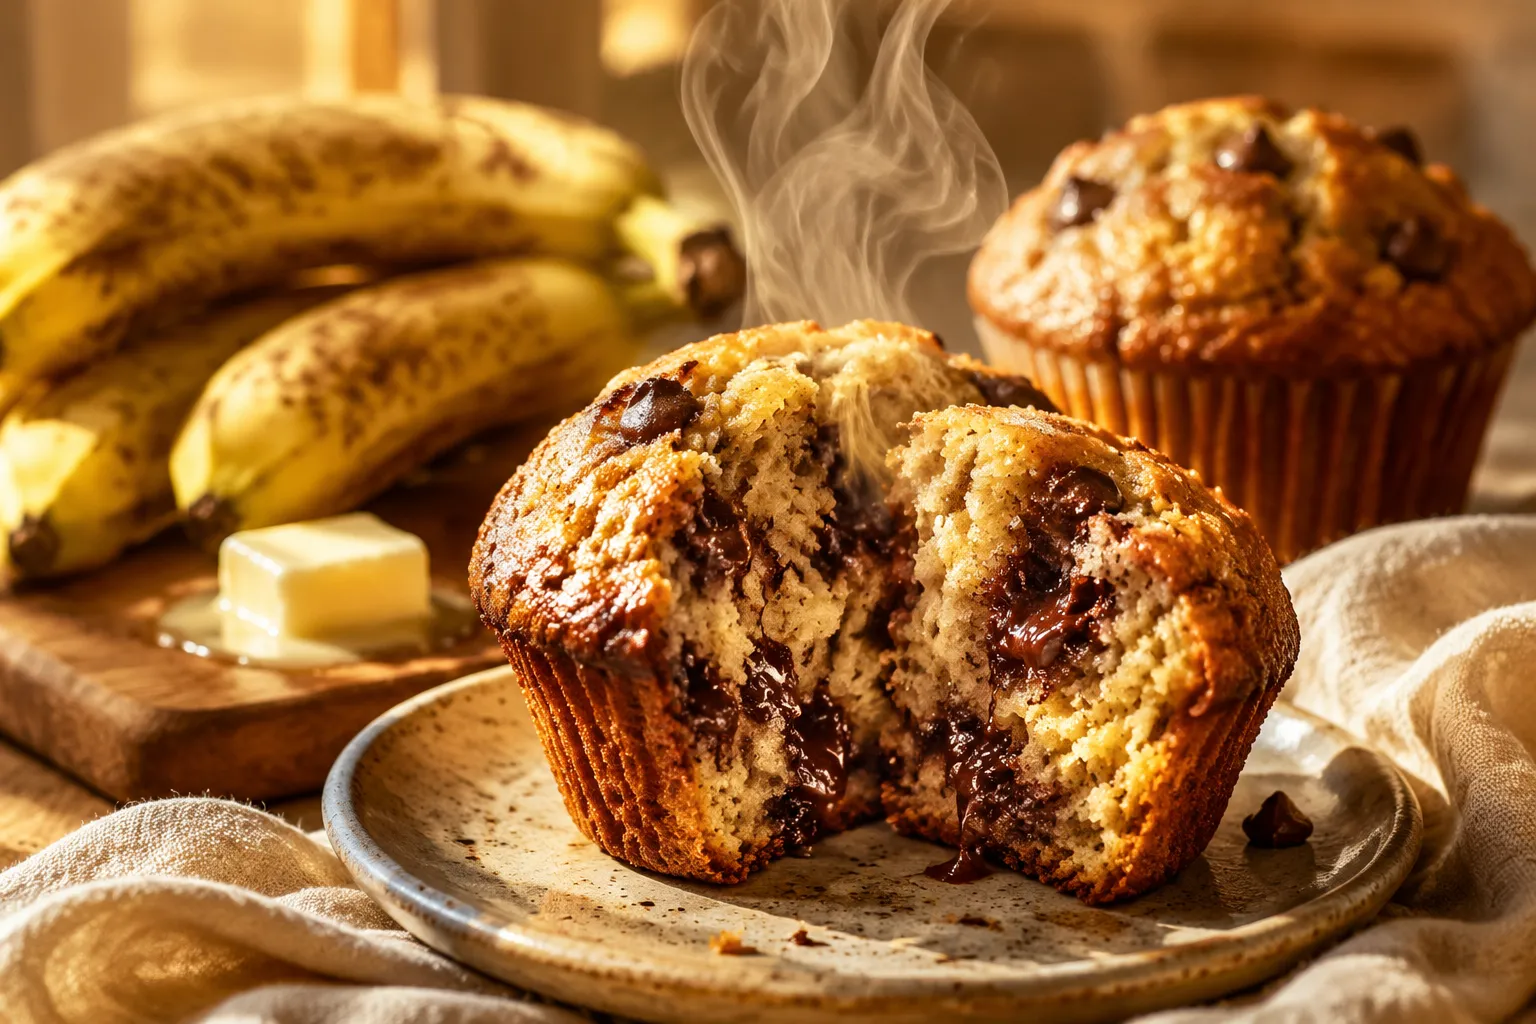
Sugar Cookies Recipe for Cut Out: Soft, No-Spread Classic
Ingredients
Scale

This sugar cookies recipe for cut out shapes bakes up buttery, soft, and perfectly crisp-edged, holding sharp details from every cookie cutter without spreading.
This sugar cookies recipe for cut out shapes is the one I reach for when I want cookies that look polished, taste buttery, and hold every tiny edge from the cutter. The dough rolls out smoothly, bakes up with soft centers and lightly crisp edges, and gives you that classic bakery-style finish without the frustration of spreading.
If you've ever watched a star turn into a blob or a snowflake melt into a puddle, you know why this matters. These are the kind of cut out sugar cookies that make holiday trays look special, but they're just as welcome for birthdays, showers, and rainy-day baking with kids.
This batch leans into all the best parts of old-fashioned rolled sugar cookies: simple pantry ingredients, a tender crumb, and a dough that behaves. If you are building a cookie tin around Christmas cookie recipes, this is the dependable base recipe that earns a permanent spot in your binder. And if the butter caught you by surprise, keep how to soften butter quickly bookmarked for next time; you want it pliable, not greasy.
This sugar cookies recipe for cut out is built on a short ingredient list, which is exactly why every item matters. The butter brings flavor and tenderness, the sugar gives structure and sweetness, and the flour-to-fat ratio is what keeps the cookies from spreading into each other. 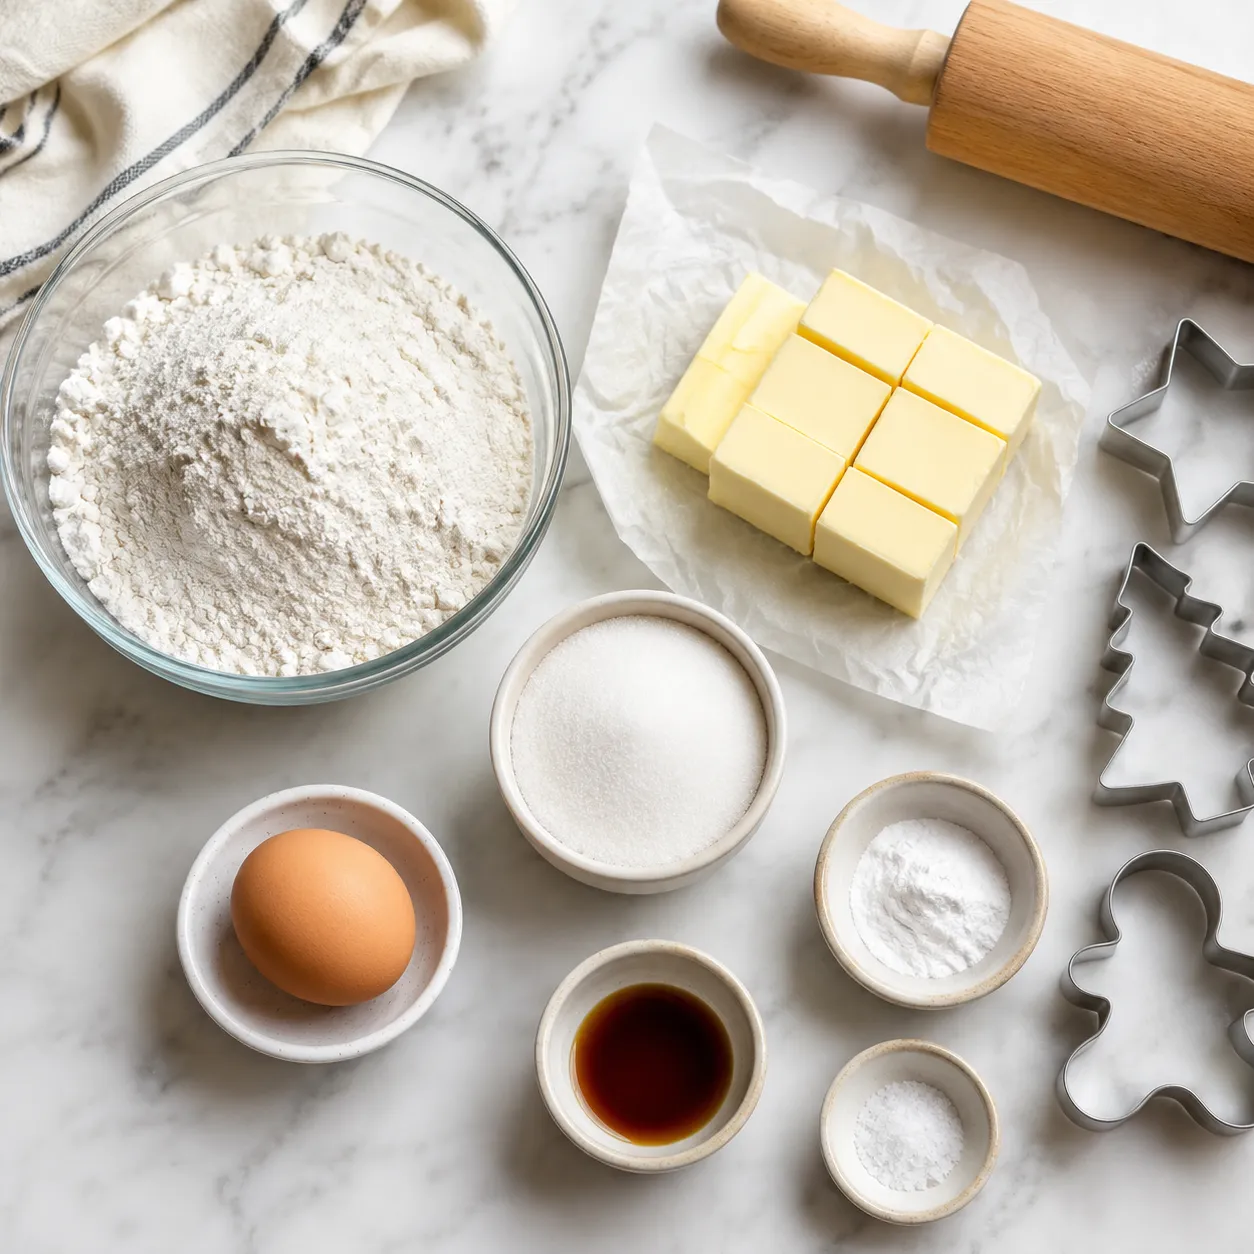
Use pure vanilla extract if you can, or reach for homemade vanilla extract when you want a deeper, more fragrant finish. A little almond extract adds that nostalgic bakery note without making the cookies taste like marzipan. If your butter is still too firm, let it warm gradually on the counter rather than rushing it; soft, cool butter creams beautifully, while melted butter can sabotage the dough before it even gets to the oven.
All-purpose flour is the right choice here because it gives the dough enough strength to hold neat edges in the oven. Granulated sugar keeps the texture light and helps create those delicate crisp edges that make rolled sugar cookies so satisfying to bite into. Fine sea salt sharpens the sweetness, and the egg binds everything together so the dough rolls without crumbling.
The extracts are where you can give the cookies a little personality. Vanilla is essential, and almond extract adds the subtle, familiar flavor many people love in holiday cookies. If almond is not your thing, you can skip it and add a touch more vanilla instead.
The goal is no-spread sugar cookies with a tender bite, not cakey puffs that lose their shape. A small amount of baking powder gives just enough lift for a soft center while still letting the dough settle into clean lines. Too much leavener, especially baking soda, can create excess browning and soften the edges before the cookie has a chance to set properly.
That balance is what separates a decent sugar cookie from a picture-perfect one. You want the tops to stay flat enough for icing and sprinkles, but the center should still taste plush and buttery. This is the sweet spot for cookies that cut cleanly and bake evenly.
If you need to make a few adjustments, keep the dough's structure in mind. Swap out the almond extract for more vanilla if you want a more classic flavor, or use a 1:1 gluten-free baking flour if you already trust that brand in roll-out recipes. Just remember that any substitution can change the texture a little, so chill the dough if it feels softer than expected.
[note] If you prefer extra-sweet cookies, save the decorating energy for after baking instead of adding more sugar to the dough itself. That way the base stays balanced and the icing or sprinkles can do the talking.
Start by creaming the butter and sugar until the mixture looks pale, fluffy, and almost satiny. That step traps air in the dough, which helps the cookies stay soft without becoming heavy. This is the quiet foundation of every great sugar cookies recipe for cut out, because it sets up the dough for both flavor and structure. 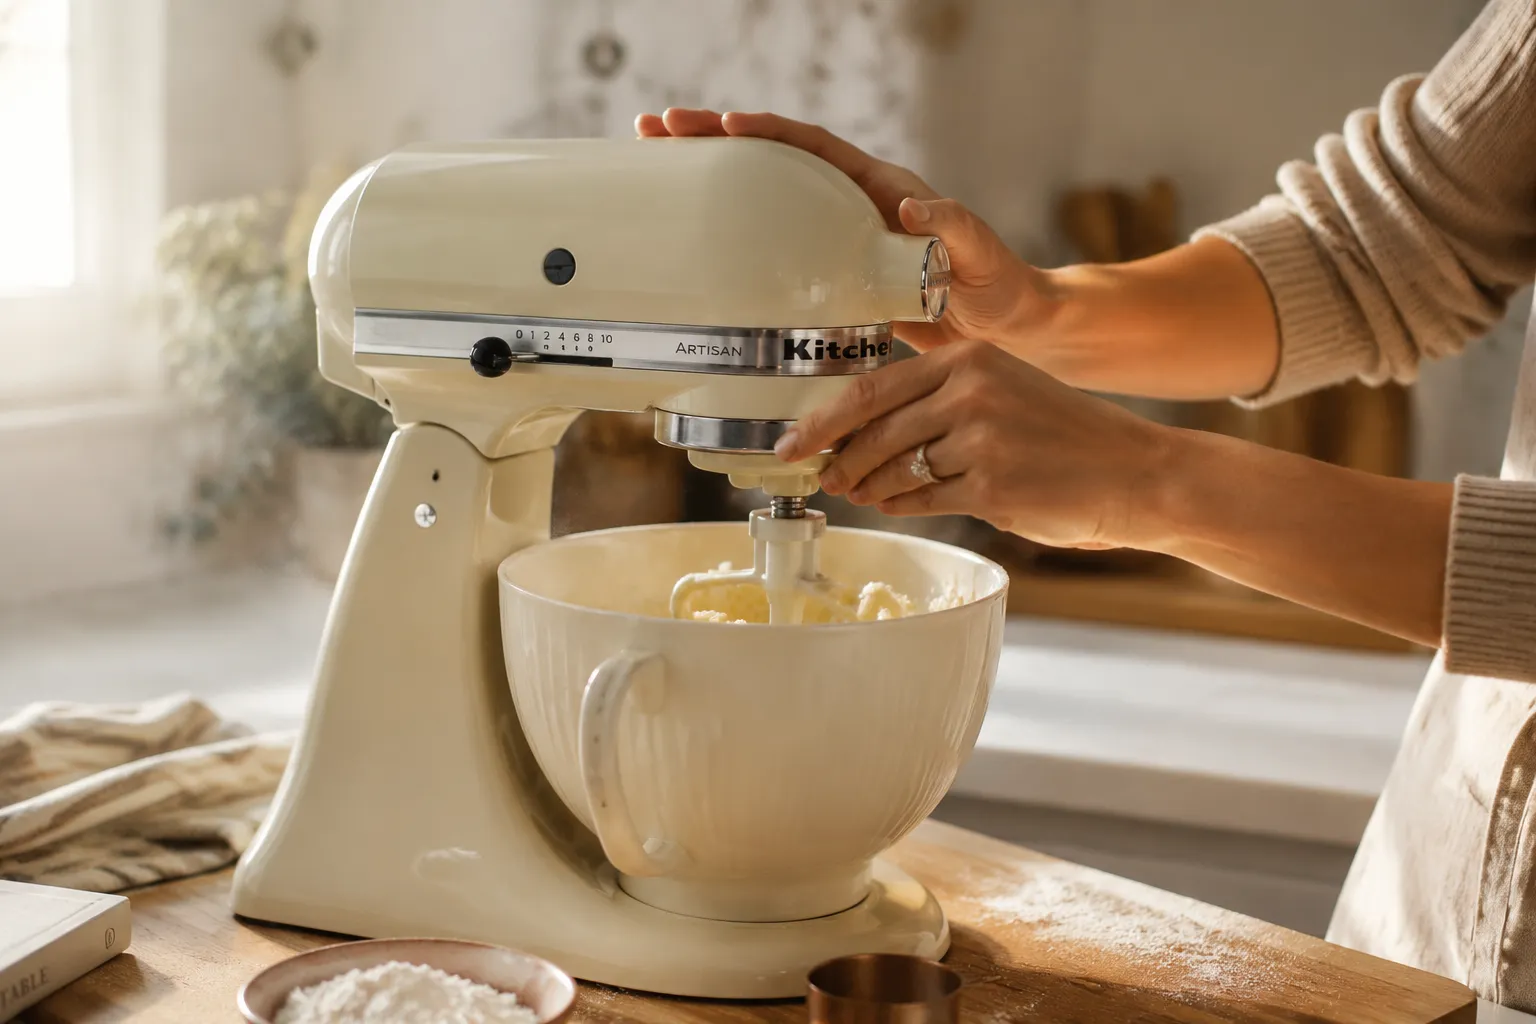
Once the egg and extracts go in, the dough should already smell like a bakery on a cold morning. Add the dry ingredients just until the flour disappears, and stop as soon as the dough comes together. Overmixing builds gluten and can make the cookies tough, so a gentle hand pays off here.
After the wet and dry ingredients are combined, the dough should feel soft, smooth, and slightly cool. If it seems sticky, resist the urge to dump in too much flour all at once; a short chill usually solves the problem better than adding extra dry ingredients. You want it pliable enough to roll, but not so loose that it slumps under the rolling pin.
[tip] For the cleanest texture, stop the mixer as soon as the dough forms a cohesive mass, then bring it together by hand on the counter. A few gentle presses are enough; the dough does not need to be kneaded.
Pat the dough into disks and chill them until they're just firm enough to handle. Then roll between parchment sheets instead of dusting the counter with a pile of flour, which can toughen the dough and blur the edges. This parchment method is one reason these rolled sugar cookies hold such crisp detail when you use cookie cutters. 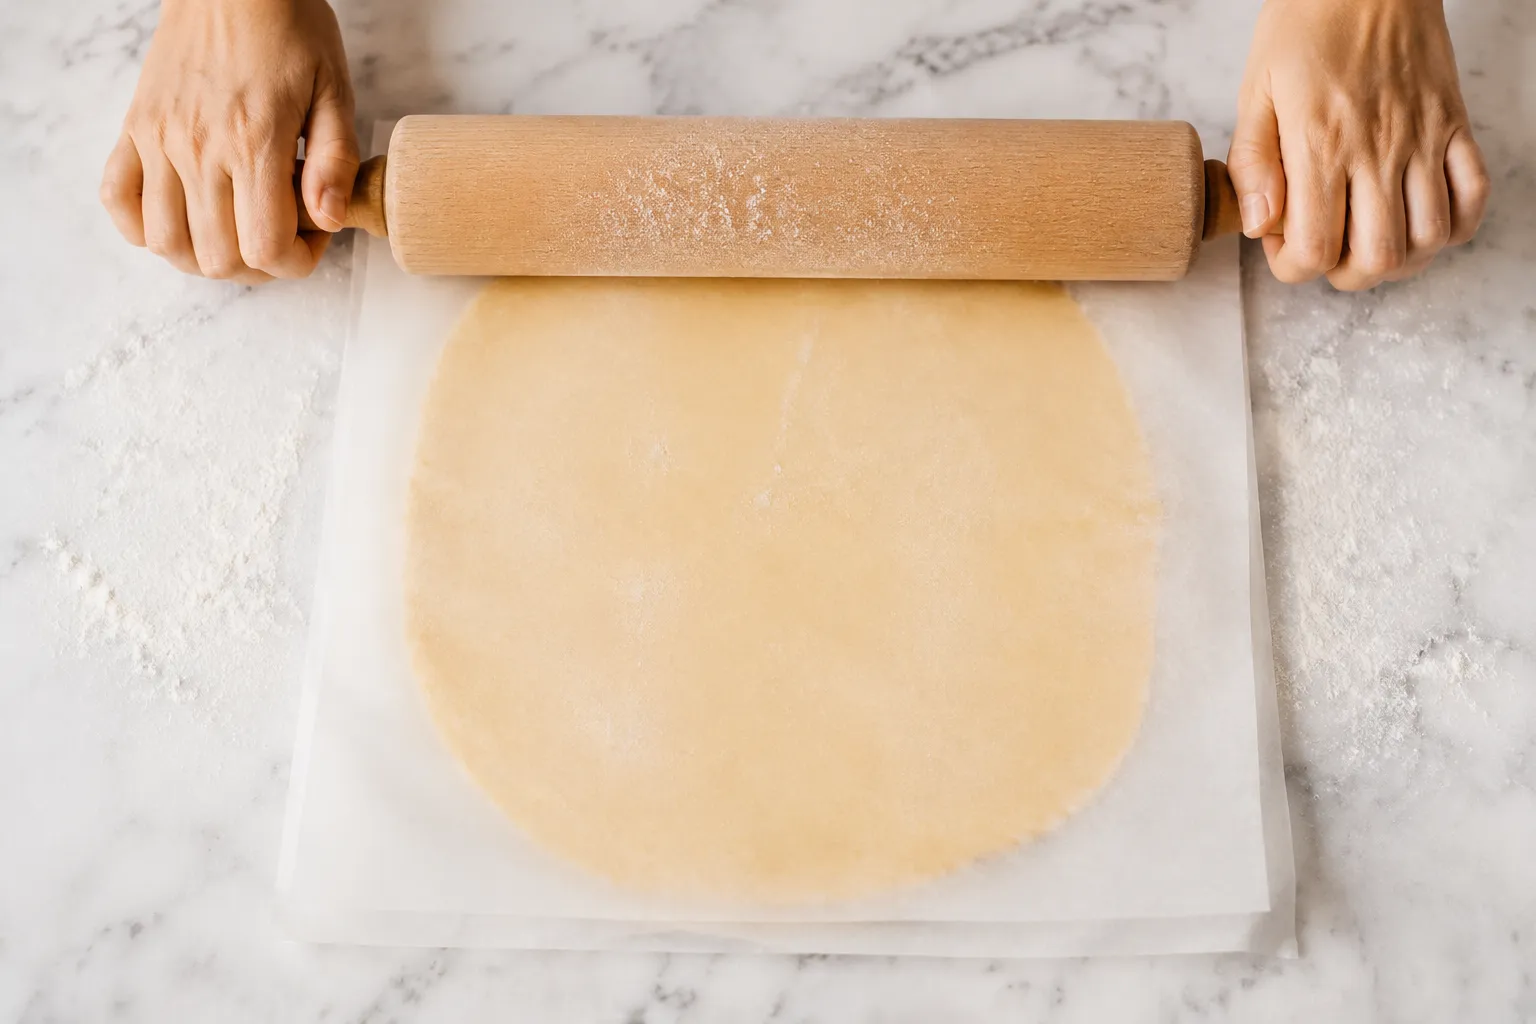
Once the dough is rolled, cut the shapes close together and lift away the excess carefully so you don't distort the edges. You can reroll scraps once or twice, but if the dough starts feeling warm, slide it back into the fridge for a few minutes. The cleaner the dough stays, the sharper the cookies will look later.
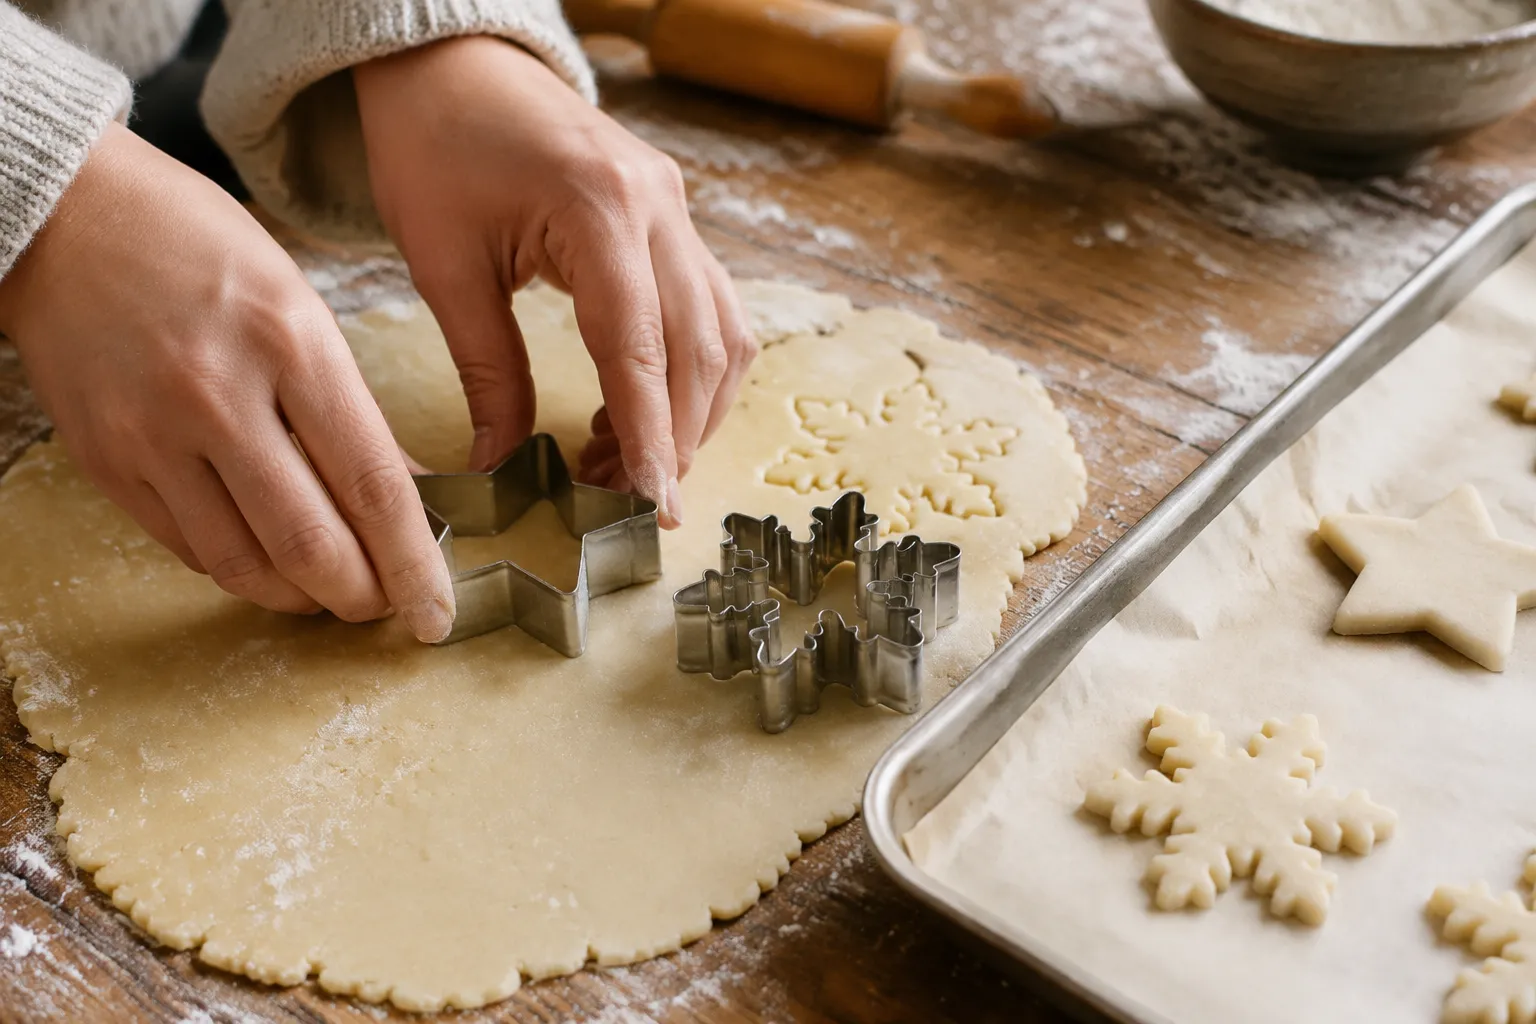
Transfer the cutouts to a parchment-lined sheet and bake just until the centers lose their wet sheen and the edges look barely set. The cookies should not look deeply golden when they come out; they finish setting as they cool, which is how you keep them tender rather than dry. If you want the most even results, use the same pan size and check the first tray a minute early.
Let them rest on the pan briefly before moving them to a rack. That little pause helps them firm up so the shapes stay neat, especially with detailed cutters. Fresh from the oven, they are pale, buttery, and exactly what soft sugar cookies should be. 
Once the cookies are completely cool, decorating becomes the fun part. Glossy royal icing gives you that smooth, polished finish you see on bakery cookies, and it sets firm enough for stacking, gifting, and neat packaging. If you want a quicker, softer option, easy buttercream frosting adds color and a creamy bite, though it will never dry quite as hard as icing. 
For a classic look, keep the icing simple and let the shapes shine. Thin flooding icing gives you a smooth canvas, while thicker icing lets you pipe outlines, dots, and snowflake details. If you're making cookies for a party or swapping boxes, this is where the dough turns into a showpiece.
Royal icing for sugar cookies is ideal when you want neat lines, glossy color, and a finish that hardens enough to stack. Keep the base icing a little thicker for outlines and a little thinner for flooding so it settles into a smooth surface without running over the edges. If you're new to it, work with a few test cookies first; the consistency tells you everything you need to know.
Let the icing dry fully before packaging or stacking the cookies. That patience makes the difference between pretty designs that stay crisp and pretty designs that smudge. Once set, the surface feels smooth and almost porcelain-like.
If you want something more relaxed and kid-friendly, buttercream is lovely on these cookies. It gives you a creamy finish that tastes rich and nostalgic, and it is especially nice for birthday trays or casual weekend baking. Easy buttercream frosting also pairs well with colorful sprinkles or tiny candies, which makes the cookies feel festive without much effort.
Because buttercream stays soft, it is best for cookies that will be served the same day or within a day or two. It will not stack as neatly as royal icing, but it does bring a softer, bakery-counter charm that many people love.
If you want sparkle without a lot of piping, brush the tops lightly with water, milk, or egg wash and add sanding sugar before the cookies go into the oven. You can also press in nonpareils or holiday sprinkles for a cheerful finish, though heavier toppings work best on larger shapes. The result is simple, colorful, and perfect for casual holiday cookies.
For a prettier tray, mix a few decorating styles together. Some cookies can stay plain with a shimmer of sugar, while others get a full royal icing treatment. That variety makes the platter feel layered and homemade in the best way. 
Even a reliable dough can act up if the kitchen is warm or the butter is too soft. If your sugar cookies recipe for cut out seems sticky, spreading, or fragile, the fix is usually simple once you know where to look. Most problems come from temperature, measuring, or overhandling rather than anything mysterious in the recipe itself.
[warning] If the dough feels greasy or loose before you even roll it, chill it immediately. Warm dough is the fastest path to lost edges, and it is much easier to rescue than to bake a tray of misshapen cookies.
Sticky dough usually means the butter was too soft, the flour was a little light, or the kitchen is warm enough to soften everything too quickly. Chill the dough disk for a short while, then roll it between parchment so you are not adding a heavy dose of extra flour. A lightly tacky dough is fine; it should just not cling so much that the cutter drags through it.
If you need to, dust the top parchment with the faintest whisper of flour, but keep it minimal. Too much flour can dry out the dough and make the final cookies taste dull instead of buttery.
Spread usually points to butter that was too warm, a dough that wasn't chilled enough, or baking sheets that were already hot from a previous batch. Use cool dough, room-temperature pans lined with parchment, and an oven that has truly finished preheating. Good pans matter too; sturdy, light-colored sheets help the cookies bake evenly without overbrowning. The right pan is one of the reasons bakers swear by the best baking sheets for cut-out cookies.
Another sneaky culprit is overmixing. Once the flour is in, mix only until the dough holds together, then stop. Less agitation means less gluten and more of that tender, soft bite.
If the dough cracks when you roll it, it may be a touch too cold. Let it sit on the counter for a minute or two, then press the edges together gently before rolling again. If it still seems dry, a tiny bit of additional softness from the butter usually helps more than extra liquid, which can change the texture too much.
When the cut edges look ragged, the dough may have warmed unevenly or the cutter may be sticking. Dip the cutter in flour sparingly and press straight down without twisting; that keeps the shapes cleaner and the edges smoother.
That is the beauty of a well-tested cookie dough: once you understand the rhythm, the process feels calm and repeatable. Whether you are baking for a classroom party, a cookie exchange, or a big weekend of decorating, these cookies give you a reliable base for beautiful trays, sweet gifts, and all the holiday fun that comes with them.
Once you have the base dough down, it is easy to change the flavor or finish without losing the clean cut-out shape. Keep the structure the same and swap in small flavor accents or decorations to match the season, the party, or your pantry.
Store baked cookies in an airtight container once they are completely cool. If you are layering decorated cookies, separate the layers with parchment paper so the icing or sprinkles stay neat. Most plain cookies keep well at room temperature for several days.
You can also freeze the dough for later. Wrap the disks tightly or freeze the cut shapes on a tray before transferring them to a freezer bag. Thaw in the refrigerator before rolling or baking so the dough stays easy to handle and the shapes remain clean.