Unagi Sauce Recipe (Easy Eel Sauce in 10 Minutes)
Ingredients
Scale
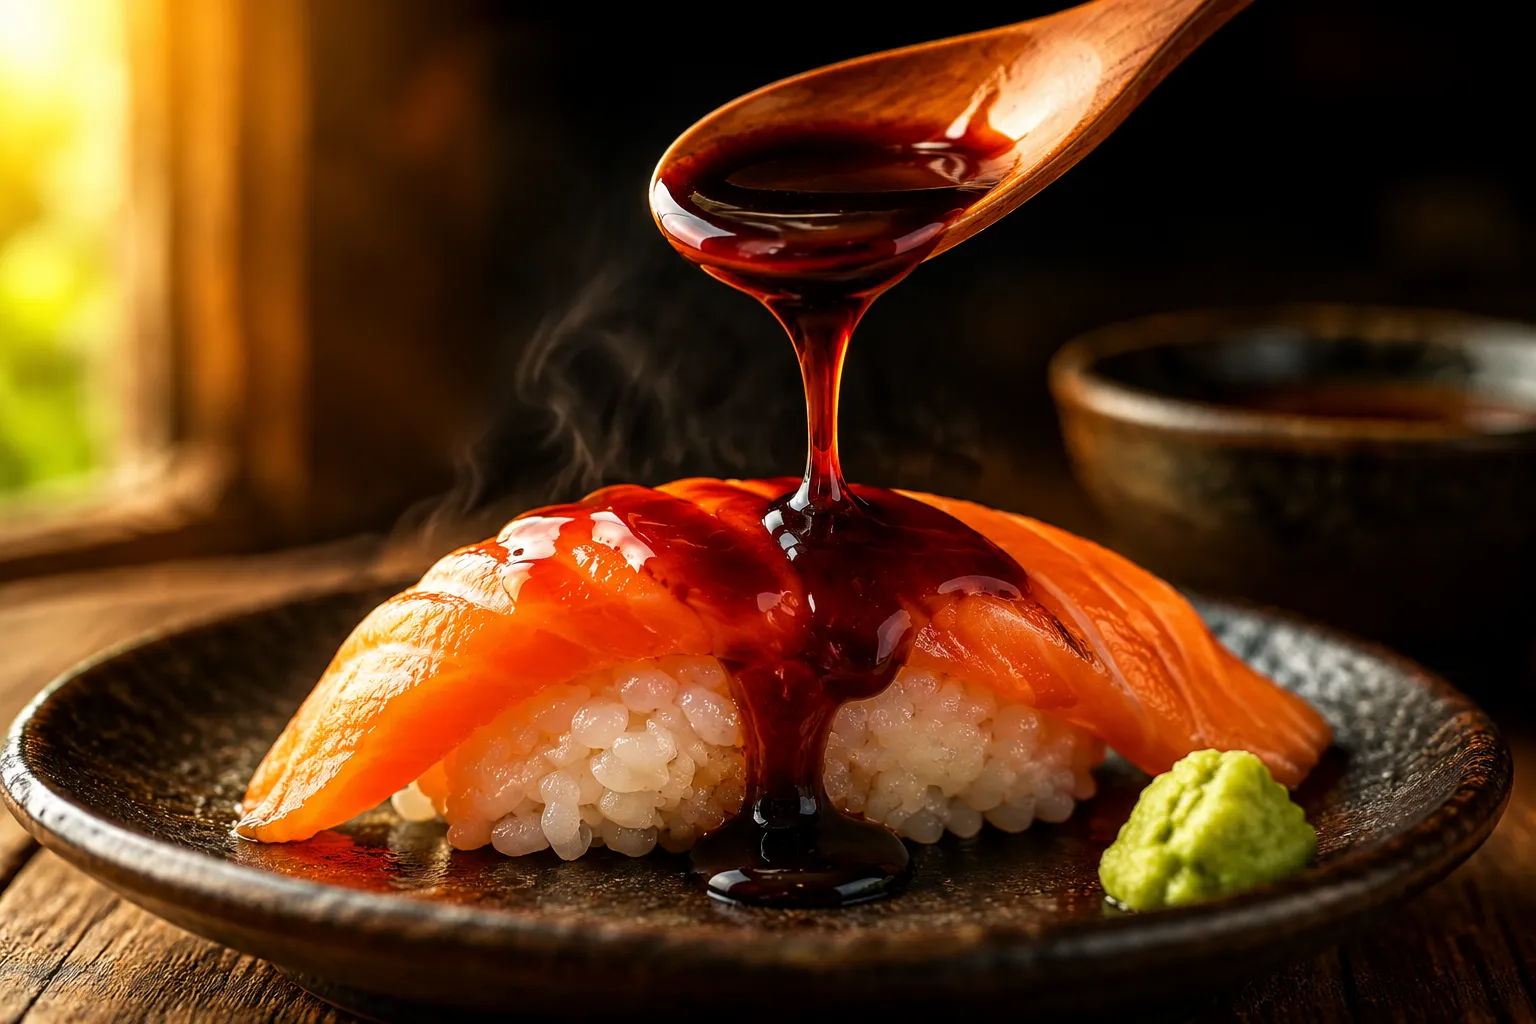
Skip the bottle and make glossy, restaurant-style unagi sauce at home in 10 minutes with 4 pantry staples. Sweet, savory, and ready to drizzle over everything.
If you've ever bitten into a glossy salmon roll and wondered what that sweet, savory drizzle was, you've already met unagi sauce. It's the deeply flavored, mahogany-dark glaze that turns plain rice and grilled fish into something restaurant-worthy, and the good news is that it takes ten minutes and four pantry ingredients to make at home. No mystery bottle, no preservatives, no $9 sticker shock at the grocery store.
I started making my own version years ago after running out of the bottled stuff mid-recipe, and I genuinely never went back. Homemade unagi sauce tastes brighter, glossier, and more complex than anything in a squeeze bottle, and you control the salt and sugar levels yourself. Once you've simmered up a jar, you'll find yourself drizzling it over everything from grilled salmon to roasted sweet potatoes to the leftovers you packed for tomorrow's lunch.
This recipe leans on the traditional Japanese formula with both mirin and sake for depth, but I've kept the technique completely beginner-friendly. No special equipment, no hard-to-find ingredients, no fussy temperature monitoring. Just a small saucepan, a wooden spoon, and about eight minutes of gentle simmering. By the time your rice cooker beeps, your sauce will be cooling on the counter ready to drizzle.
Unagi means freshwater eel in Japanese, and the sauce is named after the dish it traditionally accompanies: kabayaki, or grilled, lacquered eel served over rice. You'll see it called eel sauce on most American sushi menus, but in Japan, the same reduction is also known as nitsume — a thicker, more concentrated version brushed onto grilled seafood at high-end sushi counters. The name throws a lot of people off because the sauce itself contains no eel at all. Authentic restaurant versions sometimes simmer eel bones in for an extra layer of umami, but home cooks and most sushi bars rely on the soy-mirin-sugar backbone alone.
It's tempting to compare this Japanese sauce to teriyaki, since both share the soy-and-sweet flavor profile, but they're not quite interchangeable. A homemade teriyaki sauce is typically thinner, often includes ginger and garlic, and gets used as both a marinade and a glaze. Kabayaki sauce, by contrast, is reduced much further until it's almost syrup-like, with a glossy lacquer that clings to whatever it touches. Think of it as teriyaki's richer, more concentrated cousin — closer to a glaze than a sauce in the American sense. If you love a good ponzu sauce recipe or other Japanese pantry staples, this sushi sauce belongs right next to them on the shelf.
The beauty of this Japanese sauce is how few ingredients it needs. Four pantry staples do all the work, and each one plays a distinct role in the final flavor and texture.
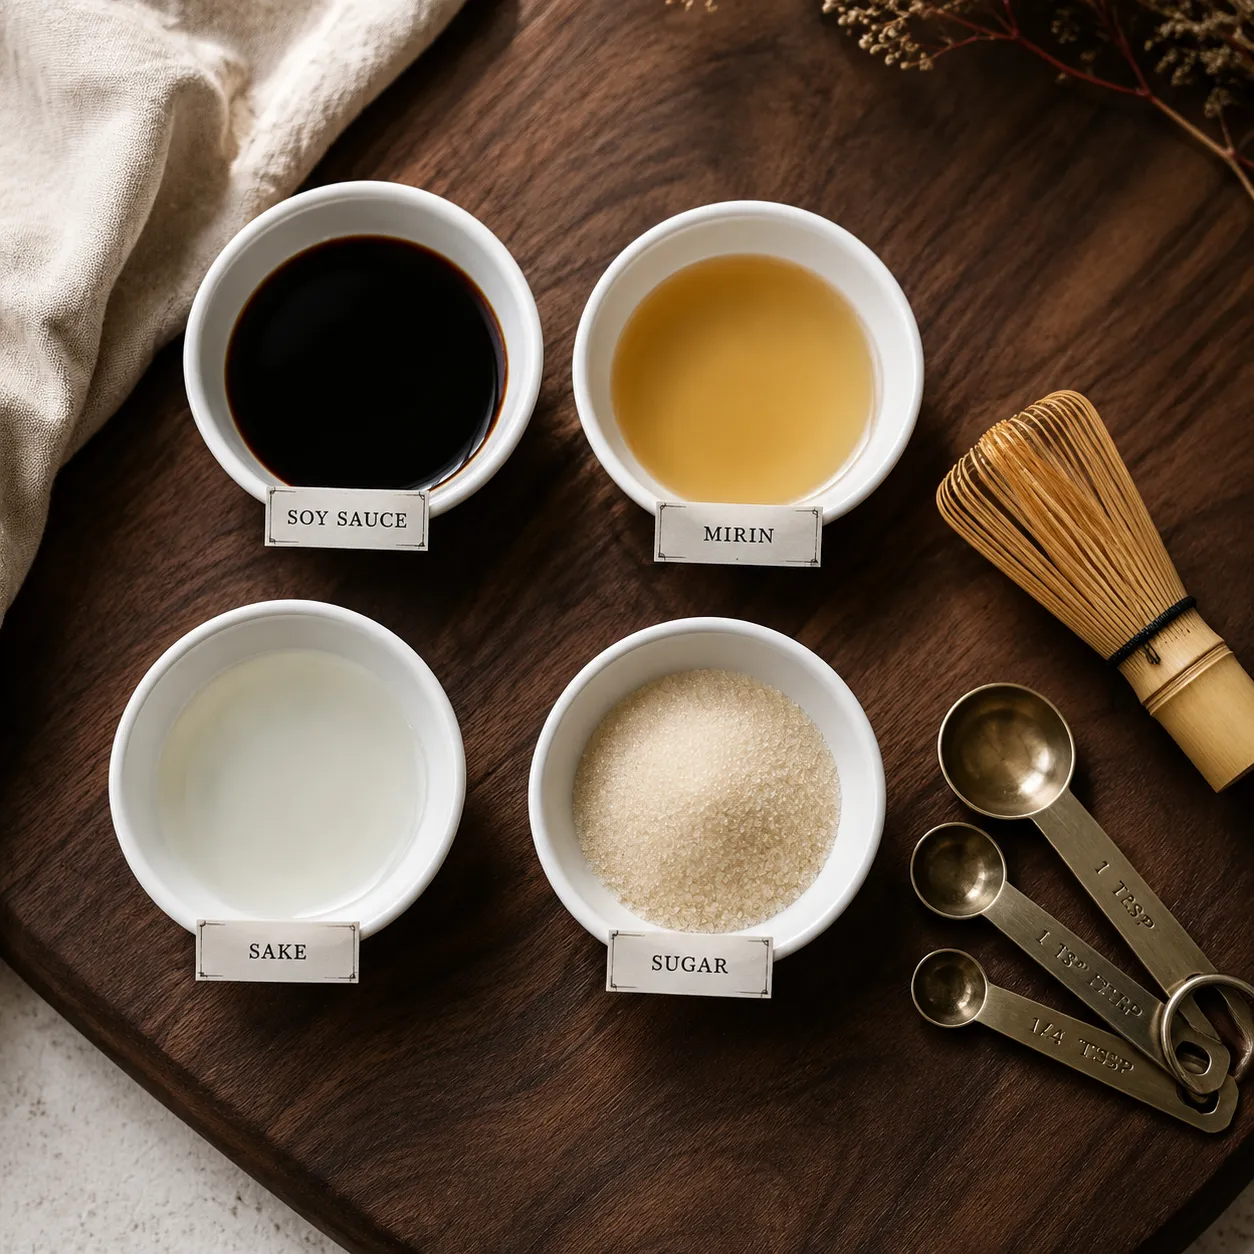
The whole process is one saucepan and about eight minutes of gentle simmering. The only thing to watch for is the line between glossy syrup and burnt sugar, and I'll show you exactly how to find it.
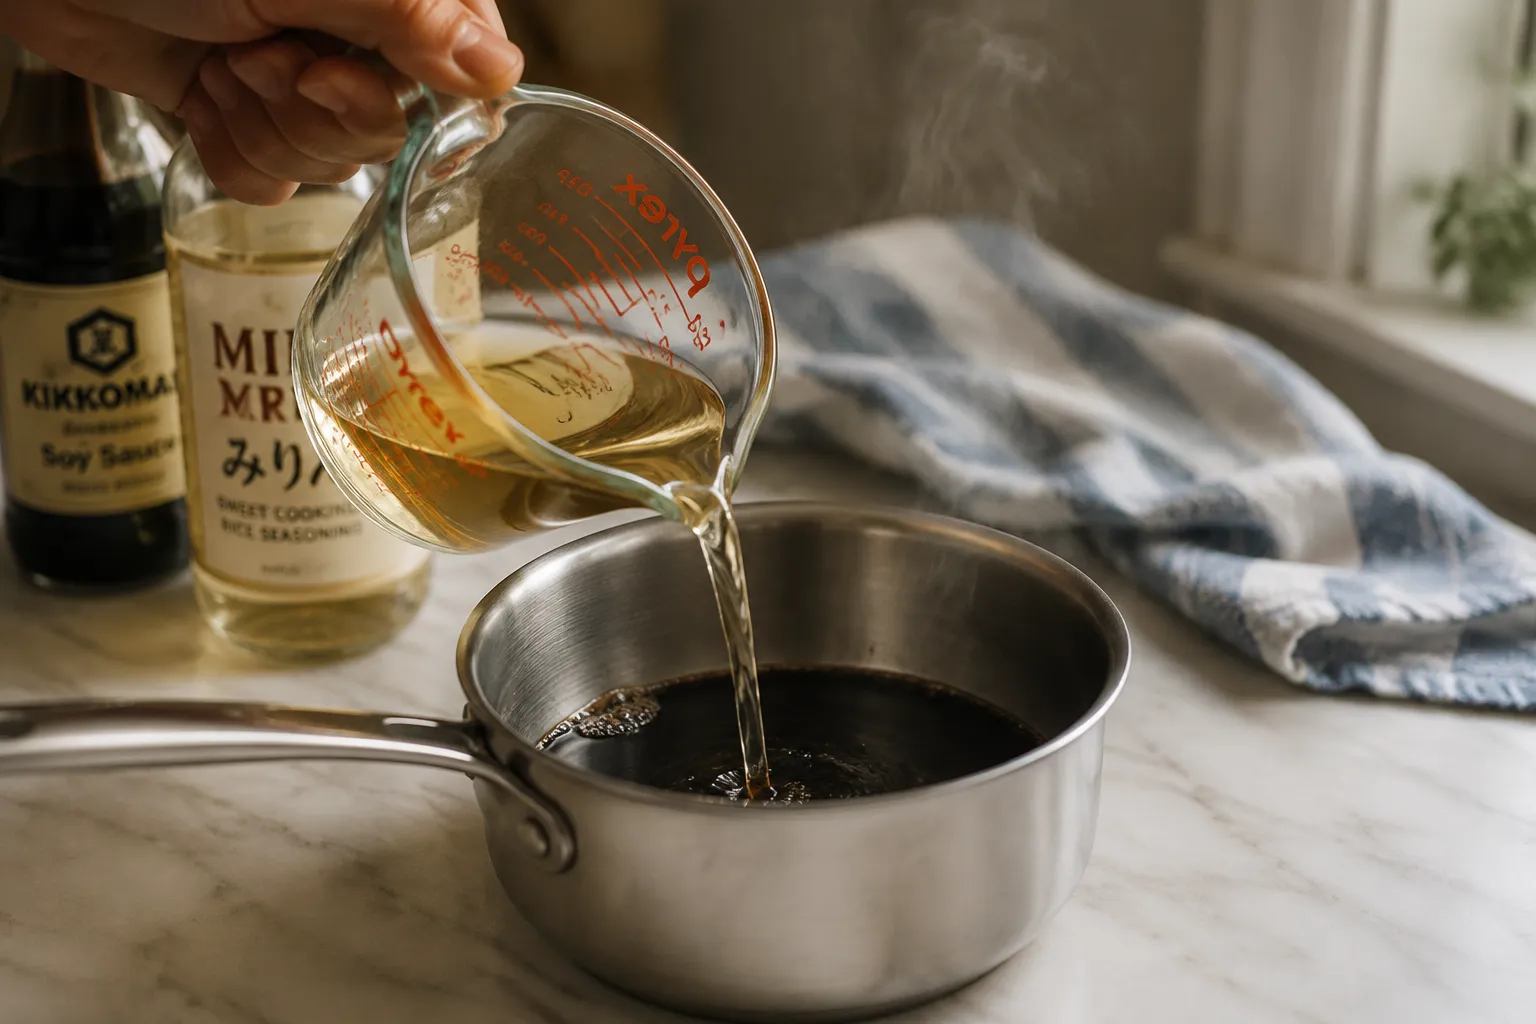
Start by combining the soy sauce, mirin, and sake in a small saucepan over medium heat. Whisk in the sugar until it dissolves, which usually takes under a minute as the mixture warms. Don't crank the heat at this stage — if the sugar caramelizes too fast, you'll end up with bitterness instead of that clean sweet-savory balance.
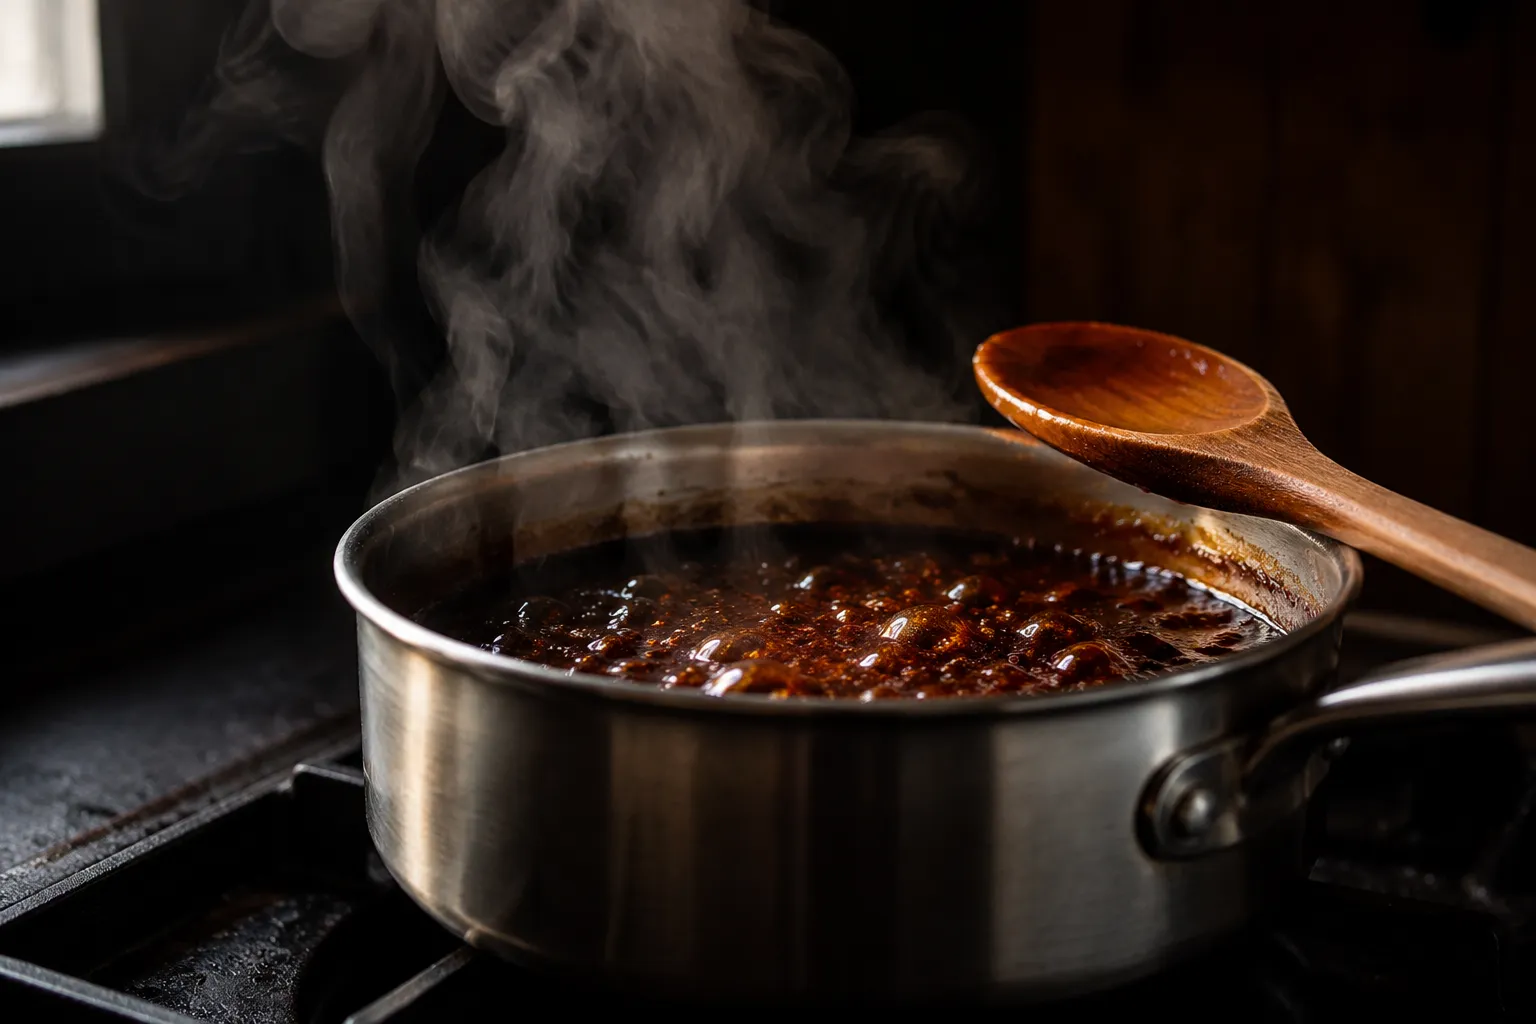
Once the sugar is dissolved, bring the mixture to a low boil, then drop the heat to a steady simmer. You're looking for active but lazy bubbles, not a rolling boil. Let it reduce uncovered for about 6 to 8 minutes, stirring occasionally. The volume will shrink by roughly a third, the surface will turn visibly glossy, and the bubbles will get bigger and more deliberate as the liquid thickens.
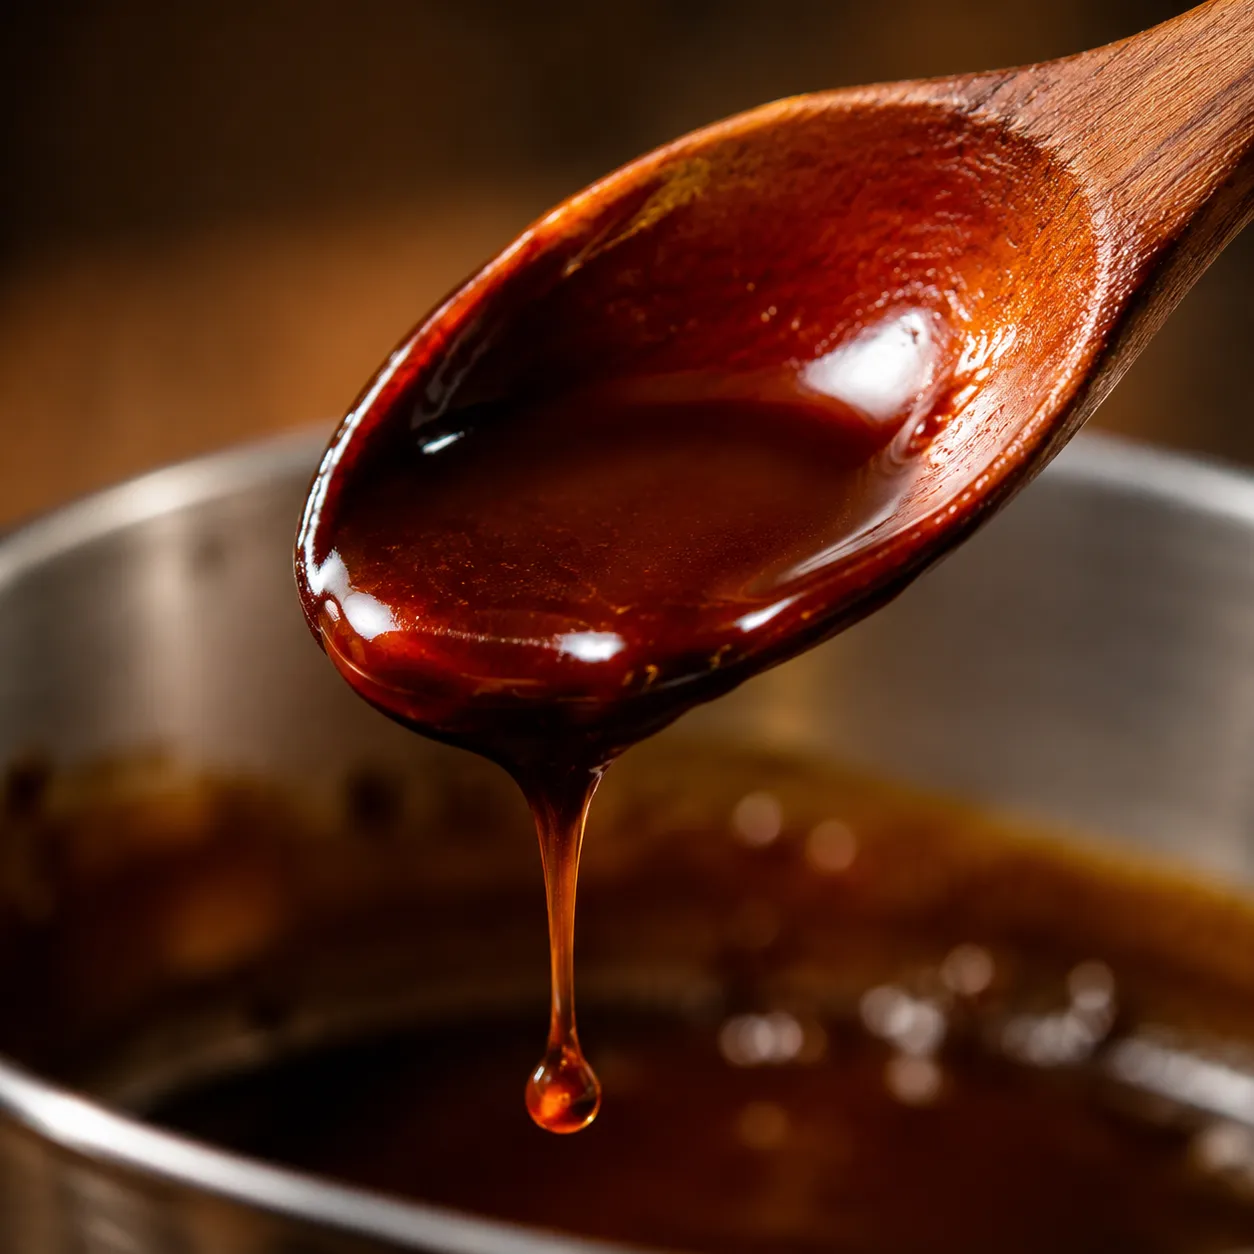
The doneness test is simple: dip a wooden spoon into the eel sauce, lift it out, and run your finger across the back. If the sauce coats the spoon and leaves a clean line where your finger passed, you're done. Pull it off the heat immediately. The sauce will look slightly thinner than you might expect at this point, and that's correct — it tightens significantly as it cools.
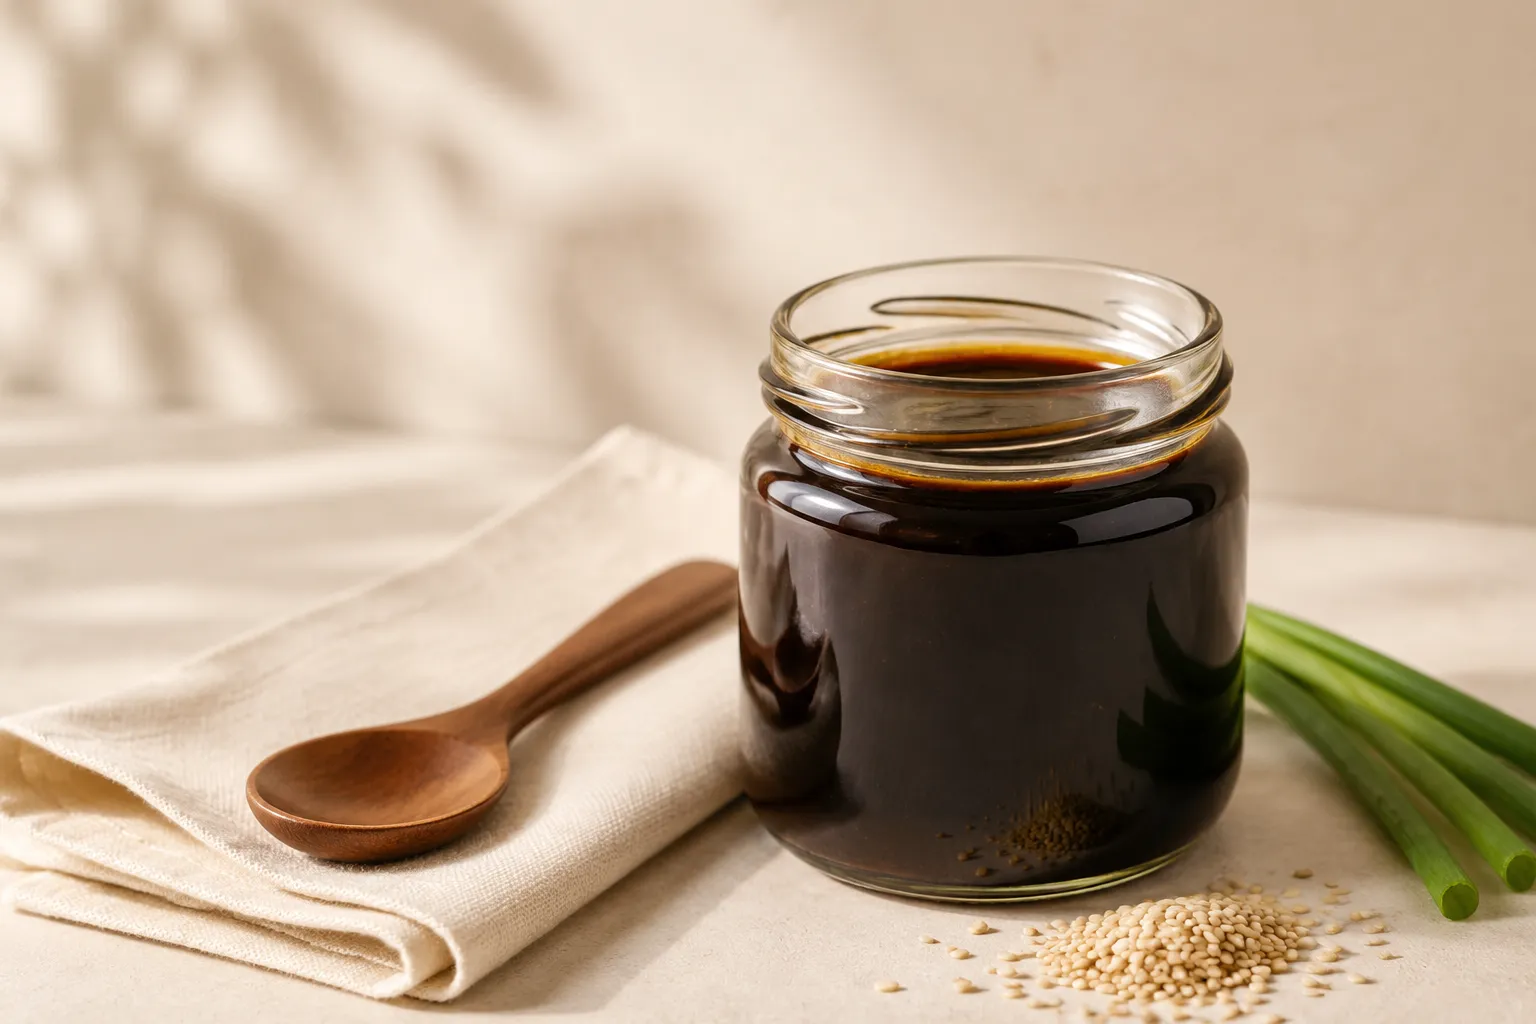
Transfer to a heatproof jar and let it cool completely on the counter before sealing. As it cools, you'll watch it transform from a thin pour into a glossy syrup that clings to the sides of the jar. That's exactly what you want, and it's also why you don't want to over-reduce on the stove. A jar that solidifies into candy as it chills means you went a minute or two too long.
This is where things get fun. The same jar that started as a sushi-roll drizzle has a way of muscling its way into every weeknight dinner I cook, and I think it'll do the same for you.
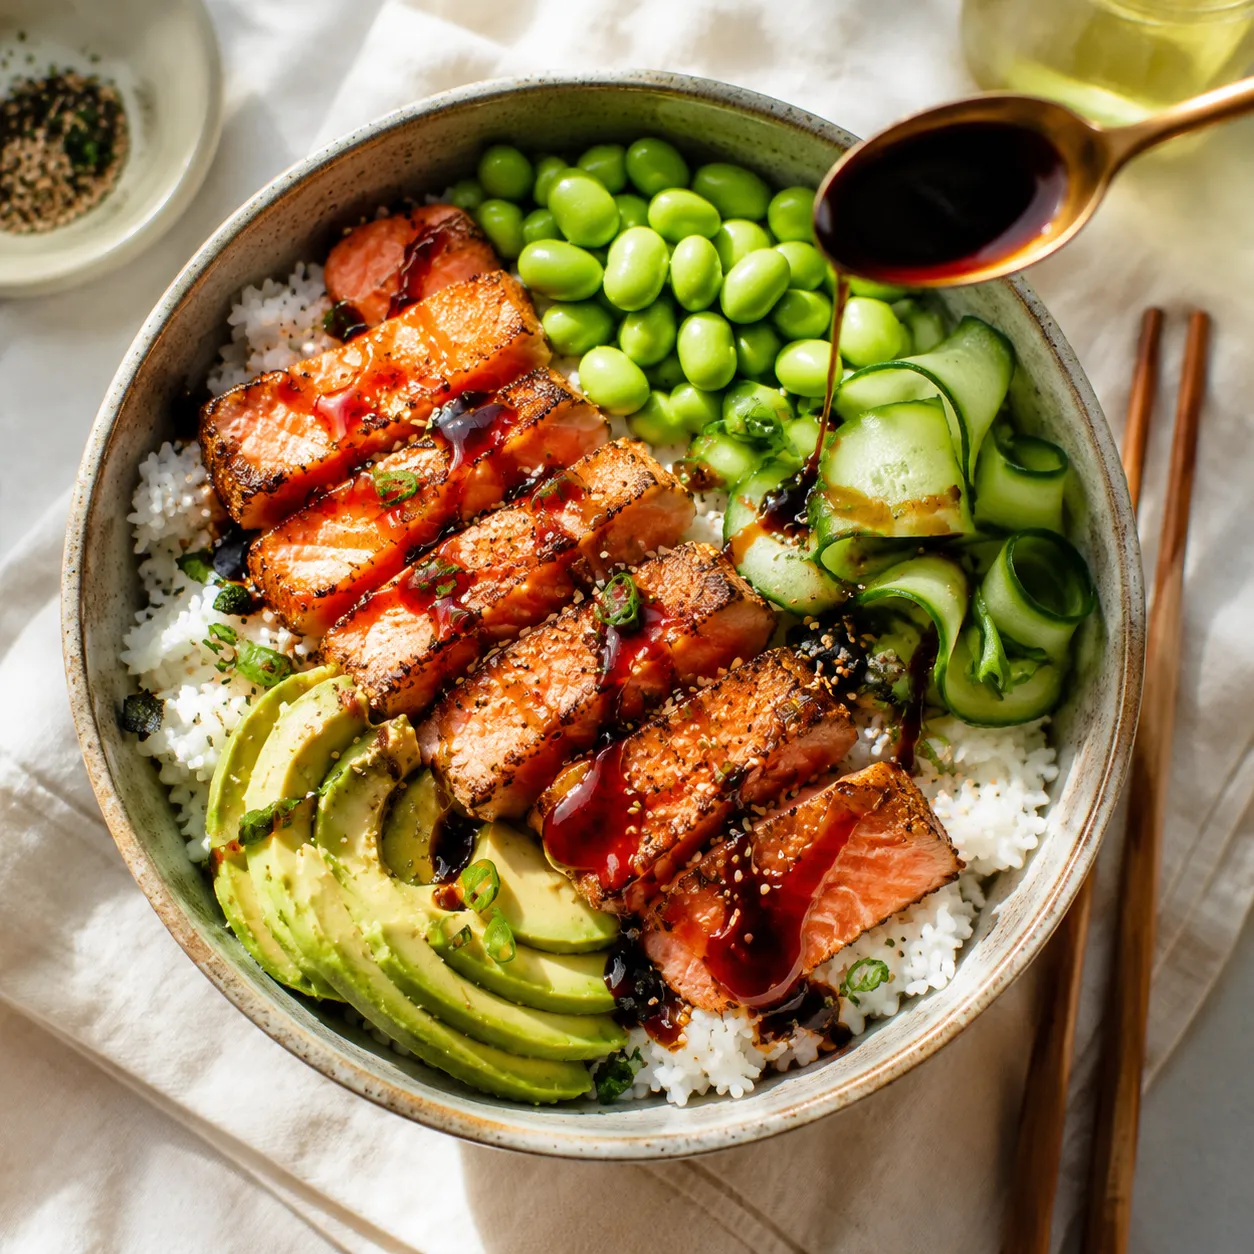
Drizzle it over sushi rolls, nigiri, and hand rolls just like the sushi bar does. It pairs especially well with fattier fish like salmon, eel, and tuna belly, where the sweetness balances the rich, oily flesh. Brush it over grilled or pan-seared salmon, chicken thighs, or pressed tofu in the last minute of cooking for a glossy lacquer that caramelizes on contact with the heat. Stir a spoonful into a quick stir-fry sauce, or whisk it with rice vinegar to dress a cold soba noodle salad.
It really shines on rice. Spoon it generously over an easy sushi bowl recipe layered with seared salmon, avocado, cucumber, and edamame, or use it as the finishing touch on any Japanese rice bowl with grilled protein. If you're new to making rice from scratch, learning how to cook sushi rice is the perfect companion skill — sticky, vinegared rice plus this glossy drizzle is genuinely all you need for a satisfying lunch. Pair it with a swoosh of spicy mayo for sushi on top of a poke bowl and you've basically rebuilt your favorite takeout for half the price.
Once you've made this Japanese sauce once, you'll find yourself reaching for it constantly. It bridges the gap between a quiet weeknight dinner and something that feels intentional, like you actually planned dinner instead of stitching it together at 6:45.
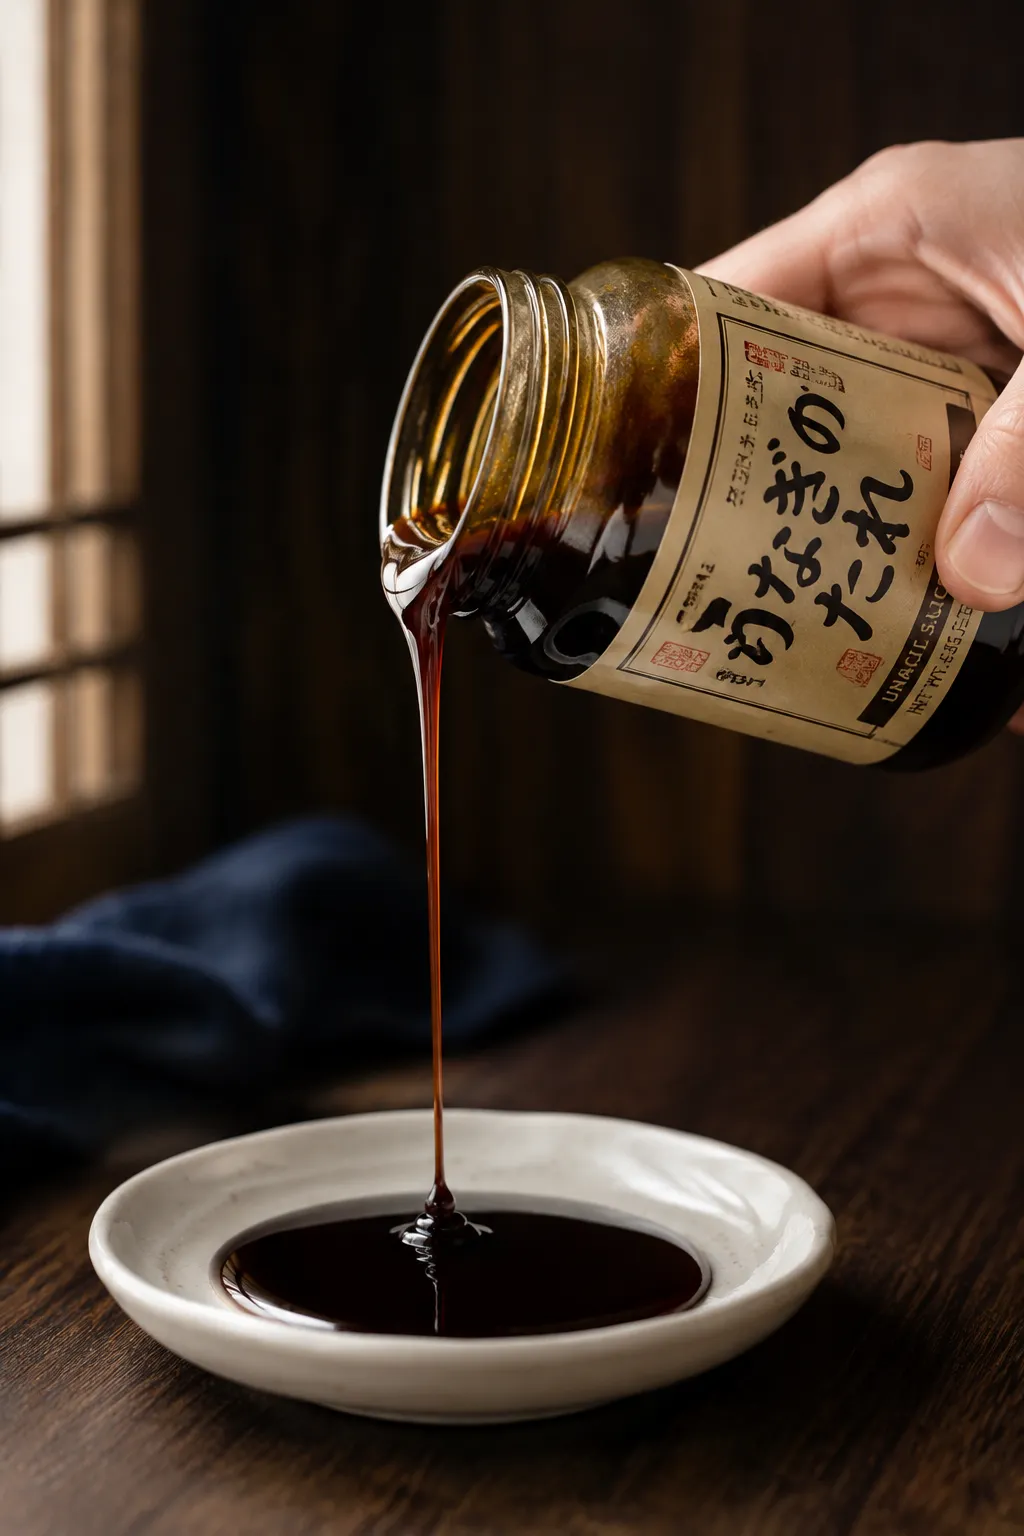
The texture you're aiming for is exactly this: a slow, ribbon-like pour that lingers on the surface of whatever you drizzle it over. Once you see that thick, glossy stream coming out of the jar, you know you nailed the reduction. Anything looser and it'll soak into the rice instead of sitting on top like proper lacquer; anything thicker and you'll need to warm it up to coax it out of the jar.
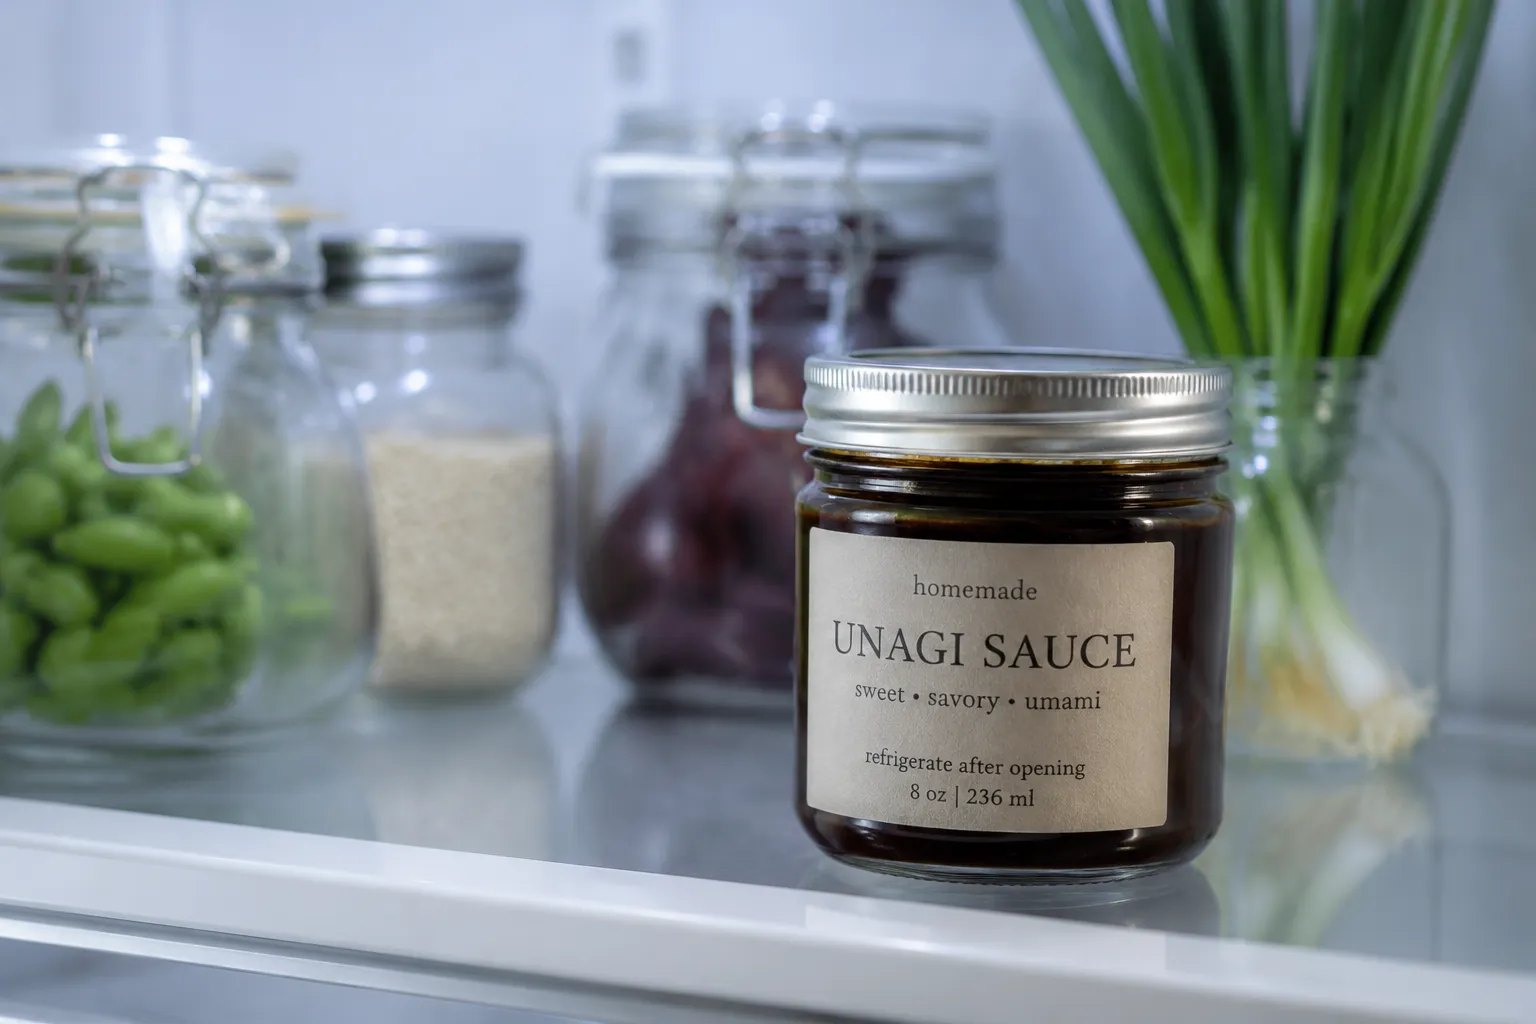
Keep a jar tucked in the fridge, and you've got a five-second upgrade for grilled fish, roasted vegetables, rice bowls, and tomorrow's lunch leftovers. It's the sauce I refuse to run out of, and after one ten-minute batch, I think you'll feel the same way.
This recipe is a classic foundation, and small tweaks let you steer it in lots of directions depending on what you're cooking. Brown sugar gives a deeper, almost caramel note that's especially good on grilled chicken thighs. A splash of dashi adds savory depth and edges the sauce closer to traditional restaurant-style nitsume. For a thicker, more lacquer-like glaze meant for brushing onto grilled fish, simmer an extra 2 minutes past the spoon-coat point.
Pour cooled unagi sauce into a clean glass jar with a tight-fitting lid — a small mason jar or recycled jam jar is perfect — and refrigerate for up to 2 to 3 months. The high sugar and salt content act as natural preservatives, so the sauce keeps remarkably well as long as you use a clean spoon every time and never dip food directly into the jar. The sauce will thicken further in the fridge into a glossy syrup; let it sit at room temperature for a few minutes or warm gently in the microwave for 10 seconds to make it pourable again.
Freezing isn't necessary given the long fridge life, but it's an option if you've made a big batch. Freeze in an ice cube tray, then transfer the cubes to a freezer bag for portioned use up to 6 months. Thaw cubes in the fridge overnight or stir directly into hot rice or stir-fries straight from frozen.