Strawberry Jam Recipe (Easy, Small-Batch, No Pectin)
Ingredients
Scale
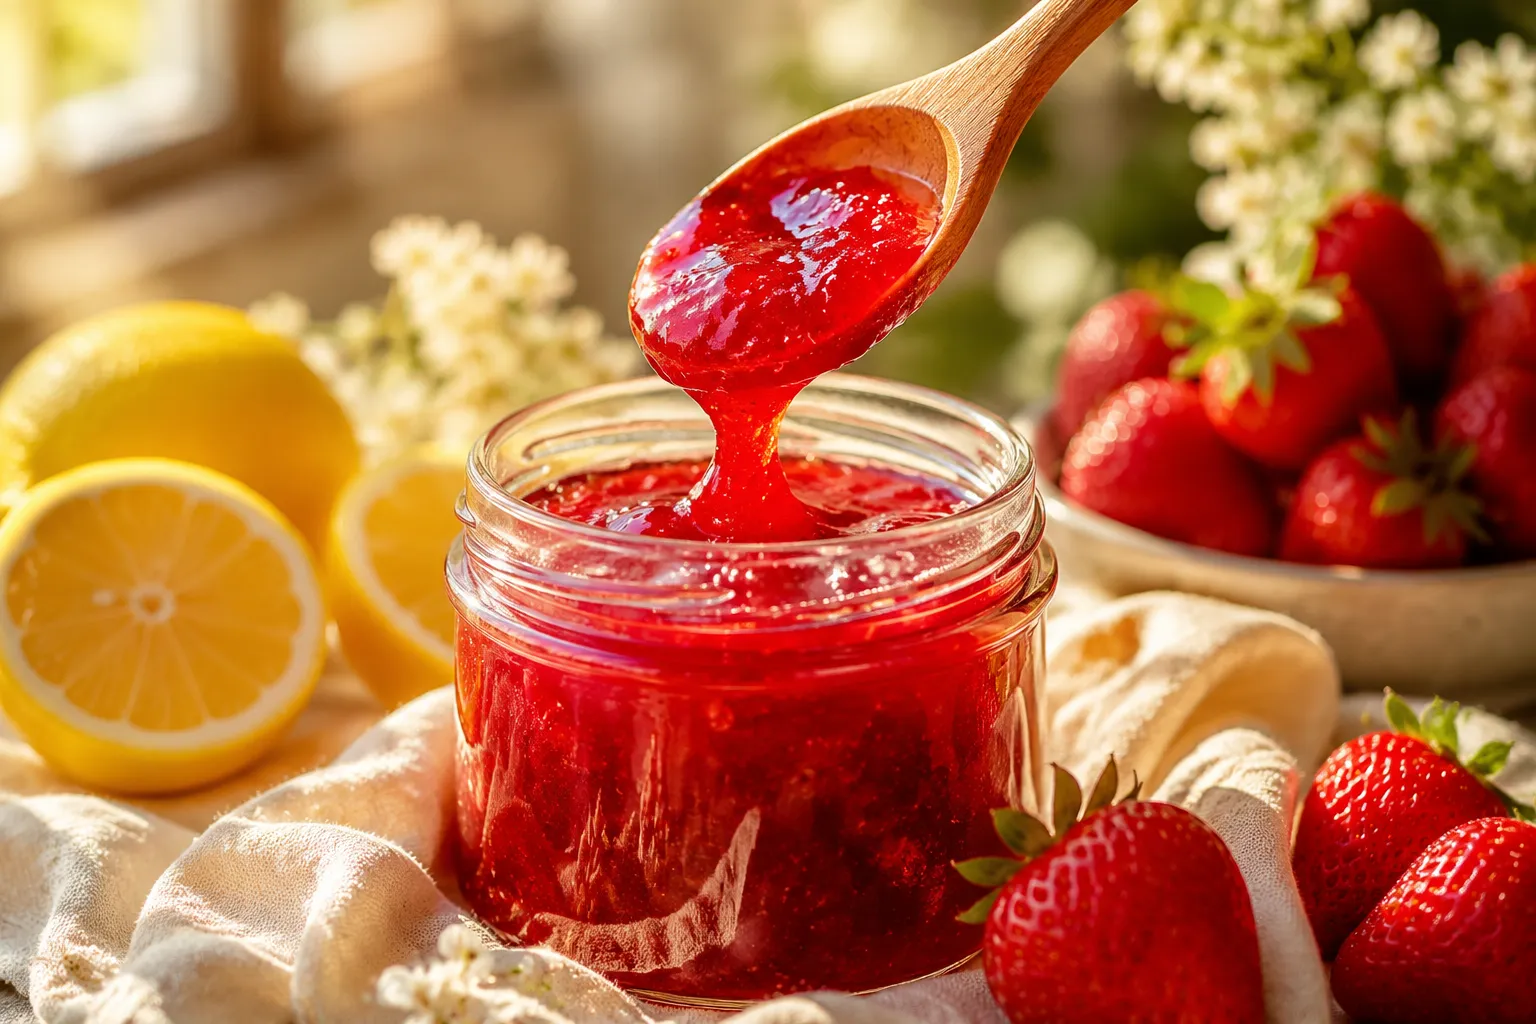
A glossy, spoon-coating strawberry jam made with 3 ingredients and no pectin. Small-batch, freezer-friendly, and ready in about 30 minutes.
This strawberry jam recipe is the one I come back to every June, when the farmers market tables are sagging under flat after flat of ruby-red berries and I cannot, in good conscience, walk away with fewer than four quarts. It uses just three ingredients, takes about 30 minutes start to finish, and sets up thick and glossy without a single packet of pectin in sight. If you've been intimidated by jam-making in the past — all those sterilized jars and pectin ratios and water-bath timers — let this be the recipe that changes your mind.
What makes this method different from the giant pots of jam your grandmother used to put up is the scale. This is a true small batch — about two cups, or roughly two half-pint jars — which means it cooks down quickly, holds its bright fresh-fruit flavor, and doesn't require any specialty equipment. A heavy saucepan, a wooden spoon, and a chilled plate from the freezer are all you need. No canning rack, no jar lifter, no anxiety.
And because we're skipping commercial pectin, the jam tastes like actual strawberries — concentrated, jammy, with a clean tartness from fresh lemon juice. It's the kind of homemade strawberry jam that makes you understand why people get obsessive about preserving season.
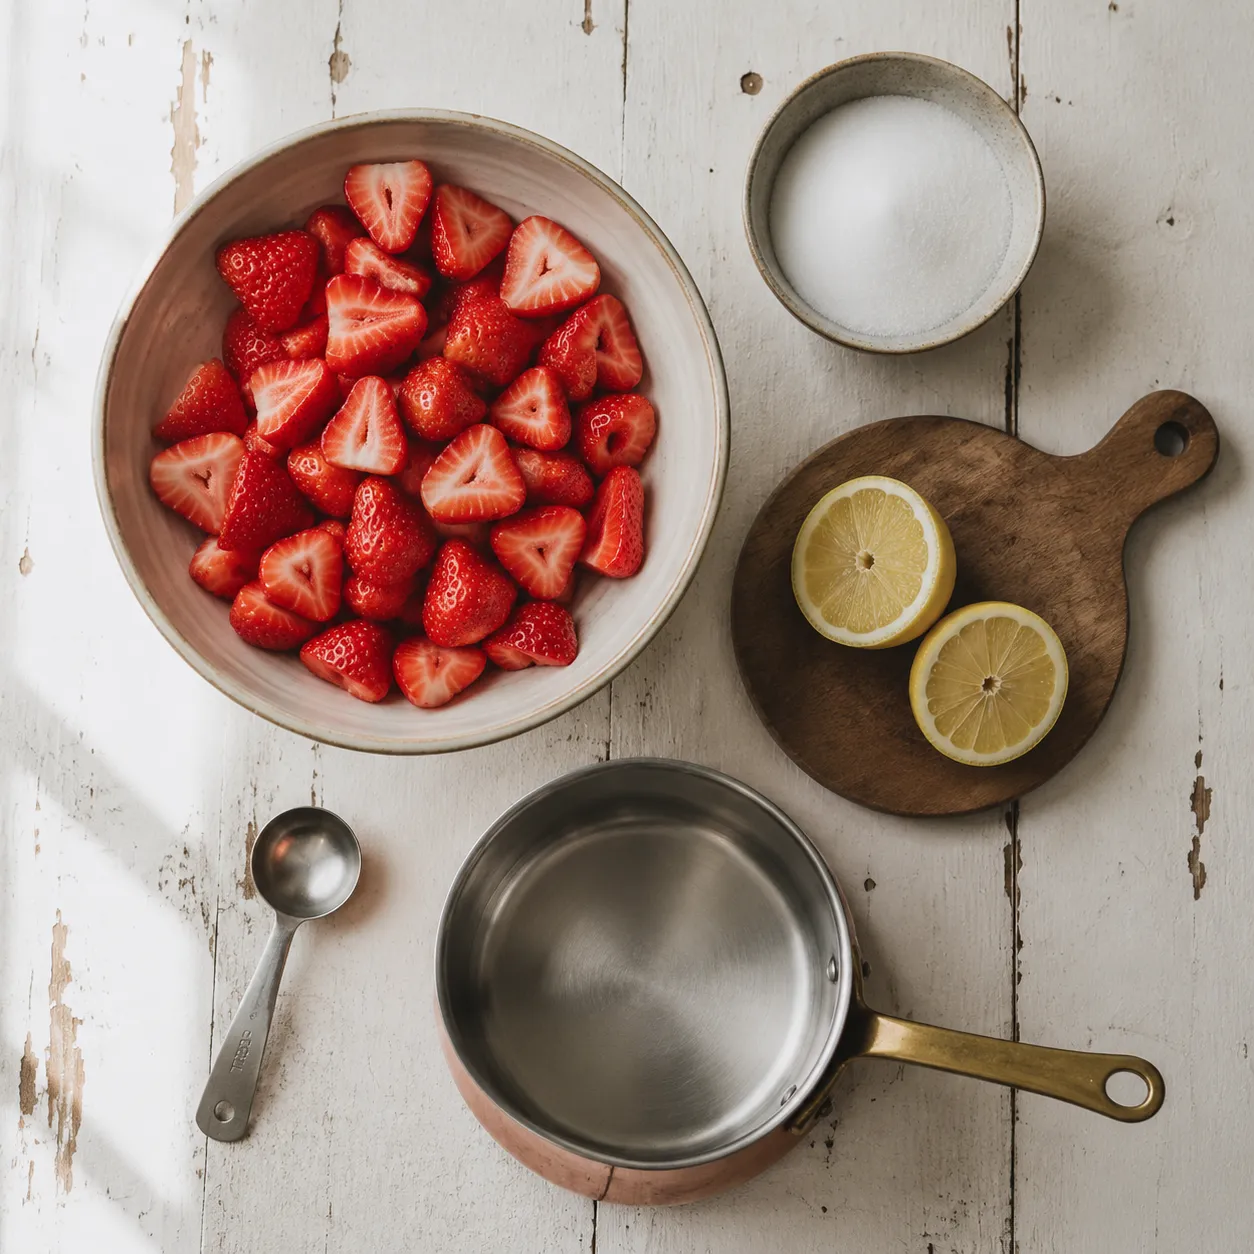
Strawberries. Use the ripest, reddest, most fragrant berries you can find — ideally local and in peak season. Supermarket strawberries that are pale at the shoulders will still work, but the flavor won't sing the same way. You want about two pounds, hulled and quartered. Slightly overripe berries are actually perfect here; they have more natural pectin and break down beautifully.
Granulated sugar. One and a half cups for two pounds of fruit is a moderate ratio — sweet enough to set and preserve, but not so much that it tastes like candy. Sugar isn't just for flavor; it pulls water out of the fruit, helps the jam gel, and acts as a natural preservative. You can drop down to a cup for a softer, more rustic set, but I wouldn't go lower without using a low-sugar pectin.
Fresh lemon juice. Three tablespoons of lemon juice is the unsung hero of any no pectin jam. The acid brightens the fruit, activates the natural pectin in the strawberries (and especially in the white pith near the stems), and helps the jam set without any added gelling agent. Use fresh, not bottled — the difference is noticeable.
The method breaks down into four easy stages: macerate, boil, test, and jar. I'll walk through each one here, but you'll also find the full numbered steps in the recipe card below.
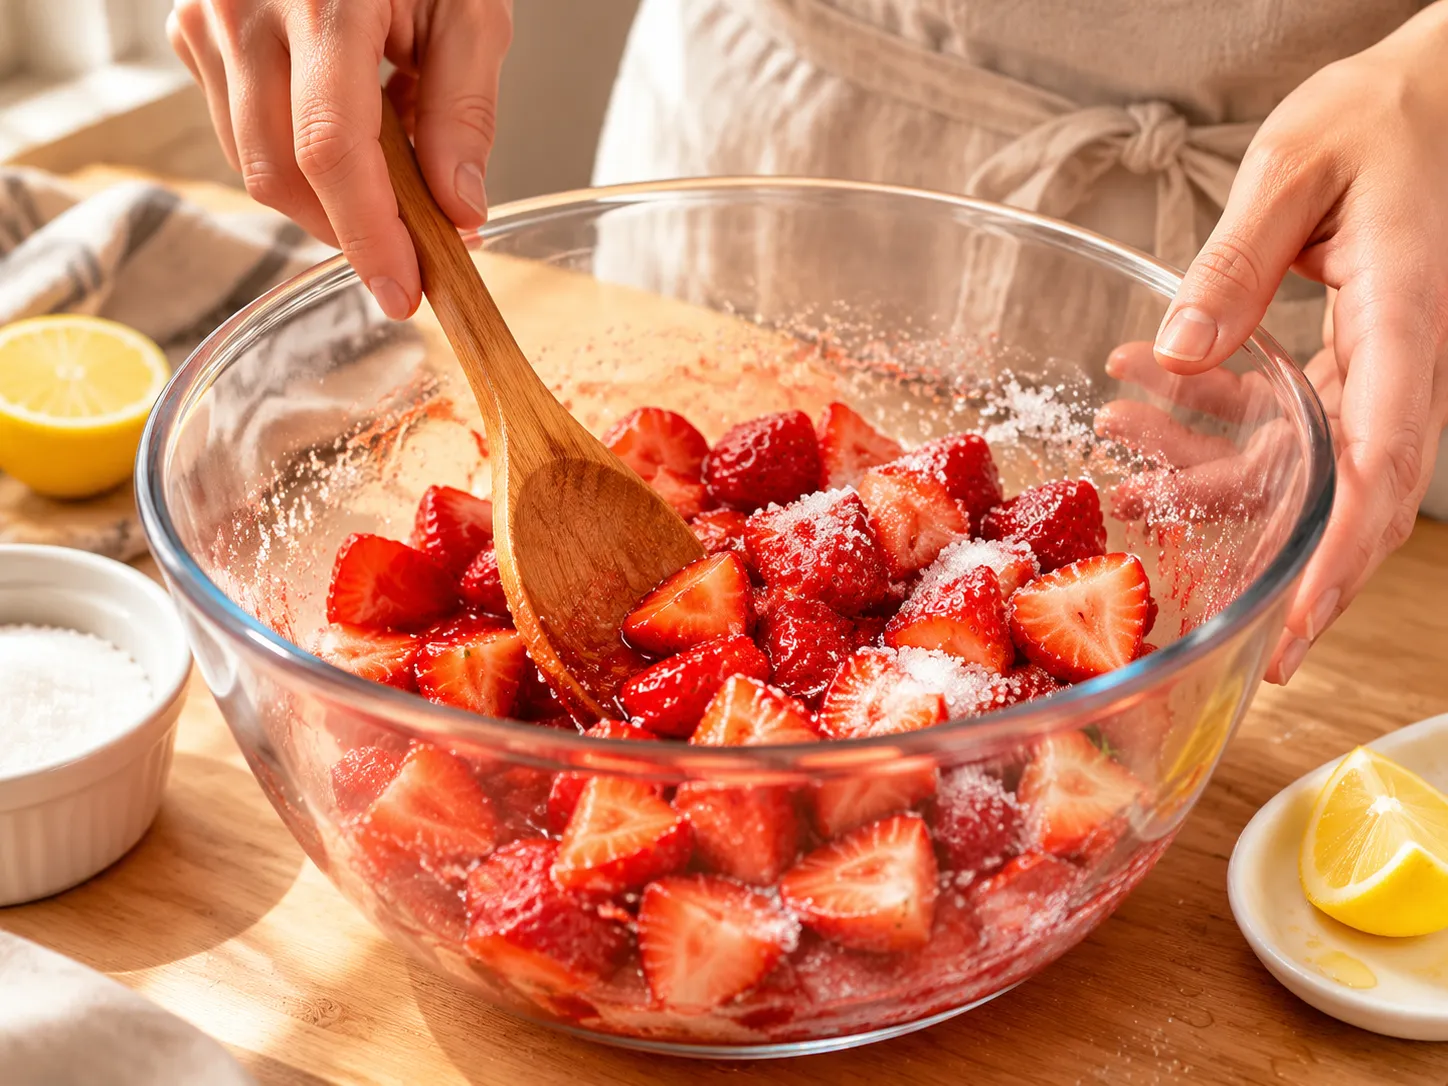
Stage one: macerate. Toss the quartered strawberries with the sugar and lemon juice in a large bowl and let them sit for 15 to 30 minutes (or up to overnight in the fridge). The sugar pulls out the berry juices, dissolves into a glossy syrup, and gives you a head start on the cook time. You'll know it's ready when the berries are sitting in a pool of pink liquid and the sugar has mostly disappeared.
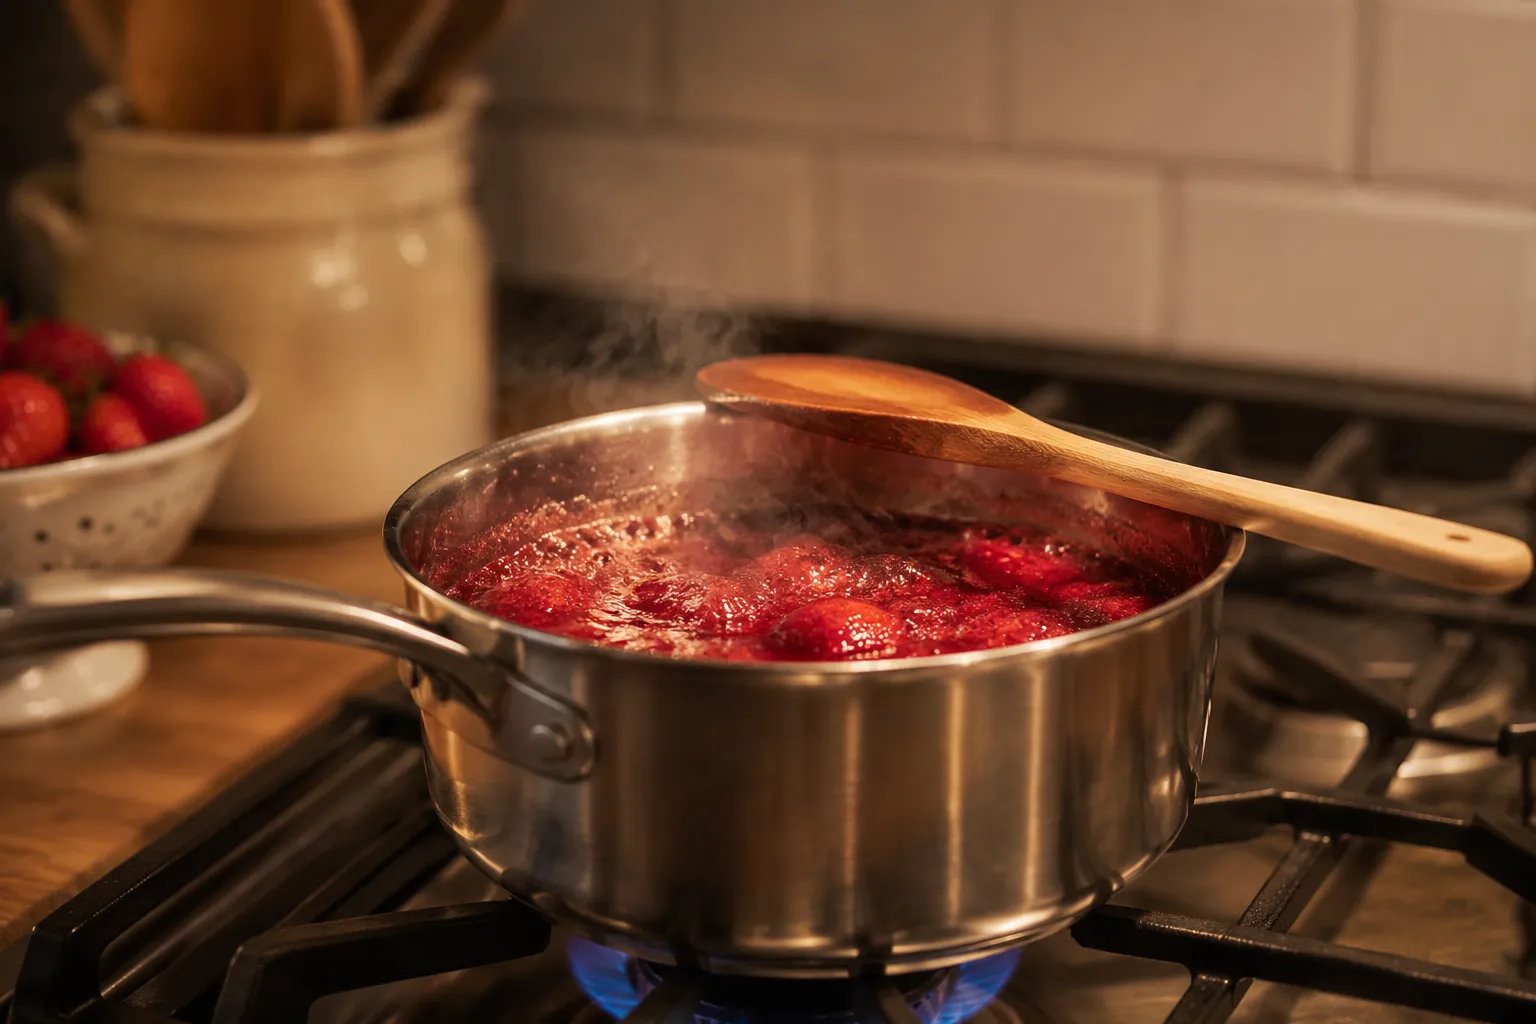
Stage two: boil. Scrape everything into a wide, heavy-bottomed saucepan — wider is better, because more surface area means faster evaporation and a brighter-flavored jam. Bring it to a rolling boil over medium-high heat, stirring often with a wooden spoon to keep the bottom from scorching. You'll see a layer of pinkish foam rise to the top; skim it off with a spoon as it accumulates for a clearer, prettier finished jam. As the berries soften, mash them lightly with a potato masher or the back of your spoon — I like to leave some texture rather than pureeing it smooth.
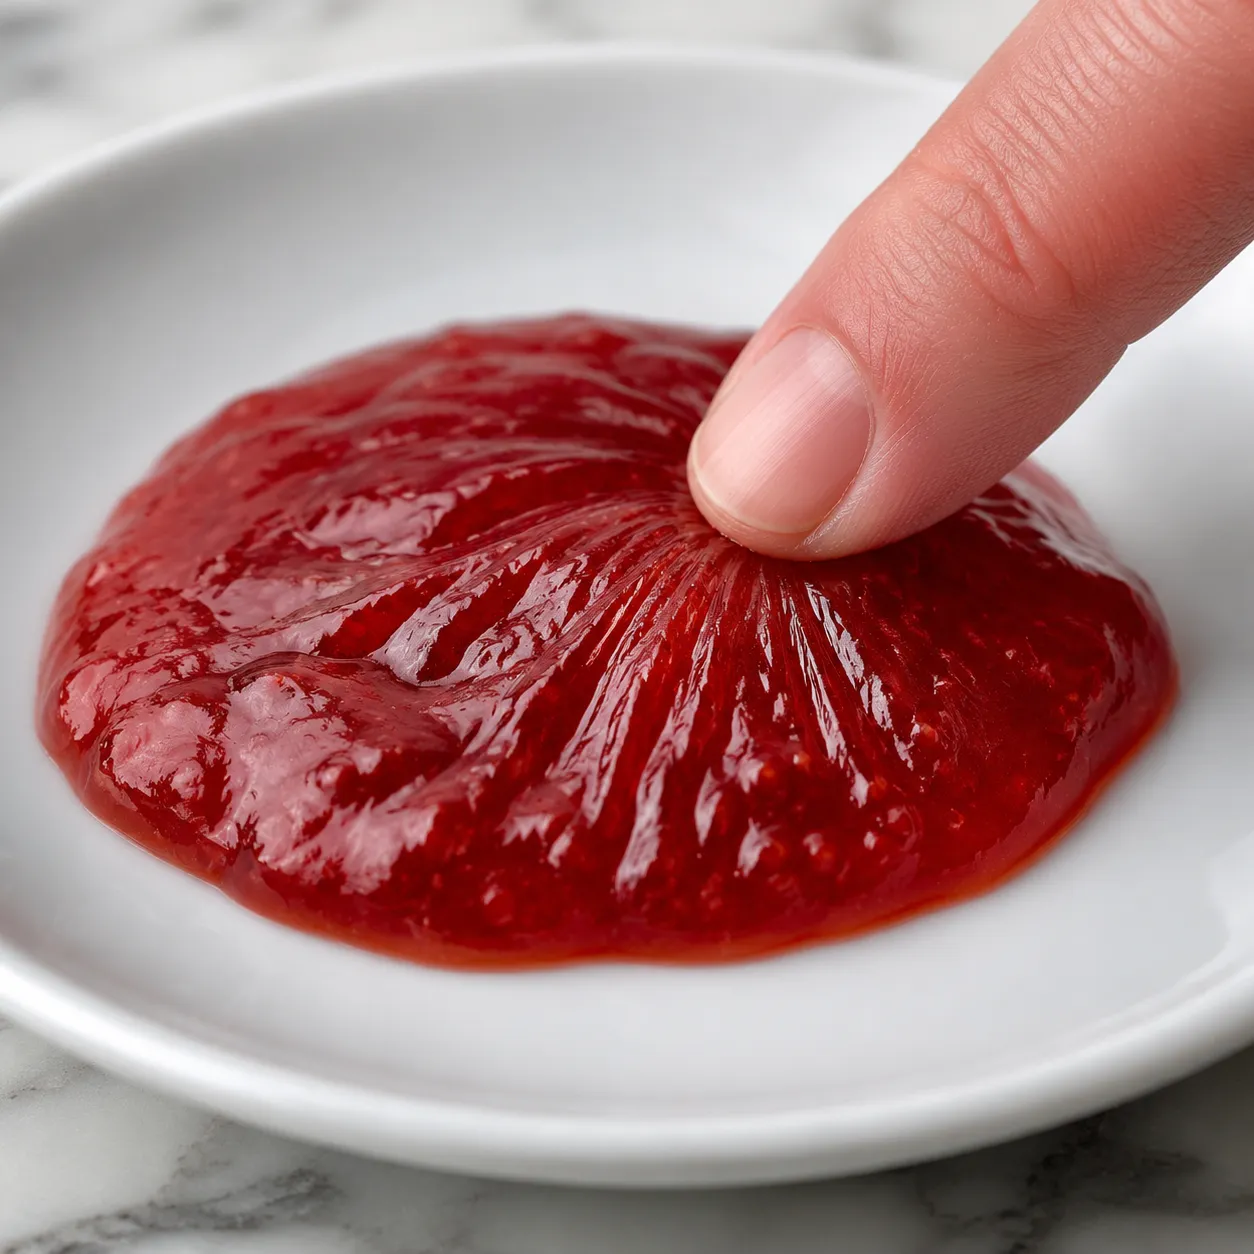
Stage three: test for the gel point. This is the part that trips people up, but it's actually the easiest. Before you start cooking, slide two small plates into the freezer. After the jam has bubbled hard for about 15 to 20 minutes and looks visibly thicker and glossier, pull it off the heat and drop a small spoonful onto one of the chilled plates. Wait 30 seconds, then push the edge with your fingertip. If the surface wrinkles and holds its shape, you've hit the gel point. If it slumps and runs, give it another 2 to 3 minutes and test again with the second plate.
If you have a candy thermometer, the gel point is right around 220°F at sea level. But honestly, the cold plate test is more reliable for this kind of small batch cooking, because temperature can read high before the jam actually sets.
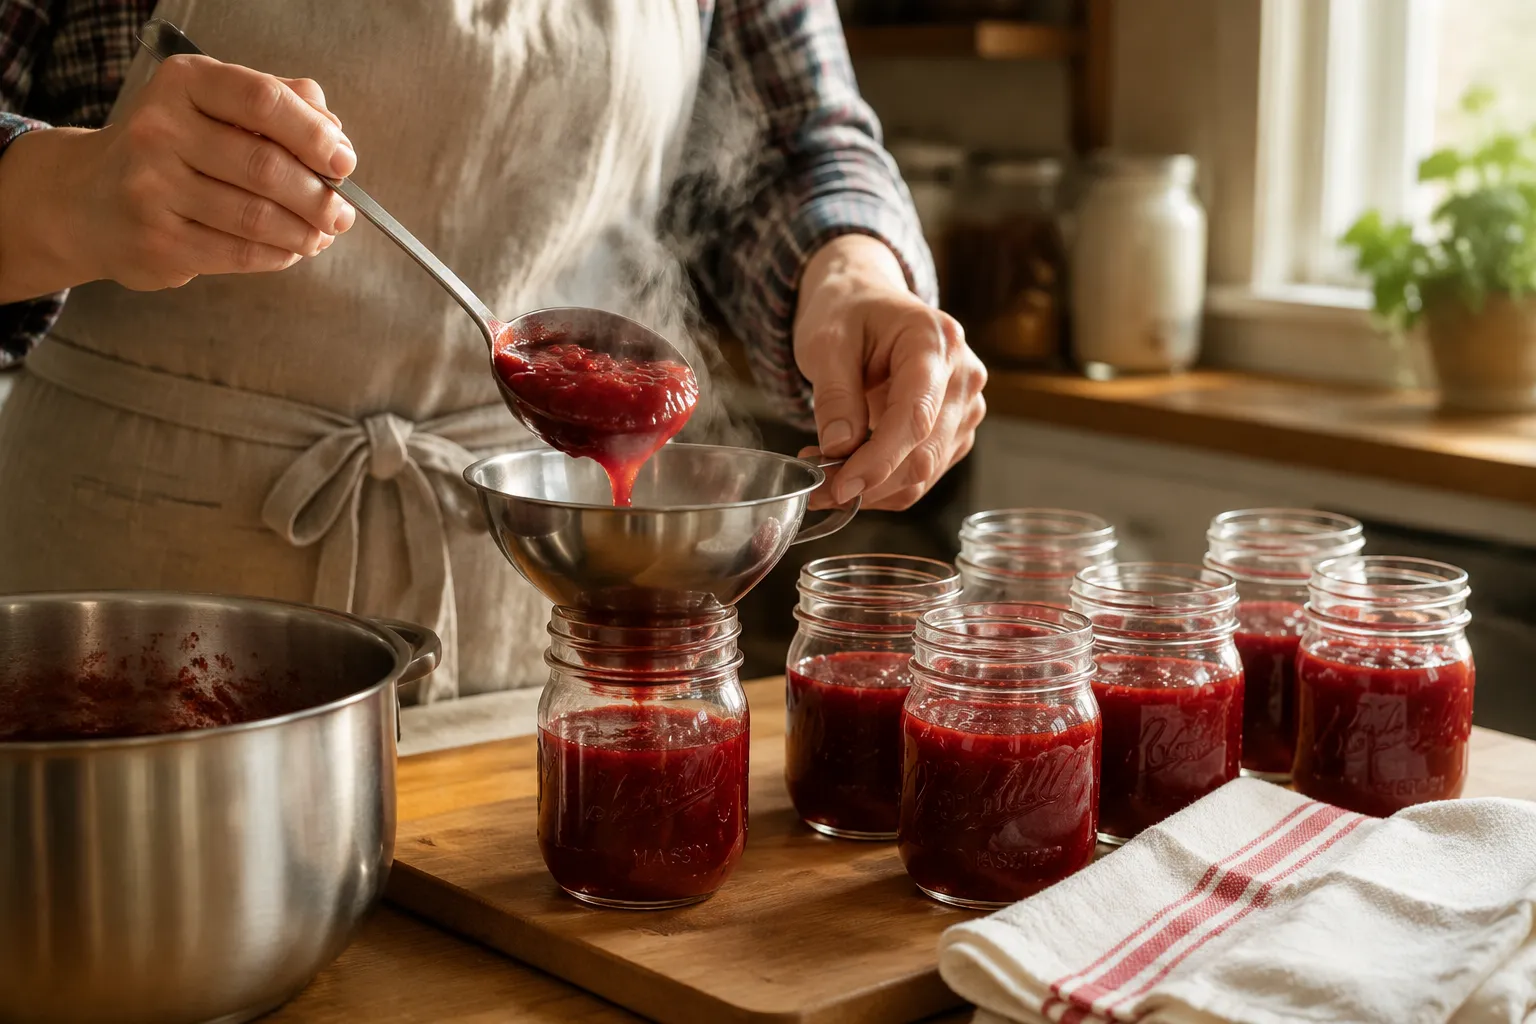
Stage four: jar and cool. Once your jam passes the wrinkle test, ladle it into clean glass jars — a wide-mouth funnel keeps things tidy — leaving about a quarter inch of headspace at the top. Wipe the rims with a damp cloth, screw on the lids, and let the jars cool on the counter for a few hours before refrigerating. The jam will continue to thicken as it cools, so don't worry if it looks a touch loose when hot.
Most jam failures come down to one of two things: not enough acid, or not enough cooking. The lemon juice handles the first. The cold plate test handles the second. If you trust the wrinkle, you'll never end up with a runny jar again. And if you do? Just tip it back into the pot and cook it a few minutes longer — jam is one of the most forgiving things you can make.
One more tip: don't crowd the pot. If you double the recipe, use a wider pan or cook in two batches. Deep, narrow pots trap moisture and make it nearly impossible to reduce the jam to a proper set without scorching the bottom. Wide and shallow wins every time.
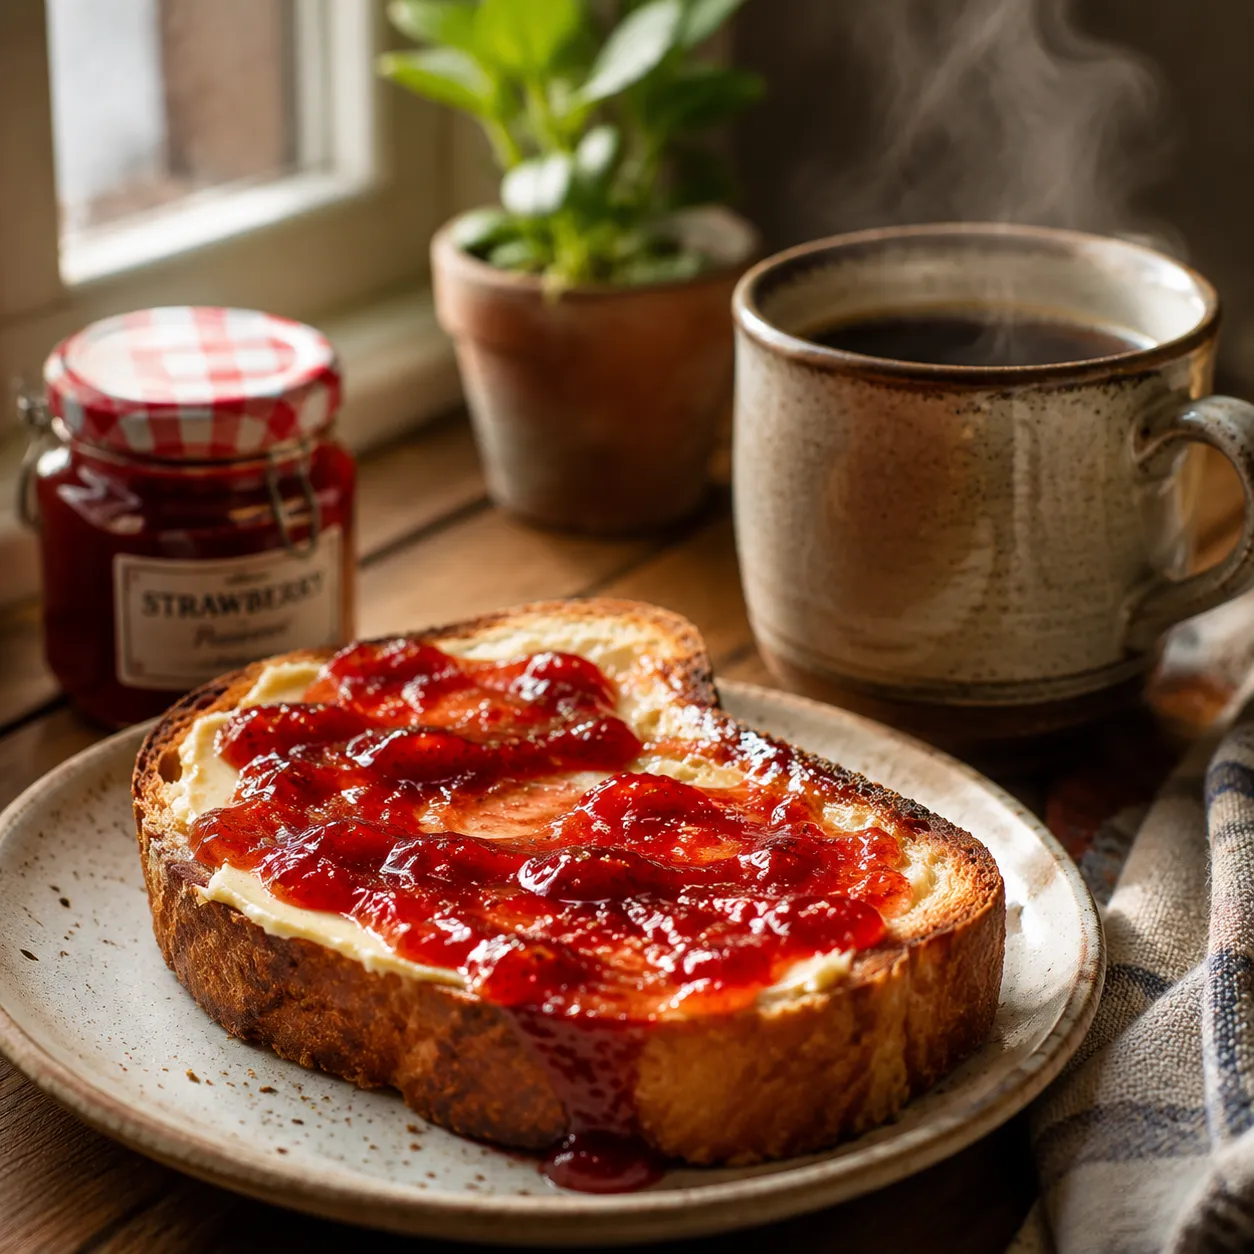
The obvious answer is toast — a thick slice of buttered sourdough with a generous swirl of jam pooling at the edges is its own kind of perfect breakfast. But this jam earns its keep in plenty of other places. Swirl it into Greek yogurt with granola, dollop it onto warm buttermilk biscuits, or spoon it over vanilla ice cream with a crumble of shortbread on top.
For baking, it's a workhorse: thumbprint cookies, layer cake fillings, linzer tarts, and jammy oat bars all benefit from a homemade jam with real fruit chunks rather than the gluey commercial stuff. Stir a spoonful into a vinaigrette with balsamic and shallot for a surprisingly elegant salad dressing, or warm it gently and brush it over a roasted pork tenderloin during the last few minutes of cooking.
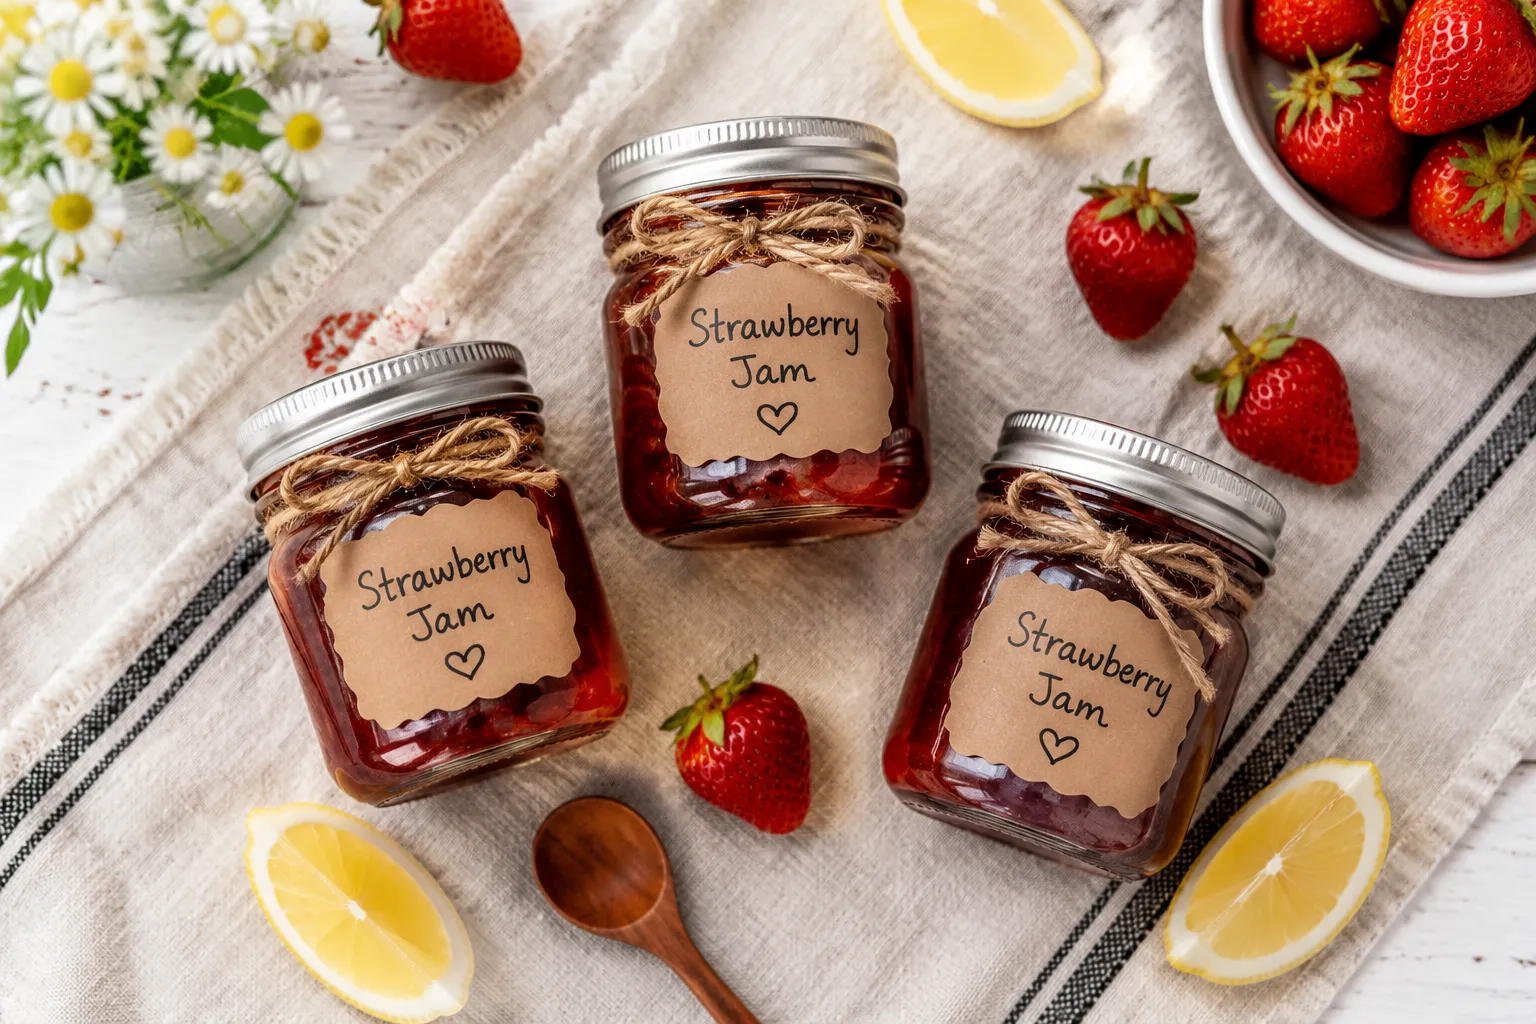
And of course: cheese boards. A small jar of homemade strawberry jam next to a wedge of sharp aged cheddar or creamy brie is one of those tiny luxuries that makes a Tuesday night feel like something. Tie a square of fabric around the lid with twine and you've got the best kind of host gift, too.
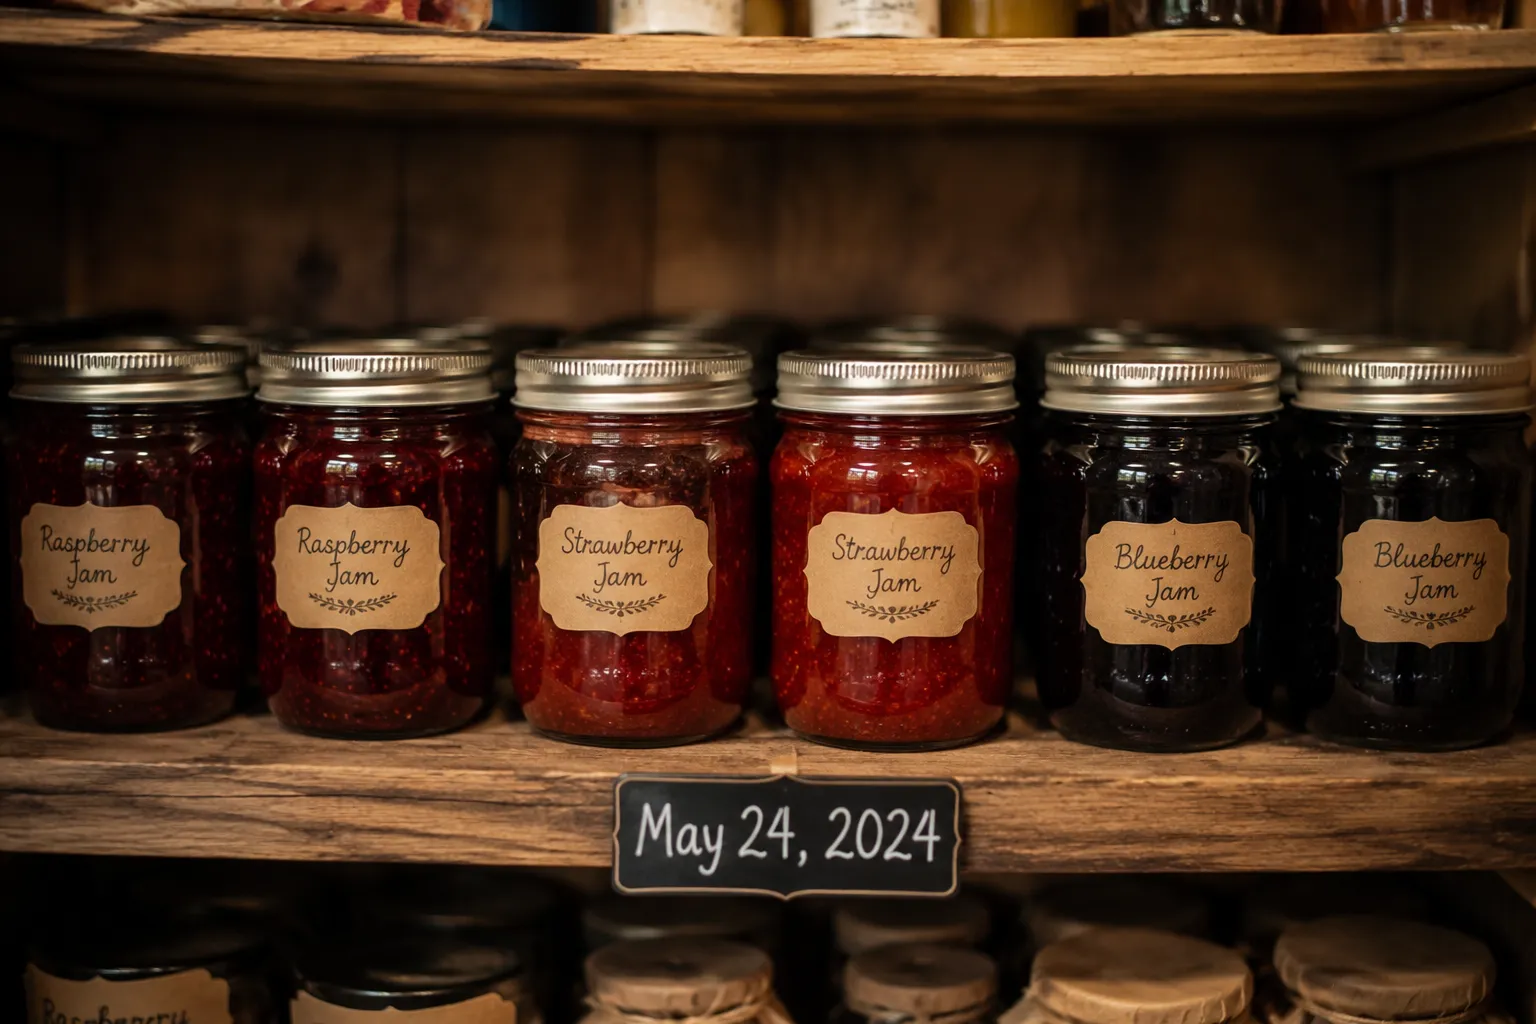
Once you've made this base recipe a few times, the technique opens up a whole pantry of possibilities. Swap in equal parts berries and chopped rhubarb for a tart, ruby-pink strawberry rhubarb jam. Use the same method with raspberries (you'll find the full raspberry jam recipe on the site) or with summer blueberries — my blueberry jam recipe uses the same gel-point approach with a touch of cinnamon. Once you have the rhythm of macerate, boil, test, jar, you can put up any soft fruit that crosses your counter.
This base recipe is endlessly riffable — the method stays the same, the fruit and flavorings change. A few of my favorites:
Refrigerator: Cooled jars keep beautifully in the fridge for up to 3 weeks. Always use a clean spoon to scoop, and seal tightly between uses. Freezer: Leave at least 1/2 inch of headspace in freezer-safe jars and store for up to 1 year. Thaw overnight in the fridge before using.
For shelf-stable jars, you'll need to process them using water bath canning: submerge sealed half-pint jars in boiling water for 10 minutes (adjust for altitude), then let them cool undisturbed for 12 to 24 hours and listen for the satisfying pop of the lids sealing. Properly processed jars keep in a cool, dark pantry for up to 12 months. Any jar that doesn't seal — the lid flexes when pressed — should go straight into the fridge and be used within 3 weeks.