How to Make Teriyaki Sauce (Easy 6-Ingredient Recipe)
Ingredients
Scale
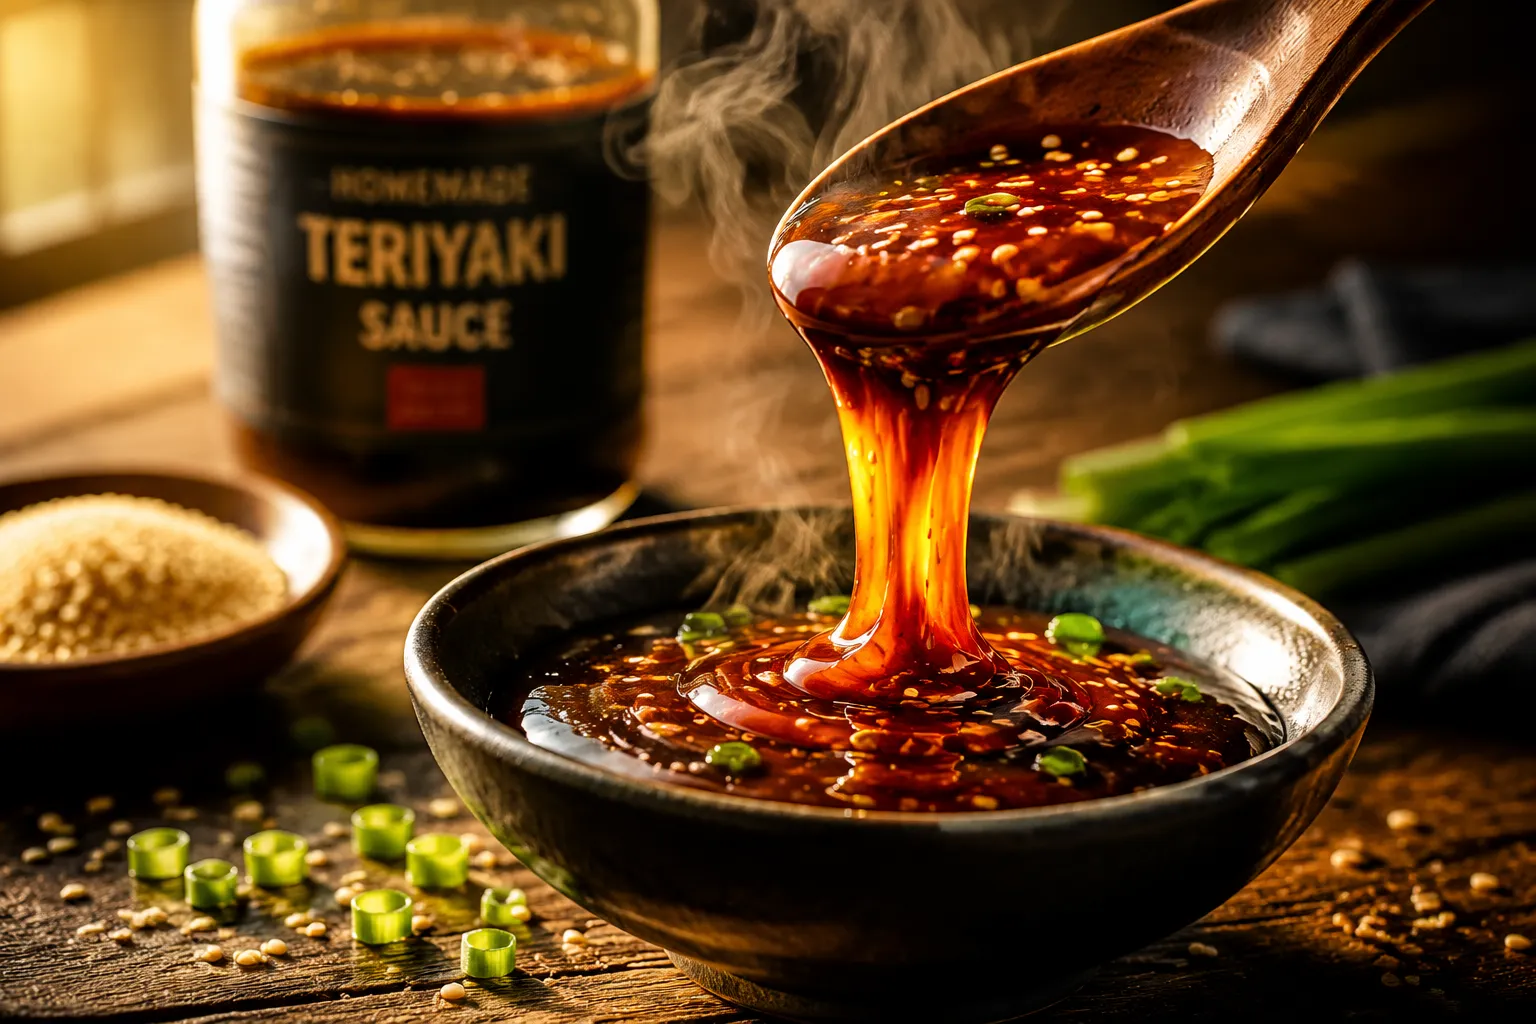
Skip the bottled stuff. This homemade teriyaki sauce comes together in 10 minutes with 6 pantry staples and tastes leagues better than anything store-bought.
Once you learn how to make teriyaki sauce from scratch, the bottled stuff at the back of your fridge starts to feel a little embarrassing. This version is glossy, deeply savory, kissed with brown sugar sweetness, and brightened by fresh ginger and garlic — all in about 10 minutes, with ingredients you almost certainly already own.
I started making my own years ago after squinting at a label full of corn syrup and unpronounceable preservatives. The homemade version isn't just cleaner — it's noticeably better. The sauce clings to chicken thighs in a sticky lacquer, glazes salmon into something restaurant-worthy, and turns a sad pile of weeknight vegetables into dinner you actually look forward to.
If you've been bouncing between bottled brands hoping to find one that tastes balanced and not cloyingly sweet, this teriyaki sauce recipe is the one to bookmark. It's the kind of thing you'll memorize after the second batch.
The magic is in the balance. Bottled teriyaki tends to lean syrupy because it's built around high-fructose corn syrup. Real teriyaki should taste salty first, sweet second, with a savory backbone from soy sauce and a perfumed lift from aromatics. By using low-sodium soy sauce, real brown sugar, a touch of honey, and freshly grated ginger and garlic, you get layered flavor instead of one-note sweetness.
The other secret is texture. A quick cornstarch slurry transforms a thin liquid into the kind of glossy, spoon-coating glaze that puddles beautifully over rice. It's the same trick used in restaurant kitchens, and it takes about 30 seconds. This homemade teriyaki sauce works as a marinade, finishing glaze, dipping sauce, or stir-fry sauce — basically anywhere you'd reach for a bottle.
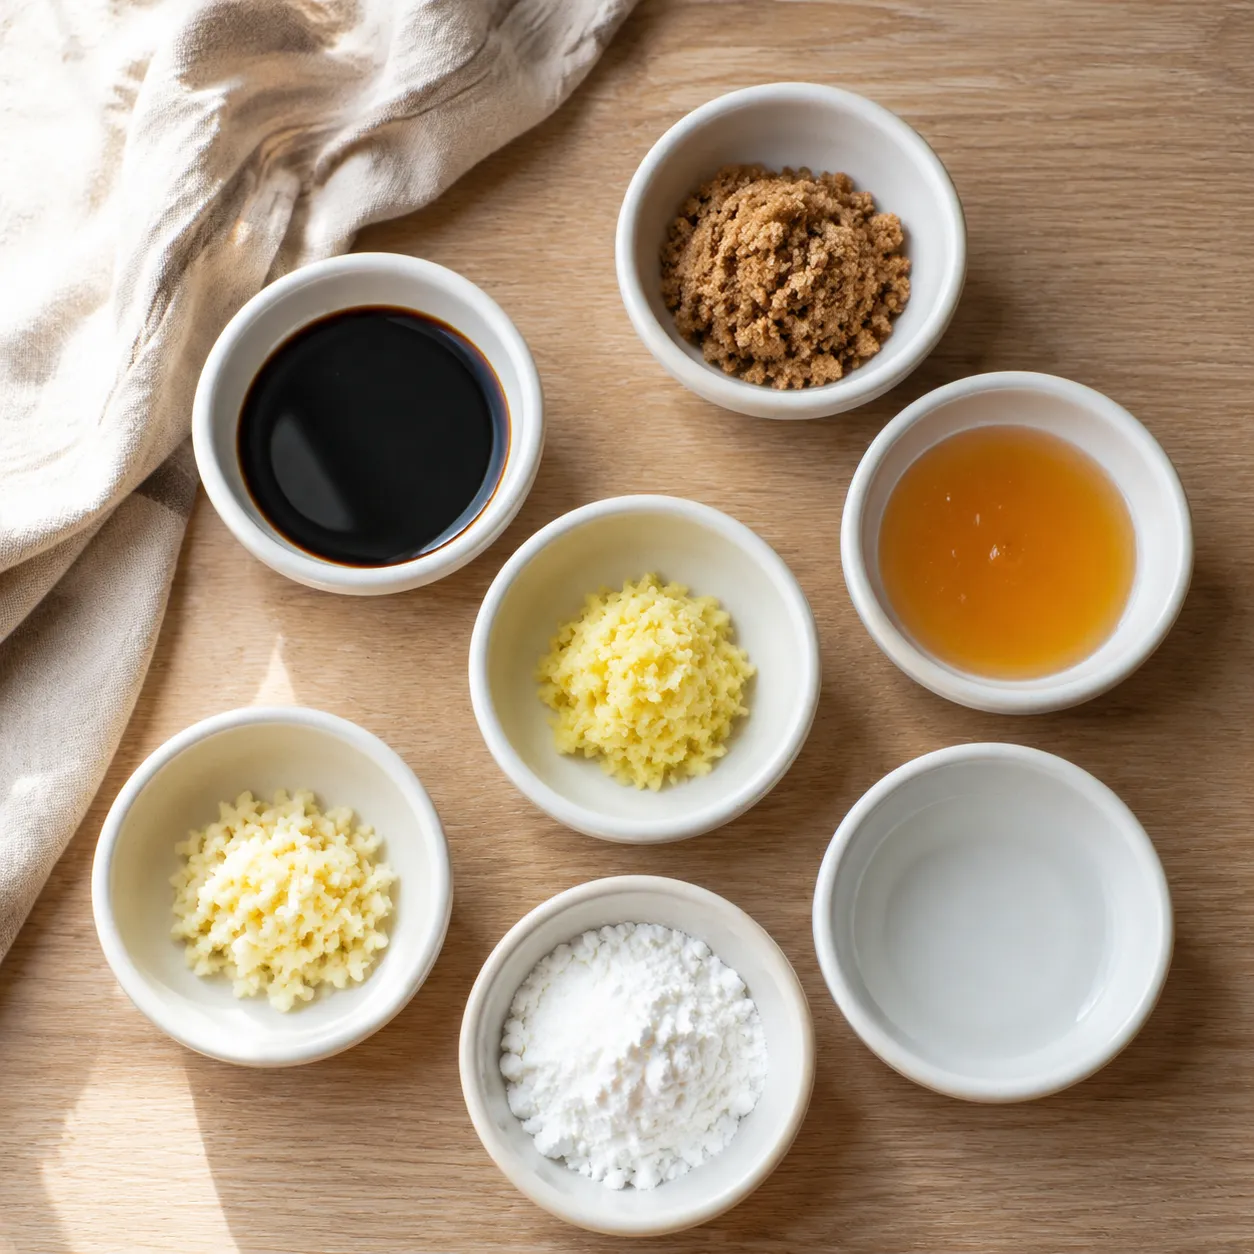
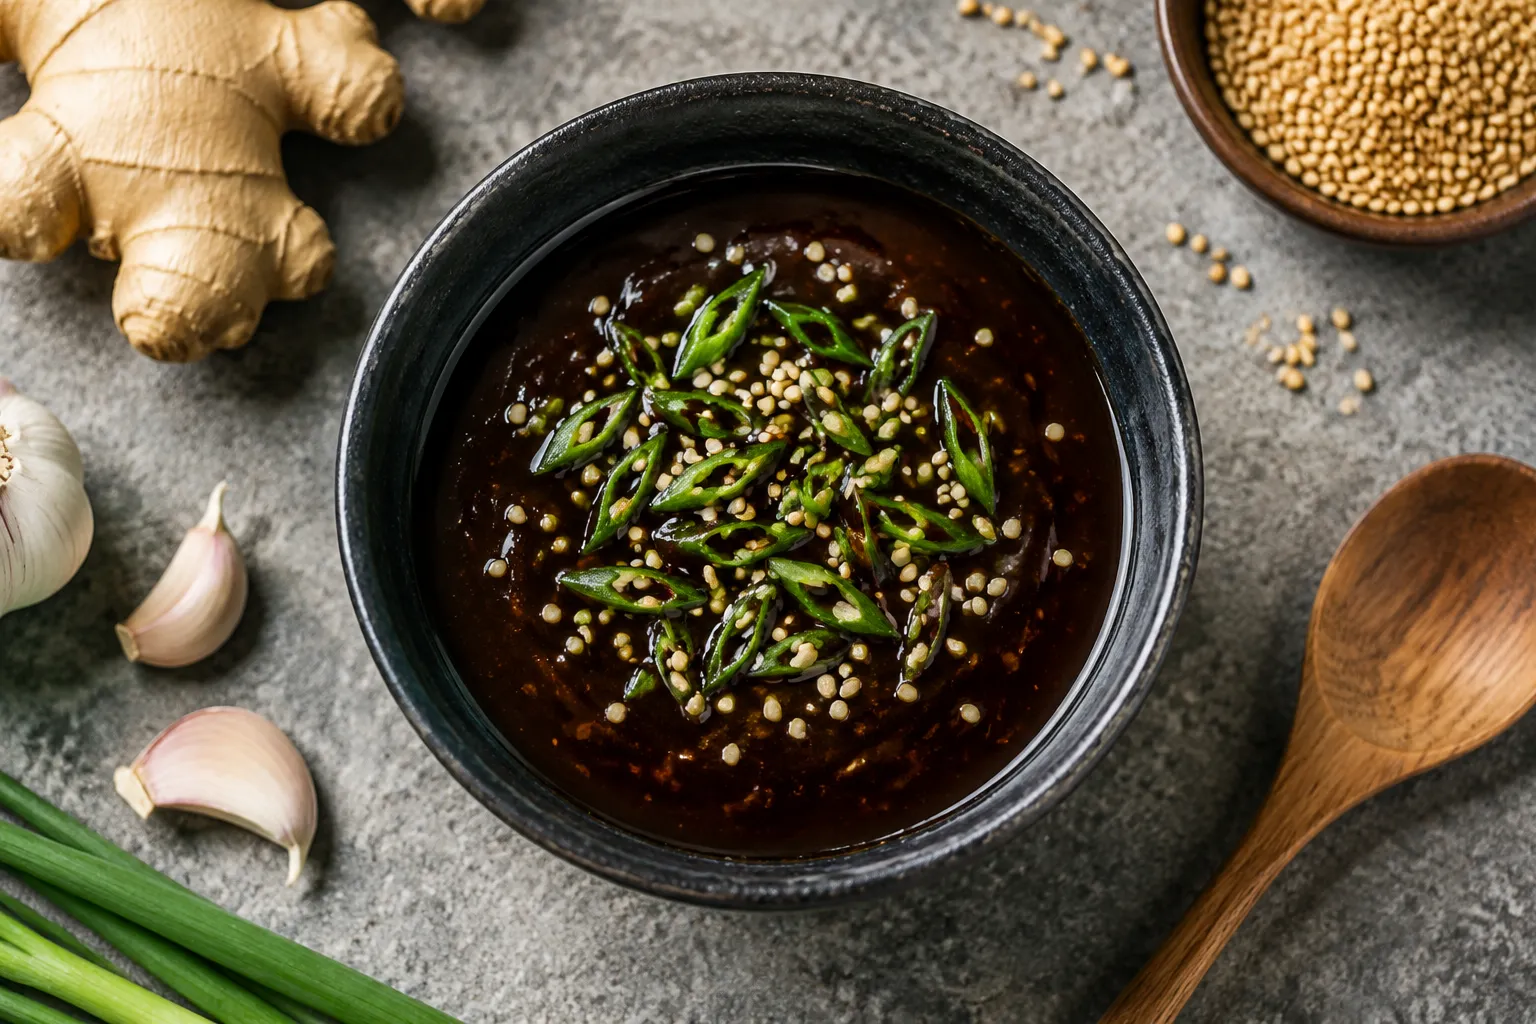
You need just six core ingredients (plus water and a cornstarch slurry to finish). Everything is pantry- or fridge-standard.
Optional flavor boosters include a splash of mirin or rice vinegar for authenticity, toasted sesame oil for nuttiness, or a pinch of red pepper flakes for warmth. If you're avoiding gluten, tamari and coconut aminos are excellent soy sauce substitutes — coconut aminos run a little sweeter, so dial back the brown sugar by a teaspoon.
The full method lives in the recipe card below, but here's the rhythm of it so you know what to expect.
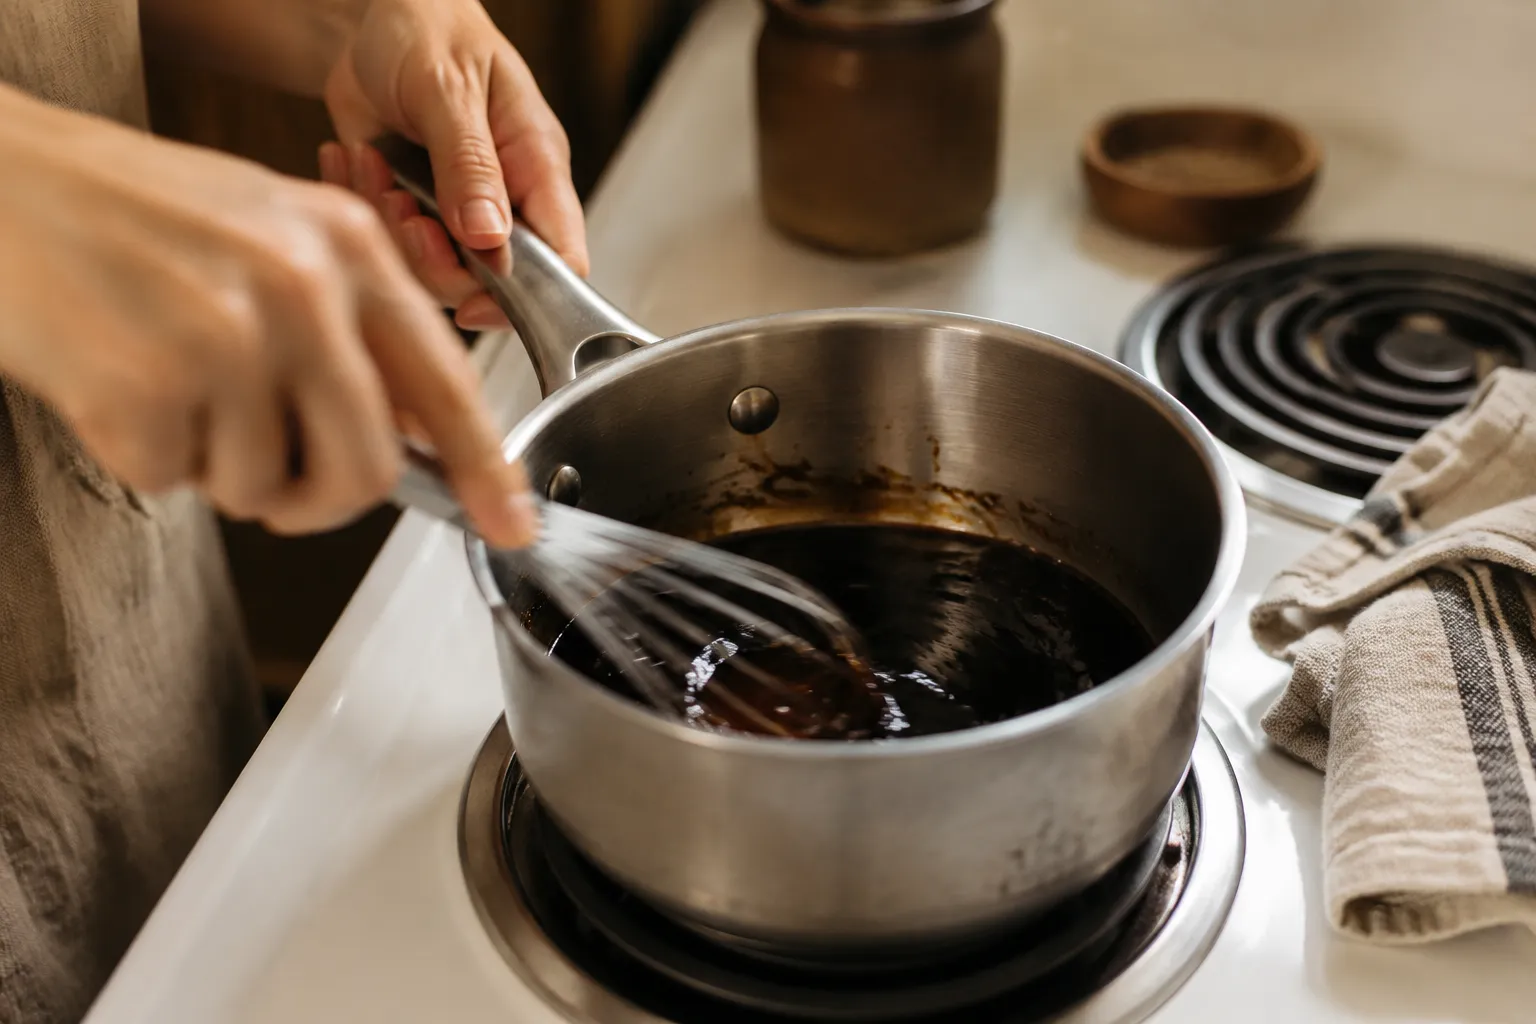
Start by whisking the soy sauce, water, brown sugar, and honey together in a small saucepan over medium heat. Stir until the sugar dissolves completely — you'll see the liquid go from grainy to smooth and glossy. Add the grated ginger and minced garlic at this point so they have time to bloom in the warm liquid and infuse the sauce.
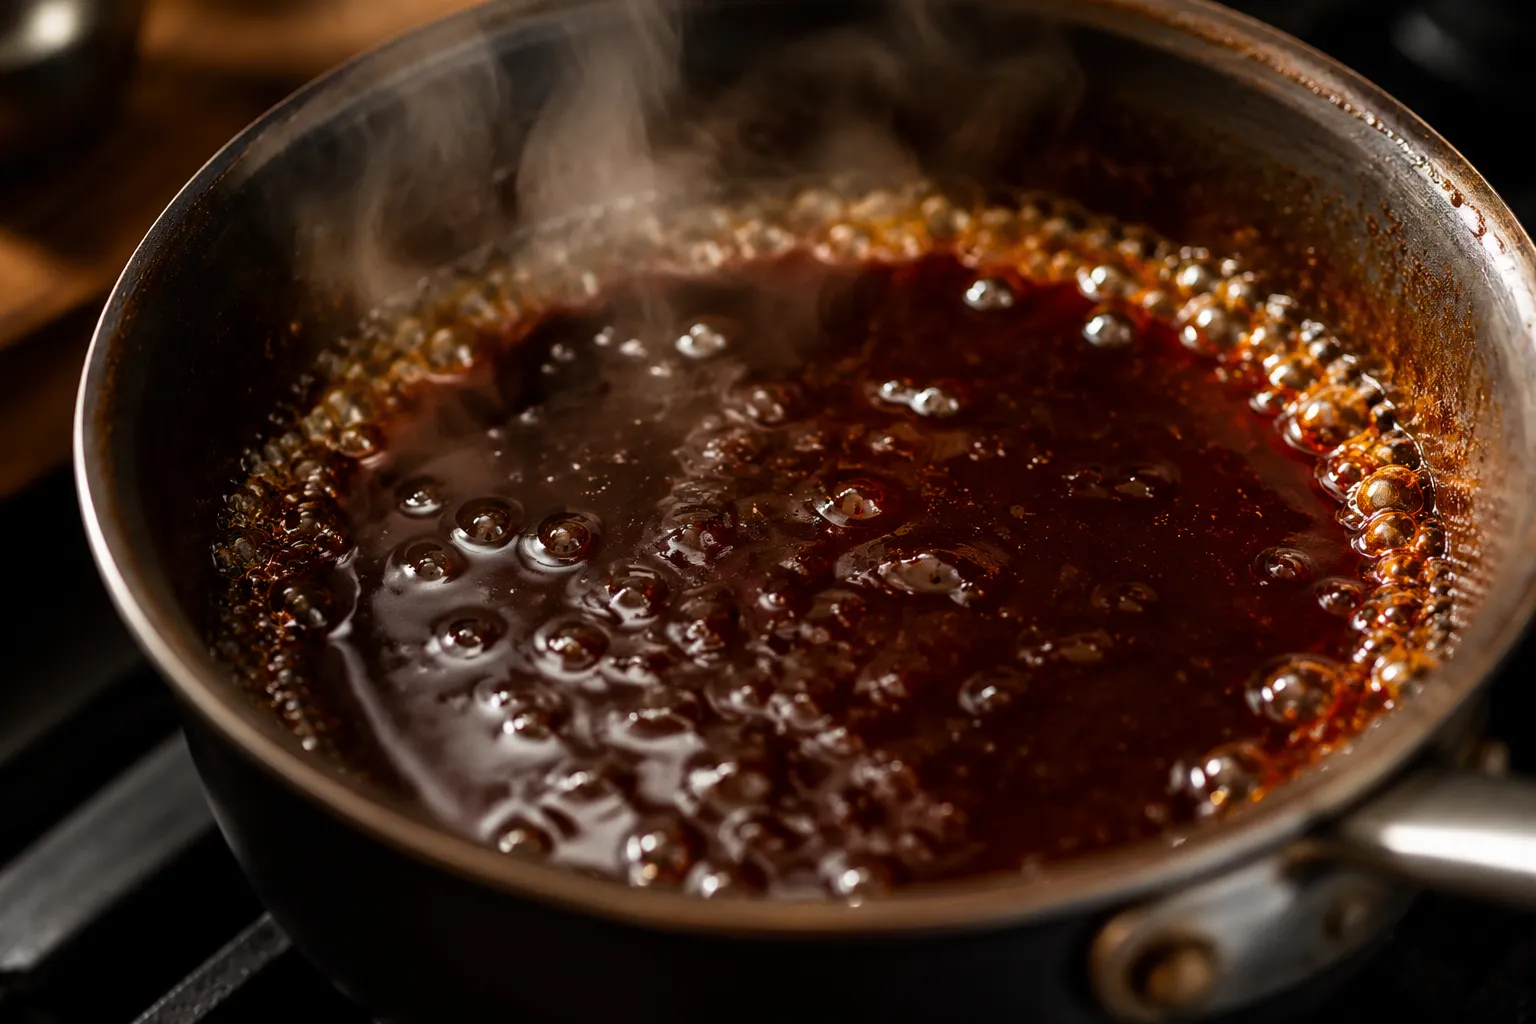
Bring the mixture to a gentle simmer and let it bubble for two to three minutes. This isn't a hard reduction — you just want the flavors to marry and the raw edge of the soy and garlic to mellow. The kitchen will start to smell like your favorite takeout spot, which is always a good sign.
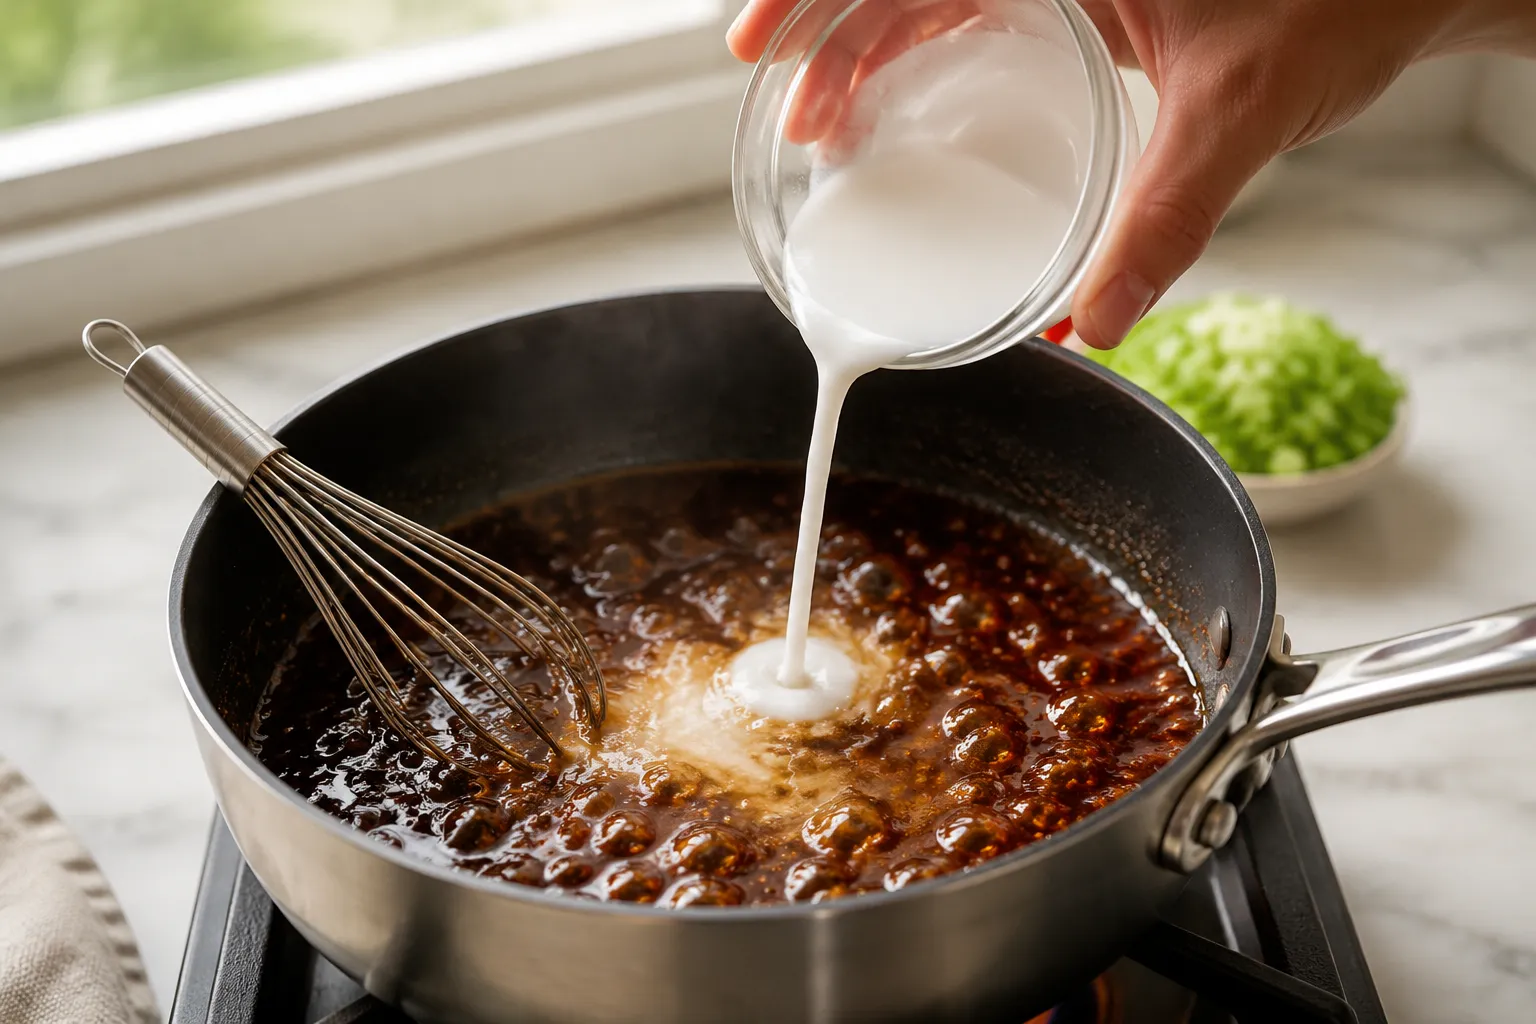
Now whisk your cornstarch slurry (one tablespoon cornstarch + two tablespoons cold water) in a small bowl until completely smooth — no lumps. Stream it slowly into the simmering sauce while whisking constantly. Within 30 to 60 seconds, the sauce will visibly thicken and turn glossy. Pull it off the heat the moment it coats the back of a spoon; it will continue to thicken as it cools.
This is where the recipe earns its keep. A jar of this sauce in the fridge is basically a weeknight dinner insurance policy.
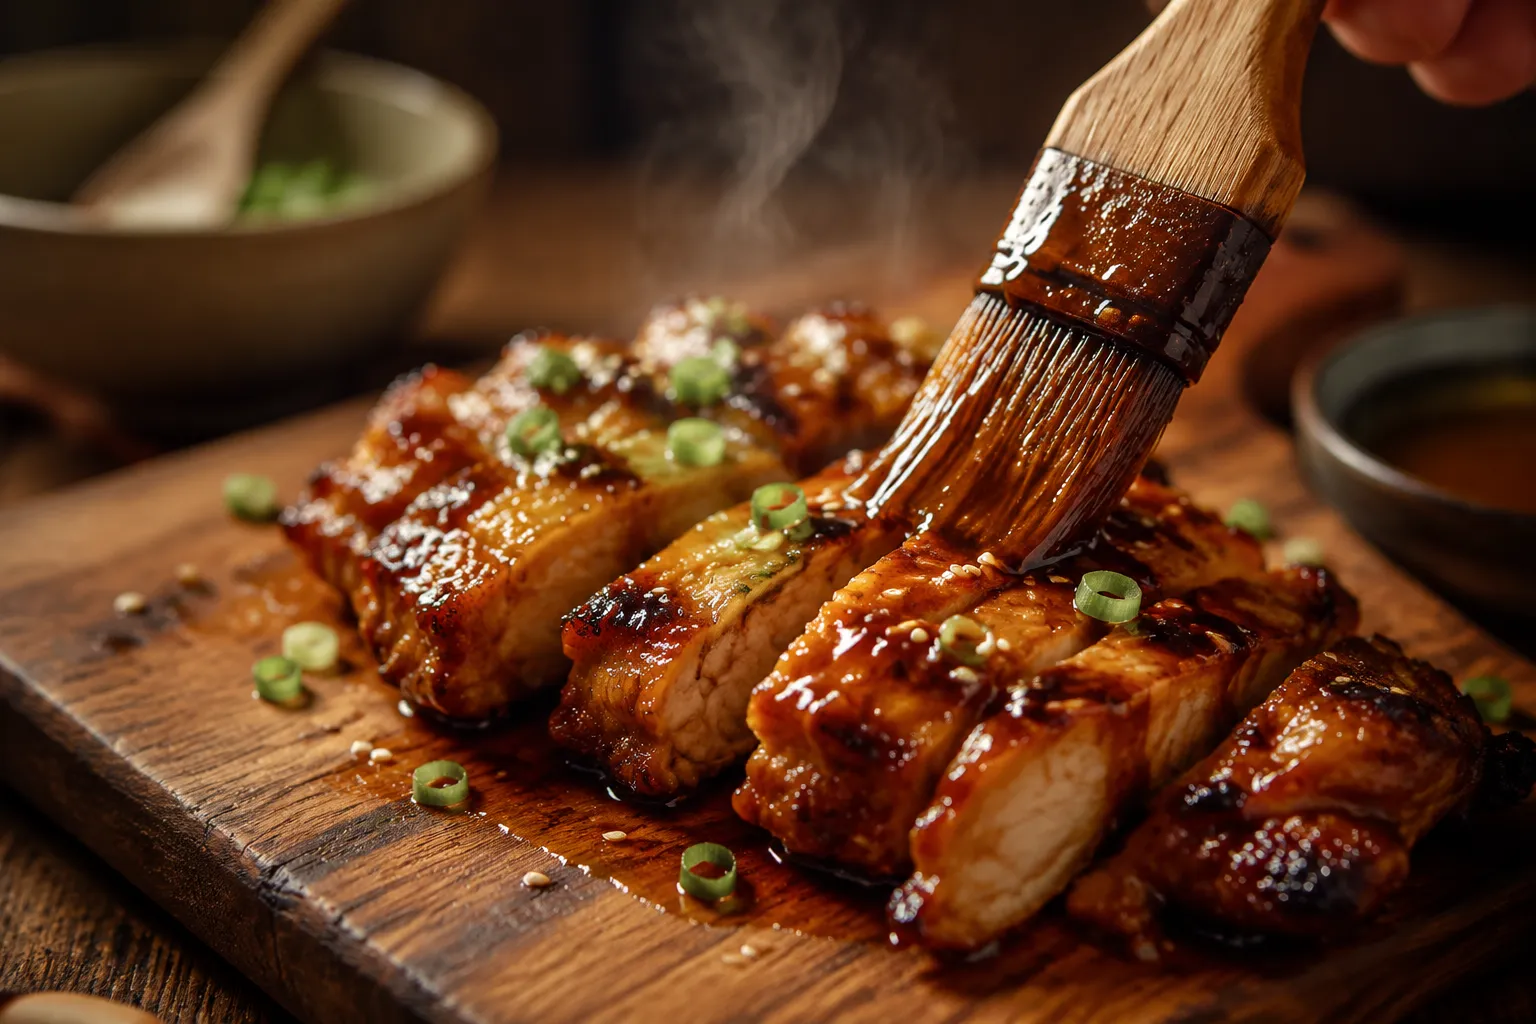
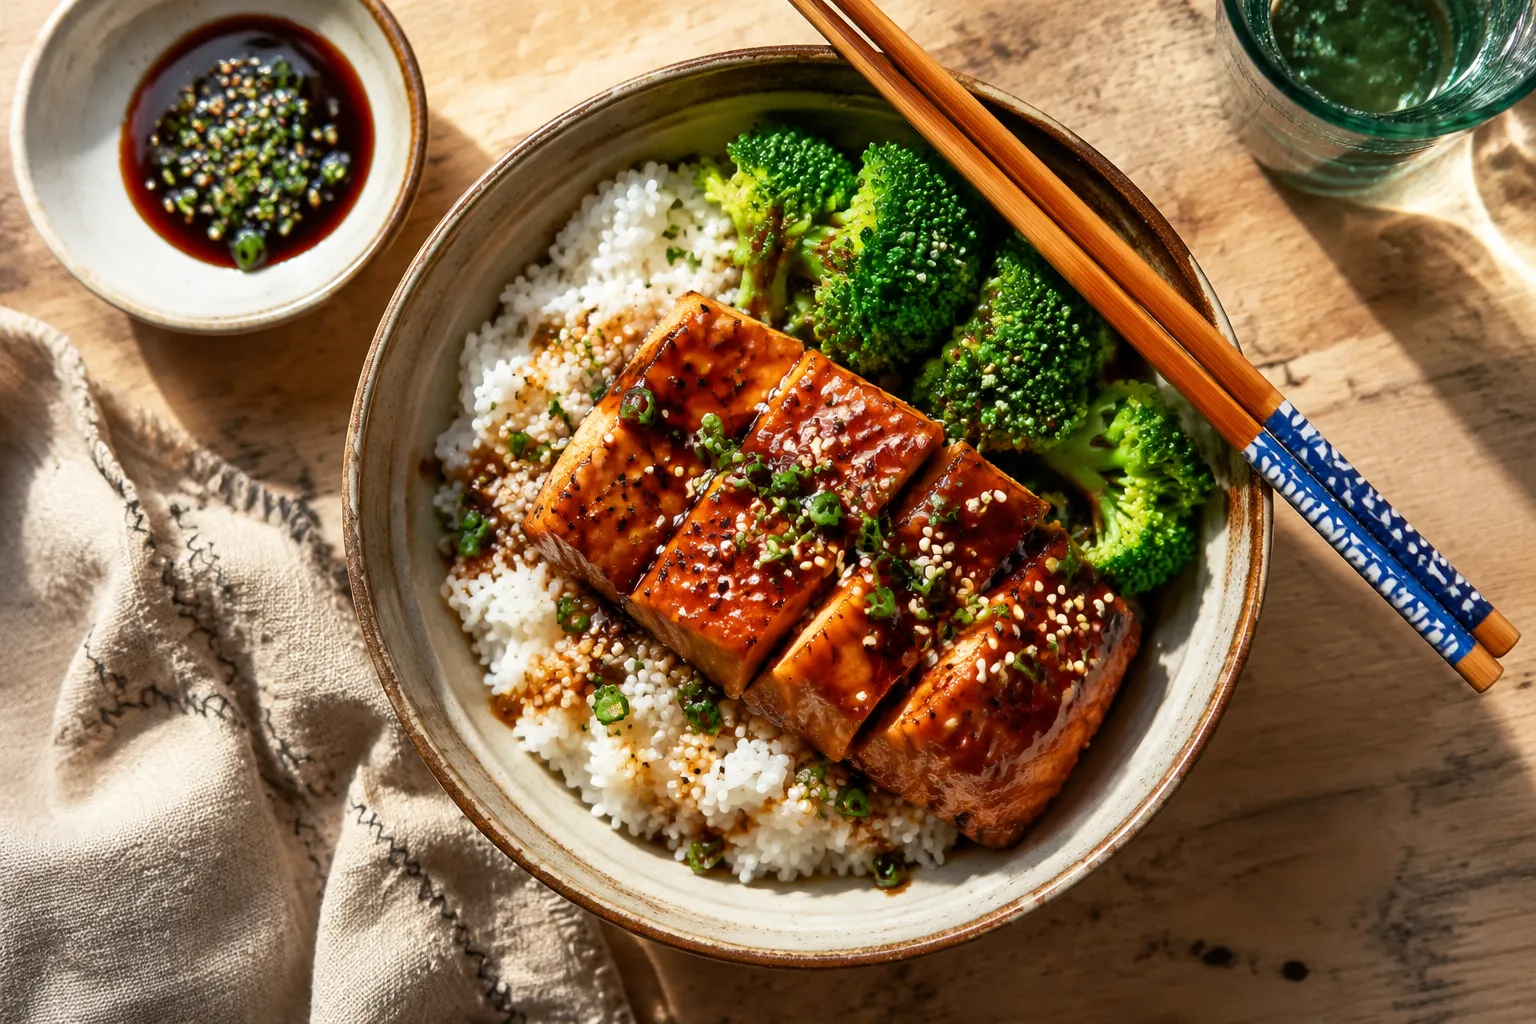
Use it as a marinade for boneless thighs to make sticky teriyaki chicken — marinate 30 minutes to overnight, then grill, broil, or pan-sear and brush with extra sauce at the end. It's equally magical on teriyaki salmon: brush over fillets and broil for 6 to 8 minutes until the edges caramelize. For a fast vegetarian dinner, toss cubed extra-firm tofu in the sauce, roast at 425°F until crisp, and serve over rice.
It also doubles as a serious stir-fry sauce — just thin with a tablespoon of water and toss with cooked noodles or vegetables in a hot wok. Drizzle it over rice bowls, dip dumplings into it, glaze meatballs with it, or fold it into ground beef for a 15-minute teriyaki rice bowl situation. It earns a permanent spot alongside your other go-to Asian marinades.
If your sauce turned out too thick, whisk in warm water a teaspoon at a time until it loosens. Too thin? Make another mini slurry (½ teaspoon cornstarch + 1 teaspoon cold water) and stir it into the simmering sauce. Too salty? A small extra drizzle of honey rebalances things almost instantly. Too sweet? A squeeze of fresh lime or a splash of rice vinegar cuts through.
Once you've nailed the base, this teriyaki sauce recipe becomes a launchpad. Keep a jar in the fridge, and dinner is more or less solved.
This recipe is a strong base, but it loves a remix. Once you've made it once, try one of these spins to keep things interesting.
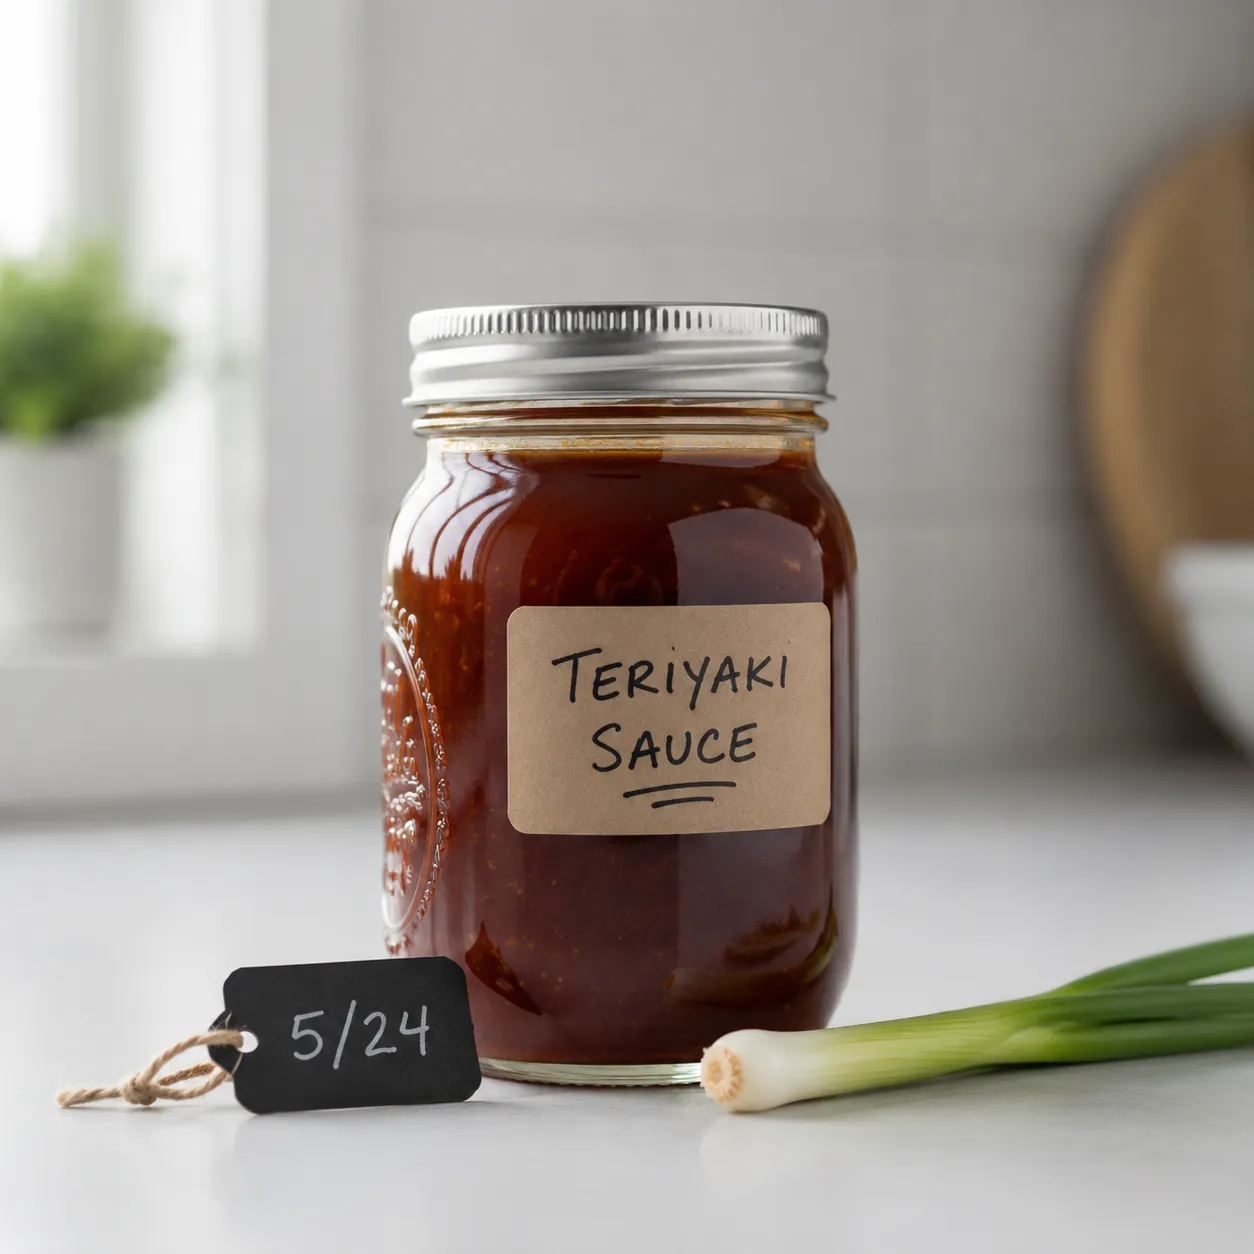
Pour cooled teriyaki sauce into a clean glass jar with a tight-fitting lid and refrigerate for up to 2 weeks. Give it a quick shake or stir before each use, since the cornstarch can settle slightly. The sauce thickens in the fridge; loosen it with a teaspoon of warm water if needed before brushing or drizzling.
To freeze, transfer to a freezer-safe container or ice cube tray (each cube is about a tablespoon — perfect for single servings) and freeze for up to 3 months. Thaw overnight in the fridge or warm gently in a saucepan over low heat, whisking until glossy again. Avoid microwaving in long bursts, which can break the texture.