Rice Krispie Treat Recipe: Soft, Chewy & Foolproof
Ingredients
Scale
This rice krispie treat recipe makes the softest, chewiest, butteriest squares ever, with a foolproof marshmallow ratio and a gooey s'mores twist.
This rice krispie treat recipe is the soft, chewy, gloriously buttery answer to every sad, hard, crumbly square you have ever bitten into and politely set back down on the napkin. We are talking pillow-soft middles, glossy ribbons of melted marshmallow, and a buttery edge that tastes faintly of toffee thanks to a quick brown-butter trick. It is a four-ingredient pantry rescue that comes together in under thirty minutes and disappears in roughly half that.
I have made hundreds of batches over the years, mostly because my kids consider them a food group, and I have finally landed on the marshmallow-to-cereal ratio that gives you that bakery-style, slightly underset, melts-into-the-corners-of-your-mouth texture. It is also one of the most reliable kid-friendly desserts in my back pocket, and the kind of homemade marshmallow treats I bring to bake sales and potlucks knowing they will be gone before the chili.
If you have been searching for easy rice krispie treats that do not dry into bricks by morning, you are in the right kitchen. We will cover the ingredients, the foolproof method, why brown butter rice krispies are a small-but-mighty upgrade, and a gooey s'mores rice krispie treats spin that tastes like a campfire in a square. Let us get into it.
A standard rice krispies recipe uses one bag of marshmallows, a stick of butter, and six cups of cereal — and that is perfectly fine if you like a firmer, drier square. This version tweaks the formula in three small but important ways. First, we use extra marshmallows, with a generous handful folded in at the very end so they stay partly whole and create gooey pockets throughout the bar. Second, we lean on salted butter and an extra pinch of sea salt to balance the sweetness so it never tastes one-note.
Third, we brown the butter, which adds a nutty, almost caramel-like depth that takes the whole batch from fine to wait-what-is-in-these. The result is a tray of no-bake dessert bars that taste like the version you remember from childhood, only better. They stay soft on the counter for two full days (assuming they last that long), they slice cleanly without shattering, and they have that beautiful pull when you tear one in half. If you want a shortcut, you can absolutely skip the browning step. But once you try it, you probably will not go back.
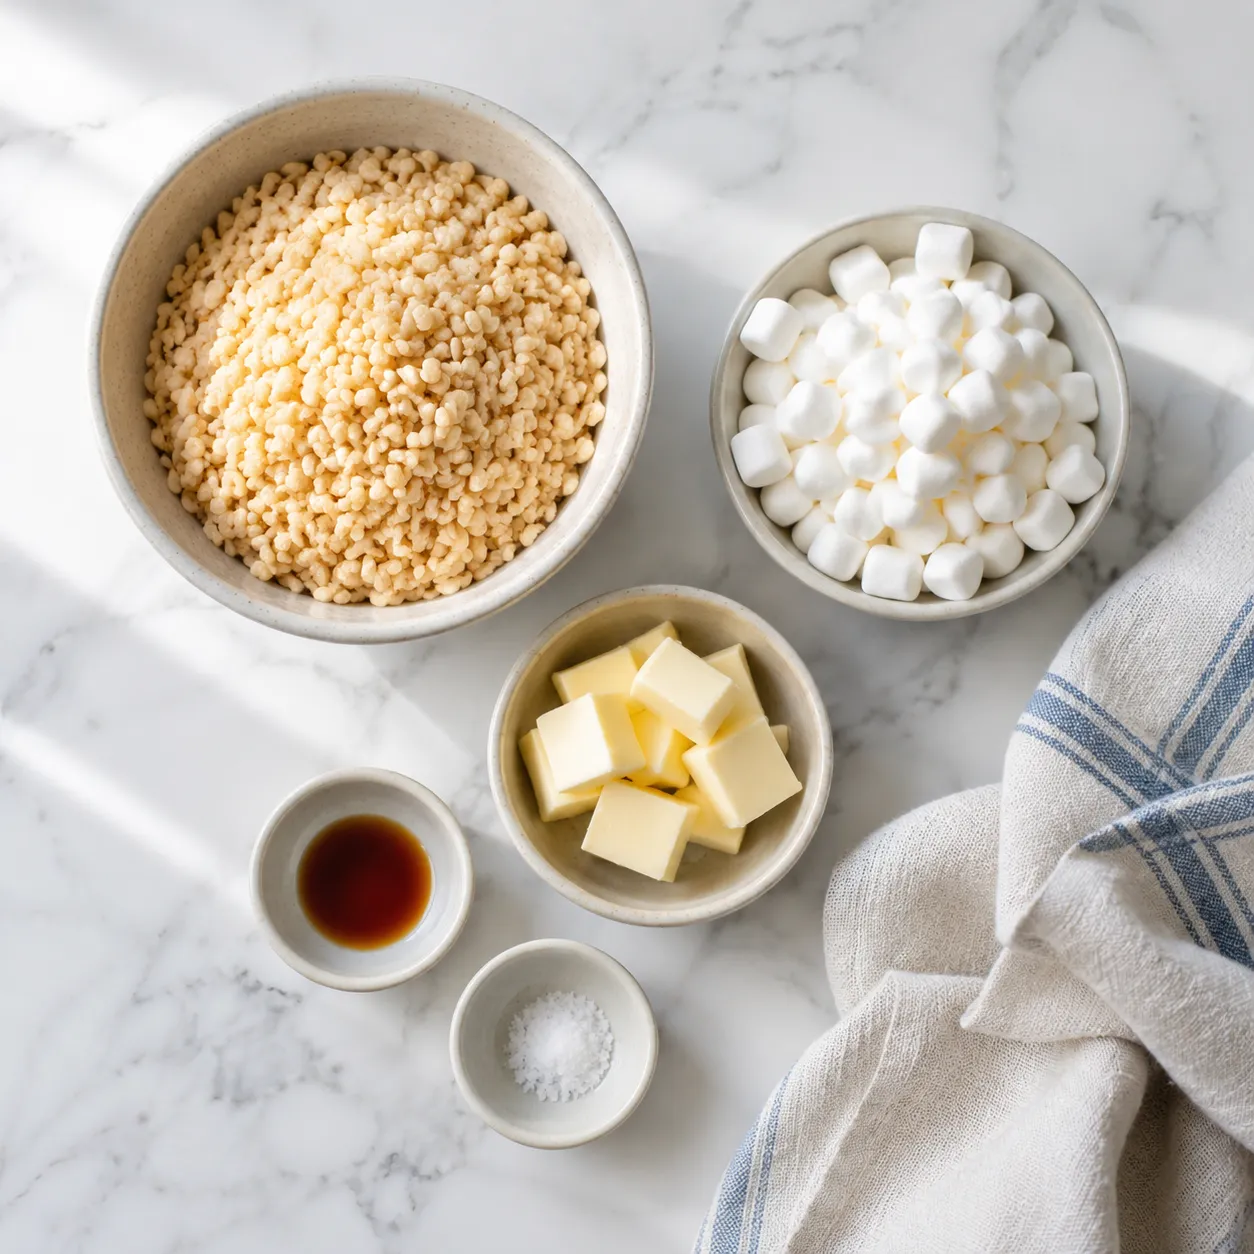
Here is the entire shopping list, and most of it is probably already in your pantry. The exact measurements live in the recipe card below, but it helps to understand why each component matters before you start melting anything.
The single biggest mistake I see in an easy rice krispie treat recipe is too much cereal. Six cups is the sweet spot for one 10-ounce bag of mini marshmallows, and we then fold in another cup and a half of whole marshmallows off the heat. That extra hit gives you visible white pockets in the finished bar and keeps the texture pillowy for days. If you measure your crispy rice cereal in a packed-down cup, you will end up with hard squares — fluff it first, then spoon it gently into the measuring cup.
I always reach for salted butter here. The salt cuts through the sweetness of all that marshmallow and keeps the bars from tasting flat. If you only have unsalted on hand, add a generous pinch of fine sea salt with the vanilla. And do not skimp: six tablespoons of butter to one bag of marshmallows is the buttery side of the ratio, and that is exactly where you want to be.
A teaspoon of pure vanilla extract is non-negotiable in my kitchen — it makes the marshmallow taste more like marshmallow. Beyond that, you can stir in half a cup of mini chocolate chips, a swirl of peanut butter, crushed pretzels, freeze-dried strawberries, or rainbow sprinkles for a confetti version. Just keep total add-ins to about a cup so the structure holds together when you slice.
The full numbered method lives in the recipe card, but here is the visual walk-through with the small touches that make a big difference between a chewy square and a sad one.
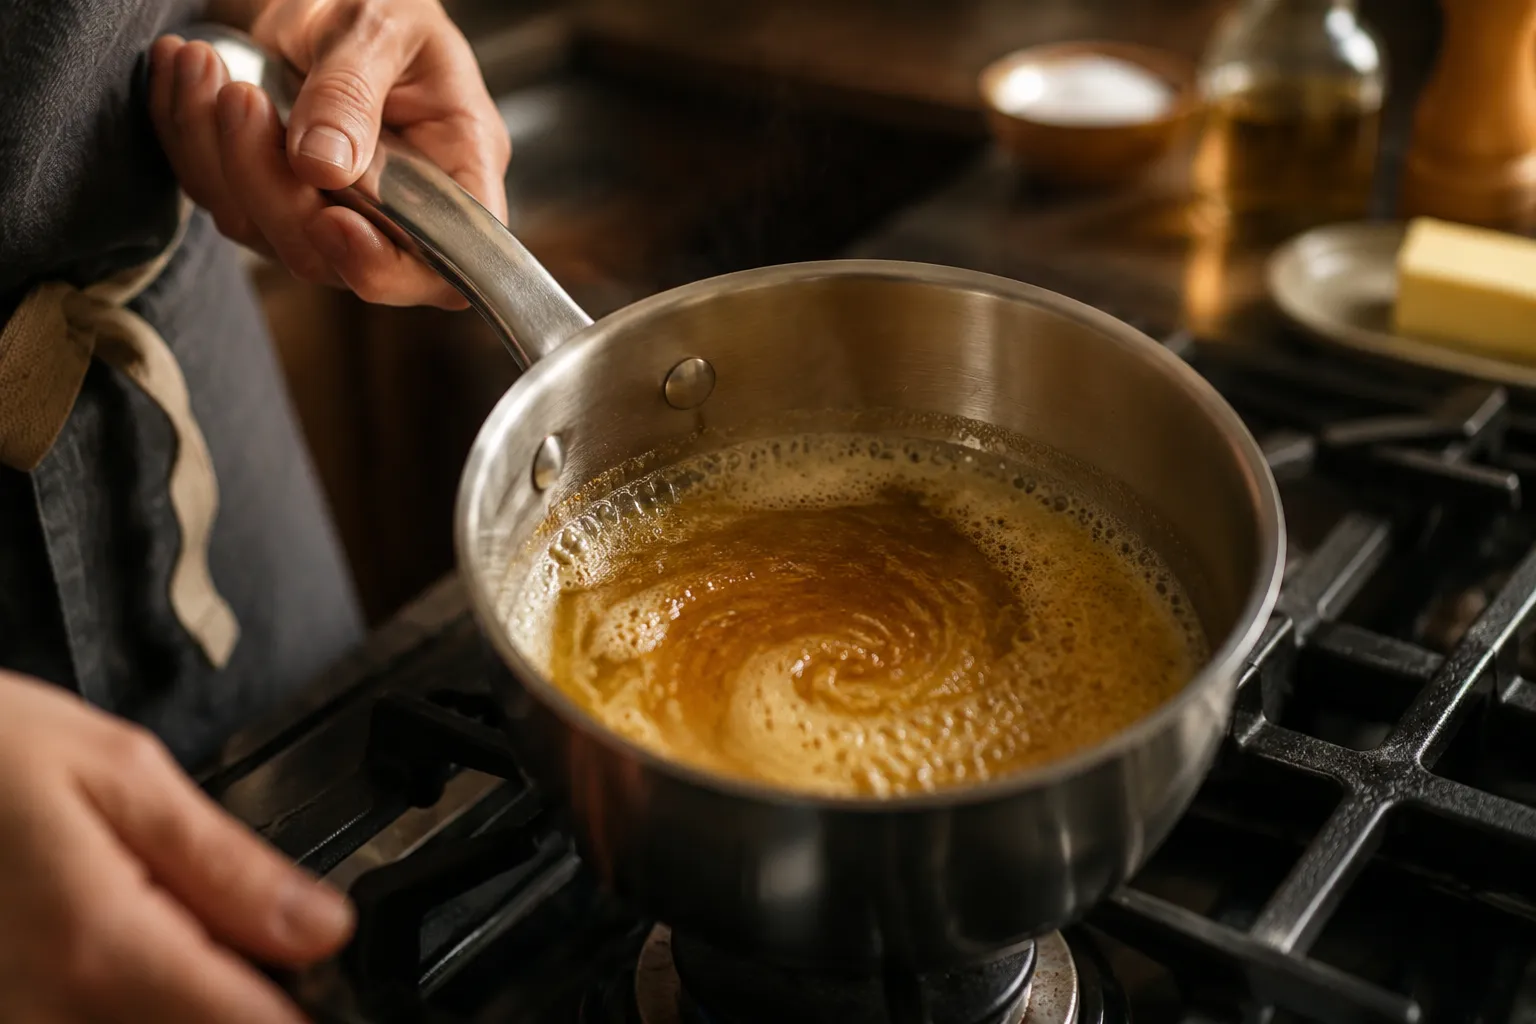
Melt the salted butter in a wide, light-colored saucepan over medium heat. Once it foams, keep swirling — the milk solids will sink, then turn golden, then deeply amber, releasing a smell like toasted hazelnuts. The whole transformation takes about 4 to 6 minutes. The moment you see those flecks, pull the pan off the heat. Brown butter is a one-second-too-long ingredient, so trust your nose more than the clock.
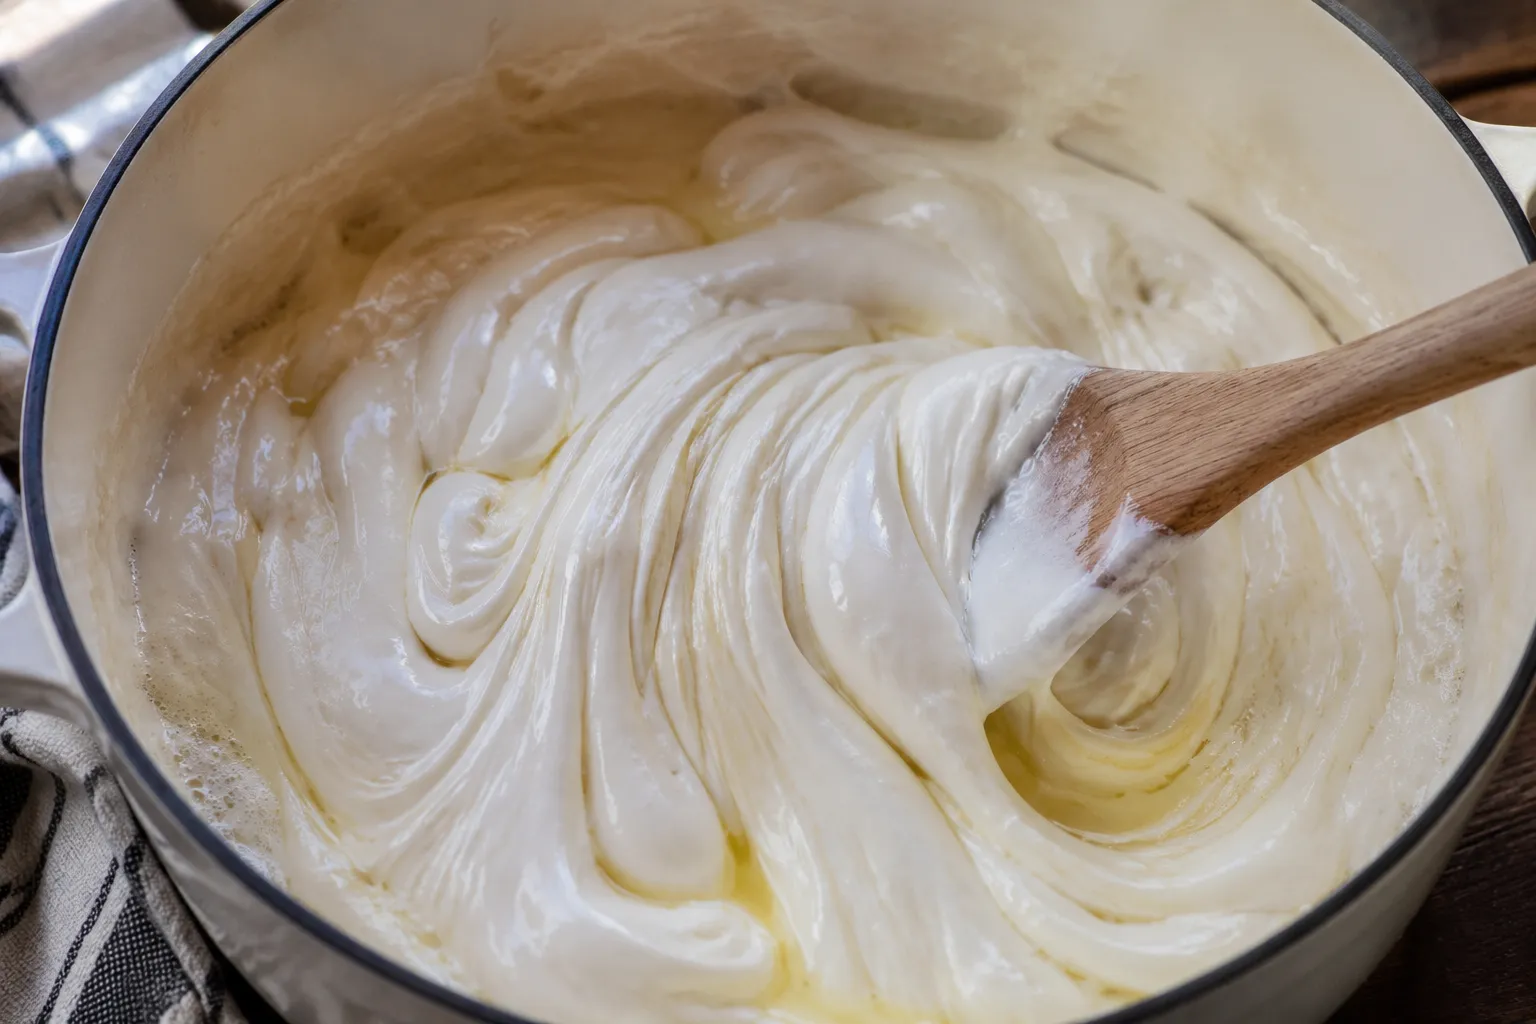
Drop the heat to low and add the full bag of mini marshmallows. Stir constantly with a silicone spatula until you have a glossy, smooth pool with no white streaks. High heat is the enemy here — it tightens the marshmallow proteins and that is exactly what gives you a hard square the next morning. If your stove runs hot, do not be shy about pulling the pan on and off the burner to keep things mellow.
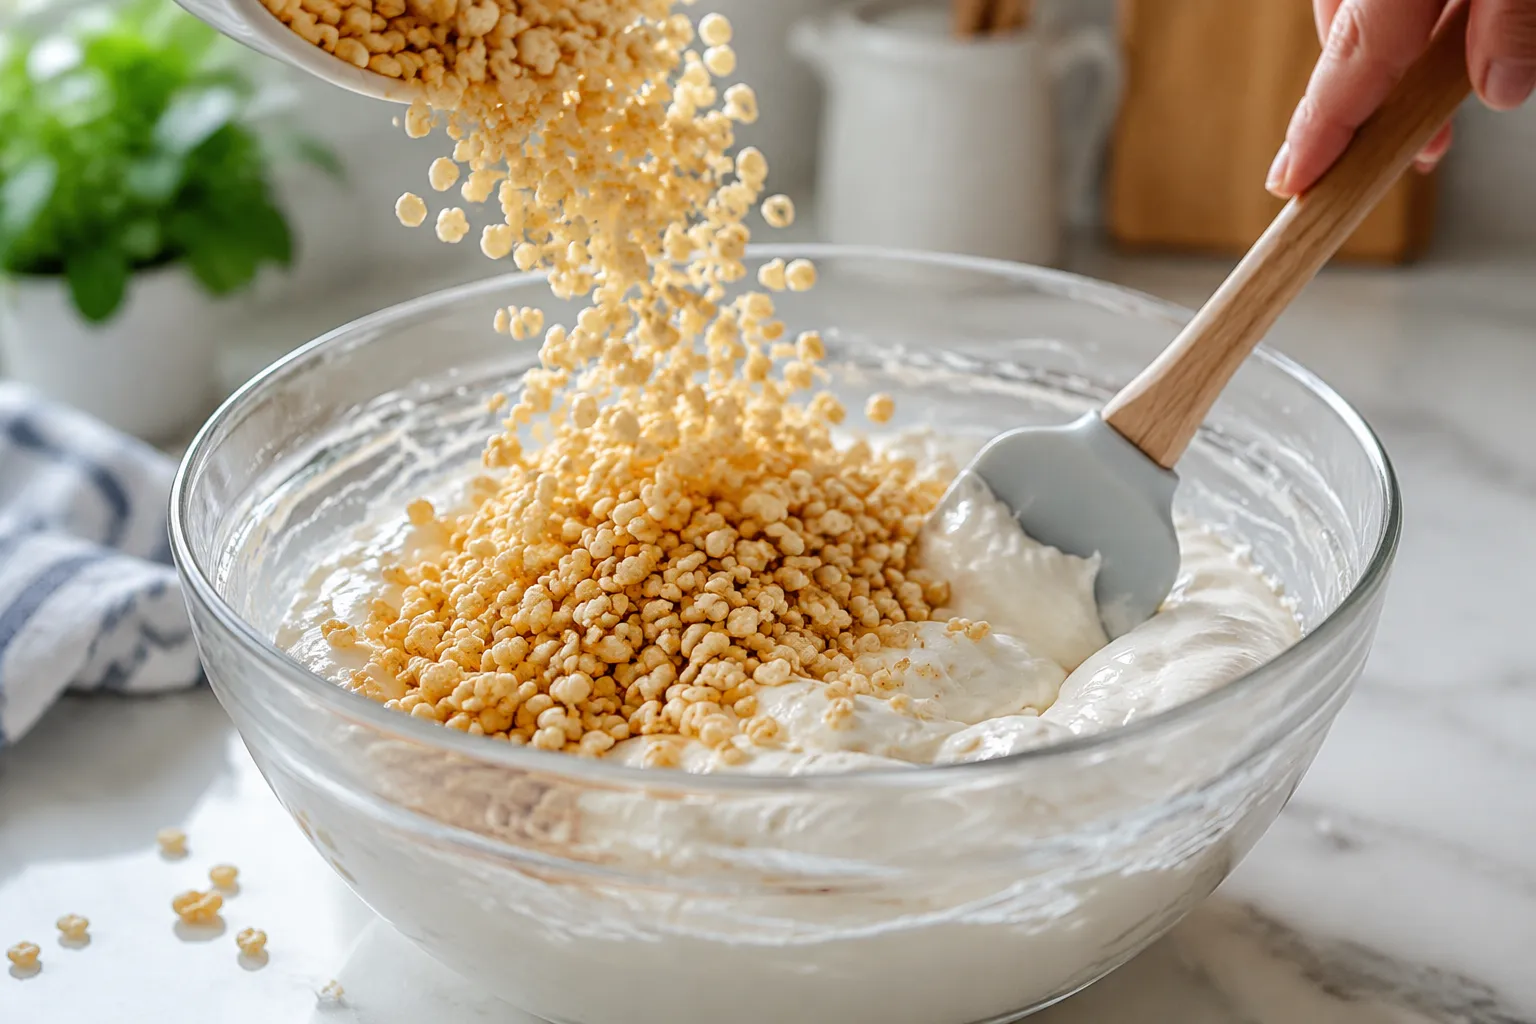
Off the heat, stir in the vanilla and pinch of salt, then add the crispy rice cereal in two additions, folding gently with a spatula until every piece is coated. Right before the mixture cools, fold in the reserved 1 1/2 cups of mini marshmallows. They will soften but stay mostly intact, which is the whole secret to that bakery look with visible white marshmallow pockets in every bite.
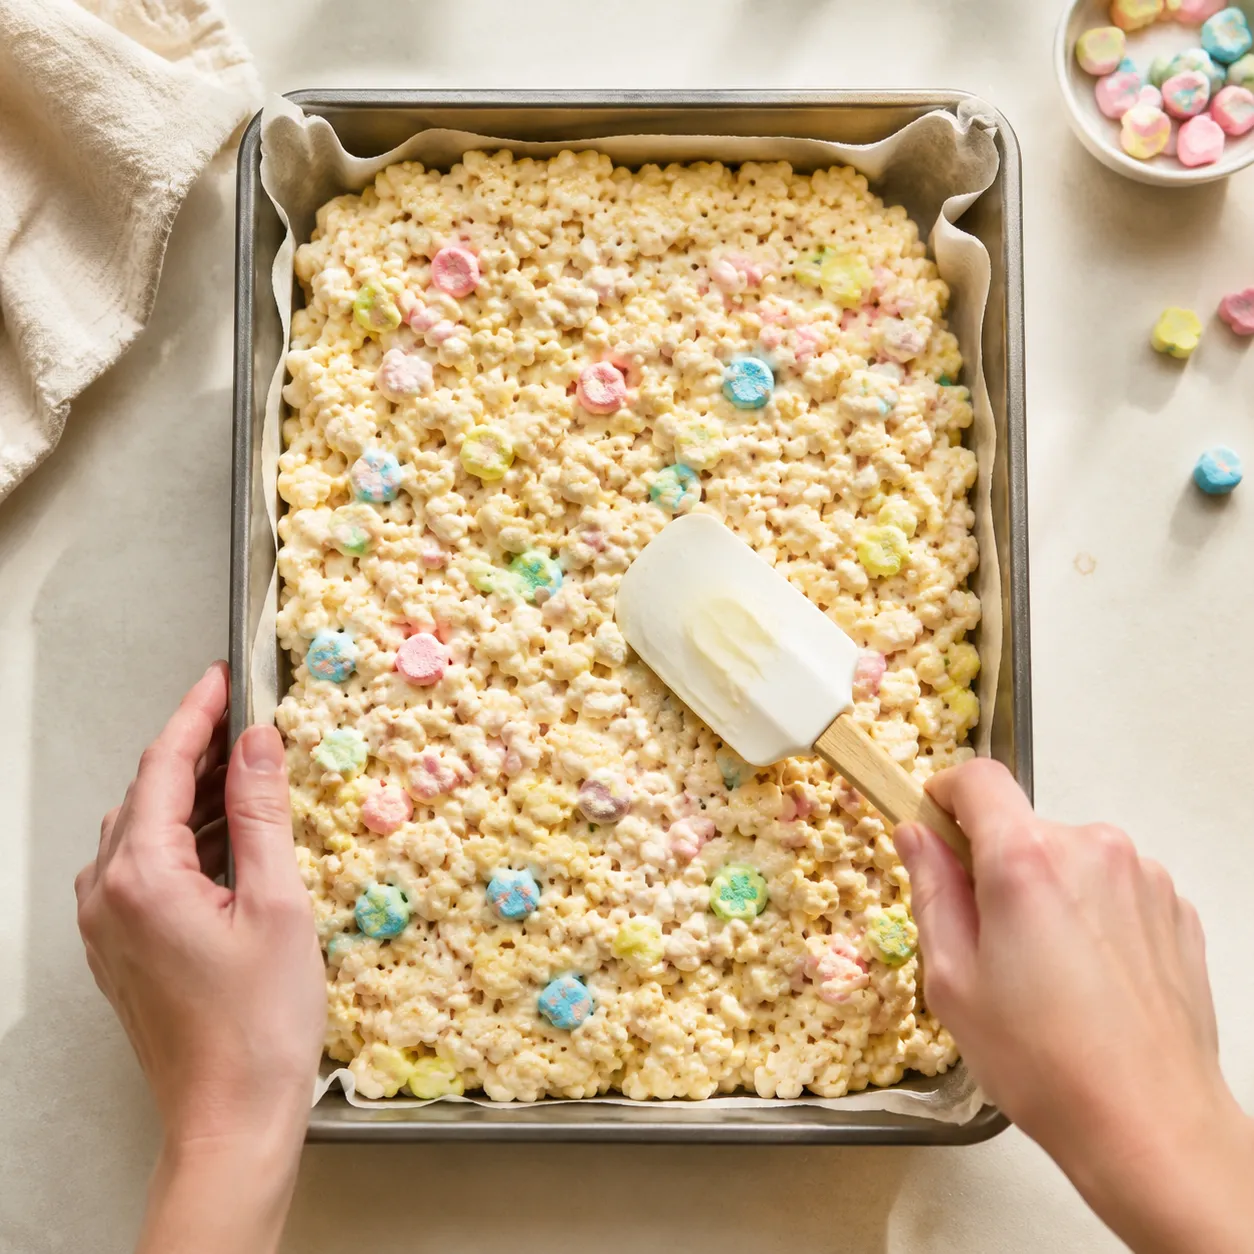
Scrape the mixture into a parchment-lined 9x13 pan. Now, the most important sentence in this entire post: do not pack it down. Use buttered hands or a buttered spatula and press just enough to flatten the surface. Compacted treats turn into hockey pucks. You want a fluffy, slightly uneven top that almost looks like it could fall apart. Let them set for 30 minutes at room temperature before slicing into squares.
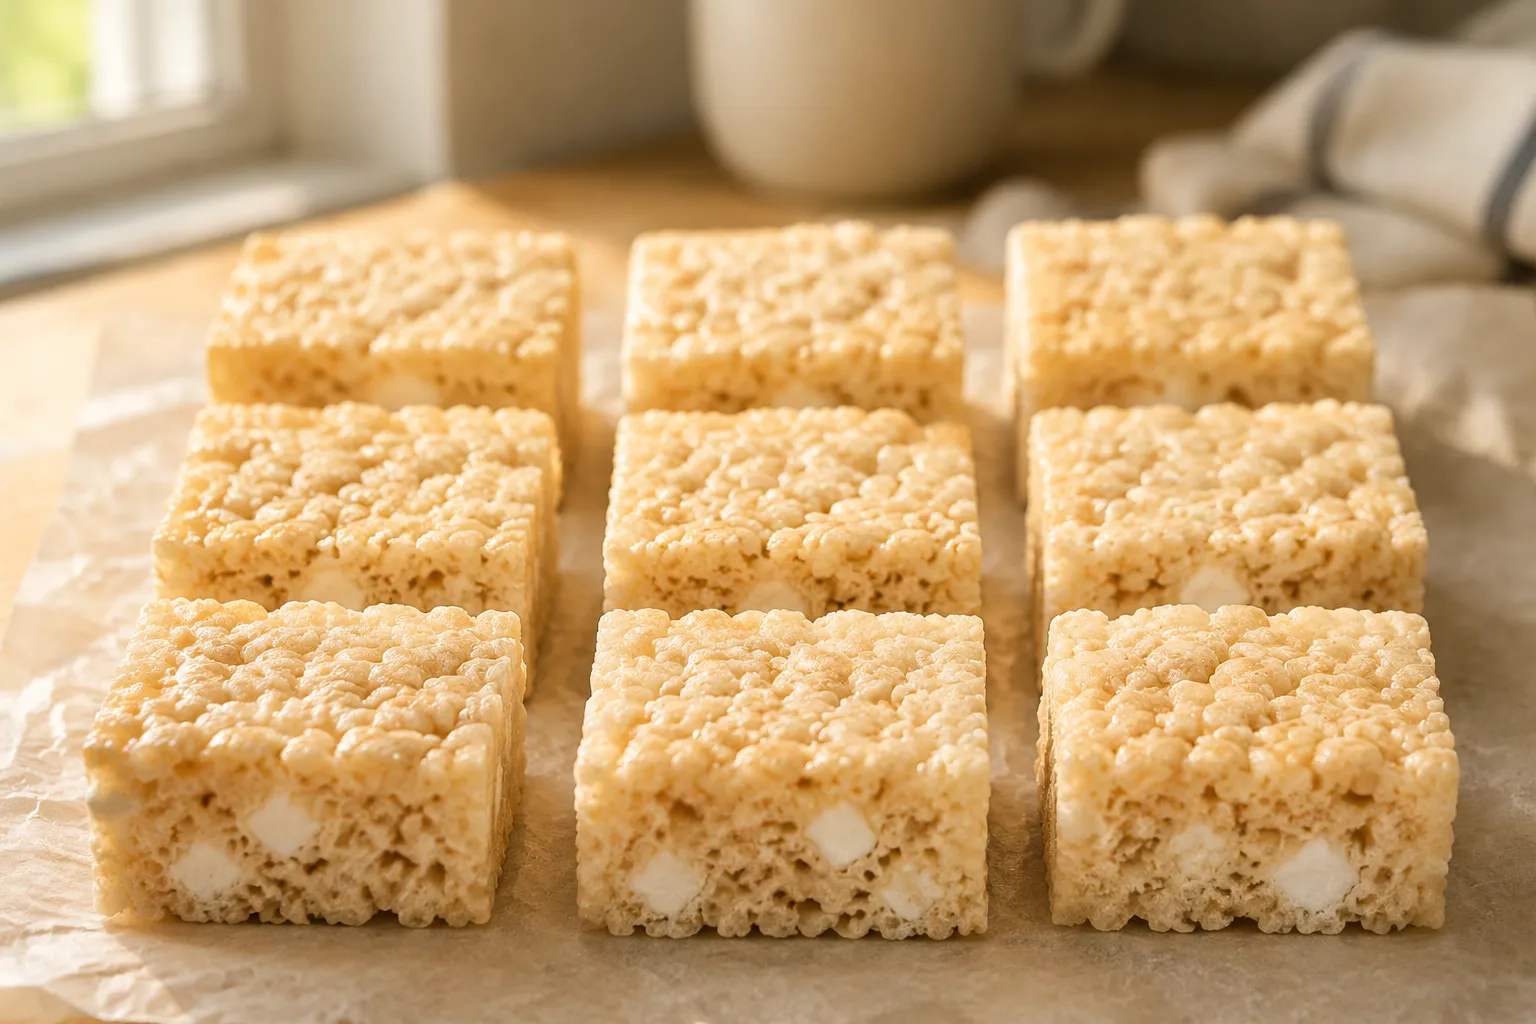
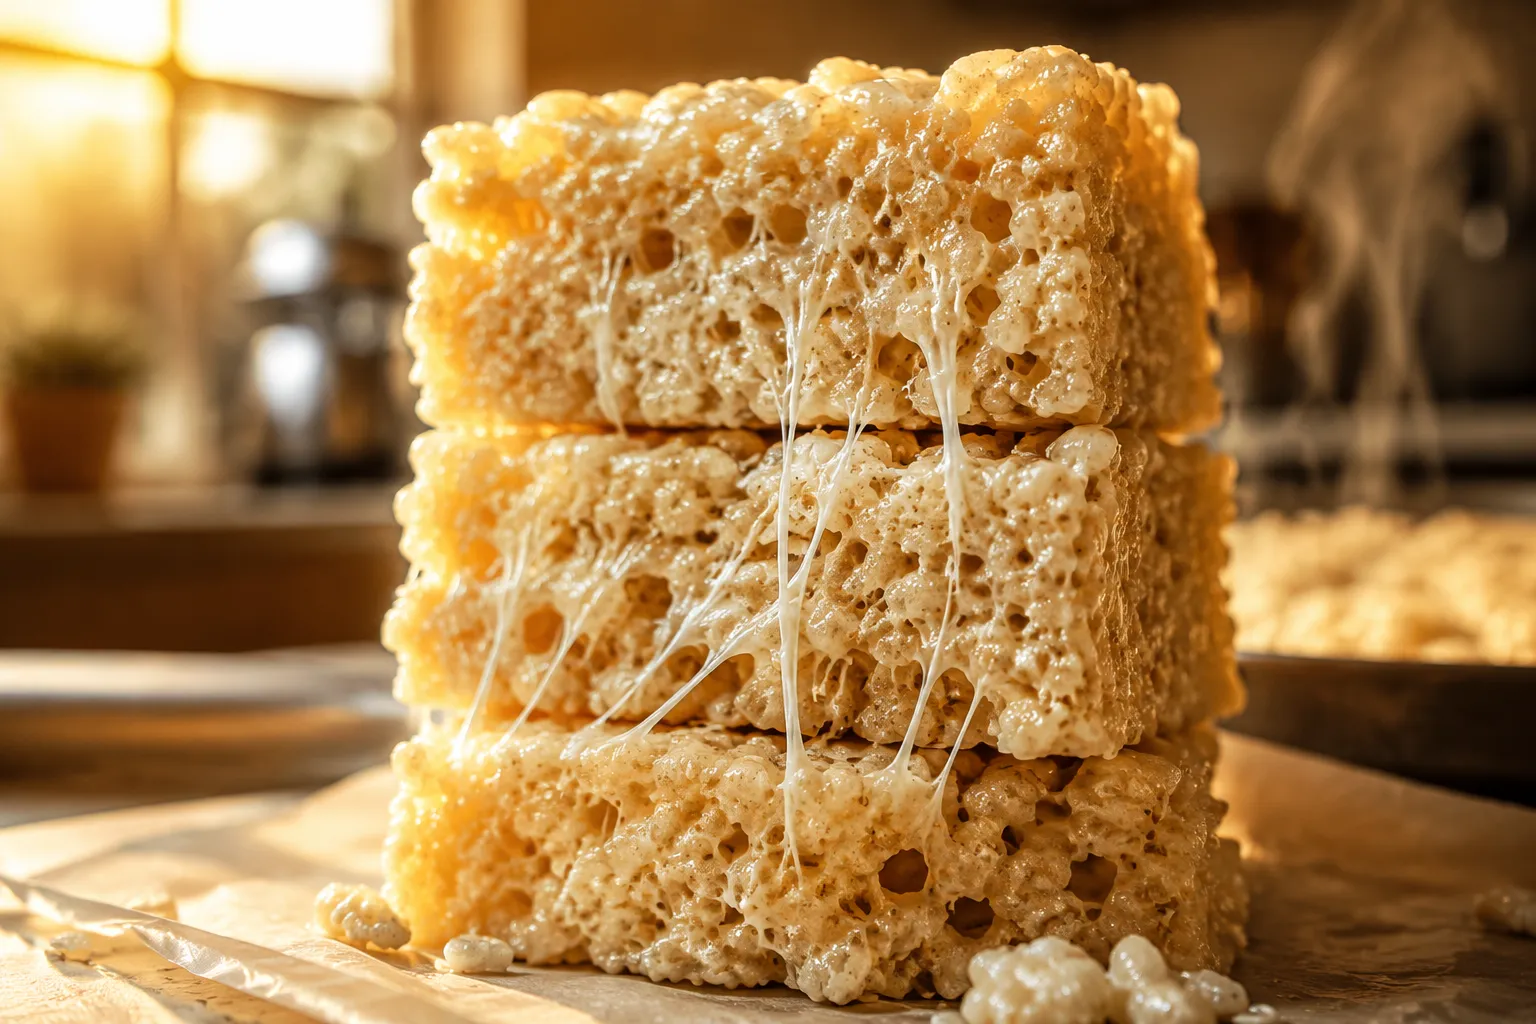
A finished tray from this rice krispie treat recipe should look almost rustic. When you cut into a square, you will see open pockets, visible whole marshmallow bits, and a glossy interior that holds its shape but yields the second you bite in. The edges should pull, not snap. If your squares are dense and uniform, they were either packed too hard or the marshmallows were overheated. Do not worry — the recipe card walks through the timing in detail, and once you have made it twice you will know the look by feel alone.
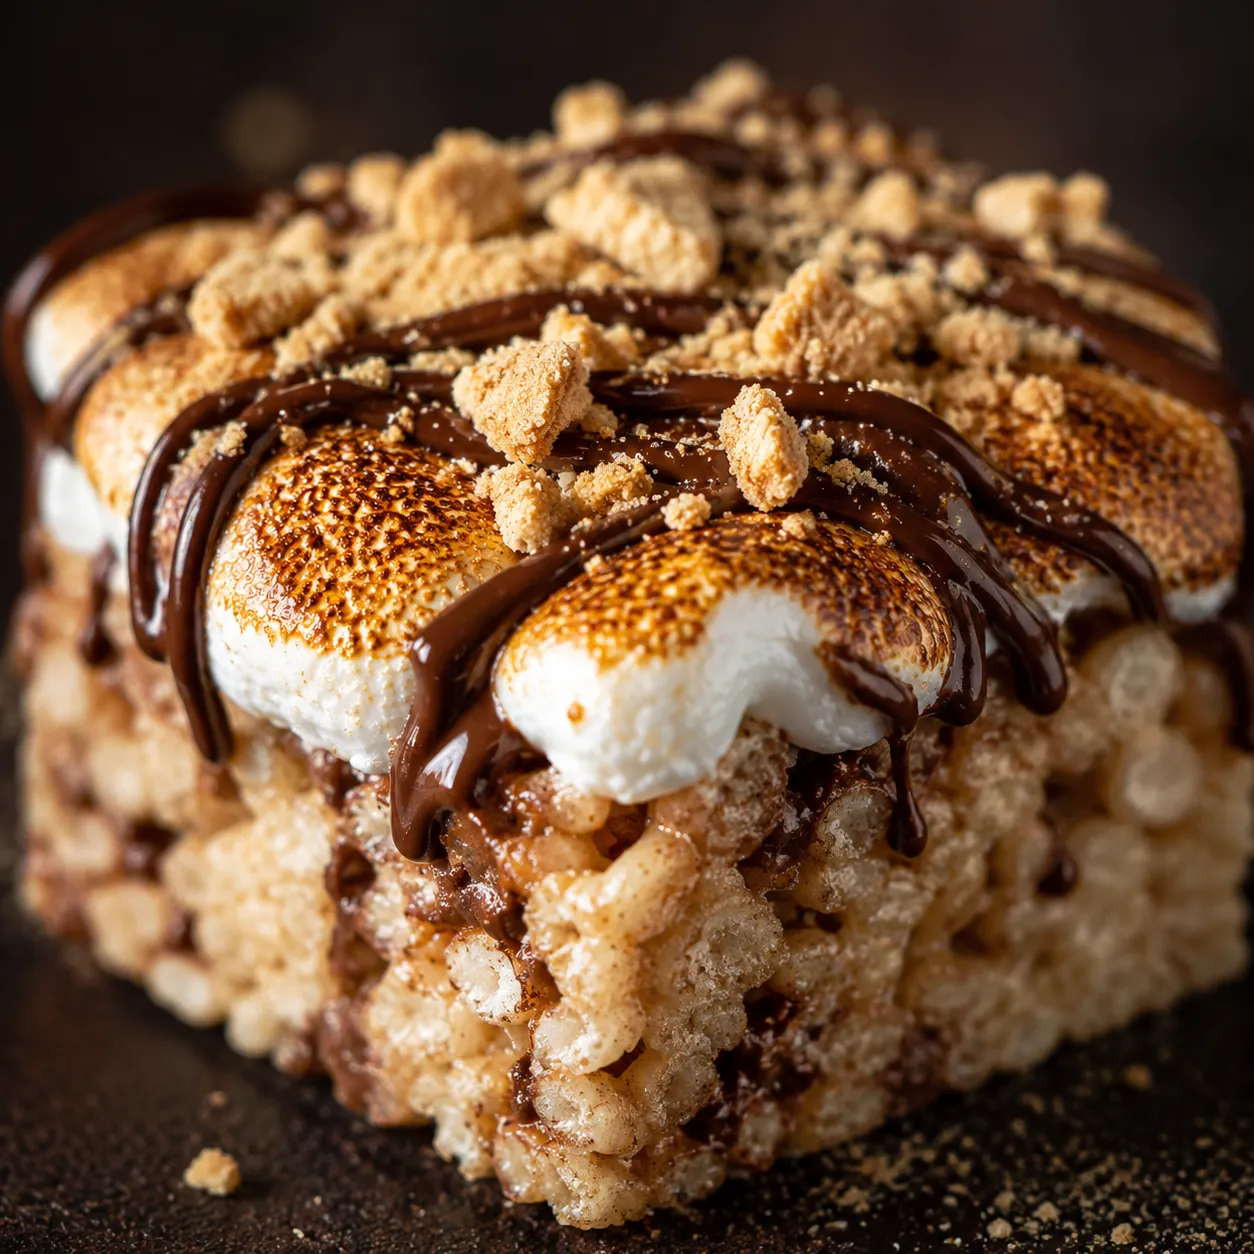
If you want to take this rice krispie treat recipe somewhere a little more fun, the s'mores rice krispie treats spin in the variations below is the move. Think a layer of crushed graham crackers folded into the cereal mixture, a glossy milk chocolate drizzle on top, and torched marshmallows that crackle when you bite through them. It is the kind of no-bake dessert that disappears at summer cookouts and feels just nostalgic enough without being fussy. Full instructions are just a scroll away.

These squares are pretty much perfect on their own with a tall, cold glass of milk — the universal pairing my kids ratified by unanimous vote. For dessert plates, slice them slightly smaller and serve alongside a scoop of vanilla ice cream and a drizzle of chocolate sauce. They also pack beautifully into lunchboxes, picnic baskets, and care packages because they do not need refrigeration. Wrap individual squares in parchment and tie with twine for an instantly cute homemade gift that travels well and arrives just as soft as the day it was made.
Once you have nailed this rice krispie treat recipe, the world of no-bake dessert bars opens up. A peanut butter rice krispies variation swaps three tablespoons of the butter for creamy peanut butter and is fantastic with chocolate chips folded in. Chocolate marshmallow bars use chocolate-flavored crisp rice cereal and a handful of chopped chocolate for double the cocoa hit. And around the holidays, I love pressing the mixture into shaped molds — pumpkins for Halloween, hearts for Valentine's, snowflakes for Christmas — for an instant no-fuss treat tray. Each one builds on this same foolproof base, and once you trust the ratio, you can riff endlessly without losing that signature soft, chewy texture.
This base recipe is endlessly riffable. Once you trust the ratio, you can swap, layer, and top to your heart's content. Here are the variations my family rotates through year-round:
Store cooled, sliced squares in an airtight container at room temperature with a piece of parchment between layers. They stay soft and chewy for about 2 days; after that they begin to dry out, though they are still perfectly edible. Avoid the refrigerator — cold air firms up the marshmallow and turns them tough.
To freeze, wrap individual squares tightly in plastic wrap, then stash in a zip-top freezer bag for up to 6 weeks. Thaw at room temperature for about 30 minutes before serving. If a day-old square has lost some of its softness, microwave it for 6 to 8 seconds to revive that just-made gooey texture — it works almost magically and is a small kitchen secret worth keeping in your back pocket.