The Best Icing Recipe (Smooth, Glossy & Foolproof)
Ingredients
Scale
This 5-minute icing recipe delivers bakery-style results with just 4 pantry staples — silky smooth, glossy, and ready to drizzle, pipe, or spread.
This is the only icing recipe you actually need bookmarked. It's silky, glossy, ready in five minutes, and built on four pantry staples you almost certainly already own. Whether you're glazing a tray of homemade cinnamon rolls on a Sunday morning or piping delicate details onto sugar cookies for a holiday party, one master ratio gets you there — no stand mixer, no eggs, no complicated technique.
I've tested dozens of versions over the years, from stiff royal-style finishes to a loose powdered sugar glaze, and what kept coming back was the simplest one: powdered sugar, a splash of milk, real vanilla, and a tiny pat of melted butter for that bakery-window shine. It pours in a satin ribbon, sets without cracking, and adapts to whatever you're baking. Need it thinner for donuts? Add a teaspoon of milk. Thicker for piping? Whisk in another spoonful of sugar. That flexibility is the difference between a good homemade icing and a frustrating one.
If you've ever stood in the baking aisle wondering whether to reach for buttercream frosting, a cooked glaze, or something in between, this is the icing recipe that quietly does it all. Cookies, cakes, scones, pop-tarts, breakfast bars — one bowl, one whisk, five minutes start to finish.
Here's the beauty of a real homemade icing: there are no fussy components or specialty trips to the baking store. Every ingredient plays a clear role, and once you understand what each one does, you can riff endlessly without the recipe falling apart on you.
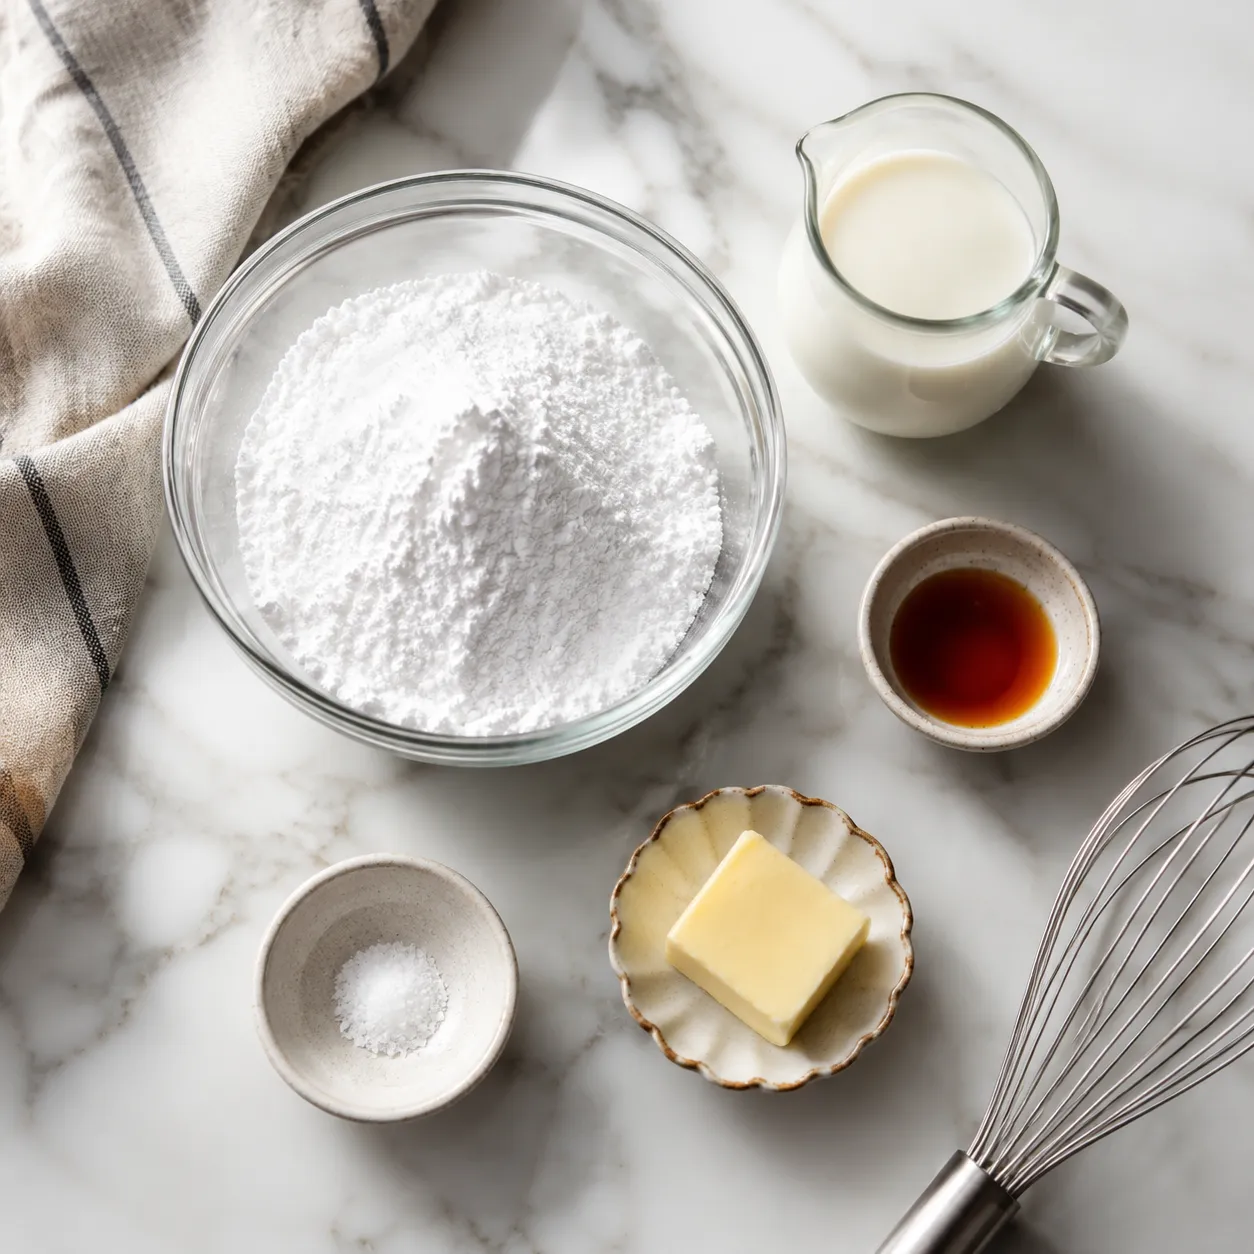
Powdered sugar. Also called confectioners' sugar or 10x sugar, this finely milled sugar is the entire backbone of the formula. It dissolves smoothly into liquid and gives the icing its body and gentle sweetness. Always sift it, even if the bag promises no clumps — a single hidden lump will show up as a grainy speck on top of an otherwise perfect cake.
Milk, cream, or water. Whole milk is my default for richness and a soft sheen. Heavy cream pushes the icing toward decadent and pairs beautifully with chocolate or coffee cakes. Water gives a perfectly clear, glassy finish, which is ideal when you want food coloring to read vivid and true. All three are interchangeable in equal amounts, so use whatever is open in your fridge.
Pure vanilla extract. Skip imitation here if you can. Vanilla is the only flavor doing real work in the base, so it deserves the good stuff. A full teaspoon for two cups of sugar gives you that warm, bakery-style aroma that imitation just can't fake.
Optional melted butter and salt. A tablespoon of melted unsalted butter is my quiet secret for that slightly translucent, almost lacquered shine you see on bakery donuts. A pinch of fine sea salt sharpens the sweetness so the vanilla icing doesn't taste one-note. Neither is required, but together they elevate the finish from homemade to professional.
The technique is honestly almost too simple to write down, but the order matters. Rushing the liquid is the single most common reason home icing turns out lumpy, broken, or too thin to set. Walk through the steps slowly the first time and you'll have the rhythm memorized by the second batch.
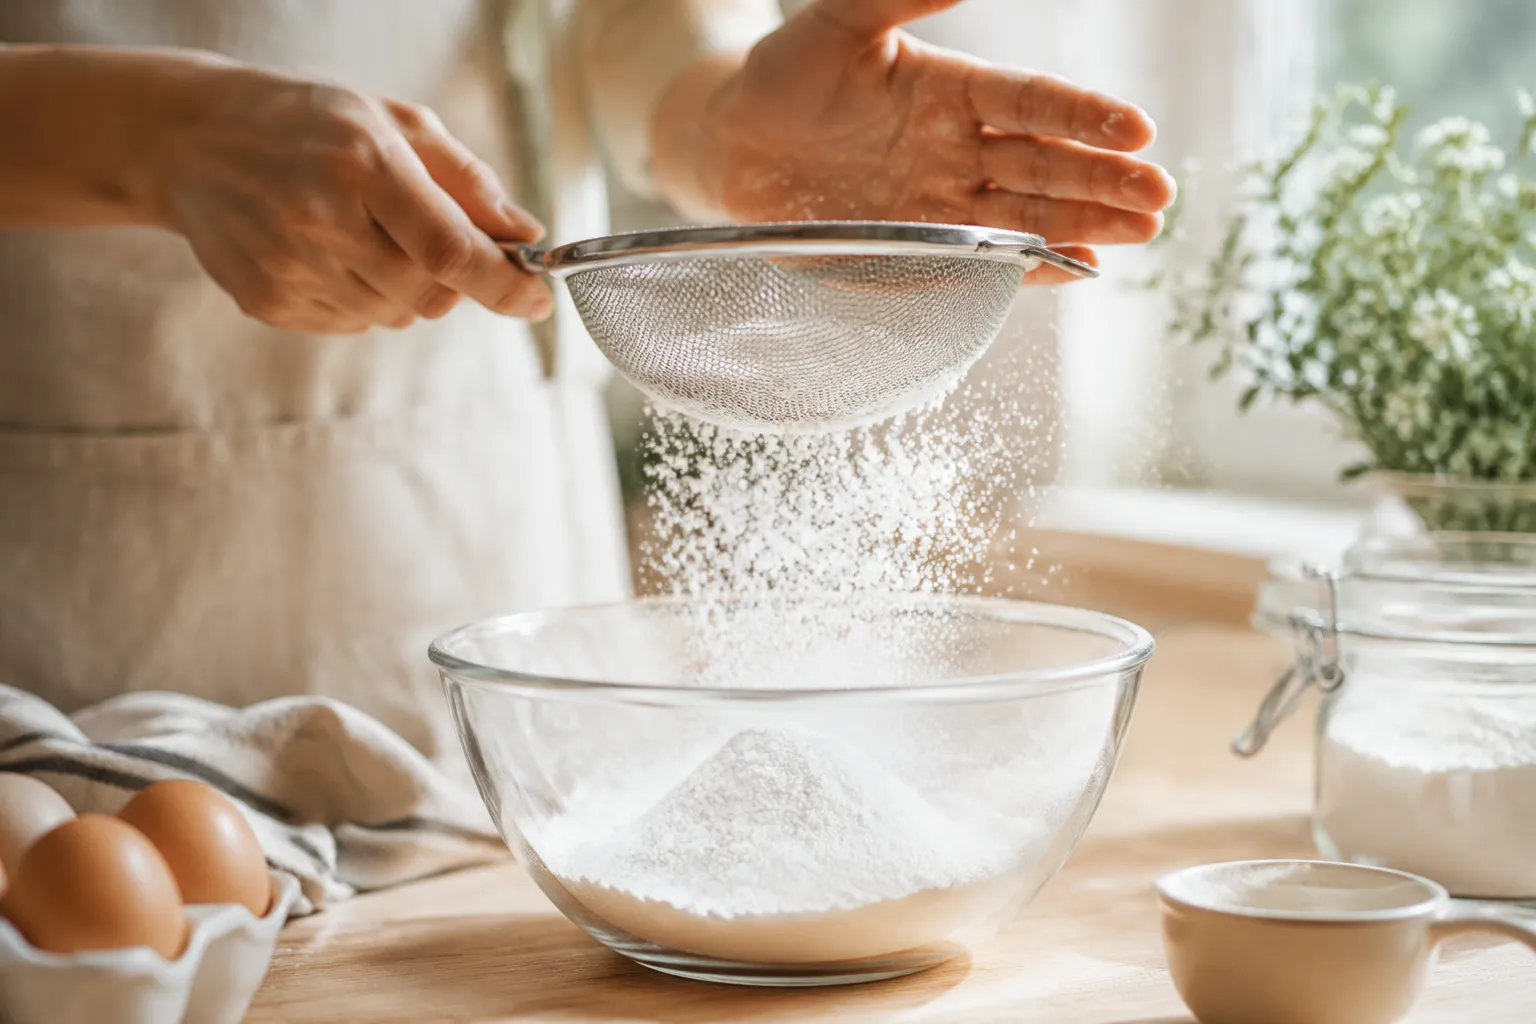
Start by sifting the powdered sugar directly into a medium bowl through a fine-mesh sieve. Yes, even if you're impatient. This one step is the difference between a glassy, magazine-finish icing and a chalky one with sad little white specks. Whisk in the pinch of salt and any optional melted butter at this stage so they distribute evenly before any milk hits the bowl.
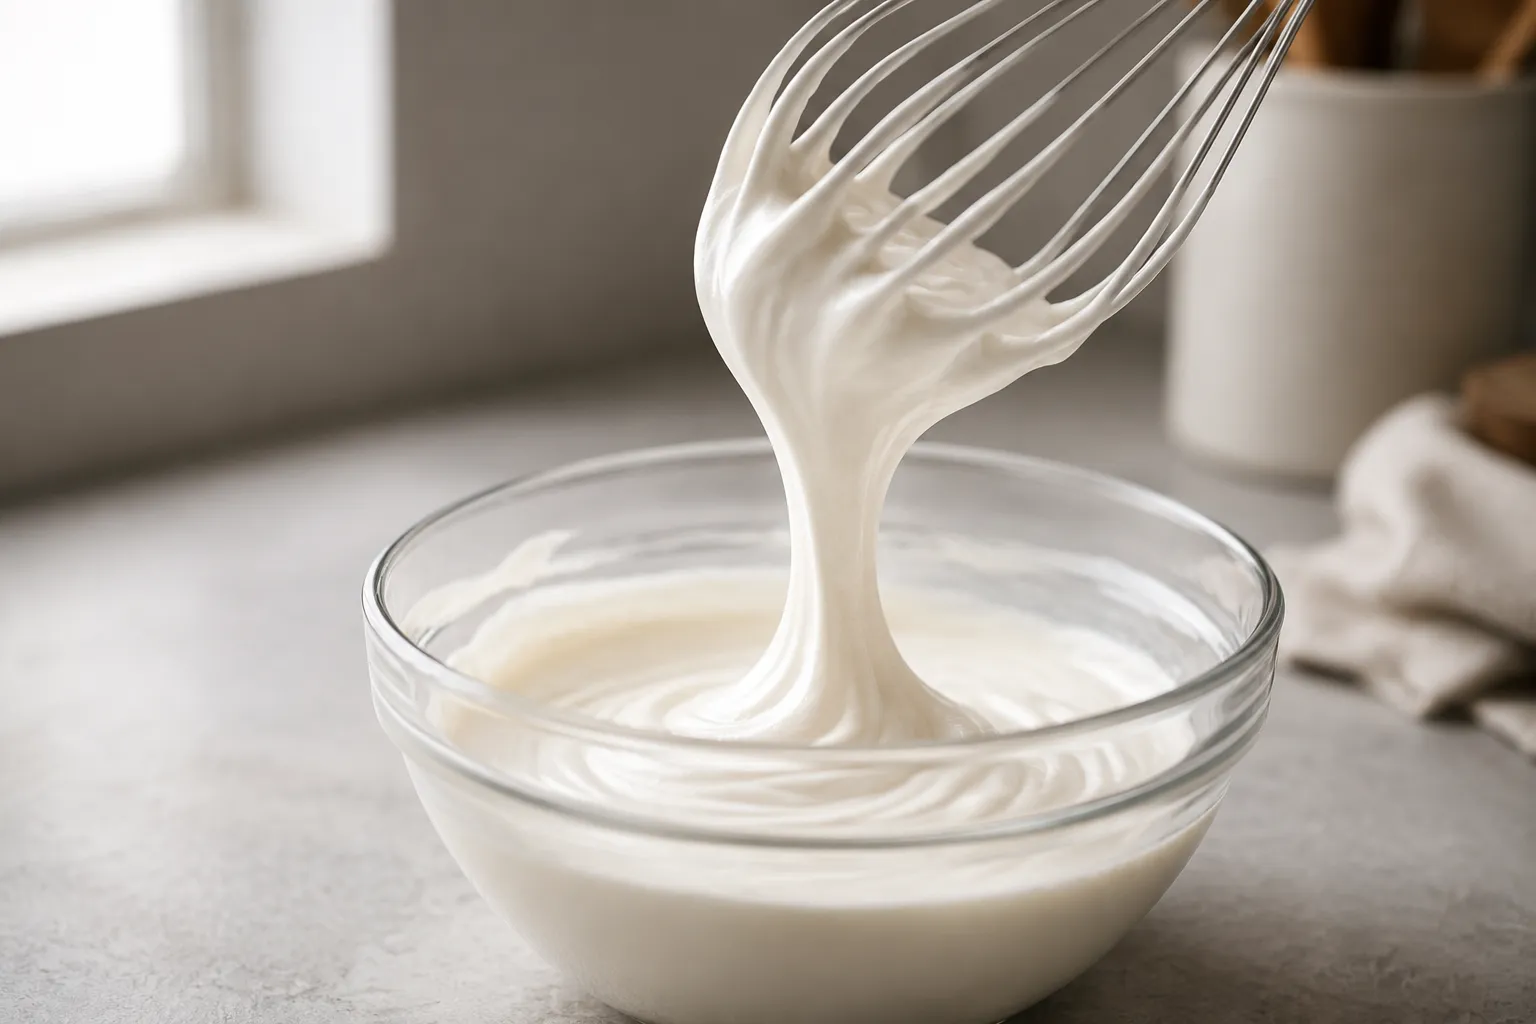
Now add liquid one teaspoon at a time, whisking constantly. The mixture will look impossibly thick and crumbly at first — almost like wet sand — and then suddenly come together into a glossy paste. Keep adding milk in tiny increments until the icing falls from the whisk in a slow, satin ribbon that holds its shape for a beat before sinking back into the surface. That visual cue is medium consistency, the most useful default for almost everything.
Stir in the vanilla extract last, after the texture is dialed in, so its aroma stays bright and pronounced. Adding extract early can mute the flavor as you continue to whisk. Use immediately for the glossiest finish, or press a piece of plastic wrap directly against the surface to prevent a skin from forming if you need to wait twenty or thirty minutes before drizzling.
Here's where this icing recipe really earns its keep. Most home cooks don't realize that the difference between a donut glaze, a cake drizzle, and a piped cookie outline is just liquid ratio — one base, three textures, no separate recipes required.
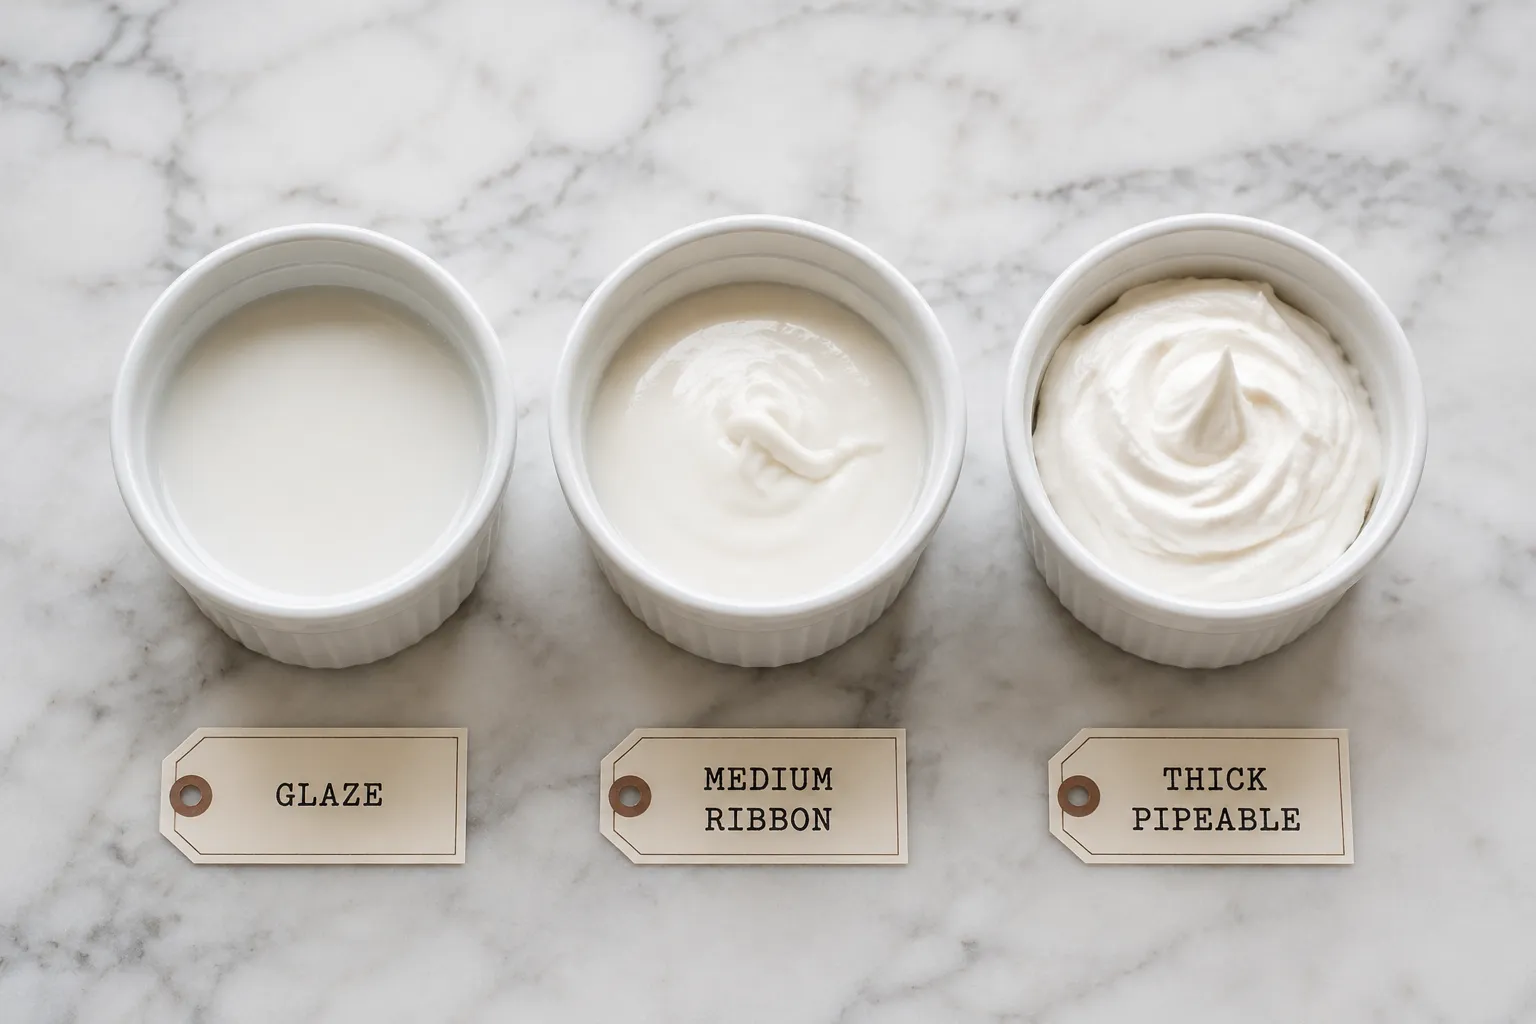
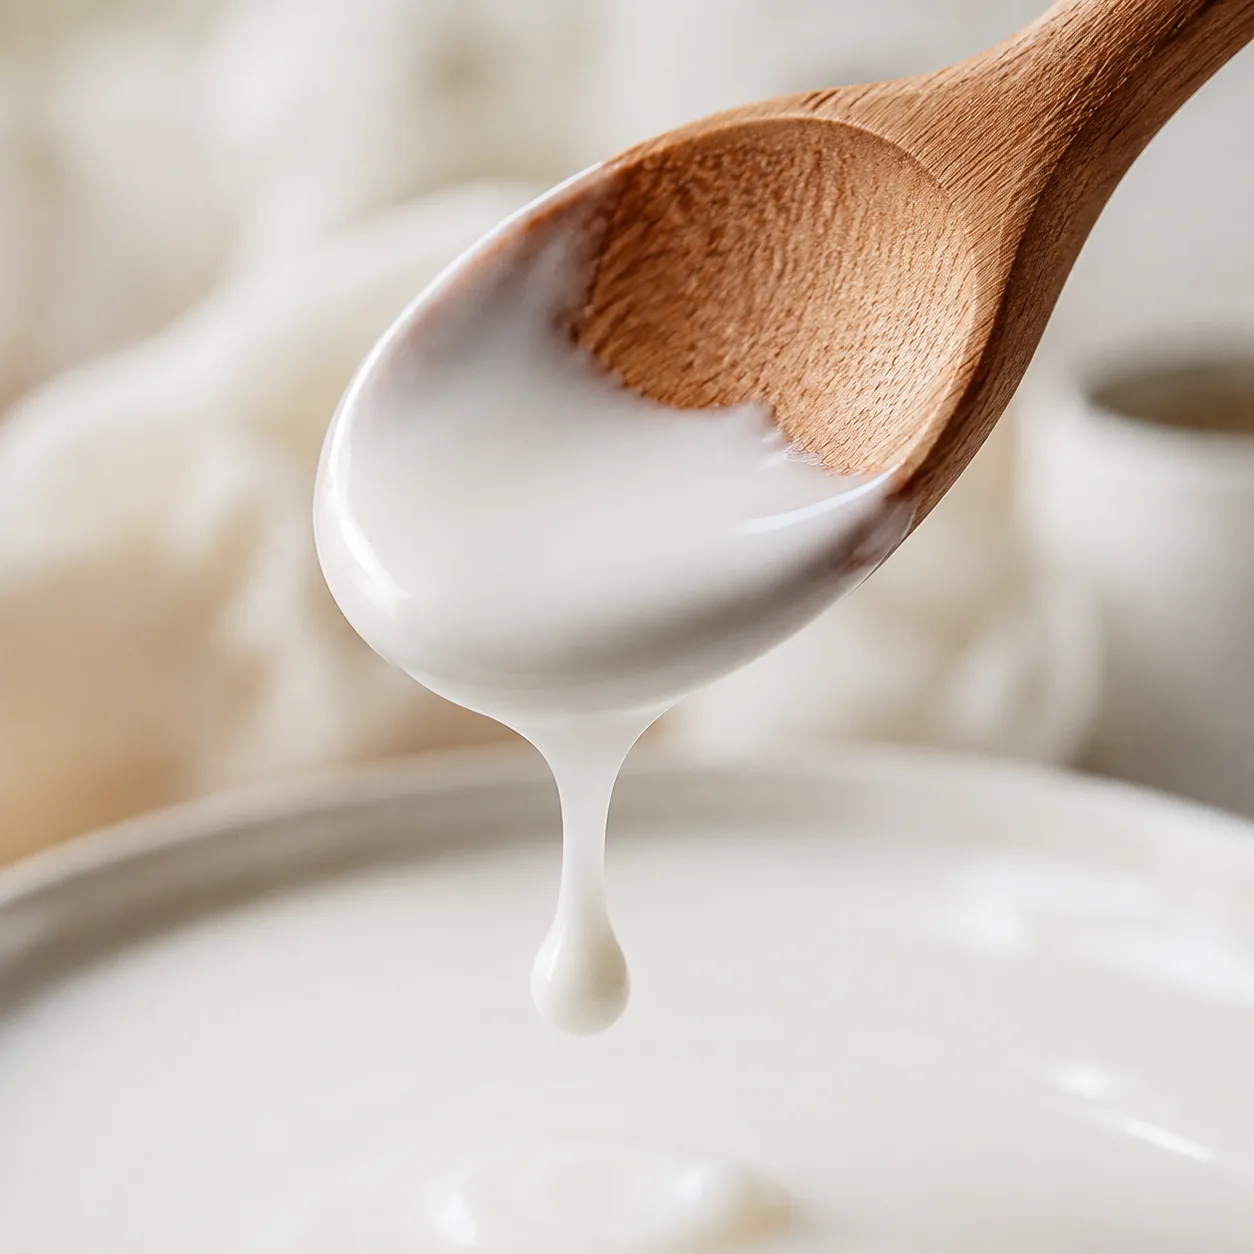
A thin powdered sugar glaze pours like warm cream and disappears almost completely into the surface of whatever you're coating. Use it for cake donuts, scones, pound cake, lemon loaves, and anything you want to lacquer rather than coat. Aim for a consistency that runs off the whisk in a steady, unbroken stream, like room-temperature honey.
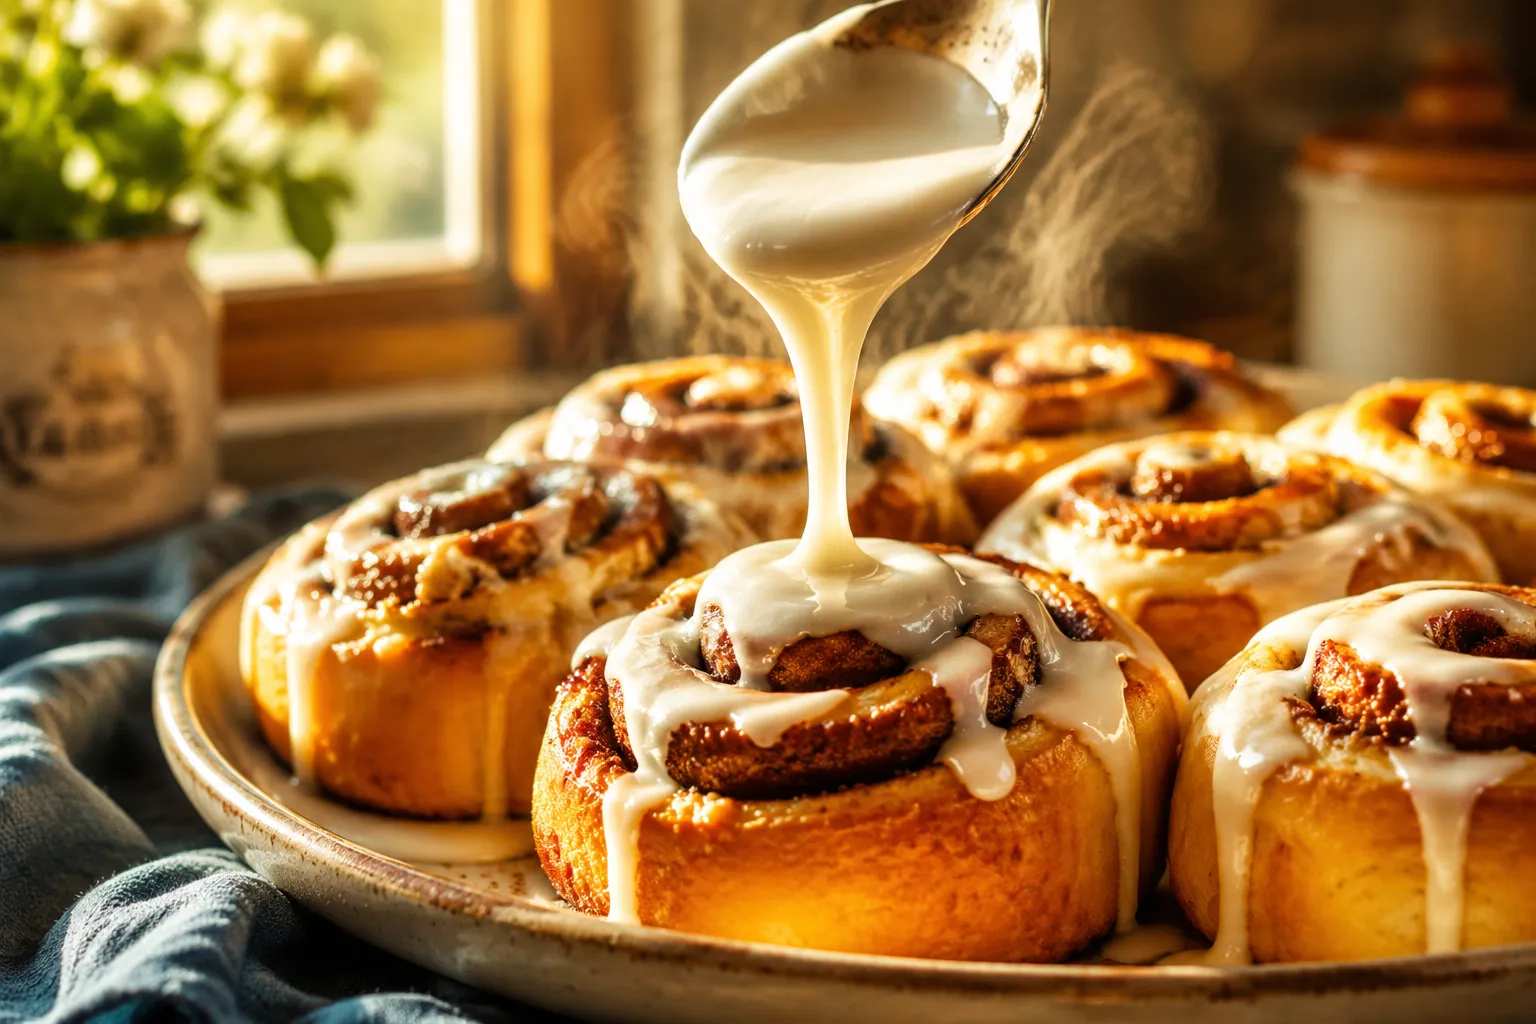
Medium consistency — that satin ribbon — is the workhorse you'll come back to most often. This is what you want for a vanilla cake recipe with a casual drizzle down the sides, for warm sticky buns, for cinnamon swirl bread, and for a generous pour over a humble morning coffee cake. It sets into a soft crust within about an hour but stays tender underneath, never crunchy.
Thick icing holds its shape on a spoon and stands up to detailed work. This is your texture for piping borders, lines, dots, and outlines onto sugar cookies. If you're trying to mimic royal icing for cookies without separating eggs and pulling out the stand mixer, just keep whisking in extra sifted sugar a tablespoon at a time until the mixture stiffens into soft peaks. Tint it, transfer to a piping bag, and you're set.
This is the part where I'd love to send you off with about a hundred ideas, but I'll stick to the ones I actually make on rotation in my own kitchen.
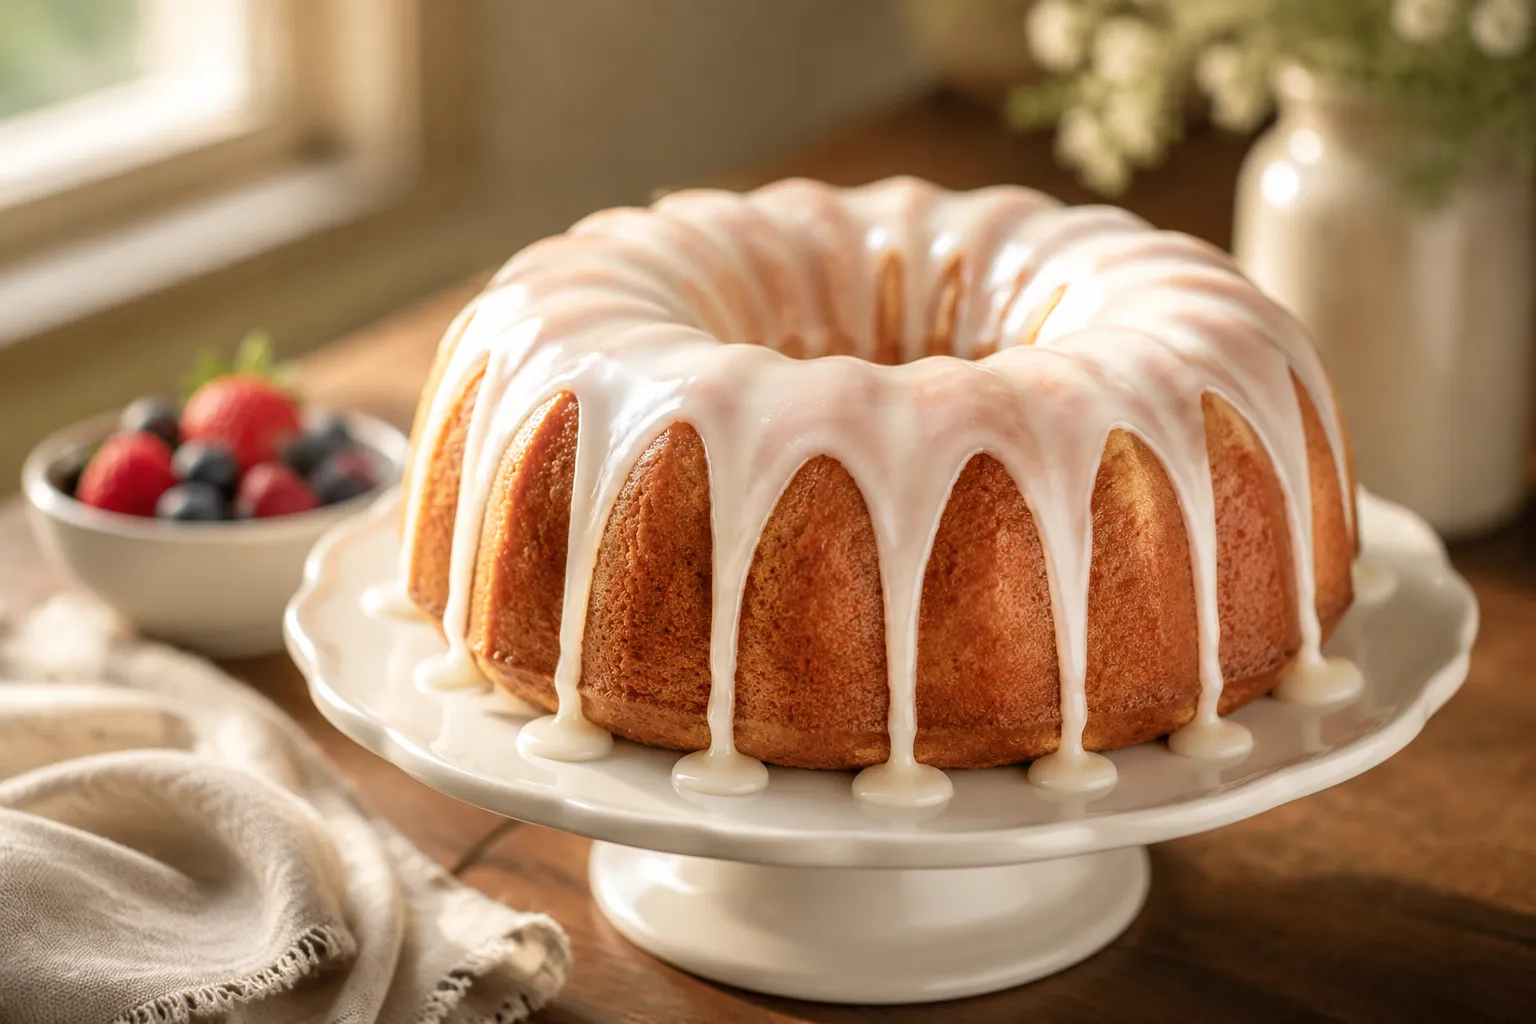
A simple white drizzle over a bundt or sheet cake is timeless. The icing pools into the ridges of a bundt the way the pan was designed for — almost no decorating skill required, and the finished cake looks like you spent an hour on it. Pair it with everything from lemon-poppy seed loaves to spiced apple cake to a classic vanilla pound cake. The neutral sweetness lets whatever's underneath stay the star.
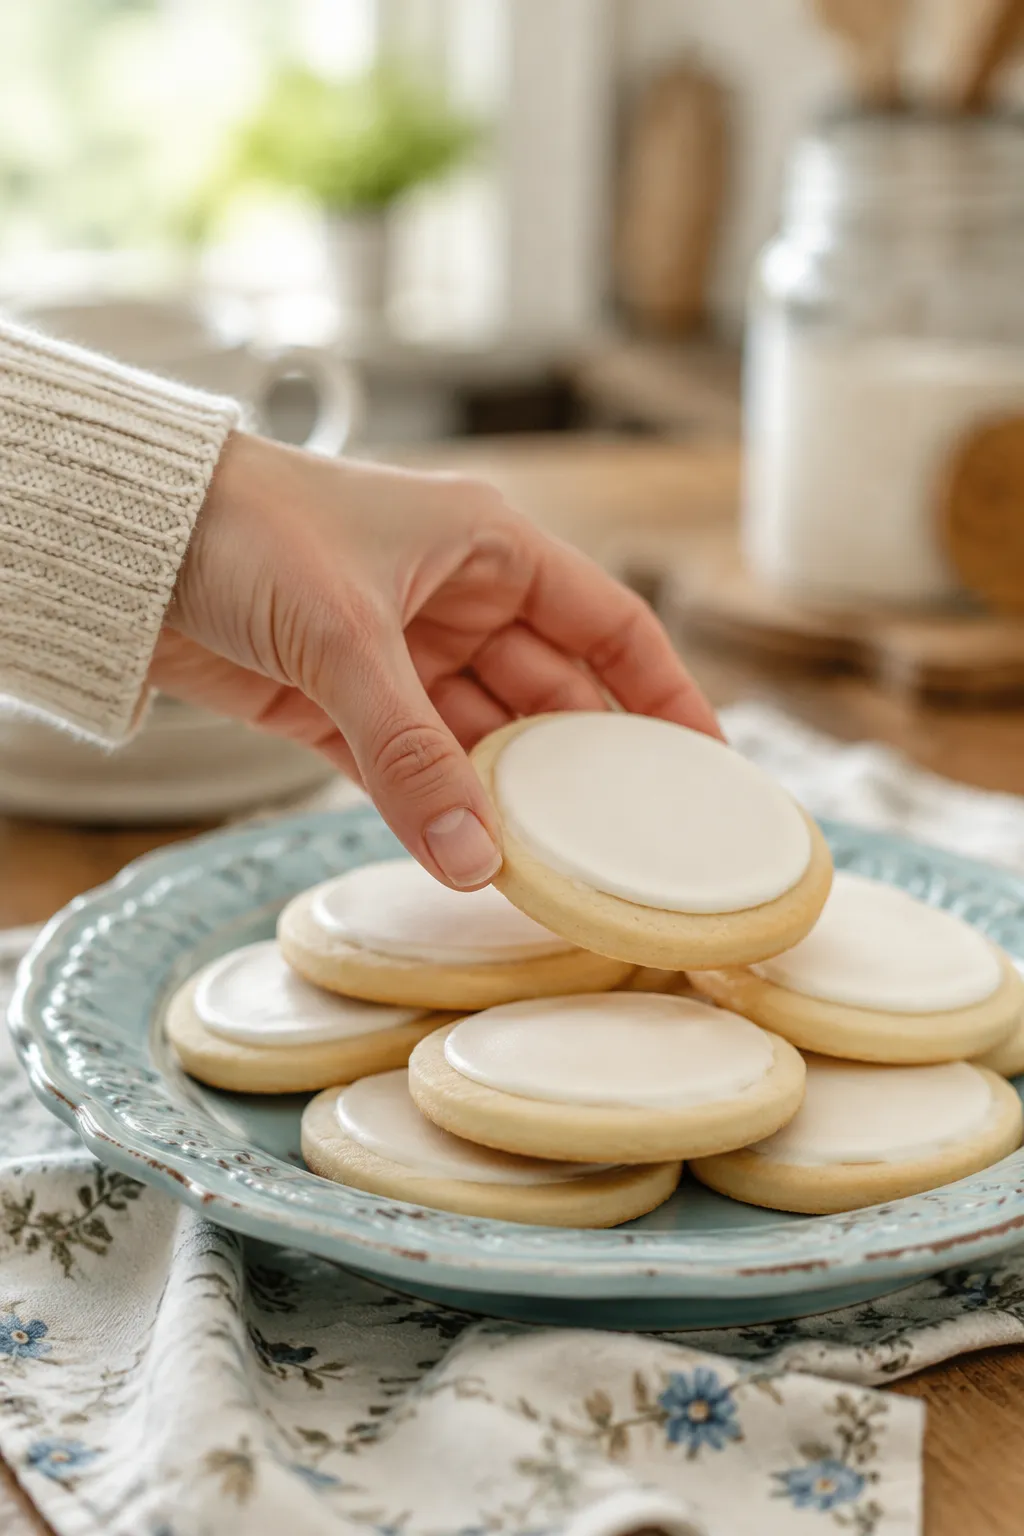
For cookies, thicken the base and spread it in a thin, even layer with a small offset spatula or the back of a spoon. It dries to a soft, matte finish that's far more forgiving than traditional decorating icings — no fussy flooding technique to learn. You can also drizzle the medium version over breakfast pastries, scones, or warm rolls straight out of the oven so it melts into every fold and crevice. Want the tang of cream cheese frosting without dragging out the mixer? Swap a tablespoon of softened cream cheese for the butter and add an extra splash of milk to thin.
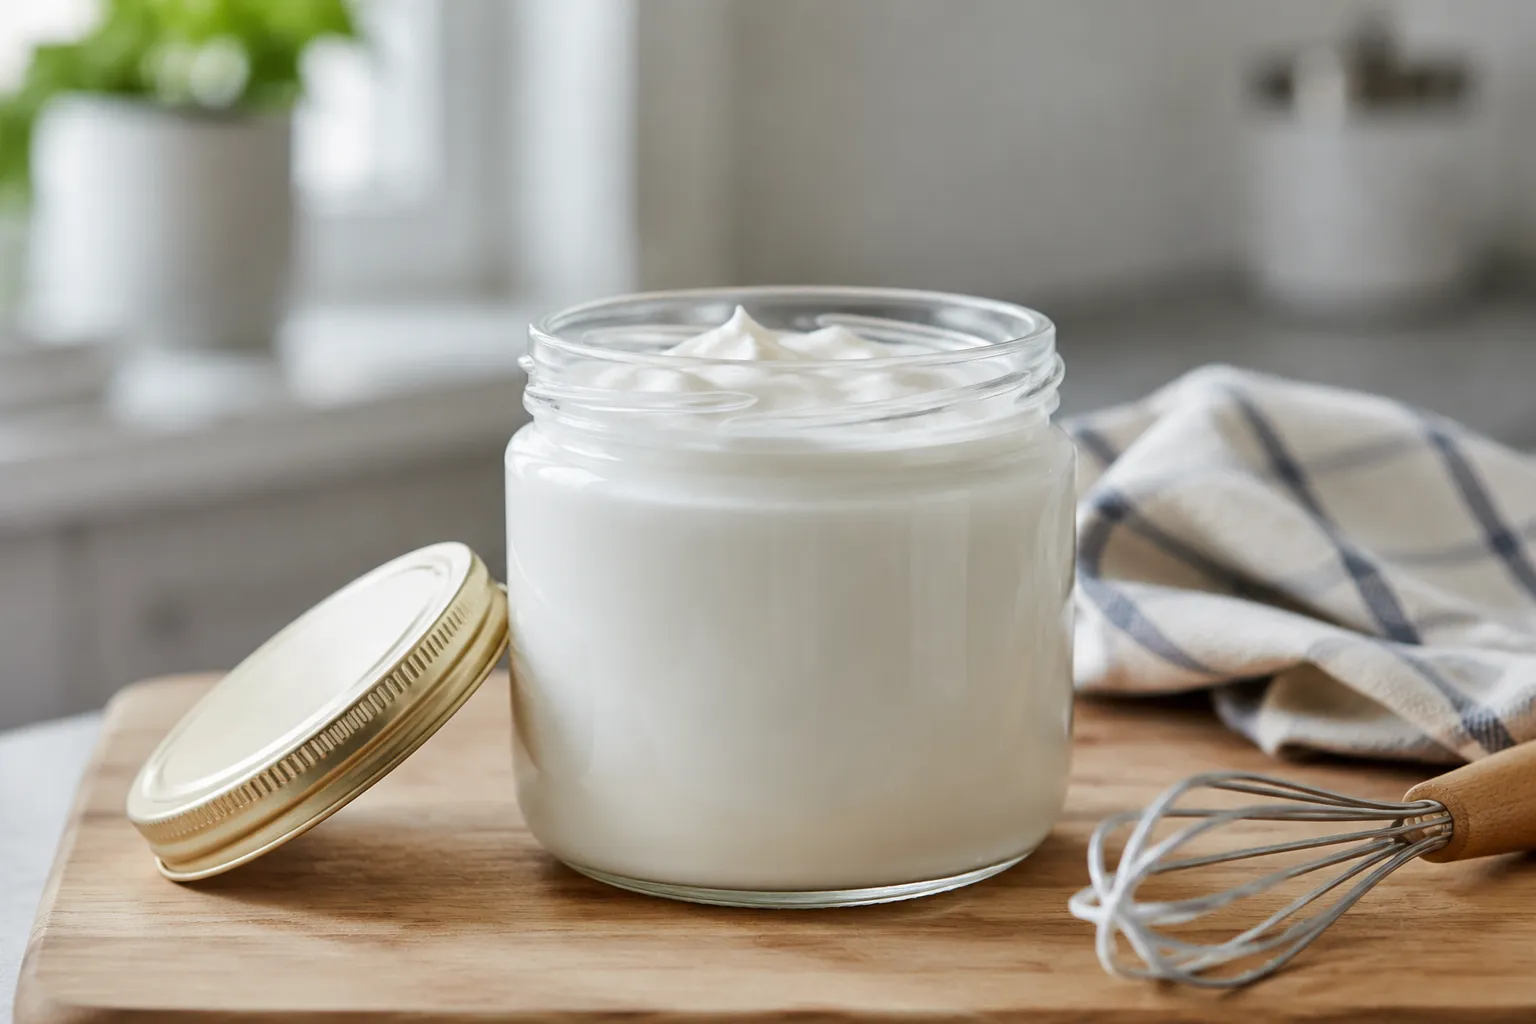
If you've made more than you need — and honestly, I always recommend doubling the batch — this icing recipe keeps beautifully in a sealed jar in the fridge for the better part of a week. Give it a quick whisk and a few drops of warm milk before using to revive that original glossy texture. With one base, four flavor swaps, and three consistencies on tap, you'll find yourself reaching for this homemade icing far more often than any tub of buttercream frosting on the shelf.
One base recipe, dozens of finished looks. Once you've nailed the master ratio, swap the liquid or extract to match whatever you're baking. Keep the powdered sugar measurement the same and adjust the liquid slowly until the consistency comes back into balance.
Leftover icing keeps surprisingly well. Store it in an airtight jar or container in the refrigerator for up to one week, or freeze it for up to three months. Always press a piece of plastic wrap directly against the surface before sealing the lid to prevent a crust from forming on top.
To revive chilled or frozen icing, let it come to room temperature for about 30 minutes, then whisk in a few drops of warm milk or water until it returns to the silky, glossy texture you want. Avoid microwaving, which can cause the sugar to seize or scorch in spots. Iced cookies and cakes themselves can be stored covered at room temperature for 2 to 3 days, refrigerated for up to a week, or frozen for up to two months — the icing actually protects the surface of the bake beautifully while it's stored.