Cream Cheese 101: How to Make It & Best Substitutes
Ingredients
Scale
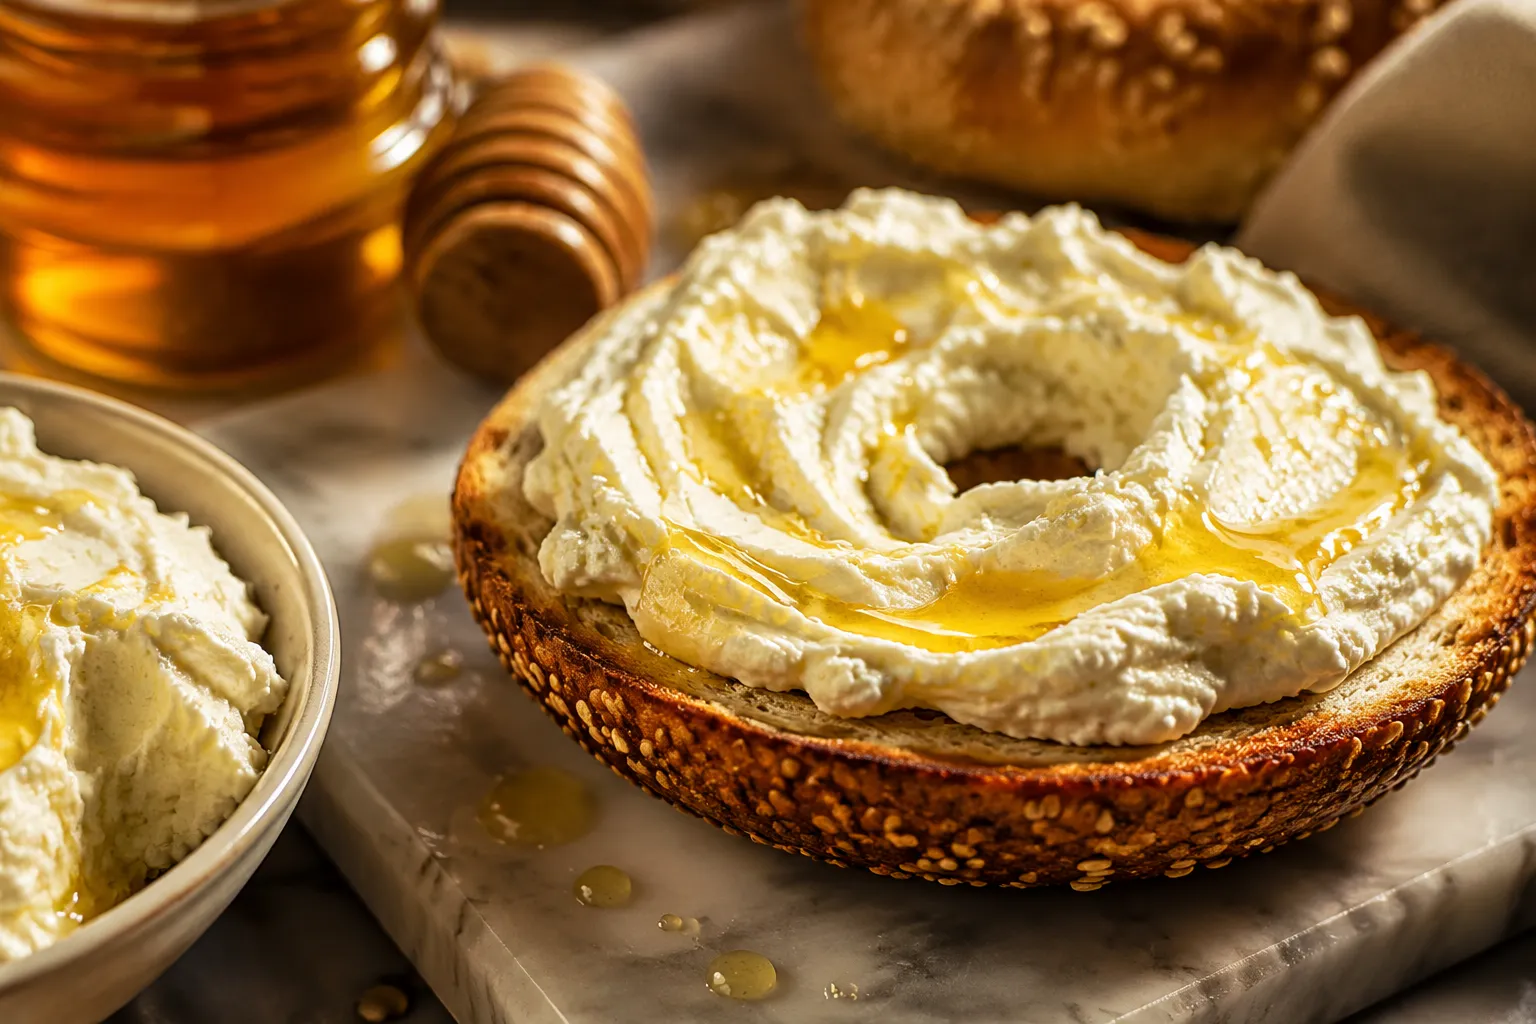
Everything you need to know about cream cheese, from a foolproof homemade recipe to the best substitutes when you've run out mid-bake.
Cream cheese is the silky, tangy backbone of everything from New York cheesecake to that perfect Sunday morning bagel, and learning to make it at home changes the way you bake forever. Whether you've run out mid-recipe, want to skip the gums and stabilizers in supermarket bricks, or just like knowing exactly what's in your food, this guide covers both halves of the equation: a foolproof 4-ingredient stovetop method, plus the eight smartest swaps when you need a cream cheese substitute right now.
I've spent years testing this technique in my own kitchen, and the magic is honestly how simple it is. You heat dairy, stir in acid, strain, and blend. That's it. The result is fresher and brighter than anything wrapped in foil at the store, with a clean dairy sweetness that supermarket bricks just can't match. Once you understand the science behind why curds form, you'll see why a tub of Greek yogurt or a wedge of Neufchâtel can rescue you when the fridge is bare.
By the end of this guide, you'll have a tested method, a substitution matrix sorted by use case, and enough confidence to swap, scale, or stretch any soft cheese recipes that call for the real deal.
Cream cheese is a fresh, unaged soft cheese made by curdling cream-enriched milk with acid, then straining and whipping the curds until smooth. Unlike aged cheeses, it's eaten within days of being made, which is why a from-scratch batch tastes so vibrantly milky compared to a sealed brick. American-style versions are legally required to contain at least 33 percent milkfat and no more than 55 percent moisture, and that high-fat ratio is what gives it the dense, sliceable spread we associate with Philadelphia-style.
It also takes well to both sweet and savory work, which is rare for a single ingredient. The same scoop that anchors a vanilla cheesecake will turn into a garlicky dip or a smoked salmon schmear with almost no extra effort.
The product we recognize today was popularized in the 1870s by a New York dairyman named William Lawrence, who was actually trying to replicate French Neufchâtel and ended up with something richer and denser. By 1880, his version was being distributed under the Philadelphia brand name, and the rest is breakfast history. Cultured varieties (those aged briefly with live bacteria) are still common in Europe, while American versions tend to lean acid-set for shelf stability and quicker production.
This is where most home cooks get tripped up. Mascarpone is essentially Italian cream curdled with citric acid — sweeter, looser, and around 75 percent fat, which is why it dominates tiramisu. The mascarpone vs cream cheese debate usually comes down to tang: mascarpone has almost none, while the American spread has that bright lactic snap. Neufchâtel (the American version, not the French original) is a leaner cousin with about a third less fat and slightly more moisture. Ricotta is made from whey rather than whole milk, so it's grainier and milder. Each has its place, and we'll get to which one swaps where in a moment.
Once you've tasted homemade cream cheese, the store-bought tub starts to feel a little dull. The flavor is cleaner, the texture is fluffier, and you control every variable from acidity to salt level. It also takes about 15 minutes of active work, which is less time than most people spend deciding what to order for delivery.
Commercial bricks rely on locust bean gum, carrageenan, and guar gum to hold their shape on supermarket shelves. Those additives aren't dangerous, but they do mute the dairy flavor and give the spread a slightly gummy mouthfeel. A from-scratch batch tastes like sweet cream with a whisper of lemon — exactly what you want under a smoked salmon bagel or folded into a frosting.
Six cups of dairy yields about 12 ounces of finished spread for roughly the cost of two name-brand bricks, and you can scale up or down without waste. Want a tangier batch for cream cheese frosting? Add an extra splash of lemon juice. Need a salt-free version for a sweet recipe? Skip the seasoning entirely. That kind of granular control is impossible at the grocery store.
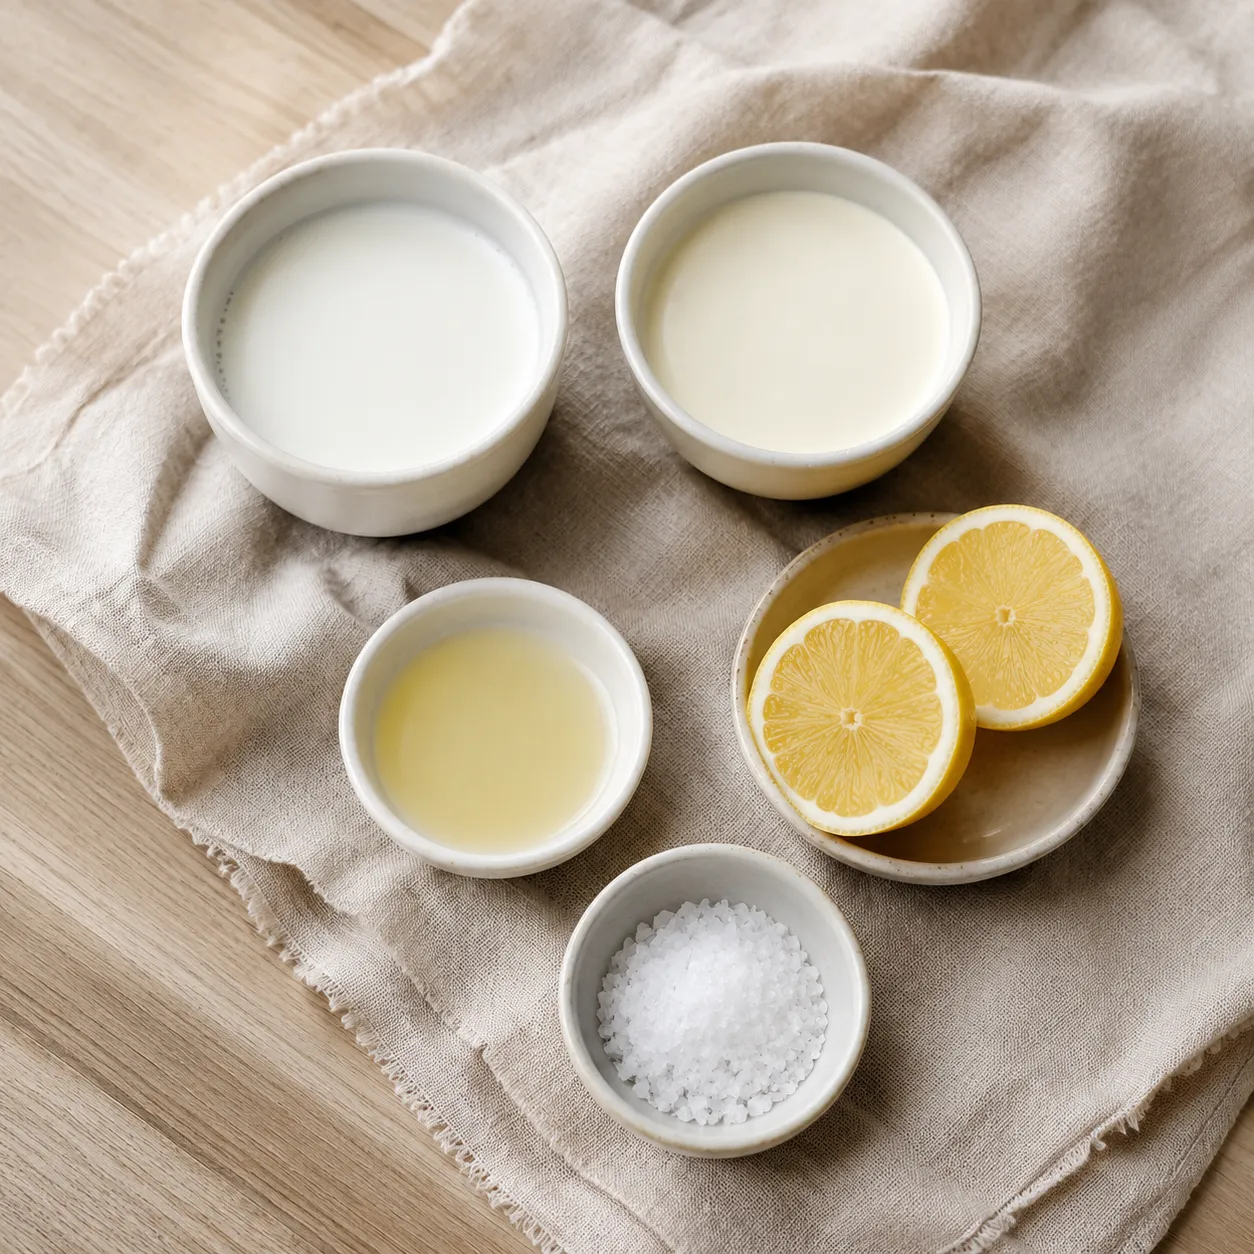
The ratio I land on after dozens of tests is two parts whole milk to one part heavy cream, which gets you close to the legal Philadelphia-style fat percentage without crossing into mascarpone territory. Skip ultra-pasteurized dairy if you can find regular pasteurized at your store — UHT processing damages the milk proteins enough that curds form weakly and the texture turns chalky. Standard pasteurized (not ultra) from the regular dairy aisle works perfectly every time.
Fresh lemon juice is my default because the flavor is clean and bright. Distilled white vinegar is a fine, neutral substitute when you're out of citrus, though it can leave a slight sharpness if you use too much. Cultured buttermilk takes longer (a slow overnight set instead of a quick curdle) but produces the most complex, faintly tangy result. Stick with lemon for your first batch and branch out once you know what to expect.
Half a teaspoon of fine sea salt seasons a batch this size beautifully without pushing it into savory territory. Once the curds are blended, you can stir in chives and cracked pepper for a bagel spread, or honey and vanilla for a sweet whip. I like keeping the base neutral and flavoring small portions as needed — that way one batch can pivot in three different directions over the course of a week.
The full numbered method lives in the recipe card below, but here's the rhythm so you know what to expect. The whole process is forgiving as long as you don't rush the strain.
Combine the milk and cream in a heavy-bottomed saucepan and warm over medium heat, stirring often so nothing scorches on the bottom. You're looking for 200°F on a thermometer, which is a gentle simmer with small bubbles around the edge — not a rolling boil. A rolling boil cooks the proteins too aggressively and makes the curds tough and squeaky.
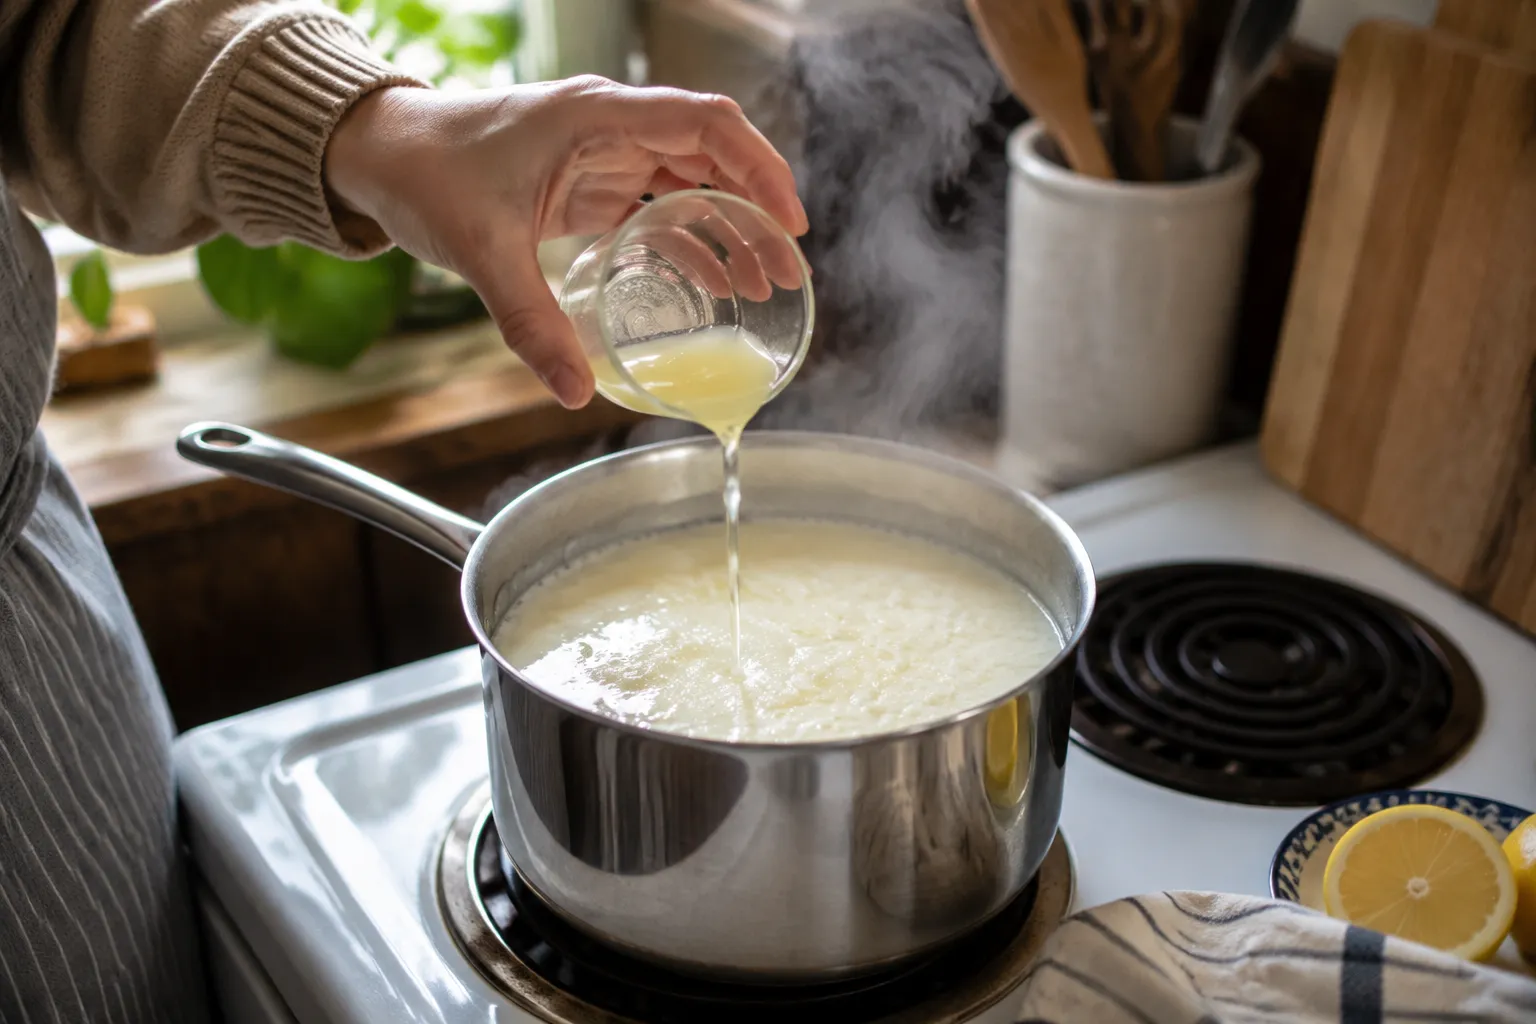
Off the heat, stir in the lemon juice one tablespoon at a time. Within seconds you'll see the mixture separate into white curds and pale yellow whey. If it doesn't break cleanly after the third tablespoon, add another teaspoon of juice and wait two minutes. Let the pot sit undisturbed for ten minutes — this resting period helps the curds firm up before you strain them.
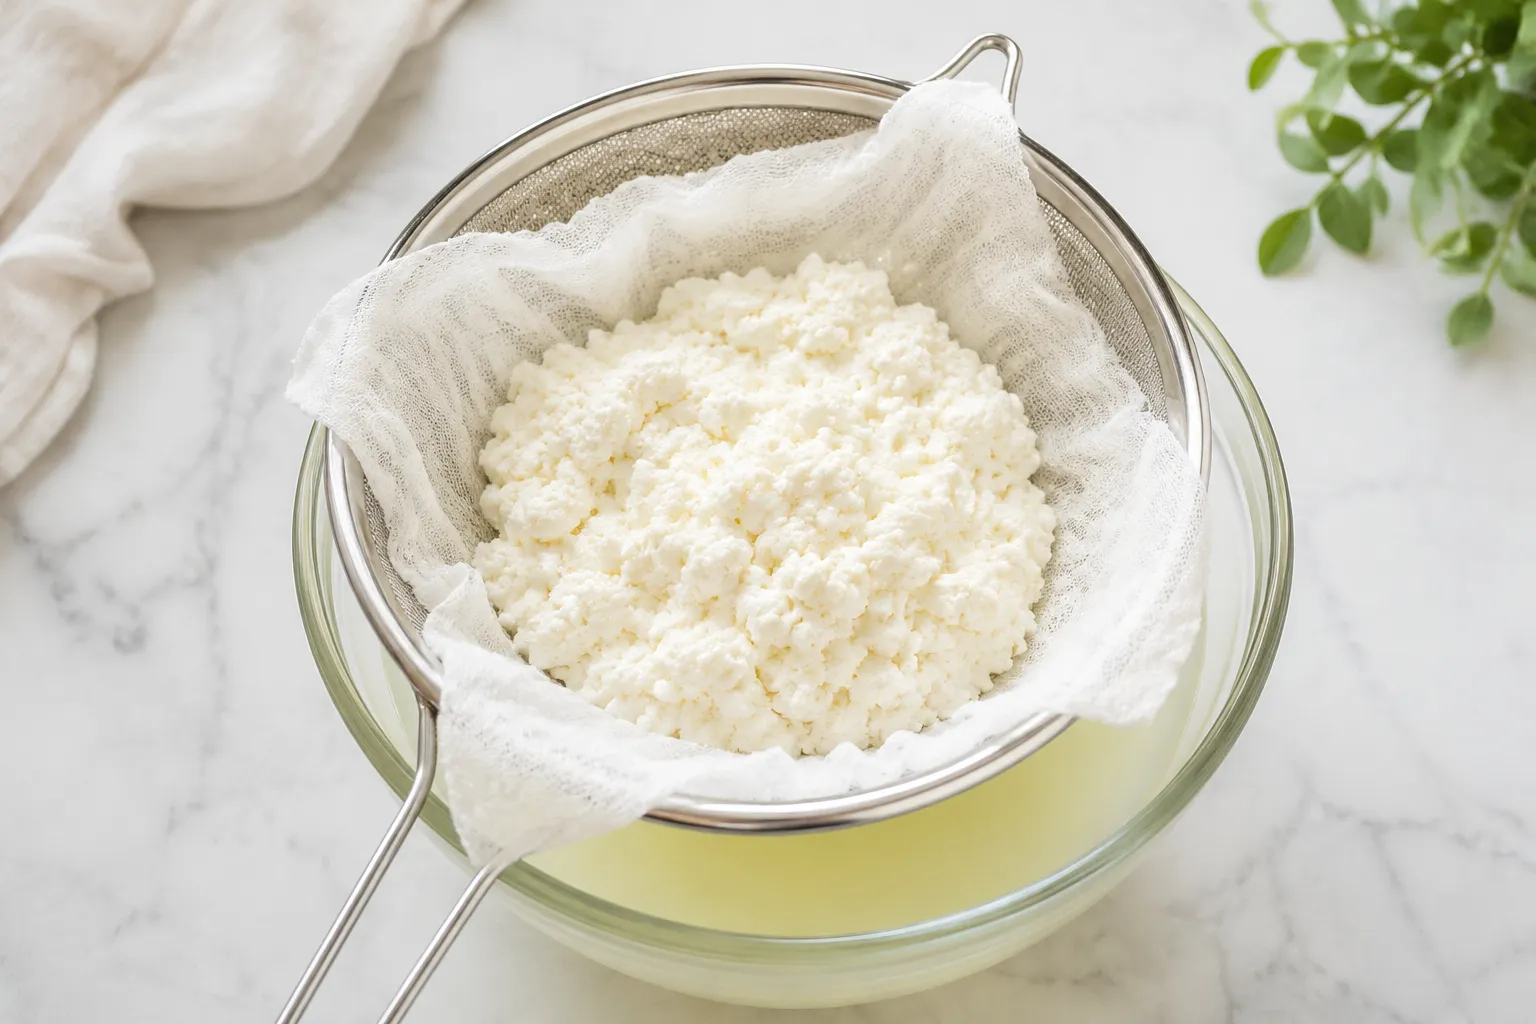
Line a fine-mesh strainer with two layers of cheesecloth, set it over a deep bowl, and gently ladle the contents of the pan into it. Save the whey if you bake bread — it's a secret weapon for soft sandwich loaves and tender pizza dough. Tie the cheesecloth into a tidy bundle and let it drain in the fridge for at least 6 hours, ideally 8.
Scrape the drained curds into a food processor with the salt and run it for a full 90 seconds, stopping to scrape down the sides twice. This is the step that separates farmer's cheese from the silky Philly-style spread you're after. If it looks grainy at first, keep going — the fat needs time to emulsify into a glossy, satin paste that holds soft peaks when you lift the blade.
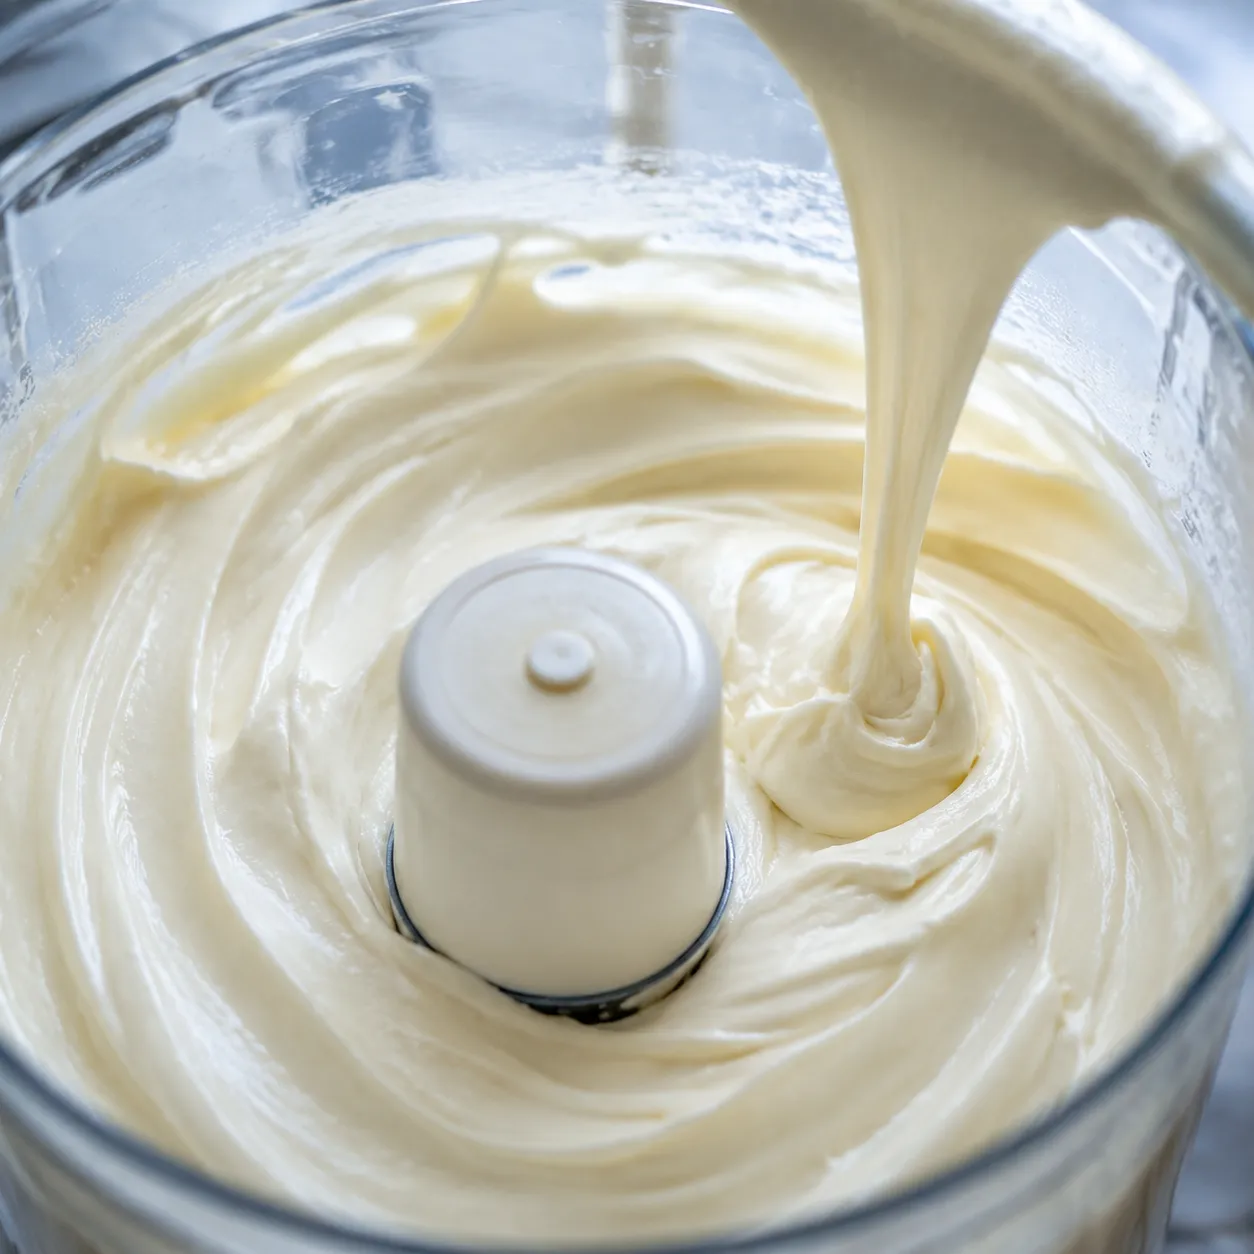
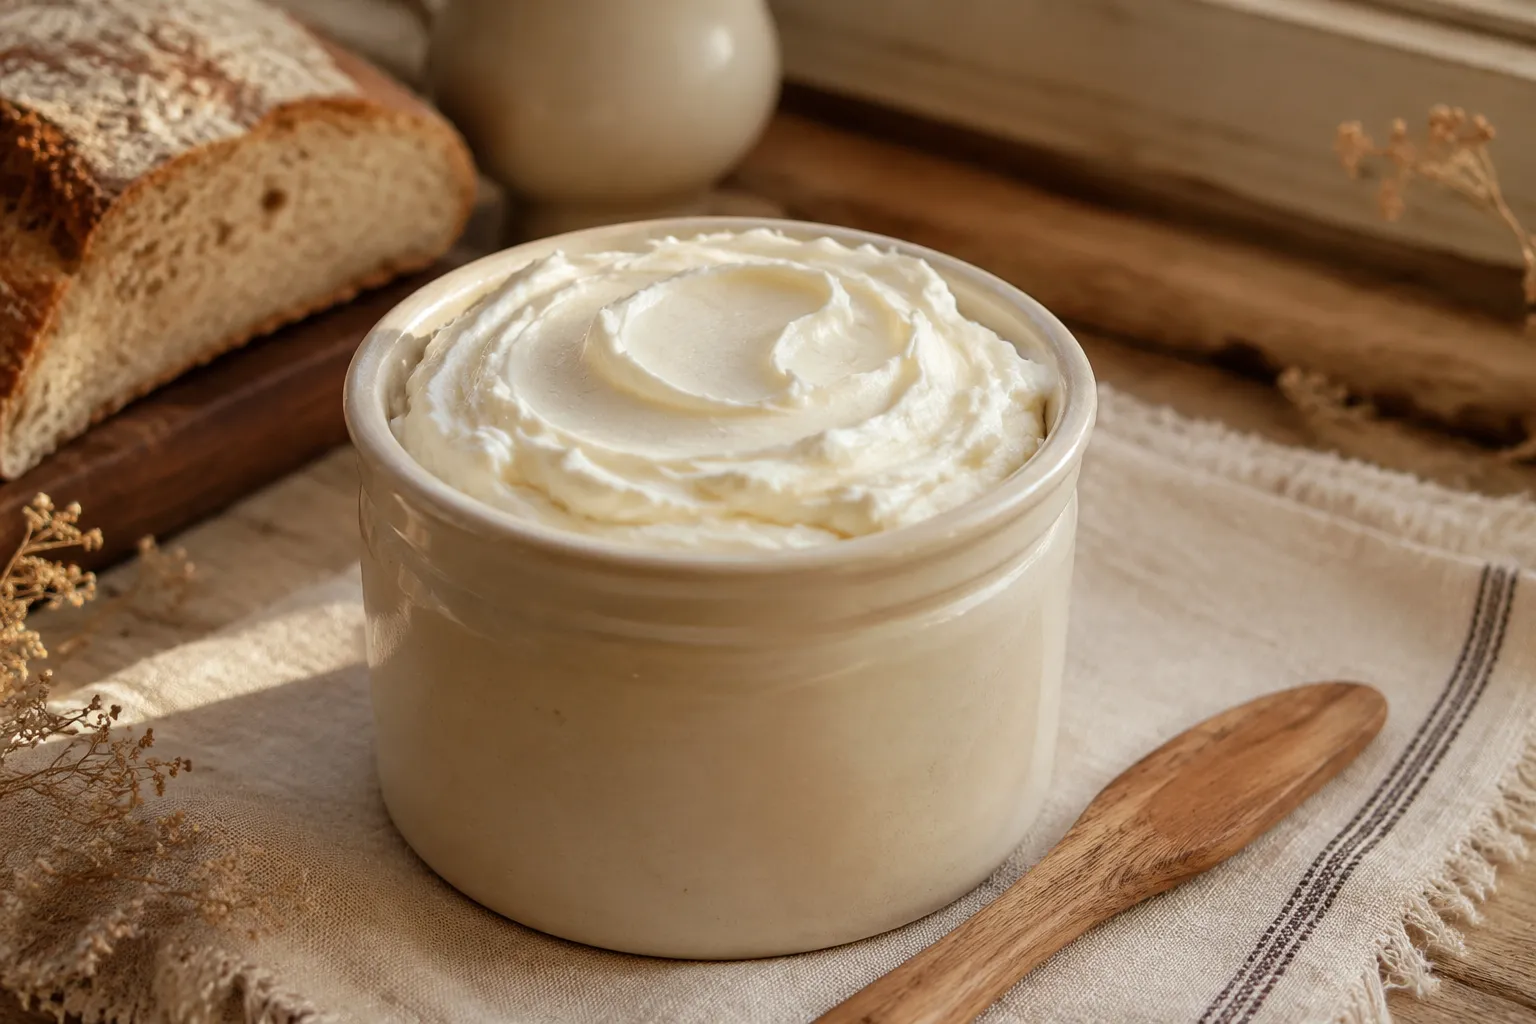
Once it's smooth, pack it into a clean jar, smooth the top, and chill for an hour before using to let the texture set. From here you can flavor it, fold it into batter, or just spread it on toast and call it brunch.
Sometimes you don't have time to make a batch from scratch, or your fridge is one ingredient short of a recipe. The right cream cheese substitute depends entirely on what you're cooking, so here's the matrix sorted by use case rather than by ingredient.
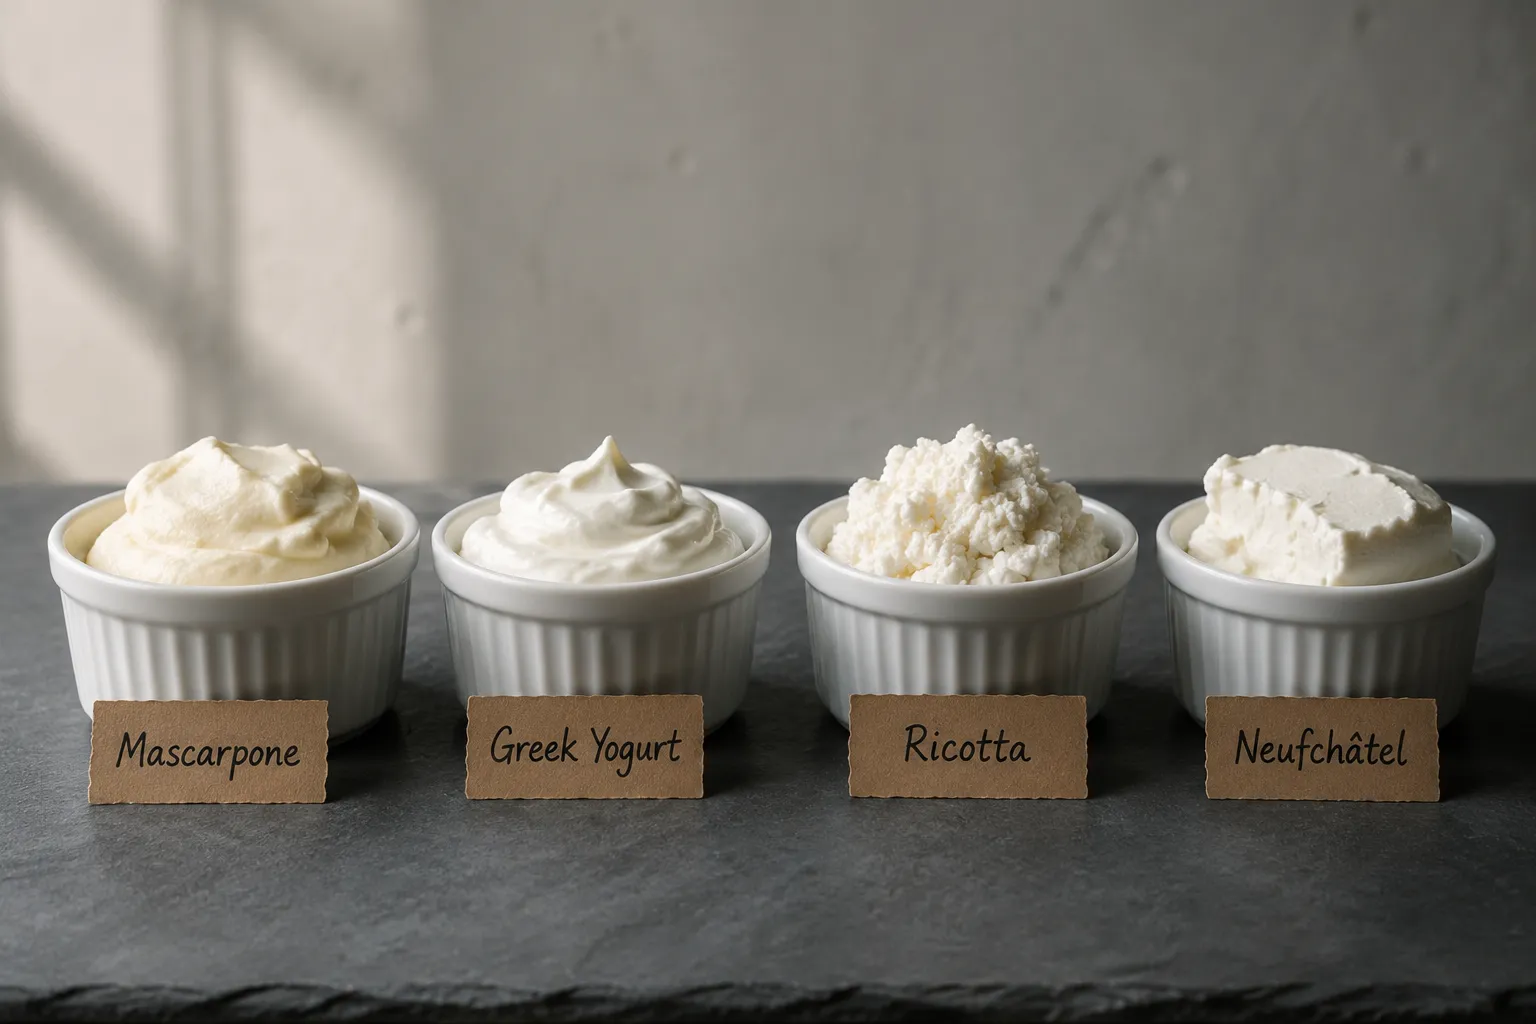
Mascarpone is the closest 1:1 swap and gives a richer, slightly looser cheesecake — perfect for no-bake recipes and tiramisu-style desserts. Full-fat ricotta works if you strain it overnight in cheesecloth and then blend it smooth in a food processor; the result is lighter and slightly grainy but bakes beautifully. Neufchâtel can be used straight across in any baked recipe and quietly saves a few grams of fat per serving without anyone noticing.
For cream cheese frosting on carrot cake or red velvet, mascarpone produces the most luxurious result, though you'll want to add an extra tablespoon of powdered sugar to balance the lower tang. Neufchâtel pipes a little softer than the original but tastes nearly identical once it's mixed with butter and sugar. Avoid Greek yogurt for piped frostings — it's too loose to hold borders or rosettes, though it shines in glazes and drizzles.
A thick Greek yogurt substitute works wonderfully for dips, weeknight bagel spreads, and tzatziki-style mixes; use full-fat strained yogurt and add a teaspoon of olive oil for body. Cottage cheese, blended smooth in a high-speed blender for two full minutes, is the protein-forward swap that's been everywhere on social media for good reason. Boursin or Laughing Cow wedges, mashed with a fork, also work in a pinch when you need texture more than flavor neutrality.
Soaked raw cashews blended with lemon juice and salt produce the most convincing plant-based version, with a real tang and spreadable texture. Store-bought tubs from Kite Hill or Miyoko's are excellent shortcuts for bagels and frostings if you don't want to soak nuts overnight. For baking specifically, full-fat coconut cream chilled overnight and whipped briefly mimics the body if not the tang, so adjust your acid accordingly.
The classic carrot cake topping is just whipped soft cheese, butter, powdered sugar, and vanilla, and it takes five minutes. Folded into cheesecake batter with eggs and sugar, the same ingredient turns into a dense slab or a cloud-light Basque burnt version depending on your oven temperature. A spoonful tucked into laminated dough makes weekend Danish a real possibility, and a swirl through brownies adds a tangy ribbon that cuts the chocolate's richness.
Stir half a cup into hot pasta with a handful of spinach and you've got a 10-minute weeknight sauce that beats anything jarred. It's the secret to silky spinach-artichoke dip, jalapeño poppers, and pinwheel appetizers that disappear at parties before you finish plating them. Pound a chicken breast thin, smear with herbed soft cheese, roll it up, and bake — dinner in 25 minutes. The same versatility that makes this dairy staple work in dessert is exactly why it earns its spot in savory cooking too.
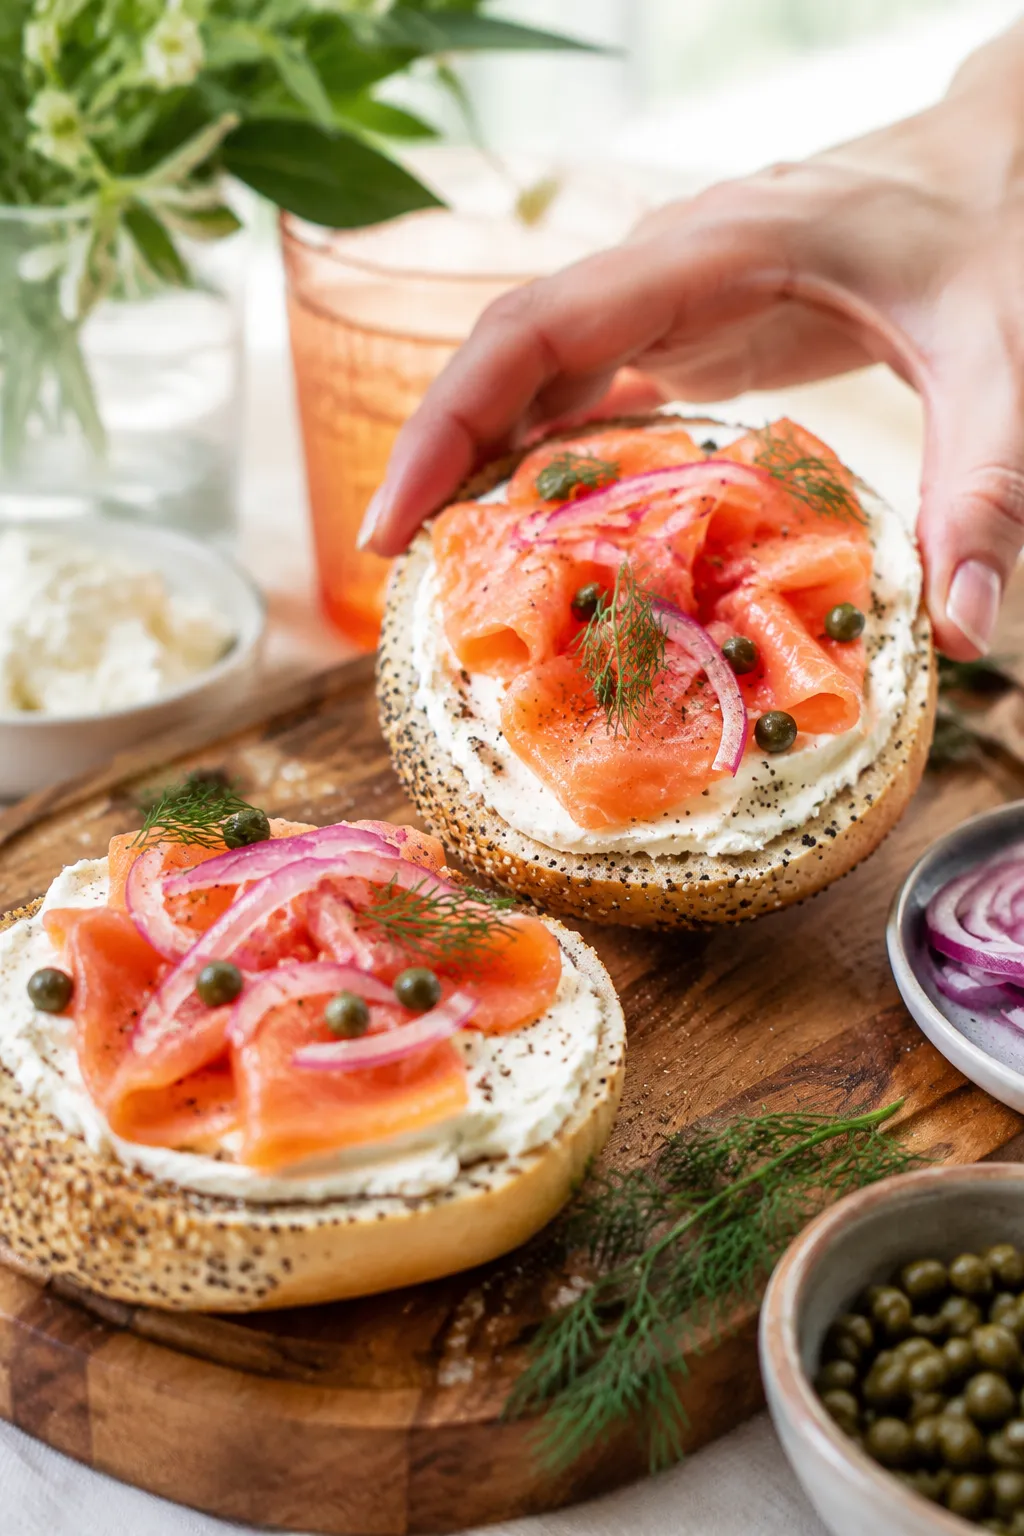
Once you've made a batch from scratch, you'll start seeing uses for it everywhere — and you'll appreciate how a single jar can pivot from breakfast bagel to dinner pasta to dessert frosting in the same week. That's the quiet power of this ingredient, and why every confident home cook should know how to make it and how to swap it.
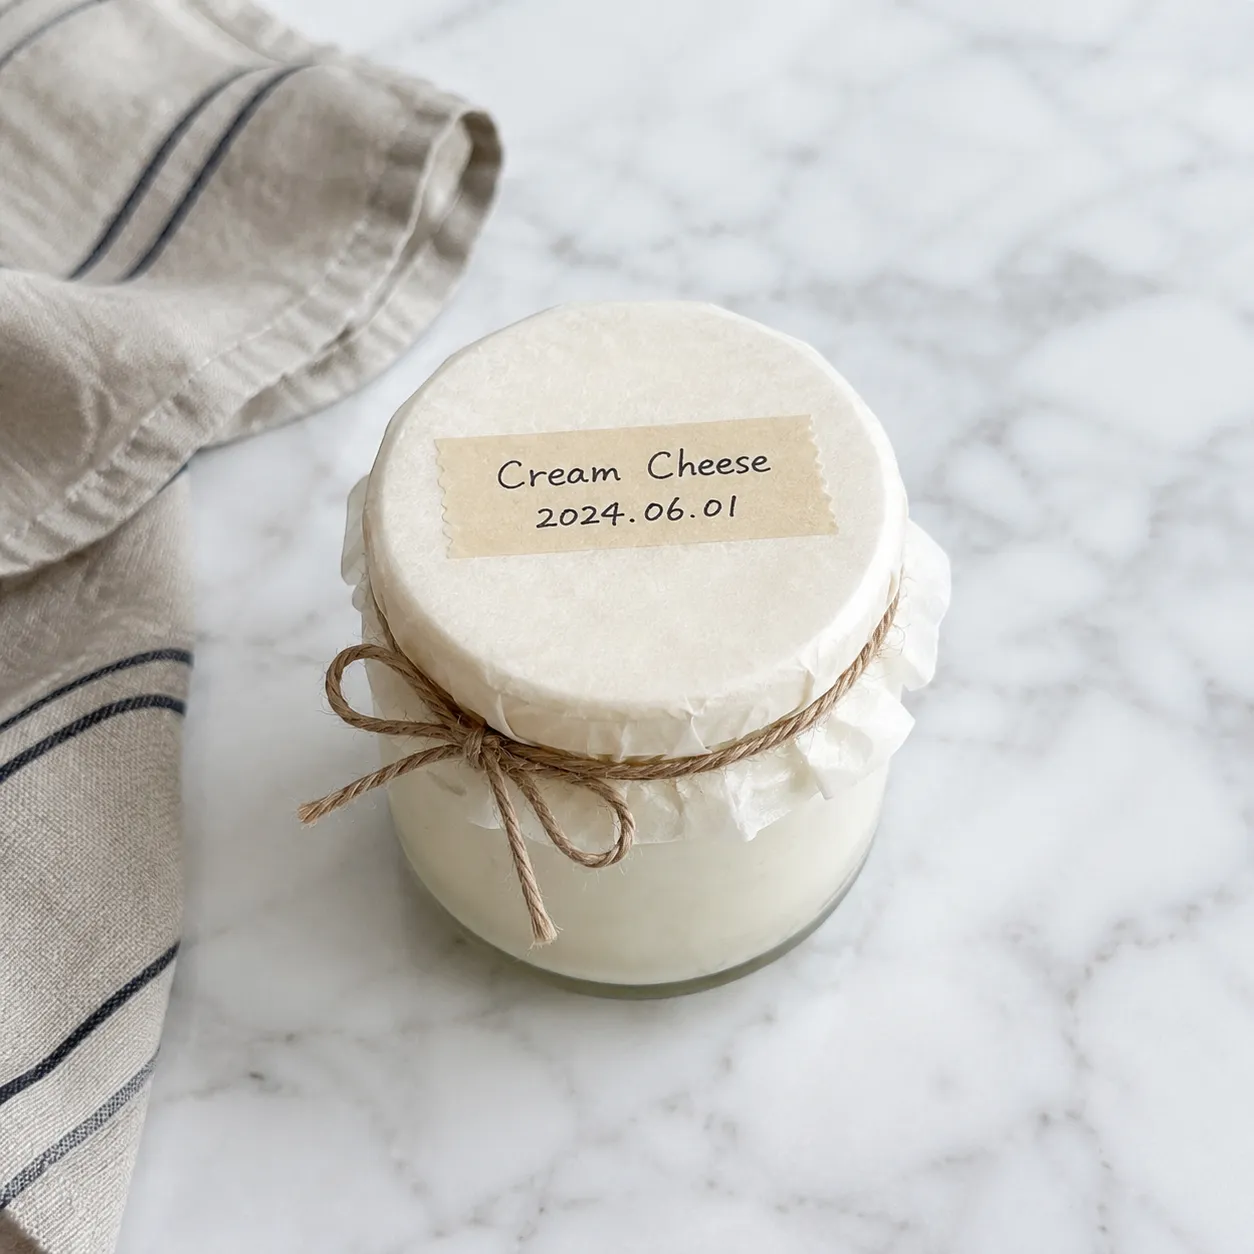
Once you've nailed the base recipe, the flavor possibilities open wide. The high-fat base is a near-perfect carrier for both savory aromatics and sweet add-ins, so a single batch can pivot in dozens of directions depending on what you stir in during the food-processor step.
Pack the finished spread into a clean glass jar, press a piece of parchment directly onto the surface, and seal with a tight-fitting lid. It will keep in the coldest part of the fridge (not the door) for 7 to 10 days. The texture firms up as it chills and softens slightly when warmed, so pull it out 20 minutes before serving for the best spreading consistency. If you spot any pink discoloration, sour smell, or fuzzy mold, toss the whole batch — fresh cheeses don't have the salt or aging to fight off contamination.
Freezing isn't recommended for spreadable use because the water and fat separate as it thaws, leaving a grainy, curdled texture that no amount of stirring will rescue. That said, frozen-then-thawed batches still work beautifully in baked applications like cheesecake, pound cake, or stuffed pasta, where eggs and sugar mask the texture change. Freeze in airtight containers for up to 2 months and thaw overnight in the fridge before using.