Cheesy Potatoes: The Ultimate Creamy Casserole Recipe
Ingredients
Scale

Creamy, cheesy, and crowned with a buttery cornflake crunch, these cheesy potatoes are the potluck side dish everyone fights over.
Cheesy potatoes are the side dish I'd happily eat at every holiday table, every neighborhood potluck, and every Tuesday I'm too tired to think hard about dinner. There's a reason this casserole earns standing ovations from grandmas and toddlers alike: tender shredded potatoes folded into a velvety cheddar base, finished with a crackling cornflake crust that shatters the second your spoon goes in. It's nostalgic, indulgent, and almost impossibly easy.
This version skips the bland funeral-potato vibe and leans into the good stuff. We sauté the onions in butter until they're sweet instead of sharp, use freshly shredded extra-sharp cheddar (no anti-caking starch dulling the sauce), and drown the cornflakes in melted butter so every flake browns into something close to candy. It's still beginner-friendly. It still uses mostly pantry staples. It's just dramatically better.
If you've been hunting for the kind of holiday side dishes people text you about the morning after, this is the one. Bring it to a Friendsgiving and watch the dish come back empty with a thank-you note taped to the lid.
Most cheesy hash browns recipes online are near-identical Pinterest copies of a 1970s church cookbook. They work, but they're flat. The difference here is layering. We caramelize the onions in butter before they ever touch the bowl, so they melt into the casserole as a sweet base note instead of biting back. We use freshly shredded extra-sharp cheddar from a block, which dissolves into a glossy, ropey cheddar cheese sauce instead of seizing up the way pre-shredded bags do.
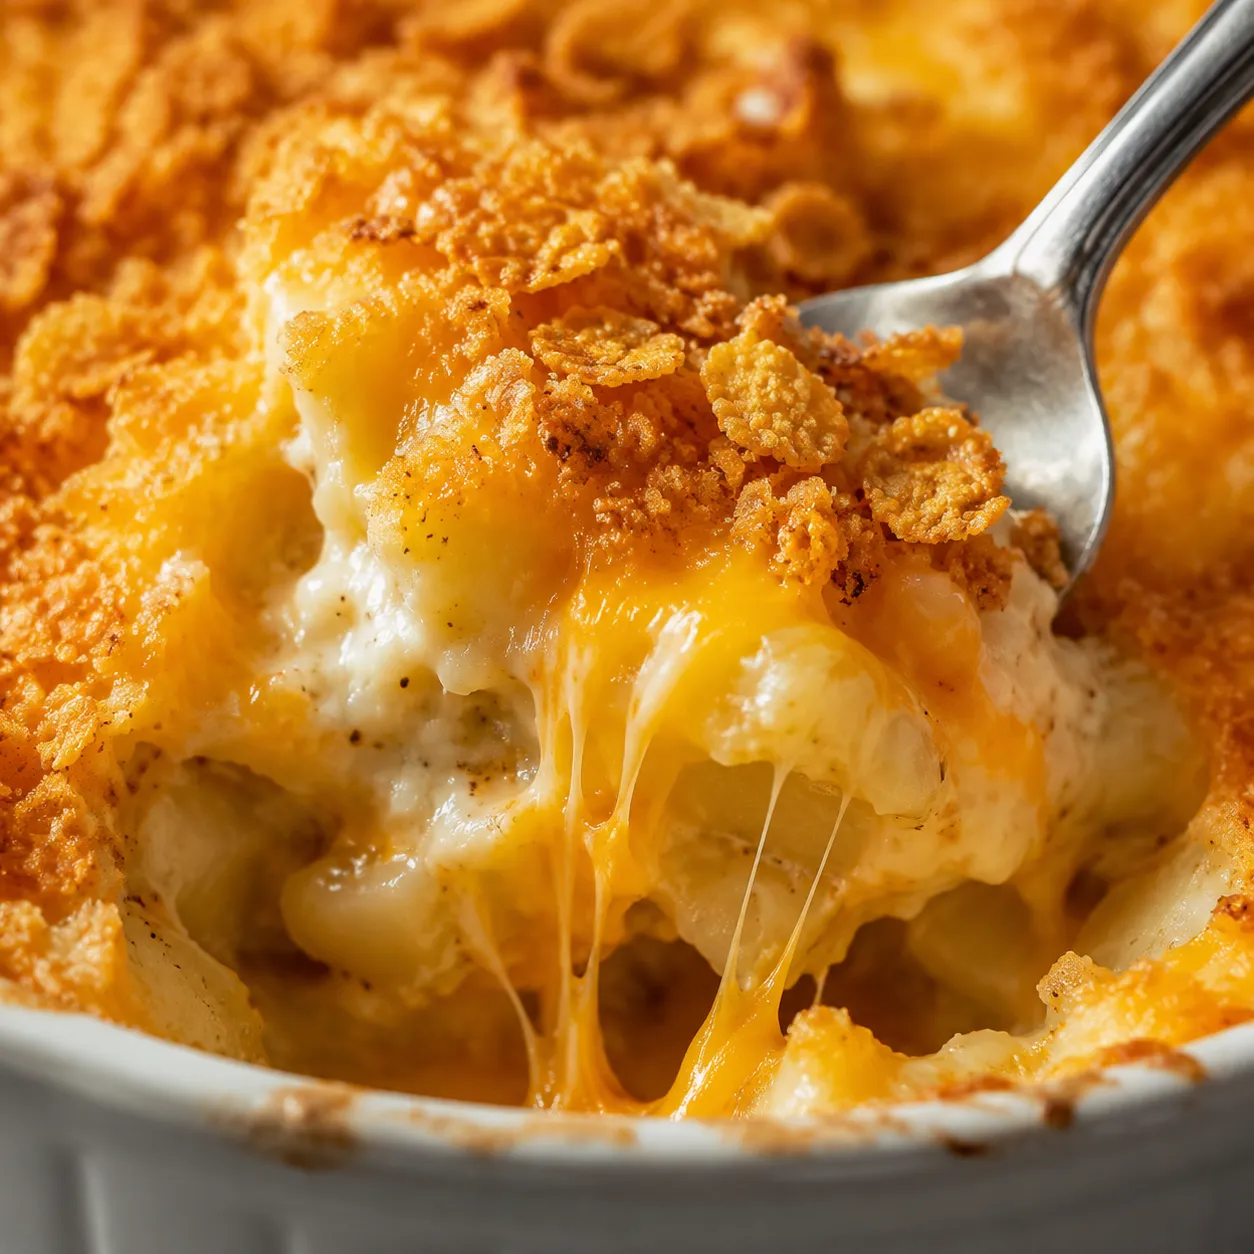
And we double down on the topping. Two cups of cornflakes, every single one slicked with melted butter, baked until they go deep amber and audibly crunch. The result tastes like the version your favorite restaurant would charge $14 a side for, not the one that's been sitting under a heat lamp at the buffet. Because this is a true potato casserole rather than a souped-up mashed potato, it holds its shape on the plate. You get distinct strands of tender shredded potato wrapped in cheese, with that crackling top giving every bite contrast.

This is a short, friendly grocery list. Most of these are things you might already keep around, especially during holiday cooking season. A few notes before you shop.
Reach for a 2-pound bag of frozen hash browns in the shredded style, not diced, not Southern-style cubes, and not refrigerated. Shredded melts into a silky, creamy texture once it bakes into the sauce, while diced potatoes stay starchy and stiff. Thaw them fully before mixing (more on that below) so they don't water down the casserole as it bakes. If your bag is freezer-burnt or icy, give it a quick toss in a clean kitchen towel to blot the moisture before mixing.
Sharp cheddar is non-negotiable for me. Mild and medium cheddar simply don't have the punch to stand up to all that cream, sour cream, and butter — you need a cheese with edge. For extra complexity, blend the sharp cheddar with a half cup of Monterey Jack, Gruyère, or smoked Gouda. Always shred from a block. The pre-shredded bags are coated in cellulose and potato starch that keep the cheese from melting smoothly, which is one of the top reasons cheesy potatoes turn out gritty or weeping.
Two cups of crushed cornflakes, tossed with melted butter, build the signature crunch and signal to everyone at the table that you put in real effort. Crush them with your hands so the texture stays uneven — a few big shards, some fine crumbs — for the most interesting bite. If you want to push the cornflake topping even further, stir in a tablespoon of grated Parmesan, a pinch of smoked paprika, or a few cracks of black pepper. A handful of crushed Ritz crackers works too if cornflakes aren't your thing.
This is one of those recipes you can practically make with one hand while you wrangle a sheet pan of rolls in the other. The whole process is a mix-fold-bake situation, and the oven does most of the work. Heat your oven to 350°F before you start so it's preheated by the time you finish assembly.
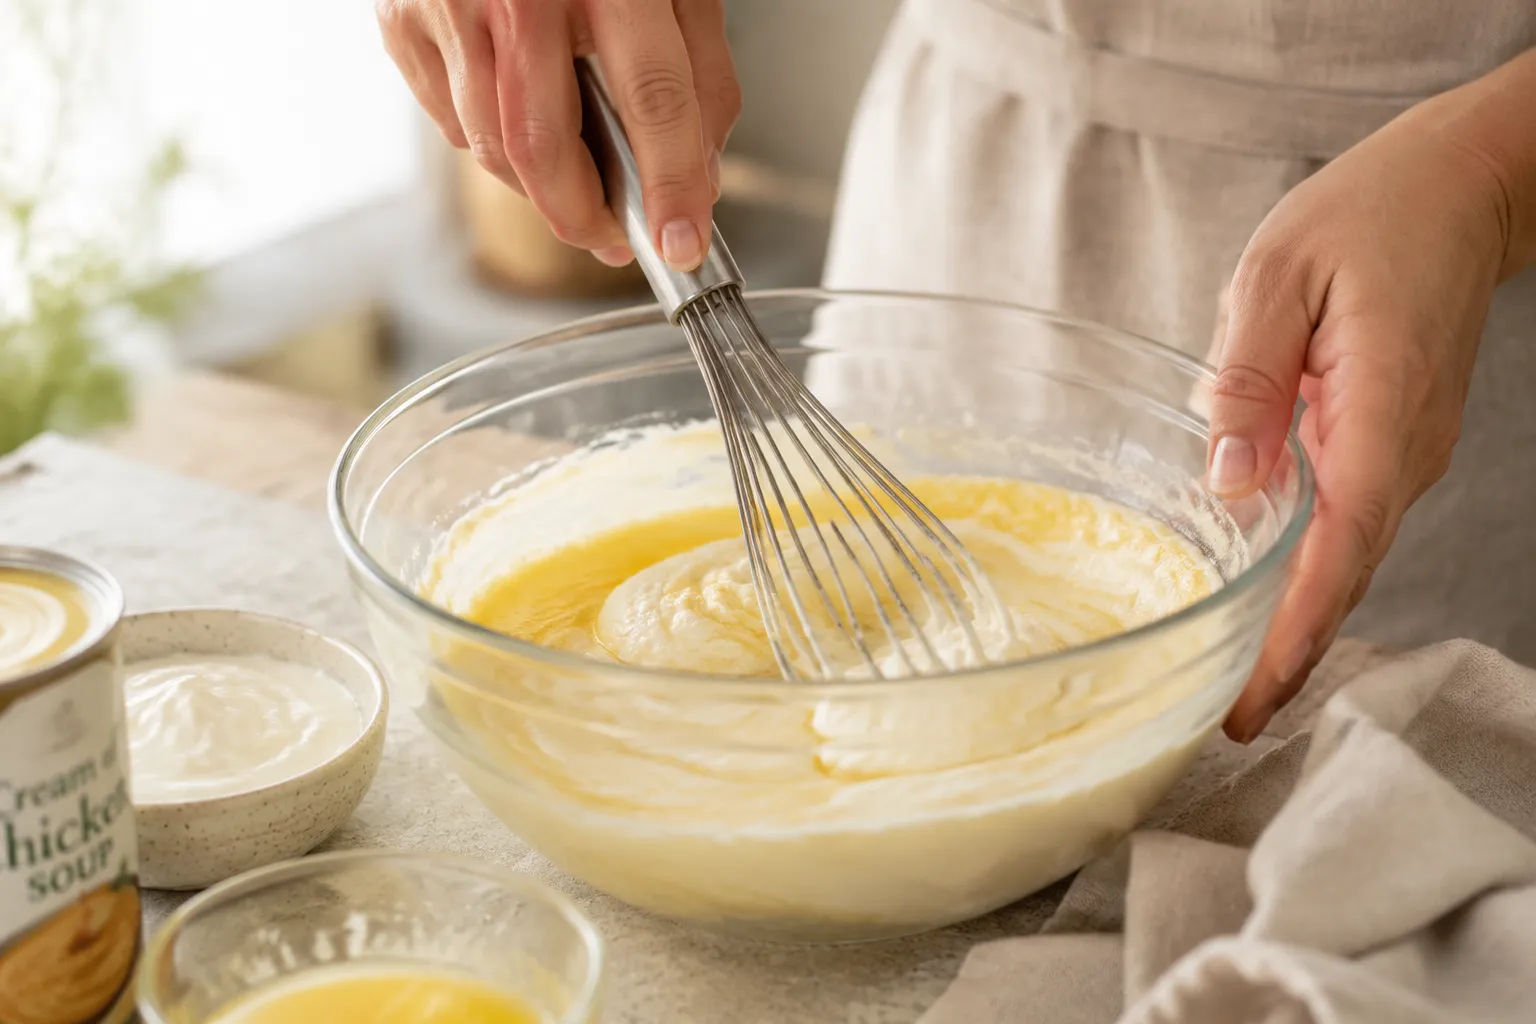
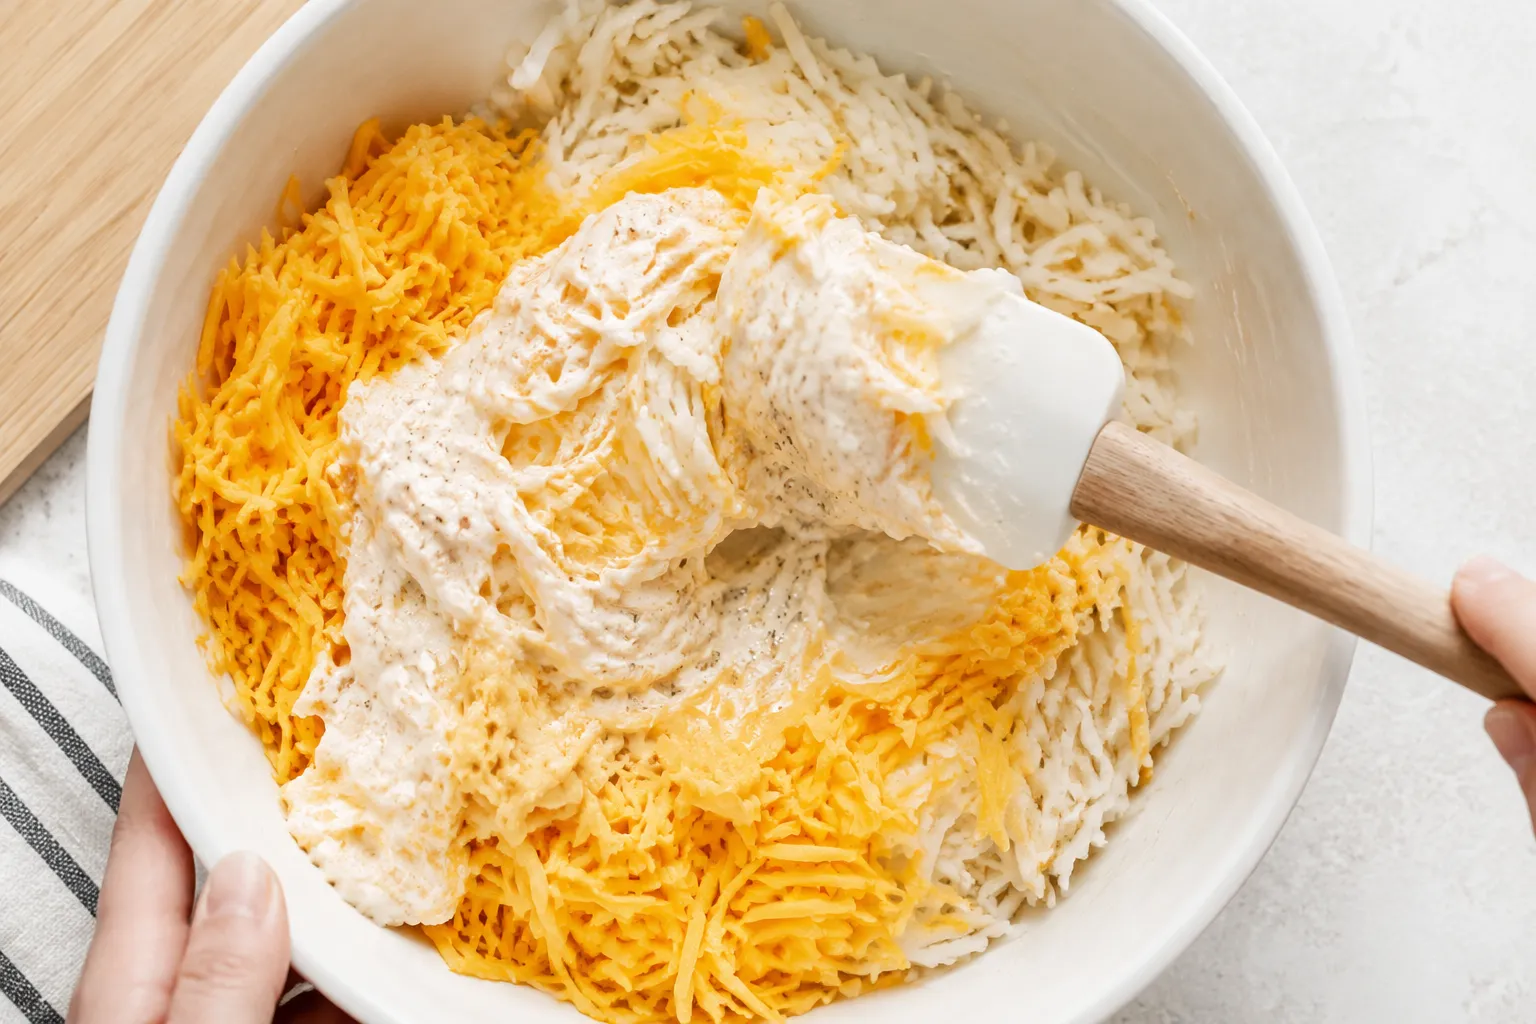
Whisk the sour cream, cream of chicken soup, half the melted butter, sautéed onion, kosher salt, and black pepper together in a big bowl until smooth. This is your flavor foundation, so taste it now and adjust the salt — canned soup brands vary wildly in saltiness, and pre-seasoned mixes can run aggressive. The base should taste like a slightly under-salted dip; the cheese and topping will bring the rest.
Add the thawed frozen hash browns and most of the shredded cheddar (save about a half cup for the top). Fold gently with a silicone spatula until everything is evenly coated — overmixing breaks down the potato strands and turns the texture gummy. Spread the mixture into a buttered 9x13 baking dish in an even layer, smoothing the top with the back of the spatula so it bakes uniformly.
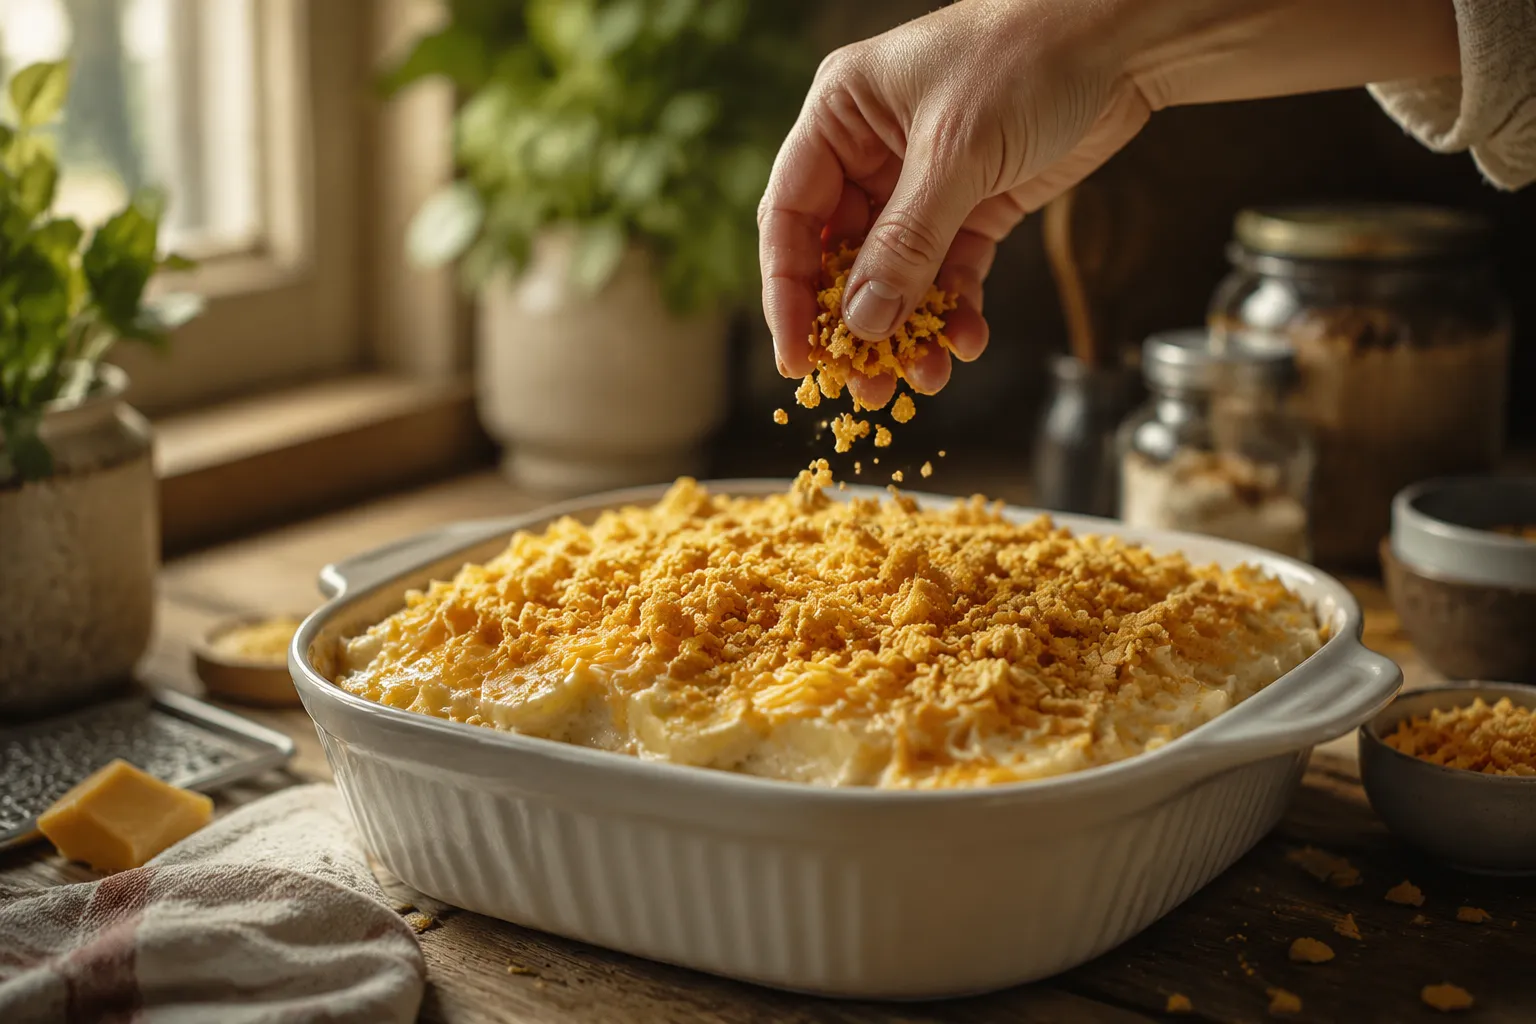
Toss the crushed cornflakes with the remaining melted butter until every flake glistens, then sprinkle them over the casserole along with the reserved cheese. Slide the dish into the middle rack of your preheated oven and bake until the edges are bubbling, the center registers piping hot, and the topping is deeply golden brown. If your topping is browning faster than the inside is cooking through, tent the dish loosely with foil for the last ten minutes.
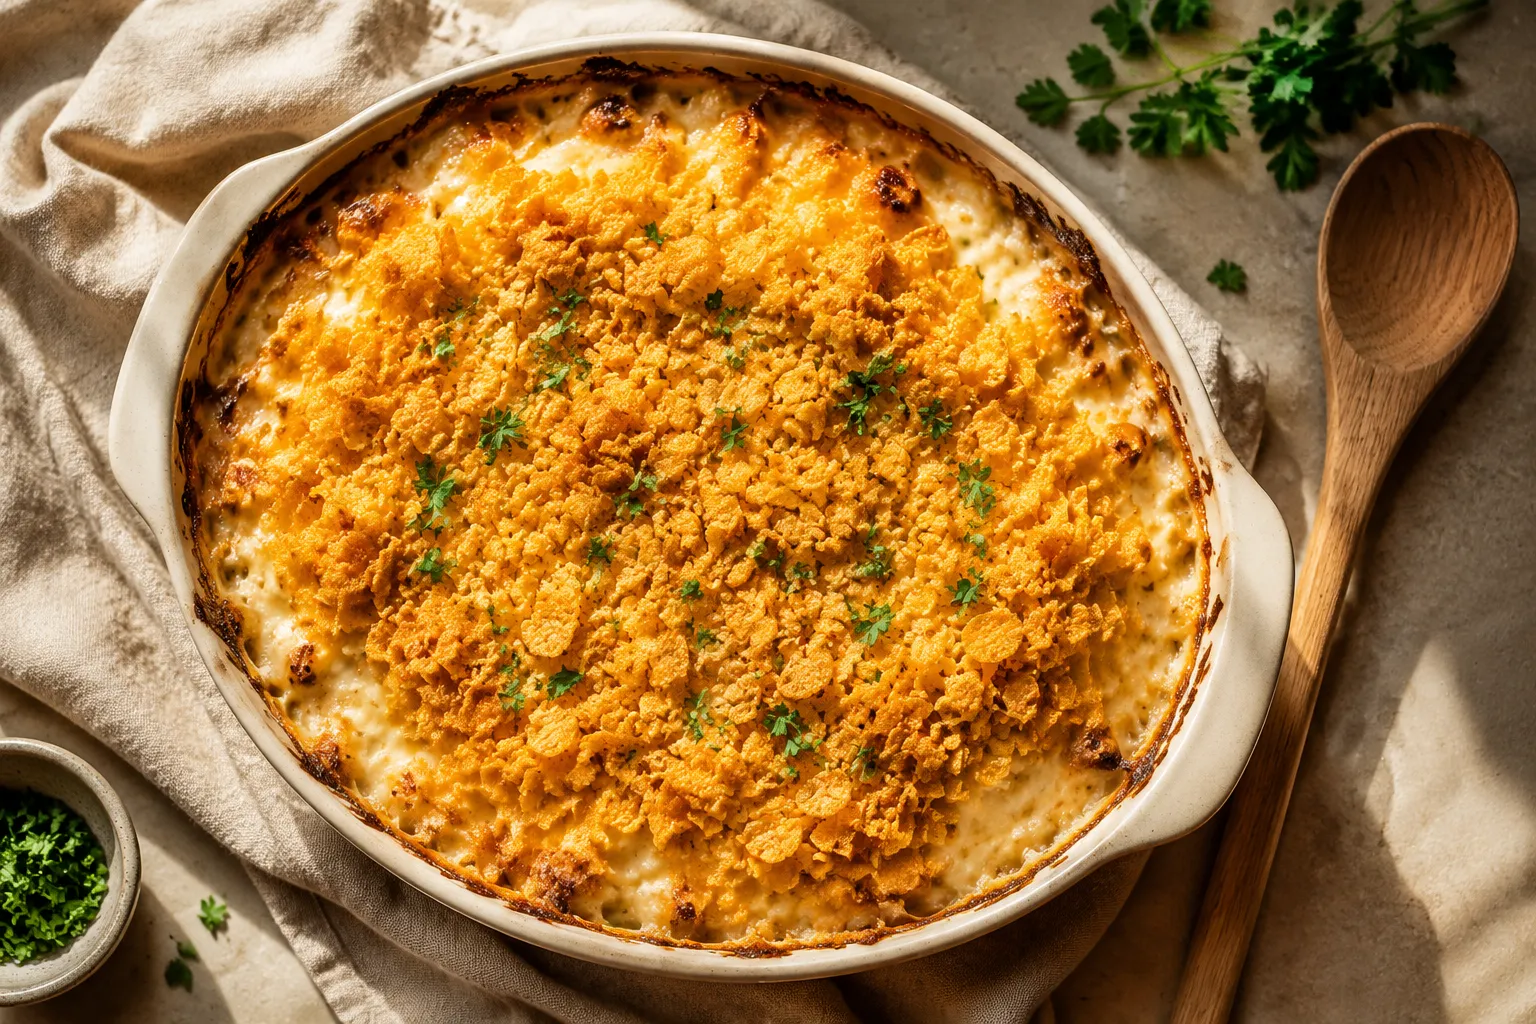
The casserole will look almost too tan when it comes out, and that's exactly what you want — that's the cornflake topping doing its job. Let it rest for ten minutes before serving so the cheese sauce can set into something scoopable instead of soupy. The first scoop should pull a few cheesy strands up with it, and the topping should crackle when you press a fork through.
This is also a fantastic make-ahead side dish for any time you're juggling a full menu. Assemble the whole thing minus the topping the day before, cover it tightly, and refrigerate. Right before baking, scatter on the buttered cornflakes and reserved cheese, then add an extra ten to fifteen minutes in the oven to account for the cold start. The texture is virtually identical to a same-day bake.
A casserole this rich plays best with proteins that bring some salt or smoke and vegetables that bring some brightness. Here's how I round out a plate.
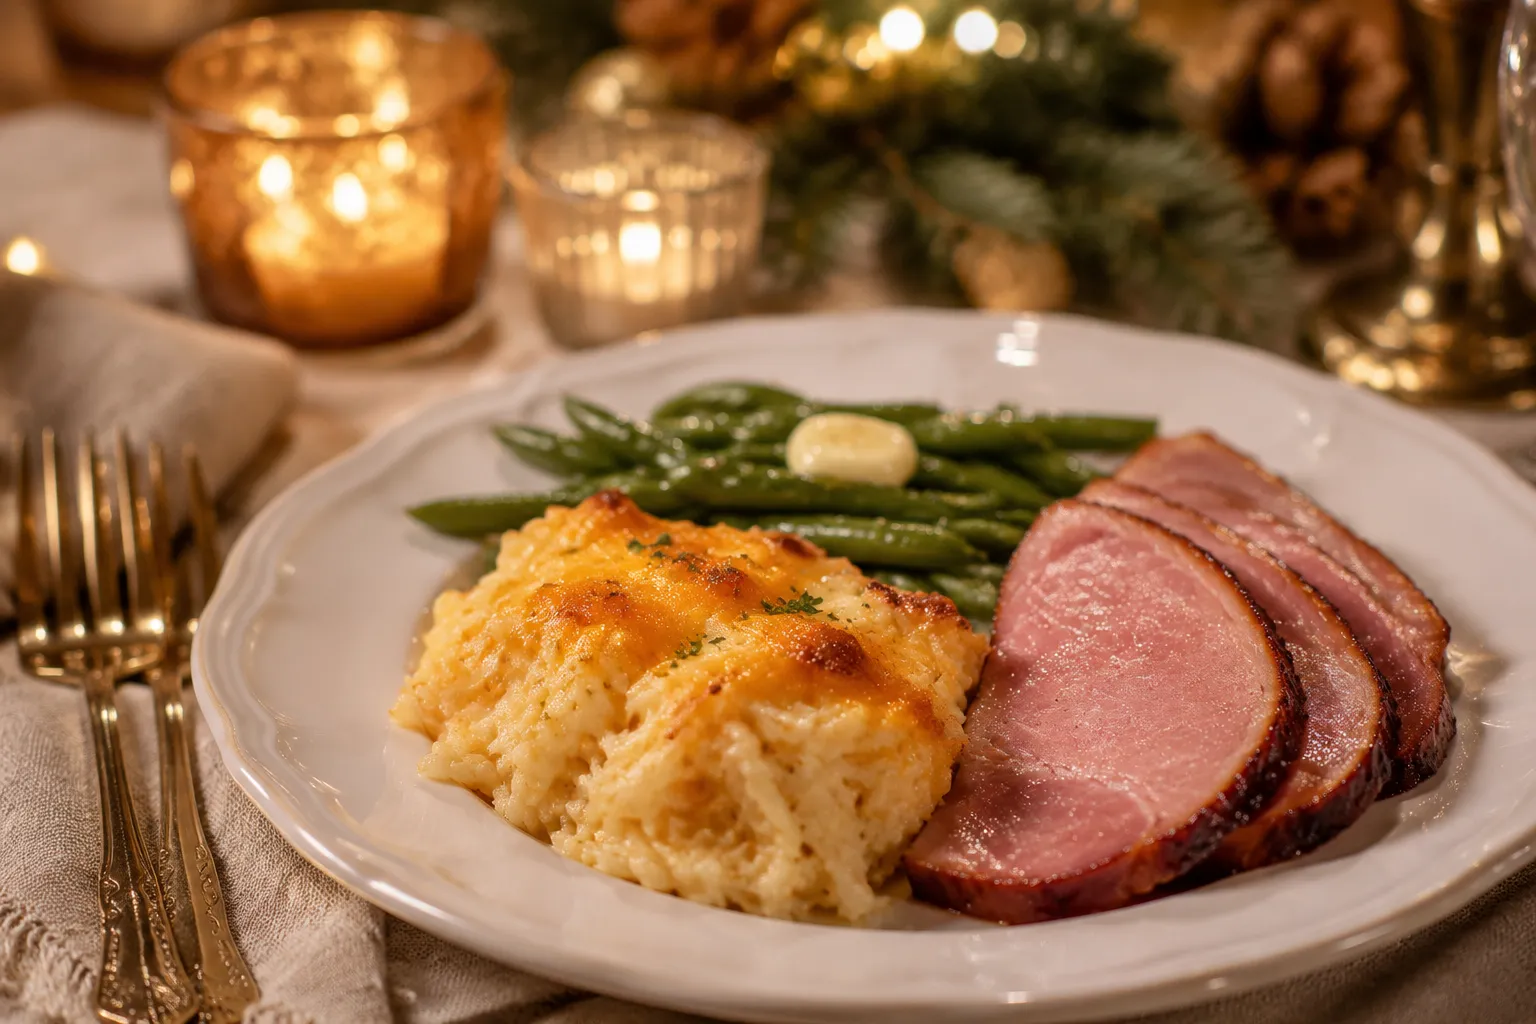
Pair this casserole with brown sugar glazed ham, herb-roasted turkey, prime rib, or a beef tenderloin for the main event. The richness echoes other holiday side dishes like green bean casserole and soft dinner rolls, but the cornflake crunch keeps it from blending in with everything else on the buffet. A bowl of cranberry sauce on the table will cut through the richness beautifully.
On a Tuesday, this potato casserole disappears next to roast chicken thighs, grilled pork chops, blackened salmon, or even a no-fuss meatloaf. Round out the plate with a punchy green like steamed broccoli, garlicky sautéed kale, or a sharp arugula salad with lemon vinaigrette to balance all that dairy. A wedge of crusty bread doesn't hurt either.
Don't sleep on cheesy potatoes for brunch. Scoop them next to scrambled eggs, breakfast sausage, crisped bacon, and a bowl of fresh fruit, and you've basically built a casual hash brown bar. Hot sauce on the side is mandatory.
A pan of cheesy potatoes is exactly the kind of dish I love bringing to other people's houses. It travels well wrapped in a clean towel, it reheats beautifully in a low oven, and it's just as good on day two scooped onto a breakfast plate next to fried eggs and a slice of toast. It's the rare side dish that crosses categories without losing its identity.
Now for the part everyone asks about: how to make sure your leftovers actually taste as good as the first scoop. Tuck the storage tips, freezer instructions, and reheating method below into your back pocket, and you'll have this recipe in heavy rotation for every season — not just the holidays.
This recipe is endlessly adaptable, which is part of why I make it on repeat. Use the base sauce-and-potato ratio as your template and swap in whatever flavors fit the meal you're building around.
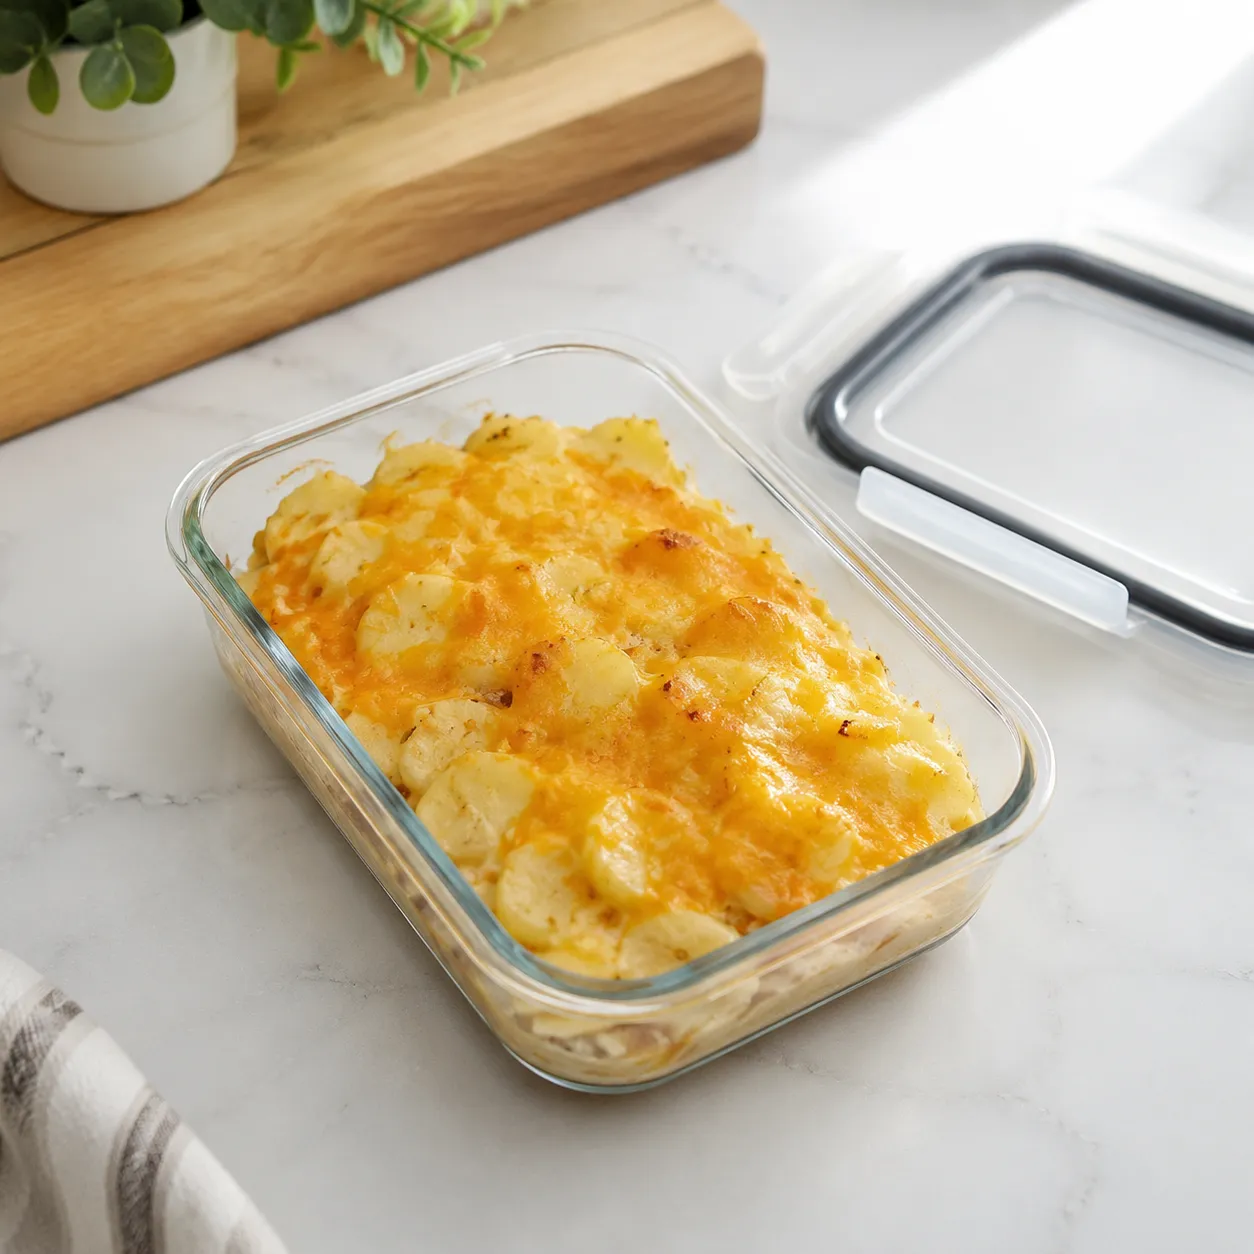
Refrigerator: Cool the baked casserole to room temperature, then transfer leftovers to an airtight container or cover the baking dish tightly with foil. It'll keep for up to 4 days in the fridge. The topping softens overnight, but a few minutes uncovered in a hot oven crisps it right back up.
Freezer: For best results, freeze the casserole unbaked and without the cornflake topping. Assemble in a freezer-safe dish, wrap tightly in plastic and foil, and freeze for up to 3 months. Thaw overnight in the fridge, add the buttered cornflakes and reserved cheese, and bake as directed plus an extra 10 to 15 minutes. You can also freeze fully baked leftovers in individual portions for up to 2 months.
Reheating: The microwave works in a pinch, but the oven is the move. Cover with foil and reheat at 325°F for about 20 minutes, then uncover for the last 5 minutes to re-crisp the top. Add a splash of milk or cream if the inside looks dry.