Authentic Frijoles Recipe: Creamy Mexican Pinto Beans
Ingredients
Scale
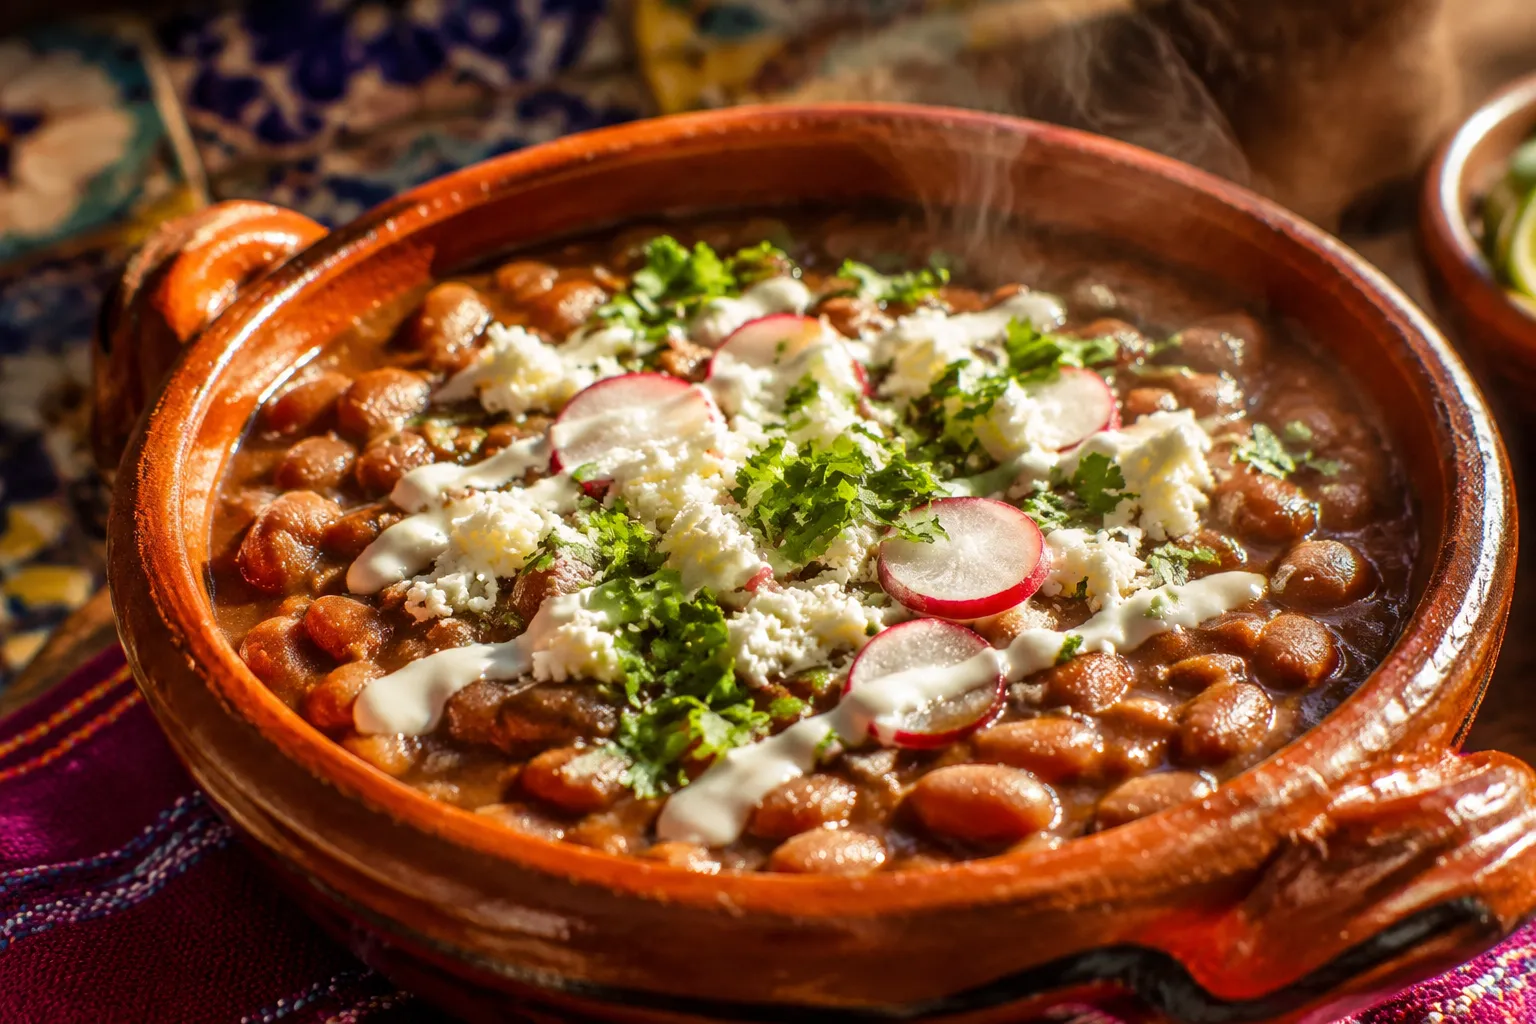
Creamy, smoky, deeply savory frijoles simmered low and slow with onion, garlic, and a hint of bacon. The everyday Mexican pinto beans that taste like abuela's kitchen.
This authentic frijoles recipe is the kind of humble, deeply comforting pot of beans that turns a handful of pantry staples into something you want to ladle over everything. Dried pinto beans simmer slowly with onion, garlic, jalapeño, bay leaves, and a little bacon if you like that smoky edge. The result is brothy, creamy, savory, and so much more flavorful than anything from a can.
Think of these as everyday Mexican pinto beans with weekend-level flavor: simple enough for meal prep, special enough to anchor a full taquería-style spread. Serve them with warm tortillas, spoon them beside rice, or mash a portion into refried beans later in the week. The real magic is in the bean broth, which thickens as the beans soften and gives every spoonful that cozy, slow-cooked richness.
In Mexican home cooking, the word simply means beans, but the dish most people picture is a pot of whole beans simmered until tender in a seasoned broth. This style is often called frijoles de la olla, or beans from the pot, and it is one of the great foundational recipes of the Mexican kitchen. It is not flashy, but it is generous, nourishing, and endlessly useful. A good pot can become a side dish tonight, a taco filling tomorrow, and a creamy base for breakfast with eggs the next morning.
The difference between these whole simmered beans and refried beans comes down to what happens after cooking. Whole beans stay in their broth, while refried beans are mashed and cooked again in fat until thick and spreadable. Across Mexico, families season their pots differently depending on region, habit, and what is on hand: some add epazote, some use chiles, some keep them completely meatless, and some finish with queso fresco, crema, or a spoon of salsa. This version keeps the method classic and approachable for a US home kitchen while honoring the low-and-slow technique that makes homemade beans taste so satisfying.
The ingredient list is short, which means each piece matters. Start with dried pinto beans that look smooth, evenly colored, and not overly cracked or dusty. Older beans can take much longer to soften, so if that forgotten bag has been in the pantry for years, it may be worth starting fresh. Pinto beans cook up creamy and earthy, with a mild sweetness that absorbs onion, garlic, smoke, and chile beautifully.
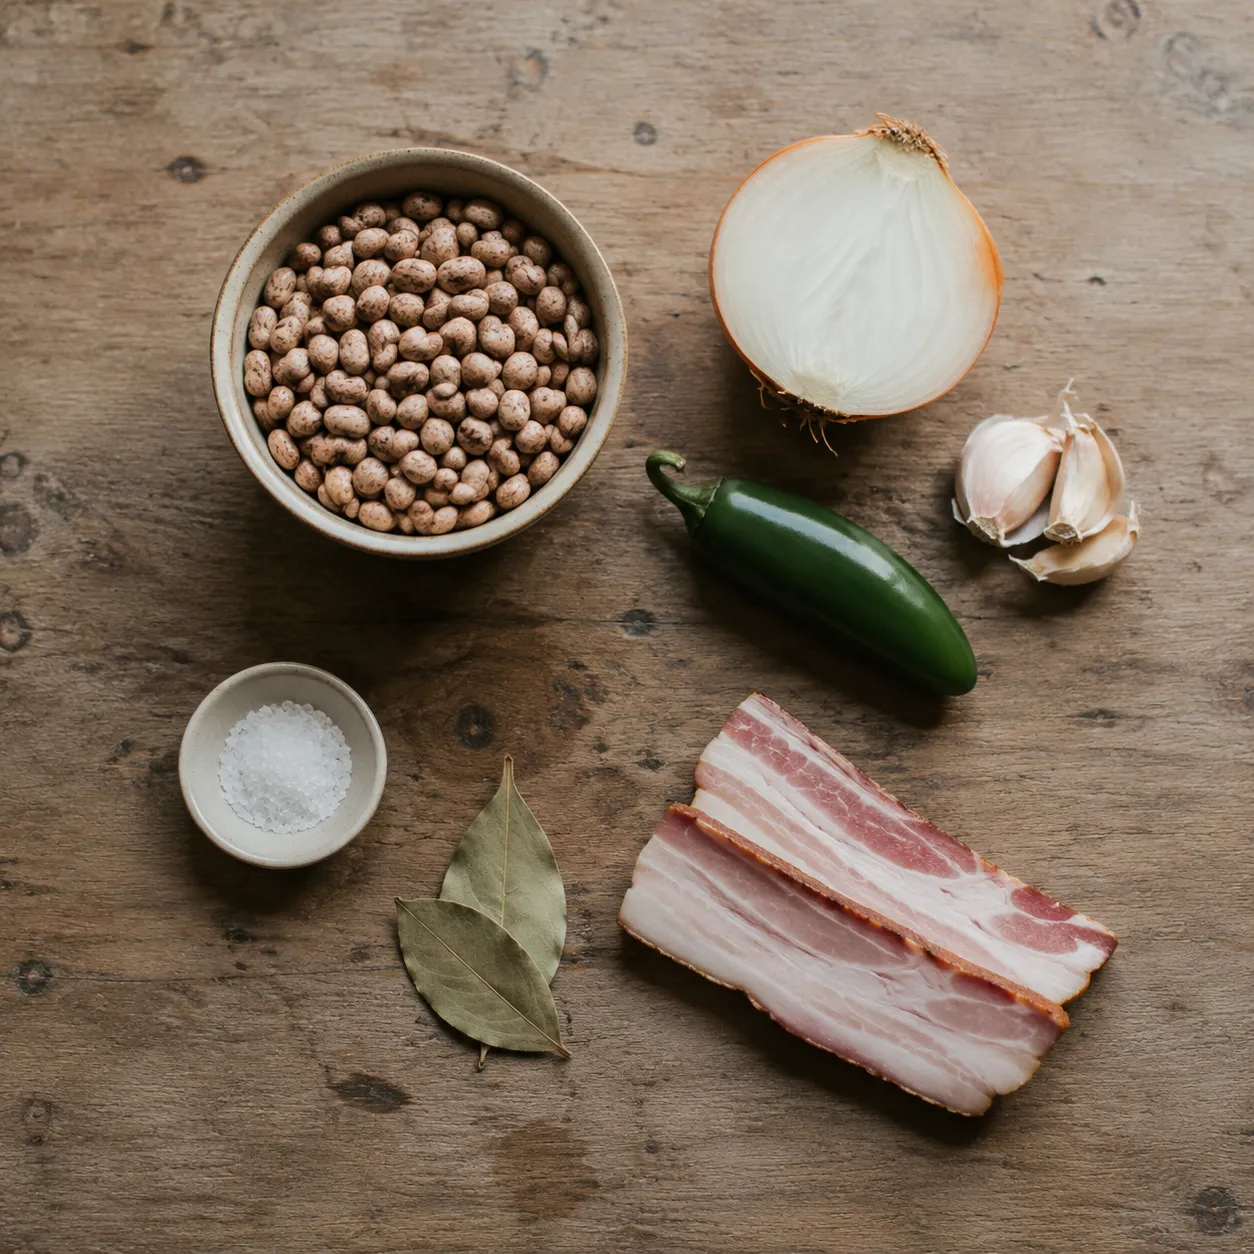
Onion and garlic provide the savory backbone, while bay leaves add a quiet herbal note that rounds out the pot. Jalapeño brings gentle warmth rather than obvious heat, especially when left halved and simmered whole. Bacon is optional, but two thick-cut slices add a whisper of smoke and a little richness to the cooking liquid. If you skip it, the beans are still delicious with olive oil and a pinch of smoked paprika or chipotle powder.
Salt is the one ingredient to treat with care. Add it toward the end of cooking, once the beans are beginning to turn tender, so the skins soften evenly. The finished broth should taste seasoned but not aggressively salty because it reduces and concentrates as the pot rests. If you plan to serve the beans with salty toppings like cotija or queso fresco, season gradually and taste as you go.
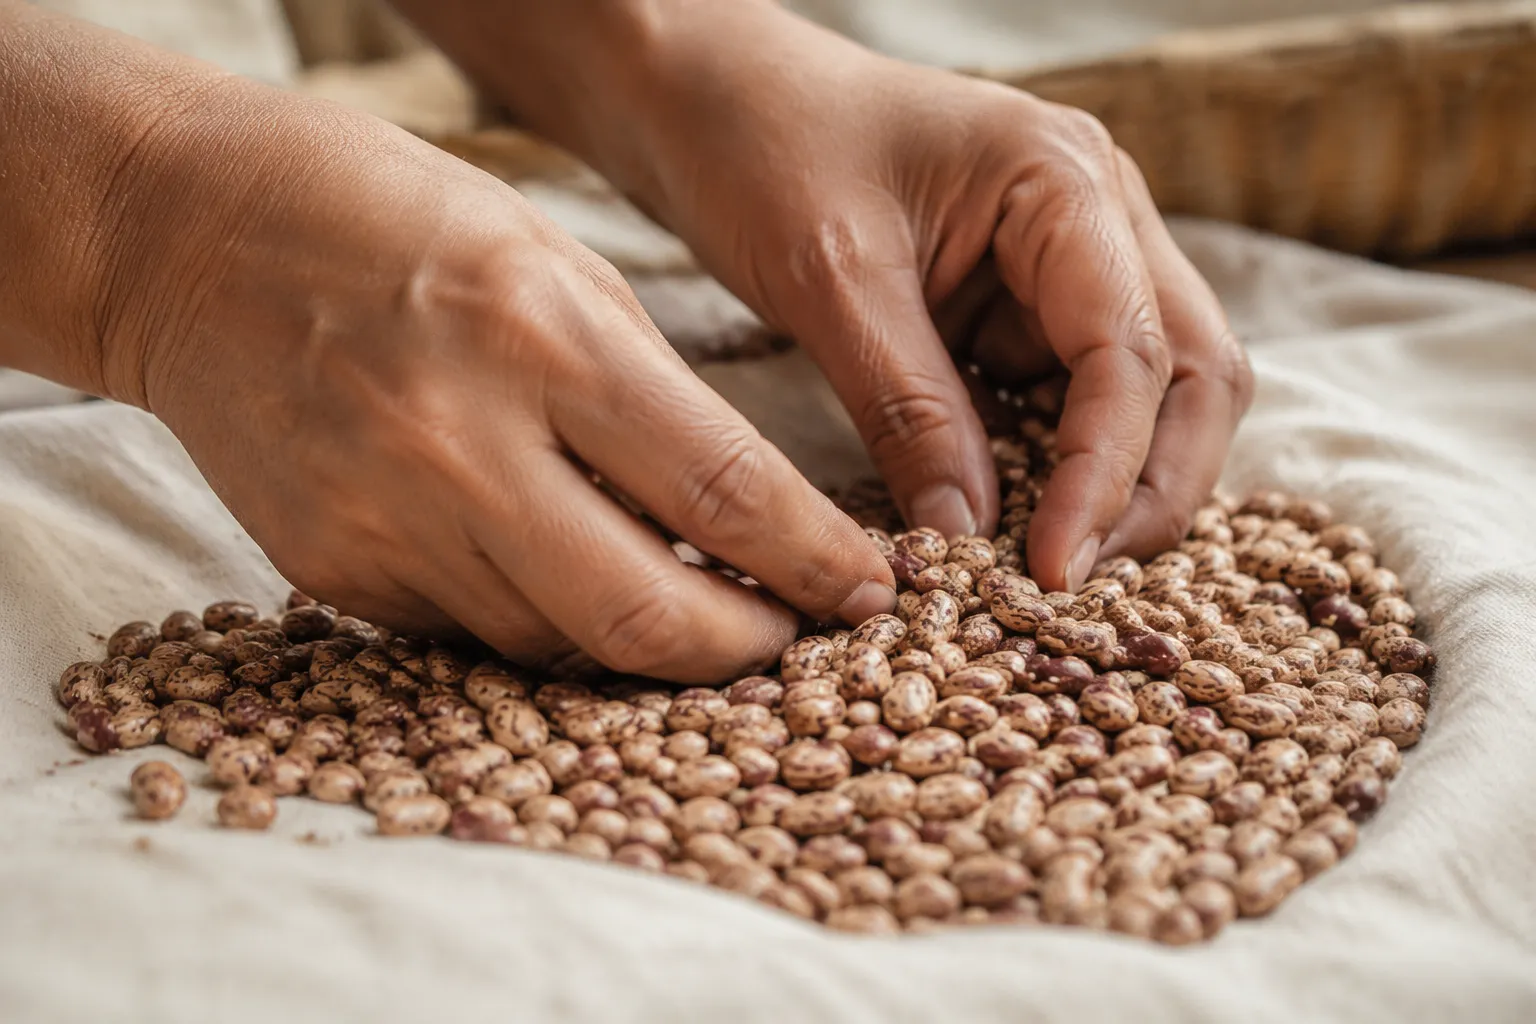
The best pot begins before anything hits the stove: spread the dried beans out and quickly sort through them. This step only takes a minute, but it helps you catch small stones, shriveled beans, or bits of field debris that sometimes sneak into the bag. Rinse them well, then soak overnight if you have time. Soaking shortens the cooking time and helps the beans cook more evenly, though you can still make a beautiful pot without it.
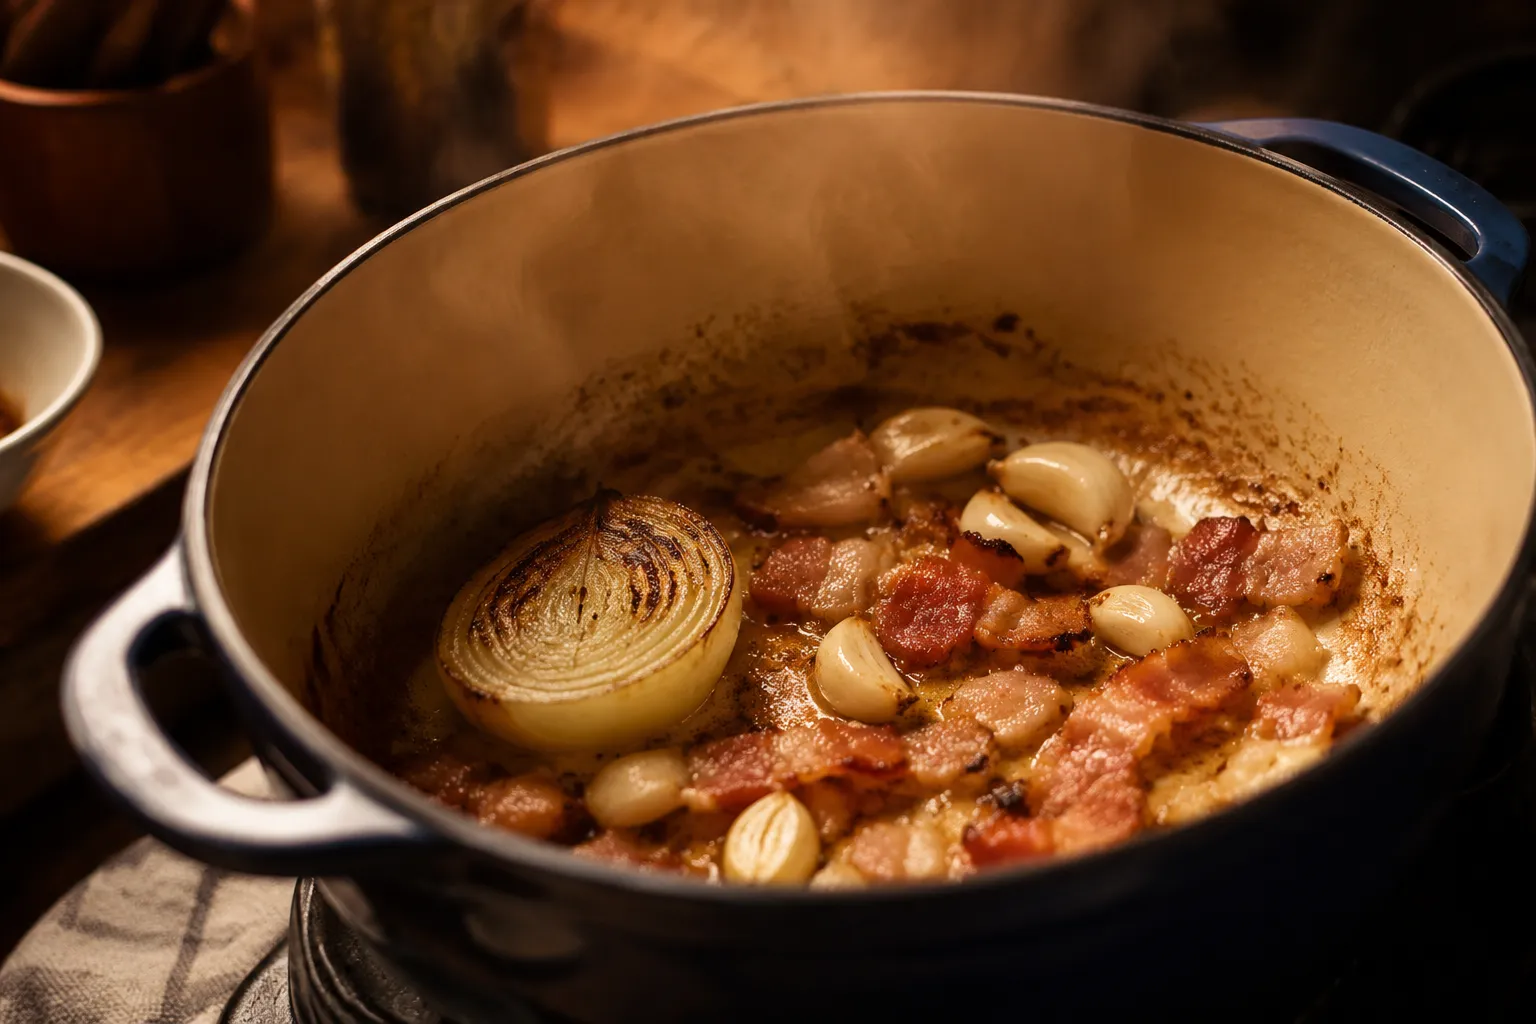
Next comes the flavor base. In a heavy Dutch oven or soup pot, bacon gently renders until it releases just enough fat to perfume the onion and garlic. You are not looking for a hard sear or crisp edges here; the goal is a soft, aromatic foundation. If you are cooking without bacon, warm olive oil first, then let the onion, garlic, and jalapeño wake up in the pot for a few minutes before adding the beans and water.
Once the beans, water, bay leaves, and aromatics are in the pot, the real work is patience. Keep the simmer gentle, not rolling, so the beans cook through without bursting apart too quickly. You will see small bubbles, a little steam, and the broth slowly deepening from clear to tawny brown. Skim off any foam early on, then let the pot quietly do what it does best.
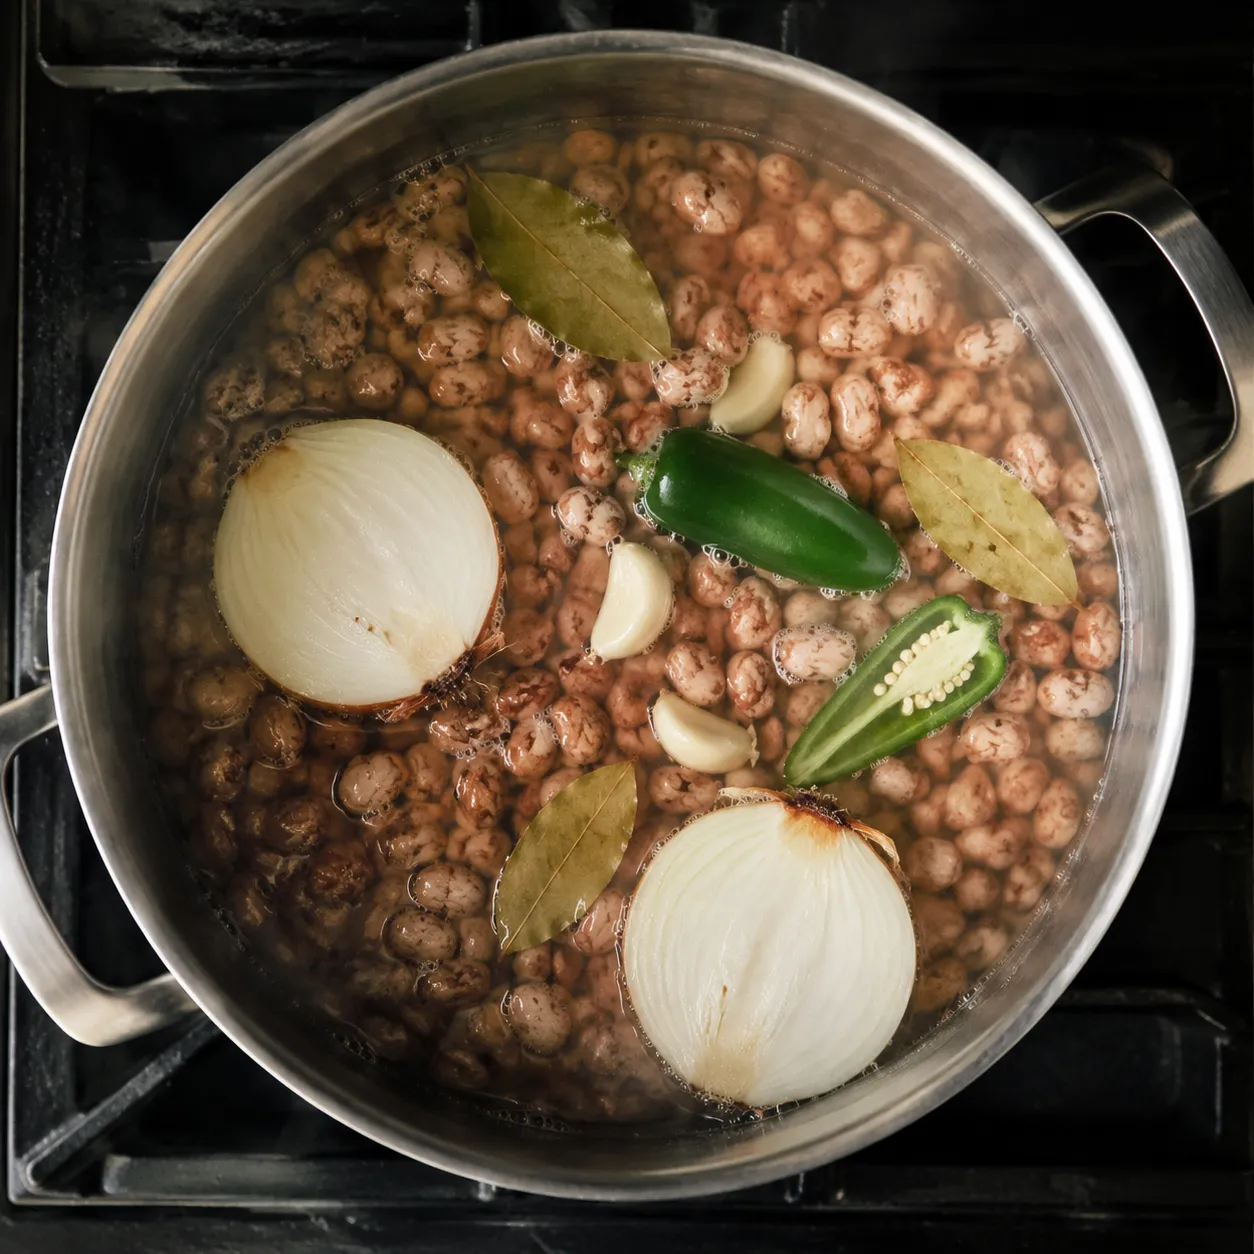
As the beans become tender, the cooking liquid turns glossy and flavorful. This is the moment to season with kosher salt and continue simmering until the skins are soft and the centers are creamy. If you like a thicker pot, mash a small scoop of beans against the side of the pot and stir it back into the broth. That tiny move gives the liquid body without turning the whole pot into a purée.
Creaminess does not require cream, butter, or a blender. It comes from time, starch, and the way the beans mingle with their own cooking liquid. As the pintos soften, they release starch into the pot, creating a silky broth that clings to each spoonful. This is why you do not want to drain the beans after cooking; the liquid is half the dish.
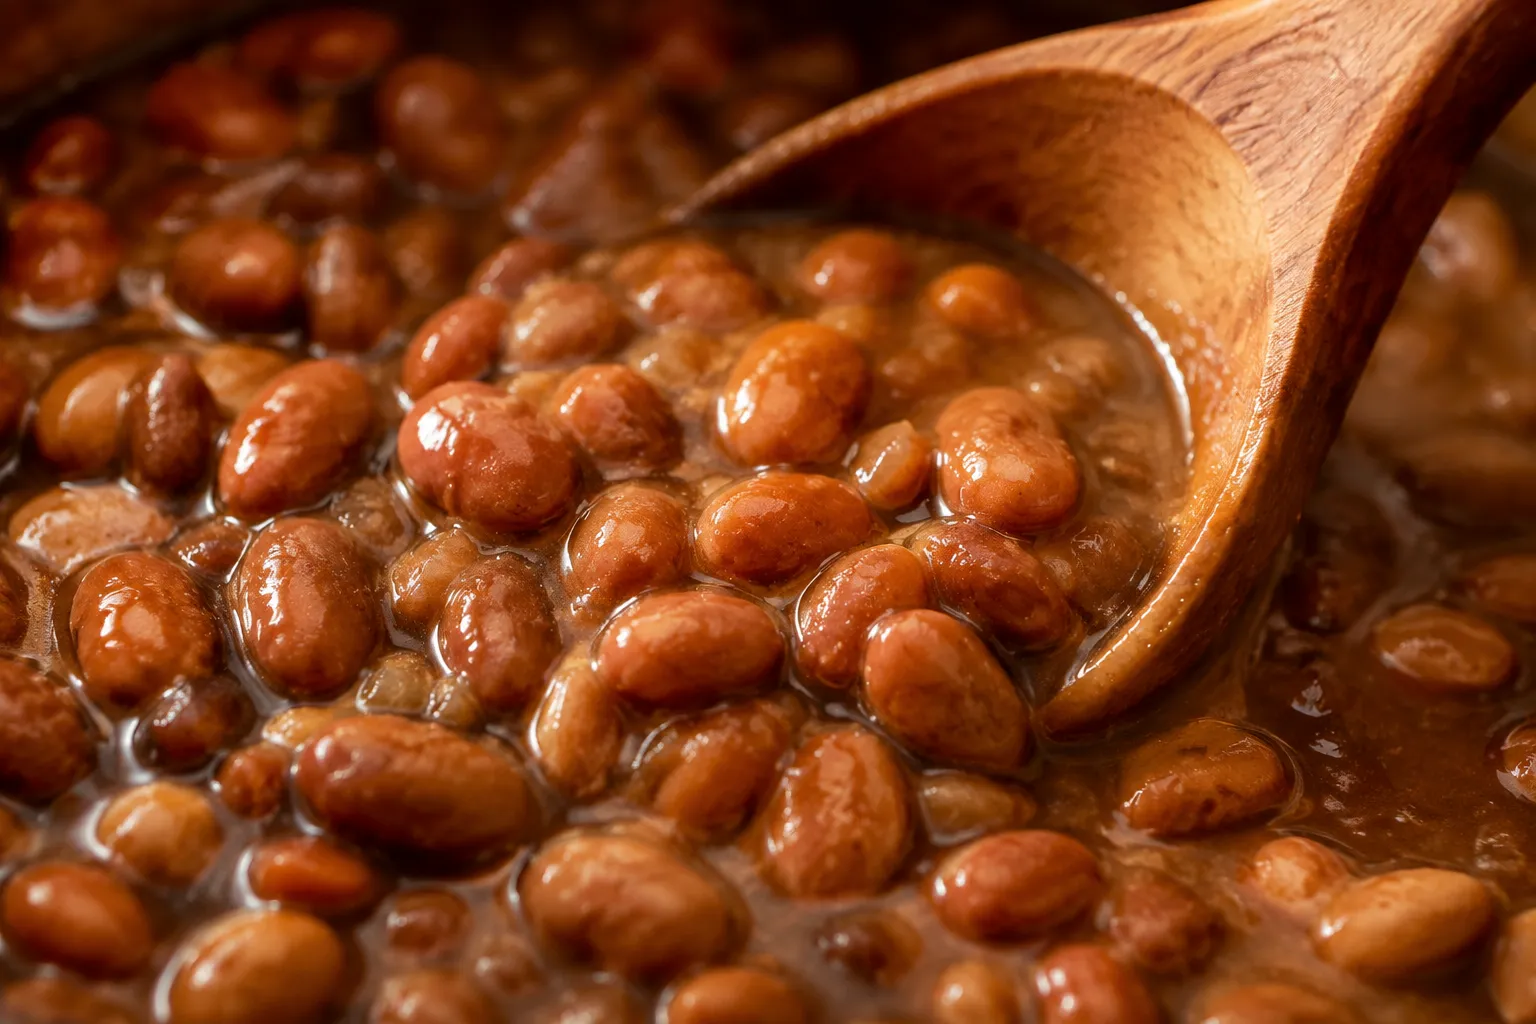
If the broth seems thin when the beans are tender, simply simmer uncovered a little longer. Resting also helps: after the heat is turned off, the beans continue absorbing flavor and the liquid thickens slightly as it cools. For a restaurant-style bowl, leave most of the beans whole and mash just a ladleful. That gives you a spoonable texture that feels hearty but still rustic.
A bowl of these beans needs very little to feel complete. Ladle them into a warm bowl with plenty of broth, then finish with crumbled queso fresco, chopped cilantro, diced white onion, a squeeze of lime, and maybe a drizzle of crema. Add warm corn tortillas on the side and you have a simple, deeply satisfying meal. A spoonful of homemade salsa on top is bright, fresh, and especially good against the smoky broth.
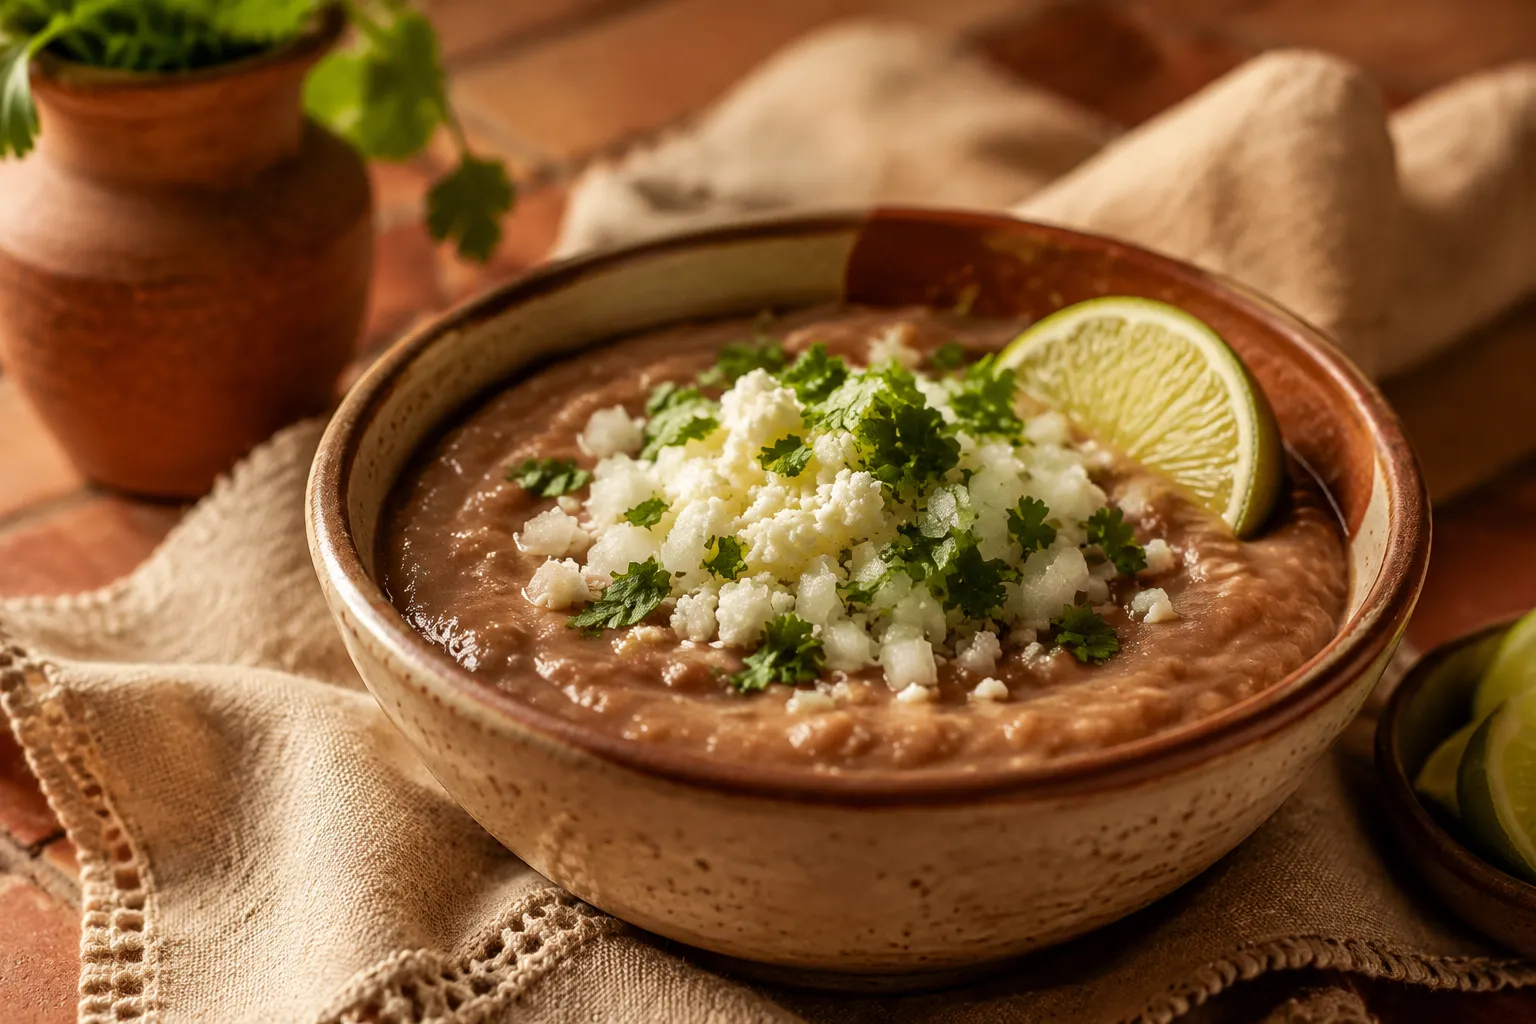
For a classic plate, serve the beans beside Mexican rice with grilled meats, roasted vegetables, or enchiladas. They are also wonderful tucked into burritos, layered onto tostadas, or spooned into bowls with avocado, radishes, and pickled onions. If taco night is on the calendar, pair them with carnitas tacos and let the brothy beans balance the richness of the pork. On a cozy night, I love them with a wedge of Mexican cornbread for scooping up the last of the pot.
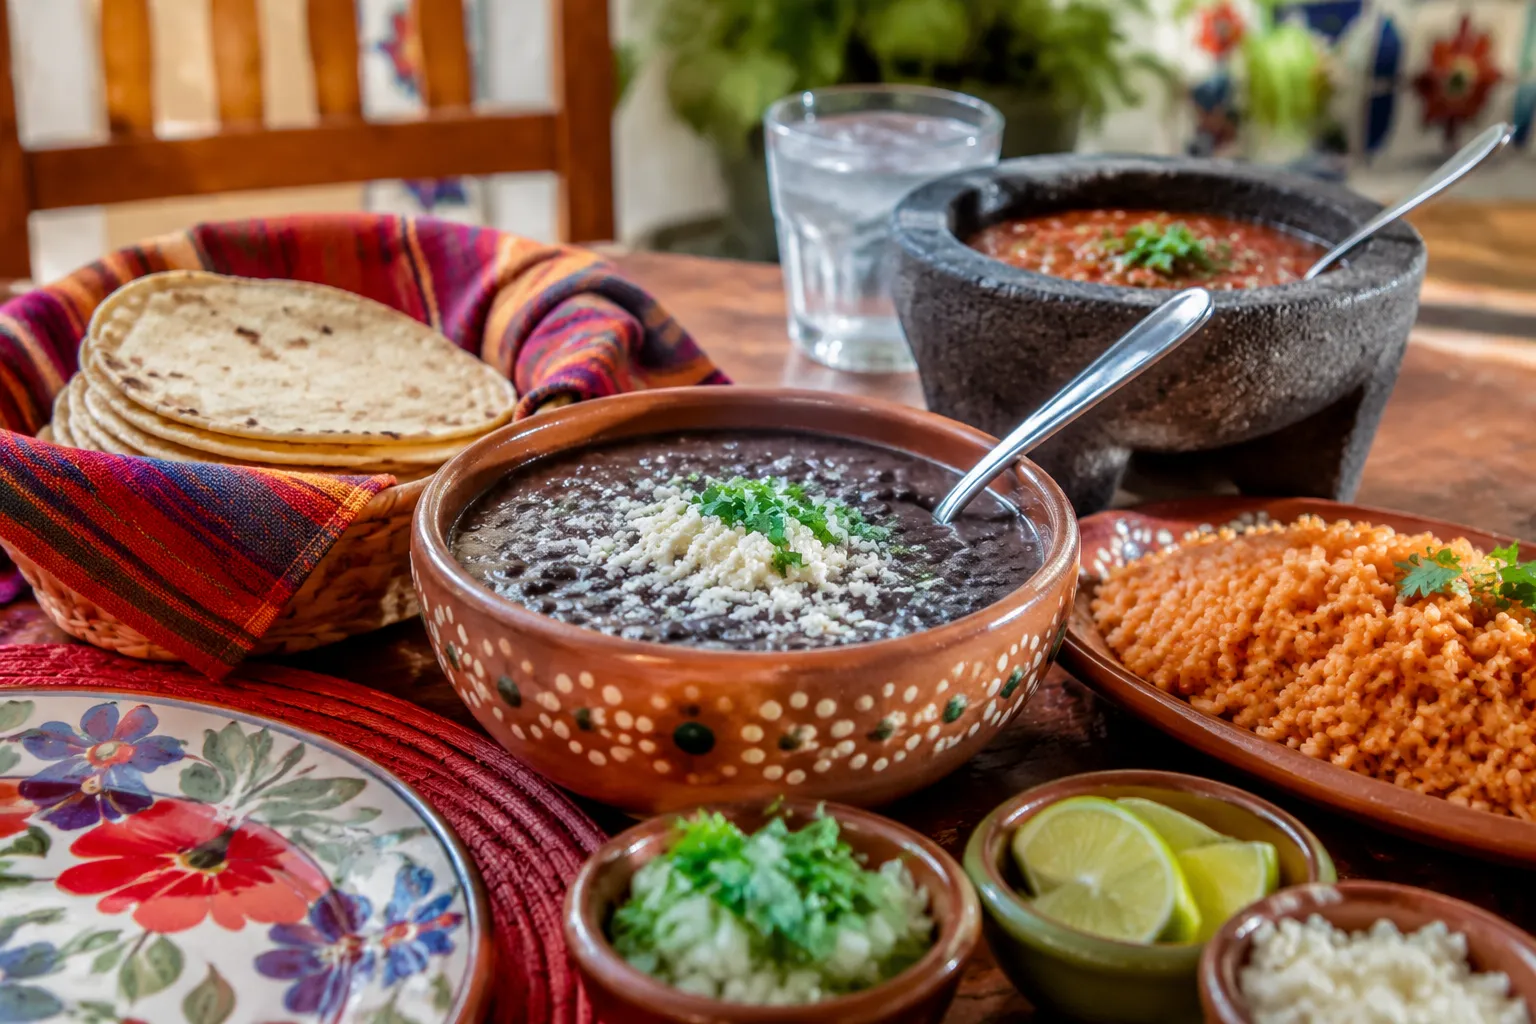
The leftovers are just as valuable as the first serving. Mash a portion with a little cooking liquid for quick refried beans, or add broth, tomatoes, and chiles for a soupier bowl inspired by charro beans. You can also spoon them over scrambled eggs, roll them into breakfast tacos, or use them as the creamy layer in a seven-layer dip. However you serve them, keep the broth close; it is what makes the whole meal taste slow-simmered and complete.
These beans are one of those recipes that rewards planning ahead. A big pot gives you flexible meals for days, and the flavor often deepens after a night in the refrigerator. Store the beans covered in their broth so they stay plump and tender rather than drying out. If the liquid thickens too much as it chills, stir in a splash of water or stock when reheating.
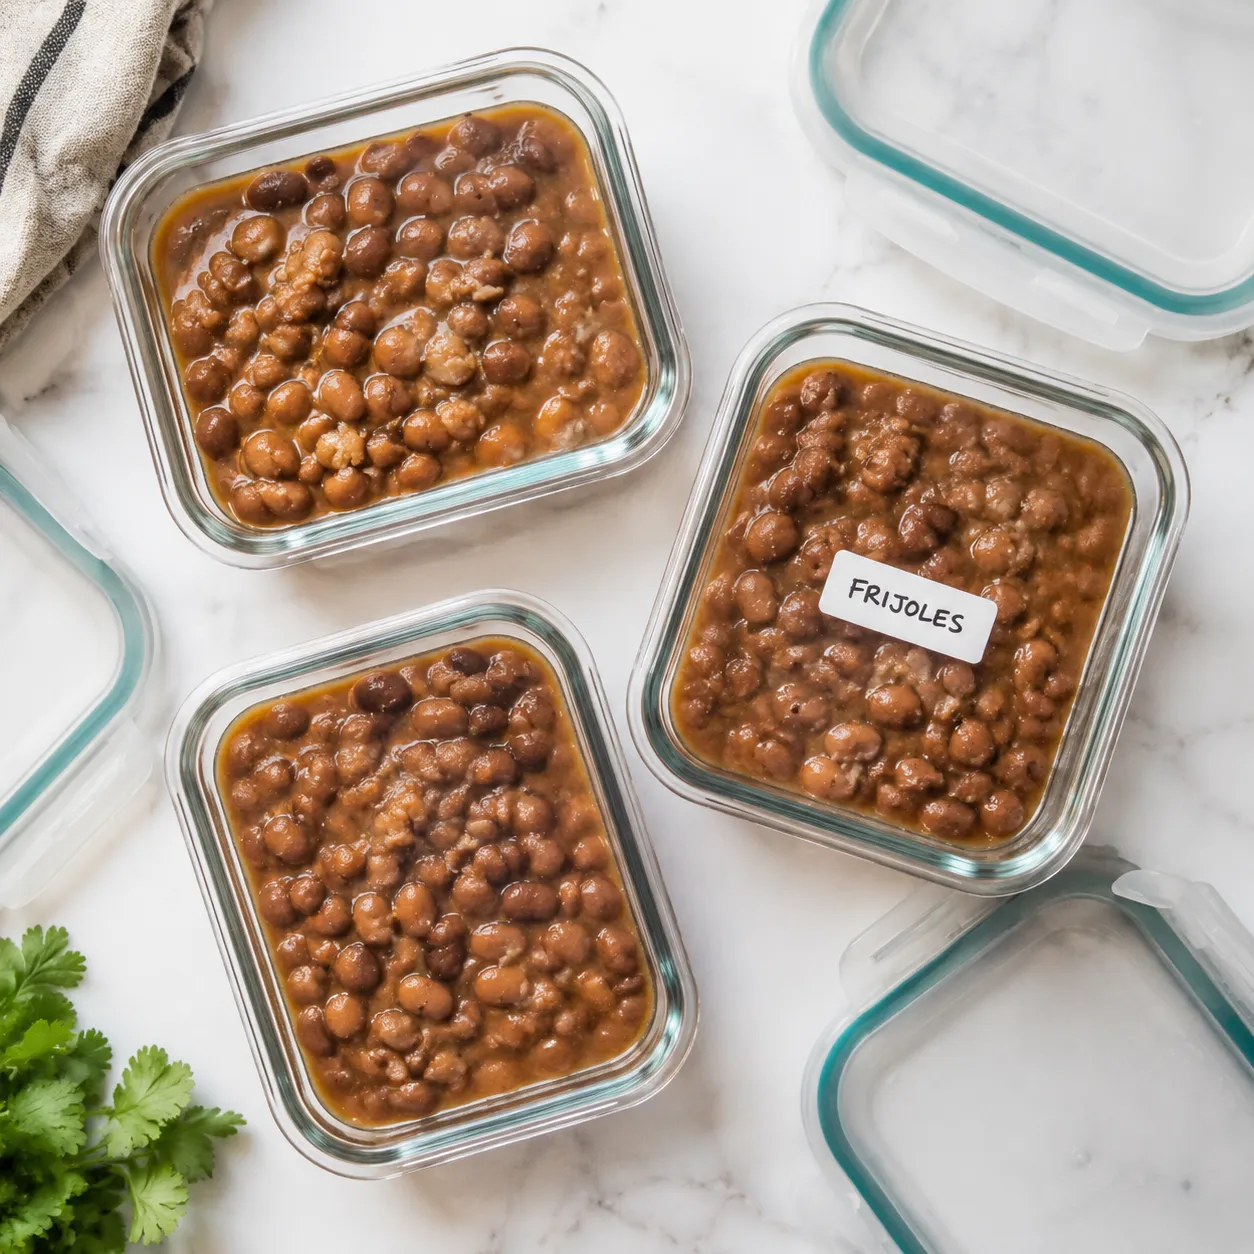
For freezer portions, use shallow, airtight containers and leave a little room for expansion. Label them with the date and freeze in meal-size amounts so you can thaw exactly what you need. Reheat gently on the stovetop or in the microwave, stirring occasionally, until the broth loosens and the beans are hot throughout. Once you have a few containers tucked away, weeknight dinners suddenly feel much easier.
Let the beans cool, then transfer them to airtight containers with plenty of broth. Refrigerate for up to 5 days. The liquid will thicken as it chills, so add a splash of water or stock when reheating to bring back the creamy, spoonable texture.
To freeze, portion the beans and broth into freezer-safe containers, leaving a little space at the top for expansion. Freeze for up to 3 months, thaw overnight in the refrigerator, and reheat gently on the stovetop or in the microwave, stirring occasionally.