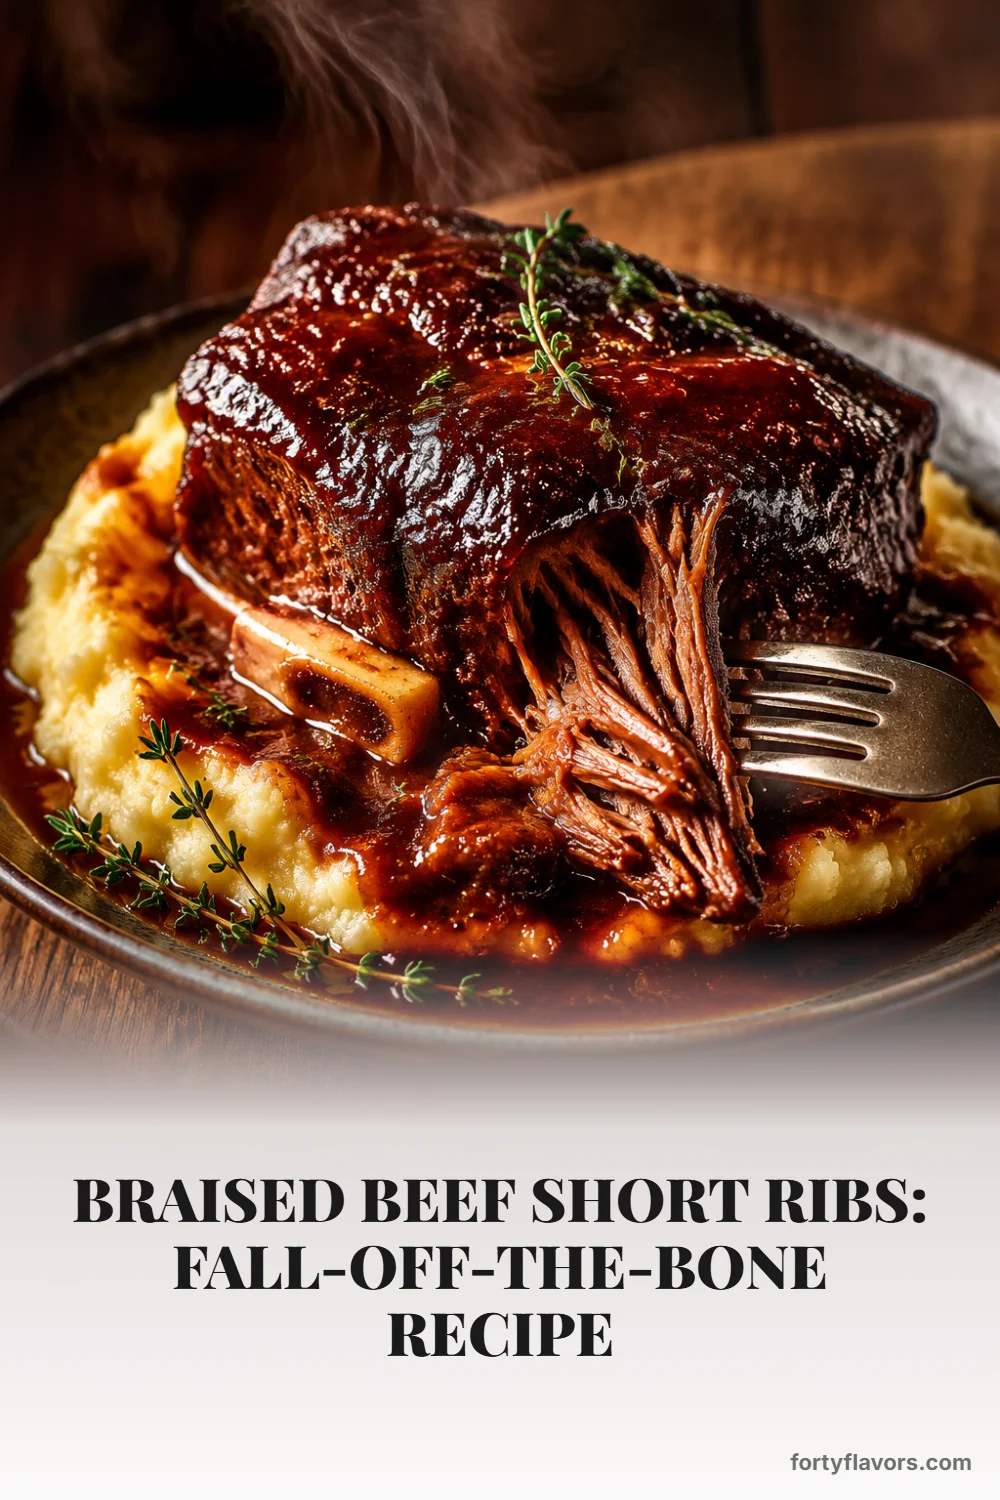
Braised Beef Short Ribs: Fall-Off-the-Bone Recipe
Ingredients
Scale
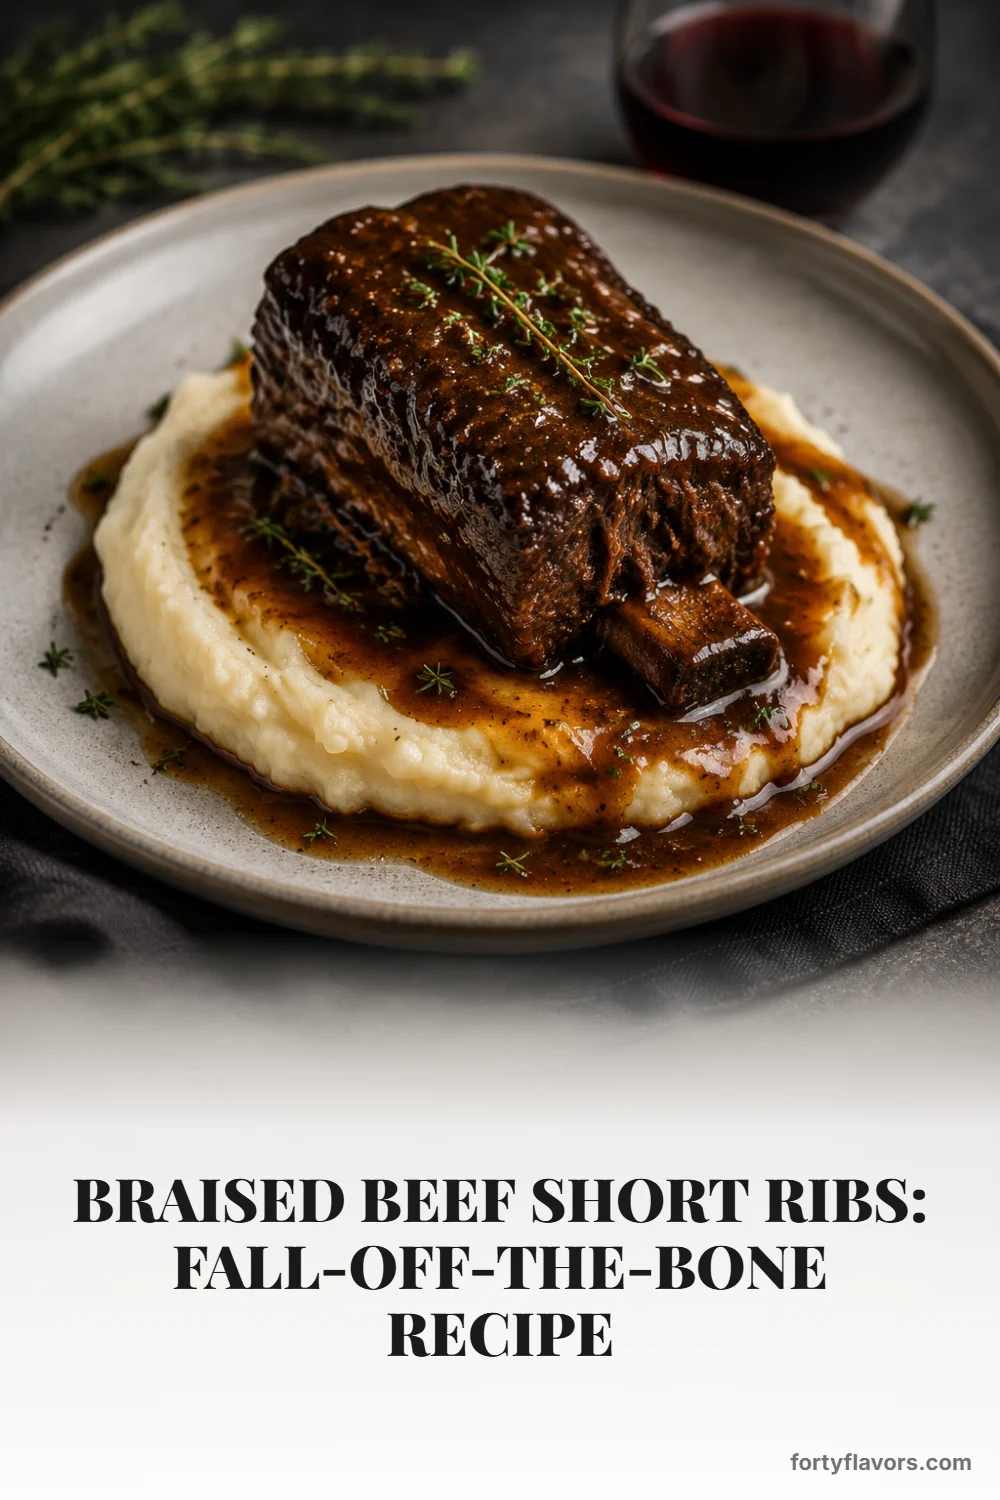
These braised beef short ribs are fork-tender, deeply savory, and swimming in a glossy red wine gravy — restaurant-level comfort food made in your own oven.
Beef short ribs are the kind of cozy, restaurant-level dinner that makes the whole house smell like you planned something special — even though most of the magic happens quietly in the oven. We’re talking deeply browned, bone-in pieces of meat slowly braised with aromatics, thyme, bay leaves, broth, and a generous pour of red wine until every bite is rich, glossy, and fall-off-the-bone tender.
This is the dinner I want for a chilly Sunday, a holiday table that doesn’t need a fussy roast, or a date night when you’d rather stay in with a bottle of wine and a pot of something bubbling away. The method is classic and uncomplicated: sear hard, build flavor in the same Dutch oven, then let time do its delicious work. Serve the ribs over potatoes, polenta, or buttered noodles and spoon that silky red wine gravy over everything.
Short ribs come from the lower rib and plate area of the cow, where the meat is well-marbled and full of connective tissue. That might not sound glamorous at first, but it is exactly what makes them one of the best cuts of beef for slow cooking. When given enough time at a gentle temperature, the collagen melts into the braising liquid, creating meat that is incredibly tender and a sauce with natural body.
For this recipe, look for bone-in short ribs in the English cut style, which means each piece is cut parallel to the bone and usually has one substantial bone running through it. This cut is ideal for braising because the pieces are thick enough to sear beautifully and sturdy enough to hold their shape during a long cook. Flanken-cut ribs, by contrast, are sliced thinly across several bones and are wonderful for quick grilling or Korean-style marinades, but they are not the best choice for this Dutch oven method.
Bone-in pieces bring more flavor to the pot, and they make for a dramatic presentation when plated. Boneless short ribs can work in a pinch, but they tend to be a little less luxurious and may cook slightly faster. If you’re ordering from a butcher, ask for meaty English-cut ribs that are similar in size so they finish cooking at the same time.
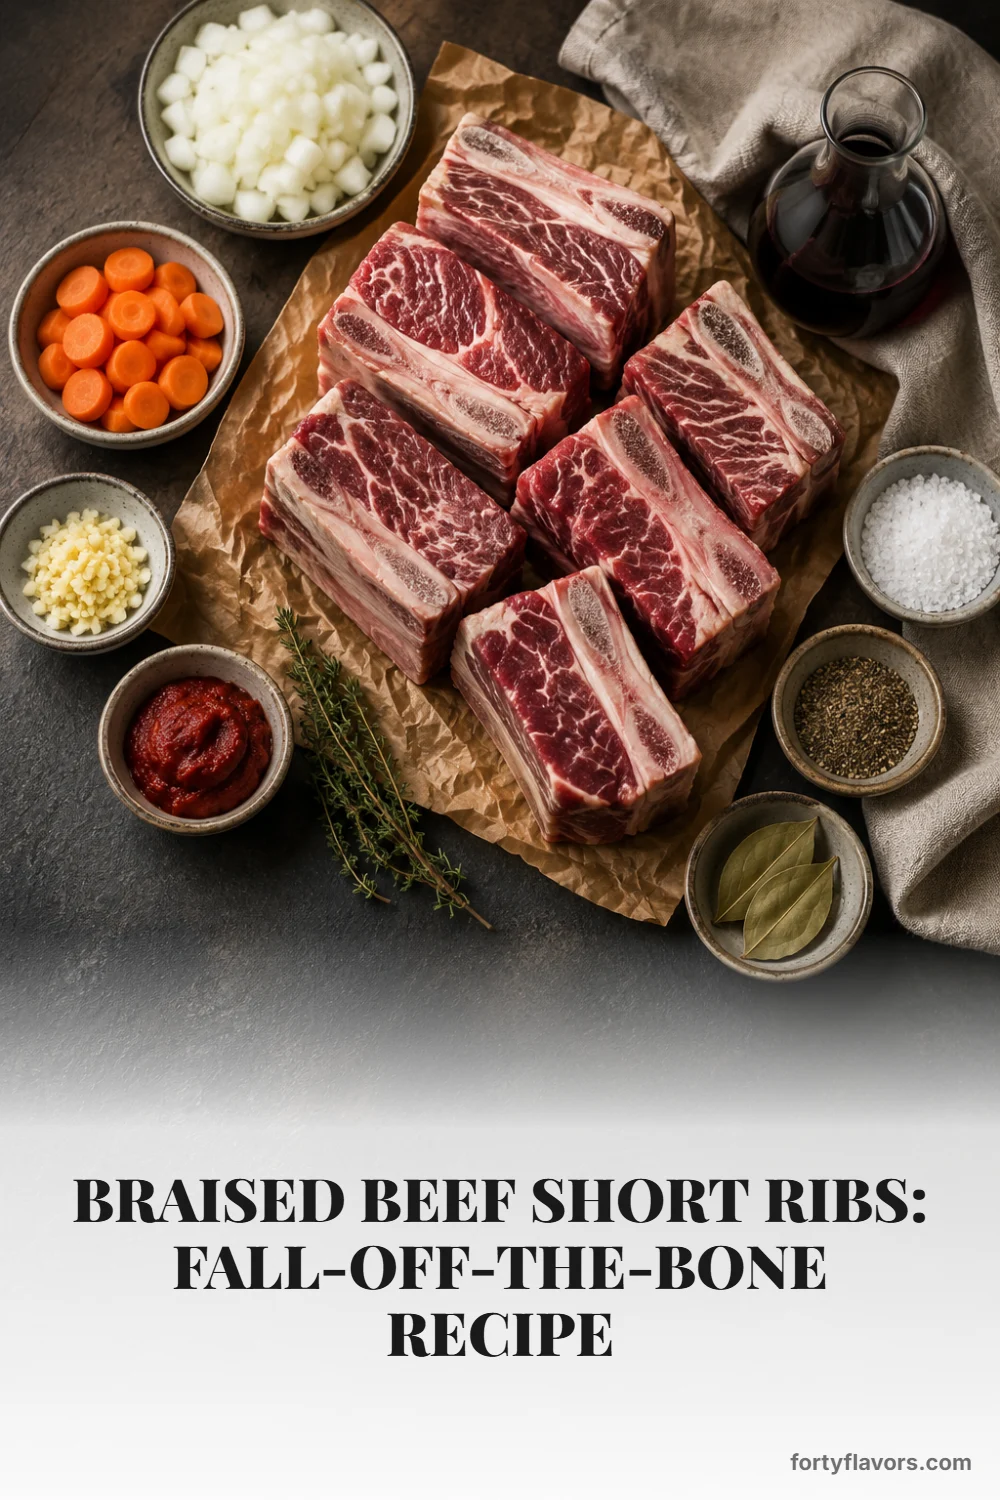
The ingredient list is short, but every piece plays a role. You’ll start with about four pounds of bone-in short ribs, seasoned generously with kosher salt and black pepper. Salt early if you can — even 30 minutes at room temperature helps the seasoning penetrate and encourages better browning.
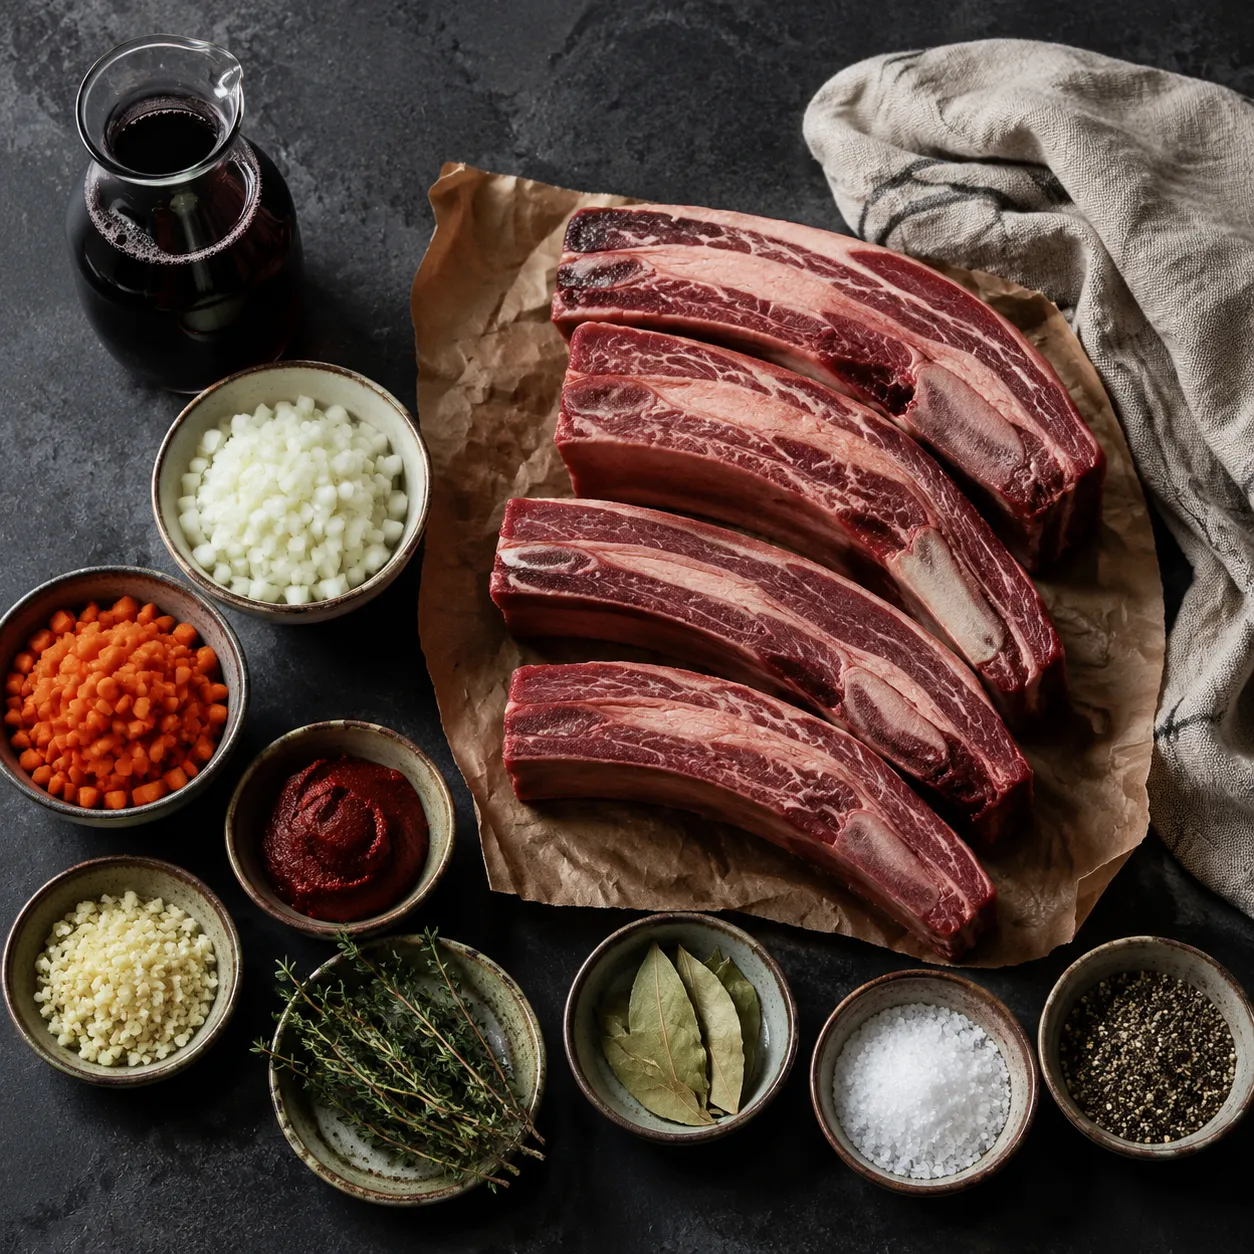
Olive oil gives you the foundation for a hard sear, while onion, carrots, and garlic bring sweetness and depth. Tomato paste is the quiet powerhouse here; when it cooks against the hot bottom of the pot, it darkens, caramelizes, and gives the finished sauce a savory backbone. Fresh thyme and bay leaves keep the braise classic and aromatic without overpowering the meat.
The red wine matters, but it does not need to be expensive. Choose a dry wine you would happily drink — Cabernet Sauvignon, Merlot, Pinot Noir, or a red blend all work well. After deglazing the pot, the wine mingles with beef broth and the browned bits from the sear, creating the base for a glossy red wine gravy that tastes far more complex than the effort required.
[note]If you avoid alcohol, use extra beef broth plus a splash of balsamic vinegar. You’ll still get acidity and depth, just without the wine-forward flavor.A heavy Dutch oven is the best tool for this kind of cooking because it holds steady heat, browns evenly, and moves from stovetop to oven without fuss. That makes this one of those Dutch oven beef recipes that feels old-school in the best way: one pot, a little patience, and a truly spectacular payoff. The wide base gives the ribs room to sear instead of steam, while the tight lid traps moisture during the long braise.
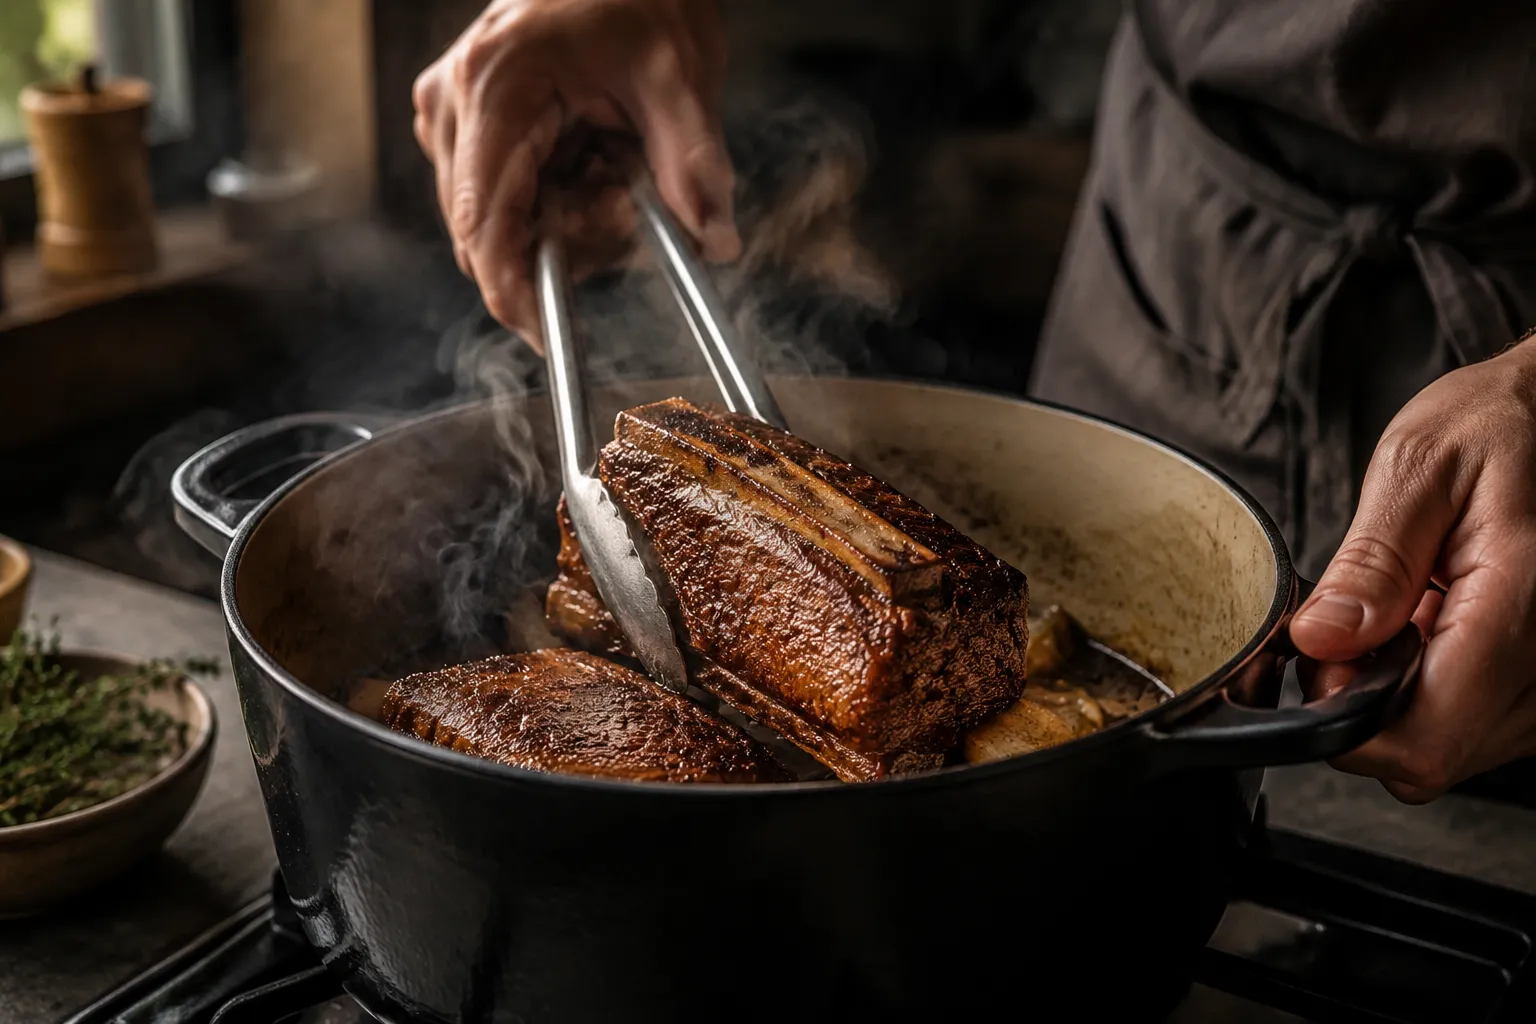
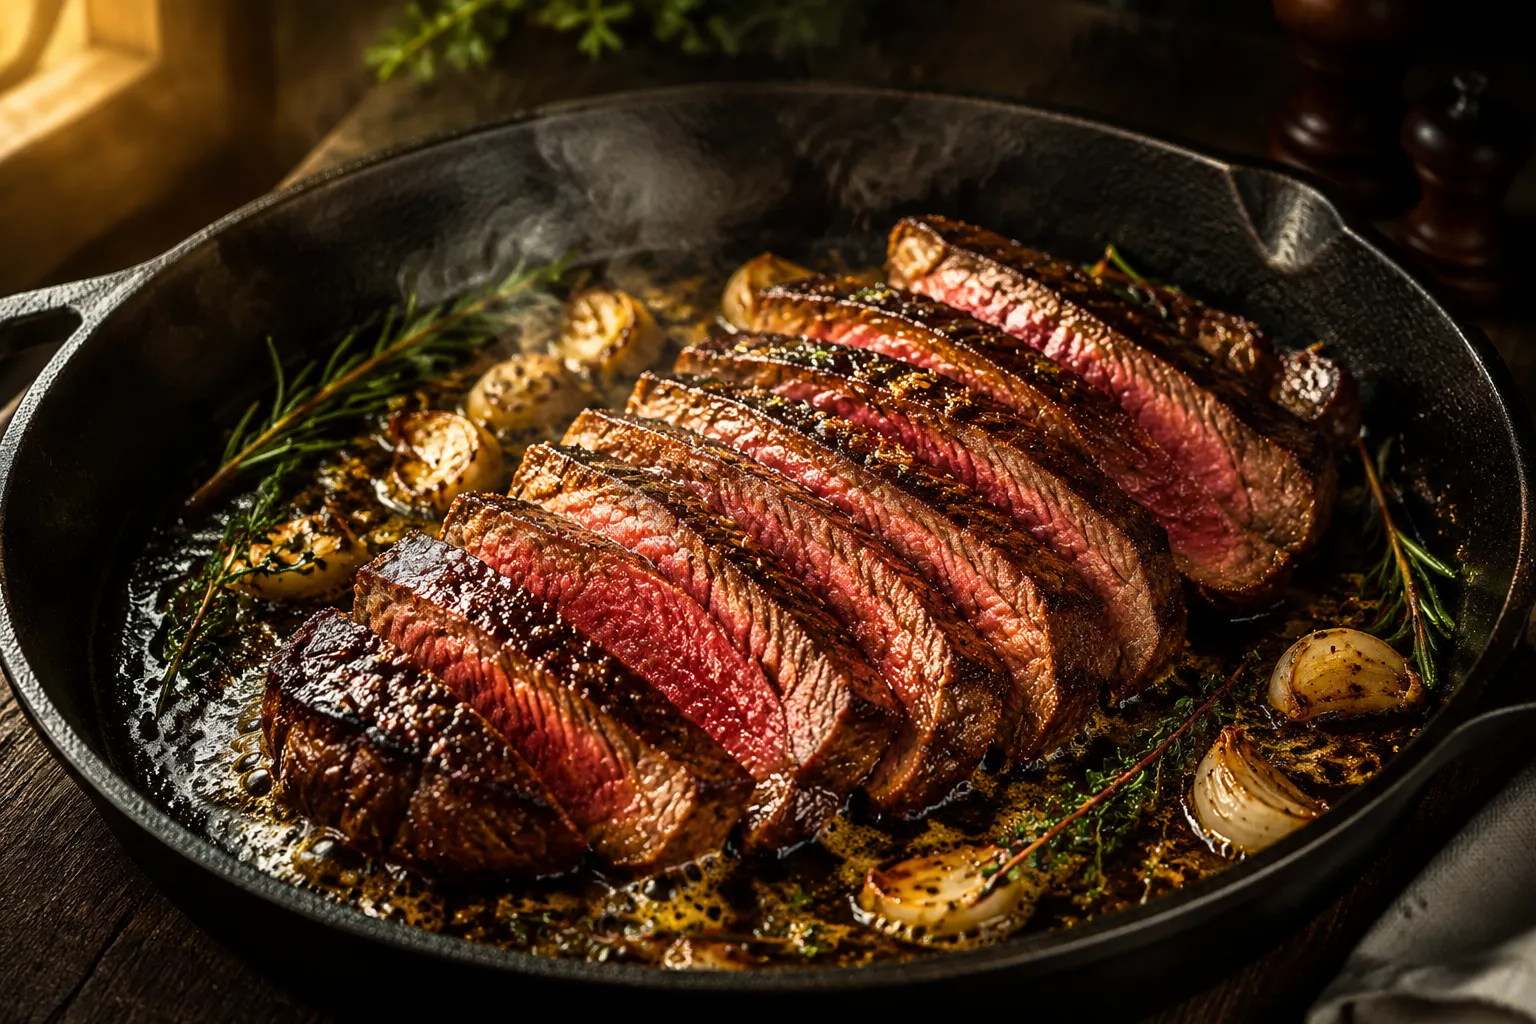
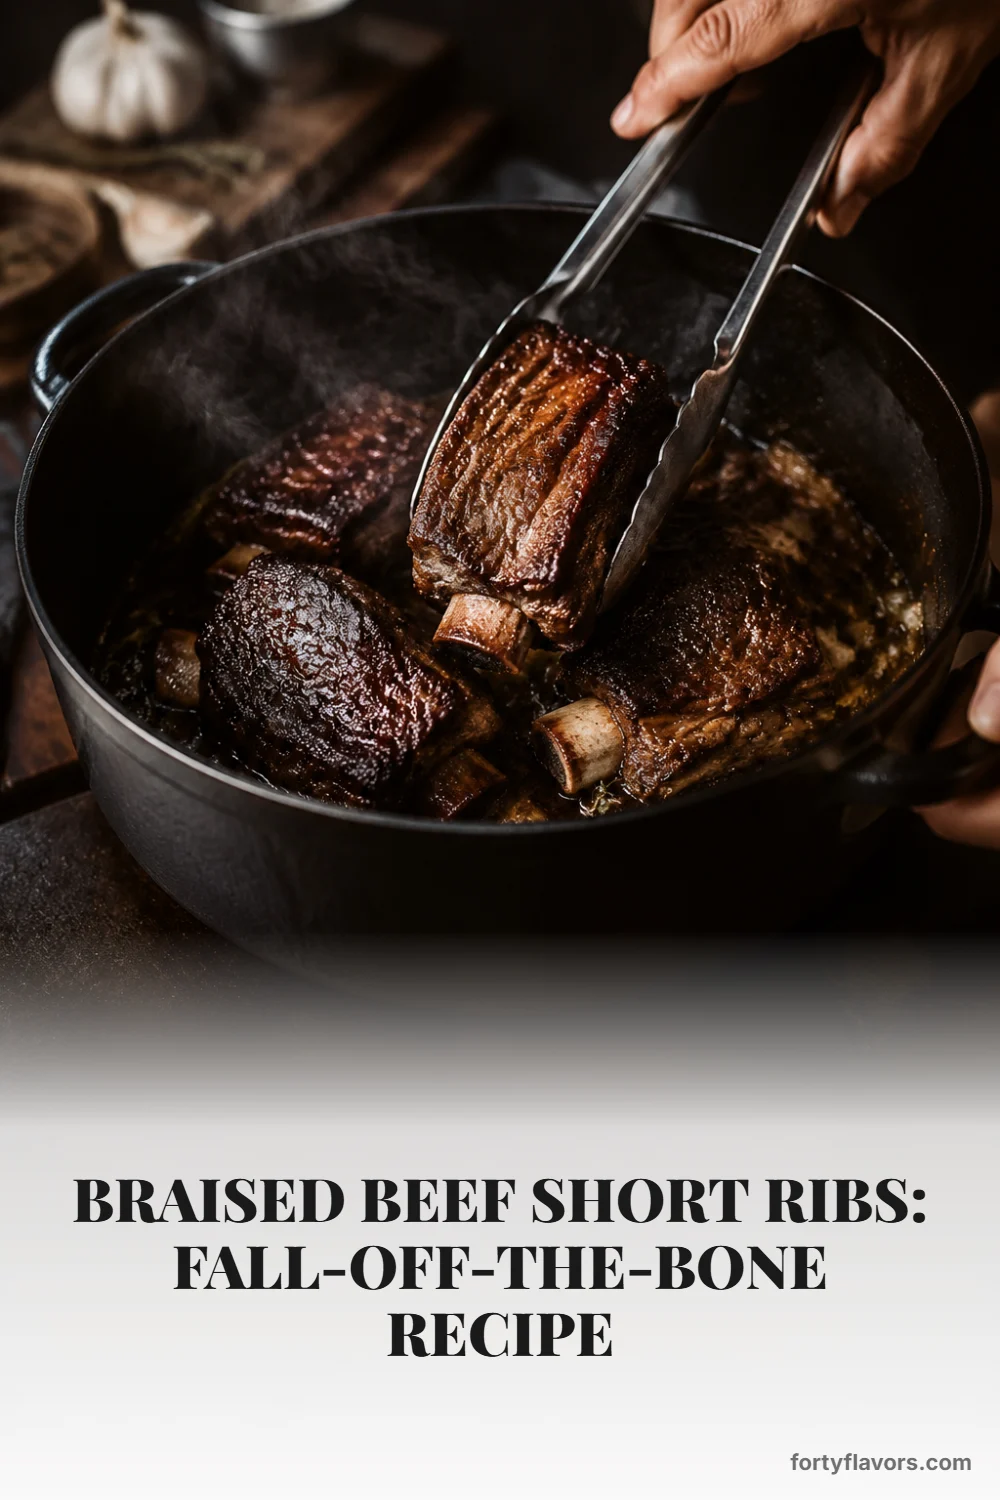
The sear is not optional if you want maximum flavor. Pat the meat dry, season it well, and let it sit undisturbed in hot oil until each side develops a deep brown crust. Don’t rush this step; the crust is what gives braised short ribs their layered, steakhouse-style richness.
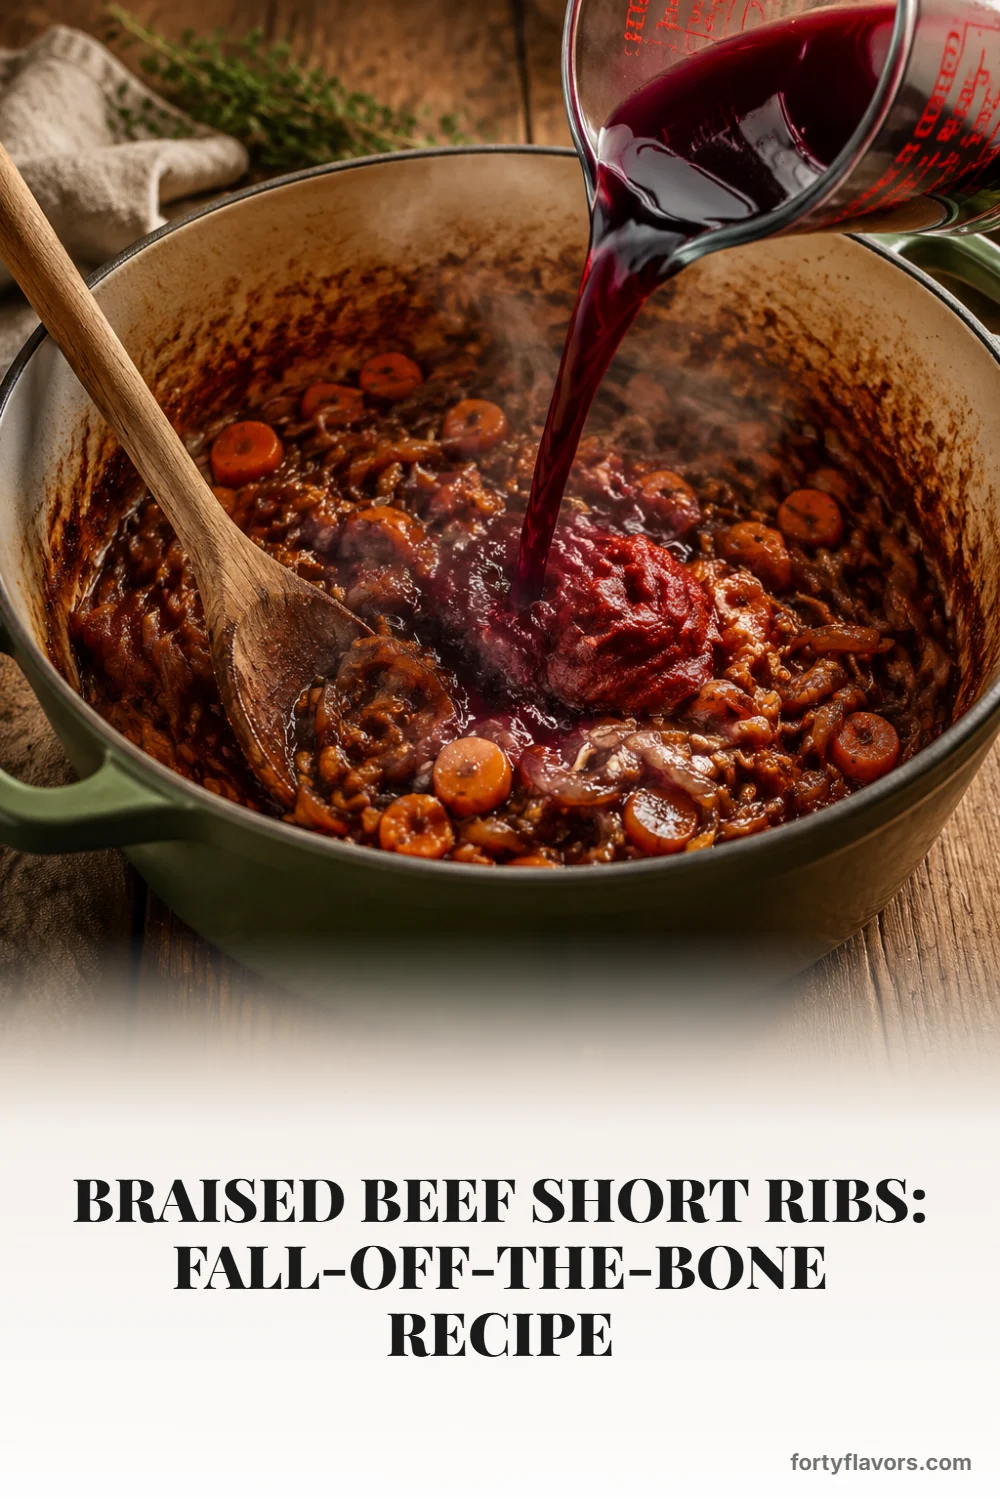
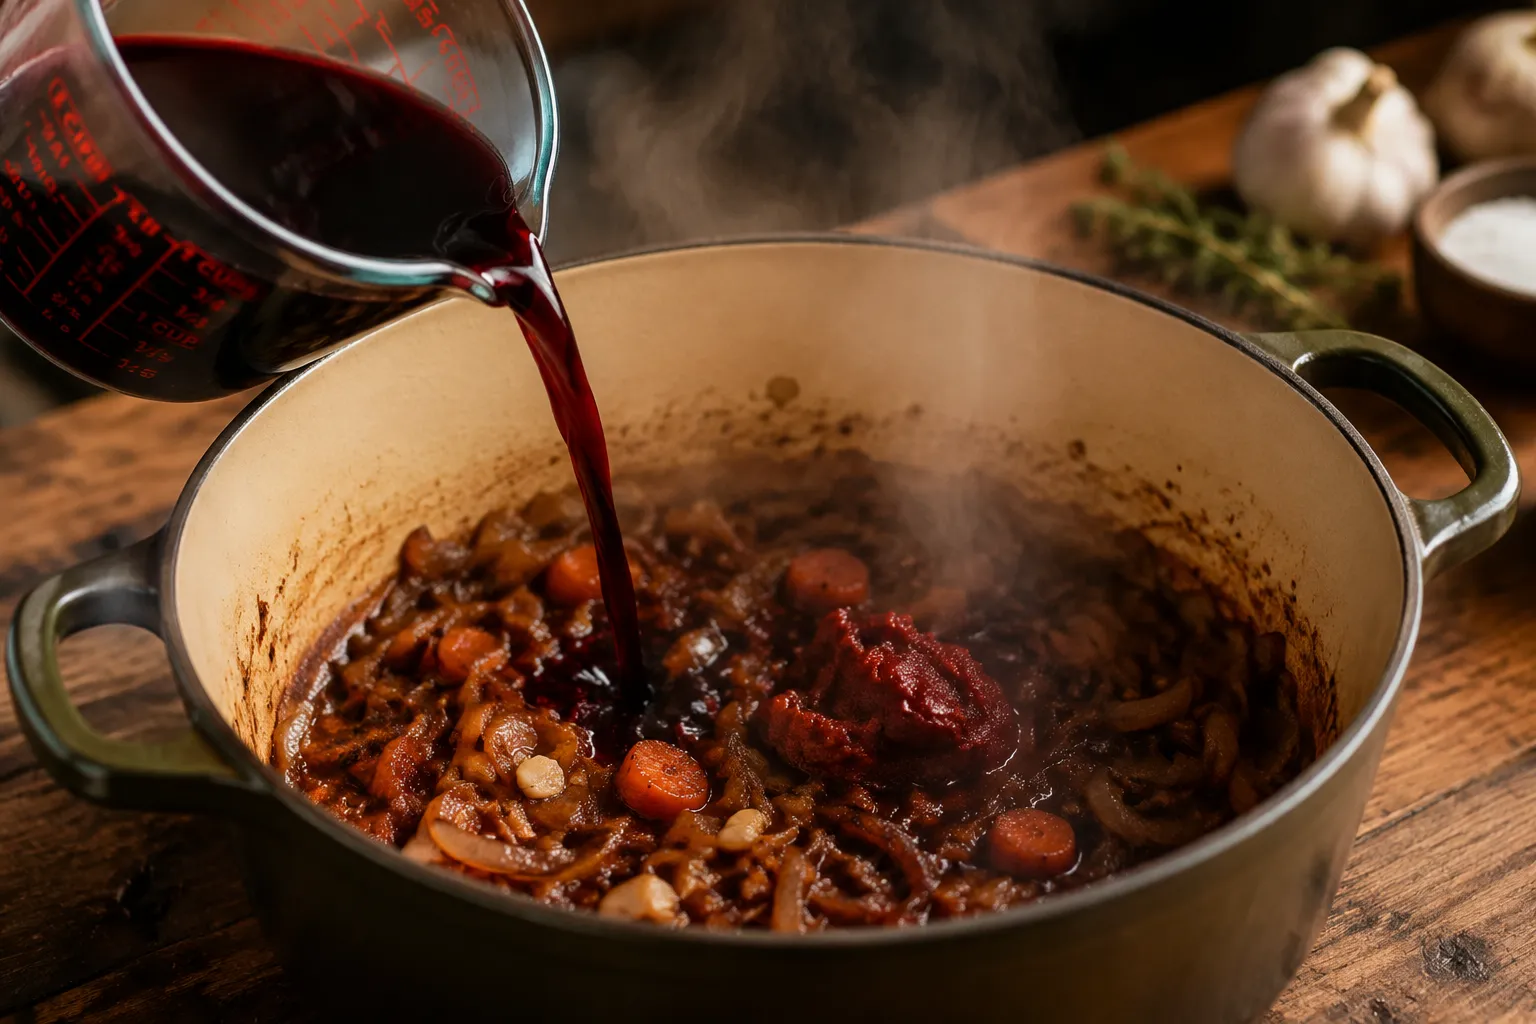
Once the ribs are browned, the vegetables go into the same pot and pick up all those savory drippings. The tomato paste should cook for a minute or two until it looks brick-red and smells toasty. Then comes the wine, which loosens the caramelized bits from the bottom of the pot and turns them into the beginning of your sauce.
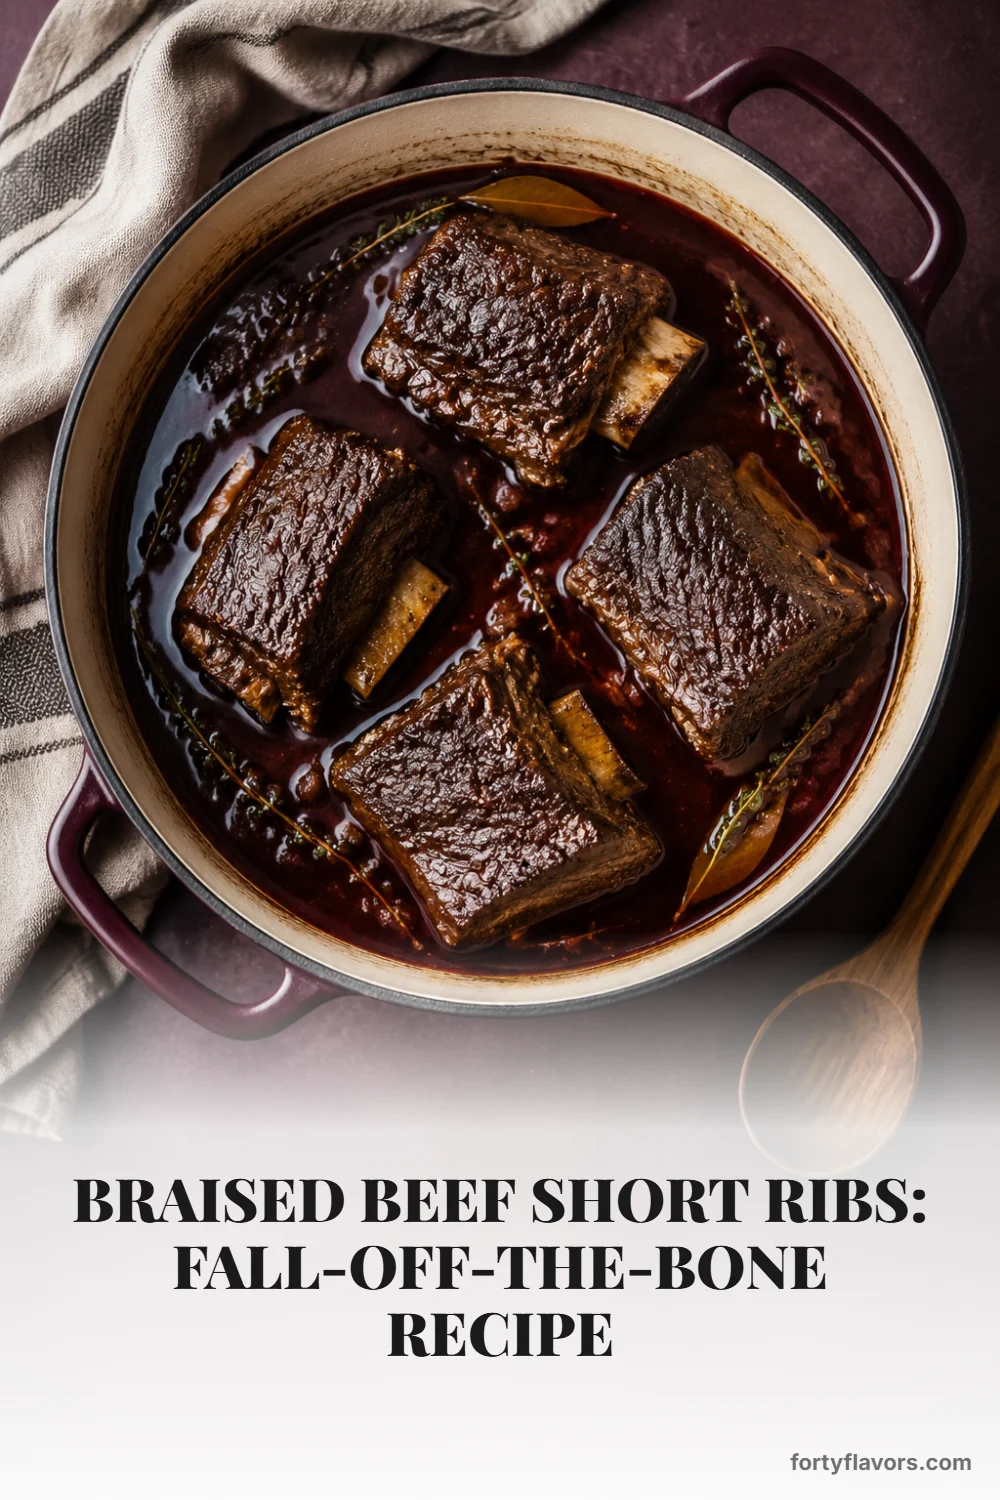
After the wine reduces slightly, the broth, thyme, and bay leaves join the pot, and the ribs get nestled back in bone-side down. You want the liquid to come partway up the sides of the meat, not completely cover it. This gives you the best of both worlds: moist heat from the braise below and concentrated flavor on the exposed surface above.

The oven should be low enough that the liquid gently simmers rather than boils. Around 325°F is the sweet spot: warm enough to break down collagen in a reasonable time, gentle enough to keep the meat succulent. If the liquid is bubbling aggressively when you check it, reduce the oven temperature slightly and continue cooking until the meat yields easily to a fork.
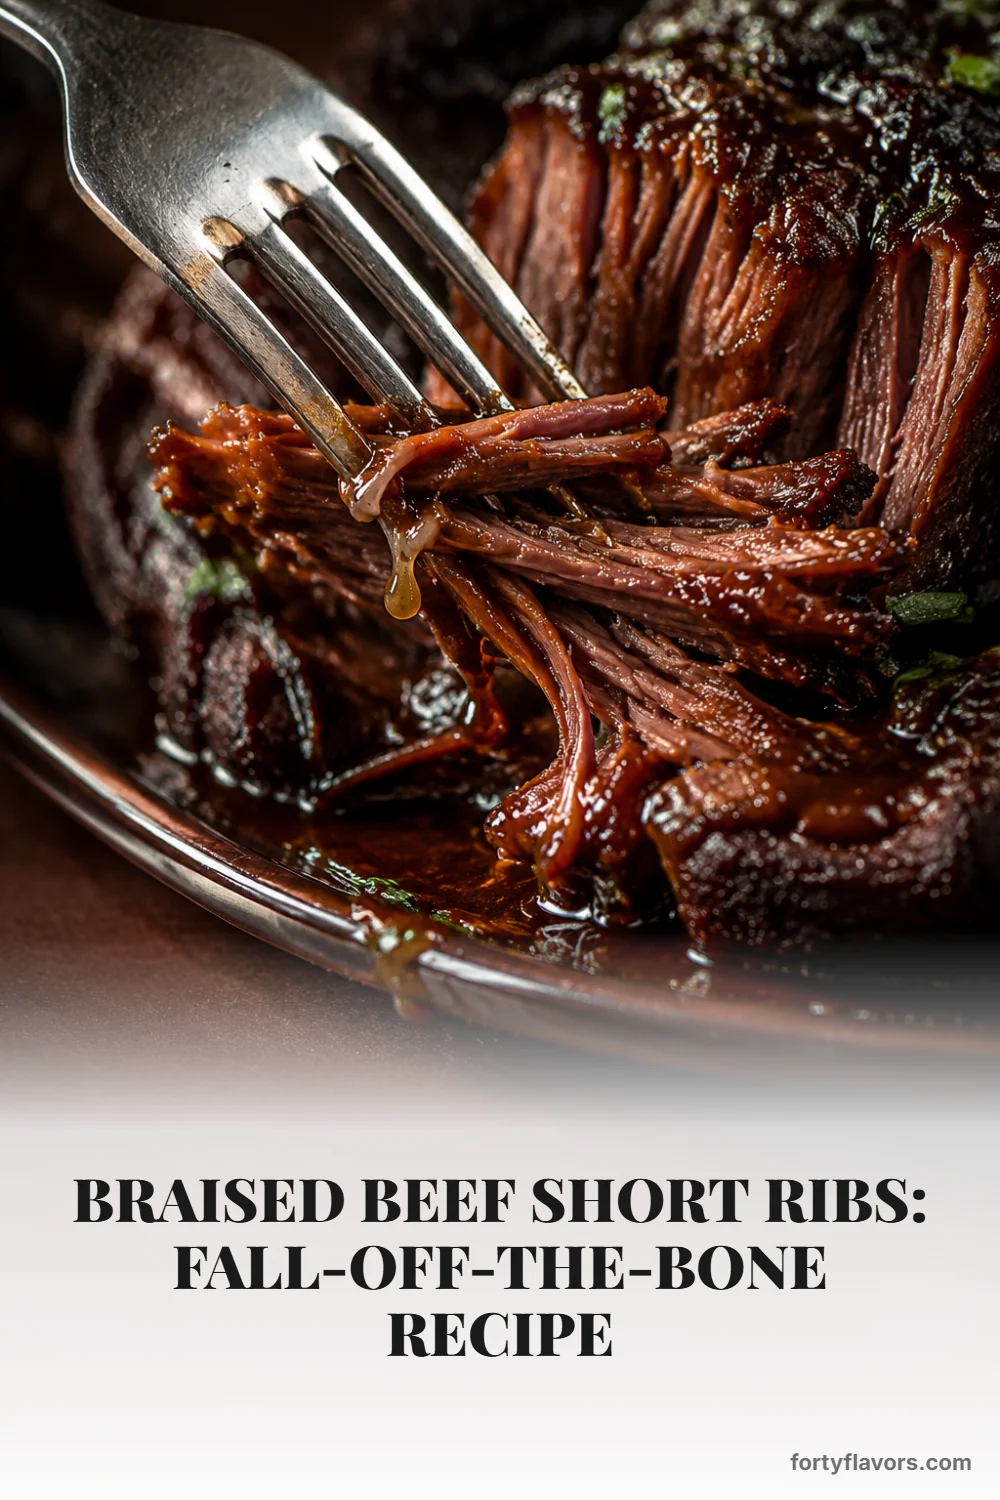
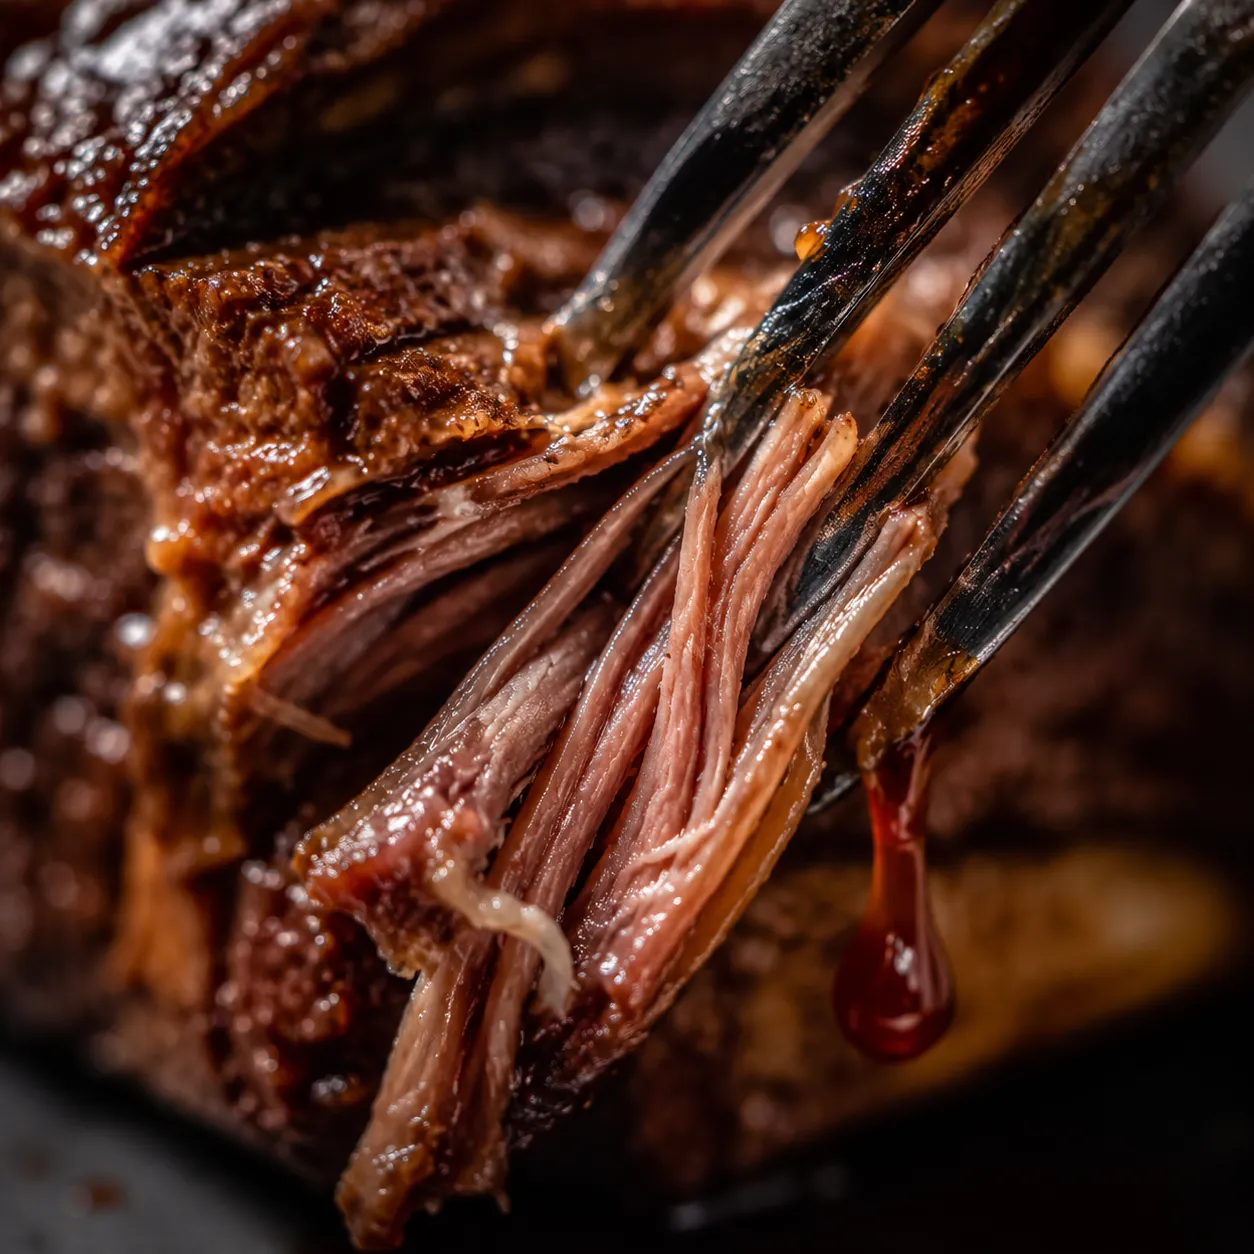
You’ll know the ribs are done when they look relaxed, glossy, and almost too tender to lift neatly from the pot. The bone may loosen from the meat, and that is a very good sign. If they still feel tight or chewy, they are not overcooked — they simply need more time.
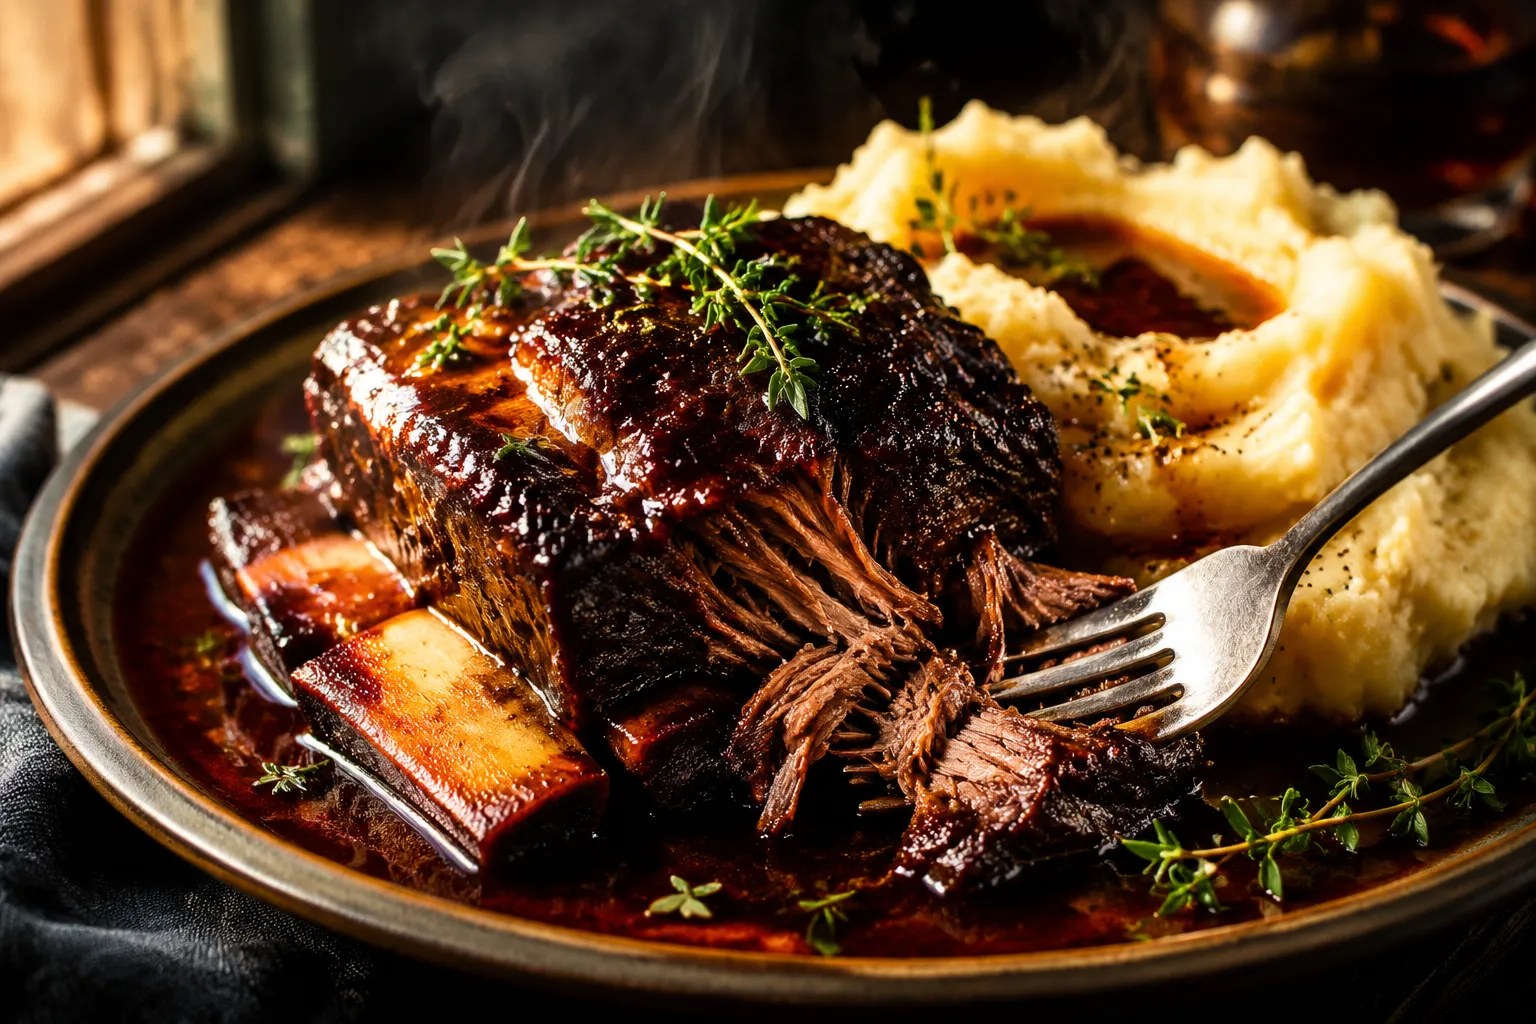
[warning]Do not pull the ribs from the oven just because the timer is up. Tenderness is the real doneness test; short ribs need enough time for the connective tissue to melt.Once the meat is tender, move it carefully to a plate and turn your attention to the braising liquid. You can serve it rustic with the vegetables left in, or strain it for a smoother, more elegant sauce. For a dinner-party presentation, I like to strain, skim off excess fat, and simmer the liquid until it coats the back of a spoon.
This reduction is where the sauce becomes glossy, concentrated, and spoon-worthy. Taste at the end before adding more salt, because reducing naturally intensifies the seasoning. A small knob of butter whisked in off the heat is optional, but it gives the gravy a restaurant-style sheen.
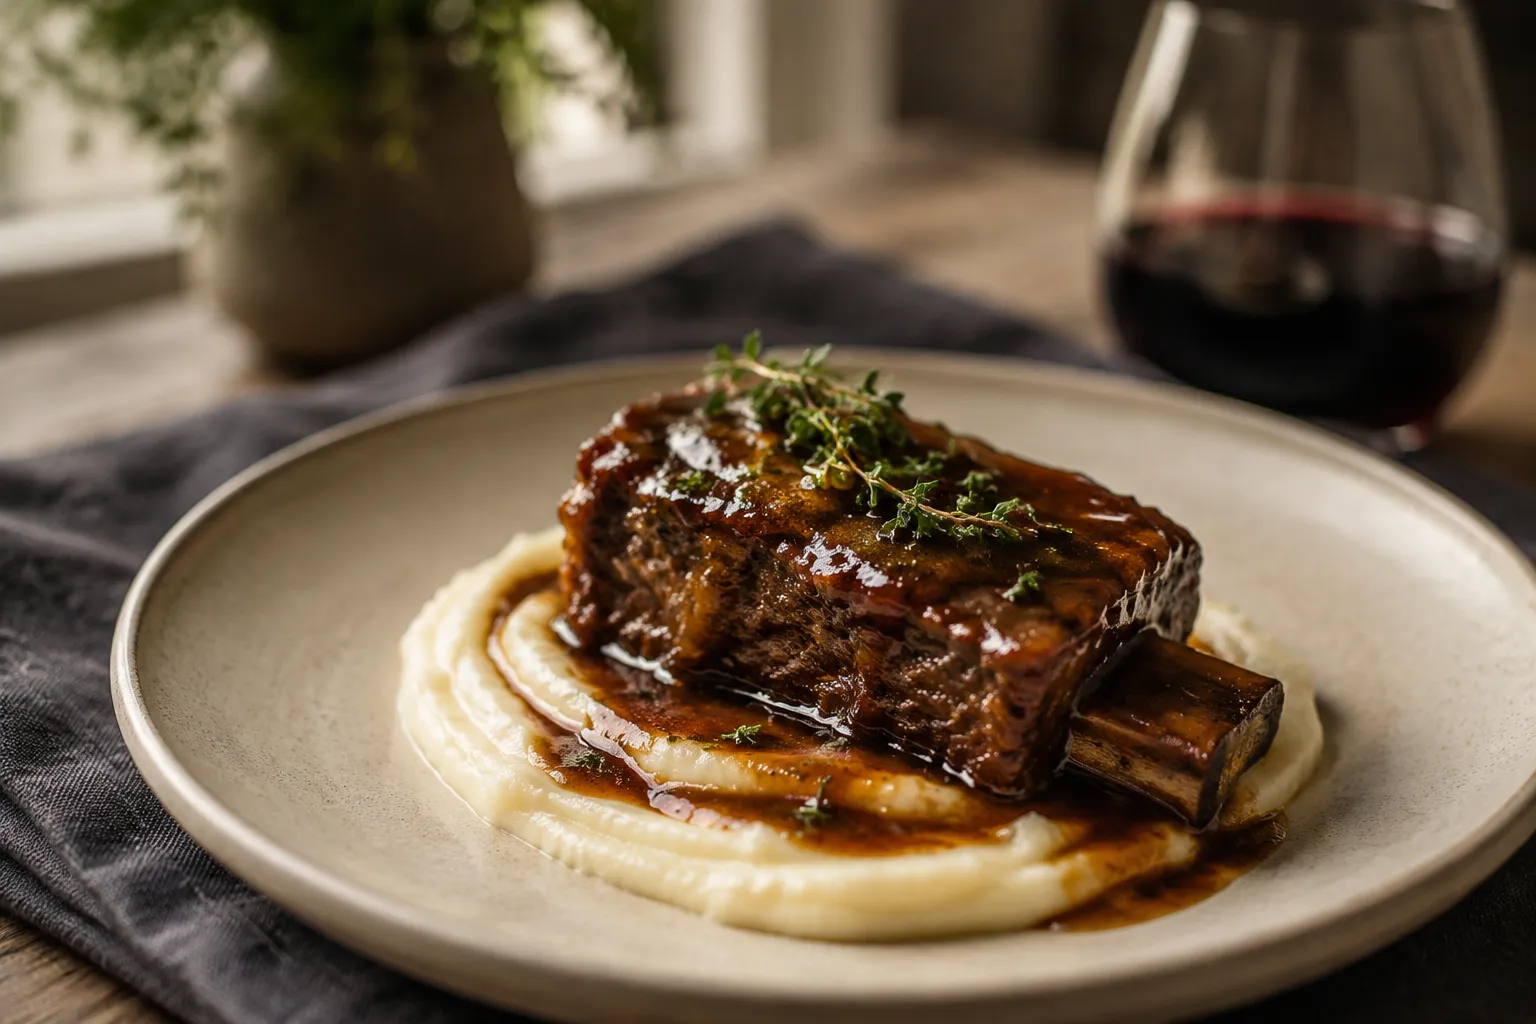
When plating, set each rib over something creamy or starchy and ladle the sauce generously over the top. The meat should pull apart with the lightest nudge of a fork, with strands that soak up every drop of the braising liquid. This is comfort food with a little drama — unfussy, deeply savory, and completely worthy of the good plates.
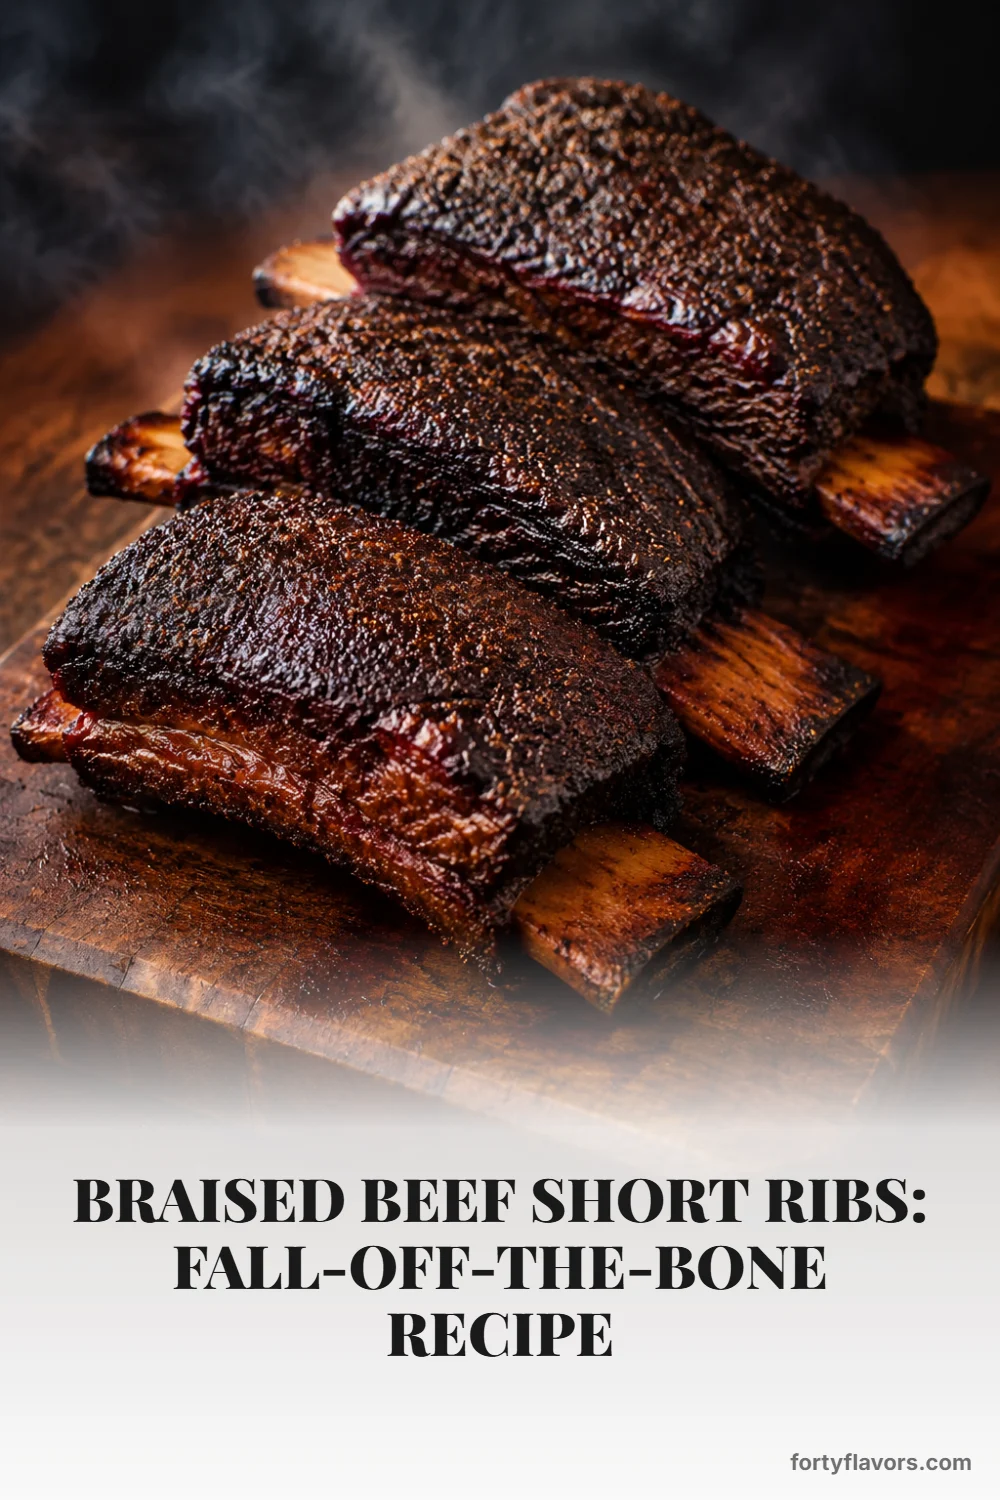
If your idea of a perfect weekend involves a backyard fire, smoking beef short ribs is another spectacular route. Instead of a saucy braise, the smoker gives you a dark, peppery bark, a rosy smoke ring, and meat that eats almost like brisket on a bone. Use large, meaty plate ribs if you can find them, season simply with salt, coarse black pepper, and garlic powder, and let the smoke do the heavy lifting.
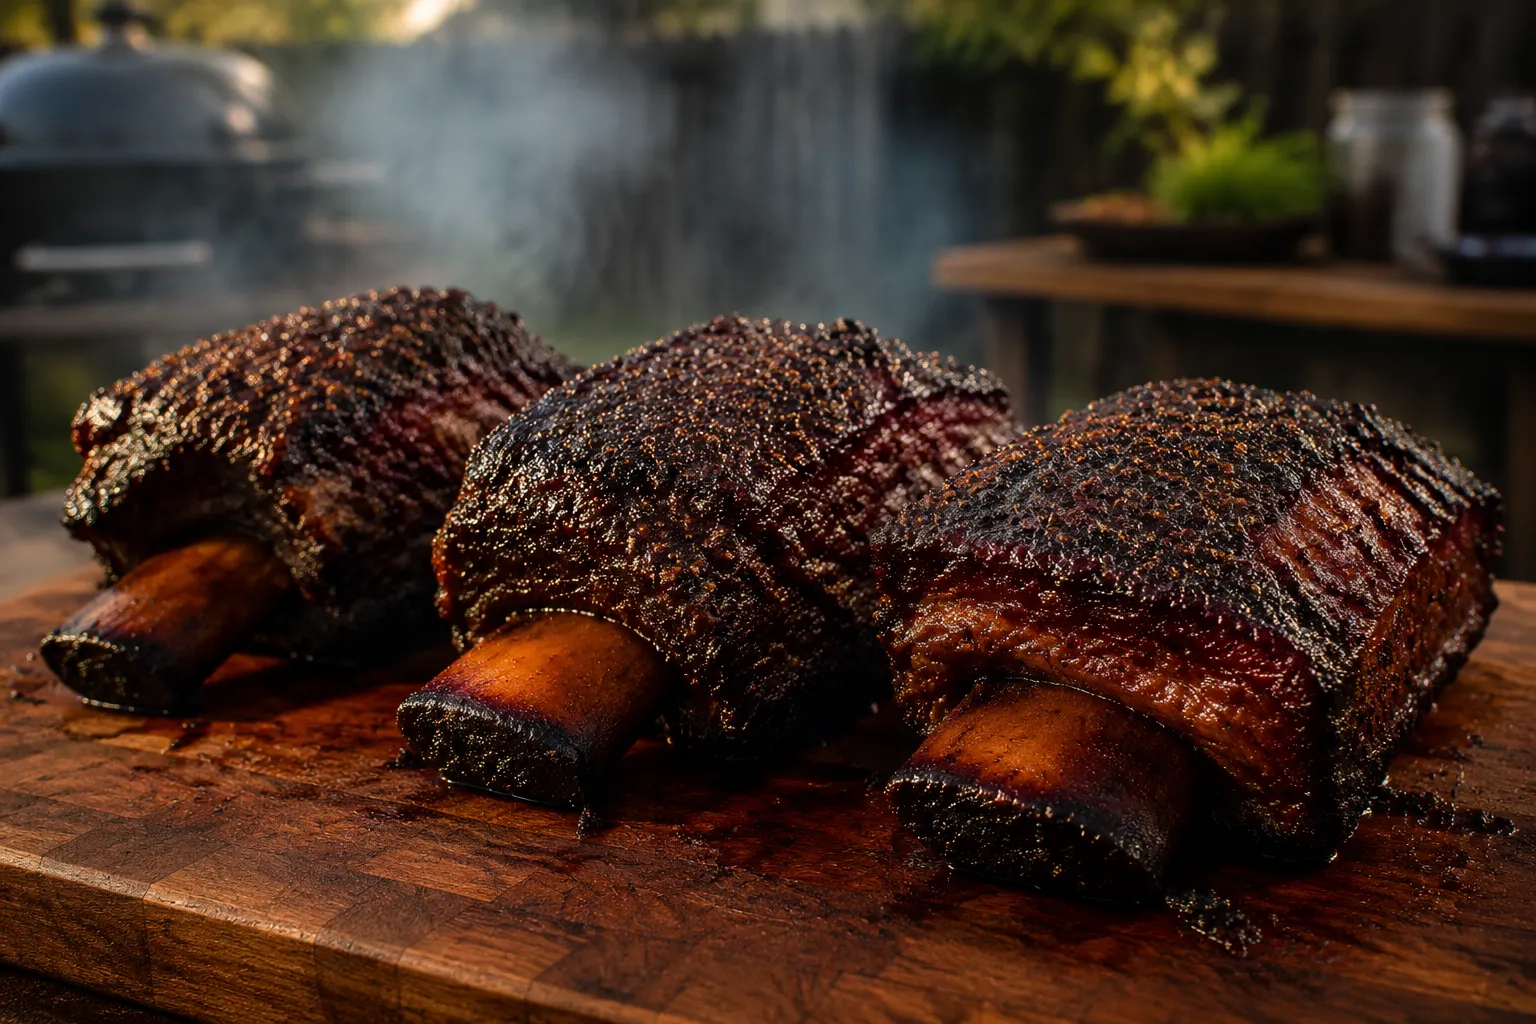
Oak, hickory, and pecan are all excellent wood choices because they can stand up to the richness of the meat. Cook at about 250°F and plan on a leisurely 6 to 8 hours, depending on the size of the ribs and the consistency of your pit. Like brisket, ribs may hit a stall when moisture evaporating from the surface slows the temperature climb; you can wrap them in butcher paper once the bark is set, or leave them unwrapped for a firmer crust.
The target temperature is usually around 203°F, but don’t cook by temperature alone. Slide a probe between the bones; when it glides in with almost no resistance, the ribs are ready. Rest them well before slicing so the juices settle back into the meat.
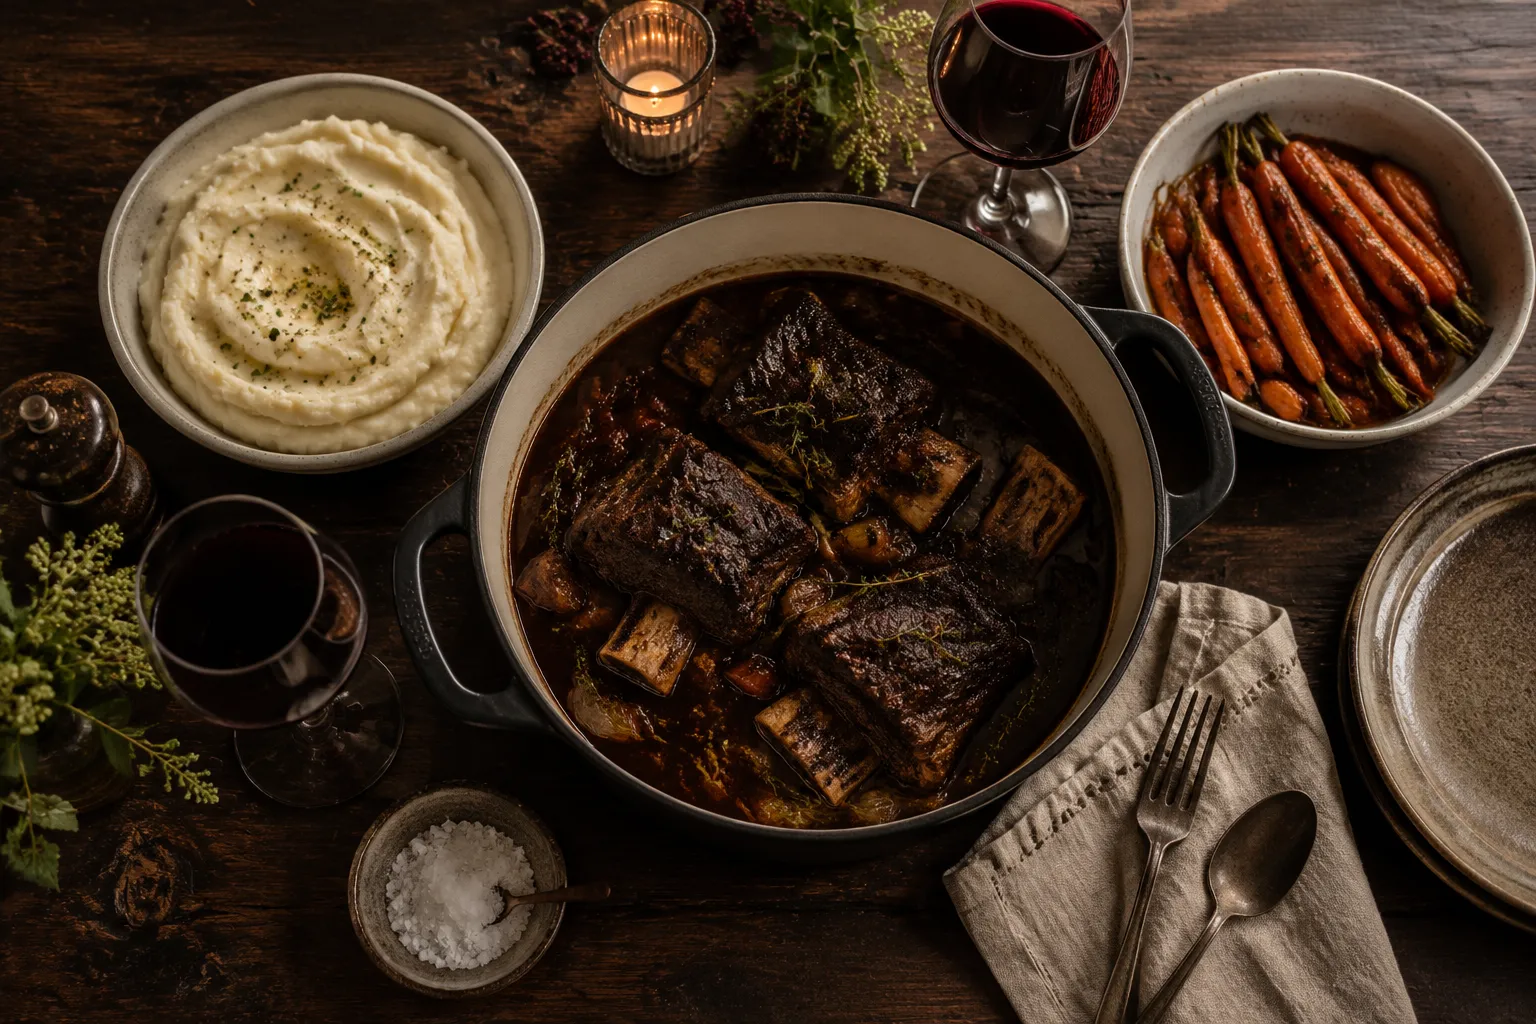
Because the ribs and sauce are so savory, the best sides are simple, creamy, or gently sweet. A mashed potatoes side is the classic for a reason: buttery potatoes catch the sauce, soften the richness, and make the whole plate feel like the coziest kind of Sunday supper. If you want something a little more elegant, soft polenta with Parmesan is beautiful under the ribs.
Roasted carrots, parsnips, Brussels sprouts, or mushrooms are all lovely alongside the dish. Their caramelized edges echo the sear on the meat while bringing balance to the plate. A crisp green salad with a mustardy vinaigrette also works well, especially if you’re serving this for a holiday or multi-course dinner.
For bread lovers, add a crusty loaf to the table and let everyone drag pieces through the sauce. Buttered egg noodles are another low-effort option and feel especially homey. However you serve them, keep the sides supportive rather than complicated — the ribs are the centerpiece.
The beauty of this recipe is that it feels celebratory without requiring restaurant technique. Once the pot is in the oven, you have time to tidy the kitchen, make a side, pour a glass of wine, or simply enjoy the smell of dinner becoming something wonderful. It is the sort of main course that asks for patience, not perfection.
Whether you choose the classic red wine braise or the smoky backyard version, the goal is the same: deeply flavorful meat that practically collapses at the touch of a fork. Keep the heat gentle, give the ribs the time they need, and finish the sauce with care. The result is a meal that tastes slow, generous, and completely worth the wait.
Let leftovers cool, then store the ribs and sauce together in an airtight container in the refrigerator for up to 4 days. The sauce may firm up as the fat rises and chills; simply lift off any hardened excess fat before reheating if you prefer a lighter gravy.
For longer storage, freeze the ribs in their sauce for up to 3 months. Thaw overnight in the refrigerator, then reheat gently in a covered pot over low heat or in a 300°F oven until warmed through. Avoid boiling, which can tighten the meat and make the sauce reduce too aggressively.
Hover any image and hit “Pin it” to save it to your Pinterest boards.