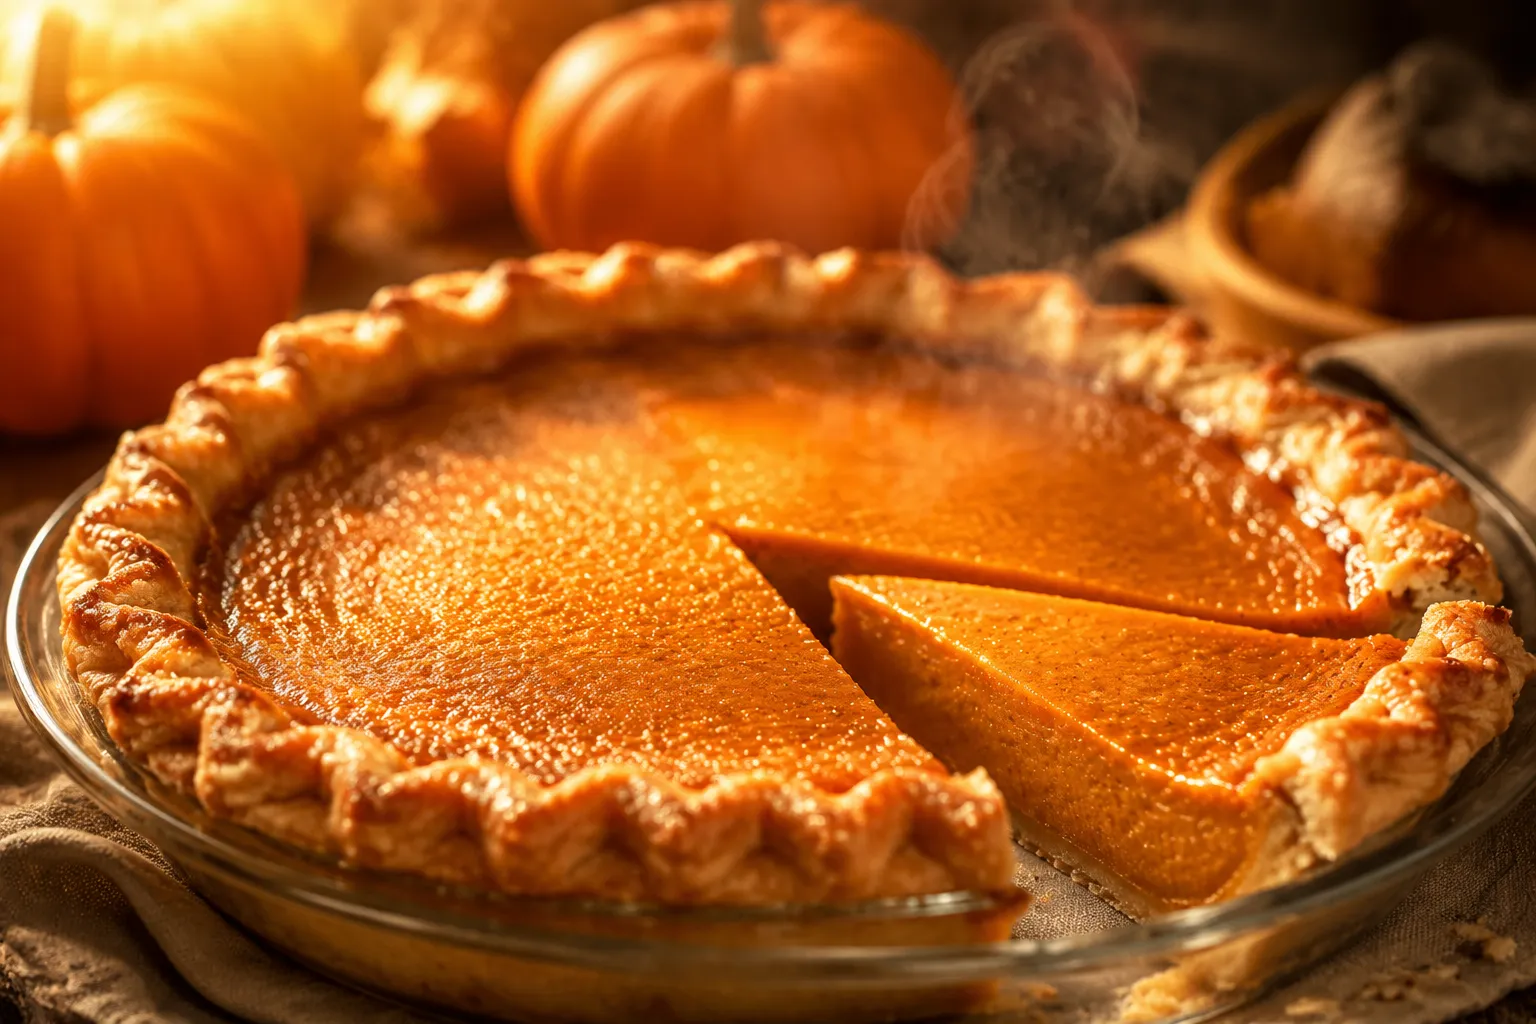
Homemade Candy Corn Recipe (Classic Halloween Treat)
Ingredients
Scale
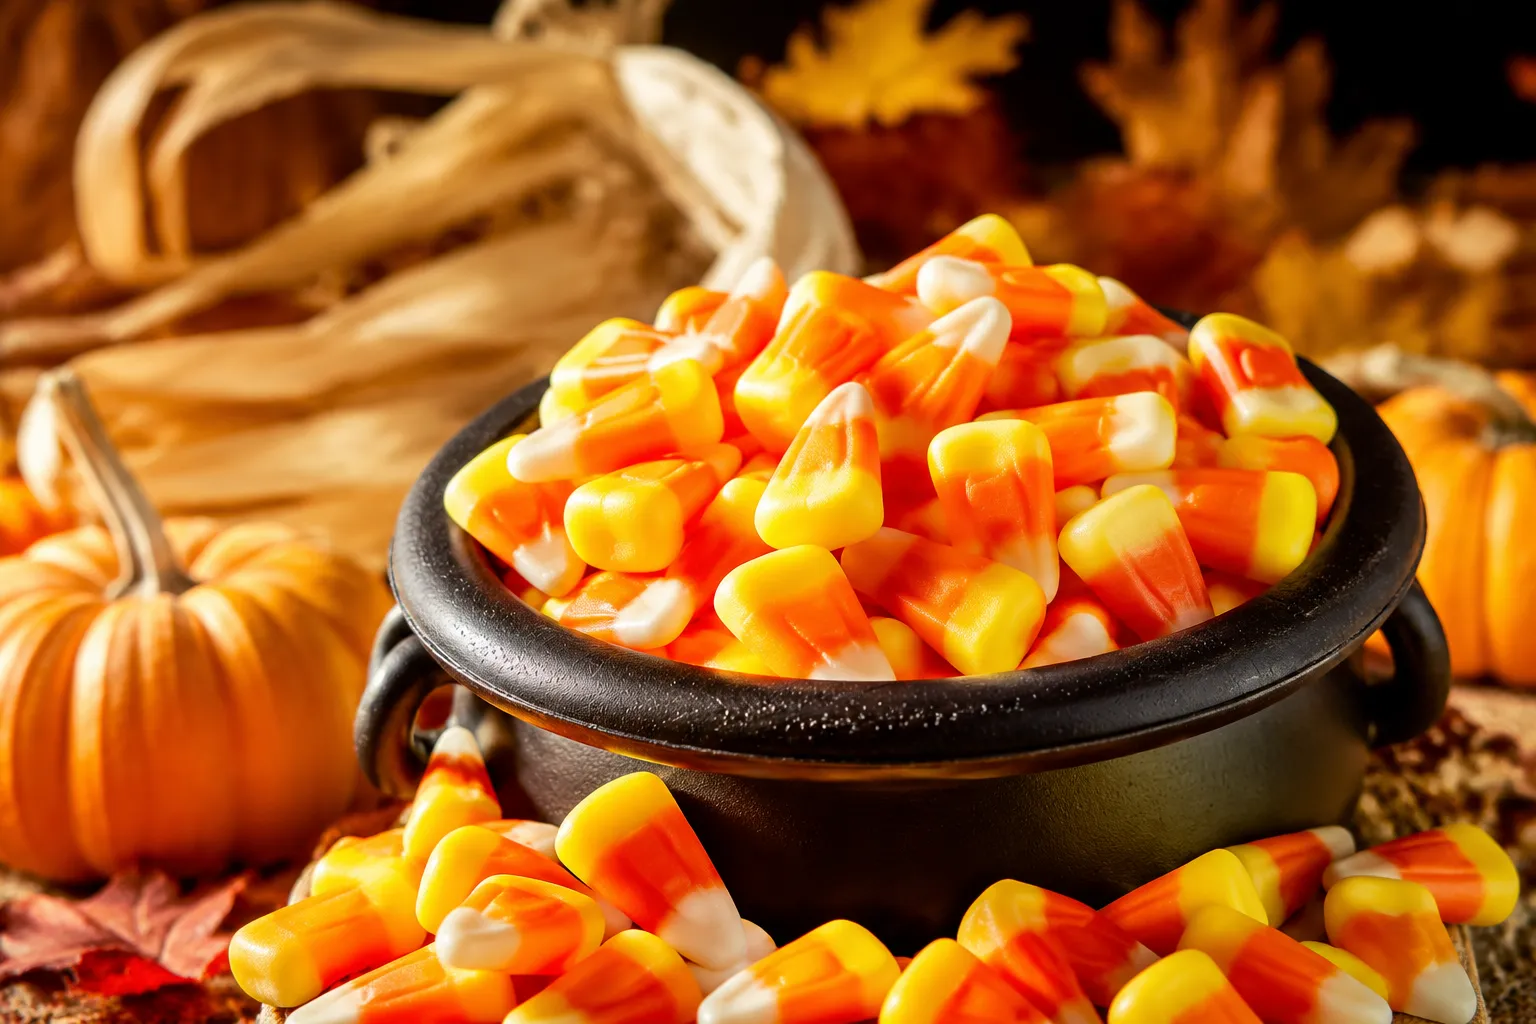
Forget the bag from the drugstore. This homemade candy corn is soft, honey-sweet, and stacked in those iconic yellow, orange, and white stripes.
The first time I made candy corn from scratch, I expected a fussy, sticky disaster — and instead pulled off a chewy, honey-warm treat that made me question every drugstore bag I'd ever bought. That's the secret nobody tells you: when you make this iconic fall sweet at home, it stops tasting like waxy dye and starts tasting like an actual confection. Soft, creamy, faintly buttery, with stripes you cut yourself.
This homemade candy corn recipe leans on pantry staples you almost certainly already own — sugar, corn syrup, butter, powdered milk, honey — and turns them into a glossy, pliable fondant you tint, rope, stack, and slice. It's part candy-making, part craft project, and 100% the kind of thing kids will absolutely lose their minds over helping with. Think of it as the homemade marshmallows of October: a little technique, a lot of payoff, and a finished jar that genuinely looks store-bought, in the good way.
I'll walk you through the surprisingly old-timey backstory, the exact ingredient list, every step (with photos), and a few fun ways to actually use the kernels once you have a bowl of fresh tri-color candy on your counter. Pull out a heavy saucepan and your favorite Halloween playlist.
Before we get to the stove, a little fall trivia. Candy corn was invented in the 1880s by George Renninger of the Wunderle Candy Company in Philadelphia, then mass-produced by the Goelitz Confectionery Company (now Jelly Belly) starting around 1898. At the time, "buttercream" candies shaped like vegetables — chicken feed, turnips, clover — were a whole genre, sold loose by the scoop at general stores. Corn got top billing because corn was America: Iowa farms, harvest season, all of it.
The yellow-orange-white stripes were actually a marketing innovation. Most sweets of that era were a single color, so painting on three layered bands by hand made the result look almost edible-art fancy. The palette was chosen to mimic an actual kernel of dried field corn: pale tip, golden middle, deep yellow base. Originally each layer was poured separately into corn-shaped molds — slow, expensive work — which is why it stayed a seasonal specialty for decades.
It didn't become a true Halloween icon until trick-or-treating exploded in the postwar 1950s, when candy companies needed packaged, individually wrapped sweets that screamed fall. The tri-color shape, harvest backstory, and pumpkin-friendly palette were a perfect fit, and the rest is sugar history. Today Americans buy roughly 35 million pounds of the stuff each year — though any fresh batch from your kitchen will trounce the bagged kind.
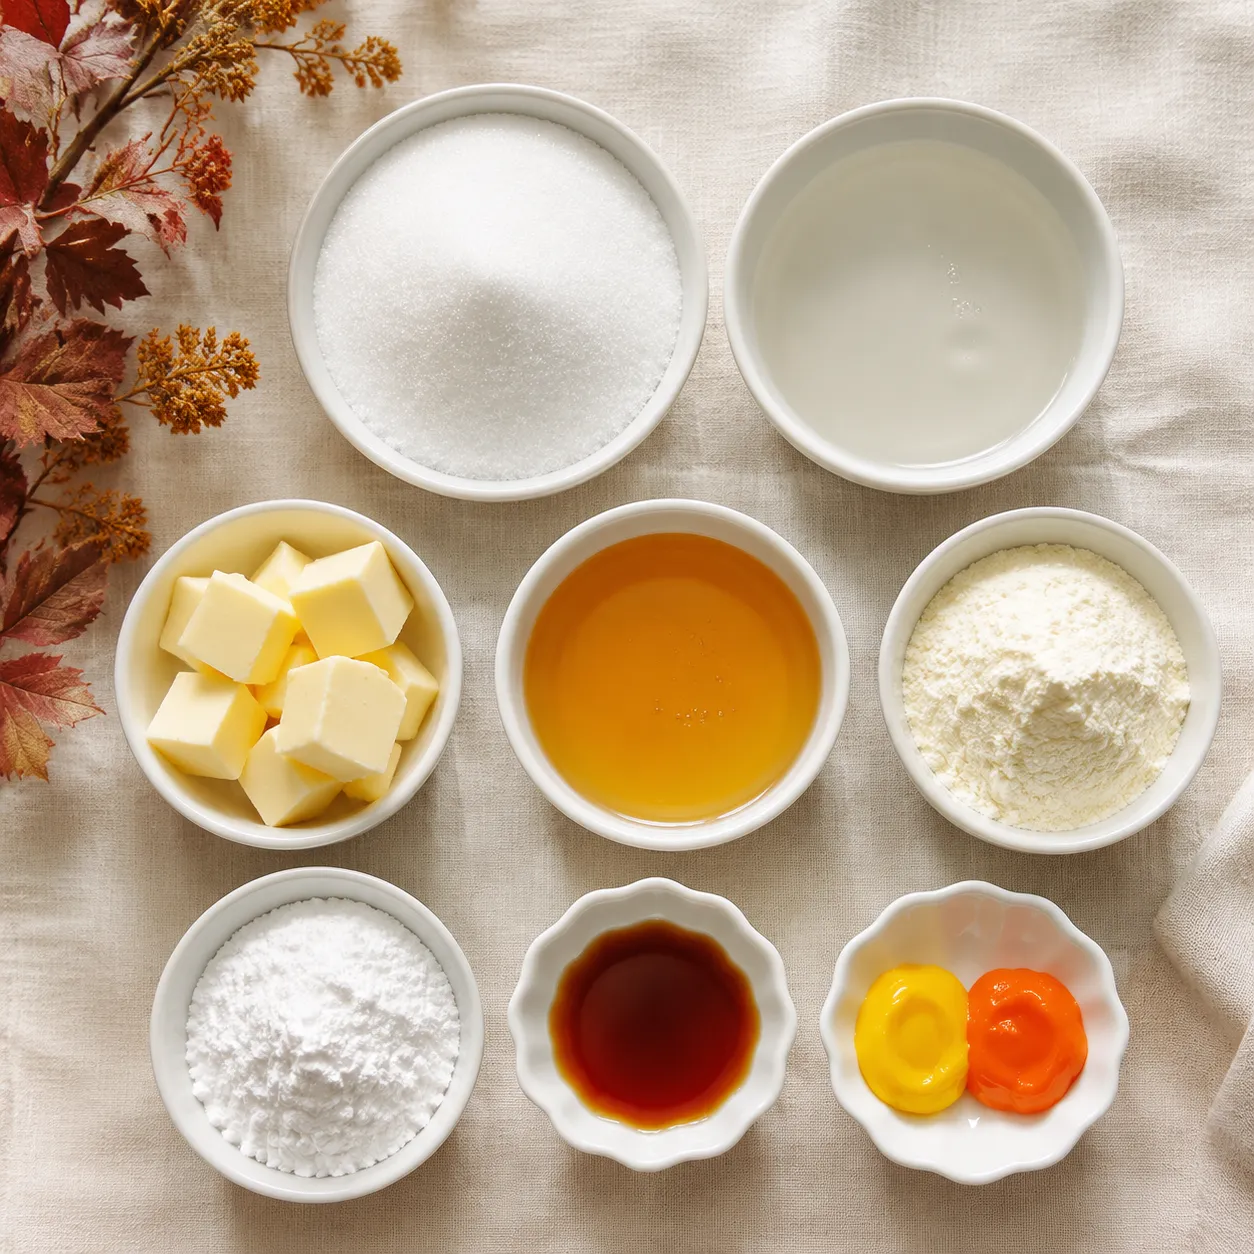
The core of this recipe is a cooked sugar syrup enriched with dairy. Granulated sugar and light corn syrup do the structural work, dissolving into a clear glassy base that holds its shape once cooled. The corn syrup is non-negotiable here — it prevents the sugar from crystallizing into a grainy mess, which is the same reason it shows up in honey caramels and other classic American confections.
For that signature creamy chew, you'll add unsalted butter and nonfat powdered milk. Butter brings richness and a softer mouthfeel; powdered milk gives the kernels their opaque, fondant-like body and a subtle dairy flavor that bagged versions can never quite match. A spoonful of real honey (not pancake syrup) deepens everything with a floral note, and pure vanilla extract rounds it all out.
Finally, you'll need plenty of powdered sugar to knead in once the syrup cools — this is what transforms the soft mixture into a workable, dough-like fondant — plus yellow and orange gel food coloring. Gel is important; liquid coloring will make your dough sticky and dull. A little goes a long way for those vivid Halloween-orange stripes, so start with a few drops and build from there.
The whole process moves in four phases: cook, mix, color, shape. Read through once before you start, because once the syrup is hot you'll want every tool ready to go — measuring cups out, food coloring uncapped, and a clean stretch of counter dusted with powdered sugar.
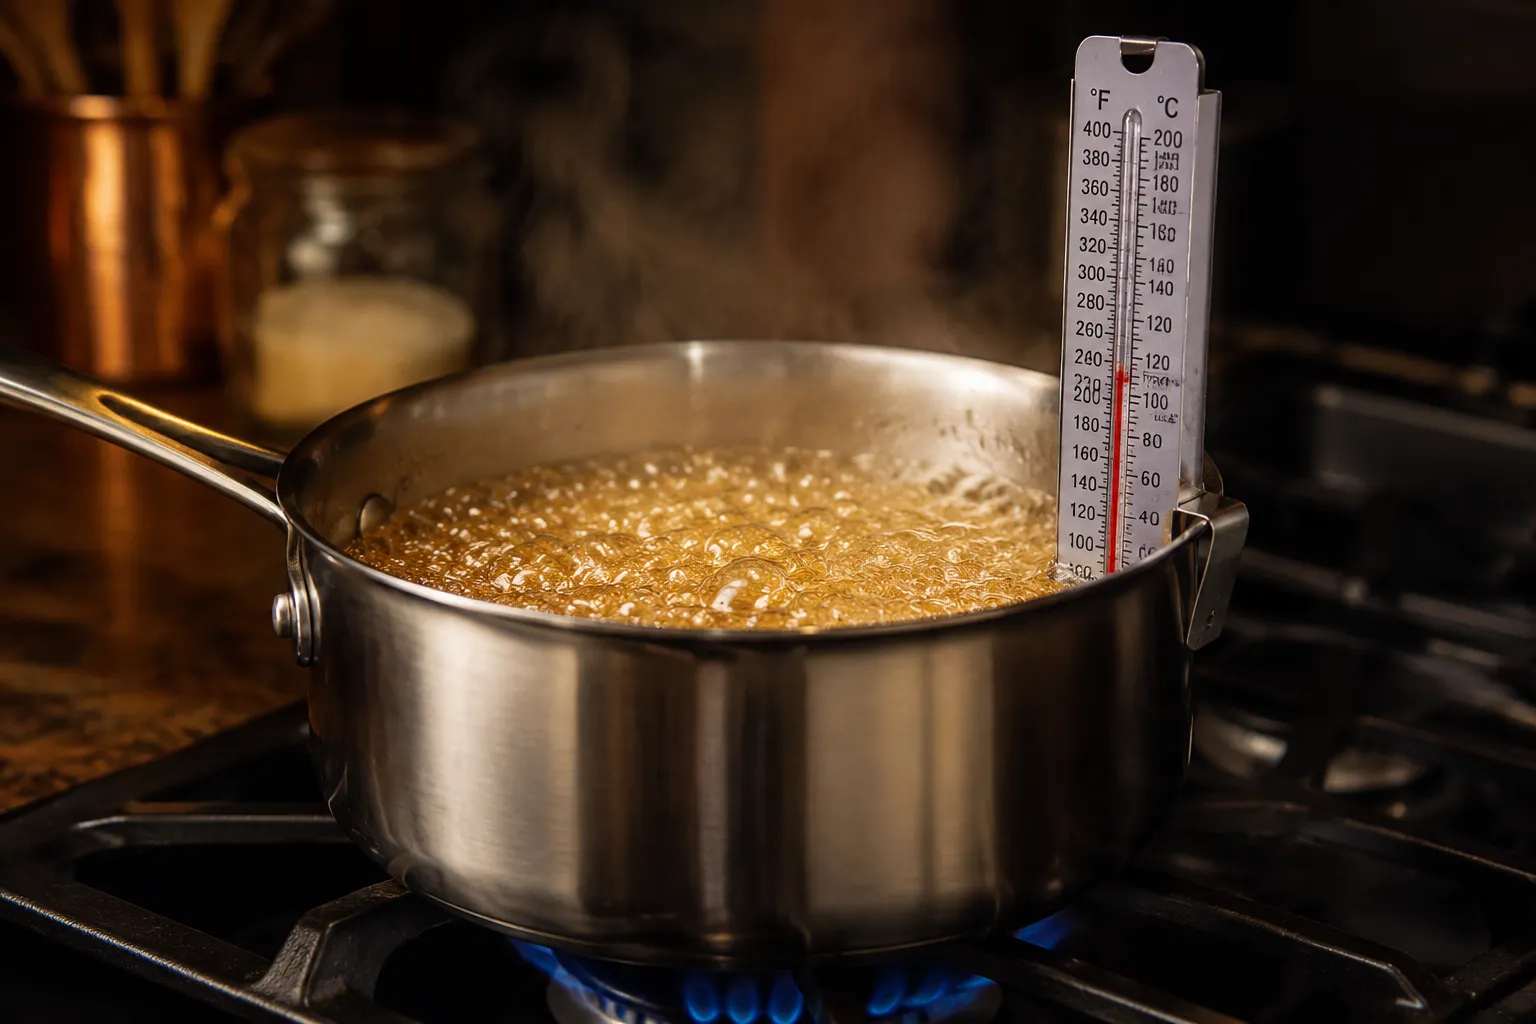
In a heavy-bottomed saucepan, combine sugar, corn syrup, butter, honey, and a splash of water. Stir over medium heat until the butter melts and everything looks smooth, then clip on your thermometer and stop stirring. Let it bubble undisturbed until it reads 230°F, which is the soft-ball stage — a drop of syrup in cold water will form a soft, pliable ball. If you've never cooked sugar before, a quick candy thermometer guide is genuinely the difference between candy and crisis.
Pull the pan off the heat and immediately whisk in the powdered milk, vanilla, and a pinch of salt. The mixture will look glossy and a little loose at this stage — that's normal. Sift in the powdered sugar a cup at a time, switching to a sturdy spatula as the dough thickens. You're looking for a fondant texture, similar to play-dough but warm and very fragrant. Scrape it onto a counter dusted with more powdered sugar and let it cool until you can handle it comfortably, about 5 minutes.
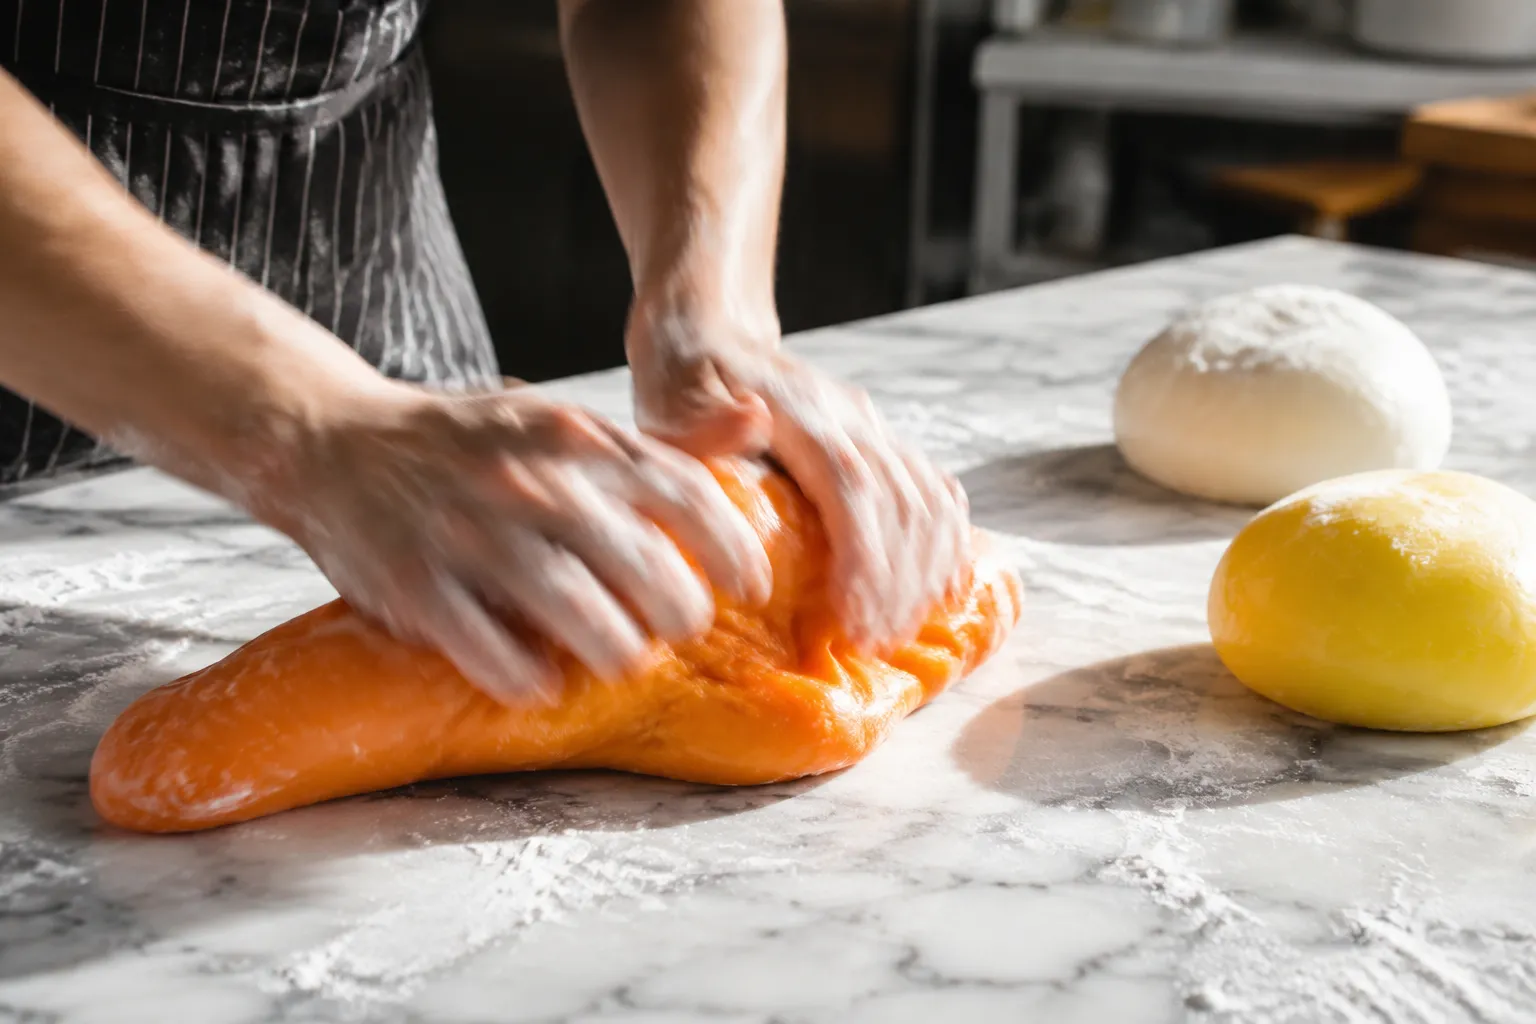
Divide the warm dough into three roughly equal portions. Leave one white, tint one a sunny yellow with a few drops of gel coloring, and tint the third a vivid orange. Knead each ball until the color is fully even — wear gloves unless you're cool with technicolor fingertips for a day. Then roll each portion into a long rope, about 12 to 14 inches long and as evenly thick as you can manage.
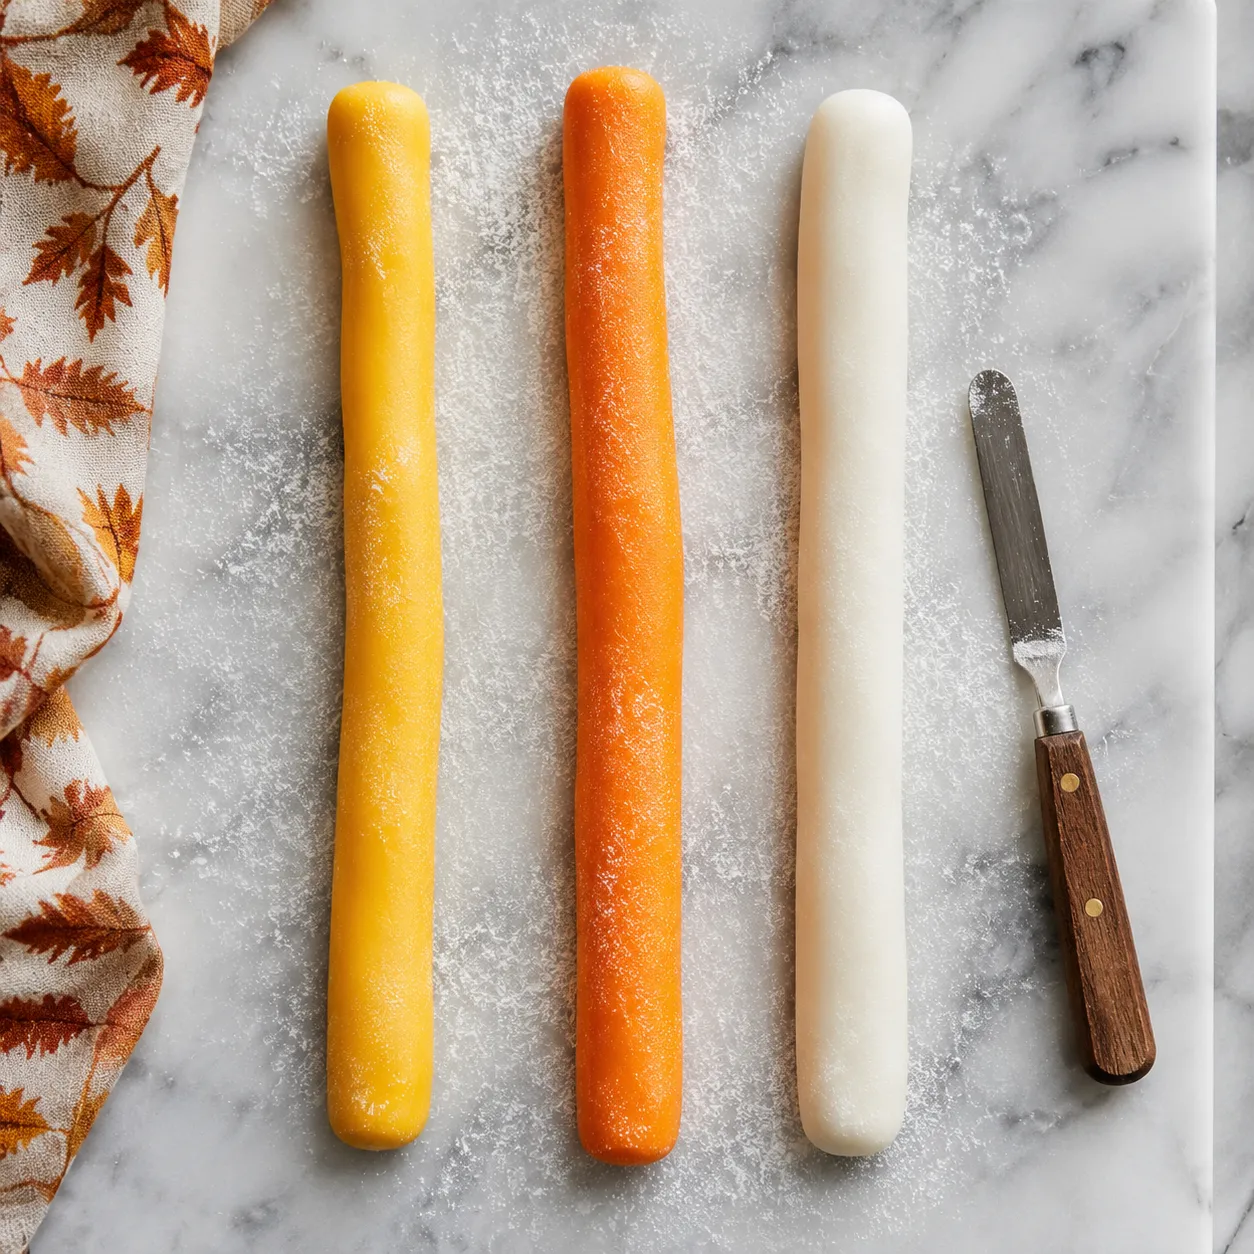
Lay the ropes side by side on the powdered-sugar-dusted surface in this exact order: yellow, orange, white. Press them together gently so they fuse along their length, then use your hands or a small rolling pin to flatten the top so the stack forms a slight wedge — wider at the yellow base, narrower at the white tip. This taper is what gives each finished kernel its iconic profile.

With a sharp knife, slice the rope crosswise into thin triangles, alternating the angle of your cut so each piece comes out as a tiny three-striped wedge. Work quickly — the dough firms up as it cools and gets harder to slice cleanly. If it's getting too stiff, microwave the rope for 5 to 10 seconds to soften it back up. Lay the cut pieces on a parchment-lined sheet to dry for at least an hour before piling them into a bowl.
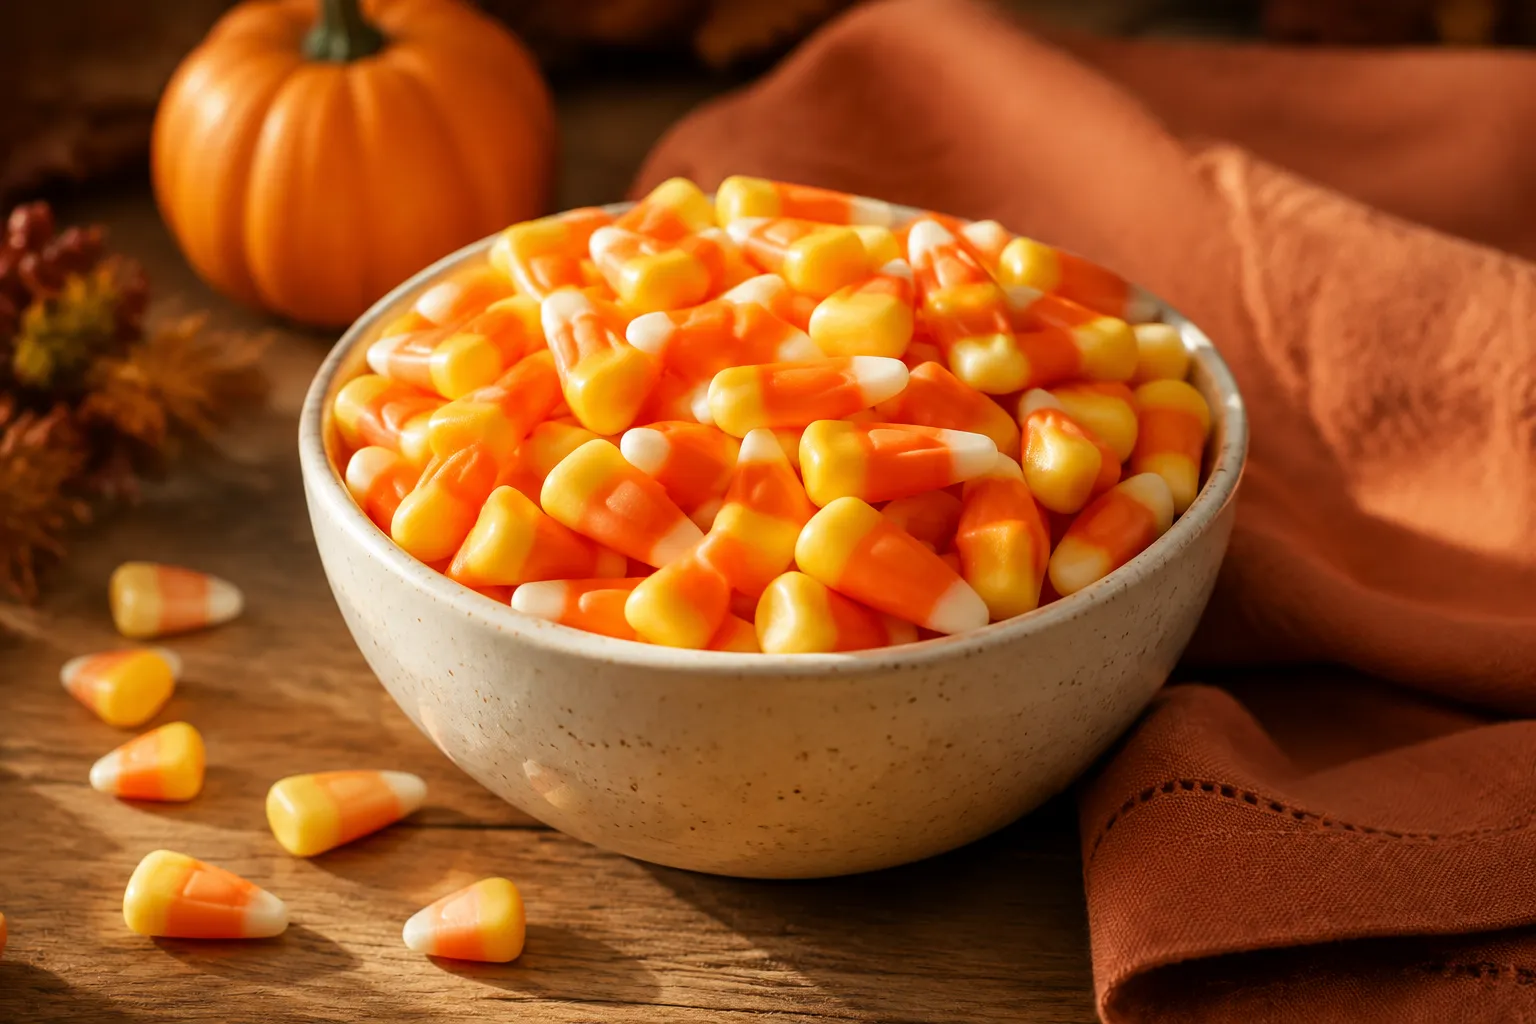
That's it. You'll end up with about 60 little kernels of soft, glossy, three-color sweetness that taste so much better than the bagged kind it's almost rude. If you've ever made other Halloween candy recipes from scratch, you know that feeling of holding the finished thing and realizing the grocery-store version was the cover band all along.

Once you have a fresh bowl on the counter, the kernels go far beyond grabby snacking. Stir them into popcorn with melted white chocolate and pretzels for instant candy corn bark, or fold them into a sweet-salty trail mix with peanuts, pretzel sticks, and mini chocolate chips. Both are crowd favorites at school parties and easy additions to any spread of no-bake Halloween treats.
They also make adorable cupcake and cookie toppers — press a few onto chocolate frosting for an instant scarecrow-mouth pattern, or use them as fangs on a monster cookie. For a grown-up move, build a Halloween dessert board with the kernels alongside dark chocolate, salted nuts, dried apricots, and shortbread. It plays beautifully against other fall dessert recipes like pumpkin bread or maple snickerdoodles, where the honey-sweet wedges add a pop of color and a nostalgic chew.
However you serve them, these stripey little kernels are the kind of small kitchen project that turns into a memory. The first time my niece helped me roll the ropes, she insisted on inventing a fourth color (purple, naturally), and now it's a yearly thing. That's the real magic of making it yourself — the recipe is just the excuse.
Once you've got the base method down, the dough is endlessly playable. Swap colors for different holidays or flavor it up for the grown-ups in the room.
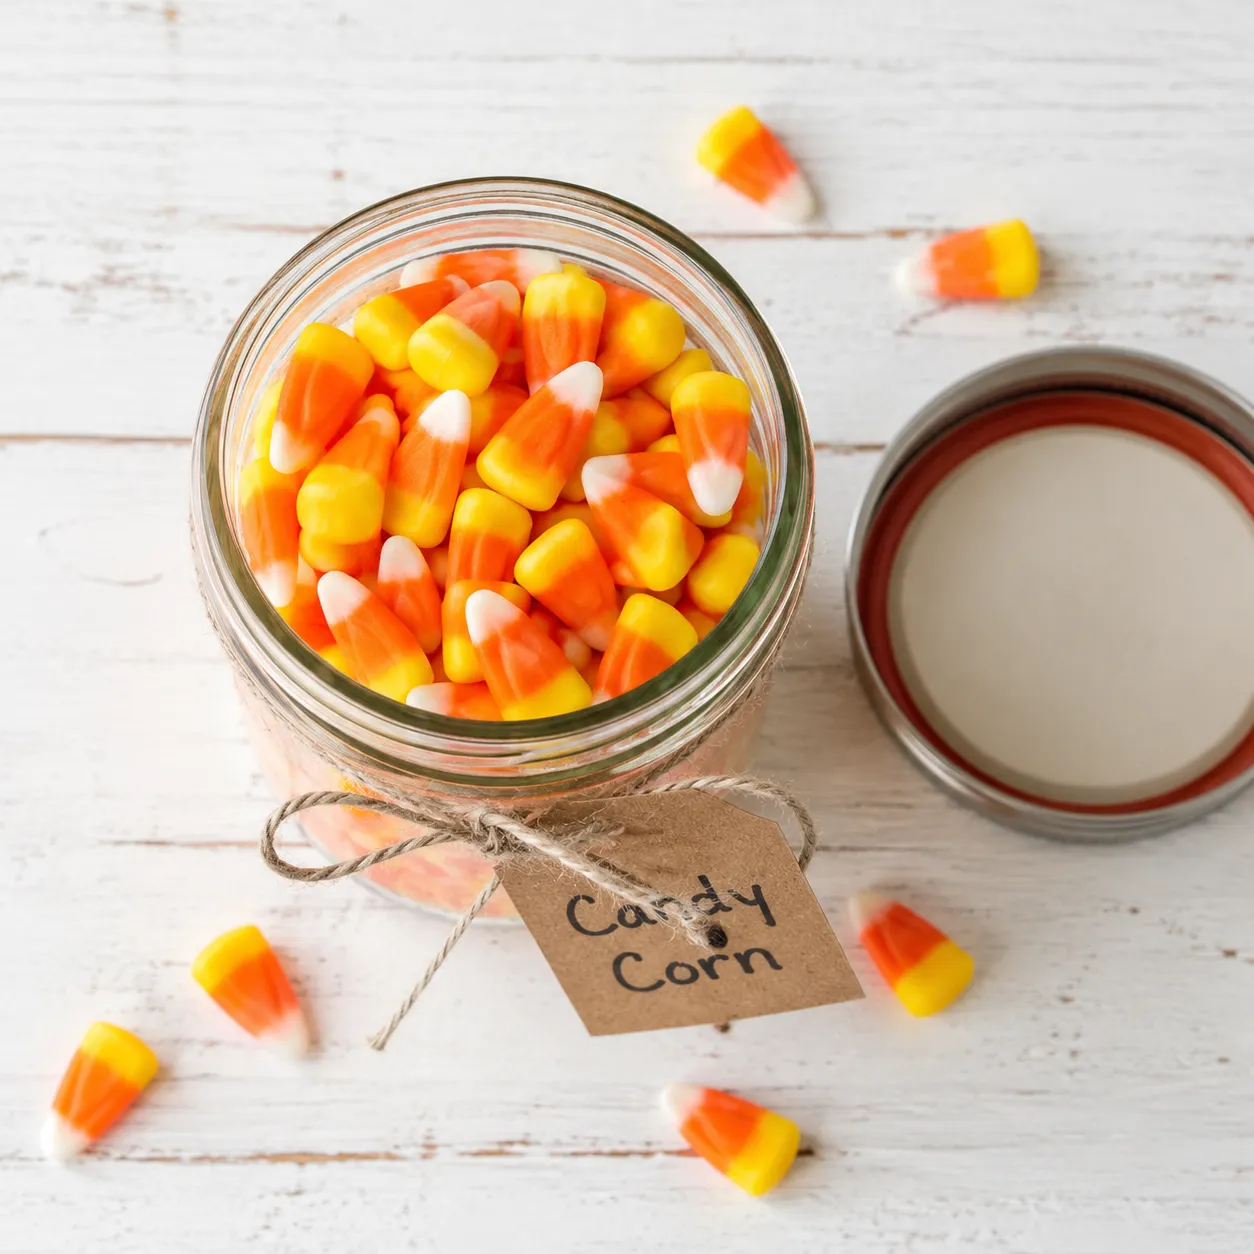
Stored airtight at room temperature, homemade kernels stay soft and chewy for about 3 weeks. Use a glass jar or a tin with a tight-fitting lid, and tuck a small square of parchment between layers if you're stacking them deep — it keeps the kernels from fusing together in warm kitchens. Avoid the fridge; cold air dries them out and dulls the colors.
For longer storage, freeze the kernels in a zip-top bag with the air pressed out for up to 3 months. Thaw at room temperature for about an hour before serving and they'll taste freshly made. If your batch has gotten a little tacky from humidity, a quick toss in powdered sugar resets the surface without changing the flavor.