Homemade Granola Bar Recipe (Chewy or Crunchy)
Ingredients
Scale
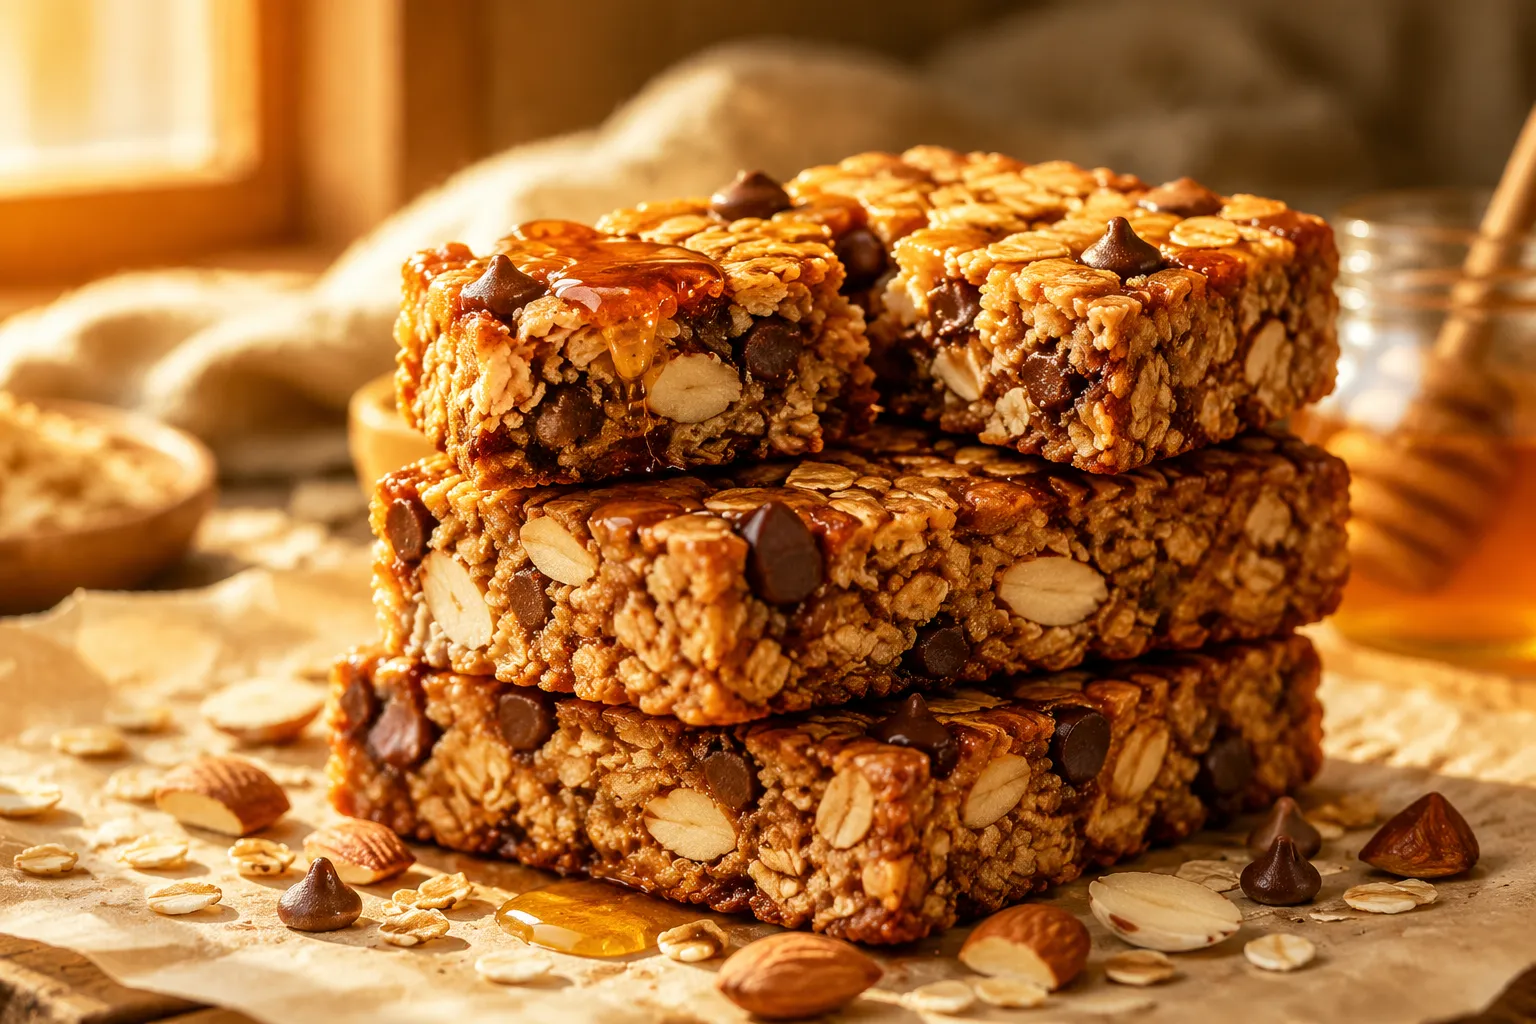
The only granola bar recipe you need: one bowl, pantry staples, and a choice of chewy or crunchy texture, ready in 30 minutes flat.
This homemade granola bar recipe is the one I keep on repeat — chewy, golden, just sweet enough, and built from pantry staples you almost certainly already have. Whether you're packing lunchboxes on a Sunday night, prepping snacks for a road trip, or looking for something less sugary than the foil-wrapped grocery store version, this is the master formula to memorize. One bowl, thirty minutes, and a choice of texture that's entirely up to you.
I've been tinkering with this base for years, and what I love most is how forgiving it is. Swap almond butter for peanut, trade chocolate chips for dried cherries, lean into a heavier hand with cinnamon — the bars still hold together and still taste like something you'd happily pay six dollars for at a coffee shop. The honey-and-nut-butter binder does the heavy lifting; the toasted oats and almonds bring depth; a flaky pinch of sea salt at the end ties everything together.
The other reason this recipe earns its keep: you get to choose your own adventure on texture. Want soft, bendy, chocolate-studded chewy granola bars that taste like a wholesome cousin of a bakery cookie? Skip the oven and chill them. Craving crisp, snappy, crunchy granola bars with that toasted-edge crackle? Bake the slab until deeply golden. Same ingredients, two completely different snacks.
Most pantries are already two-thirds of the way to a tray of homemade granola bars. The list is short, the substitutions are generous, and there's no obscure seed flour or expensive sweetener to hunt down. Here's what each component is doing in this granola bar recipe, so you know which swaps are safe and which ones will leave you with a crumbly tray.
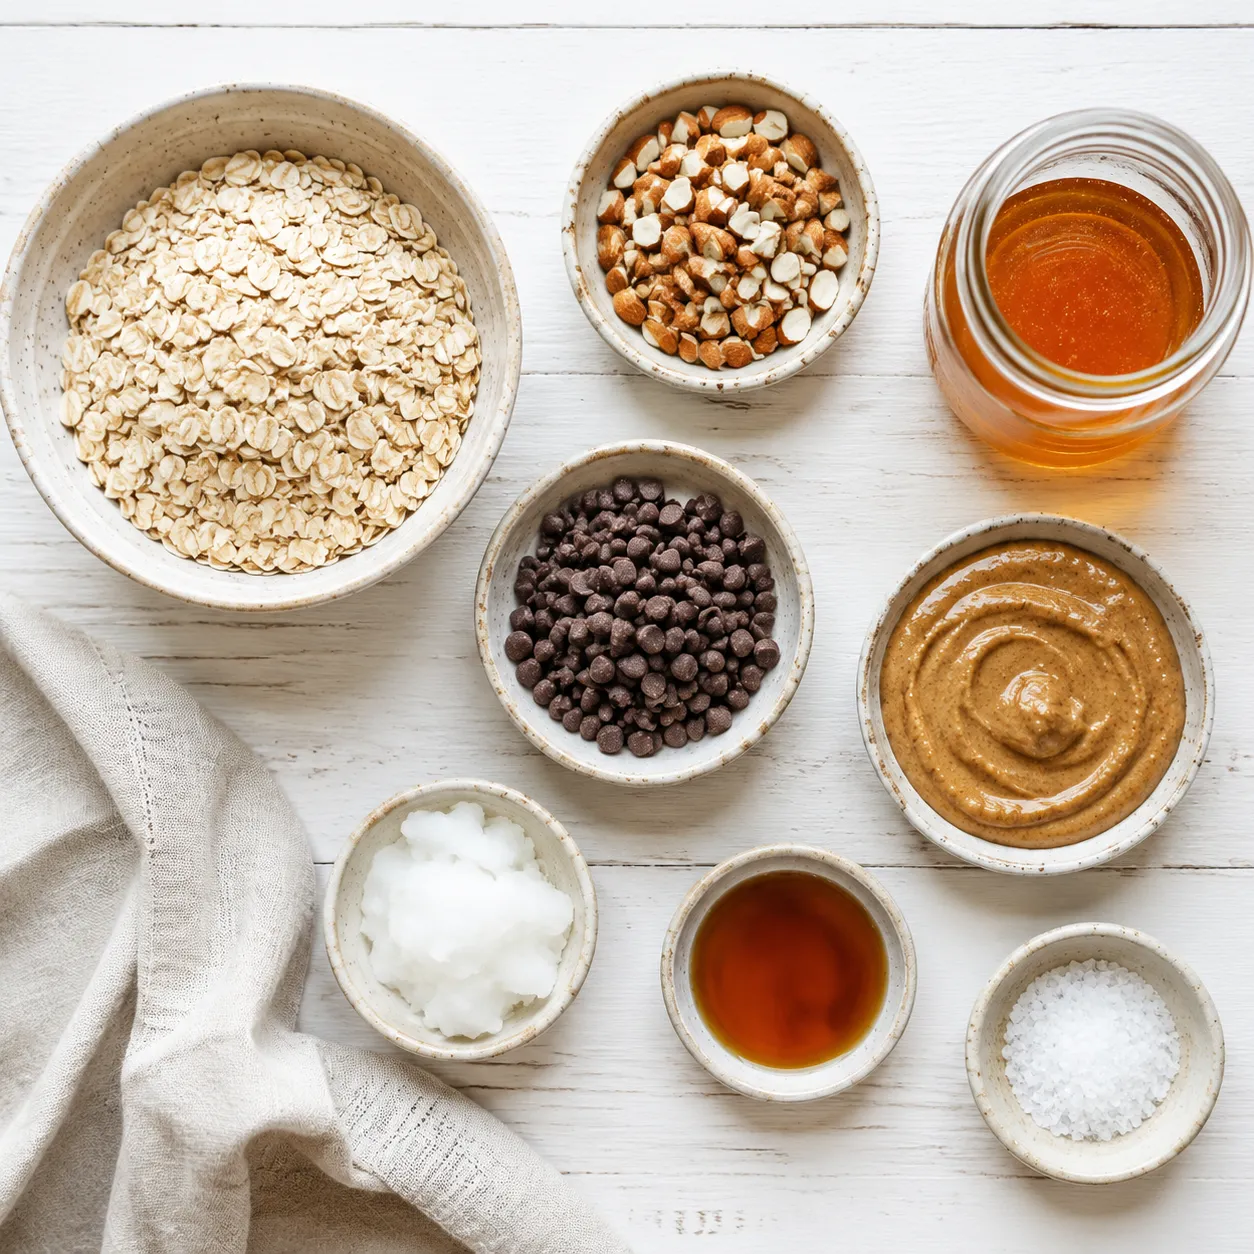
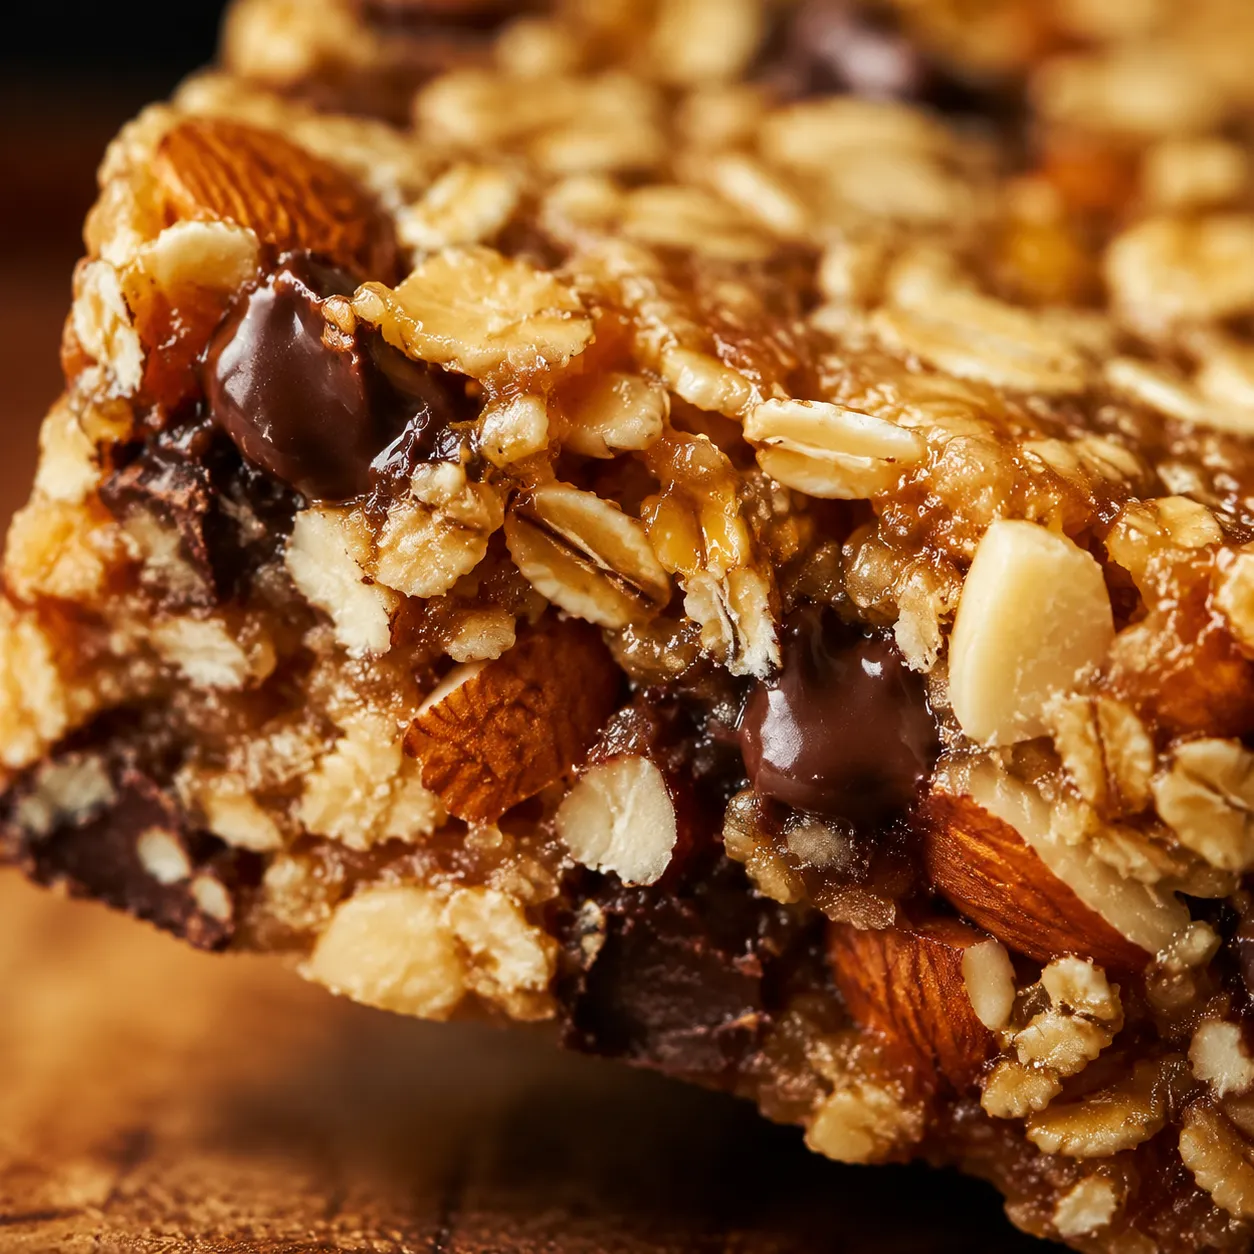
Old-fashioned rolled oats are the structural backbone. Don't substitute quick oats (too powdery) or steel-cut (too hard) — rolled oats give you that signature layered, chewy bite. Two cups is the right ratio for a single 8x8 pan and the cornerstone of any good granola oat bar recipe.
Raw almonds add crunch, protein, and a slightly sweet, toasty depth once they hit the oven. You can swap in pecans, walnuts, cashews, or a mix — basically a trail mix recipe in bar form. Roughly chop them so each bite gets a little nuttiness without breaking your teeth on a whole almond.
Almond butter or peanut butter is the glue. Use the creamy, drippy kind (the natural-style jars where you have to stir in the oil) — those emulsify beautifully with the honey. Stiff, no-stir grocery store peanut butter will give you a denser, drier bar, though it still works in a pinch. A jar of natural almond butter is one of those pantry staples I now refuse to be without.
Honey or pure maple syrup brings the sweetness and the sticky cohesion. Honey makes a slightly chewier bar; maple syrup leans more delicate and pairs beautifully with pecans and dried apple. Brown rice syrup is the secret weapon if you want maximum chewiness — closer to a store-bought texture without the additives.
Coconut oil, vanilla, and sea salt round things out. The coconut oil helps the binder stay glossy and pliable once chilled, vanilla deepens the flavor, and the salt — please don't skip it — is what makes everything taste like more than the sum of its parts.
For mix-ins, mini chocolate chips, dried cranberries, chopped dates, shredded coconut, and pumpkin seeds are all fair game. If you've made homemade granola before, you already know how forgiving this kind of build-your-own approach is.
Here's the bird's-eye view of how to make granola bars from start to finish. You'll find the precise step-by-step in the recipe card below, but I want to walk through the technique first because the small details — toasting depth, binder temperature, press pressure — are what separate a great bar from a sad pile of crumbs.
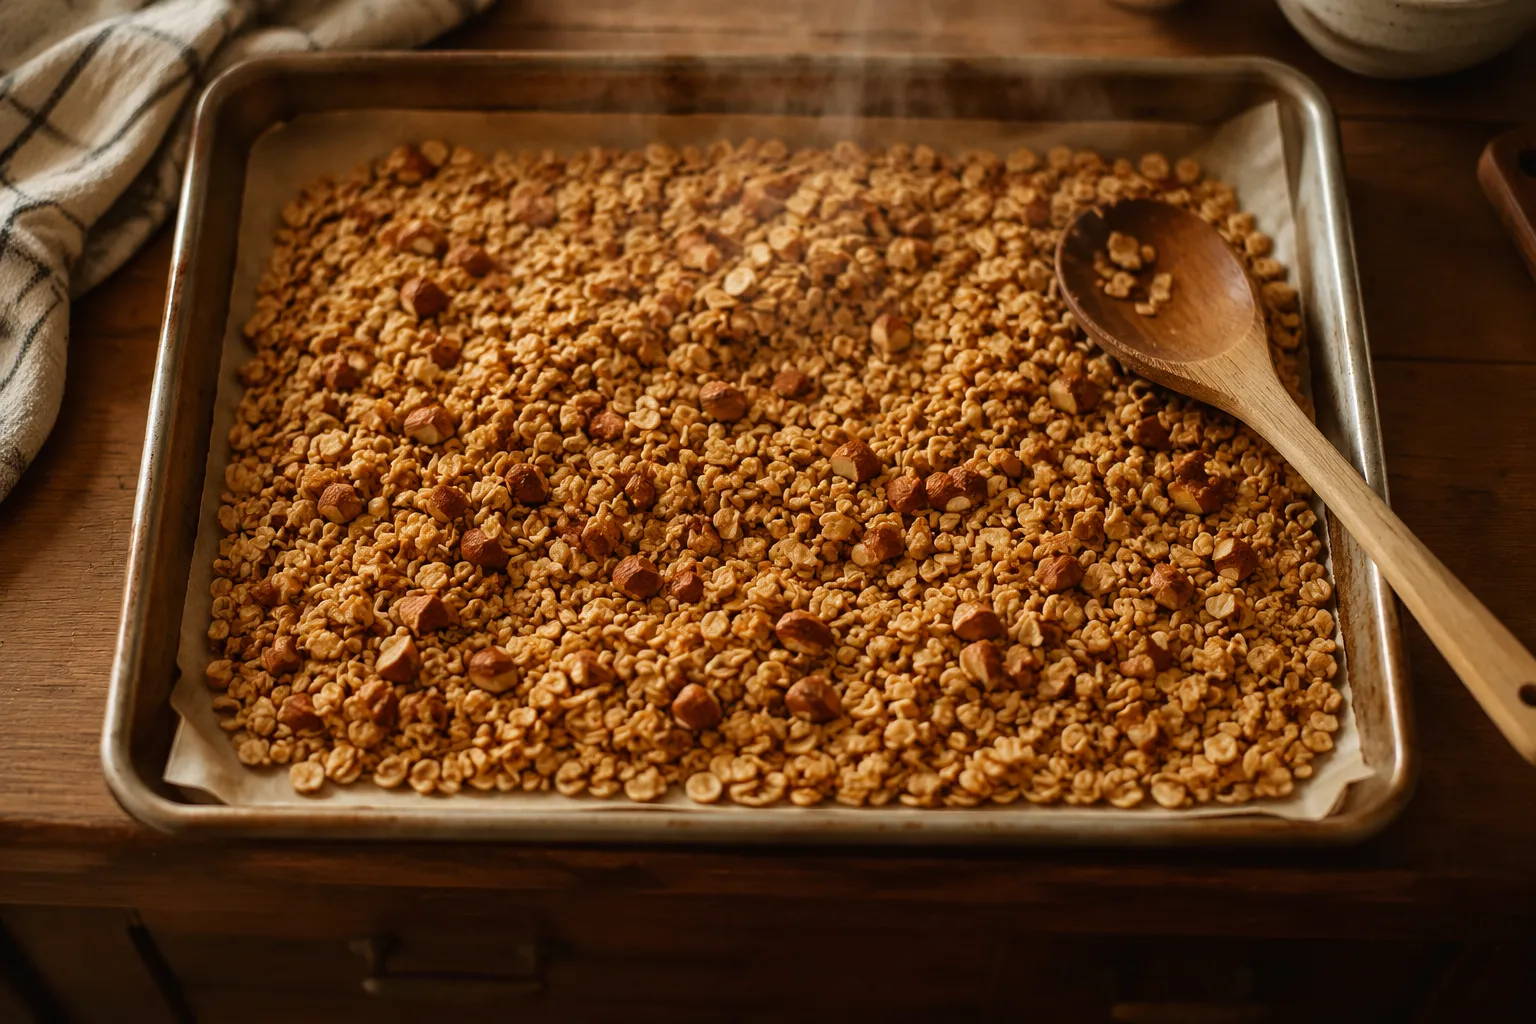
Start by toasting the oats and chopped almonds together on a sheet pan at 350°F until they smell like the inside of a really good bakery — about 10 minutes, with a stir halfway through. This step is non-negotiable. Raw oats taste flat and slightly chalky; toasted oats taste nutty, sweet, and complex. The almonds get a head start on browning here, too, and the whole kitchen ends up smelling like Saturday morning.
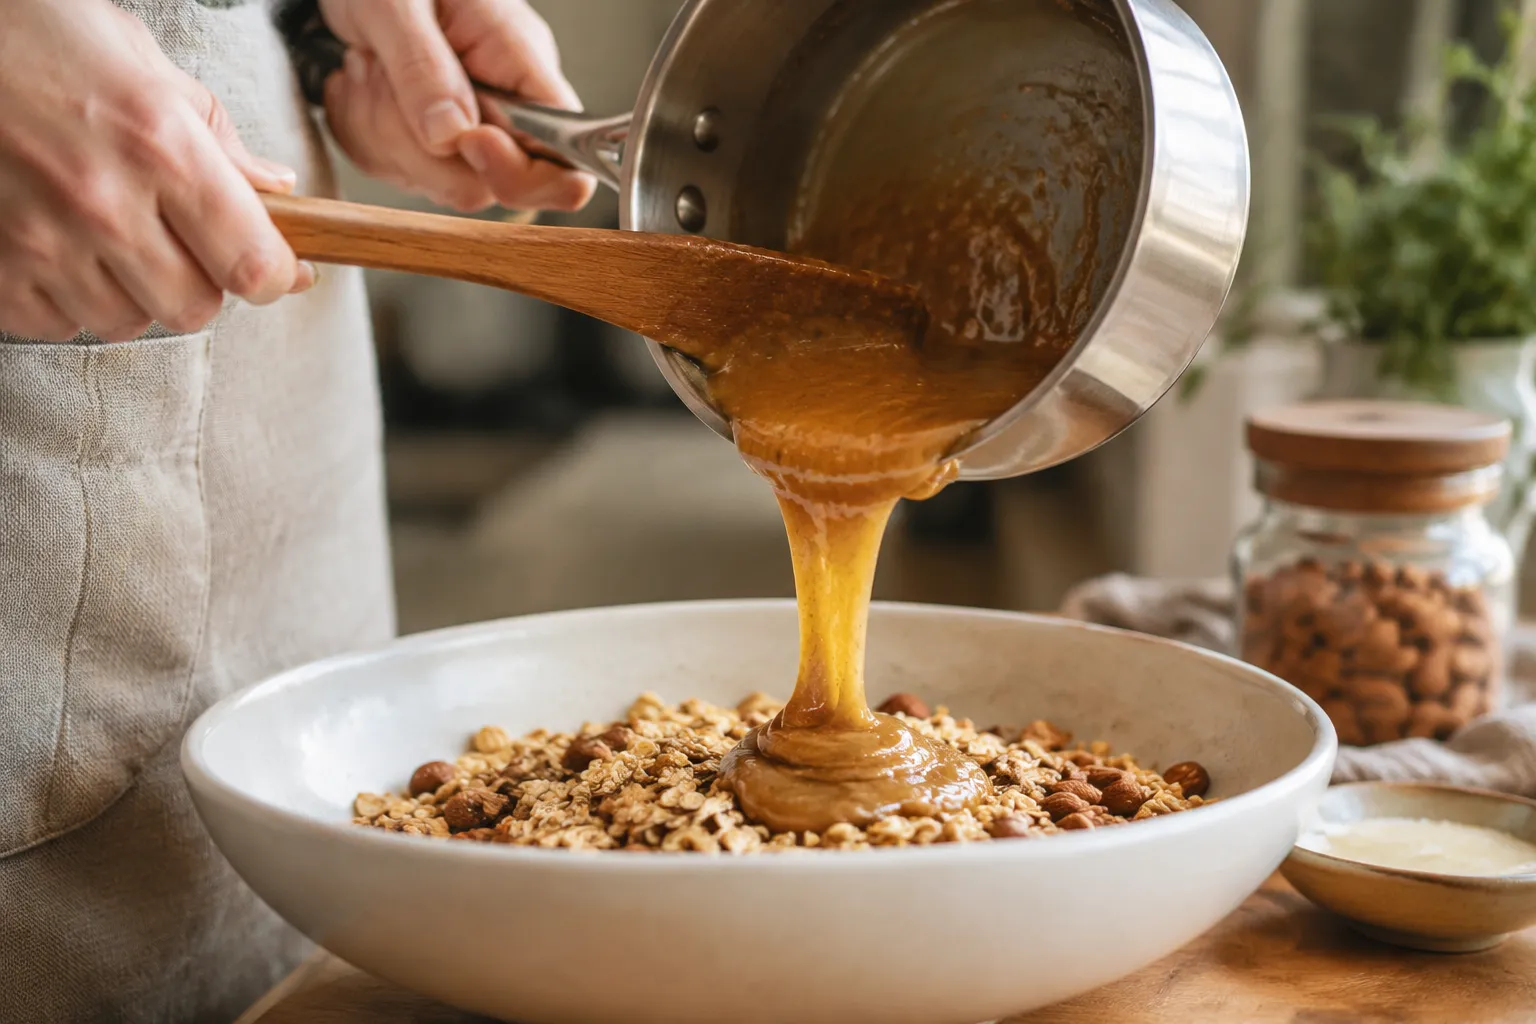
While the oats toast, warm the almond butter, honey, coconut oil, and vanilla together in a small saucepan over low heat. You want it just loose enough to pour easily — about the consistency of warm caramel. Don't let it boil; high heat will turn the honey brittle and your bars will end up rock-hard. Pour the warm binder over the toasted oats, add the salt and any heat-stable mix-ins, and stir until every oat looks coated and glistening. Let the mixture cool for a few minutes before folding in chocolate chips so they don't completely melt away.
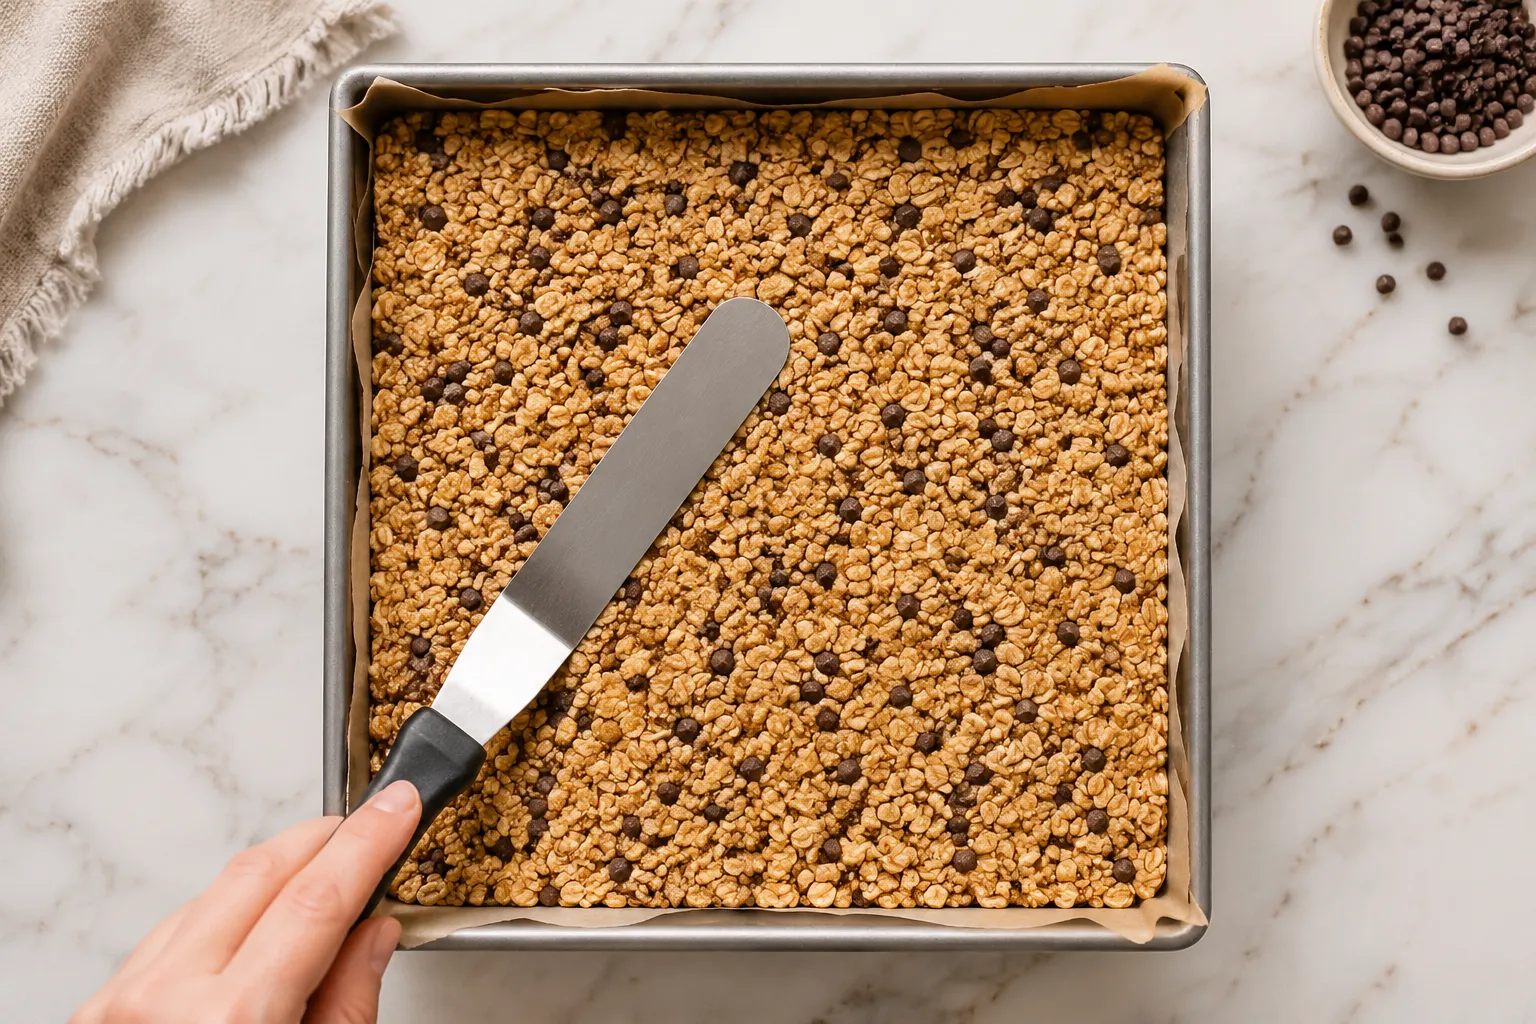
Now the most important step in the whole easy granola bar recipe: pressing. Line an 8x8 pan with parchment (leave overhang for easy lifting), scrape in the mixture, and press it down firmly with a flat-bottomed measuring cup or offset spatula. I mean really firmly — lean into it. Loose, fluffy bars fall apart; densely packed bars hold together like they're supposed to. From here, you choose your path: chill for chewy, bake for crunchy.
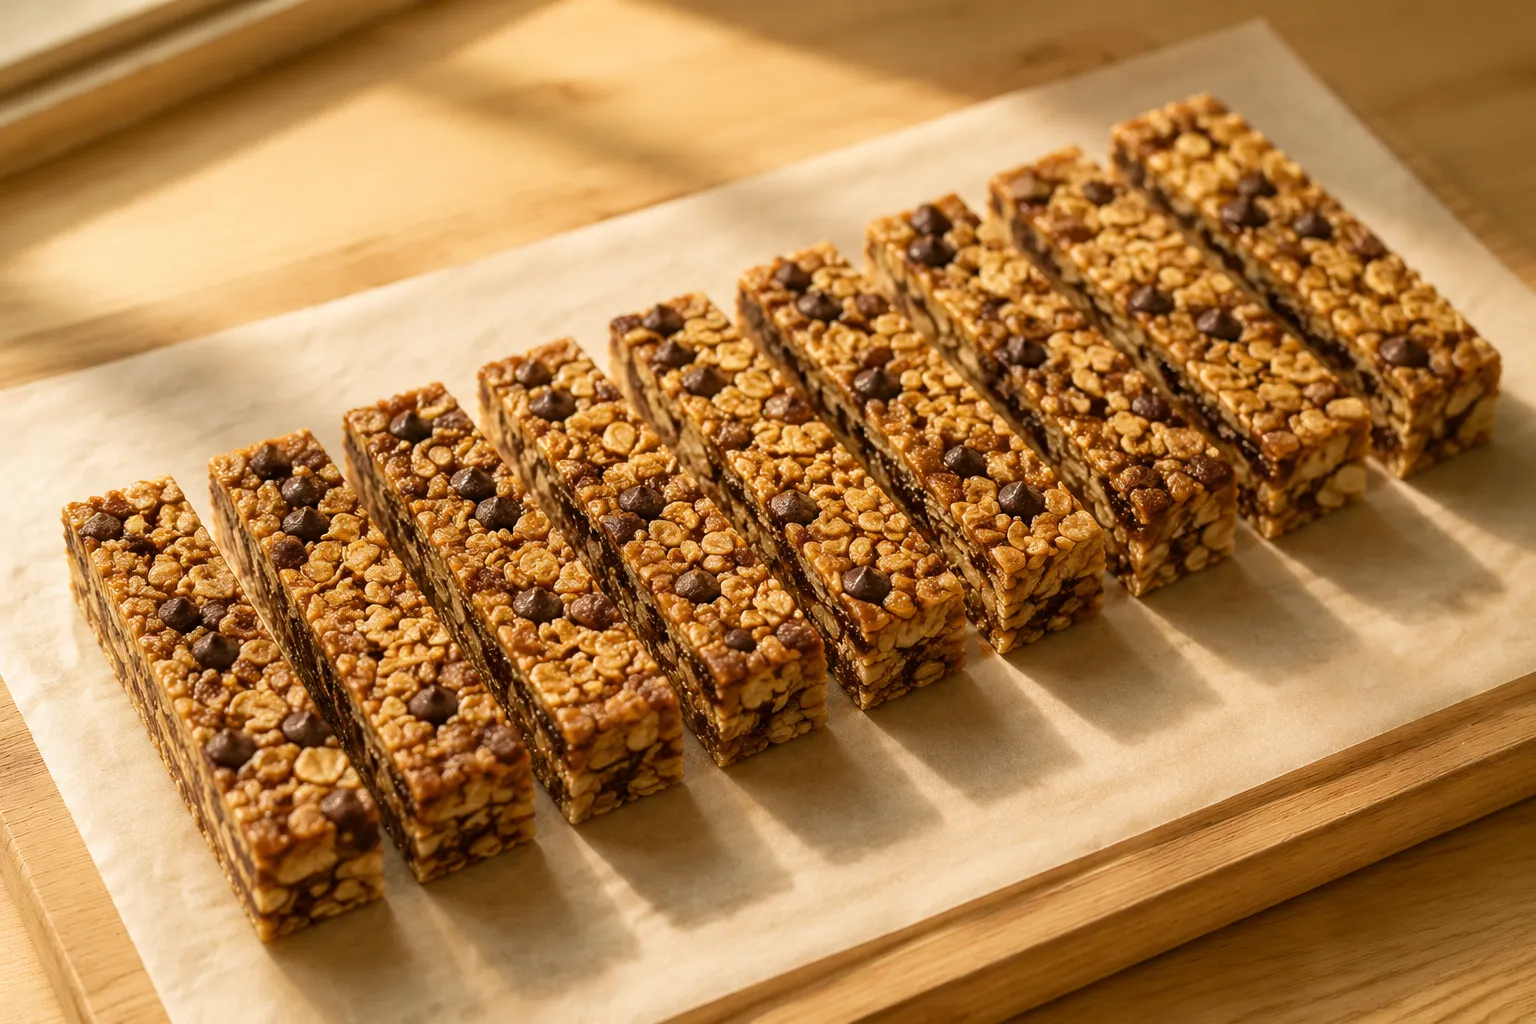
Once the bars are set, lift the whole slab out by the parchment, transfer to a cutting board, and slice with a sharp knife in a single decisive press (don't saw — that's how the edges crumble). You'll get ten generous bars from a square pan, or twelve if you're cutting them slimmer for kids' lunches.
This is the crossroads moment, and the answer depends entirely on what you grew up loving. Soft-chew bar people and crisp-snap bar people are two different breeds, and luckily this granola bar recipe accommodates both without changing a single ingredient.
For chewy granola bars, go fully no-bake after pressing. Cover the pan and refrigerate for at least 2 hours, ideally overnight. The honey and nut butter firm up in the cold and act like a natural caramel, hugging every oat without crisping anything. The result is dense, bendy, and a little reminiscent of those soft-baked grocery store bars but without the mystery oils. They hold up brilliantly in lunchboxes as long as you keep them on the cooler side. Texture-wise, they're close cousins to no-bake energy bites, just shaped into rectangles instead of rolled into balls.
For crunchy granola bars, slide the pressed pan into a 350°F oven for 20 to 25 minutes, until the top is deeply golden and the edges look almost too dark. Cool completely in the pan — and I mean completely, an hour minimum — before slicing. Cutting too soon is the single most common reason crunchy bars shatter. Patience here pays off in clean rectangles with a satisfying snap and a faint toasted-honey aroma when you bite in.

These healthy granola bars are obviously brilliant on their own — that's kind of the point of a bar — but they also slot into a bigger breakfast or snack lineup beautifully. Crumble one over a bowl of yogurt and berries for instant texture, or slice one diagonally and tuck it next to a jar of overnight oats for a meal-prep breakfast that feels almost decadent. My kids like them with a tall glass of cold milk after school; my husband insists on coffee.
If you're building a grab-and-go snack drawer, pair a stack of these with a little jar of almond butter and some sliced apples. For a heartier lunchbox, a granola bar plus a few peanut butter oatmeal cookies and a piece of fruit covers sweet, savory, and substantial in one sweep. They also travel better than most baked goods, which makes them my default plane snack and road trip provision.
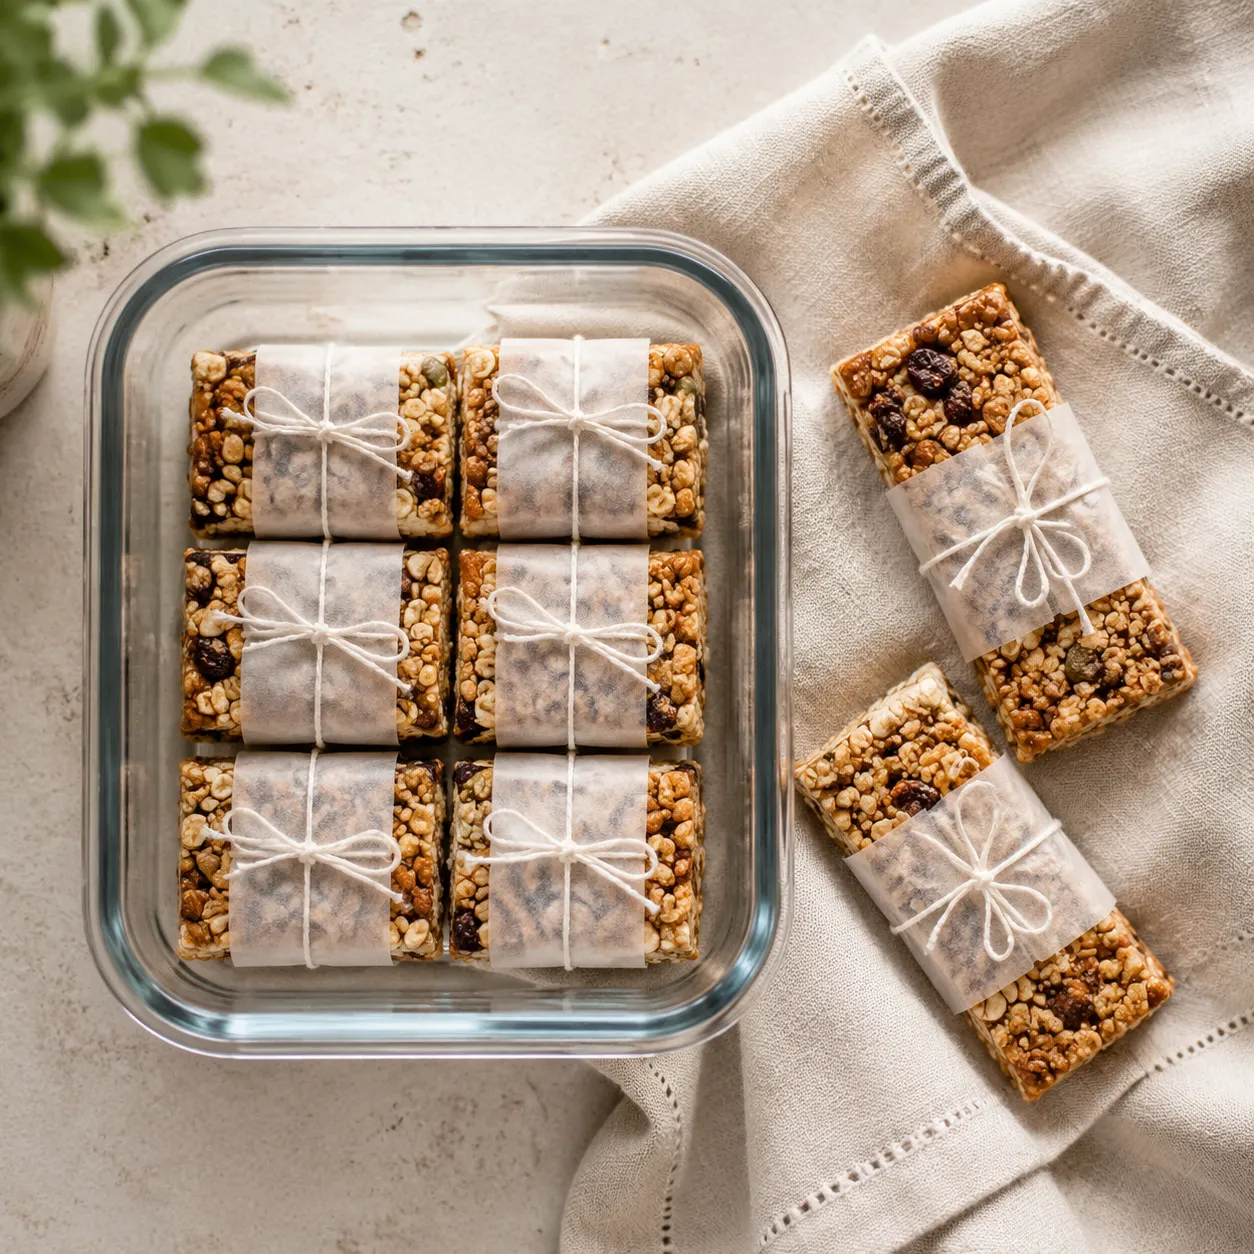
A quick word on wrapping: individually rolling each bar in parchment and tying with kitchen twine takes maybe five extra minutes and turns a tray of granola bars into Sunday-night lunch prep that actually feels nice to open at noon on Wednesday. Worth it.
Once you've made this granola oat bar recipe a couple of times, you'll stop measuring quite so carefully and start improvising — a little more cinnamon here, a handful of pumpkin seeds there, dark chocolate one week and dried cherries the next. That's the whole point. A great granola bar recipe isn't a rigid formula; it's a framework you can riff on for years, and one of those quietly useful kitchen skills that pays for itself every school morning.
One of the best things about this base recipe is how easily it shape-shifts. Keep the oats, nut butter, honey, and coconut oil in the same ratios, then swap in whatever flavors you're craving that week. A few combinations I come back to constantly:
Store cooled bars in an airtight container at room temperature for up to 1 week, layering parchment between bars so they don't fuse together. In the refrigerator, they'll keep beautifully for up to 2 weeks — chewy no-bake bars especially benefit from cold storage, since the binder stays firm and sliceable. Let chilled bars sit at room temp for 5 minutes before eating if you prefer a softer bite.
For longer storage, wrap bars individually in parchment and freeze in a zip-top bag for up to 3 months. They thaw in 15 minutes on the counter, or you can drop a frozen bar into a lunchbox in the morning and it'll be perfectly soft by snack time. For travel and lunchboxes, the parchment-and-twine wrap holds up neatly in backpacks and totes without sticking or crumbling.