Milk Bread Recipe: Soft, Fluffy Japanese-Style Loaf
Ingredients
Scale
Pillowy soft, slightly sweet, and tear-apart tender, this milk bread recipe uses the tangzhong method to deliver bakery-quality results at home.
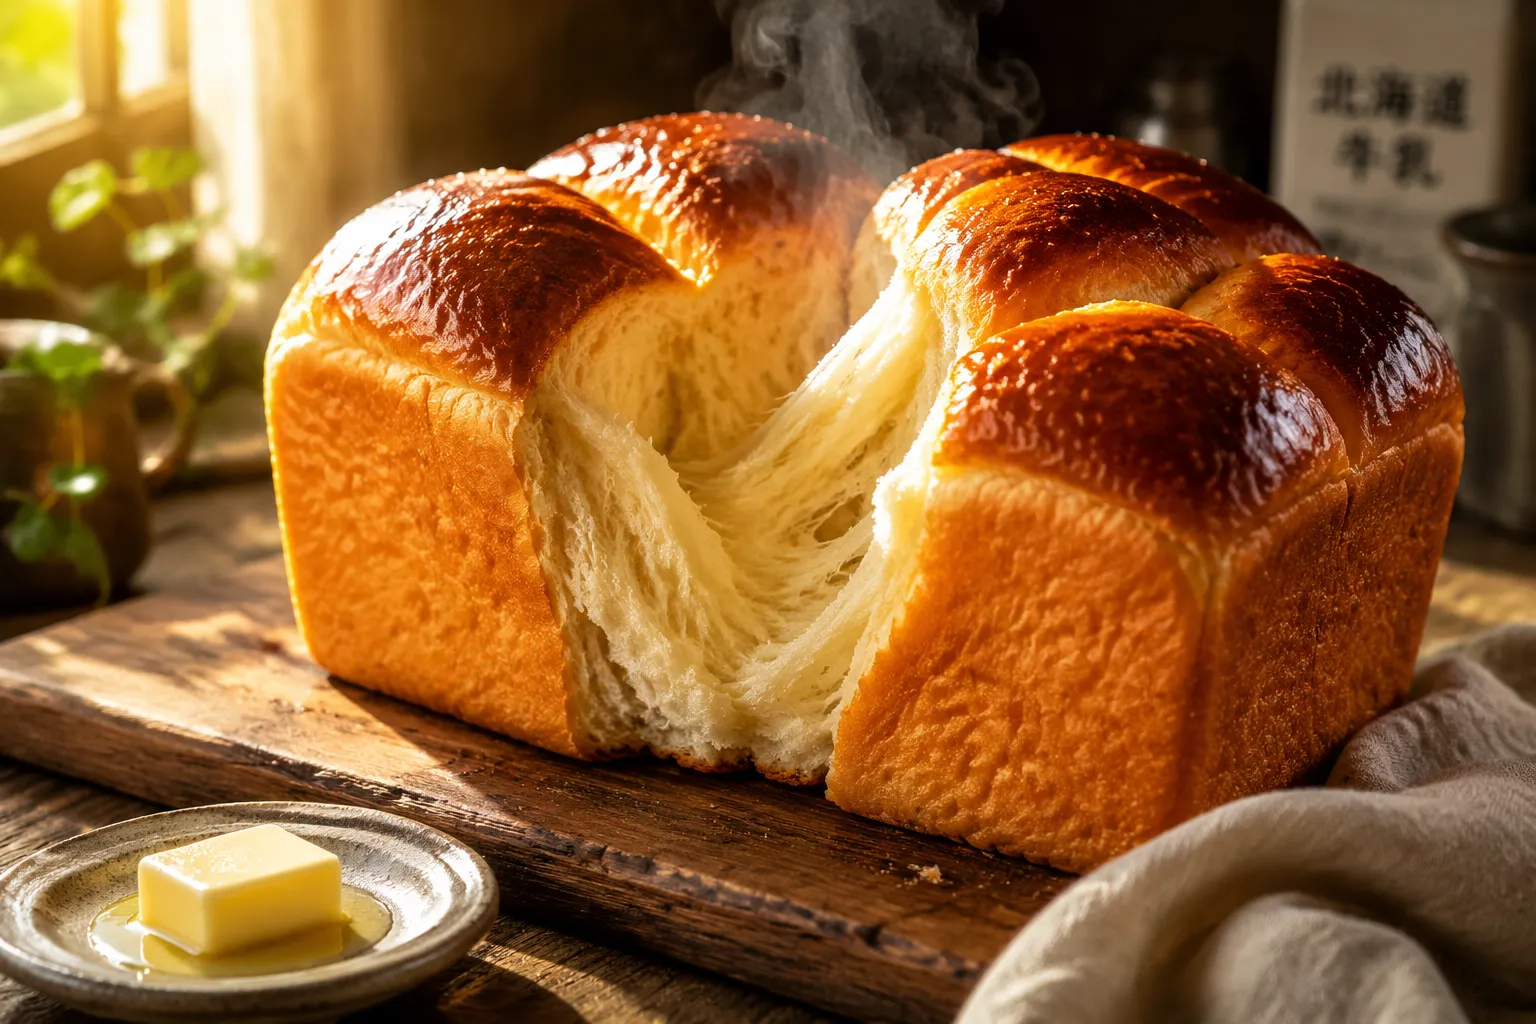
There's something almost magical about a milk bread loaf that pulls apart in tender, cottony strands instead of breaking into stubborn chunks. This recipe leans on a Japanese technique called tangzhong — a quickly cooked flour-and-milk paste that locks moisture into the dough — so the finished loaf stays bakery-soft for days. If you've ever wished your homemade sandwich bread had that pull-apart fluff you find in Asian bakery loaves, this is the version that finally gets you there.
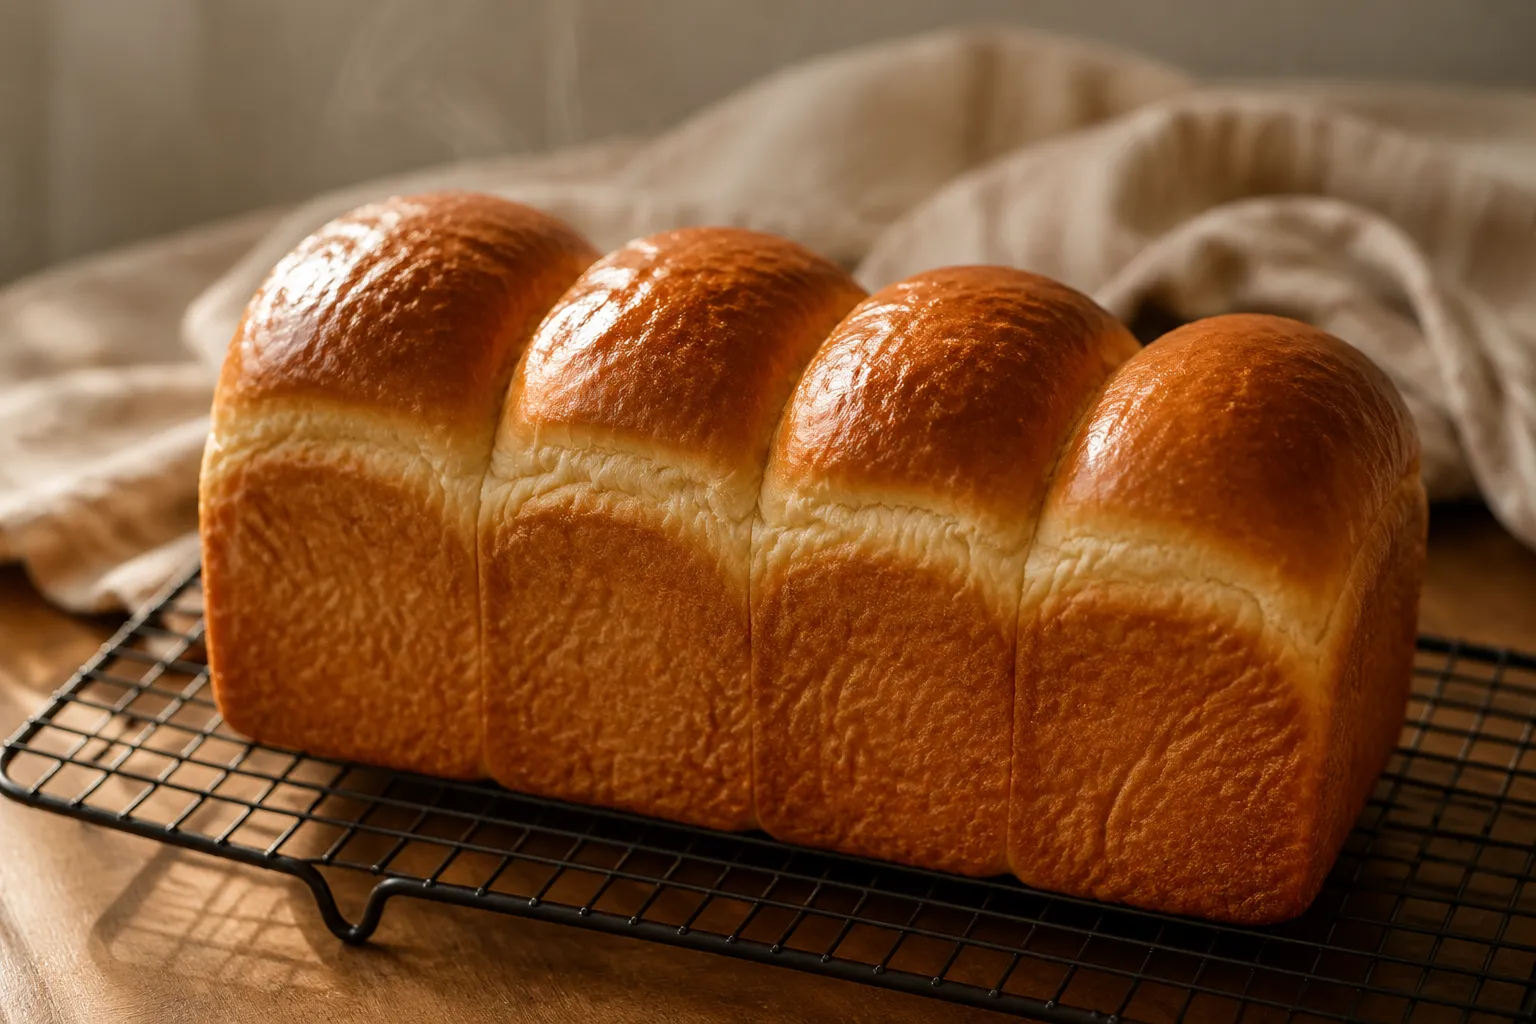
The dough comes together in a stand mixer, rises twice, and bakes into a tall, golden-domed loaf with four distinct humps that practically beg to be torn apart at the table. It slices like a dream for sandwiches, soaks up custard for the best French toast of your life, and toasts into a butter-browned slice that makes weekday breakfast feel like a quiet treat.
I tested this loaf a dozen ways before settling on the version below, and the difference between okay results and unforgettable ones always came down to two things: a properly cooked starter, and patient kneading. Both are easier than they sound, and the payoff is enormous.
Milk bread is a soft, slightly sweet enriched loaf with origins traced back to early-twentieth-century Japan, where bakers adapted Western pan bread to local tastes by adding more dairy, sugar, and a clever flour-based starter. In Japan it's called shokupan when sold in a square Pullman shape, and it's the everyday loaf you'll see stacked in convenience stores and corner bakeries throughout Tokyo. The Chinese-style version is a close cousin — usually a touch sweeter and often shaped into individual rolls or filled buns — but the underlying technique is the same.
If you've made a brioche loaf before, the texture will feel familiar but lighter. Brioche relies on heaps of butter and eggs for richness, which gives it that yellow, cake-like crumb. Japanese milk bread takes a leaner, dairier route, with just enough butter and a single egg, and it leans on the tangzhong method to deliver tenderness without weight. Compared to standard American white bread, the difference is night and day: this loaf has a finer, springier crumb, a deeper milky flavor, and a thin, soft crust instead of a crackly one.
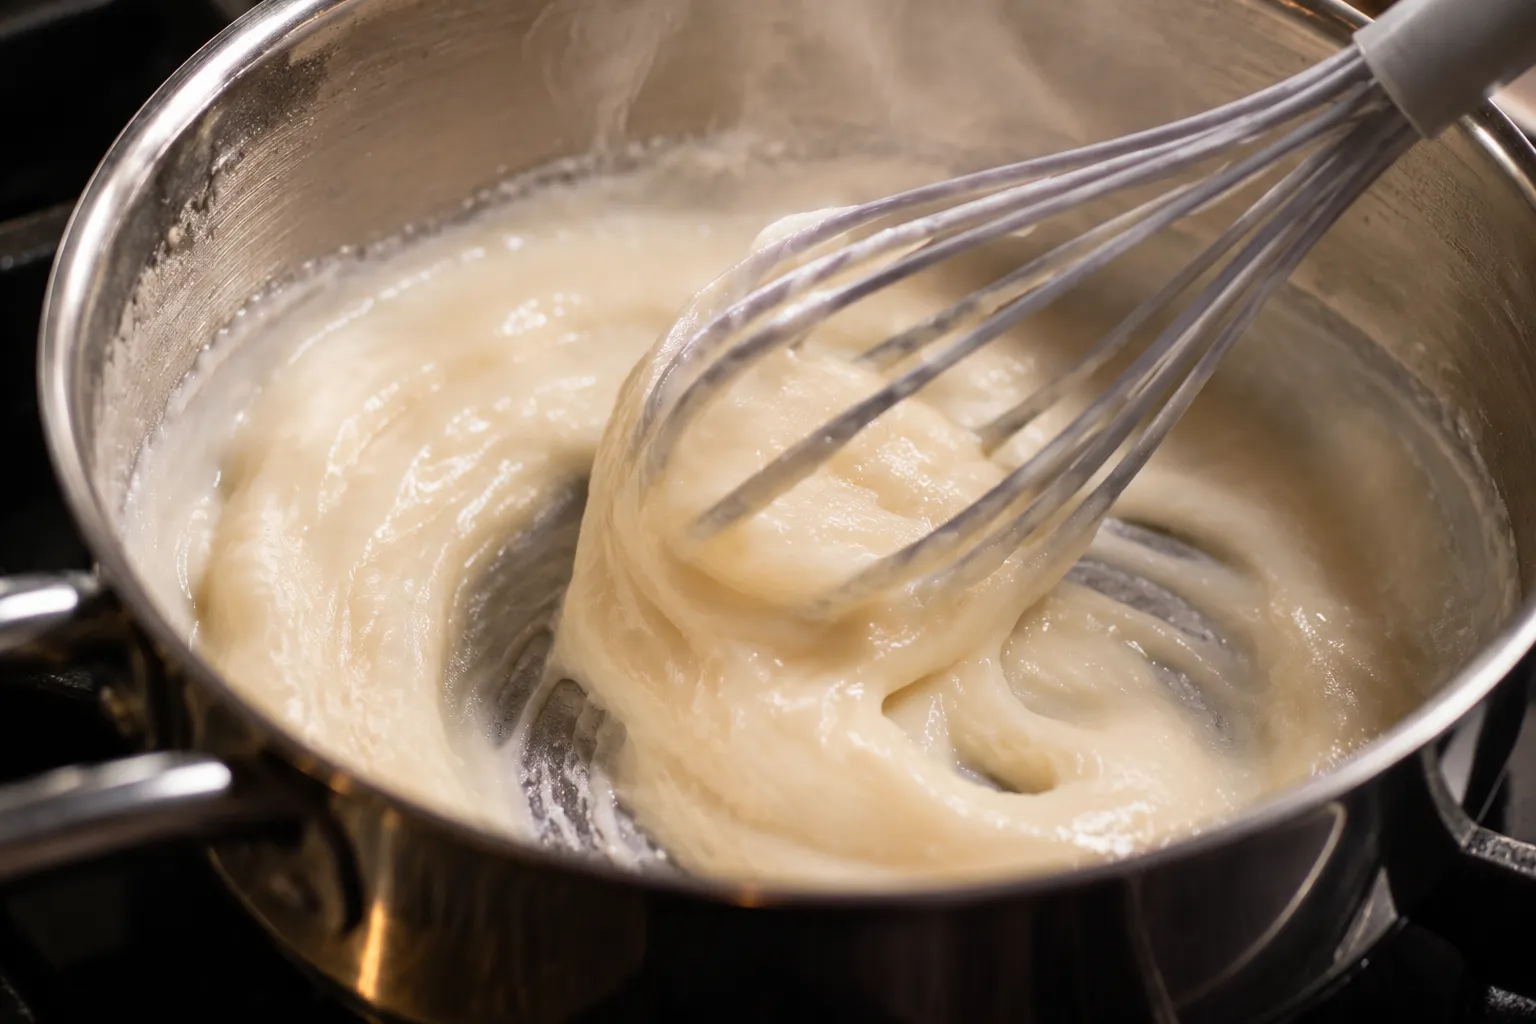
The secret player is that tangzhong starter. By whisking a small portion of the flour with milk and gently cooking it into a pudding-like paste, you pre-gelatinize the starches before they ever meet the yeast. Those primed starches act like sponges, holding onto extra hydration through kneading, proofing, and baking. The end result is a dough that carries more liquid than a standard yeast bread, which translates directly into a softer, longer-lasting crumb.
You don't need anything exotic for this soft sandwich loaf, but a couple of choices really matter.
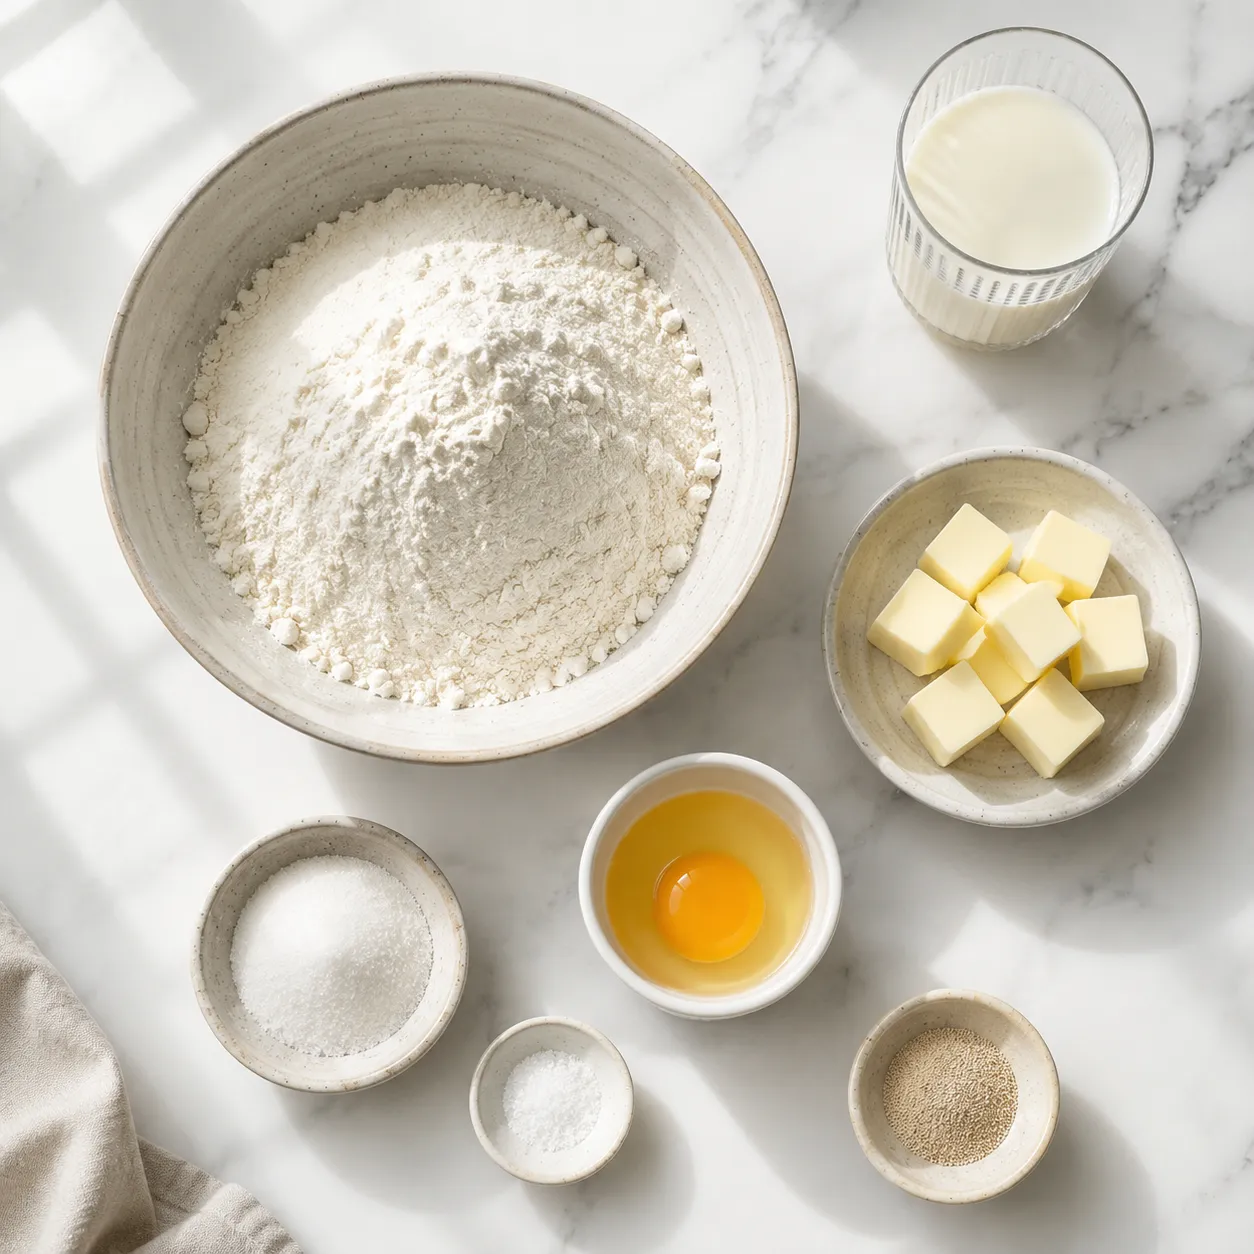
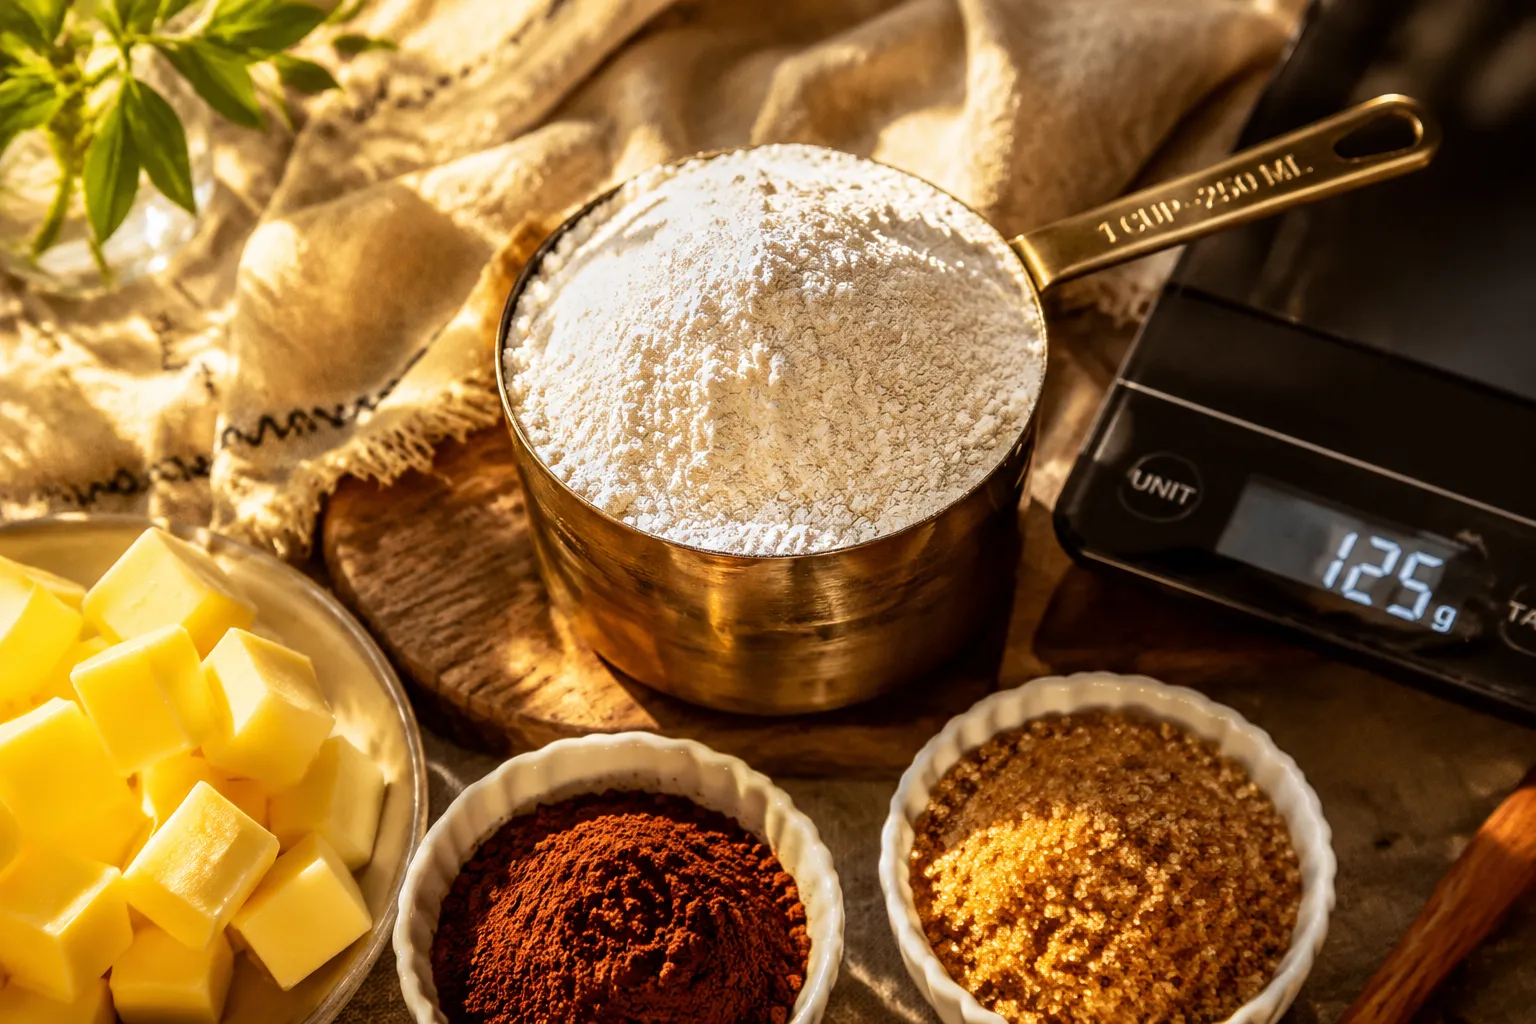
Bread flour is the foundation. Its higher protein content, around 12 to 13 percent, builds the strong gluten network that gives shokupan its signature pull-apart strands. All-purpose flour can work in a pinch, but if you want to understand the difference, a quick refresher on bread flour basics will explain why protein percentage matters so much for tall, fluffy loaves. I don't recommend swapping in whole wheat here — it weighs the dough down and dulls the cottony texture.
Whole milk does double duty: it hydrates the dough and adds the rich, faintly sweet flavor the loaf is named for. Skim or 2% will work, but you'll lose a little of that creamy depth. Unsalted butter, softened to room temperature, gets kneaded in toward the end so it laminates into the gluten without tearing it apart. One large egg adds structure and gives the crust its golden color, especially when used in the egg wash.
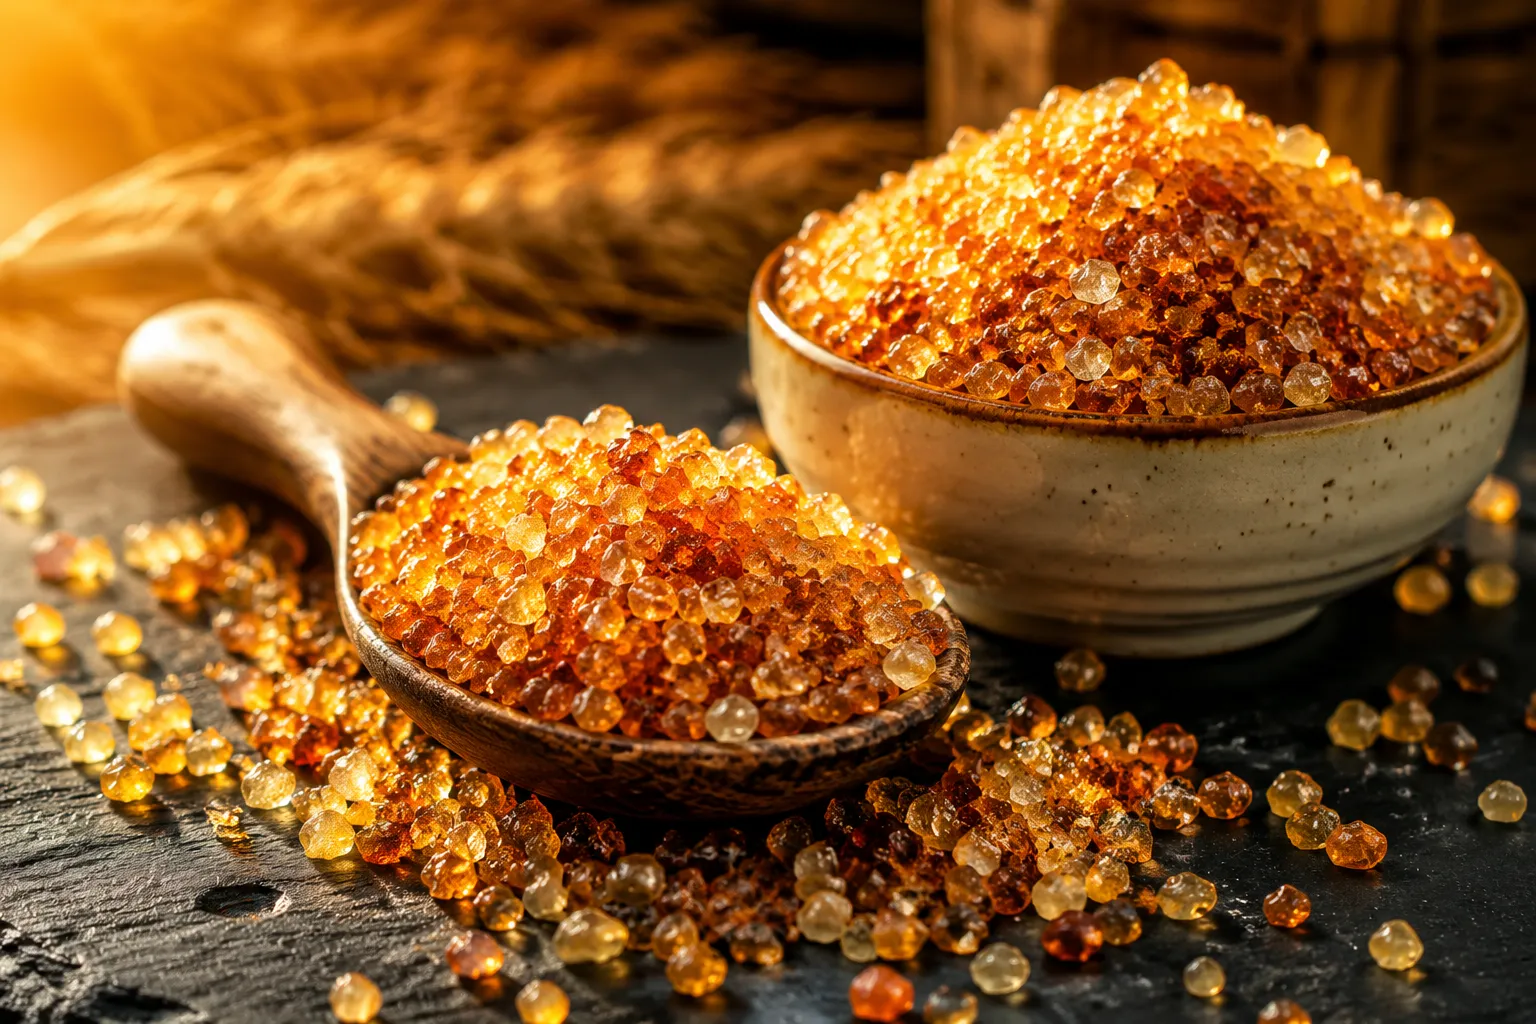
For the yeast, I use active dry yeast bloomed in warm milk, but instant yeast works too — just skip the blooming step and add it straight to the flour. Granulated sugar feeds the yeast and tenderizes the crumb, and a generous pinch of fine sea salt keeps the flavor from going flat. The full quantities live in the recipe card below.
The full numbered steps live in the recipe card, but here's how the process flows from start to finish, with the moments that matter most along the way.
In a small saucepan, whisk three tablespoons of bread flour with half a cup of whole milk until completely smooth, then set it over medium-low heat. Whisk constantly — and I mean constantly — for three to five minutes, until the mixture thickens into a glossy paste that holds a clean trail when the whisk passes through. Pull it off the heat the second it looks like soft pudding; if it goes grainy or stiff, it has gone too far. Scrape it into a small bowl, press plastic wrap directly onto the surface, and let it cool to lukewarm before mixing into the dough.
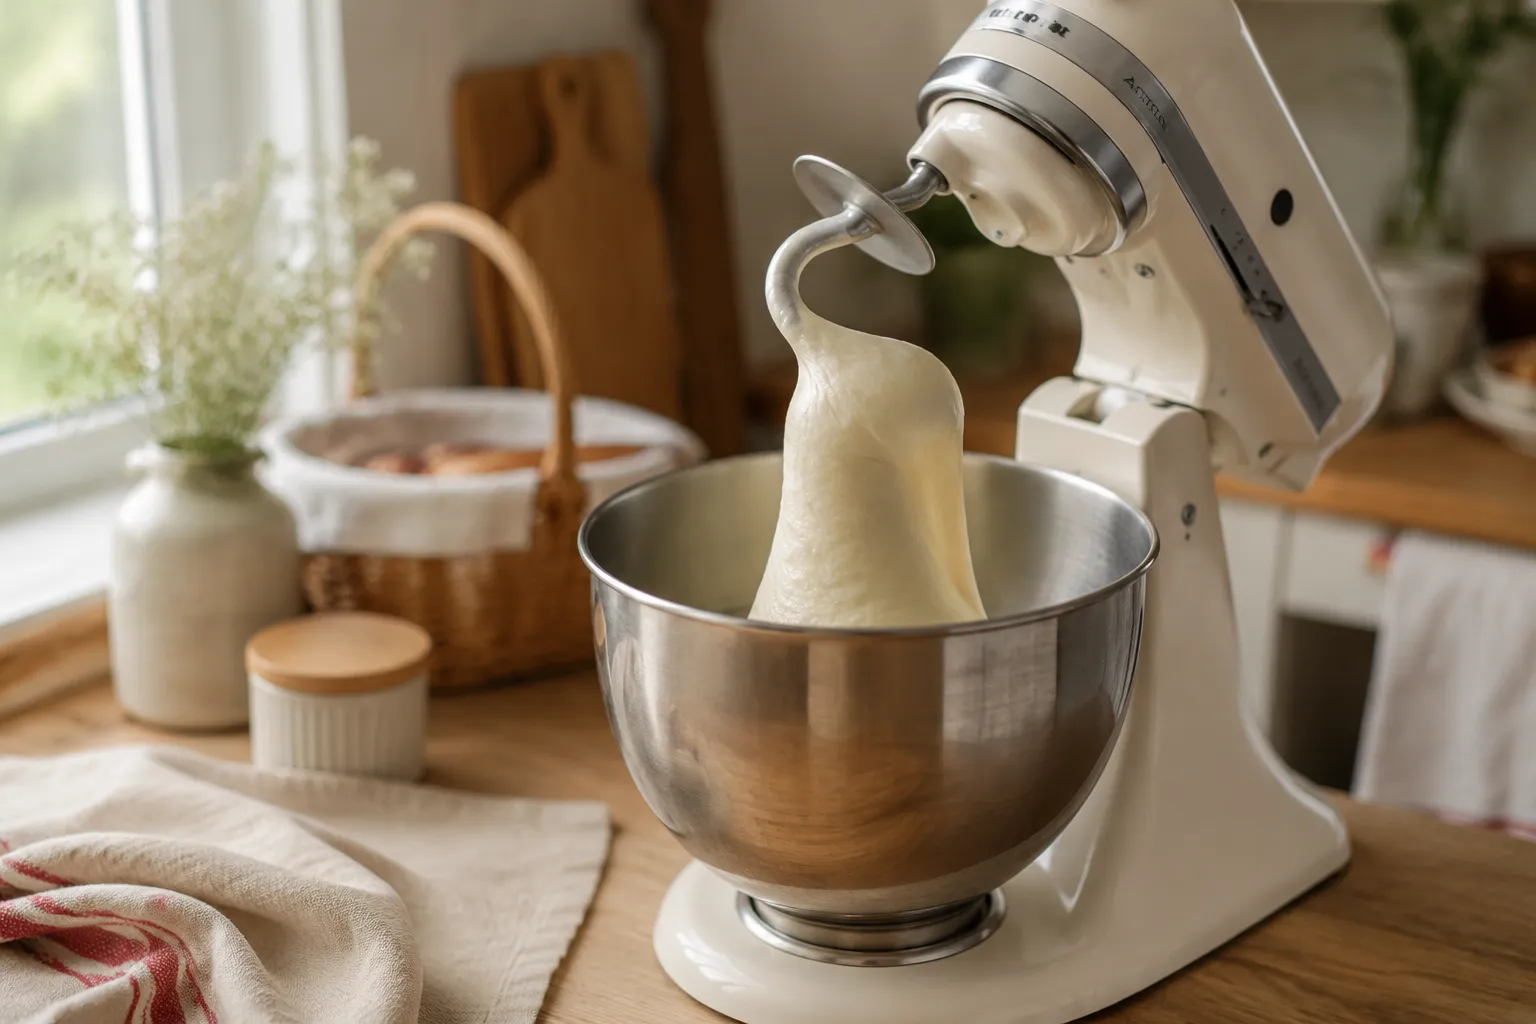
Bloom the yeast in warm (not hot) milk with a spoonful of sugar until foamy, about five to ten minutes. Add the cooled tangzhong, the egg, the rest of the sugar, the bread flour, and the salt to a stand mixer fitted with the dough hook, then pour in the yeast mixture. Mix on low until a shaggy dough forms, then bump the speed up and knead for about five minutes. Add the softened butter one tablespoon at a time, letting each piece work in before adding the next. Keep kneading until the dough is smooth, glossy, and pulls cleanly from the bowl — eight to twelve more minutes.
Transfer the dough to a lightly buttered bowl, turn to coat, and cover with plastic wrap or a damp towel. Let it rise in a warm, draft-free spot until doubled, about an hour to ninety minutes depending on your kitchen. The dough should feel pillowy and hold a slight indent when you press it gently with a floured finger. A cool kitchen will need closer to two hours, so don't rush it.
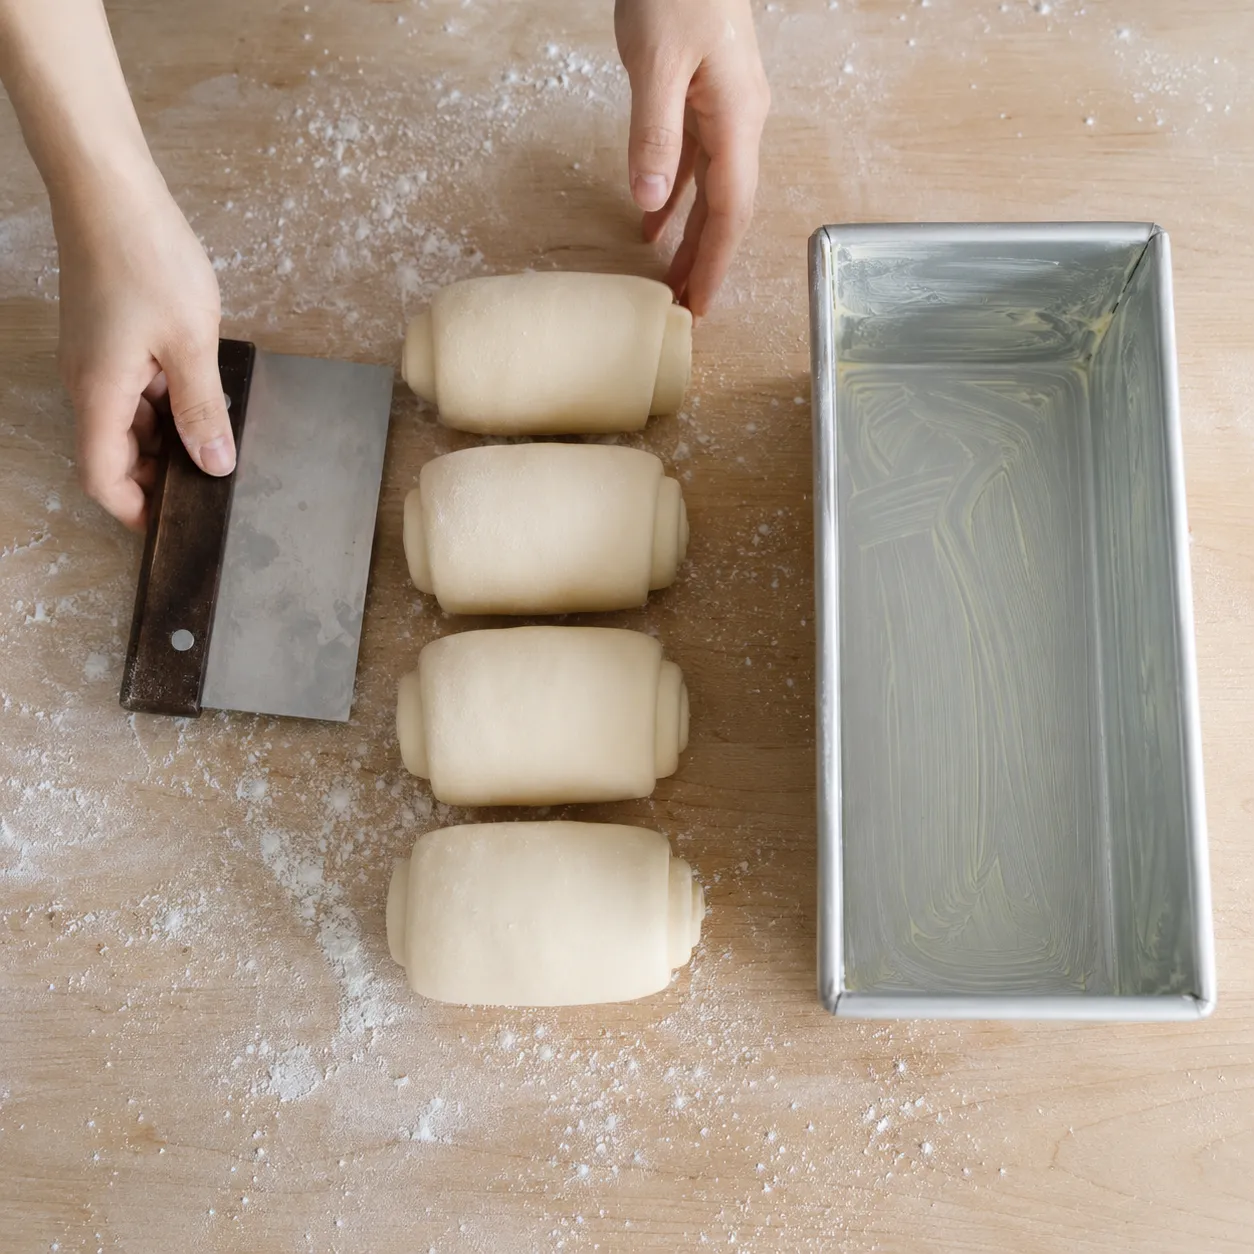
Gently deflate the dough and turn it onto a lightly floured surface. Divide it into four equal pieces — a kitchen scale helps here, and you're aiming for around 165 grams each. Roll each piece into an oval, fold the long sides toward the center, then roll it up tightly from one short end into a snug coil. Nestle the four coils side by side, seam-side down, into a buttered 9x5-inch loaf pan or a Pullman pan.
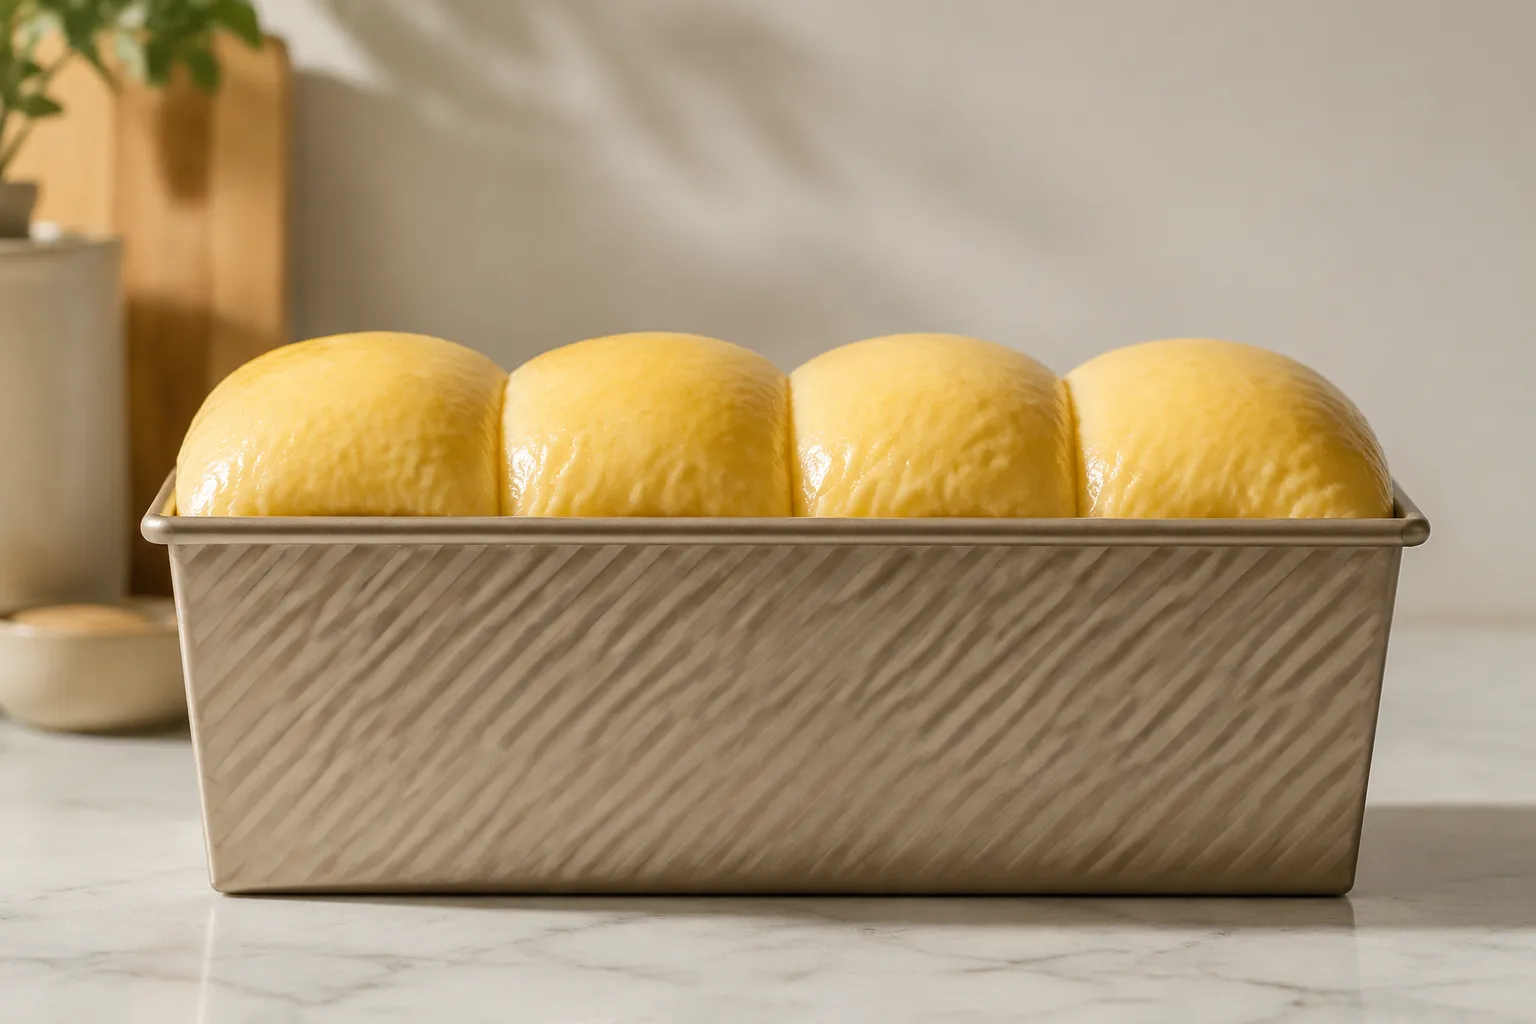
Cover the pan loosely and let the dough proof until the tops of the coils round just over the rim of the pan, usually 45 to 60 minutes. Meanwhile, preheat your oven to 350°F. Brush the proofed dough generously with an egg wash made from one beaten egg and a splash of milk, then slide the loaf onto the middle rack.
Bake for 30 to 35 minutes, rotating the pan halfway through, until the crust is a deep mahogany and the internal temperature reads 190°F on an instant-read thermometer. If the top browns too fast, tent it loosely with foil for the last ten minutes. Let the loaf rest in the pan for five minutes, then turn it out onto a wire rack and cool fully — at least an hour — before slicing. I know the wait is brutal, but cutting too early collapses the steam-soft crumb you worked so hard to build.
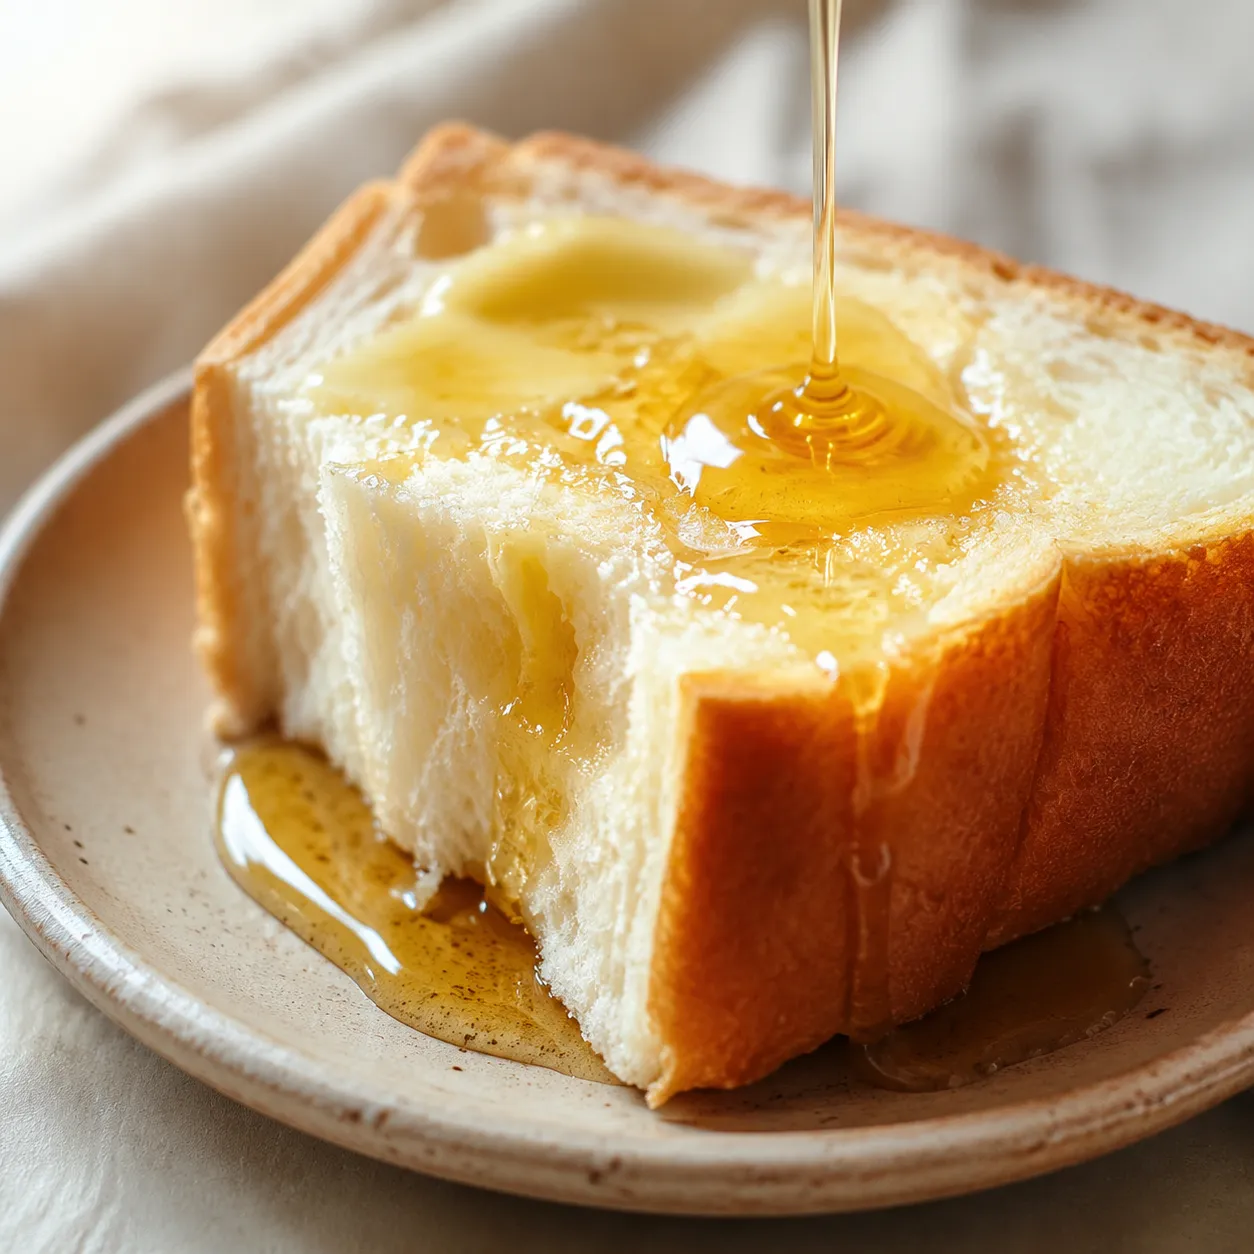
Once you've got a loaf cooling on the counter, the harder question becomes what not to do with it. The most obvious answer is sandwiches — egg salad, BLTs, turkey-and-havarti, even a humble PB&J — all of which become slightly transcendent on this kind of pillowy crumb. For breakfast, slice it thick and toast it just until the edges crisp, then pile on butter and jam.
This is also the loaf you want for French toast and bread pudding. The tangzhong-rich crumb soaks up custard without falling apart, giving you that custardy interior with a caramelized exterior that diner French toast only dreams of. Day-old slices are honestly better here than fresh, so don't feel bad about saving the heel and end pieces for a Sunday brunch project.
For something more in the bakery-pastry direction, the dough takes beautifully to sweet fillings: a swirl of red bean paste, a smear of matcha cream, or a generous handful of chocolate chunks rolled in before shaping. You can also divide the dough into smaller portions and bake them in a muffin tin or square pan for soft dinner rolls that put the bagged kind to shame. The base recipe is forgiving and friendly to riffing.
Once you've baked one loaf, this becomes the kind of milk bread recipe you reach for whenever you want bakery-style results without a trip across town. Keep it wrapped on the counter for sandwiches all week, freeze a few thick slices for impromptu French toast, or shape the dough into rolls the next time you need a centerpiece bread for dinner. Either way, the moment a torn-open piece releases that quiet puff of steam, you'll understand why bakers around the world have been hooked on this technique for a hundred years.
Once the base technique clicks, this recipe becomes a flexible canvas. Try any of these riffs the next time you bake — the cooked-starter foundation stays the same, only the flavor or shape changes.
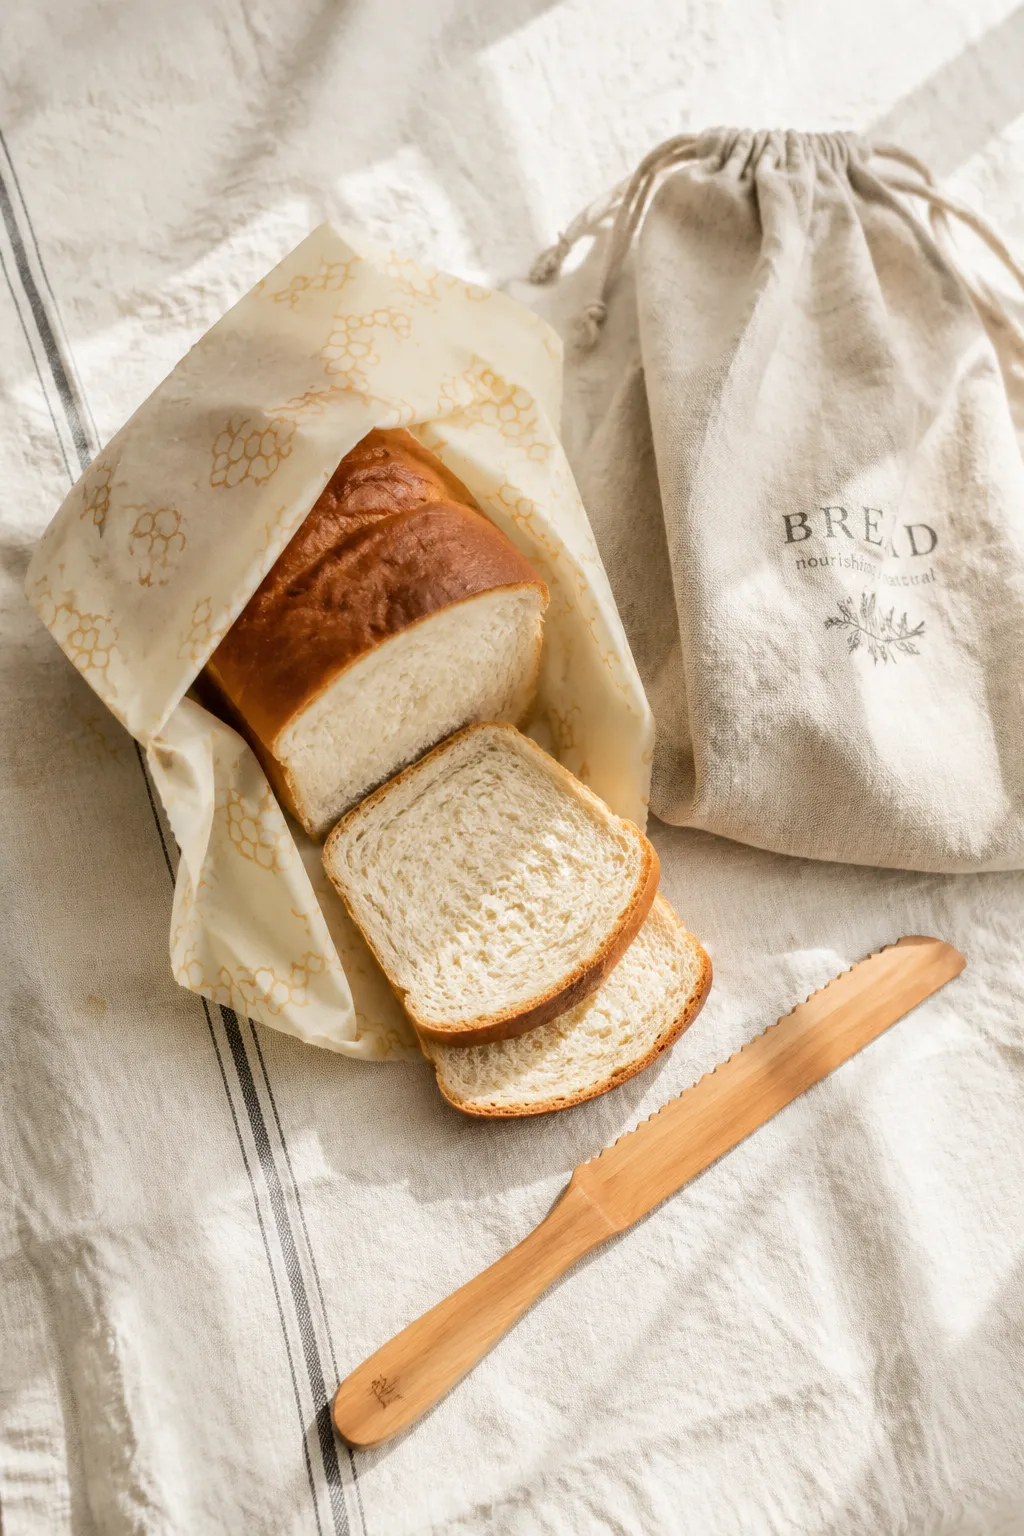
For maximum softness, wrap the cooled loaf in plastic wrap or beeswax cloth and keep it on the counter — never the fridge, which dries enriched bread out fast through a process called starch retrogradation. Slice as you go to keep the cut surface from drying, and the loaf will stay tender and pull-apart soft for three to four days.
To freeze, wait until the loaf is fully cool, then either freeze it whole (double-wrapped in plastic and foil) or pre-slice and stack the slices with parchment paper between them inside a freezer bag. Frozen this way, the bread keeps for up to two months. Toast slices straight from frozen, or thaw the whole loaf at room temperature still wrapped, then warm briefly in a 300°F oven to revive that bakery-fresh feel.