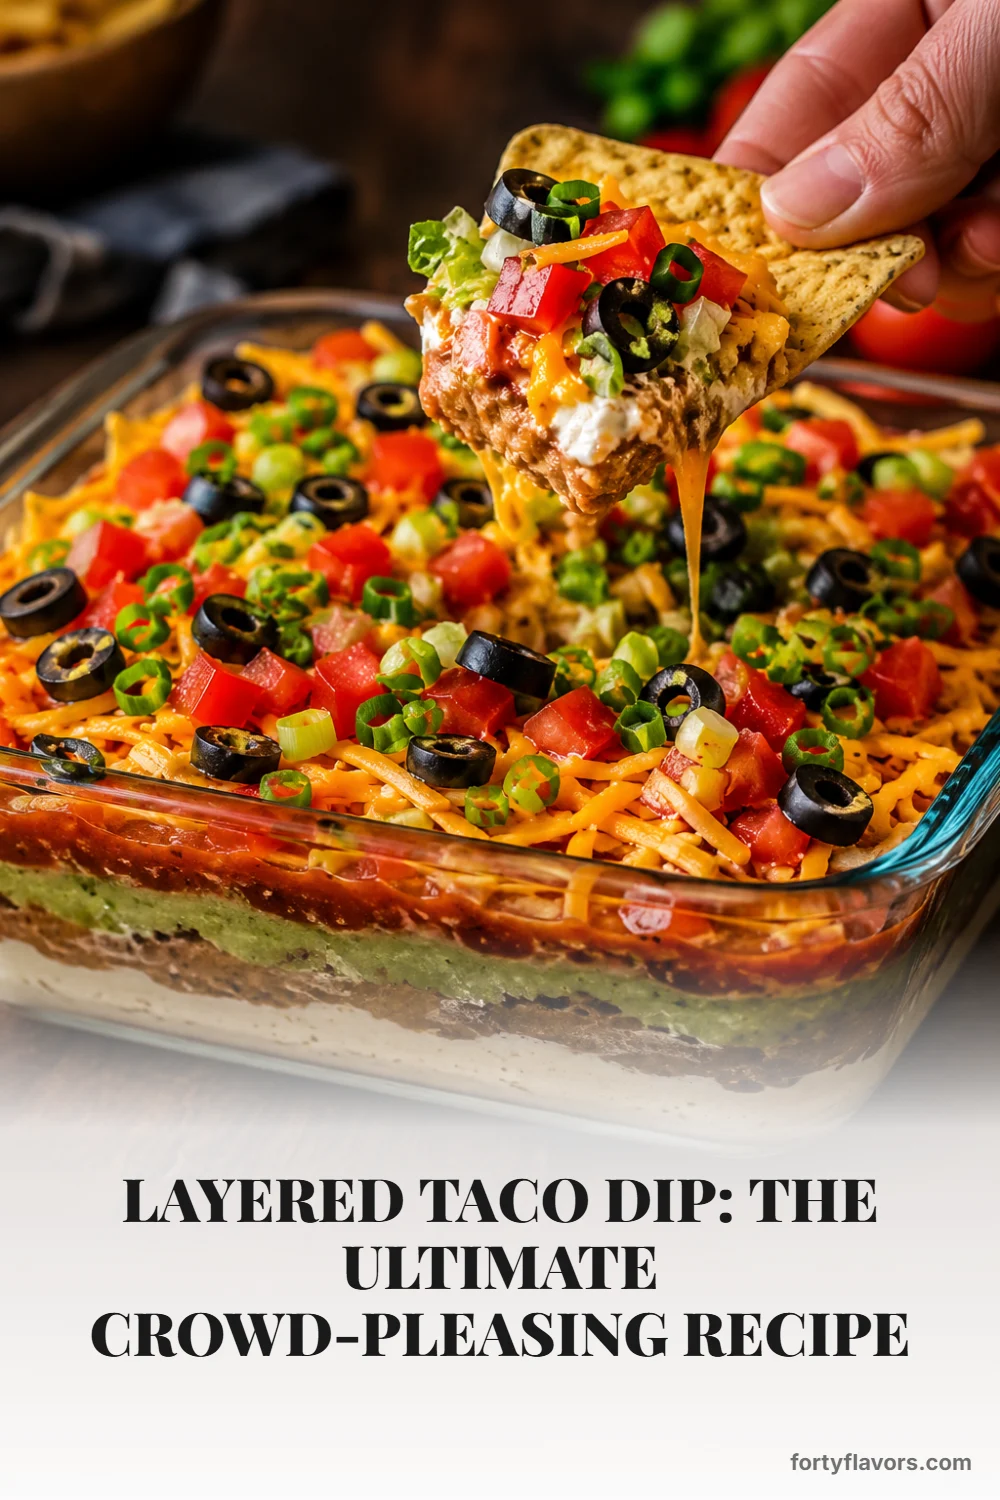
Layered Taco Dip: The Ultimate Crowd-Pleasing Recipe
Ingredients
Scale
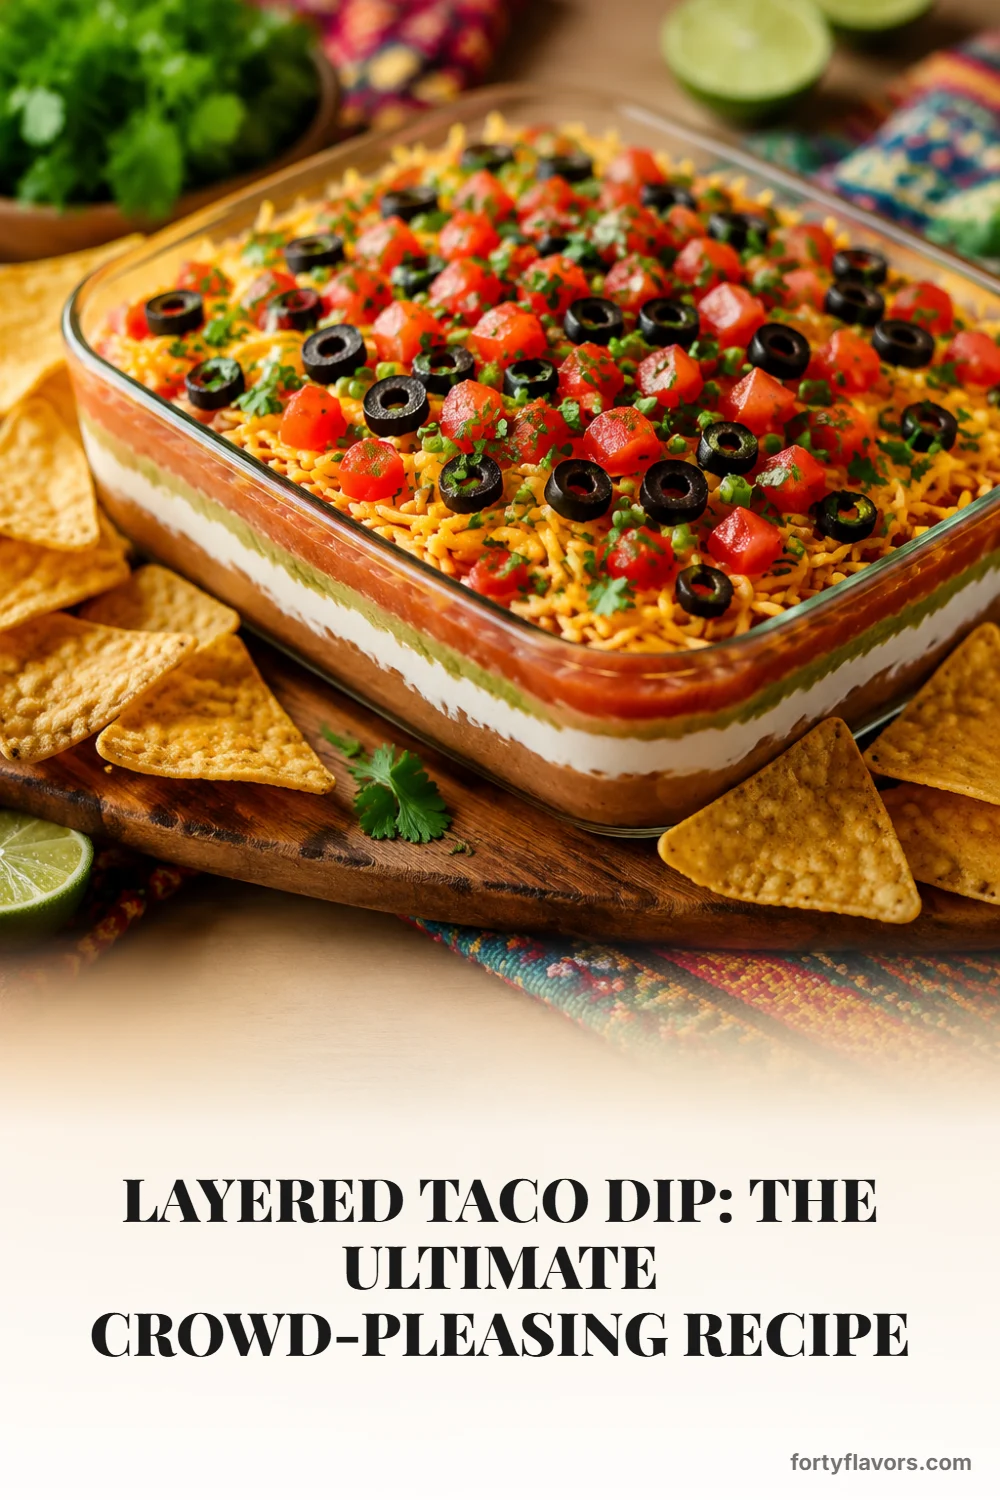
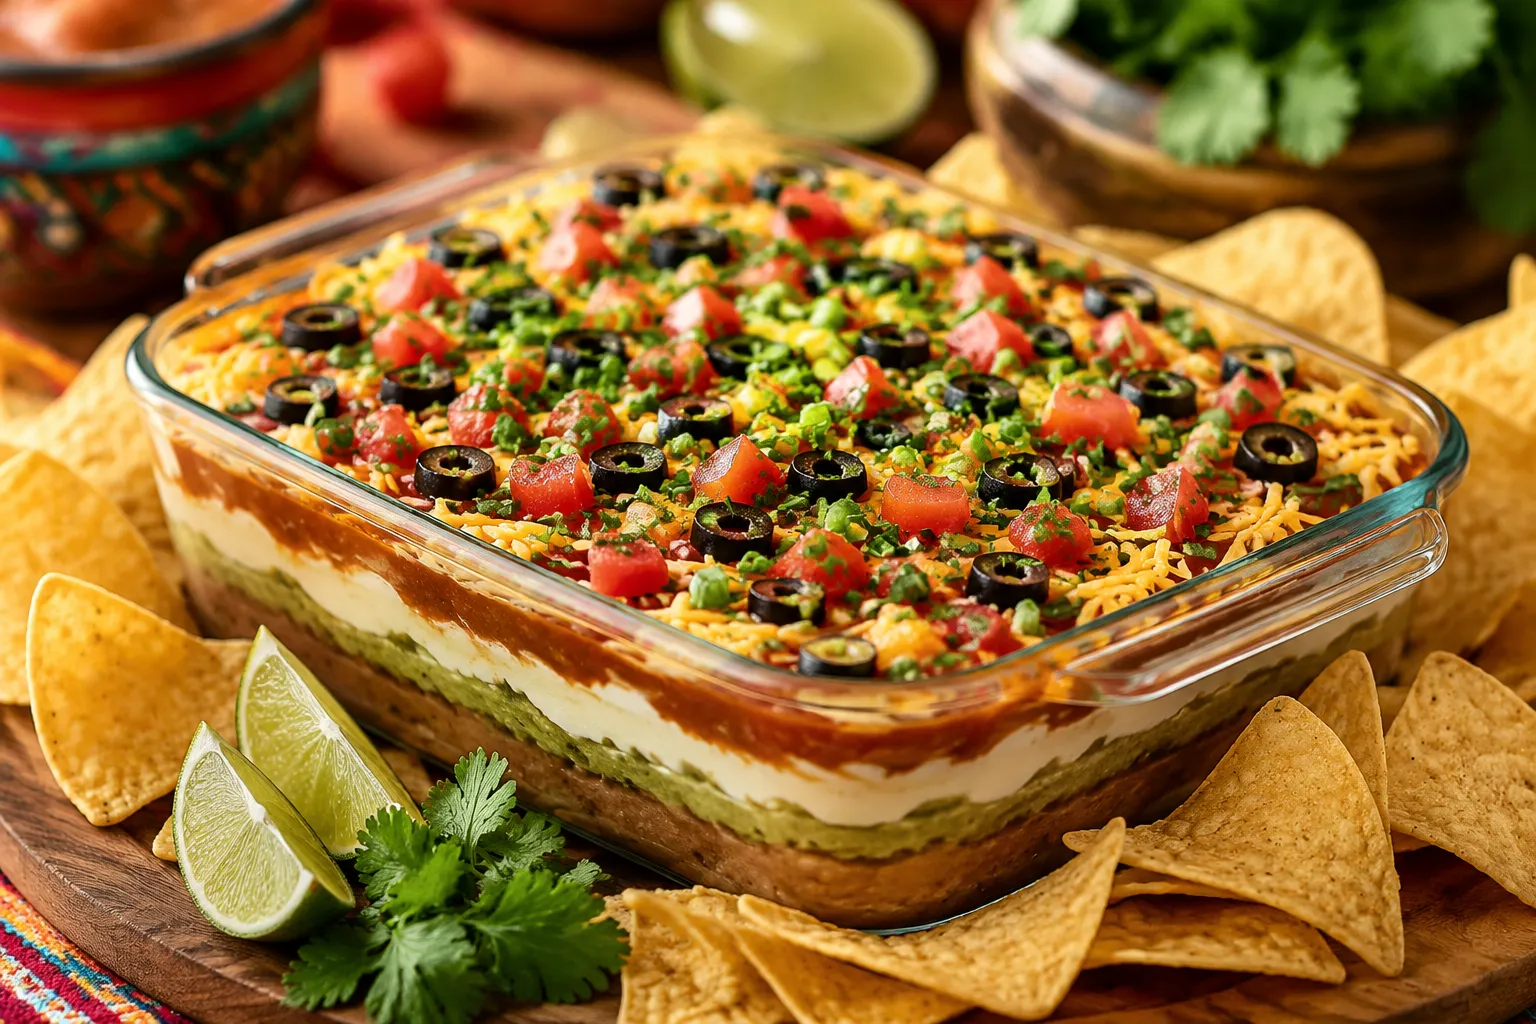
This layered taco dip is the no-bake party recipe everyone fights over: cool, creamy, cheesy, and loaded with fresh Tex-Mex toppings.
This taco dip is the no-bake appetizer that disappears first at every party I've brought it to, full stop. It's cool, creamy, loaded with sharp cheddar cheese, and built on a whipped cream cheese base that holds clean, sliceable layers from the first scoop to the last chip in the bowl. If you've ever brought a sad, watery dip to a potluck and watched it sit untouched on the table, this recipe fixes every one of those problems with a handful of small technique upgrades you can master in a single afternoon.
Think of this as the dressed-up cousin of the classic 7 layer dip, with a few smart moves that make it stand out from every dump-and-stir version on the internet. We're whipping the base for an airier texture instead of just stirring it, draining the salsa so the layers stay crisp instead of bleeding together, and finishing with fresh toppings that pop with color and crunch. The whole thing comes together in 15 minutes flat with zero oven time, which is exactly why it's earned permanent placement in my game day rotation alongside wings and cold beer.
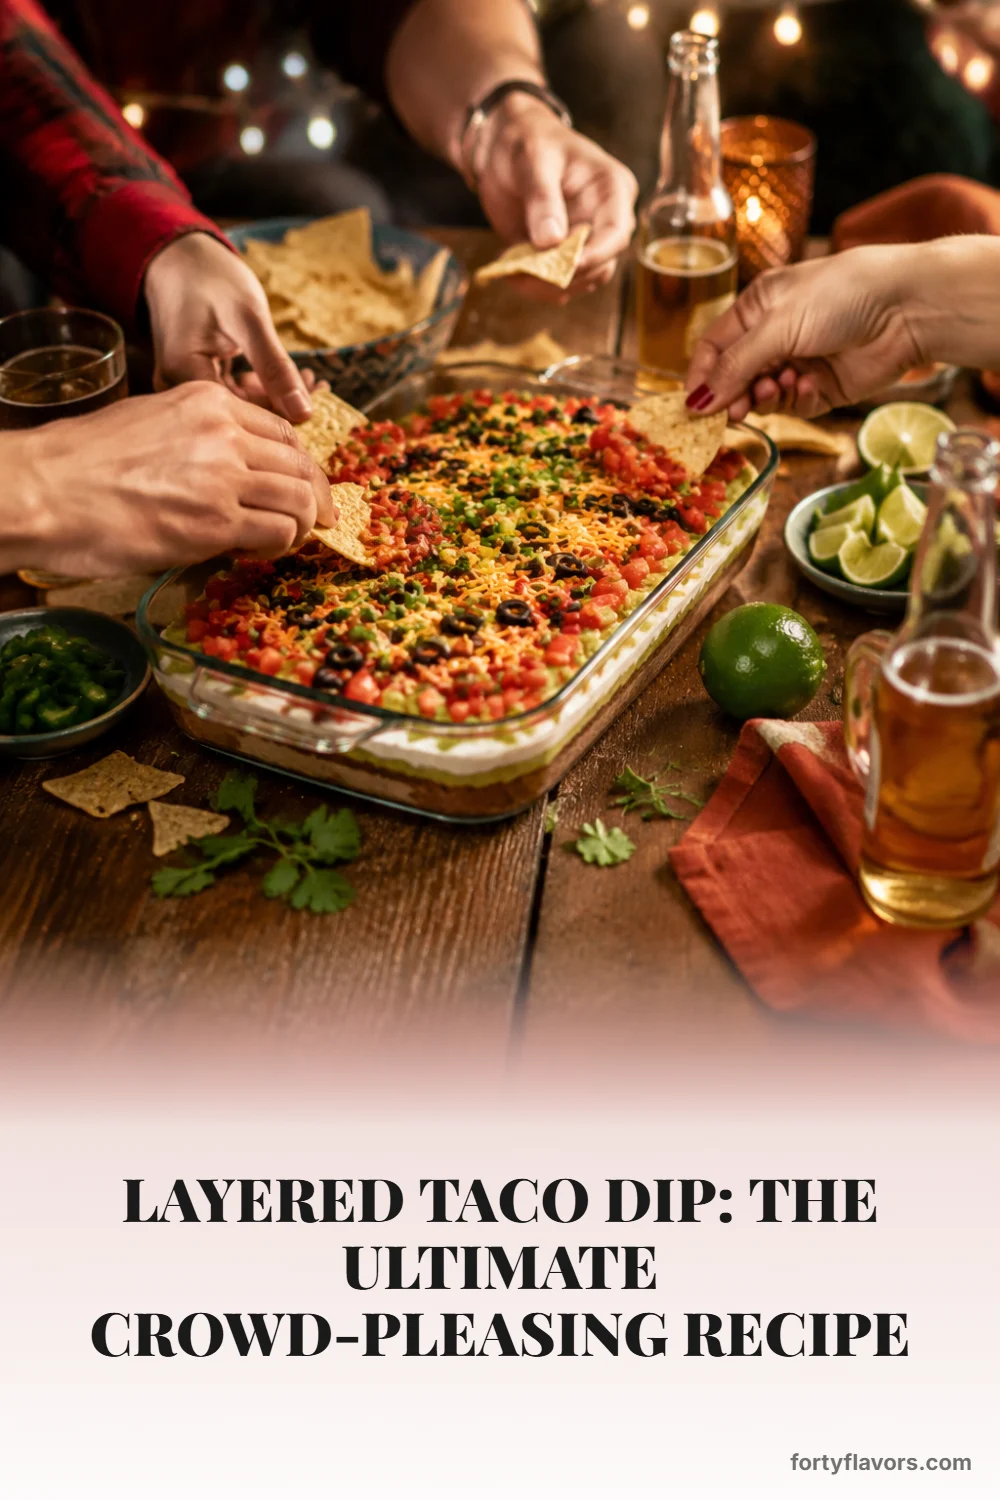
Whether you're hosting a Super Bowl crowd, prepping for a backyard birthday, packing for a tailgate, or just need a fast crowd-pleaser for a Tuesday night Tex-Mex spread, this layered version delivers every time. It's affordable, endlessly customizable, scales up or down for any group size, and disappears so fast you'll already be thinking about doubling the recipe before the first round of guests even reaches the chip bowl.
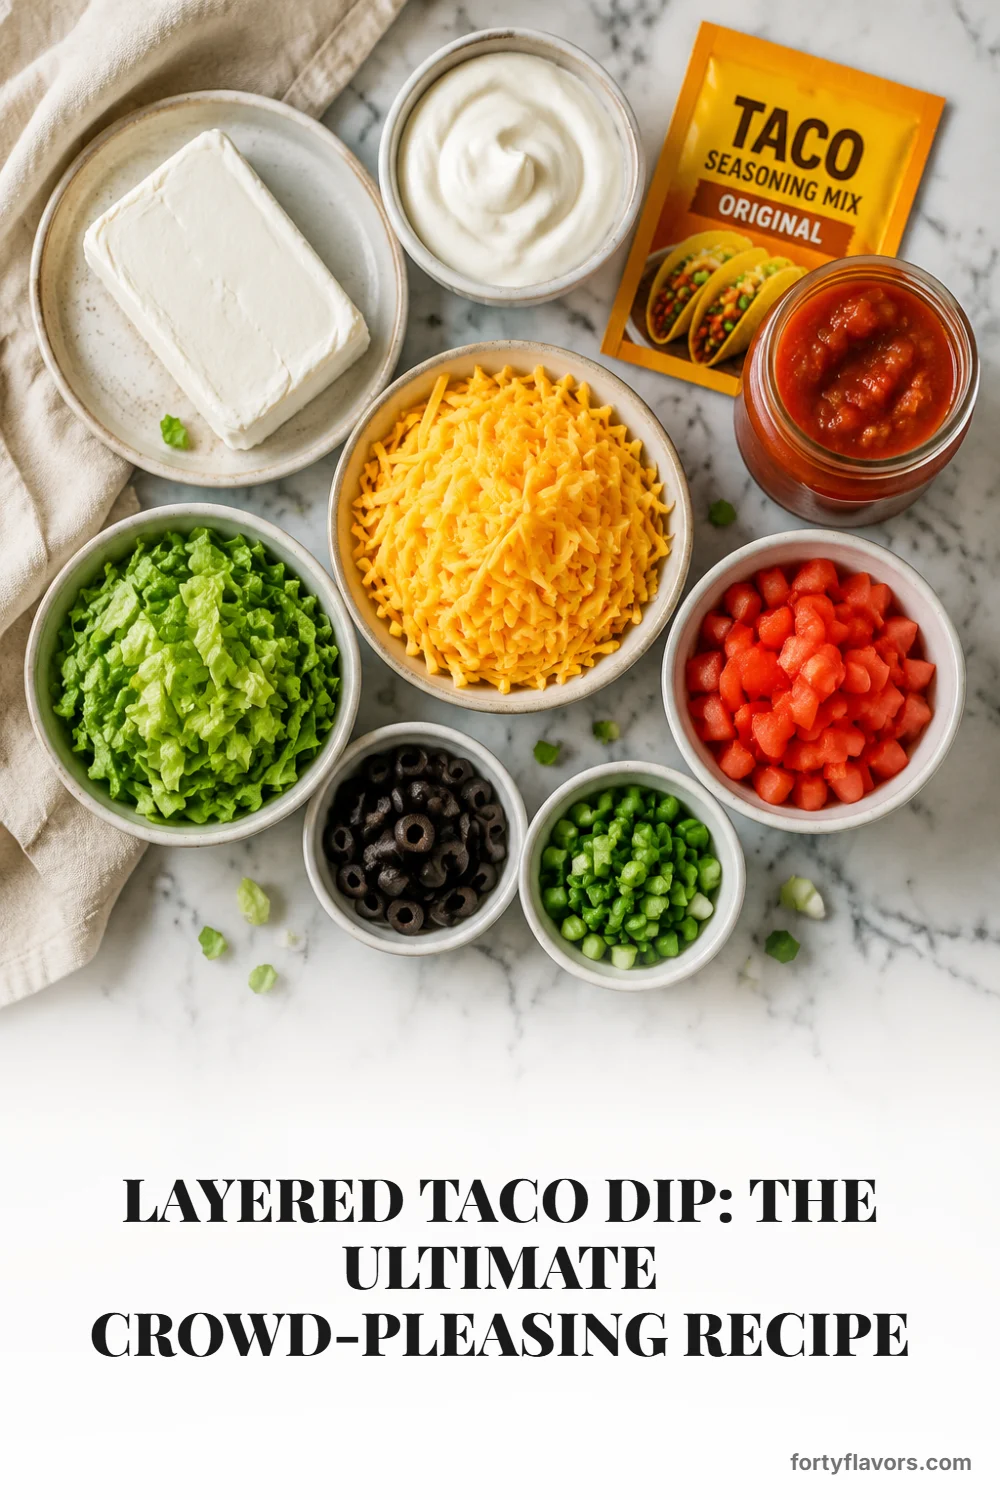
Building a great taco dip recipe starts with simple grocery store ingredients you probably already have on hand. The magic isn't in fancy components or hard-to-find specialty items, it's in how you handle the basics. A few extra minutes of prep, a little patient draining, and the right ratios turn pantry staples into something genuinely crave-worthy that will outshine any store-bought tub on the table.
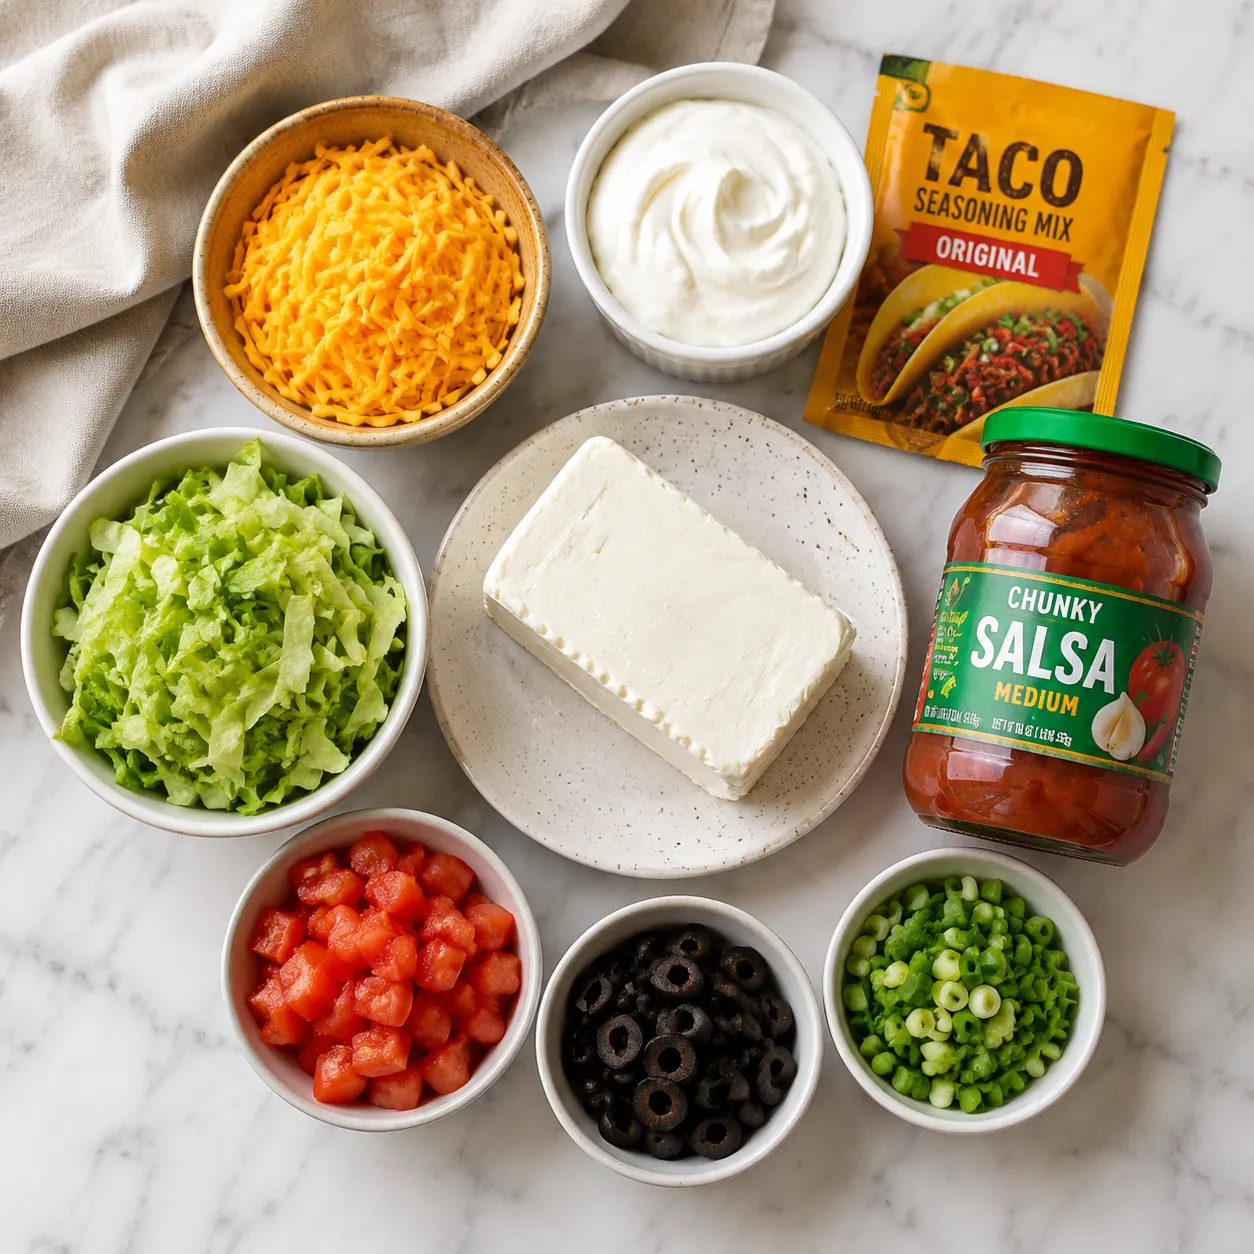
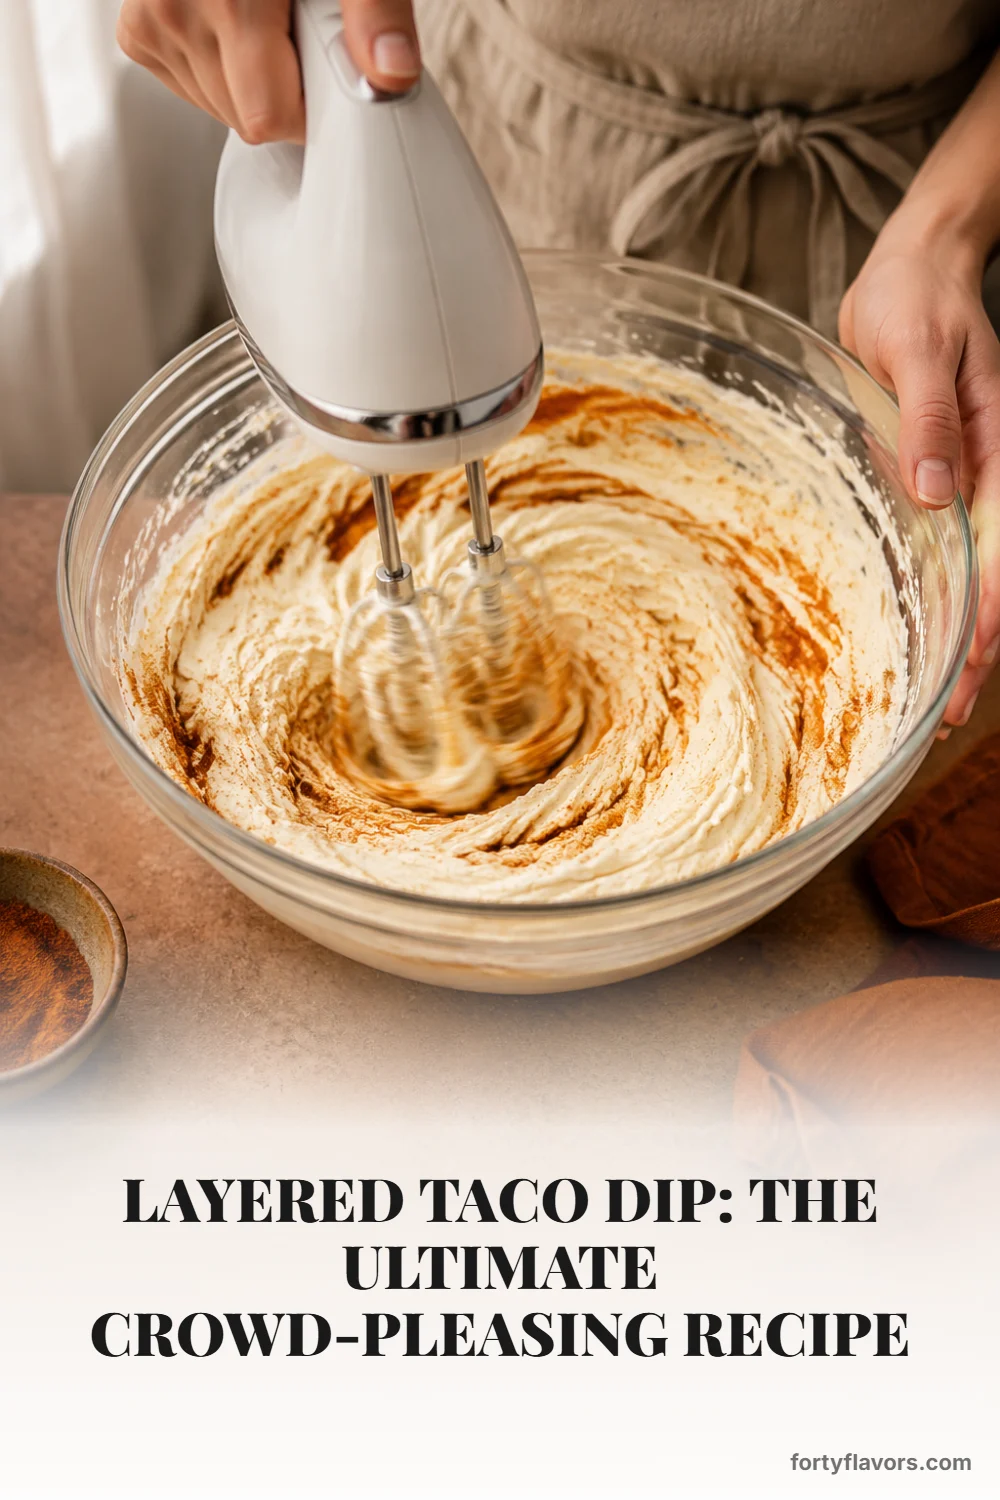
The creamy base is built from 8 ounces of softened cream cheese and 1 cup of sour cream, whipped together with an electric mixer until light and fluffy. This step matters more than people realize and is the single biggest difference between a forgettable dip and a memorable one. Whipping incorporates air and creates a base that spreads smoothly and slices cleanly without tearing the layers underneath. A packet of taco seasoning gets folded right in for that classic Tex-Mex backbone, though if you have homemade taco seasoning on the shelf, use about 2 tablespoons for a fresher, less salty result with more aromatic depth.
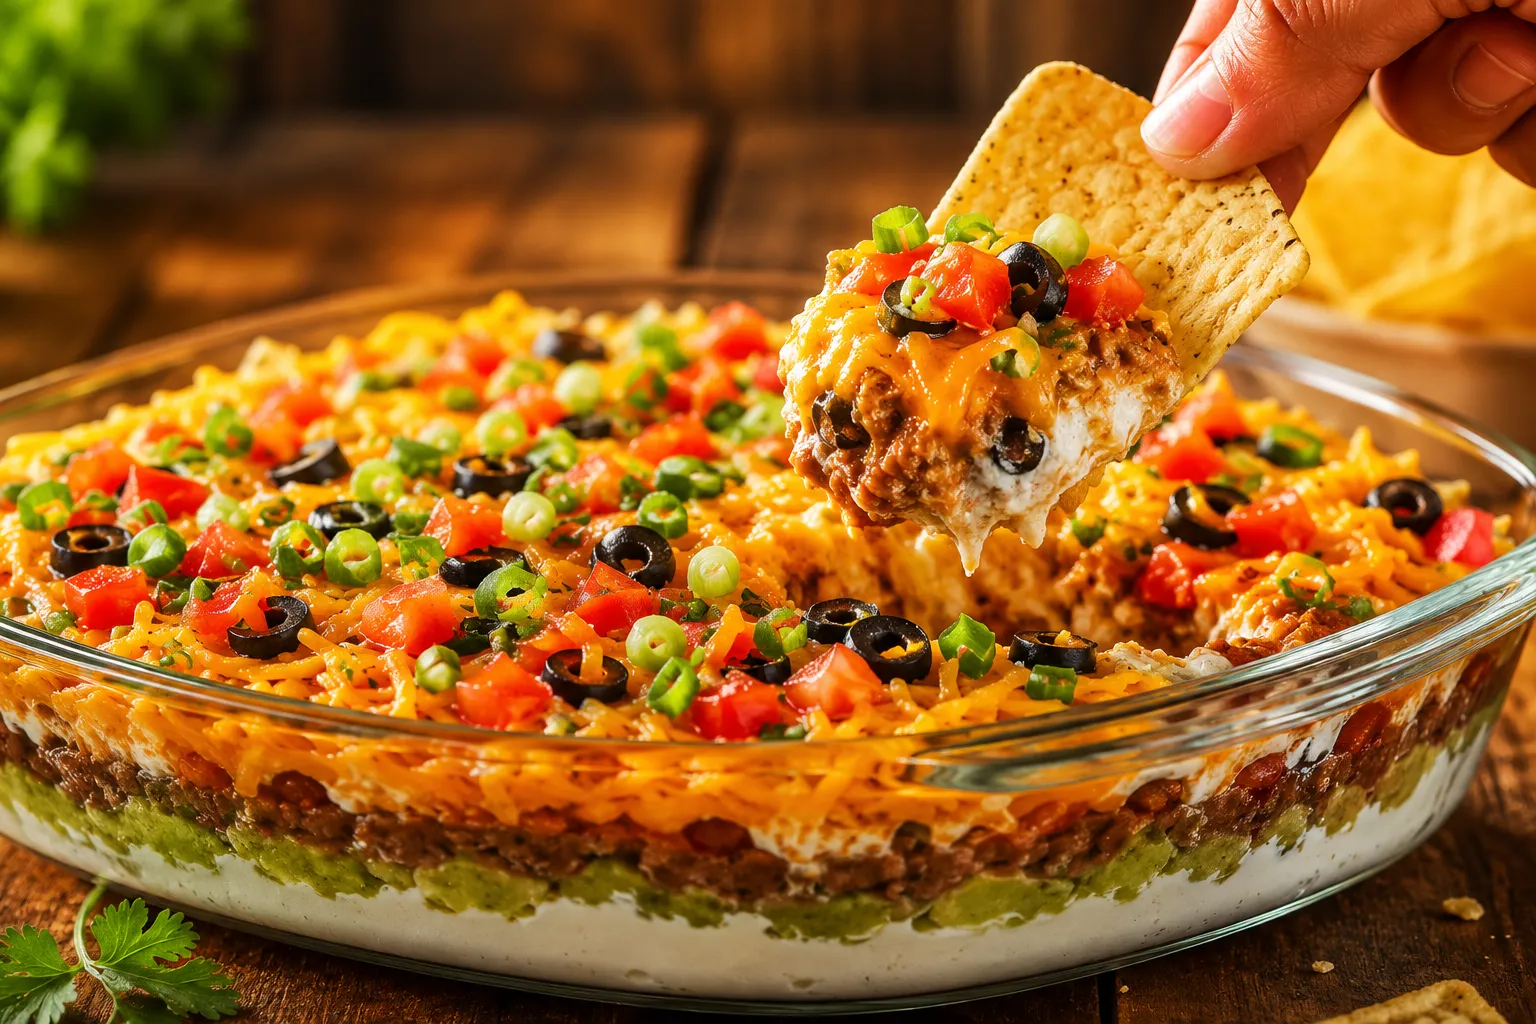
The middle layer is salsa, drained well in a fine-mesh strainer for at least 10 minutes. This is the single most important step for keeping your layers crisp through the entire serving window. Then comes 2 cups of shredded cheddar cheese, ideally hand-shredded from a block since pre-shredded varieties carry an anti-caking starch that mutes the flavor and gives a slightly powdery feel on the tongue.
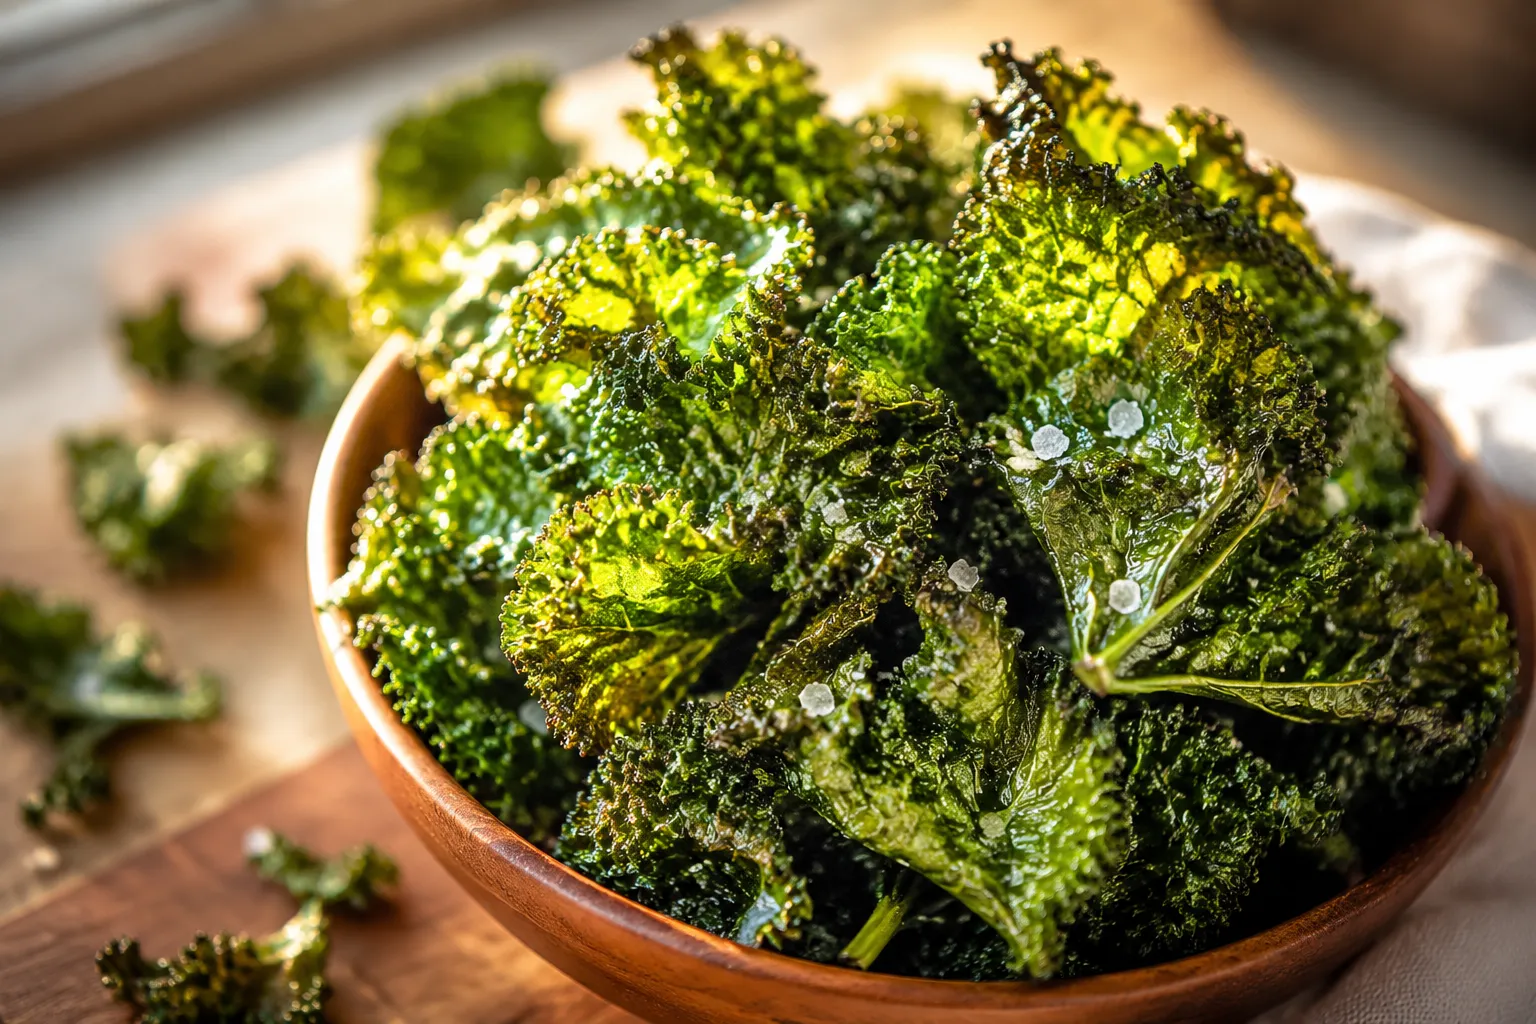
The fresh top is where it gets fun and where most home cooks have room to play: shredded romaine for clean crunch, diced Roma tomatoes for sweetness, sliced black olives for briny depth, and thin green onion rounds for a sharp herbal kick. Some folks also love finishing with a quick pico de gallo instead of plain tomato for extra brightness, or a few dollops of avocado mash worthy of a great guacamole recipe for richness and color contrast.
This is genuinely one of the easiest appetizers in the rotation, but the order matters more than you'd think. Each layer needs to set just enough before the next goes on, and the toppings get added in a very specific sequence so nothing slides around or turns into a soggy mess after thirty minutes on the counter. Once you internalize the rhythm, you'll be assembling these in your sleep.
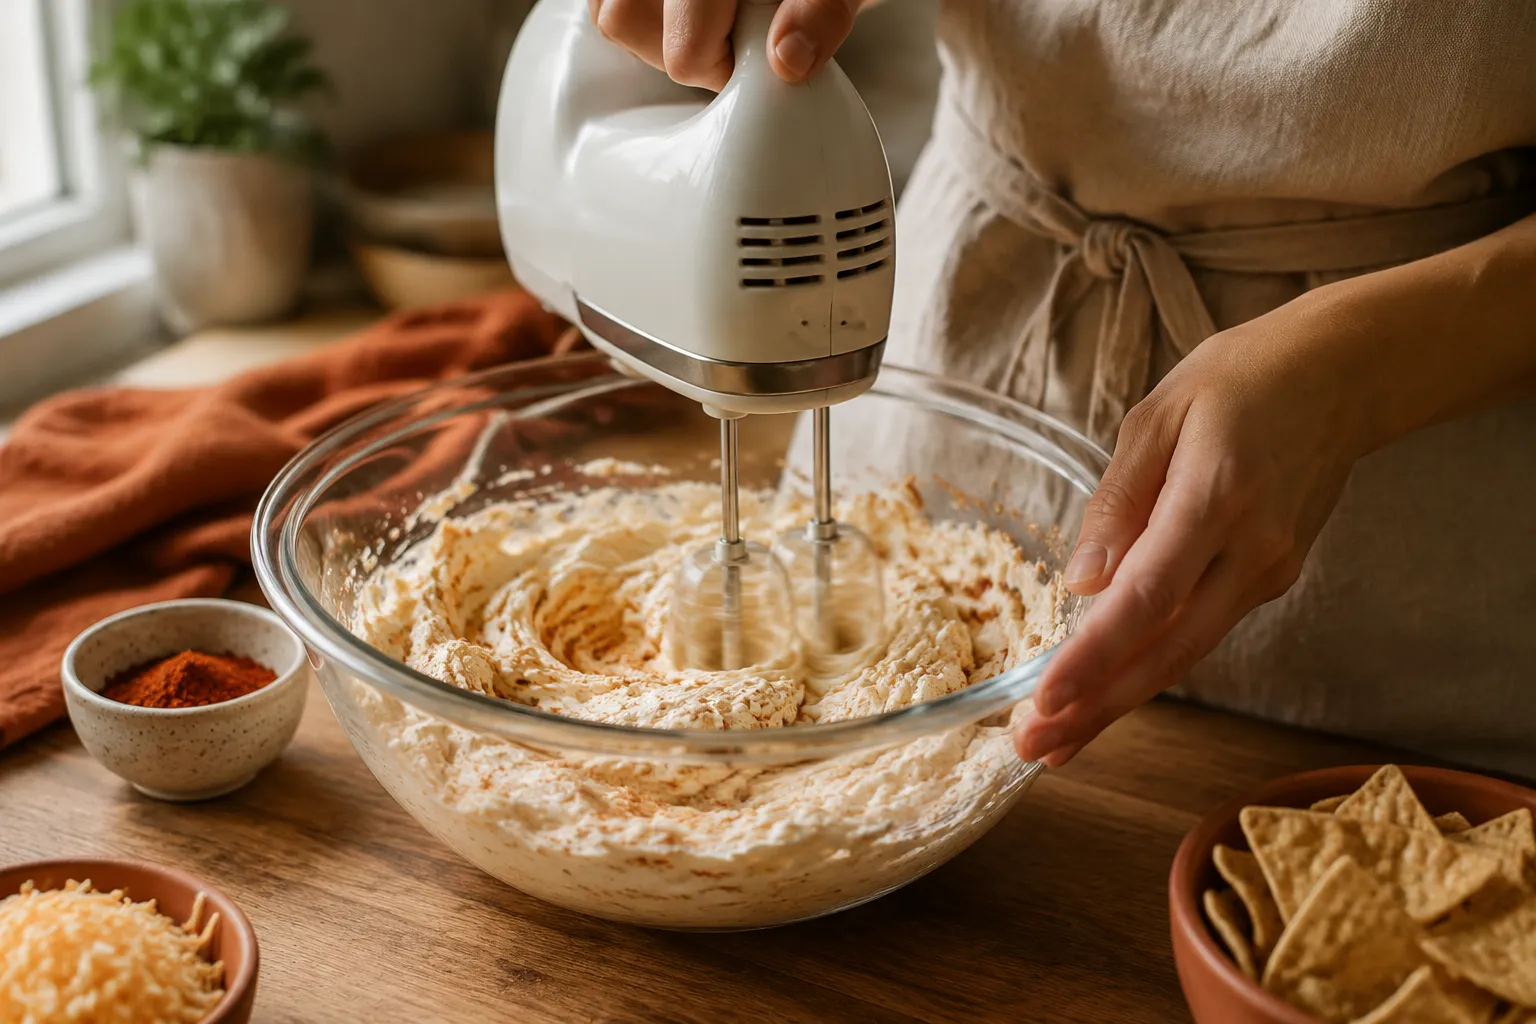
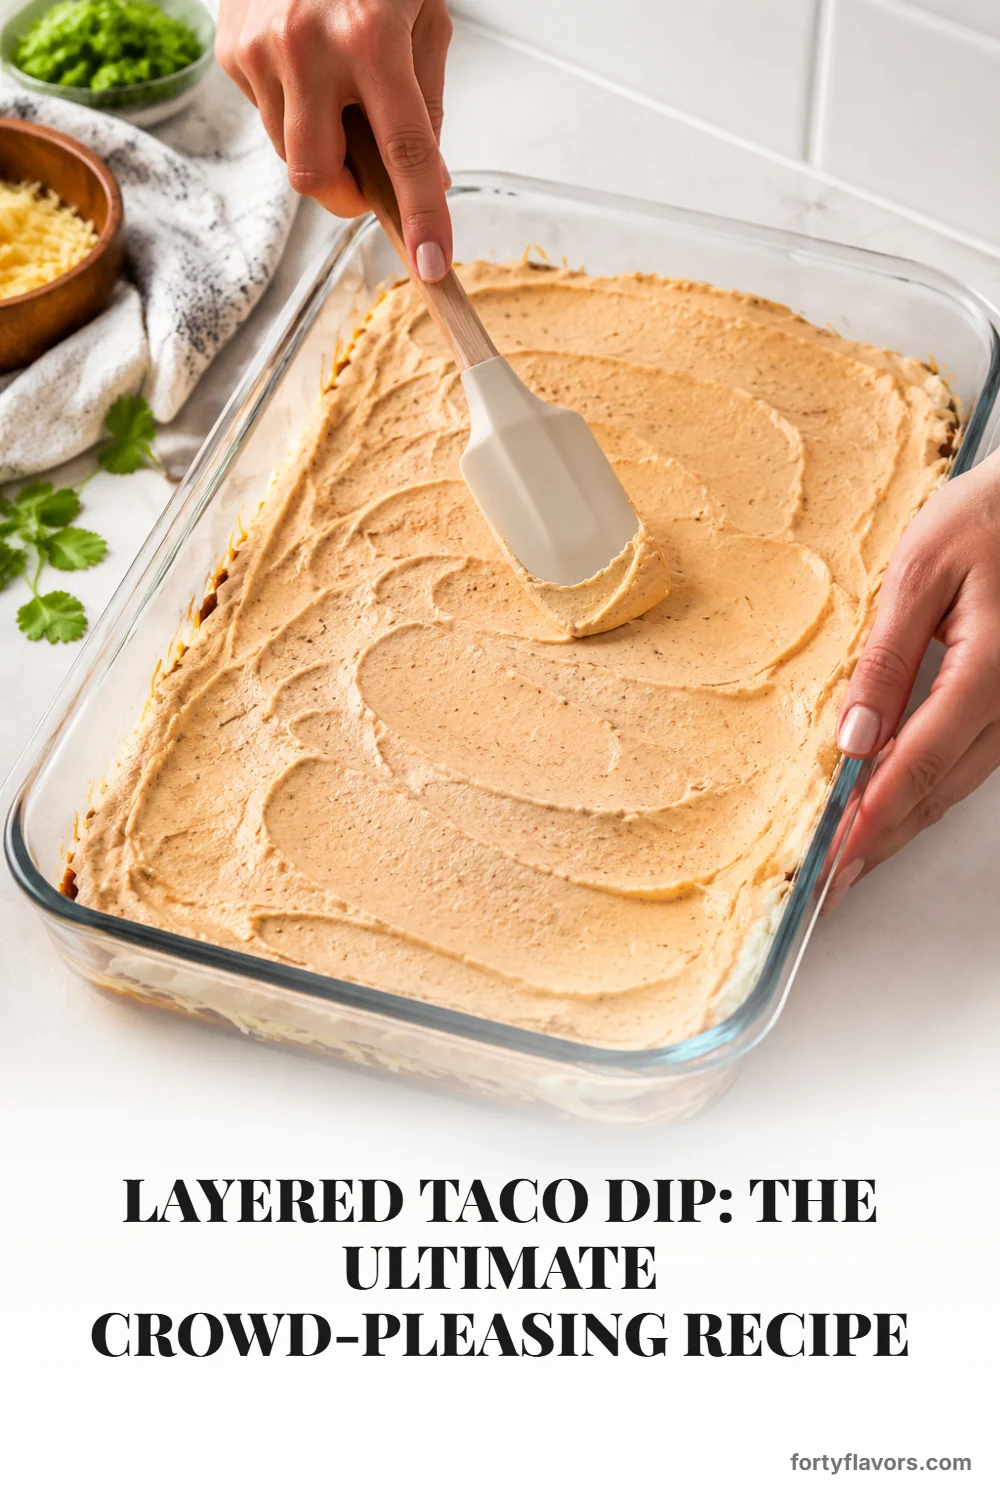
Start with the base: room-temperature cream cheese is non-negotiable here. Cold cream cheese turns into stubborn lumps that no amount of mixing will smooth out, and you'll see those white pebbles in every spread you make for the rest of the night. Pull the block out of the fridge an hour before you start, or microwave it on the defrost setting for 30 seconds in a pinch. Beat it on medium until creamy, then add the sour cream and taco seasoning and whip another full minute until pale and fluffy. The texture should look almost like a savory frosting, with soft peaks that hold their shape on the spatula.
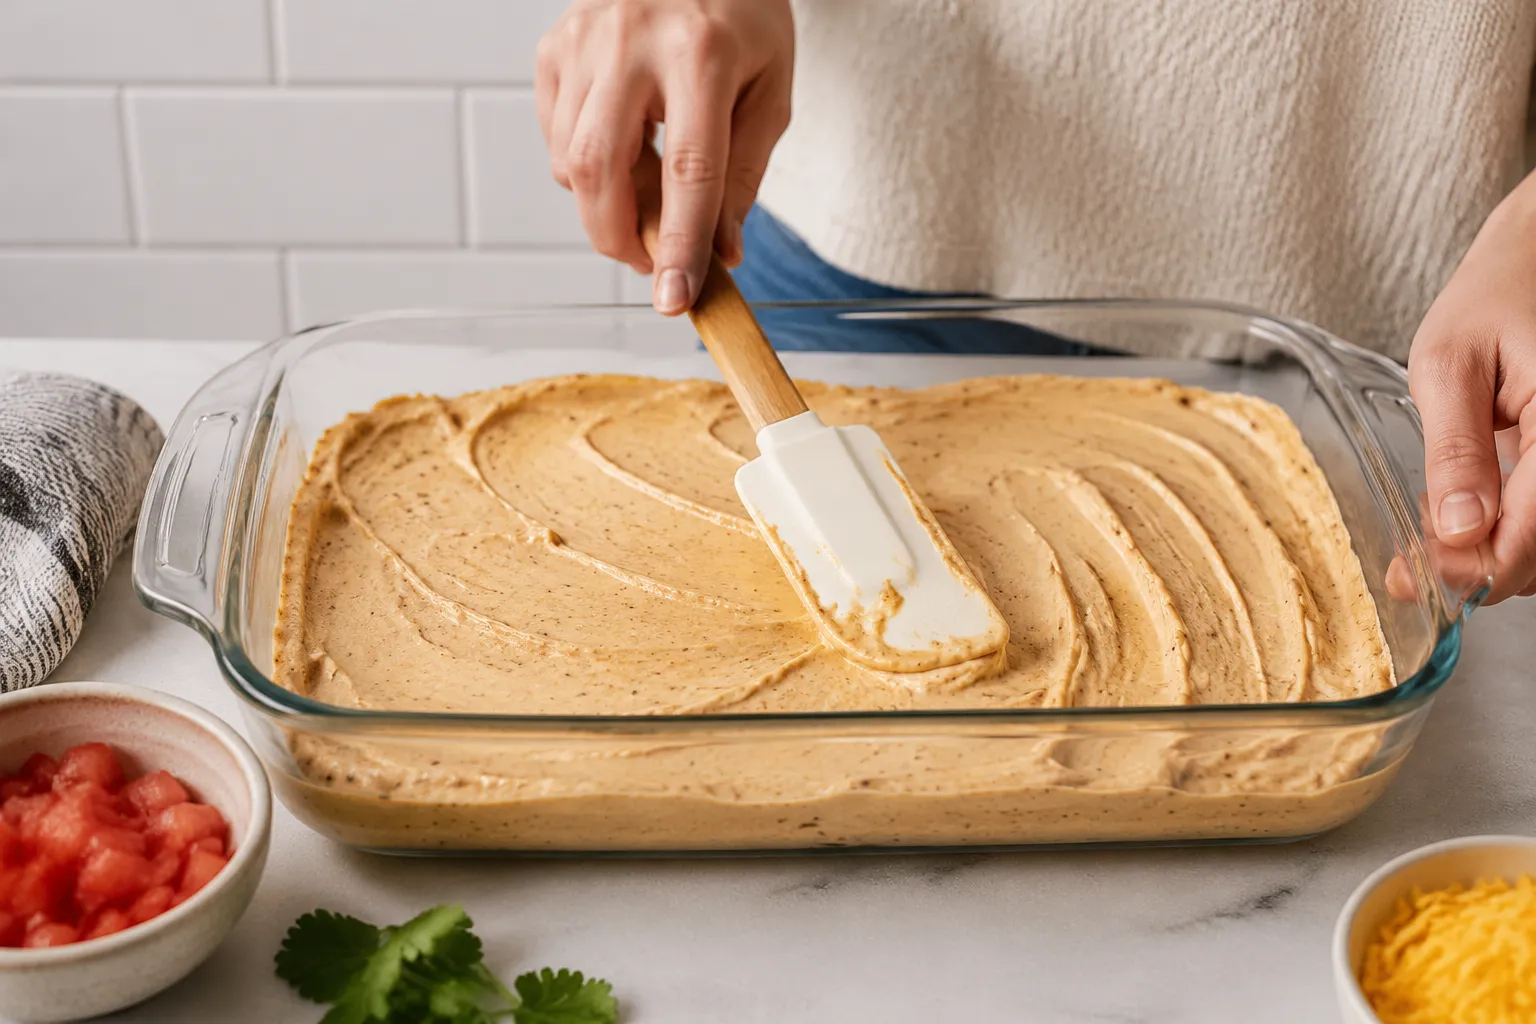
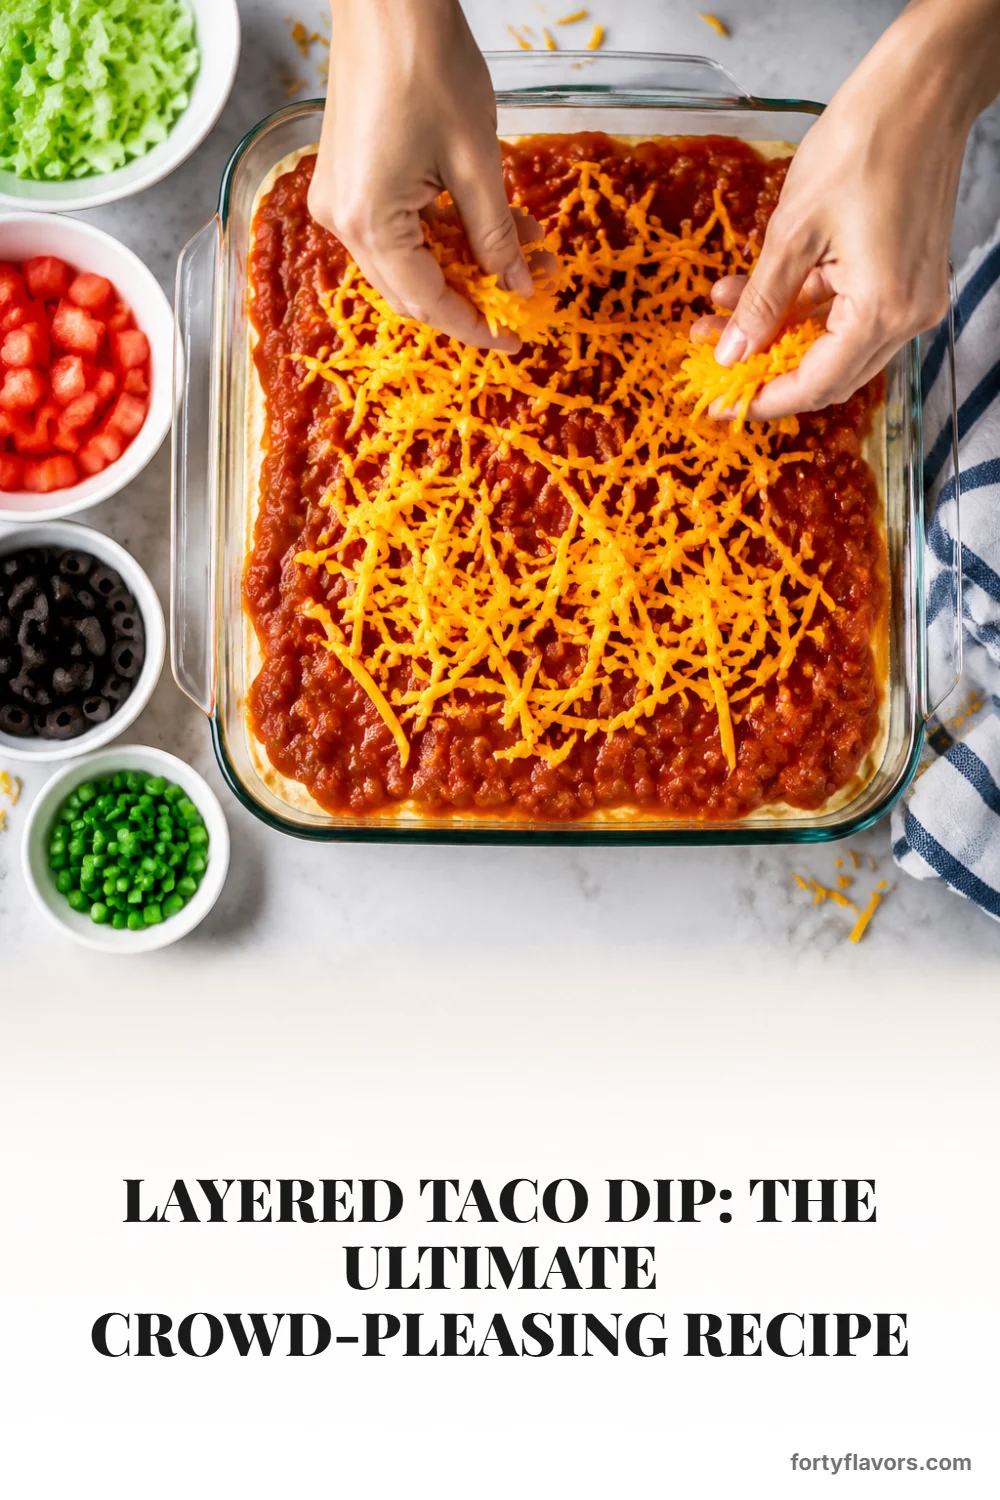
Spread the base evenly into a 9x13 glass dish using an offset spatula. A clear dish is more than just pretty, it's how your guests can actually see the rainbow of layers and decide where to dive in first. Push the cream cheese mixture all the way to the corners so every chip-load gets a complete bite. Top with your drained salsa in an even layer, leaving about a half-inch border around the edges so the red doesn't bleed down the sides of the glass.
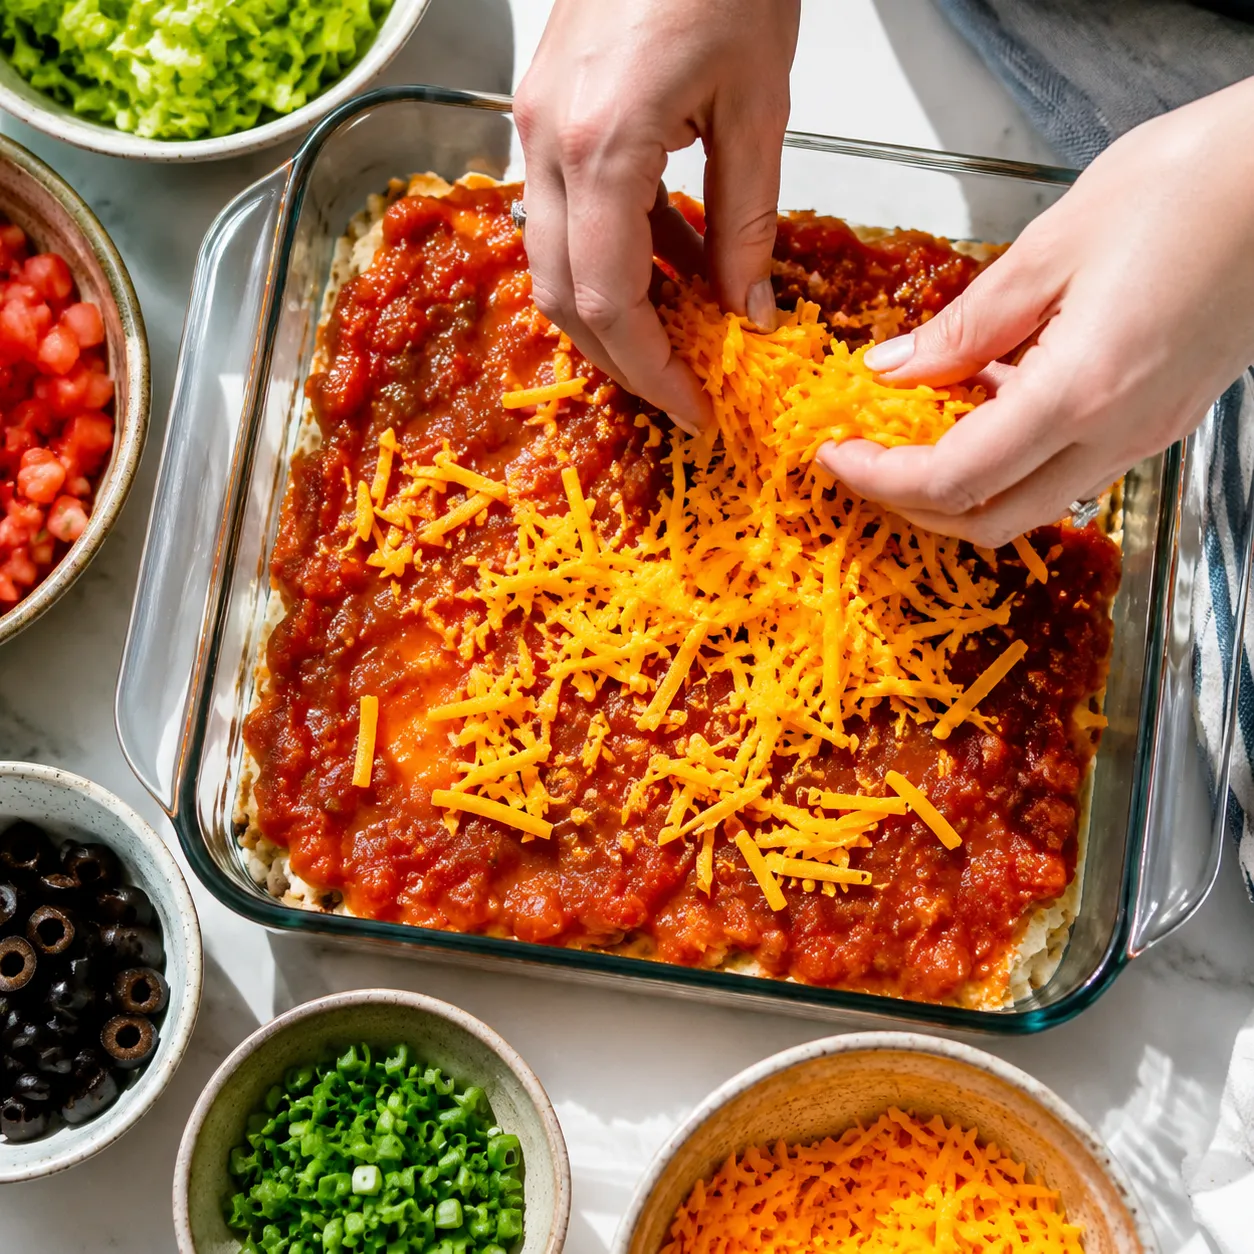
Sprinkle the shredded cheddar cheese evenly over the salsa, then cover and refrigerate for at least 30 minutes or up to 24 hours. This chill time is what lets the base firm up so your toppings sit pretty on the surface instead of sinking and disappearing. Right before serving, scatter the lettuce, tomatoes, olives, and green onions across the top in that order. Press them gently into the cheese so they grip on instead of rolling off the very first chip.
Two small details separate a great 7 layer taco dip from an average one. First, the whipped base is what gives you cleaner slices and that signature airy mouthfeel — a stirred base sits dense and chalky by comparison. Second, drainage. Watery salsa is the number-one reason a layered dip looks tired halfway through a party. Ten minutes in a strainer wicks out the excess liquid without losing the flavor, and the result is a glossy red middle layer that stays put instead of bleeding into everything else on the platter.
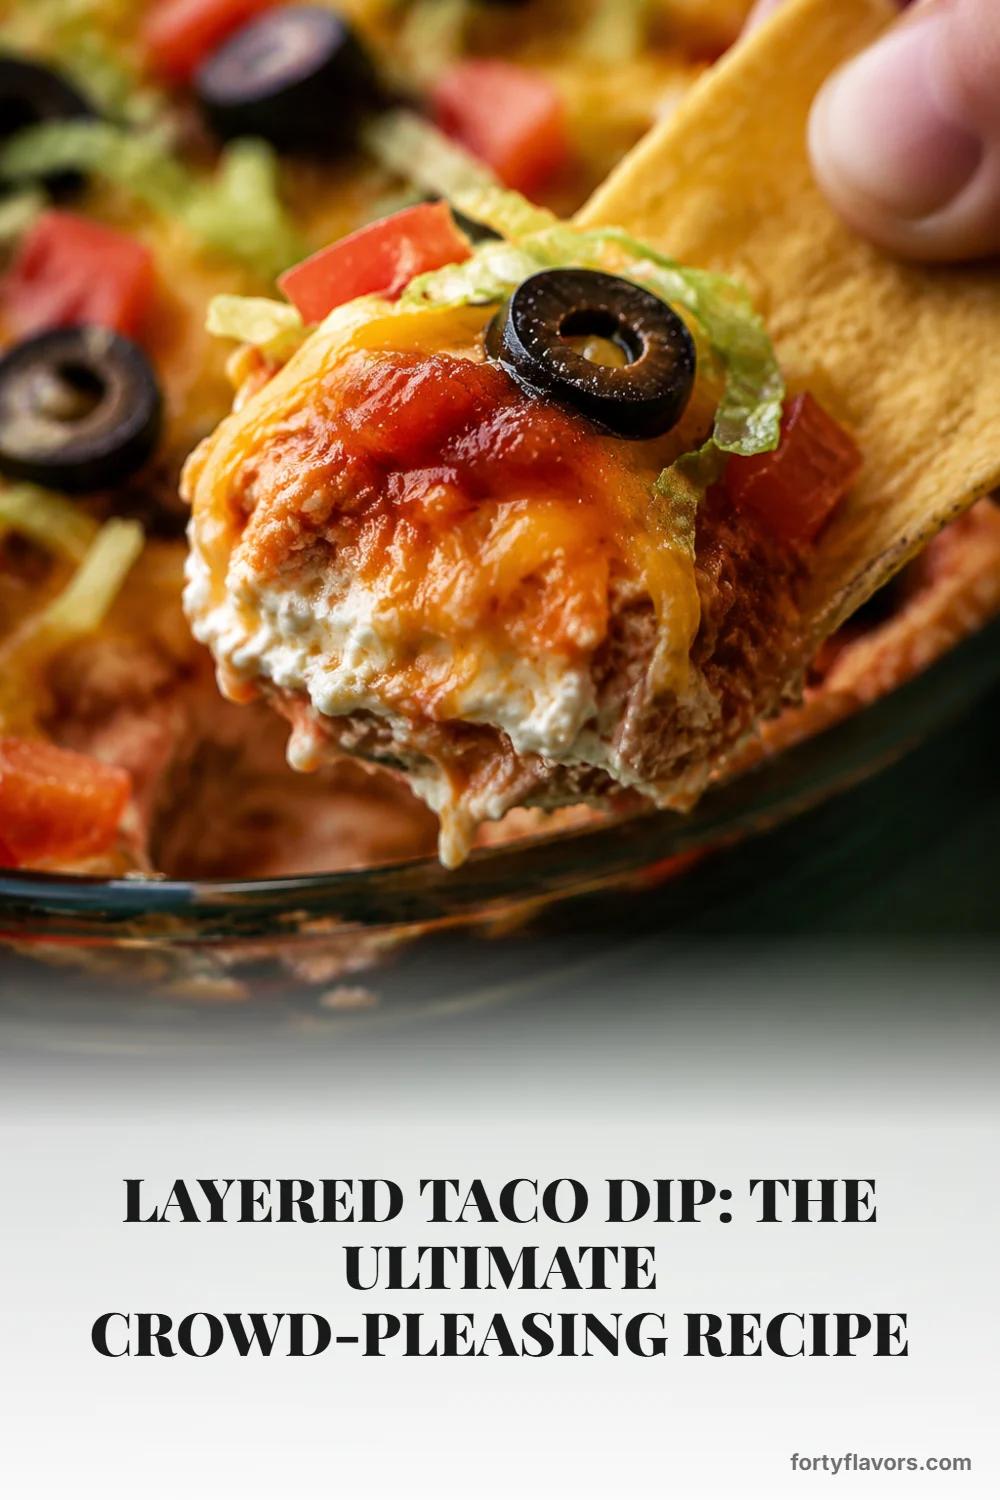
The right dipper matters almost as much as the dip itself, and getting this part wrong can sabotage even a perfectly built platter. A delicate chip will snap under the weight of a fully loaded scoop and leave you fishing pieces out of the cream cheese with your fingers in front of guests. Aim instead for sturdy, restaurant-style chips or the deeper scoop-shaped variety that can carry a true multi-layer bite all the way from the dish to your mouth without any structural failure.
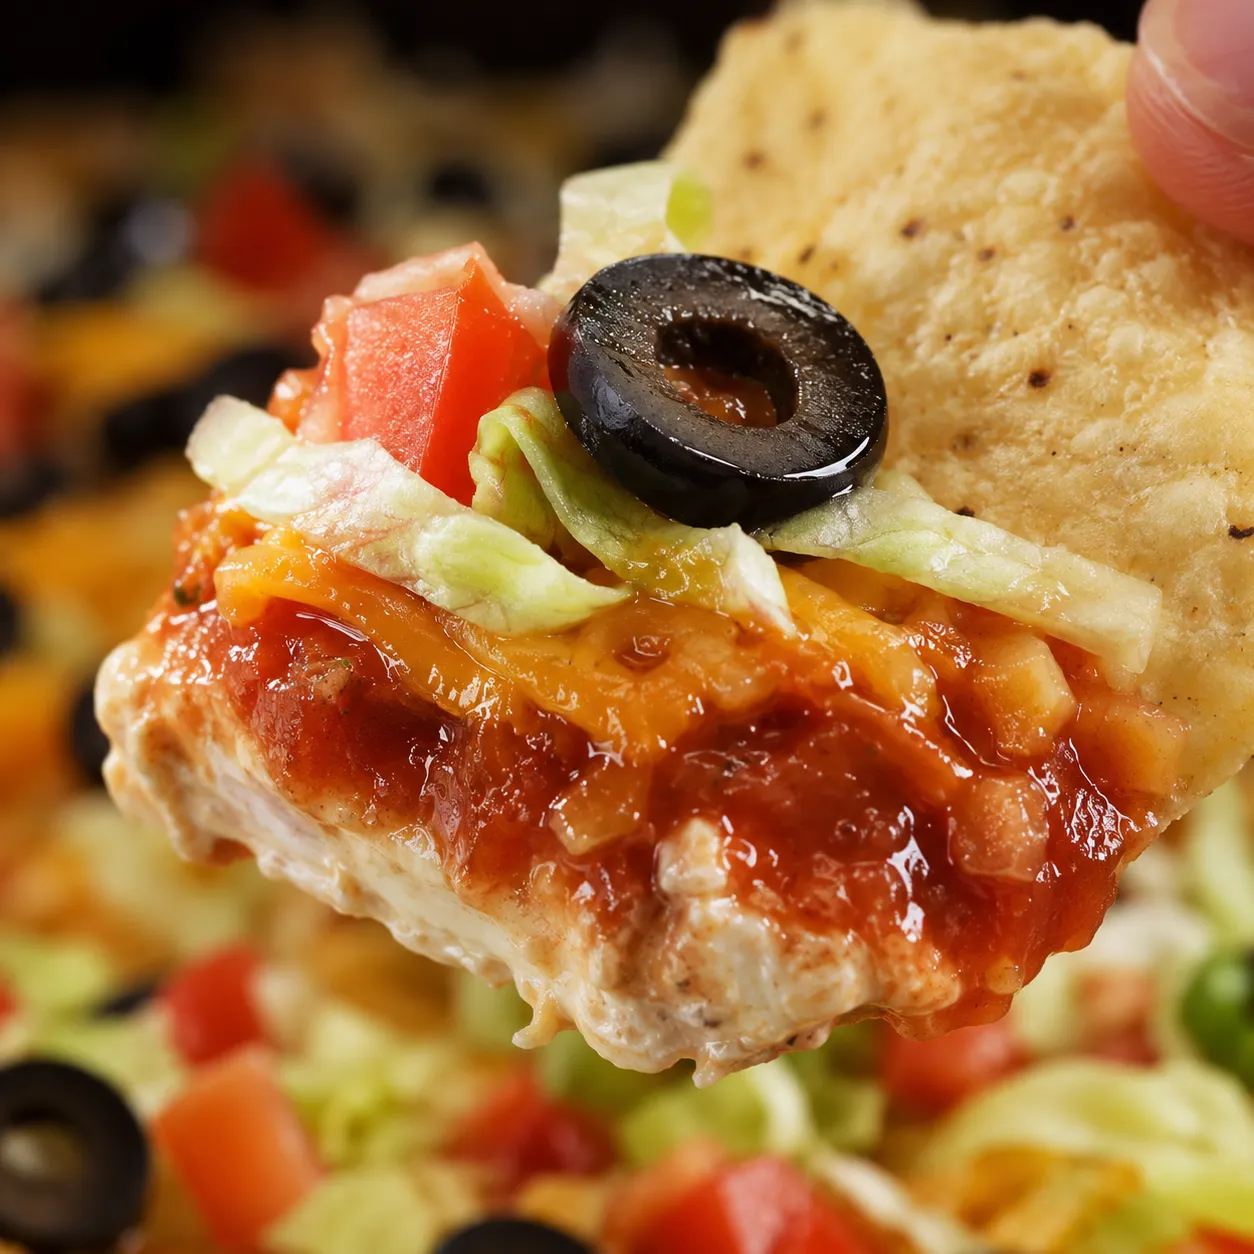
For the best texture-flavor pairing, my favorites are thick blue corn chips, classic yellow corn restaurant rounds, or tortilla chips from scratch fried up that morning if you've got the time and a heavy pot. Pita chips can work in a pinch but lean richer, so they pair better with the lighter bean-forward variation rather than the full-fat creamy version. Skip anything labeled "thin and crispy" — those are great for salsa solo, but they'll buckle and crumble under any kind of layered load.
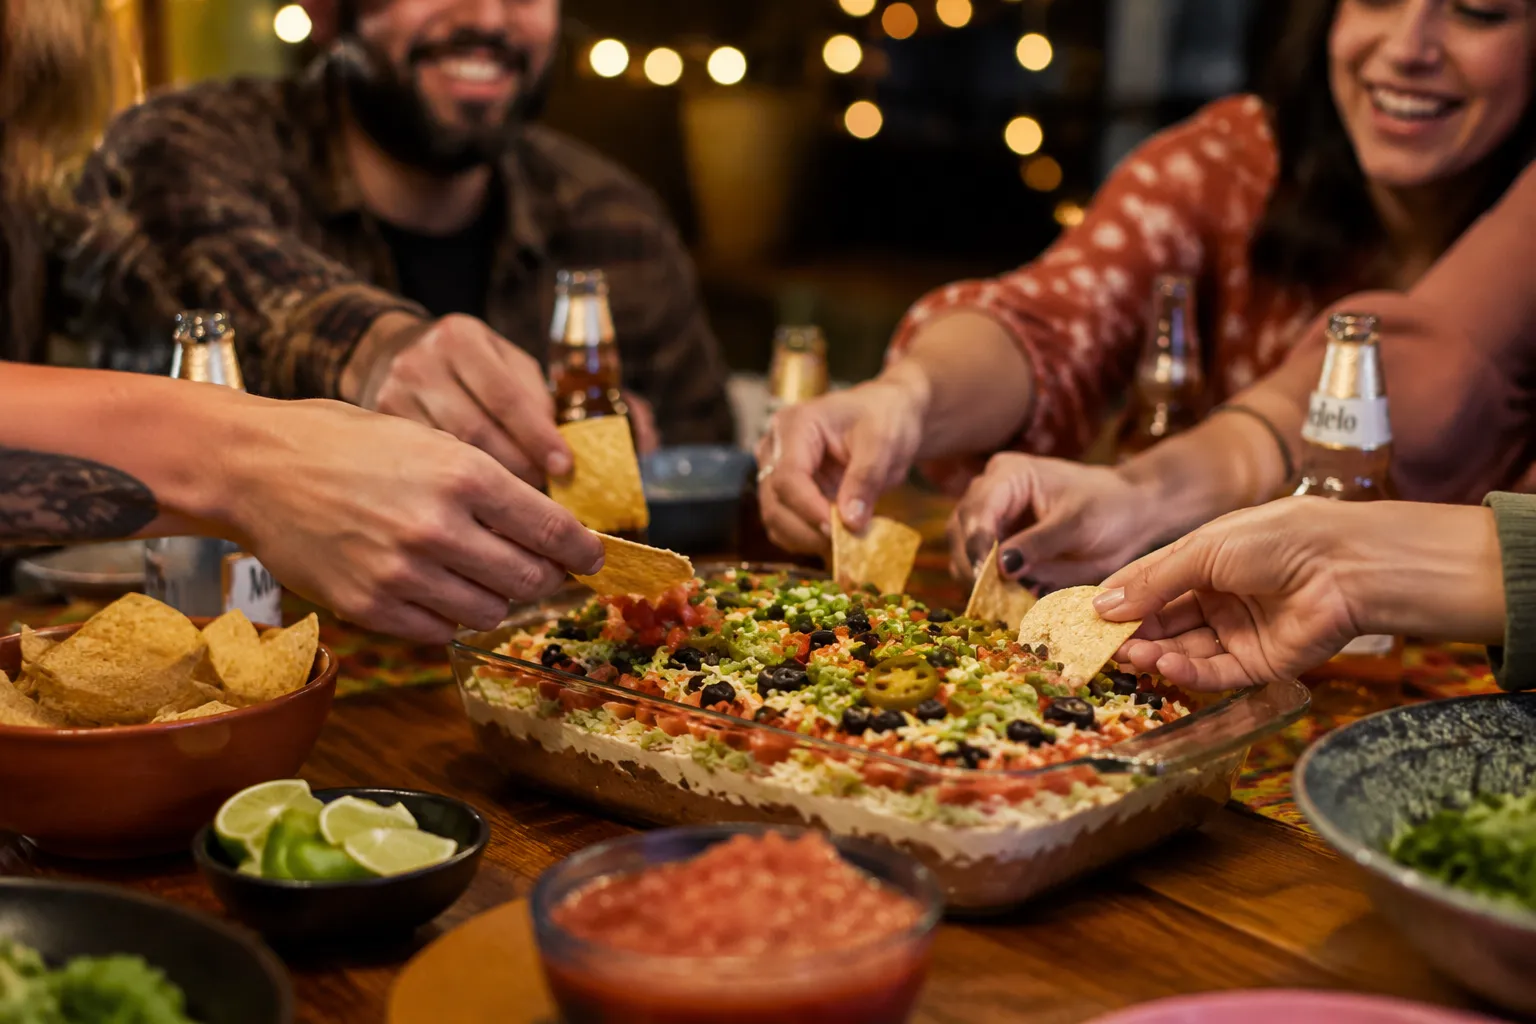
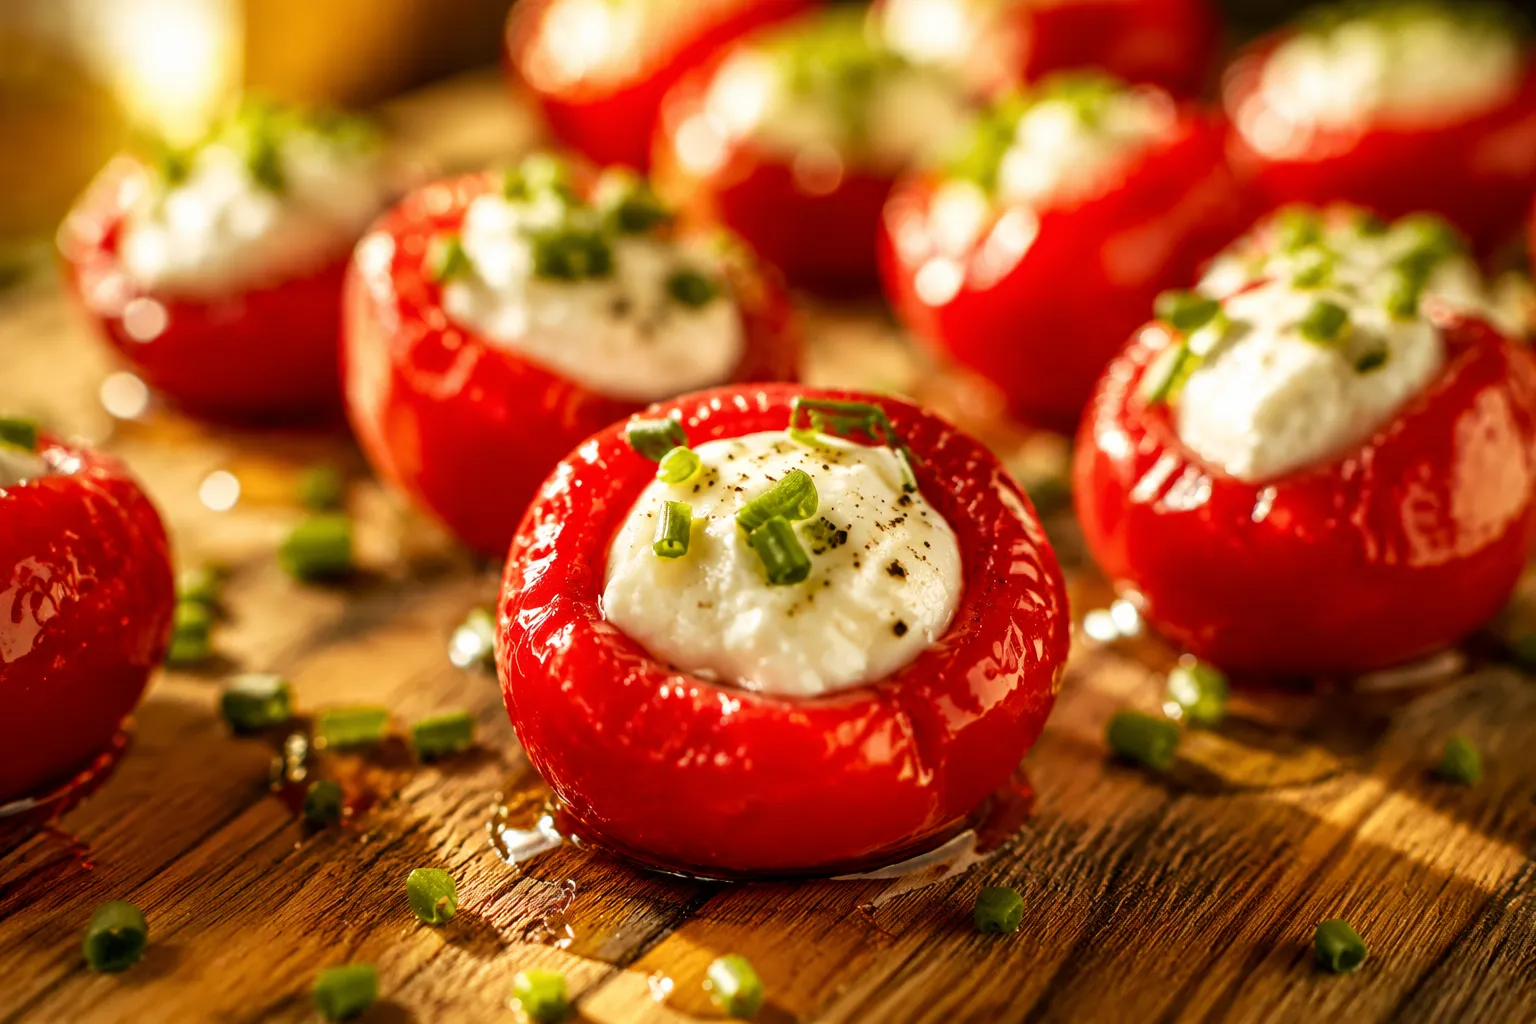
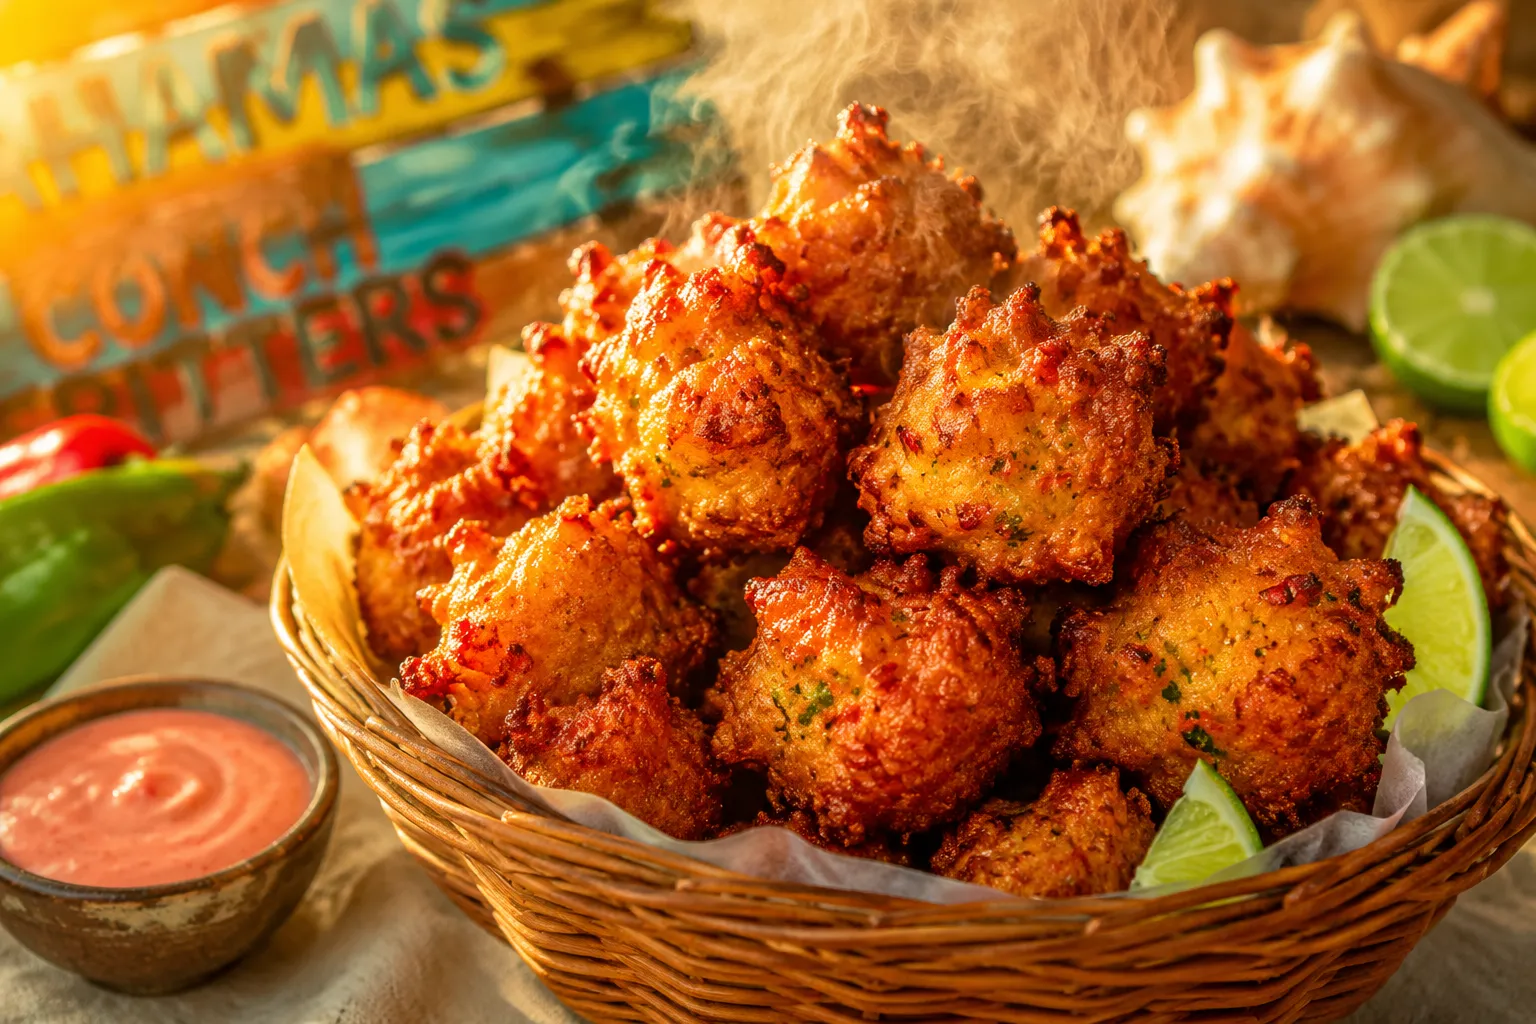
Round out the spread with a few complementary plates so the table doesn't lean too heavy in one direction. A warm queso dip alongside the cold platter gives folks a hot-cold contrast that always disappears fastest, especially when you set them next to each other so guests can build their own combos on the same chip. Margaritas, ice-cold Mexican lagers with lime wedges, and a simple agua fresca all hit the right notes for the cuisine. For a bigger gathering, serve next to a tray of taquitos, jalapeño poppers, or street corn cups for a full Tex-Mex appetizer spread that requires almost zero last-minute work.
Half the fun of this build is how endlessly riffable it becomes once you have the basic structure locked in. Start with the core base-salsa-cheese-toppings sequence, then swap or stack additional layers based on what your specific crowd actually loves. Refried black beans on the bottom turn it into a heartier seven-stripe build, a thin smear of mashed avocado adds richness and color, and a quick scatter of fresh cilantro right before serving brightens everything up with a green herbal pop.
Leftovers, if any survive the gathering, are genuinely good cold straight from the fridge the next morning, scooped onto a warm tortilla with a fried egg on top for the world's laziest breakfast burrito. That's not a recipe I'm going to write up separately, but consider it your reward for planning ahead and making the full batch. This is exactly the kind of low-effort, high-reward dip that earns a permanent spot on your hosting rotation — fast, forgiving, scalable, and engineered to please every guest who walks through the door.
This recipe is built to riff on, and once you have the base technique down, the topping combinations are wide open. Use the cream cheese-sour cream layer as your blank canvas and then build outward in whatever direction your crowd is craving that night.
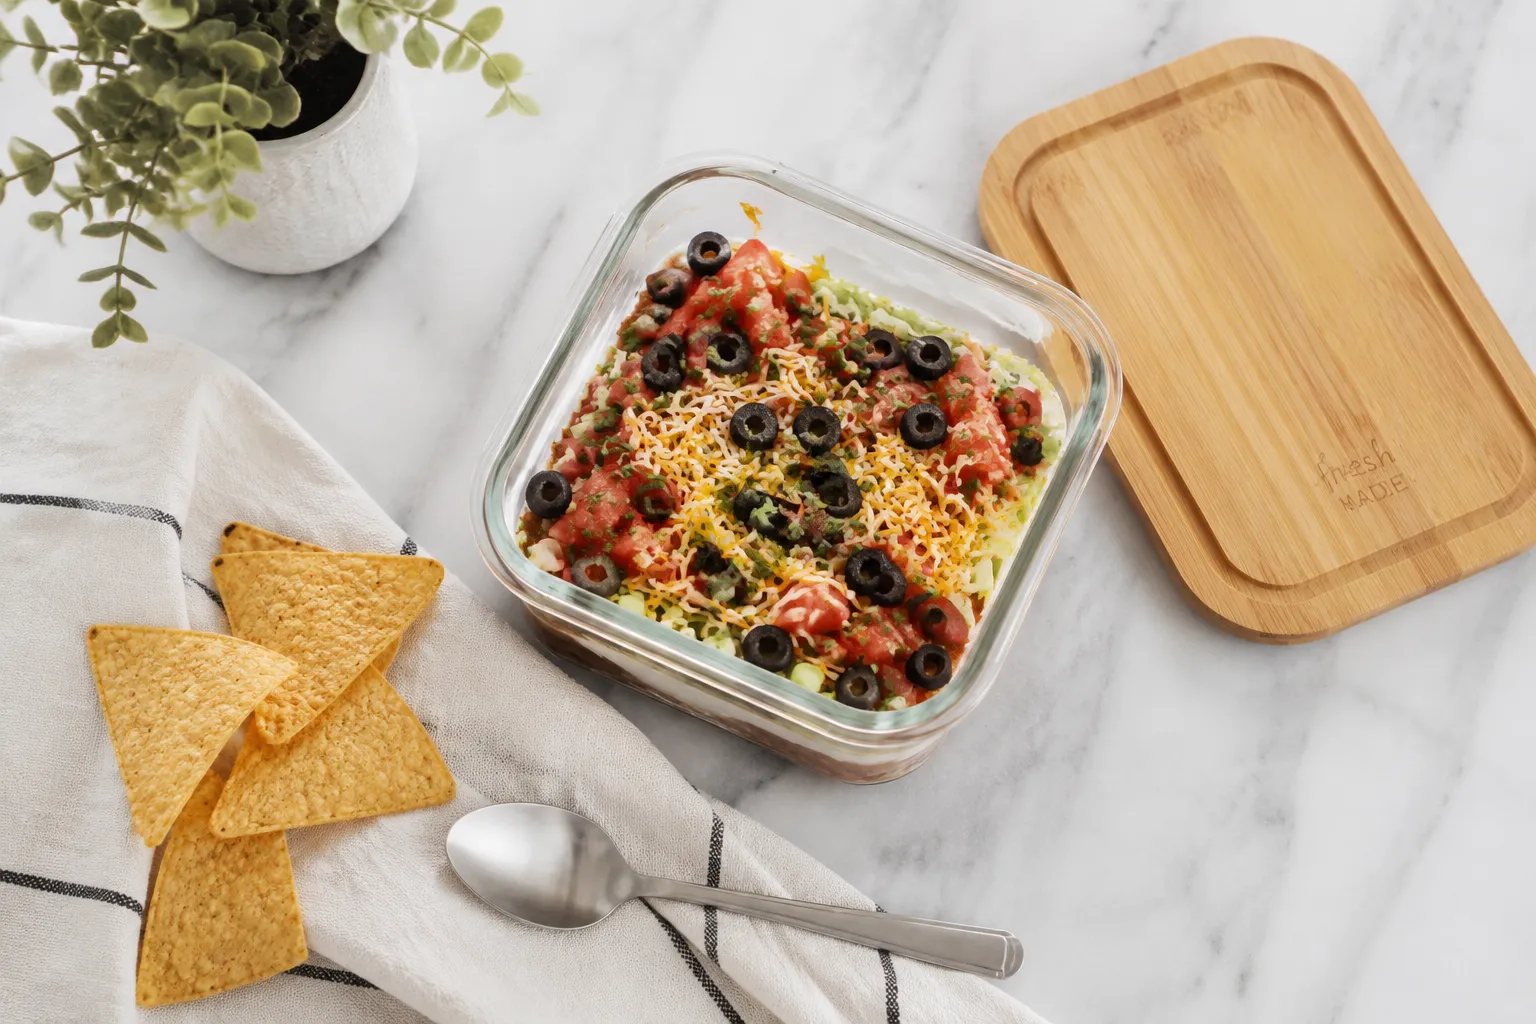
Store leftovers tightly covered in the refrigerator for up to 3 days, though the texture is at its absolute peak within the first 24 hours. After day one, the lettuce will start to soften and the tomatoes will release their juice, so the visual pop fades even if the flavor still holds up. If you know you'll have leftovers, build a small portion separately without the fresh toppings, store the toppings in their own containers, and assemble individual servings as you go through the week.
Freezing is not recommended. The dairy-based base separates and turns grainy on thaw, and the fresh toppings turn to mush. If you want a make-ahead option, prep the base and refrigerate it covered for up to 48 hours, then layer the salsa and cheese on the day of, with toppings going on right before guests arrive for that bright, just-assembled look.
Hover any image and hit “Pin it” to save it to your Pinterest boards.