Vegan Mayo: Creamy 5-Minute Recipe (No Aquafaba)
Ingredients
Scale
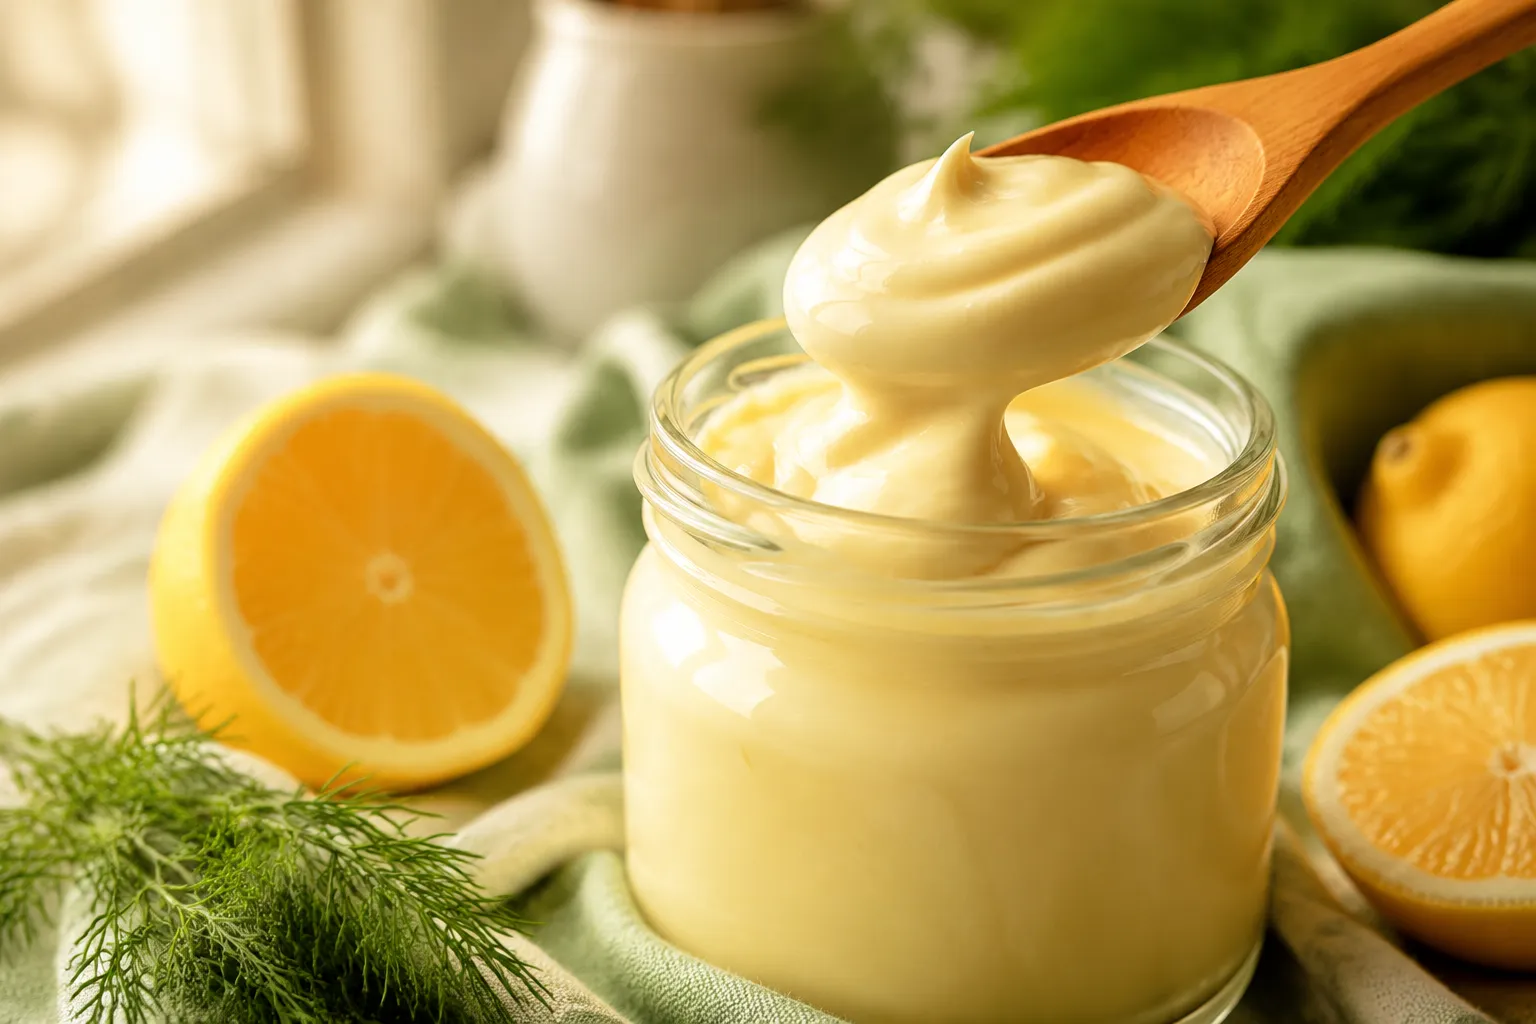
Thick, tangy, and ridiculously creamy vegan mayo made in 5 minutes with pantry staples. No aquafaba, no eggs, no fuss, just a perfect dairy-free spread.
Vegan mayo is one of those recipes that feels almost suspiciously easy, especially when it turns out thick, glossy, and genuinely satisfying on the first try. If you have a blender and a few pantry staples, you can make a jar in about five minutes that tastes fresh, tangy, and far more luxurious than anything from a squeeze bottle.
This vegan mayonnaise recipe is built for home cooks who want an egg-free spread that behaves like the real thing without aquafaba, chilling, or an ingredient scavenger hunt. The flavor is clean and balanced, the texture is silky, and the result is wonderfully dairy-free while still feeling rich enough for sandwiches, fries, and salads.
What I love most is that this version is both practical and adaptable: the base is a classic soy milk mayo, but once you know the method, you can use it as a blank canvas for herbs, garlic, citrus, or spice. It is the kind of plant-based staple that quietly makes weekday lunches better and backyard burgers feel a little more special.
The magic of this vegan mayo comes from a short ingredient list that does a lot of heavy lifting. Unsweetened soy milk gives you the protein needed for a stable emulsion, while neutral oil creates that lush, spoonable body you expect from great mayonnaise. Apple cider vinegar brightens everything up, Dijon mustard adds a little backbone, and salt pulls the whole thing into balance. If you like a slightly rounder flavor, a tiny bit of maple syrup softens the sharp edges without making it taste sweet.
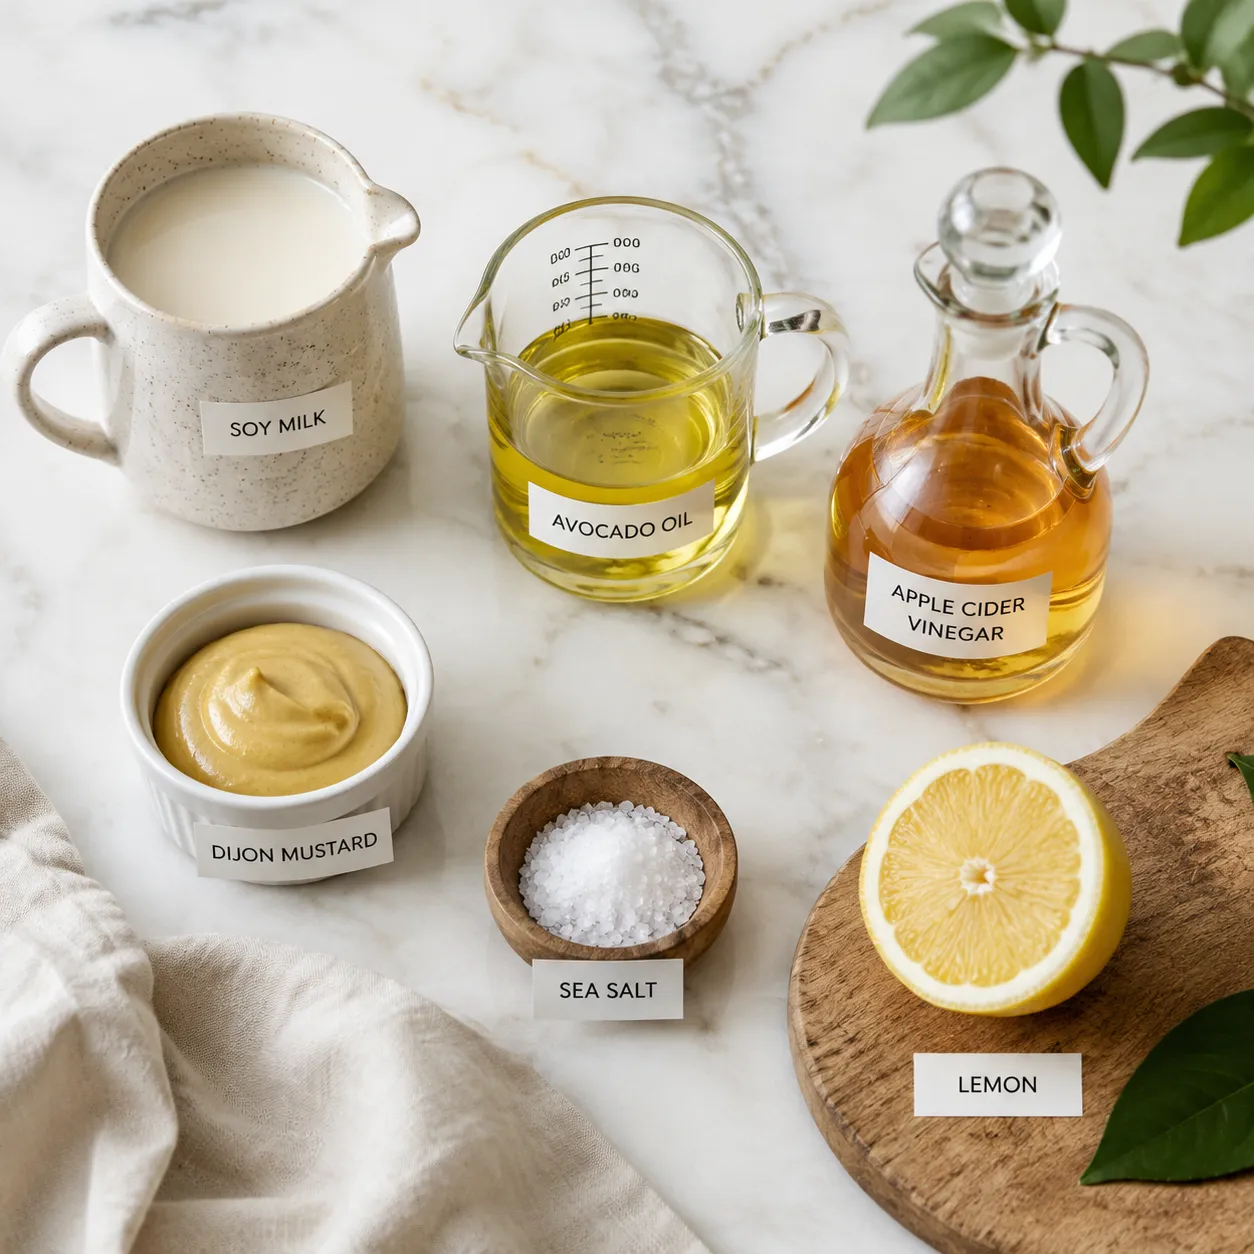
For the soy milk, choose unsweetened and unflavored so the finished jar tastes clean rather than dessert-adjacent. This is why soy milk mayo works so reliably: soy naturally has enough protein to help the oil and liquid bind into a thick emulsion. Almond and oat milk can be lovely in coffee, but they are not the best choice here because they do not usually emulsify with the same confidence. Room-temperature soy milk also matters, because cold ingredients are more likely to separate before they have a chance to come together.
Neutral oil is just as important as the milk. Avocado oil, sunflower oil, and refined safflower oil are all excellent because they stay mellow and let the tangy, savory notes shine through. Save extra-virgin olive oil for another day, since it can turn bitter or grassy when blended hard and fast. That neutral base is what gives this vegan mayonnaise recipe its store-bought-style flavor and makes it easy to use anywhere you would normally reach for the jar from the grocery store.
The easiest way to make this egg-free spread is with an immersion blender in a tall, narrow cup, though a standard blender can work too. The main idea is simple: start with the liquid ingredients, then slowly introduce the oil so the mixture has time to emulsify. If you have ever watched a broken sauce suddenly turn thick and creamy, this is the same little kitchen miracle, only faster. For the smoothest vegan mayo, keep everything at room temperature and use a vessel that is just wide enough for the blender head.
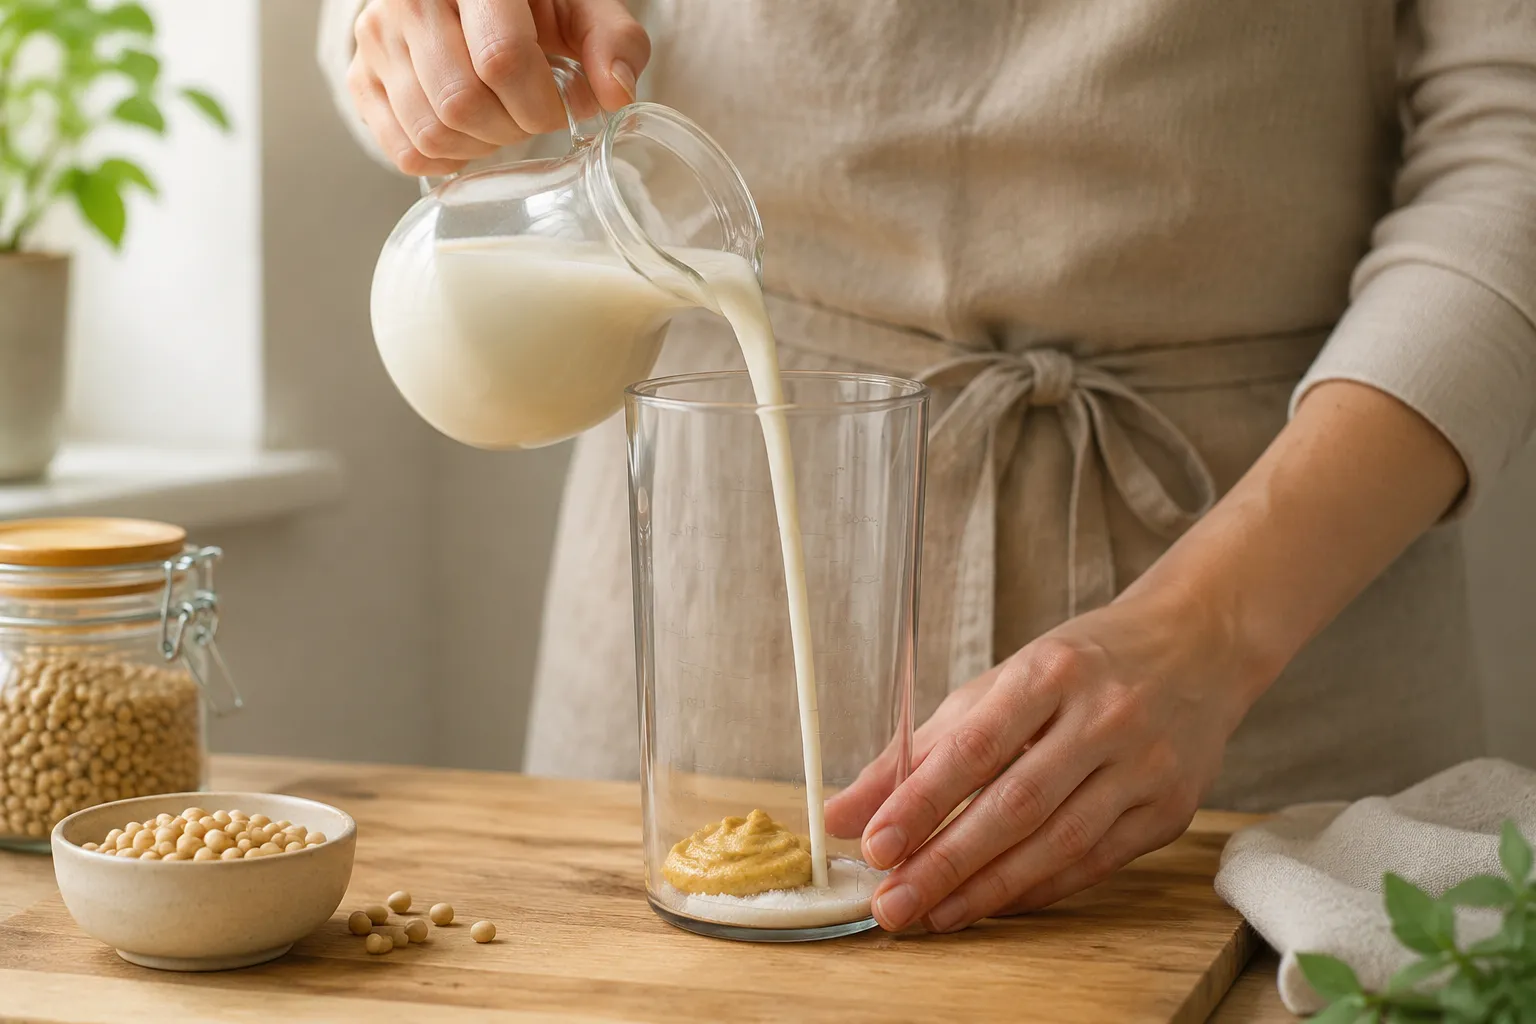
Begin by adding the soy milk, vinegar, Dijon, salt, and maple syrup, if using, to the blender cup or jar. The soy milk should be sitting in the base with the seasonings already mixed in so the blender can grab onto them right away. Once the liquid is ready, set the blender head at the bottom of the cup before turning it on. That first minute is where the emulsion starts to form, and it is the moment that usually decides whether the mixture turns silky or stays loose.
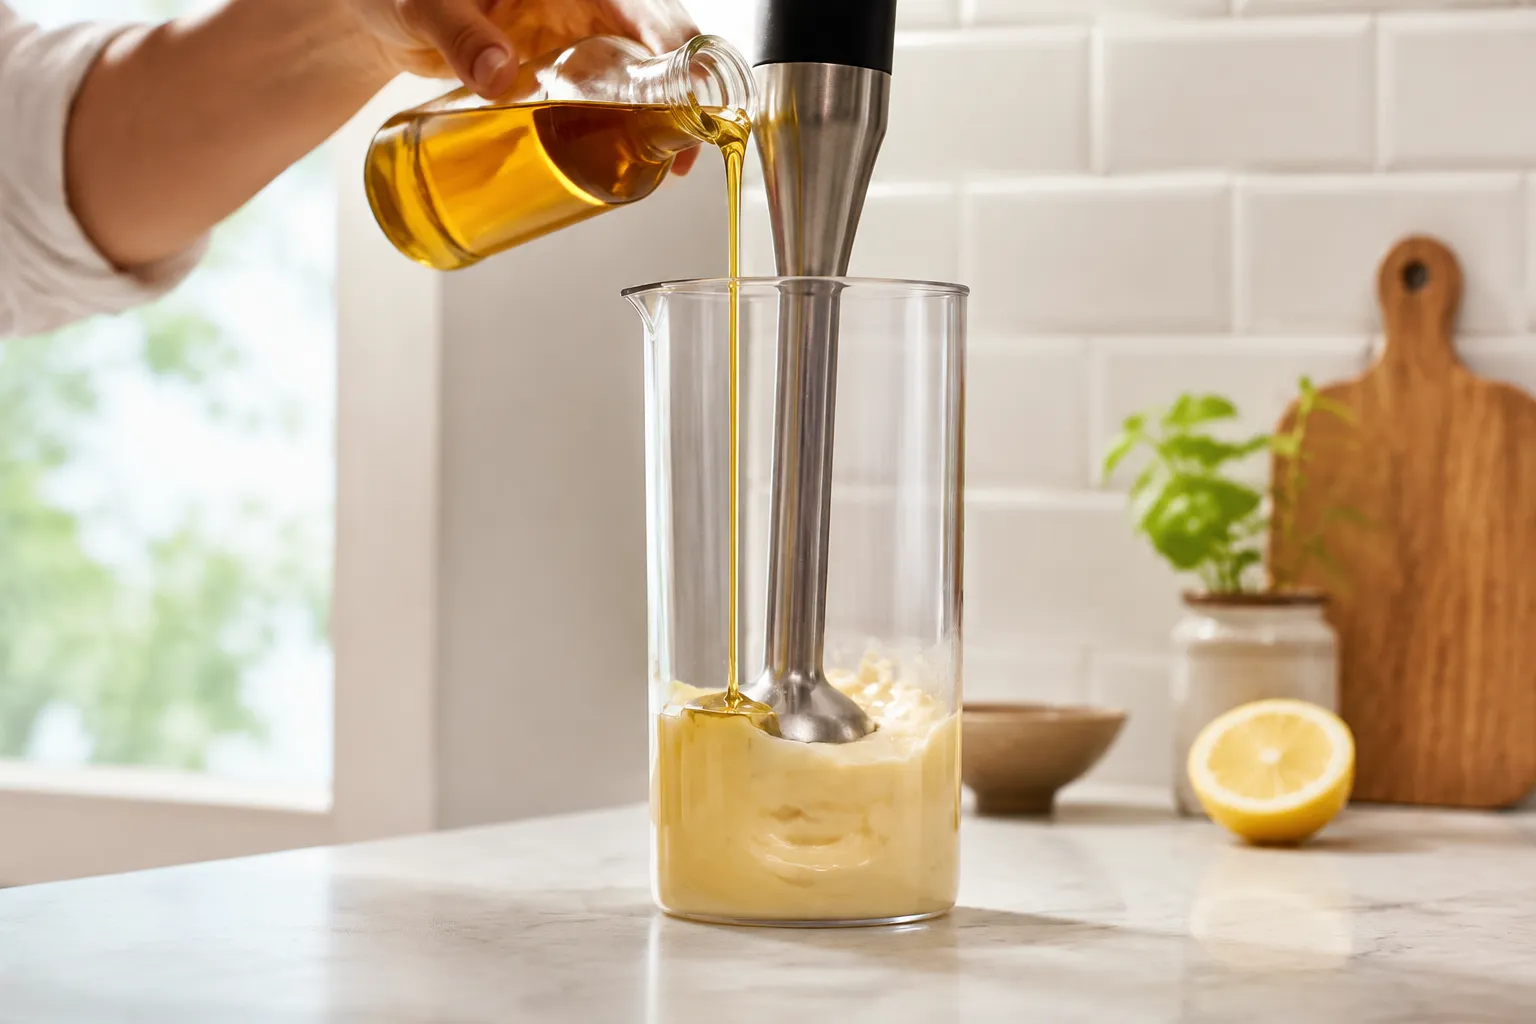
With the blender running, pour the oil in a slow, steady stream or, if you are using an immersion blender, keep the head anchored while the mixture thickens around it. You should see the bottom of the cup turn pale and creamy before the entire mixture starts to catch up. As soon as the mayo becomes thick enough to hold its shape, move the blender up and down gently to finish smoothing it out. If it looks a little too thick, add a teaspoon of soy milk and blend again; if it feels thin, give it another brief pass with the blender.
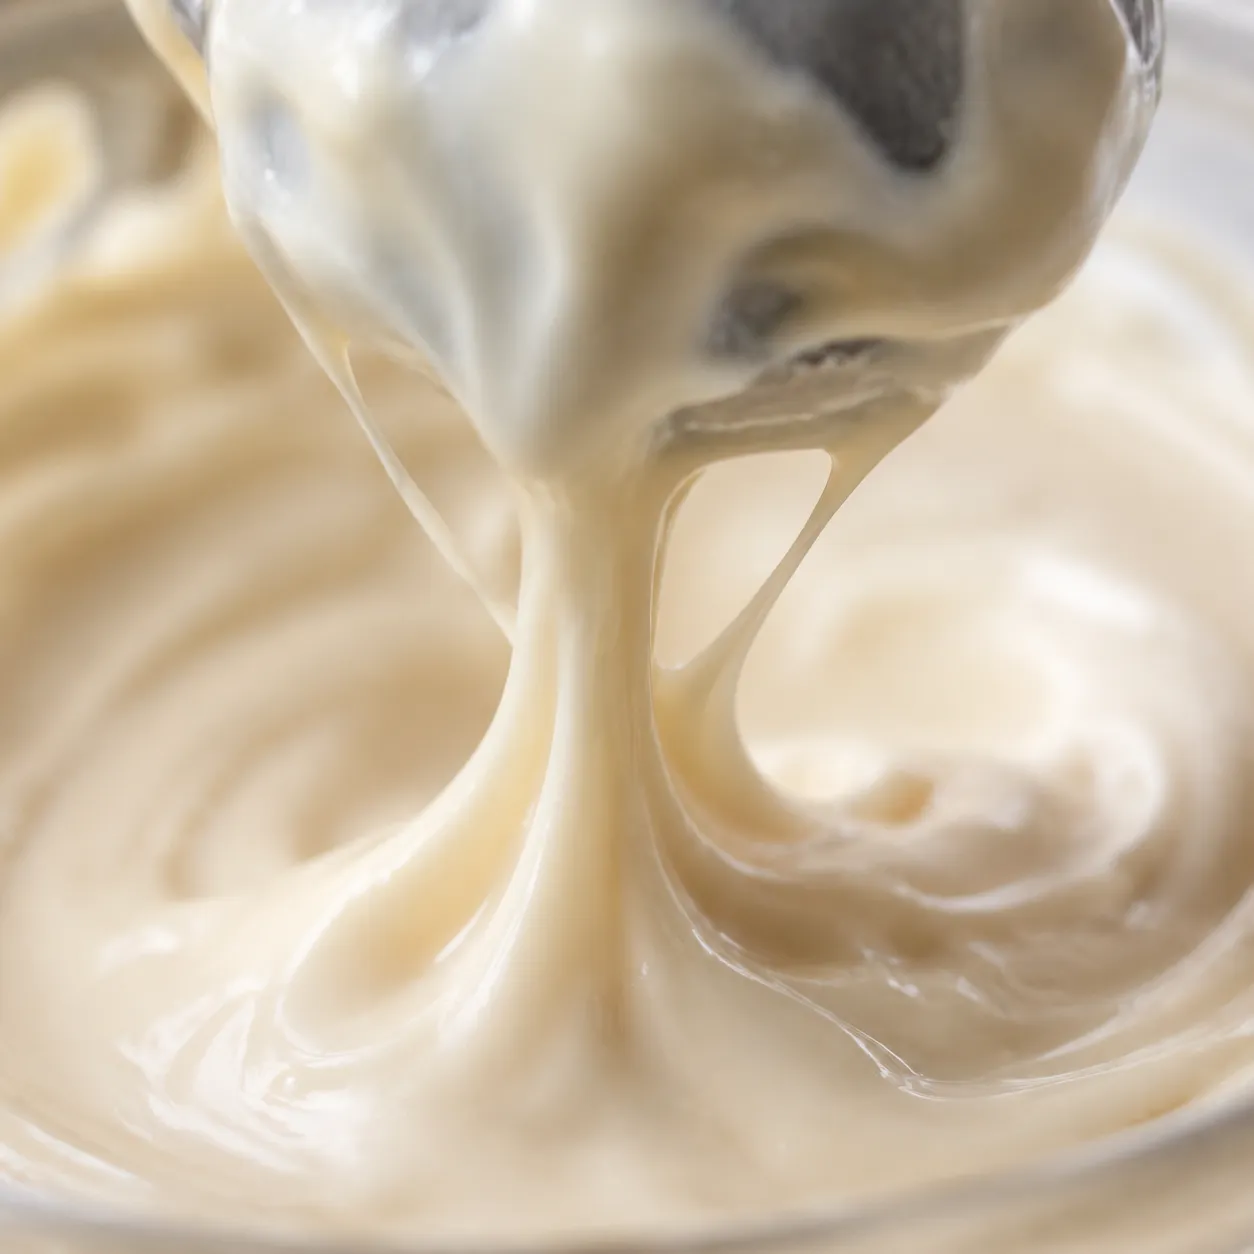
The best part is how quickly the texture changes from liquid to glossy cloud. In less than a minute, you should have a spread that is stable enough to dollop, swipe, and stir into other sauces. If you are using a countertop blender instead of an immersion blender, keep the speed moderate and pour the oil in slowly from the lid opening so the emulsion has time to build. Once you have made it once, the process becomes muscle memory, and the whole thing feels less like a recipe and more like a reliable kitchen trick.
If you have tried aquafaba versions of vegan mayo before, you already know the appeal: chickpea liquid can whip into a light, airy emulsion that feels almost magical. But this soy milk version leans in a different direction, giving you a thicker, more spoonable texture that feels closer to classic mayonnaise straight from the fridge. For readers who want the most store-bought-like result in a hurry, soy milk usually wins on body and ease. It is also less fussy, since you do not need to open a can of chickpeas or worry about liquid consistency from batch to batch.
Flavor is a little different, too. Aquafaba can be nearly neutral, while soy milk brings a subtle richness that makes the final jar taste fuller and more rounded. The soy milk mayo also tends to hold up well in the refrigerator, which is helpful if you like making one batch and using it across the week. In a side-by-side test, I find aquafaba can feel lighter and a little softer, while soy milk creates a firmer, creamier finish that is excellent for spreading and dipping.
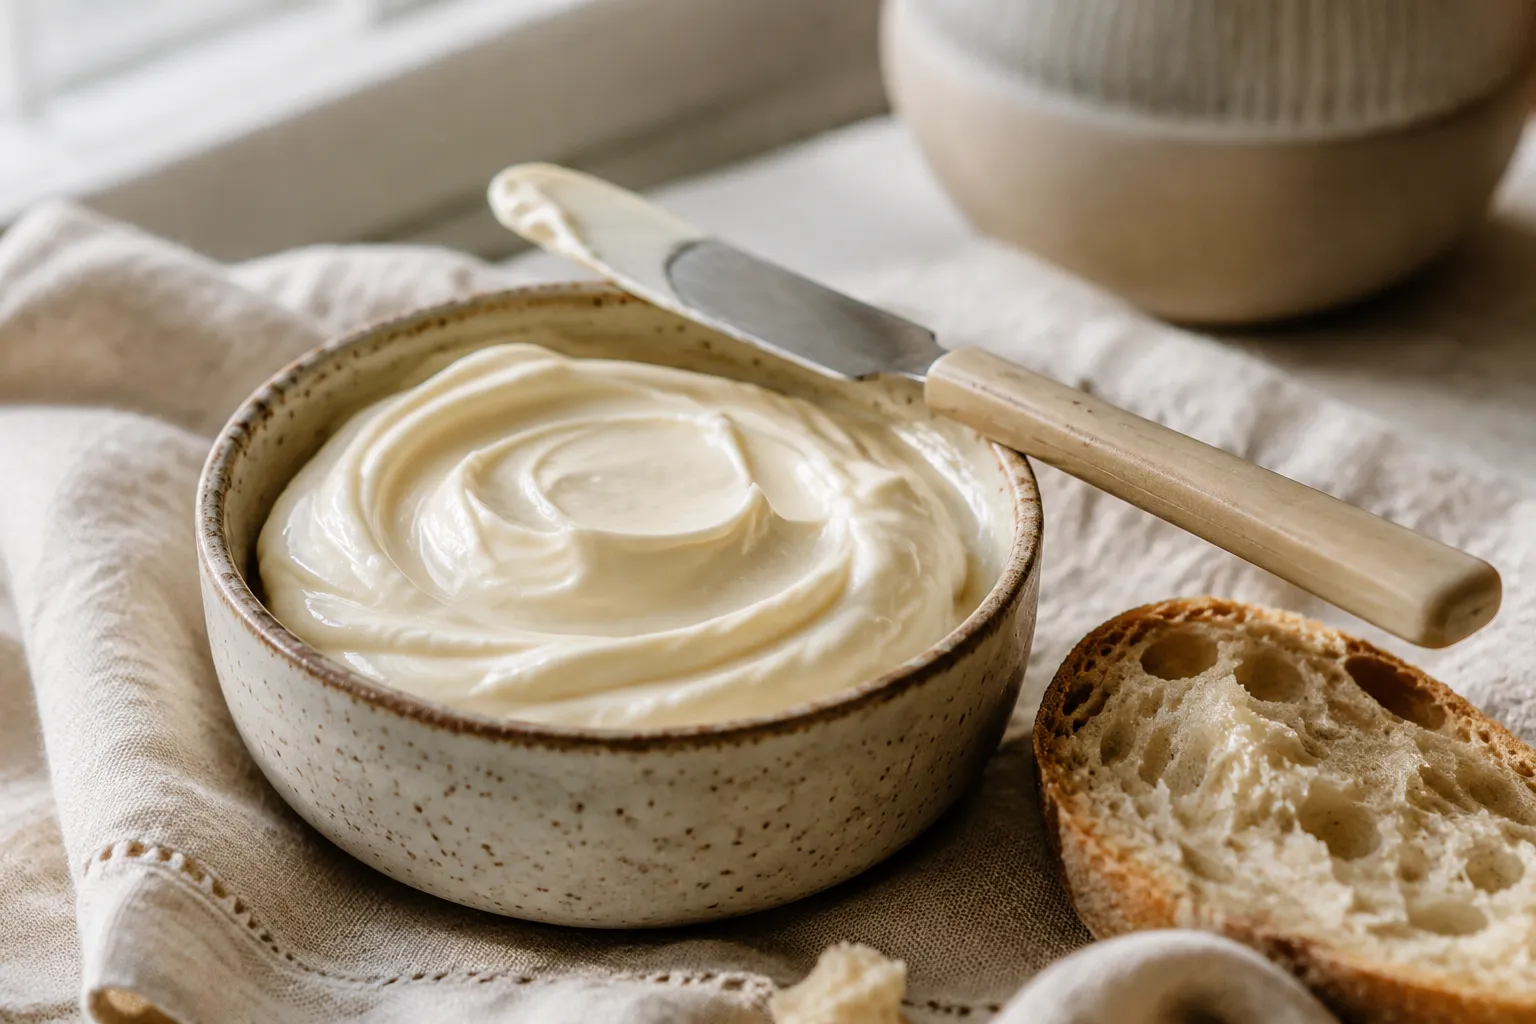
When should you choose each one? If you want a very light sauce for drizzling, an aquafaba base can be lovely. If you want a dependable, richly textured vegan mayonnaise that behaves like the real thing on sandwiches and in salads, soy milk is the better bet. That is why this vegan mayonnaise recipe is so useful for everyday cooking: it gives you the thick, glossy result most people are actually hoping for, without extra steps or specialty ingredients.
Once you have a jar of vegan mayo in the fridge, the fun part is figuring out where it belongs first. Spread it on toast with tomato, tuck it into wraps, or slather it into plant-based sandwich recipes for a creamy layer that keeps every bite from feeling dry. It is especially nice on grilled vegetables, veggie burgers, and chickpea salad sandwiches, where a little richness goes a long way. However you use it, this is the kind of condiment that instantly makes an ordinary lunch feel more complete.
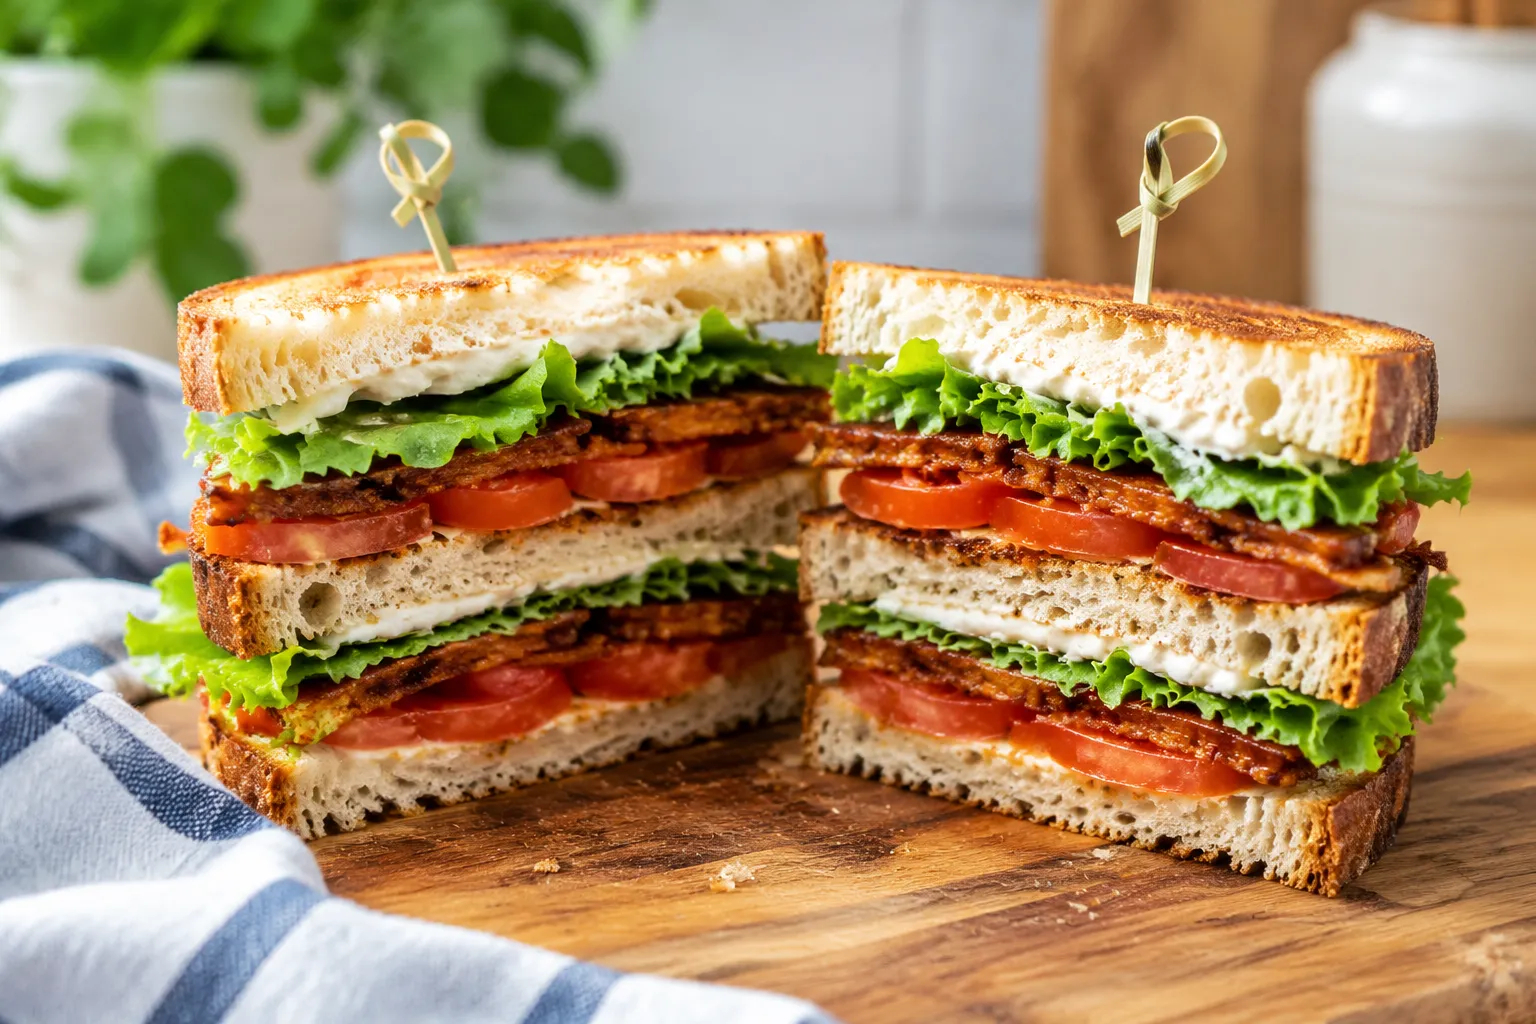
You can also whisk it into other sauces and dressings when you want a creamy base without dairy. Stir in herbs and lemon for a quick vegan ranch dressing, or use it as the starting point for vegan caesar dressing when you want something bold and garlicky. It is just as good as a quick vegan aioli for fries and roasted potatoes, and it pairs beautifully with homemade ketchup for a classic dipper situation. In a pinch, a spoonful can stand in for dairy-free sour cream in a creamy topping or sauce, especially if you thin it with a splash of lemon juice.
If you like to build flavor in layers, this base is also a great starting point for special spreads. A little garlic, smoked paprika, or fresh herbs can take it in a completely new direction without changing the method at all. That flexibility is why I keep coming back to this version: it is simple enough for everyday use, but it never feels boring. Whether you are making lunch for one or planning a platter for friends, the jar earns its place quickly.
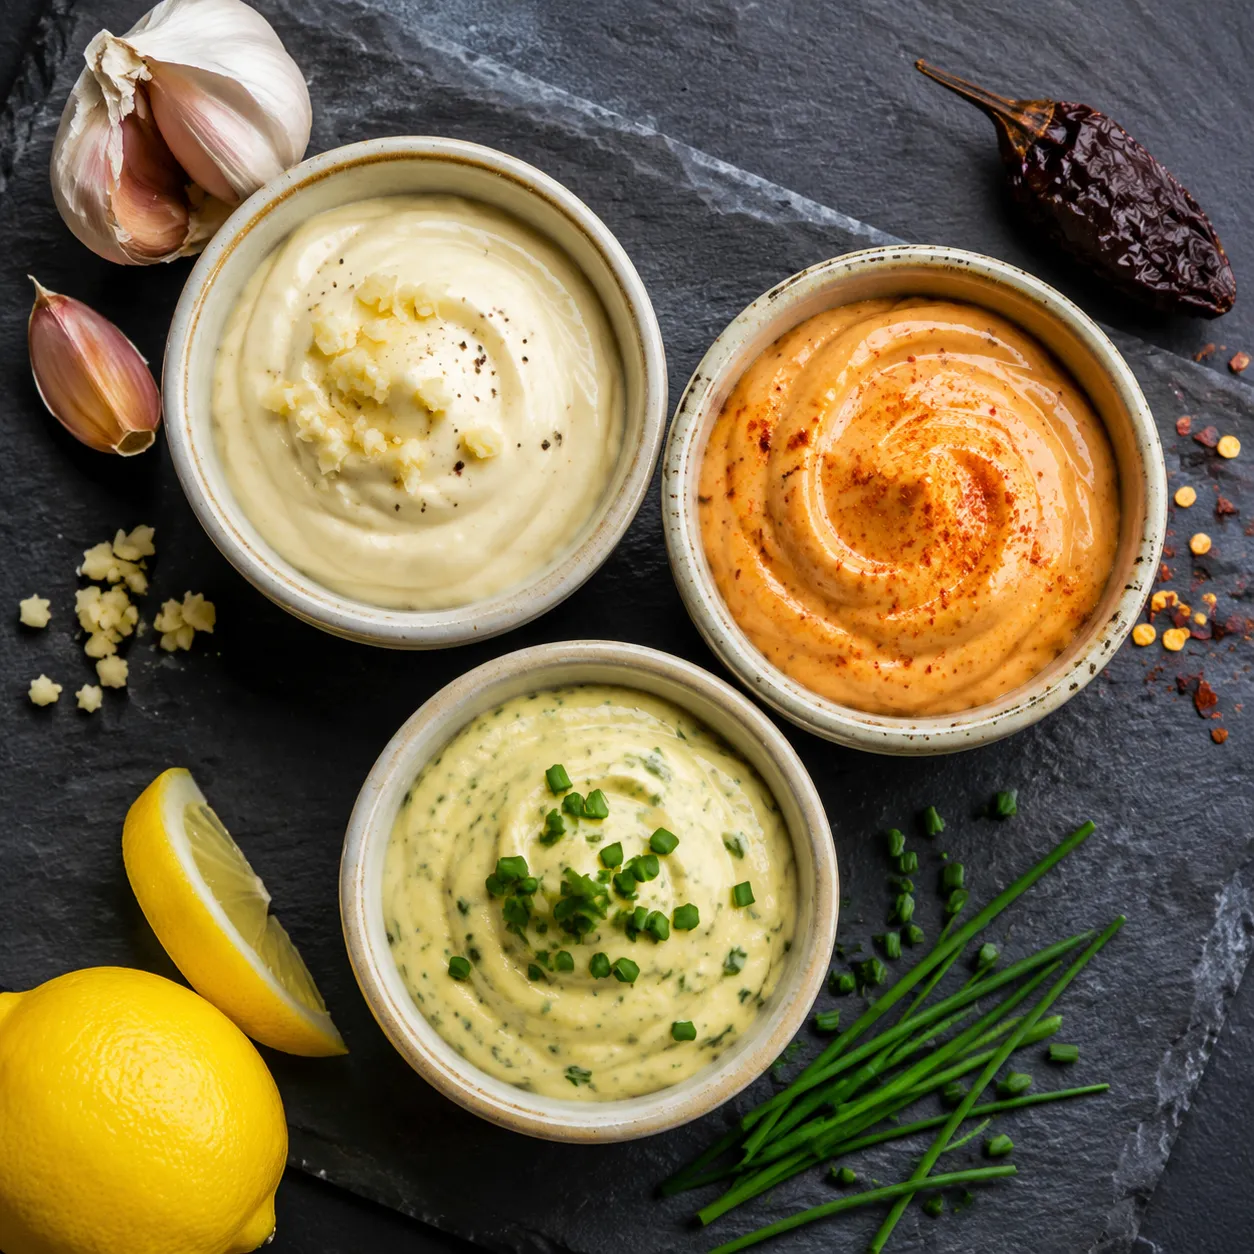
Once you have the method down, you can treat this as your house mayonnaise and adjust the flavor to fit whatever is on the table. Keep a little plain for sandwiches, then stir the rest into a bold spread or dip when the mood strikes. A homemade jar like this tends to disappear fast, so I usually make it when I know I will be cooking a few things that need a creamy finishing touch. Vegan mayo is one of those small kitchen wins that keeps paying you back all week long.
This base recipe is easy to turn into something more specific depending on what you are serving. Start with the plain version, then layer in a few pantry extras once you know the texture is right. A little garlic turns it into a punchy spread, smoked paprika makes it feel bold and savory, and fresh herbs give it a springy, fresh finish.
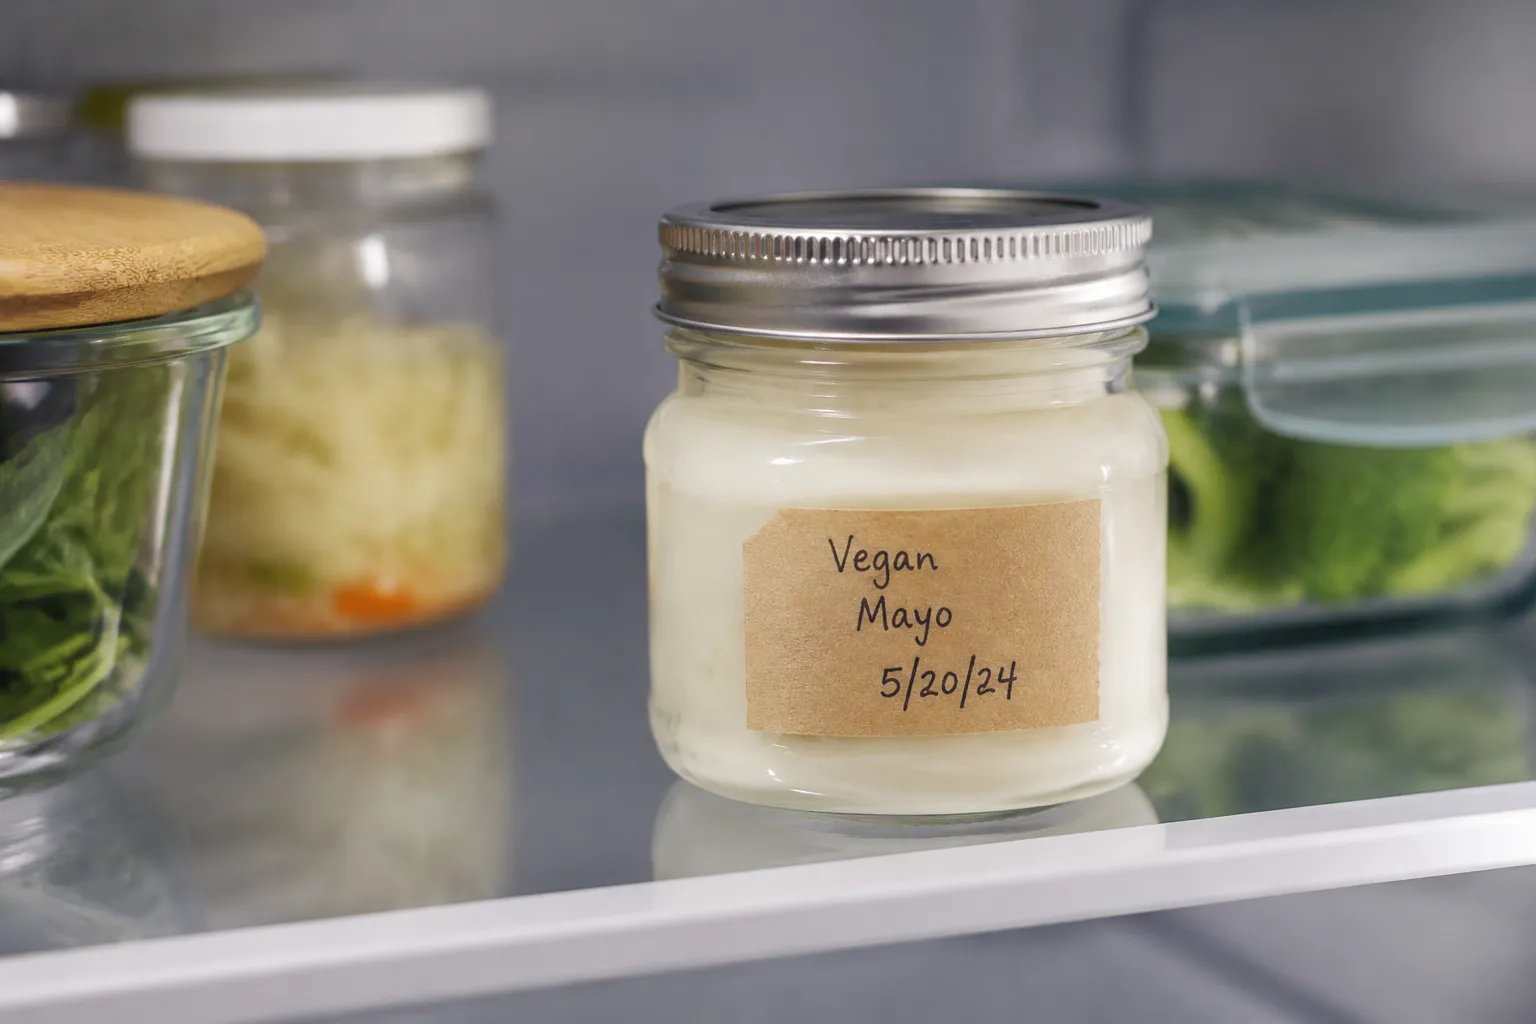
Store the vegan mayonnaise in a clean, airtight jar in the refrigerator. It will usually keep well for 7 to 10 days, as long as you use a clean spoon each time and avoid introducing moisture or crumbs into the jar. I like to write the date on the lid so it is easy to remember when it was made.
If the mayo thickens a little in the fridge, let it sit at room temperature for a few minutes and stir before using. That helps the texture relax again without changing the flavor.