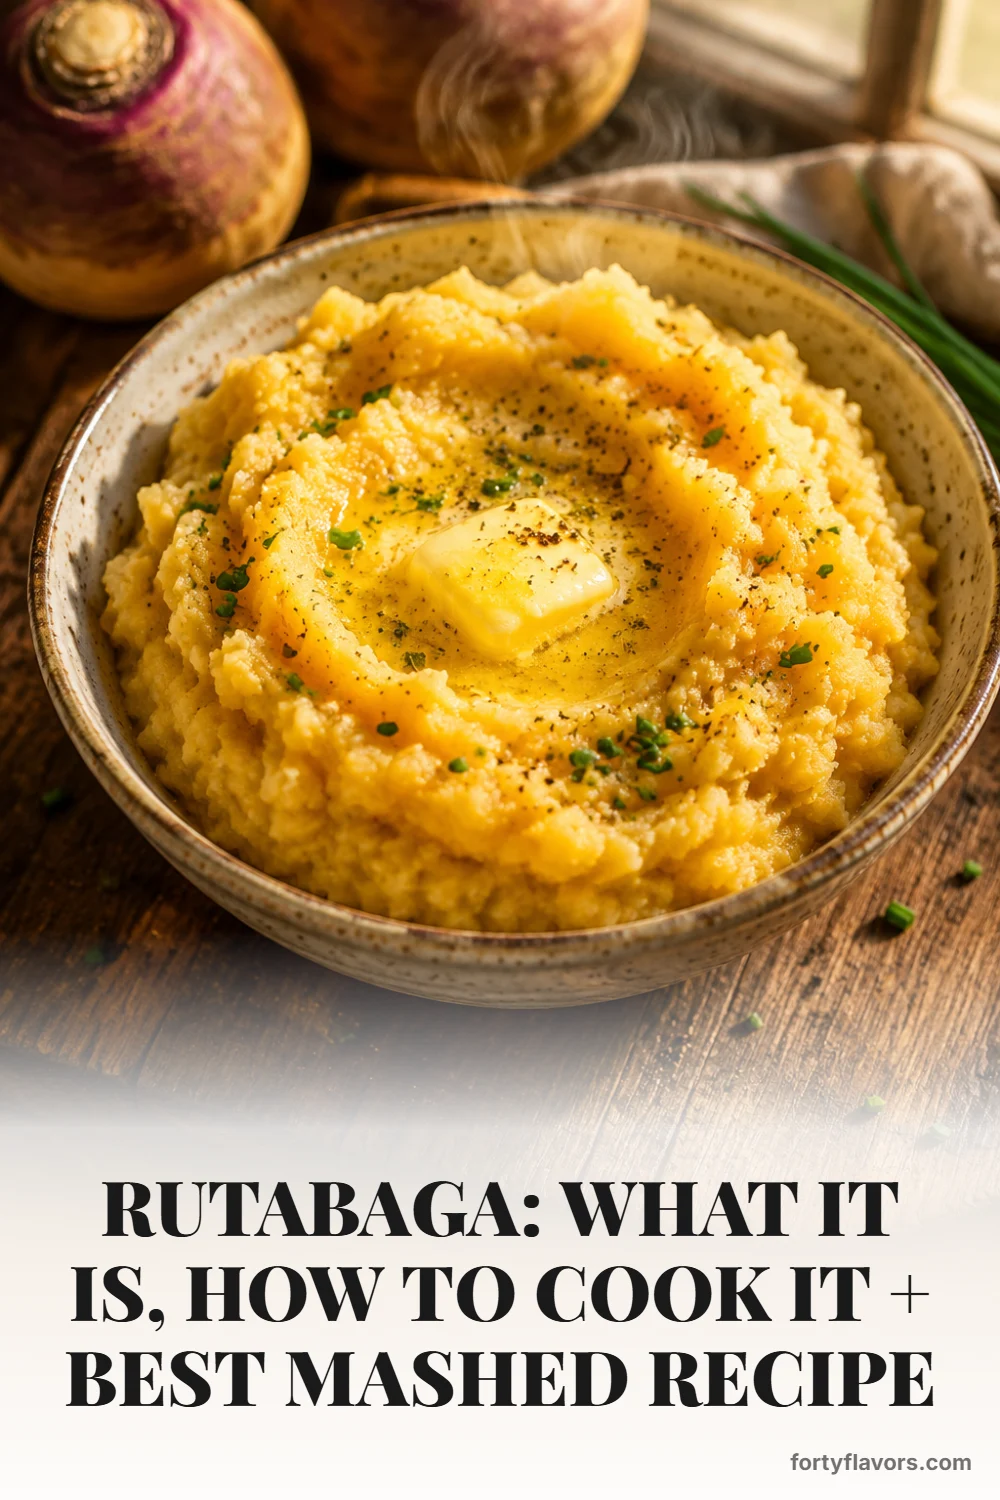
Mashed Rutabaga: Safe Cutting and Texture Guide
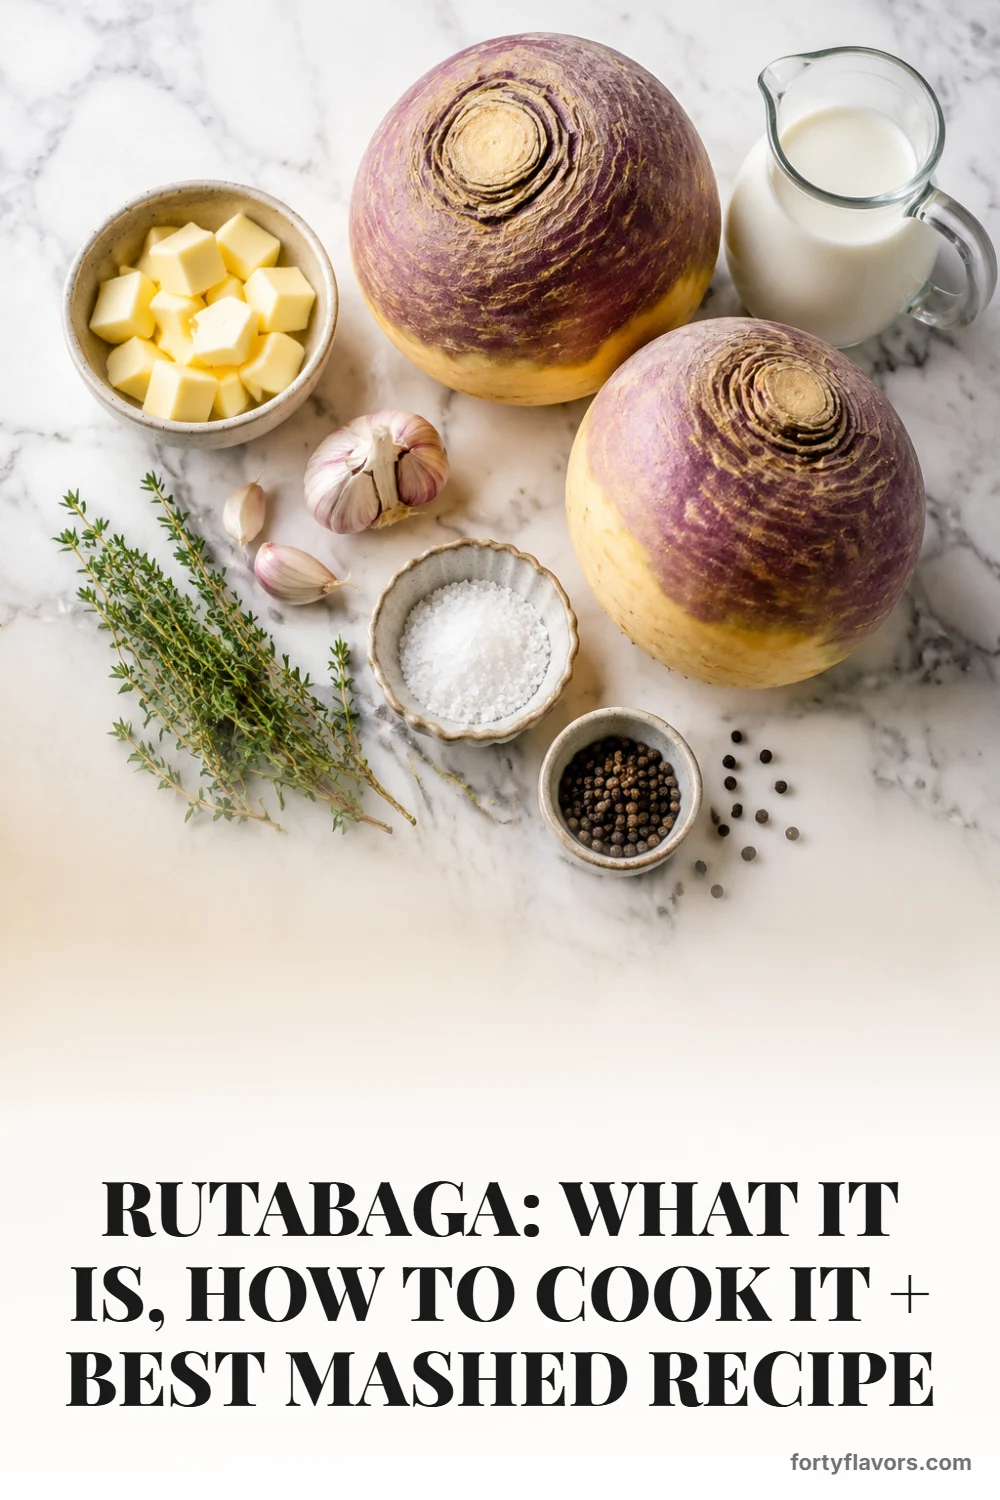
Ingredients
Scale
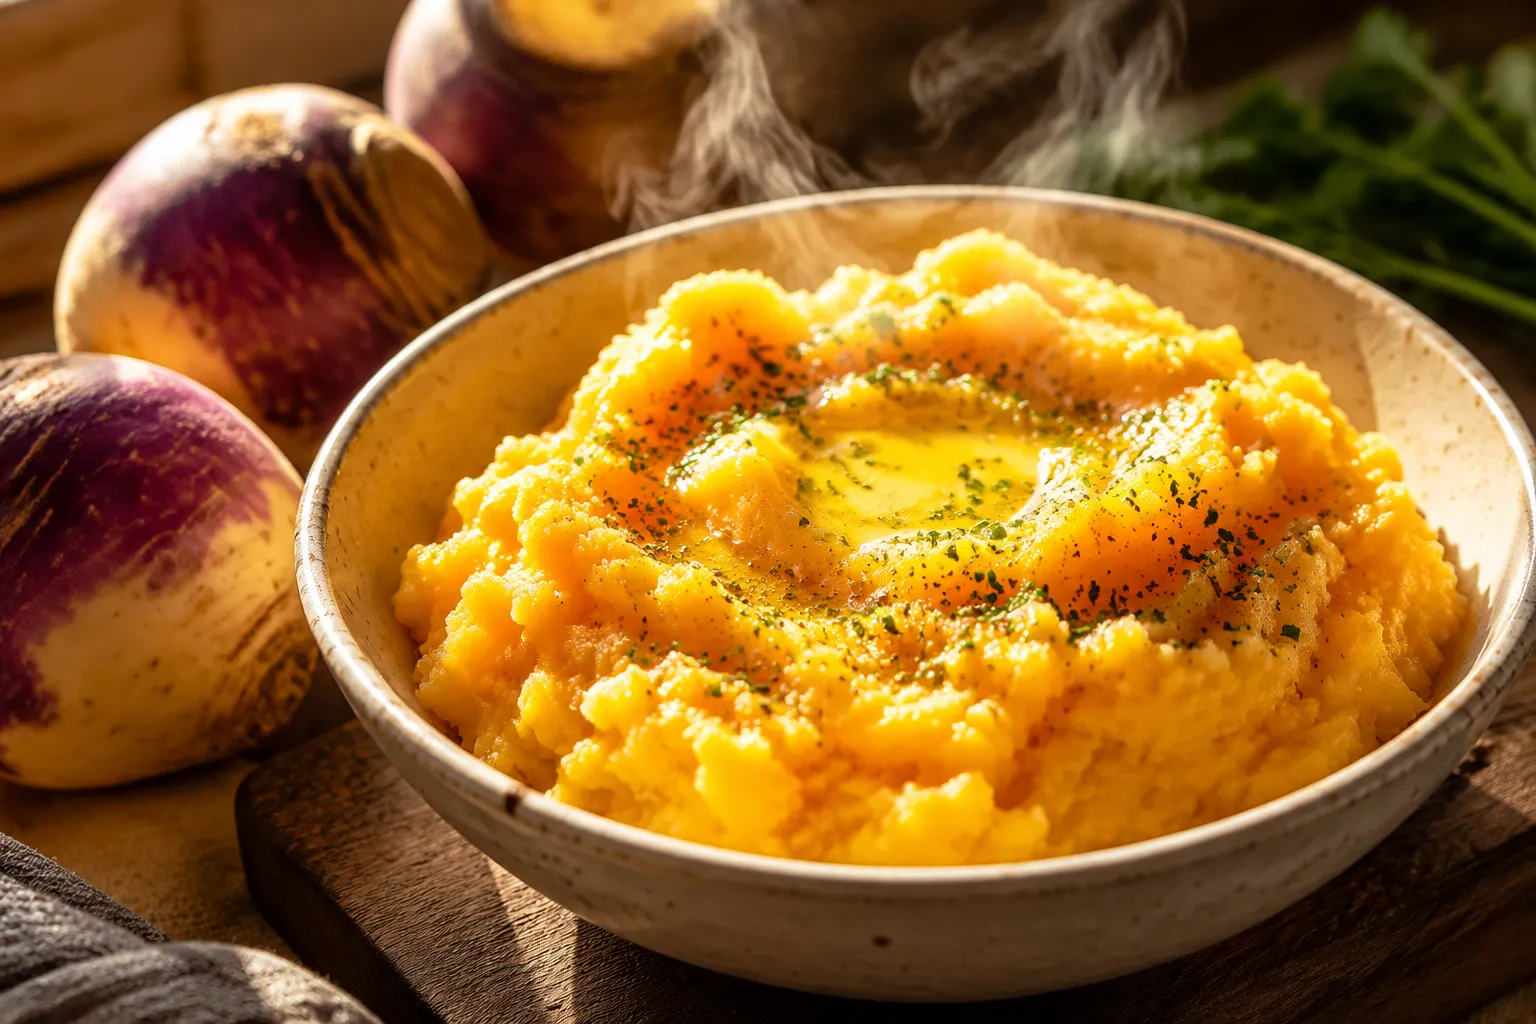
A practical guide to peeling, cutting, simmering, steam-drying, and mashing rutabaga, with dairy-free options and storage temperatures.
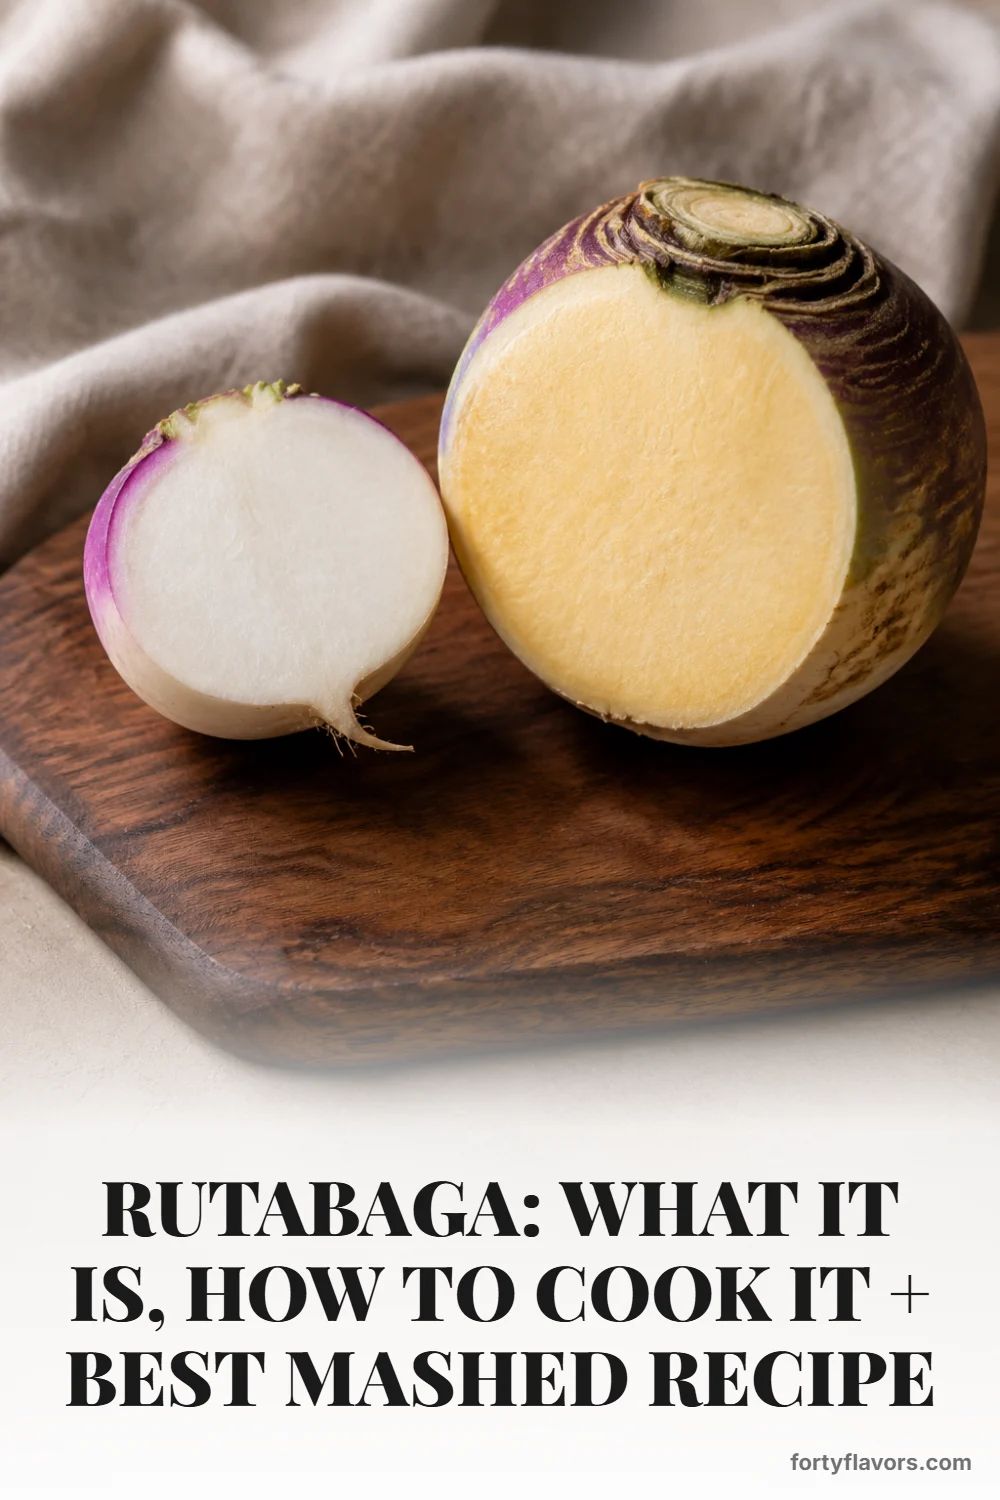
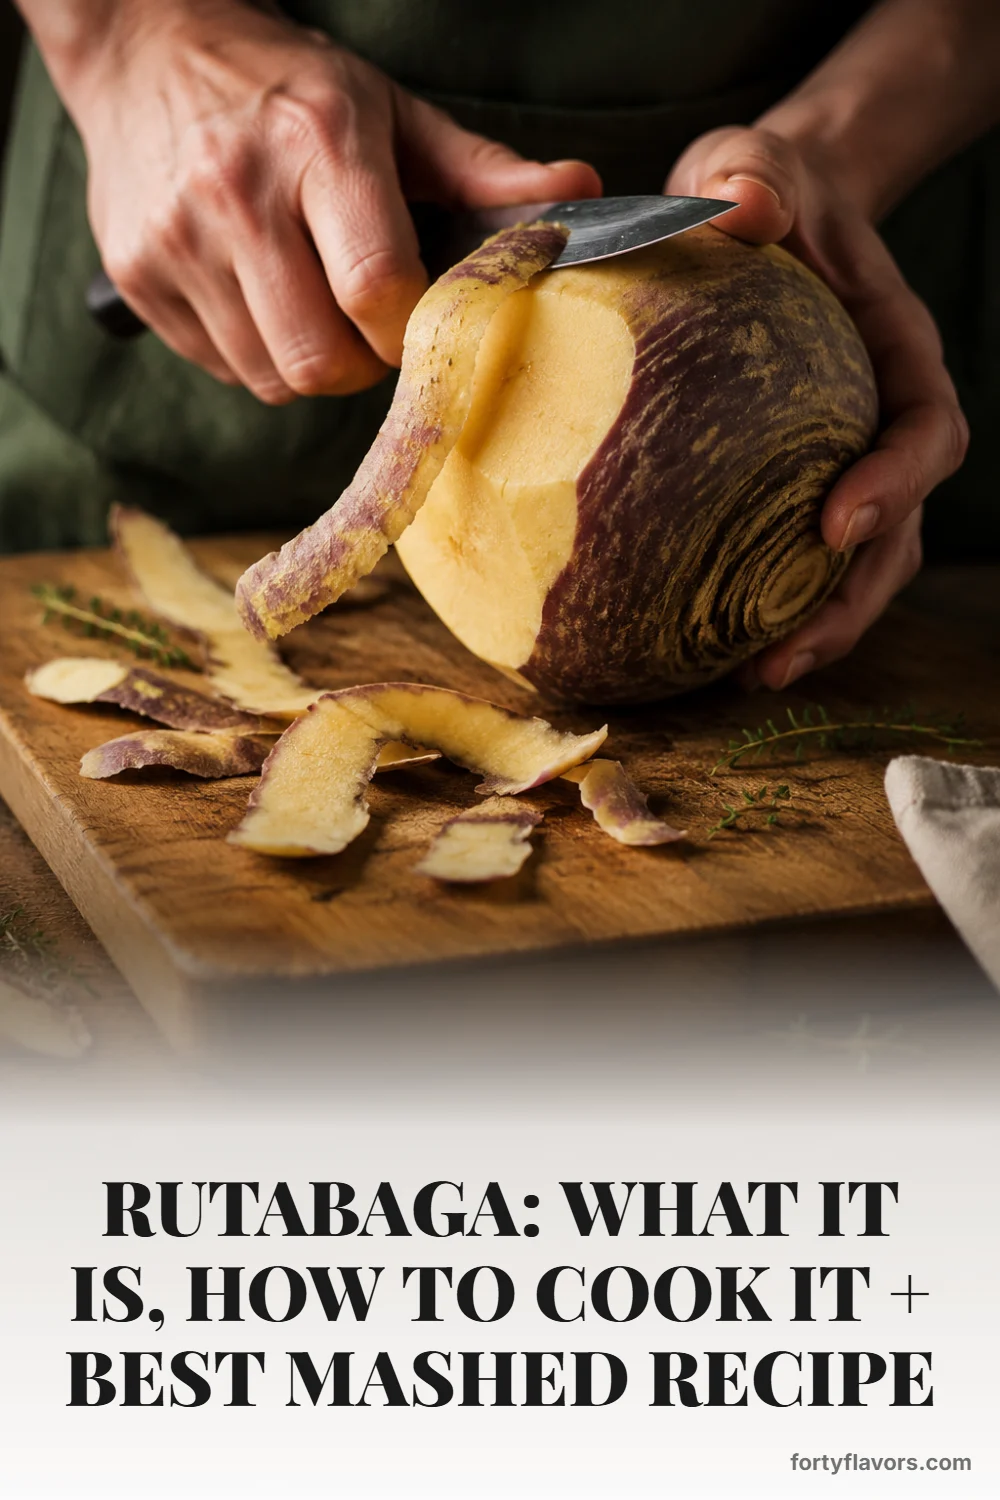
Rutabaga is a dense root vegetable with a yellow interior and a slightly sweet, earthy flavor. Store-bought roots are often waxed, so trimming flat ends first creates a stable base for removing the peel safely.
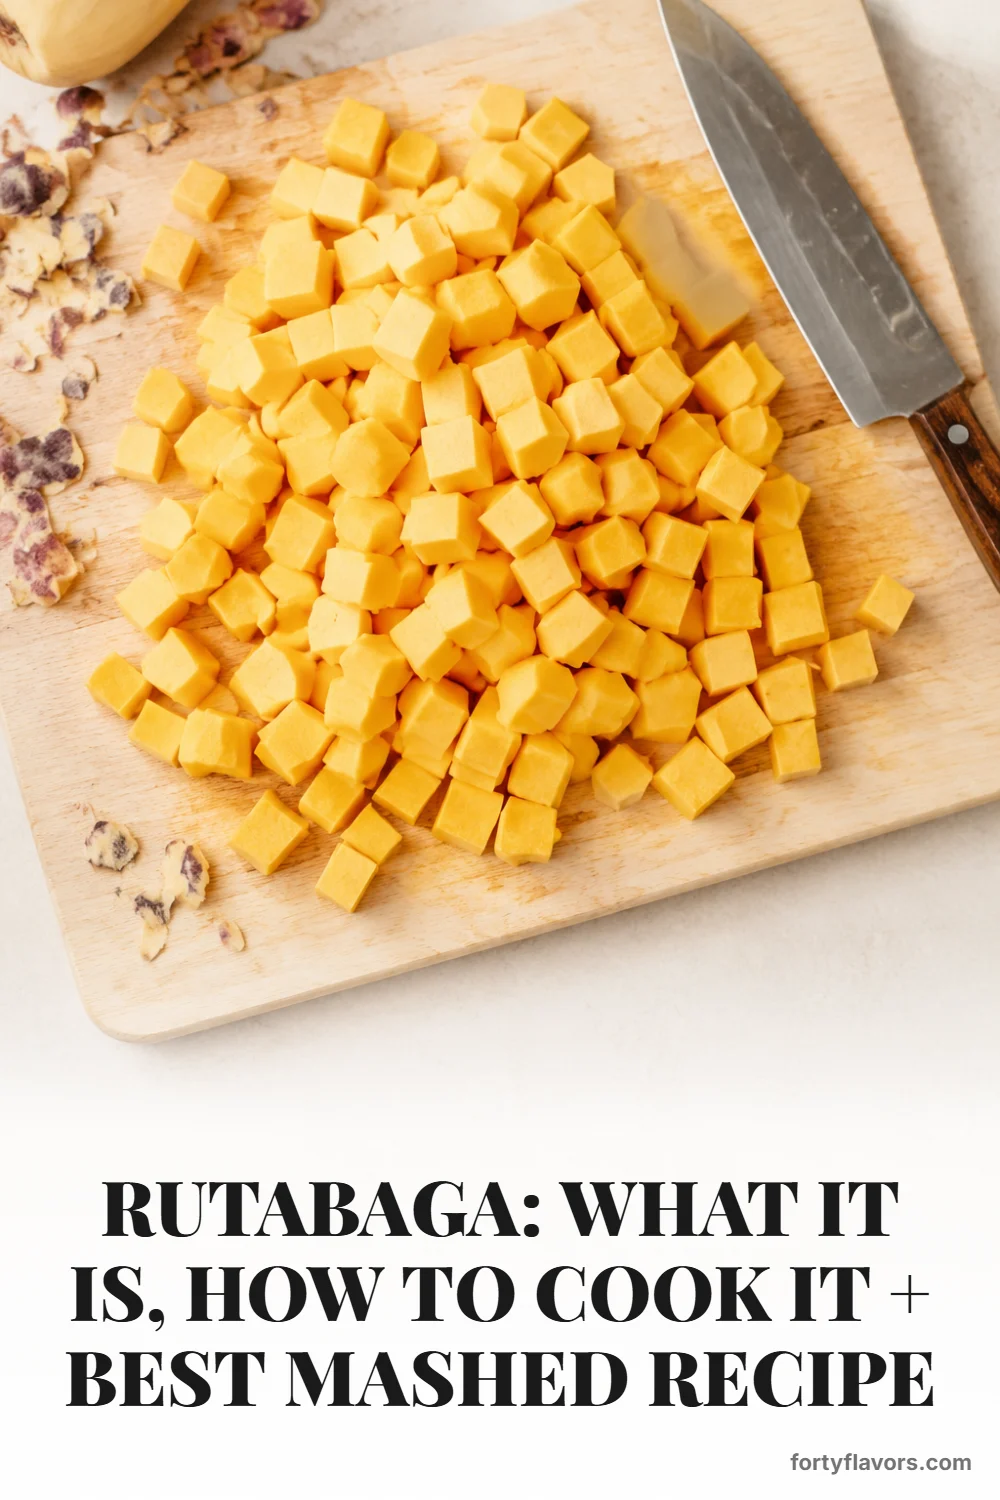
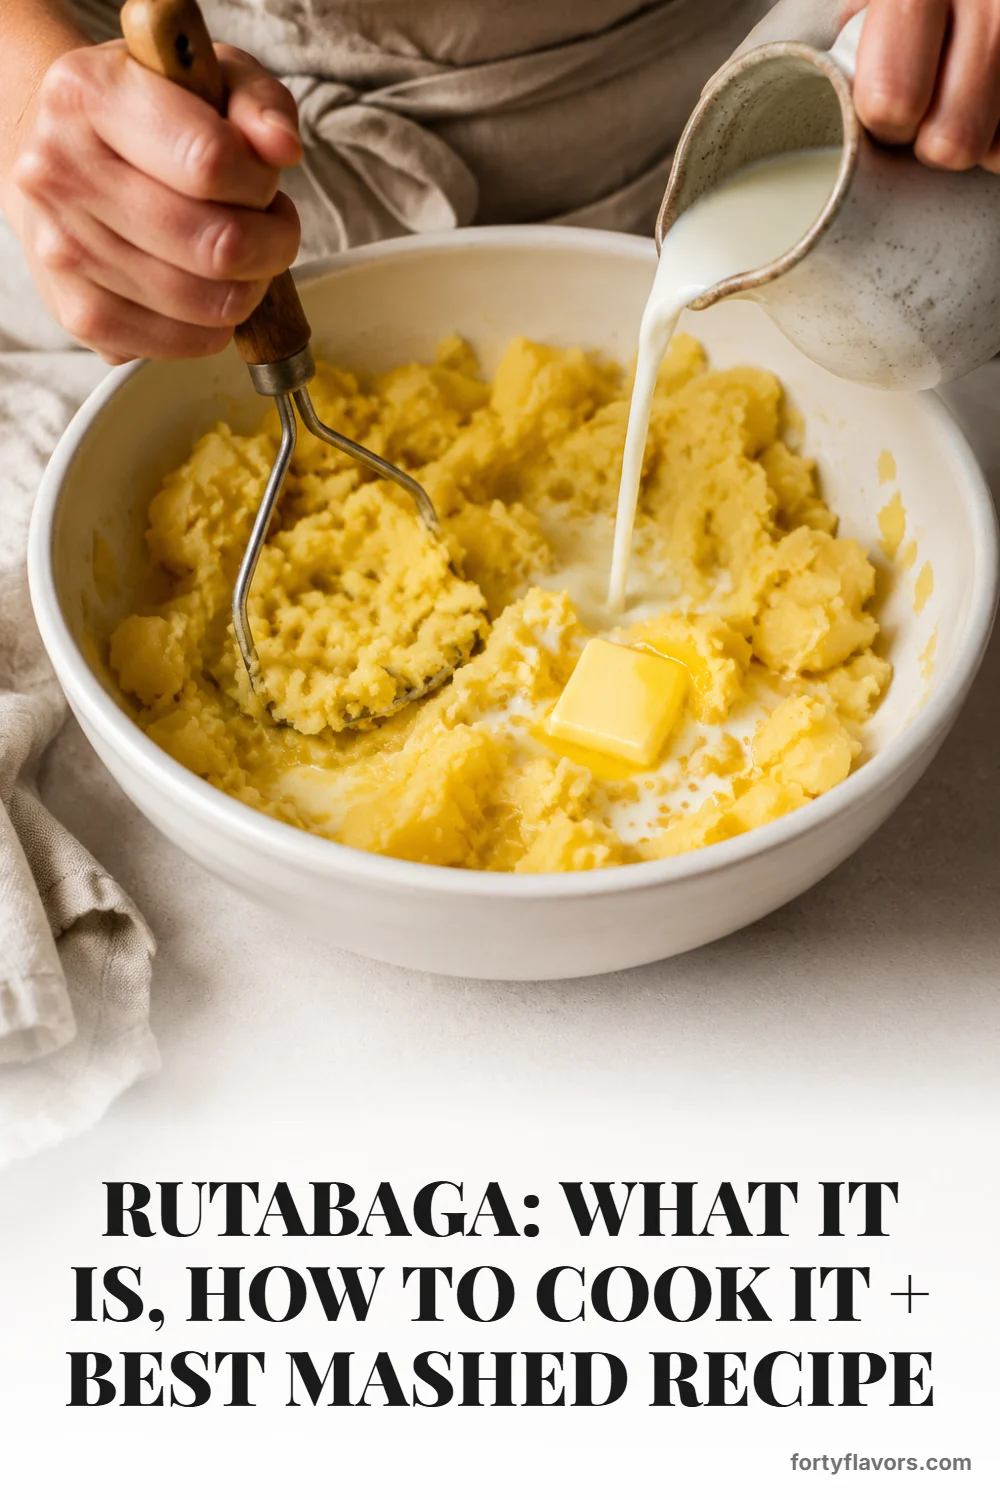
Even one-inch cubes cook more predictably than mixed sizes. After draining, return the cubes to the warm pot briefly so surface moisture evaporates before mashing.
| Stage | What to look for |
|---|---|
| Stabilize | Trim top and bottom, then stand the rutabaga on a flat end before peeling. |
| Cut | Use roughly 1-inch cubes for even cooking. |
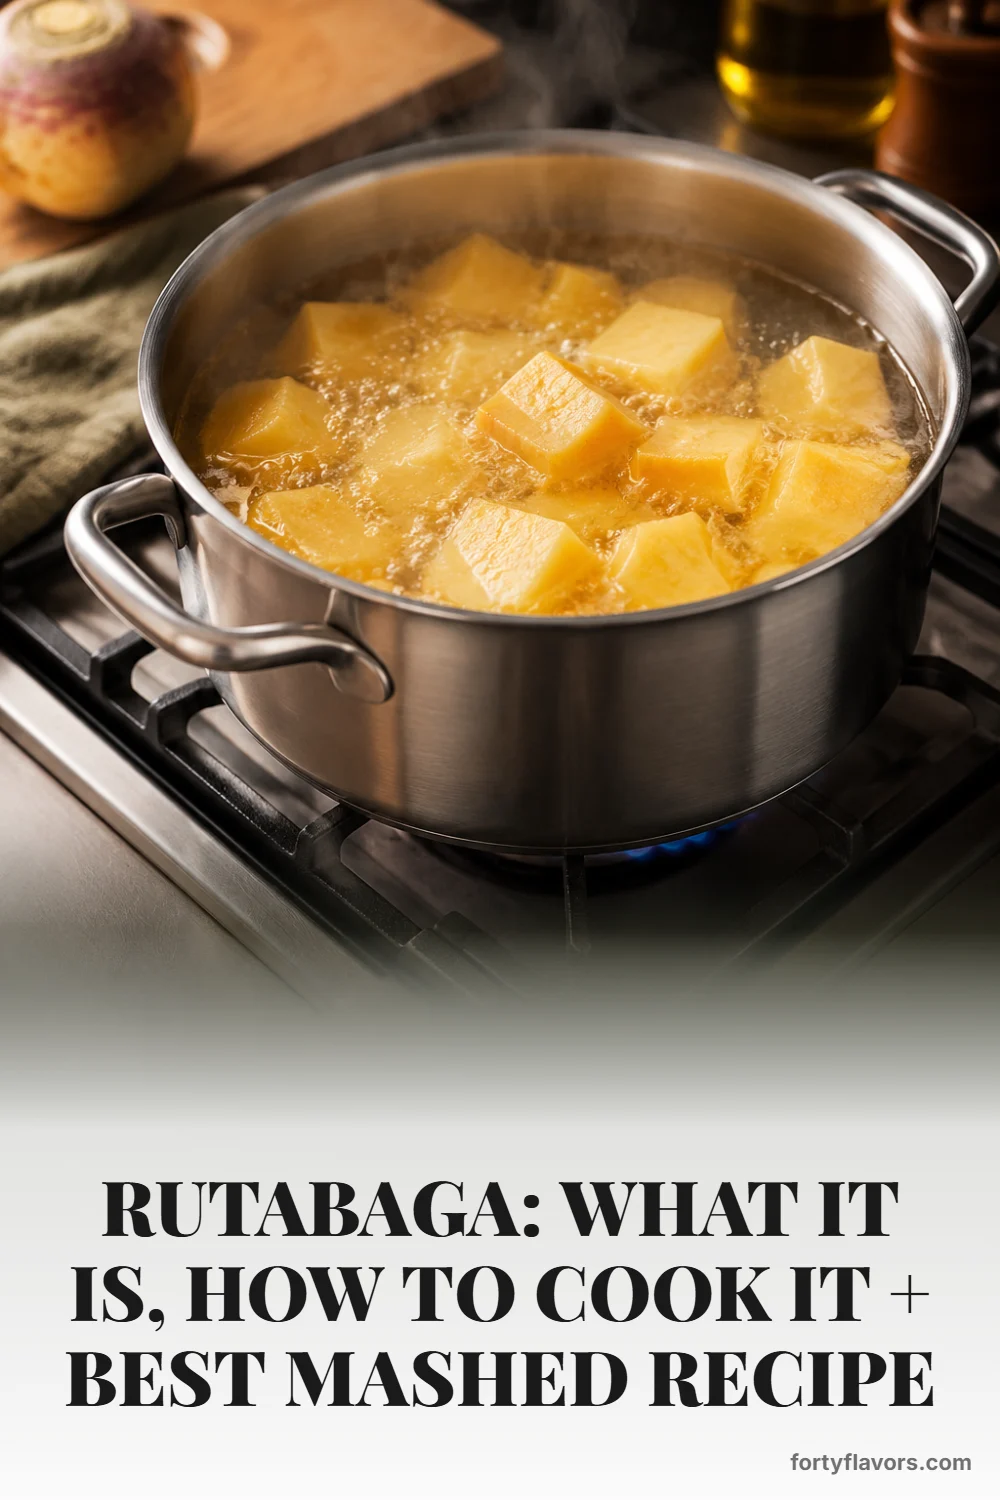
| Simmer | Cook until a fork enters the largest pieces easily, usually 20–25 minutes. |
| Dry | Drain well and return to the warm pot for 1–2 minutes before mashing. |
Milk is present only when butter or dairy milk is used.
Times are working ranges, not a substitute for the visual, texture, or temperature endpoints stated on this page.
Refrigerate within two hours and use within 3–4 days. Reheat to 165°F, stirring to eliminate cold spots. Freeze in shallow portions for longer storage; some water separation after thawing is normal.
Hover any image and hit “Pin it” to save it to your Pinterest boards.