Pizza Crust Using Cauliflower: Crispy Low-Carb Recipe
Ingredients
Scale
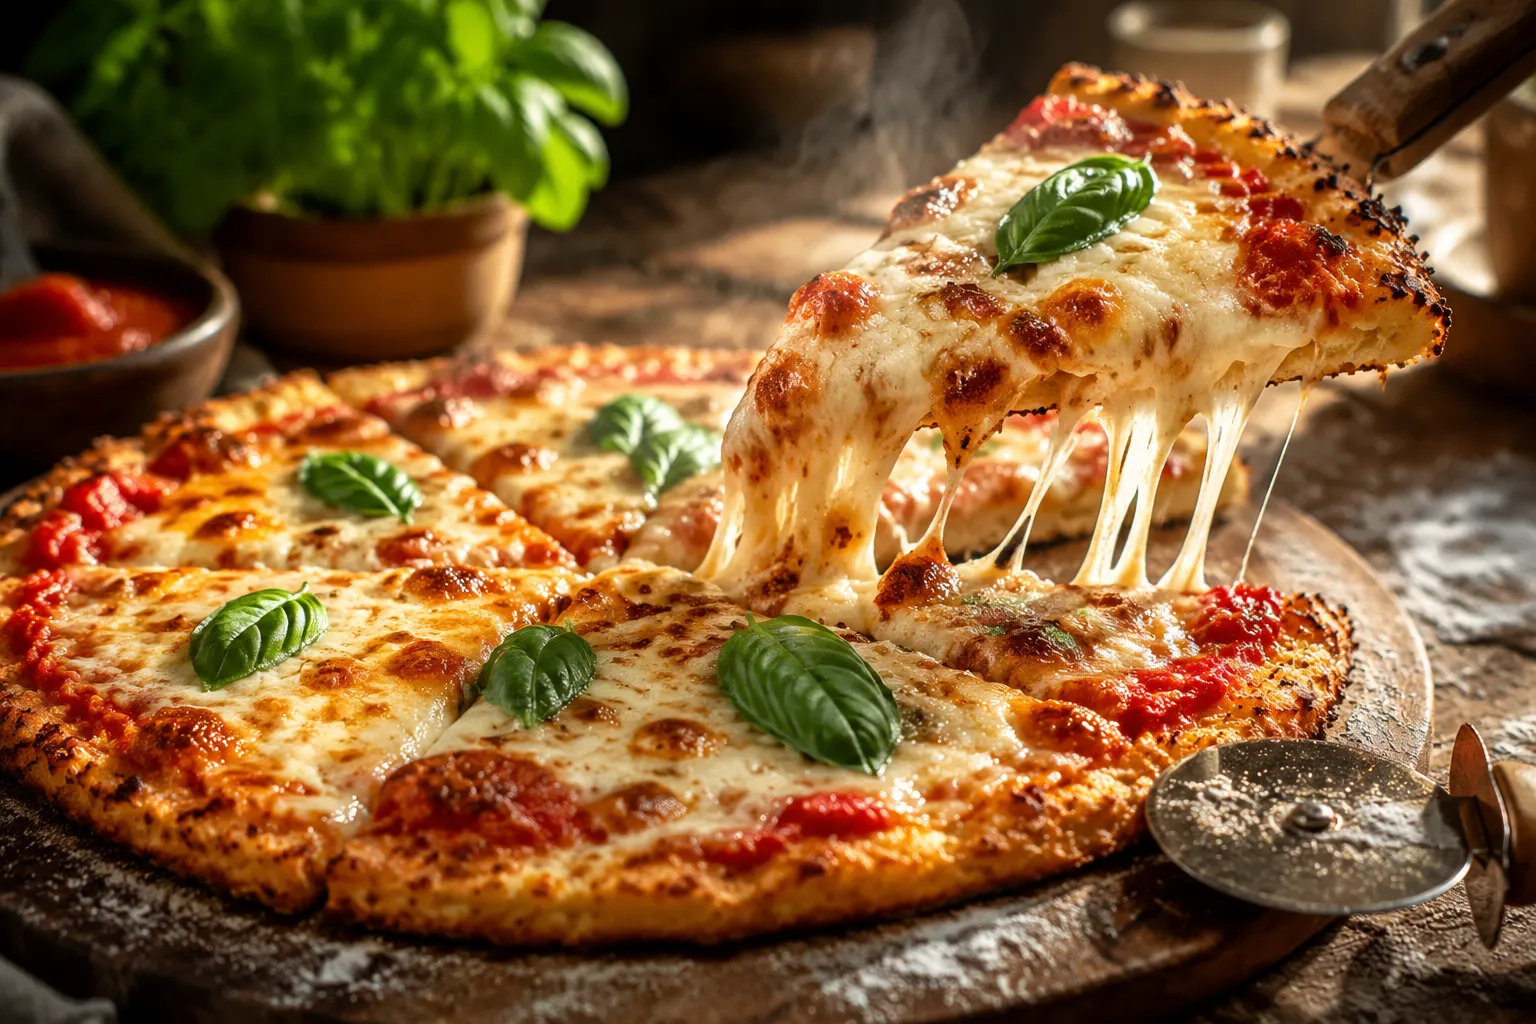
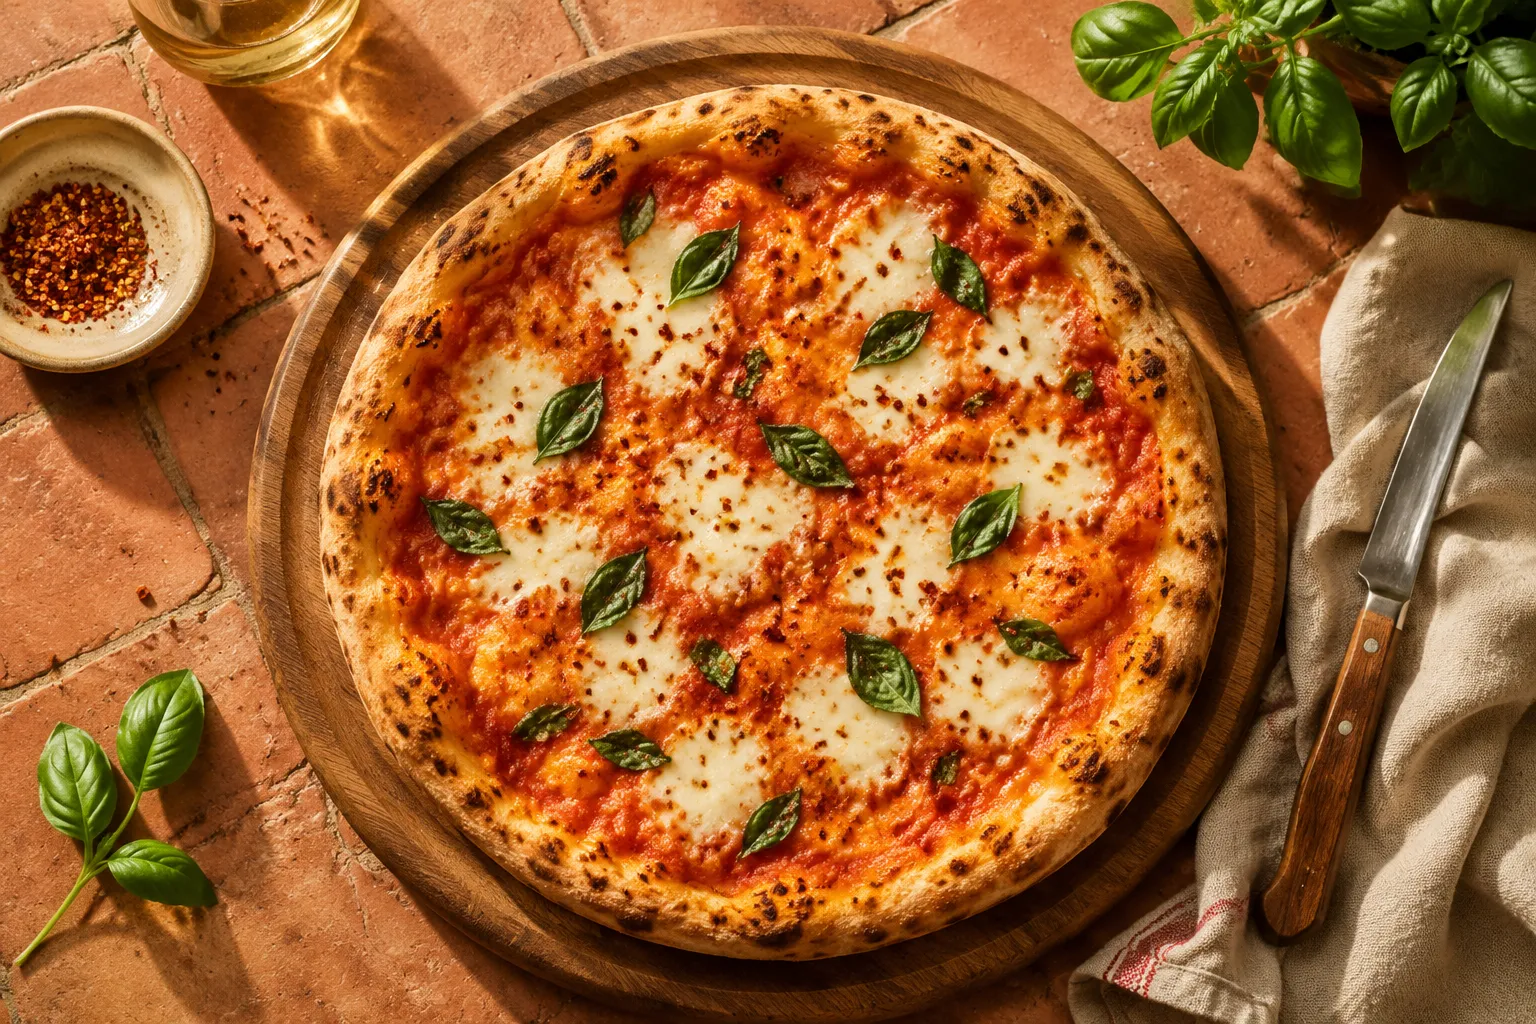
A crispy, sturdy pizza crust using cauliflower that finally holds its toppings — no soggy bottoms, no falling apart. Just real pizza night, low-carb style.
This pizza crust using cauliflower is the one I make when I want pizza night without the heaviness — and somehow, it's become the version my family asks for over the regular dough. After more failed attempts than I'd like to admit (the mush, the soggy middle, the slice that collapses into a fork situation), I finally cracked the formula. The secret isn't a fancy ingredient or specialty flour. It's a double-bake plus a serious squeeze, and the result is a crust that's golden, crisp at the edges, and sturdy enough to lift slice-by-slice with one hand.
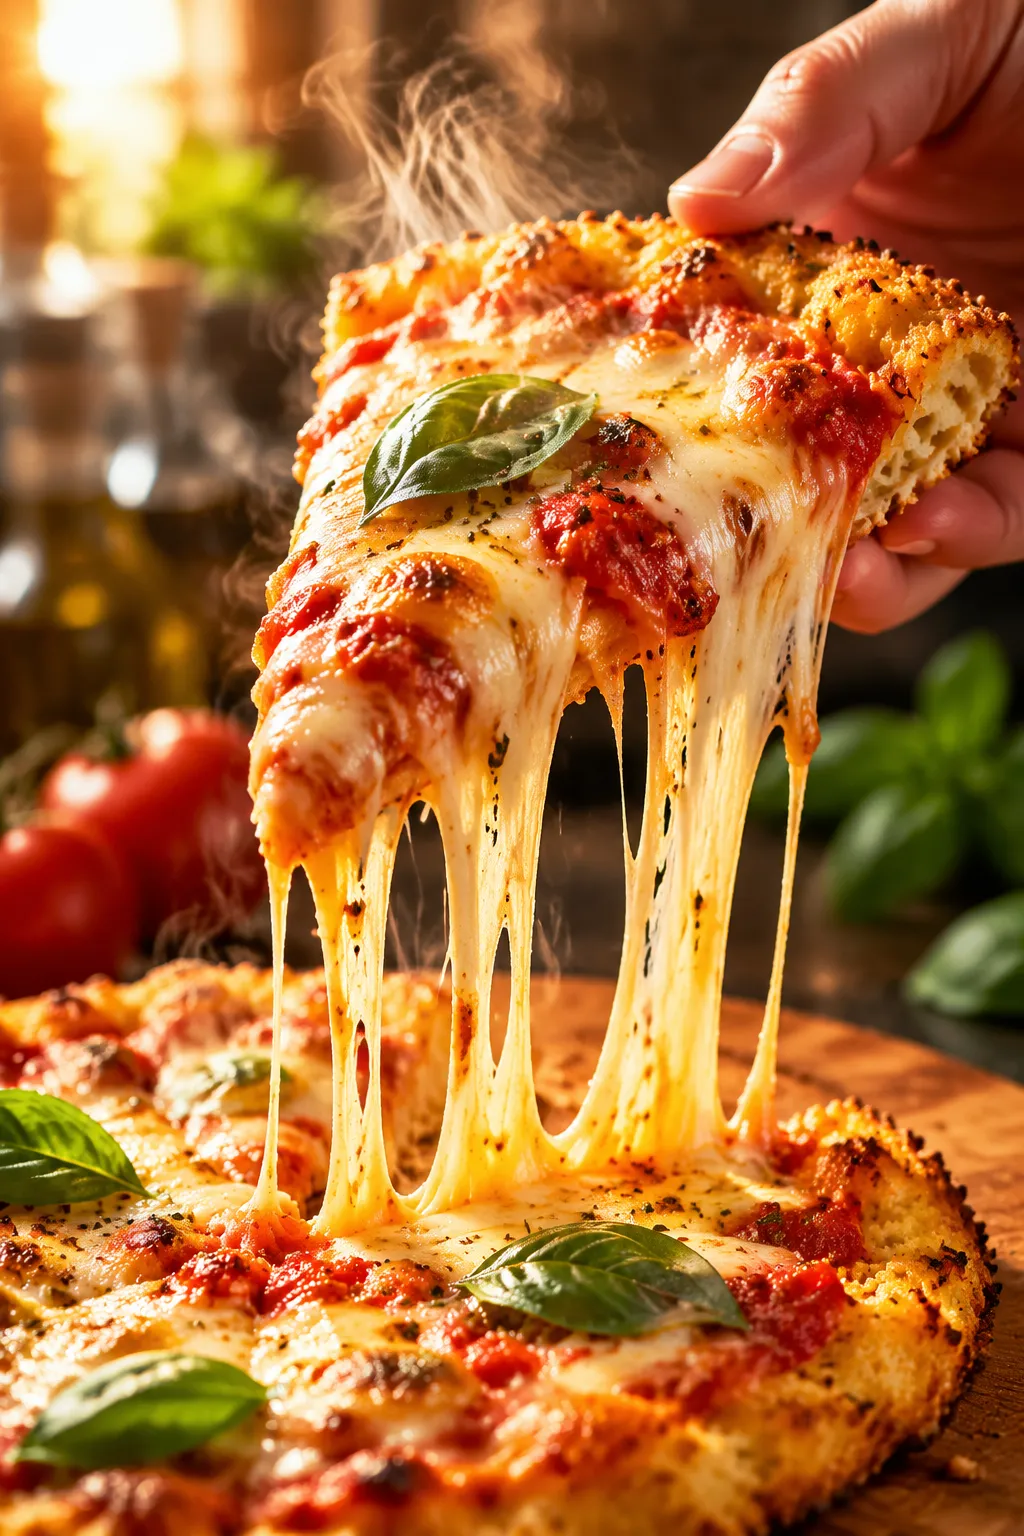
If you've been let down by frozen cauliflower crust pizza from the grocery store — chewy, wet, tasting more like the tray than the topping — consider this your reset. We're talking real-deal pizza vibes: blistered cheese, vibrant sauce, fresh basil, and a base that holds up under pepperoni without surrender. It's gluten-free by design, low-carb in practice, and works beautifully for keto pizza nights, gluten-sensitive friends, or just a lighter weeknight lunch that still feels like a treat.
Best part? Once you know how to make cauliflower pizza crust the right way, you can prep a stack and freeze them flat. Pull one out on a Tuesday, top it, bake it, eat it. Pizza night, sorted — no sad delivery box required.
Few ingredients, big impact. The list for this pizza crust using cauliflower is short on purpose — every player matters, and there are no fillers padding the dough or hiding behind the cheese. Quality counts here, especially with so few items doing the work.
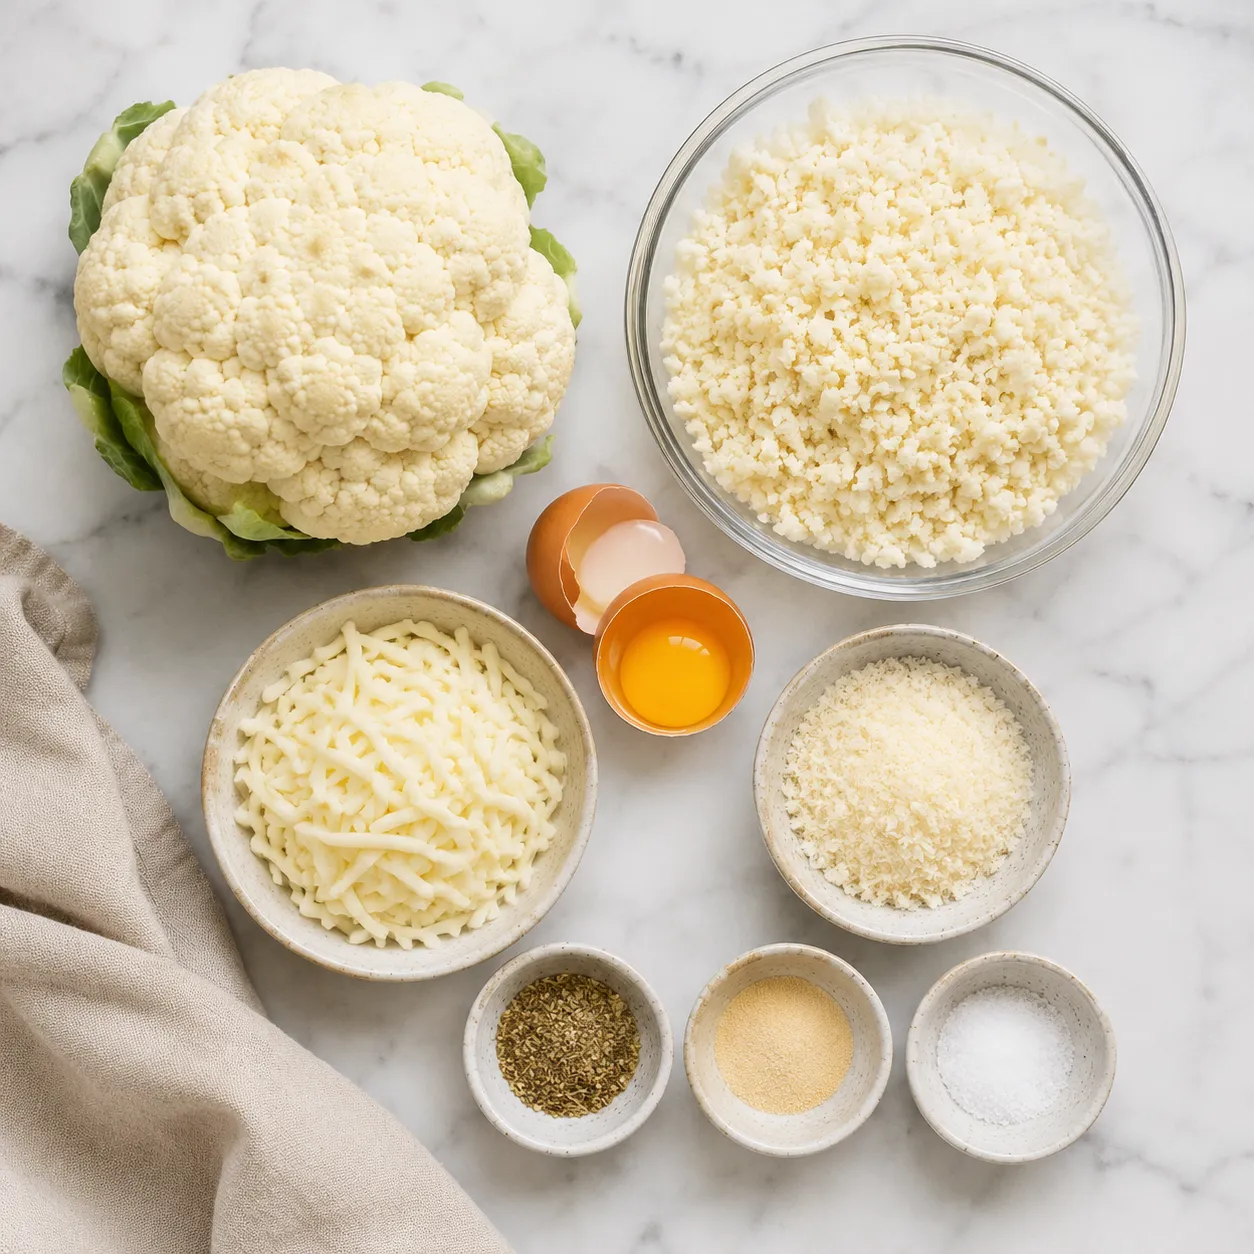
A quick note on the cheese: it isn't optional in the classic version. Cheese melts and re-solidifies as the crust bakes, and that re-solidification is what gives this cauliflower pizza dough recipe its sturdy, fold-friendly bite. If you need to skip dairy entirely, peek at the Variations section below for a tested swap that still holds together.
This is the part most recipes glaze over and where most home cooks lose the crust. Read it through once before you start — the steps are simple but the order really matters, and a couple of details (cooling, squeezing) make or break the final texture.
Cut the cauliflower into florets and pulse in a food processor until the texture looks like coarse couscous or rice grains. Don't overdo it or you'll get cauliflower paste, which holds onto water like a sponge. Work in two batches if your processor is small — overcrowding gives you uneven texture, with some pieces still chunky and others purée-fine.
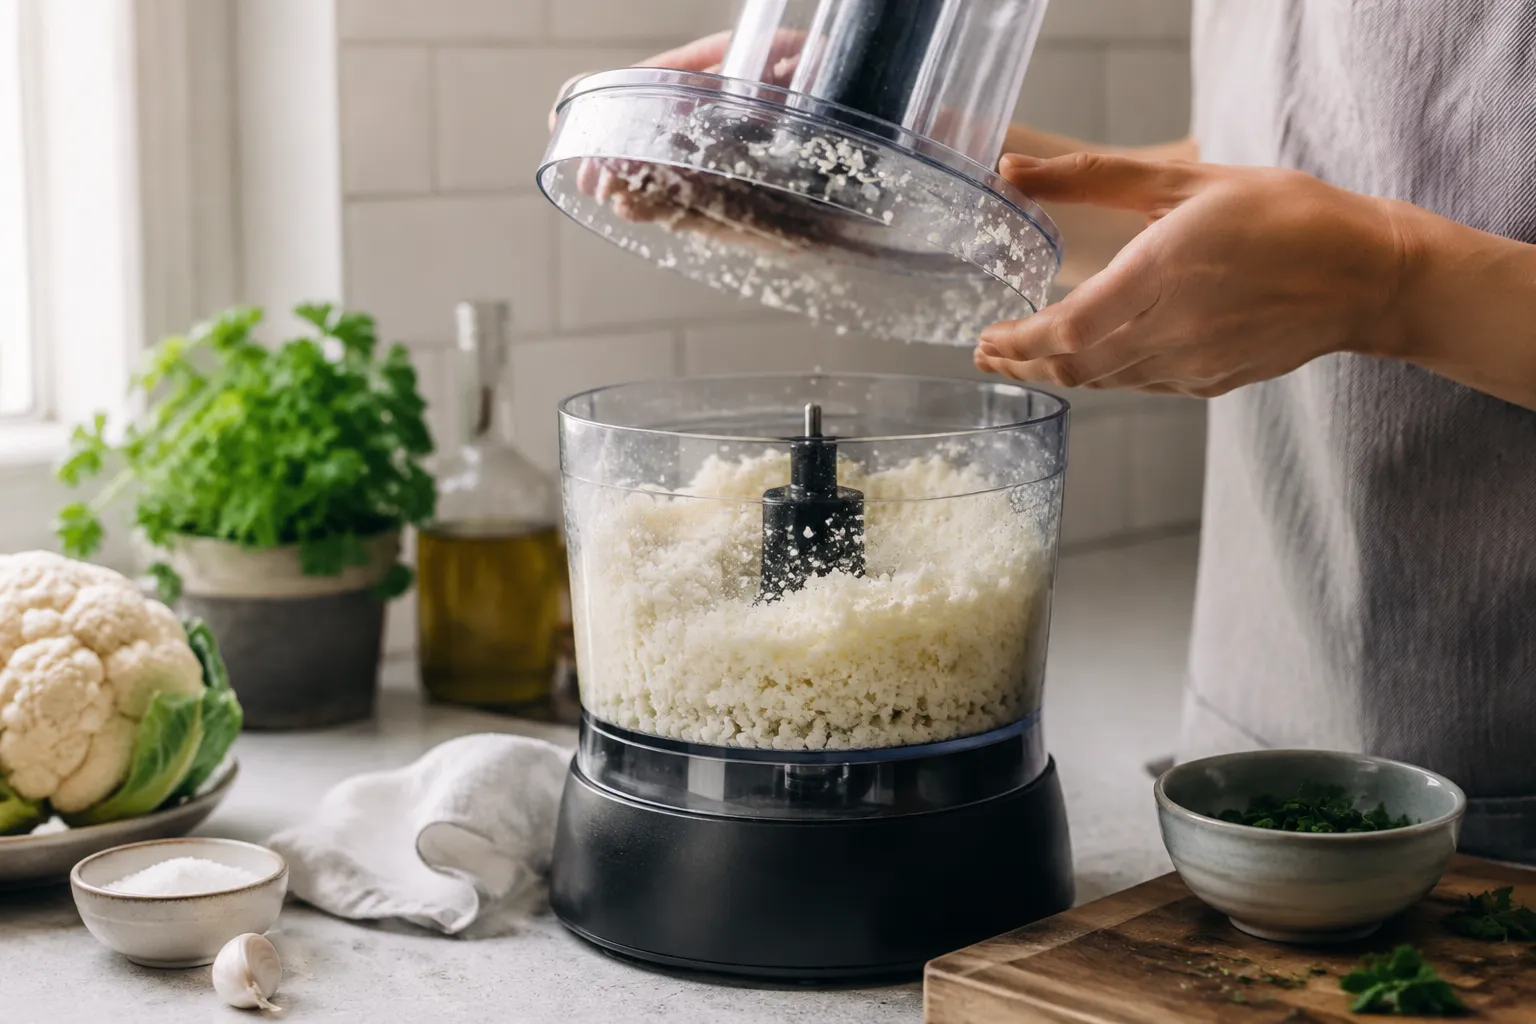
Transfer the riced cauliflower to a microwave-safe bowl, cover, and microwave for 5 to 6 minutes until softened and steaming hot. Cooking does two things: it breaks down the cell walls so you can extract water in the next step, and it tames any raw cabbage-y note that would carry into the finished pizza. No microwave? Steam it on the stovetop for 8 minutes, then drain.
Let it cool until you can comfortably handle it without burning yourself — about 10 minutes. Truly cool. Hot cauliflower will scramble the egg later and the proteins won't bind the way you need them to.
Here is where the magic happens, or doesn't. Dump the cauliflower into the center of a clean, lint-free kitchen towel or a double layer of cheesecloth. Gather the corners, twist hard, and squeeze over the sink like you're wringing out a wet swimsuit after a beach day.
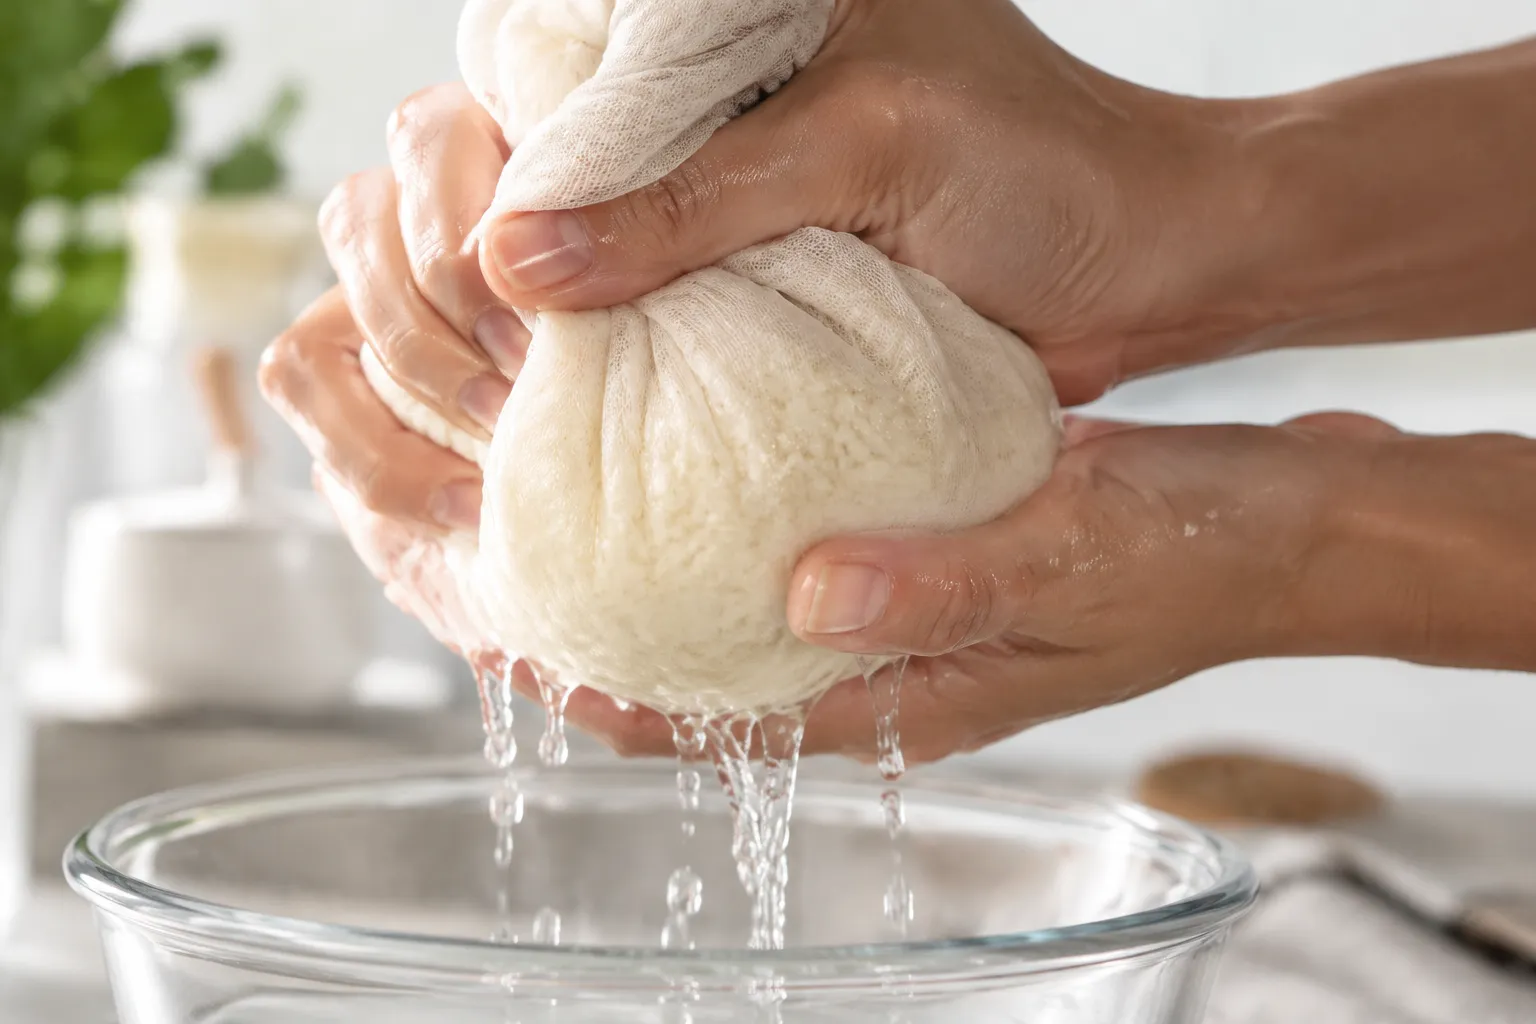
You'll be shocked how much water comes out — easily a half cup or more from a single head. Squeeze, rotate the bundle, squeeze again. When you think you're done, squeeze one more time for good measure. The cauliflower should look like a dry, crumbly puck that barely sticks together. This single step is the difference between a crisp pizza crust using cauliflower and a sad steamed pancake that falls apart on the cutting board.
Preheat the oven to 425°F and slide a sheet pan or pizza stone in to heat with it. In a mixing bowl, combine the squeezed cauliflower with the egg, mozzarella, Parmesan, Italian seasoning, garlic powder, and salt, stirring until it forms a cohesive, slightly tacky dough.
Tip the mixture onto a sheet of parchment paper and press it into a 10-inch round, about a quarter-inch thick, with slightly raised edges. Don't go too thin in the center — that's where pizzas go to fail and break apart under toppings.

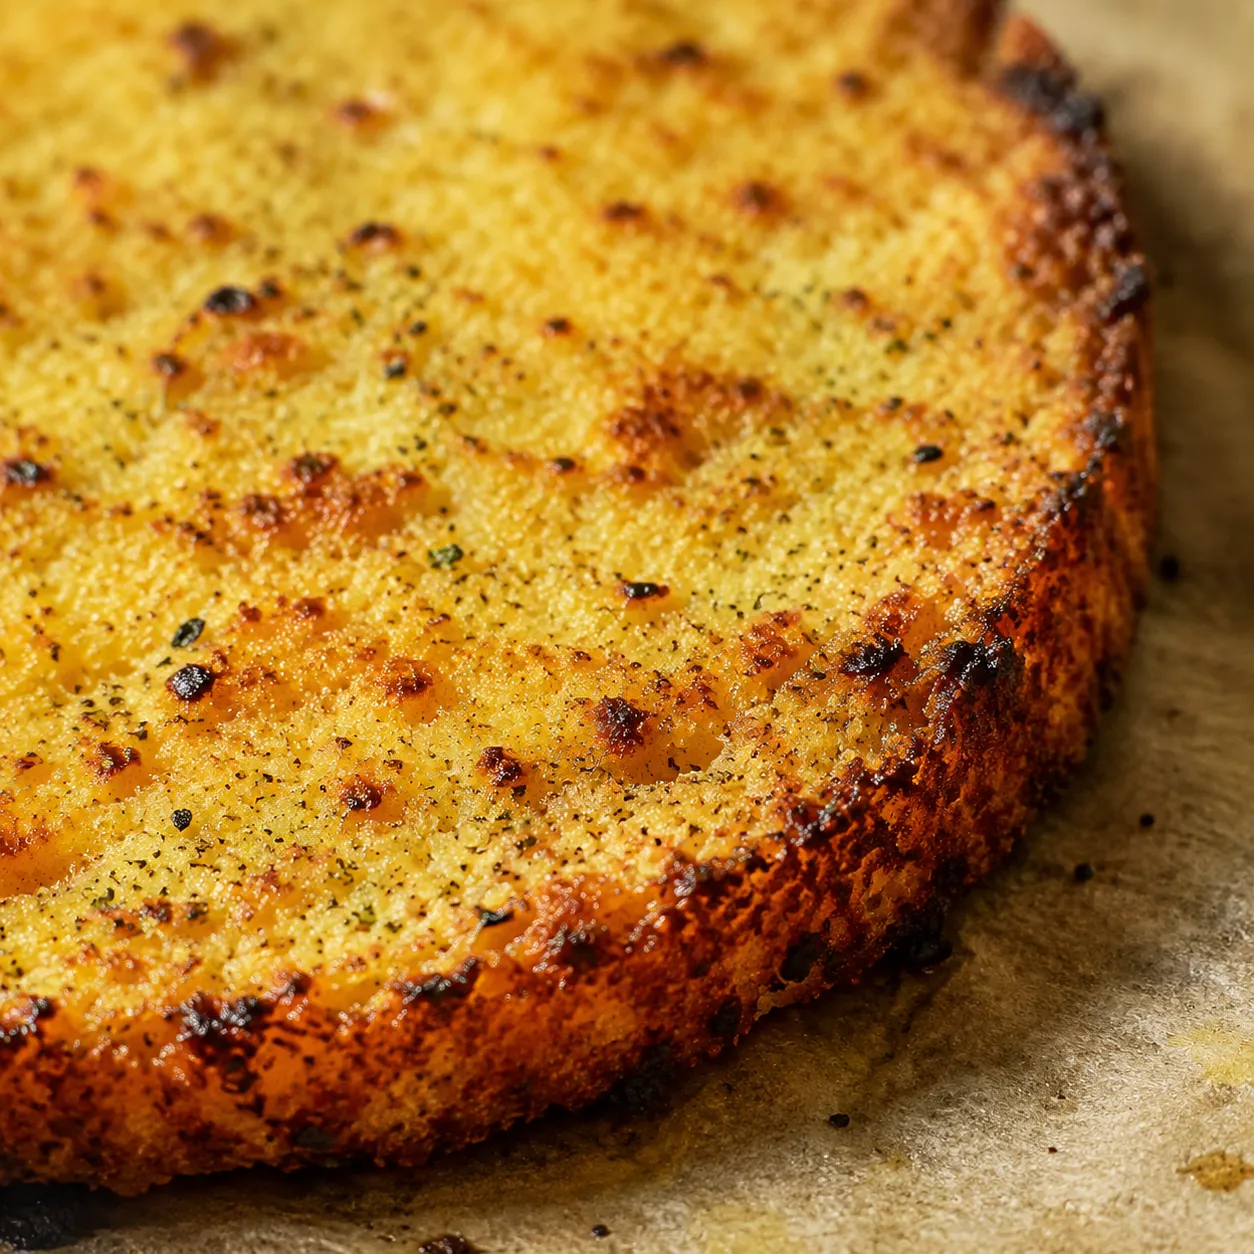
Slide the parchment (with the crust on it) onto your preheated pan. Bake for 18 to 22 minutes, until the top is golden and the edges are deeply browned, almost crispy at the rim. This pre-bake step is non-negotiable — topping a raw cauliflower crust is the express lane to mush, and there's no recovering once that water hits the dough.
Once the crust is pre-baked and looking golden, top it lightly. Less is more here. Spread on your homemade pizza sauce, scatter a layer of cheese, and add your toppings, then return the pizza to the oven for 8 to 10 minutes until the cheese is bubbling and golden in spots. Pull, rest 5 minutes, slice.
A sturdy crust deserves toppings that earn their spot. Stick with low-moisture choices — wet ingredients are the enemy here and will undo all that squeezing you just did. A few favorite combinations that keep the crust crisp and the flavor loud:
A swipe of crushed San Marzano sauce, torn fresh mozzarella, a drizzle of good olive oil, and basil added after baking. Clean and bright, and the crust does the talking. This is my go-to when I want a pizza crust using cauliflower that tastes like a Naples vacation in 30 minutes flat.
Pepperoni slices, thin-sliced bell pepper, red onion, and a flurry of mozzarella. Pre-cook anything watery (like mushrooms or zucchini) before it touches the crust. This combo is one of my go-to low-carb pizza toppings rotations on busy weeknights — it hits every nostalgia button without the carb crash.
Skip the red sauce entirely. Brush the pre-baked crust with garlic-infused olive oil, layer ricotta dollops and shredded mozzarella, and finish with peppery arugula and lemon zest after baking. Restaurant-level, weeknight-easy, and an excellent change of pace from the standard tomato base.
For an even simpler night, a quick homemade pizza sauce — just crushed tomatoes, garlic, olive oil, salt, and a pinch of oregano simmered for 10 minutes — beats anything from a jar and adds zero unnecessary sugar. Make a double batch and freeze the rest in ice cube trays for instant single-pizza portions.
Even seasoned cooks trip over the same handful of issues with this style of crust. Here's what to watch for so your first attempt lands like a tenth attempt.
Wet cauliflower. This is the number one offender, full stop. If your towel comes away barely damp after one squeeze, you didn't squeeze hard enough — keep going. Truly dry cauliflower is the foundation of a crispy gluten-free pizza, and shortcuts here always show up later as a soggy bottom.
Skipping parchment. Cauliflower crust will weld itself to a bare pan and tear when you try to lift it. Always use parchment between the dough and the sheet — it lifts cleanly, toasts the bottom evenly, and lets the heat from a preheated stone or pan transfer through.
Crust too thick. A thicker crust seems sturdier but actually traps moisture and stays gummy in the center. Aim for a quarter-inch with slightly raised edges, no more. Thinner crusts crisp up; thicker ones just steam themselves.
Topping overload. A pile of saucy, watery toppings will undo all the squeezing you just did. Light hand wins. Think Italian pizzeria, not loaded supreme.
If you've been wanting a real cauliflower pizza dough recipe that delivers something close to the original article — crisp, foldable, satisfying — this is the one. It's the version I keep in steady rotation alongside the rest of my favorite cauliflower crust pizza riffs, and the one I send to friends when they ask for a gluten-free pizza they'll actually want to make again next week.
This crust is forgiving once you nail the moisture step, so it's a great base for tweaks. Whether you're dairy-free, doing a Whole30 round, or just want to mix up the flavor, the formula adapts beautifully.
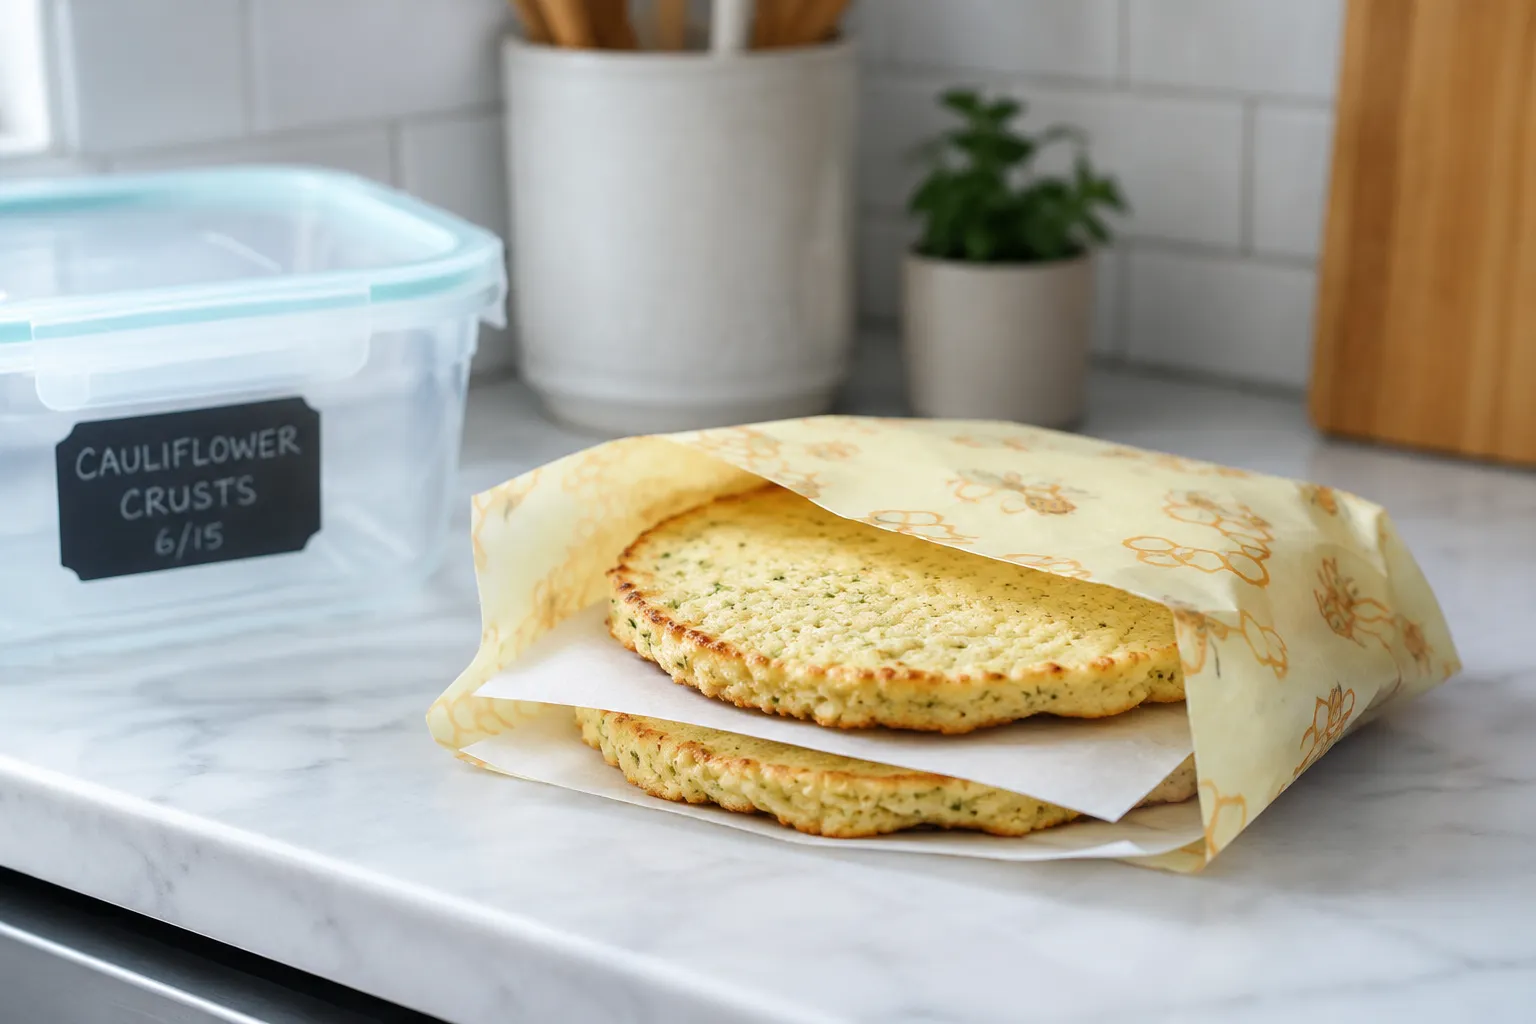
Pre-baked, untopped cauliflower crusts keep beautifully in the refrigerator for up to 3 days, wrapped tightly in foil or stored in an airtight container with a paper towel to absorb any extra moisture. Top and finish baking when ready to eat — same 8 to 10 minutes at 425°F.
For longer storage, freeze pre-baked crusts flat with parchment squares between each one and seal in a zip-top freezer bag for up to 2 months. Don't thaw — top straight from frozen and bake at 425°F for 12 to 15 minutes until the cheese is bubbling. To reheat leftover topped pizza, skip the microwave (which kills the crispness) and pop slices on a hot dry skillet over medium heat for 3 to 4 minutes, or back in a 400°F oven for 6 to 8 minutes until the bottom re-crisps.