These gluten free crackers come out shatter-crisp every time, with a buttery savory bite that beats any store-bought box.
Why You'll Love This Recipe
Shatter-Crisp Texture: Say goodbye to sad, soggy, or crumbly bites. These bake up perfectly snappy and hold their crunch.
Pantry-Staple Ingredients: No need to hunt down specialty starches; a standard 1-to-1 blend and basic baking staples do the trick.
Naturally Vegan-Friendly Option: Easily swap the standard butter for a dairy-free alternative without compromising the flaky texture.
Endlessly Customizable: The neutral, buttery base easily adapts to savory herbs, spicy seeds, or sweet cinnamon-sugar additions.
If you have ever stood in the grocery aisle staring at a tiny, expensive box of gluten free crackers and wondered if there was a better way, you have finally found it. We all know the struggle of bringing home a box of specialty crackers only to find them crumbled into dust, overly hard, or tasting vaguely of cardboard. Making your own from scratch might sound like a project reserved for professional bakers, but it is actually one of the most rewarding and surprisingly simple kitchen endeavors you can take on.
This gluten free crackers recipe was developed specifically to avoid the pitfalls of complex baking. You do not need to hunt down five different specialty starches or measure out microscopic amounts of xanthan gum. Instead, we rely on everyday pantry staples to create a dough that comes together in minutes. When it comes to reliable gluten free snack recipes, having a master dough like this in your repertoire is an absolute game-changer for lunchboxes, afternoon cravings, and elegant entertaining alike.
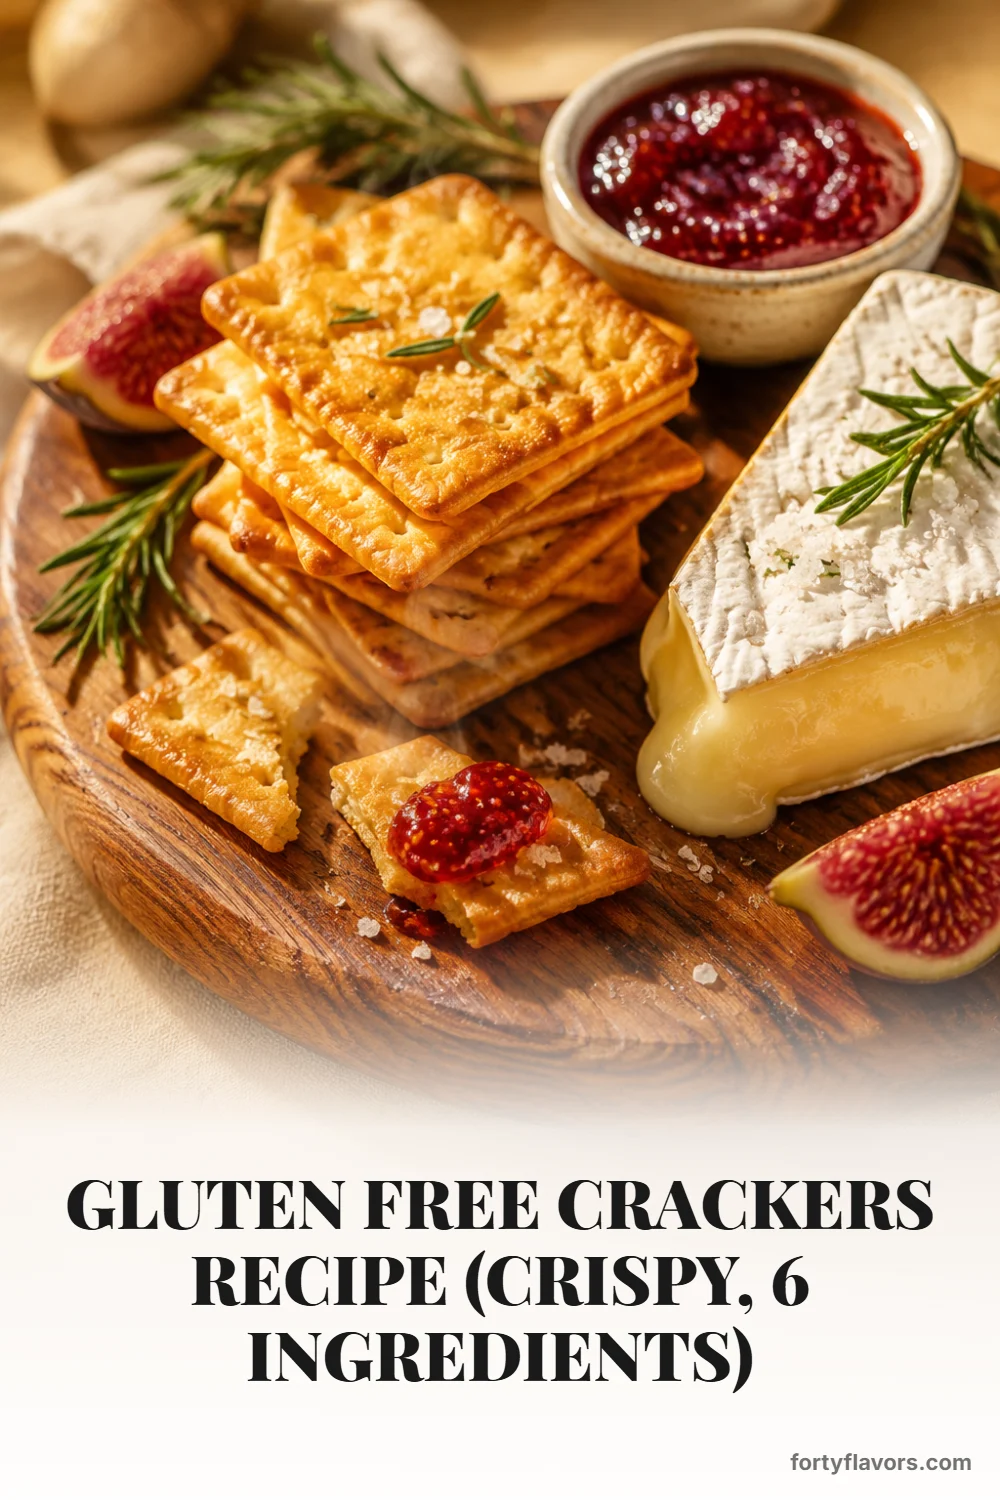
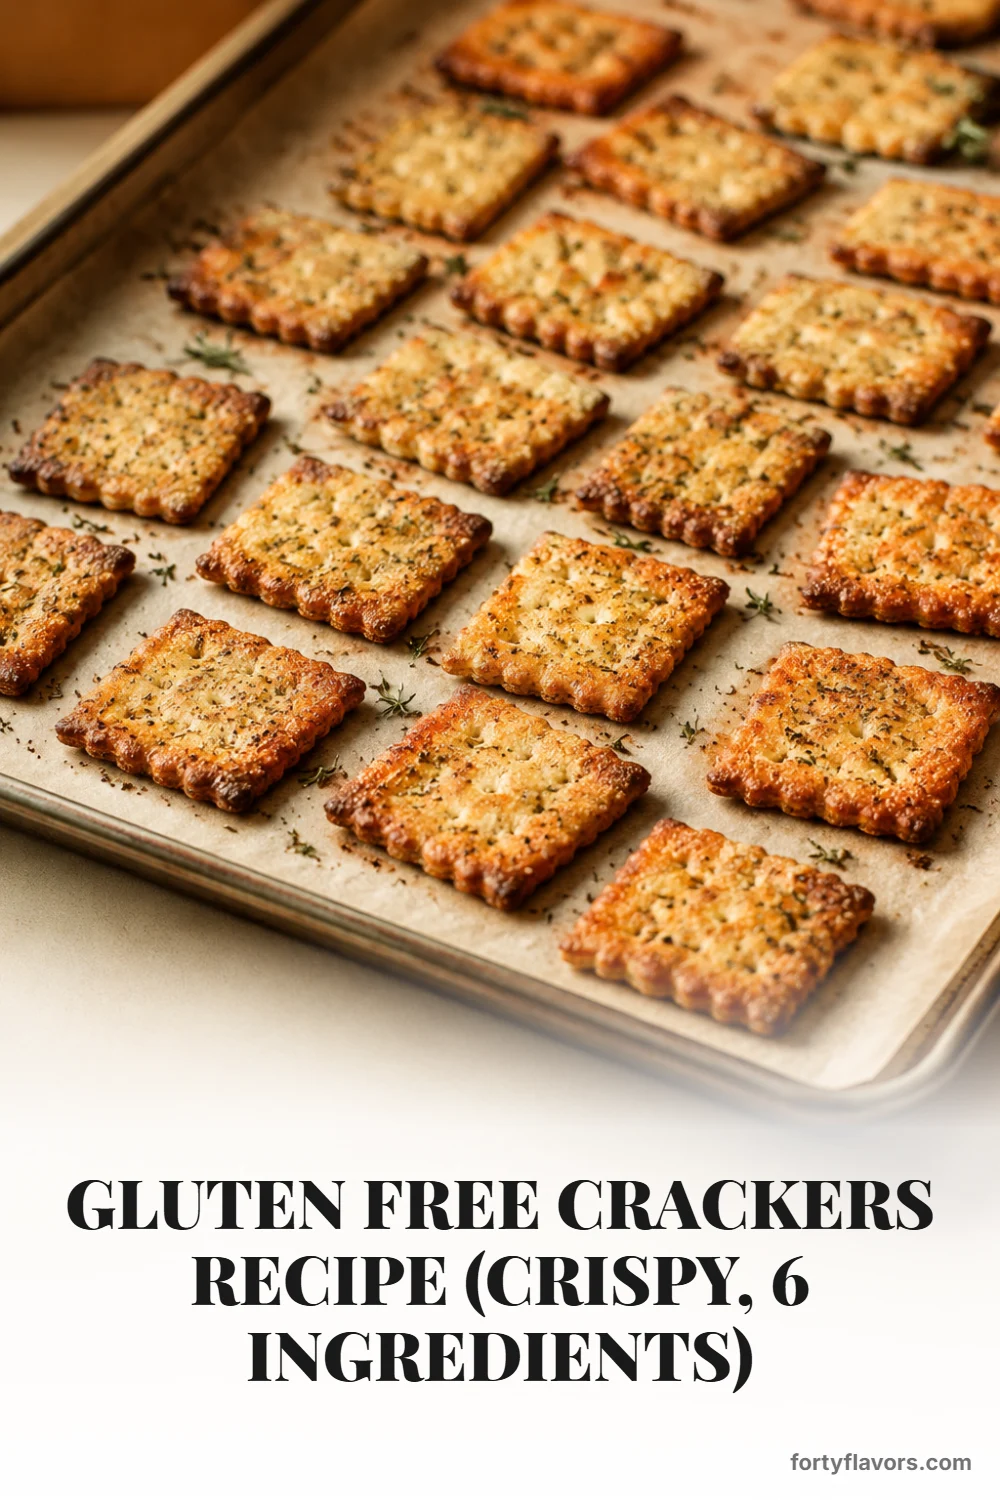
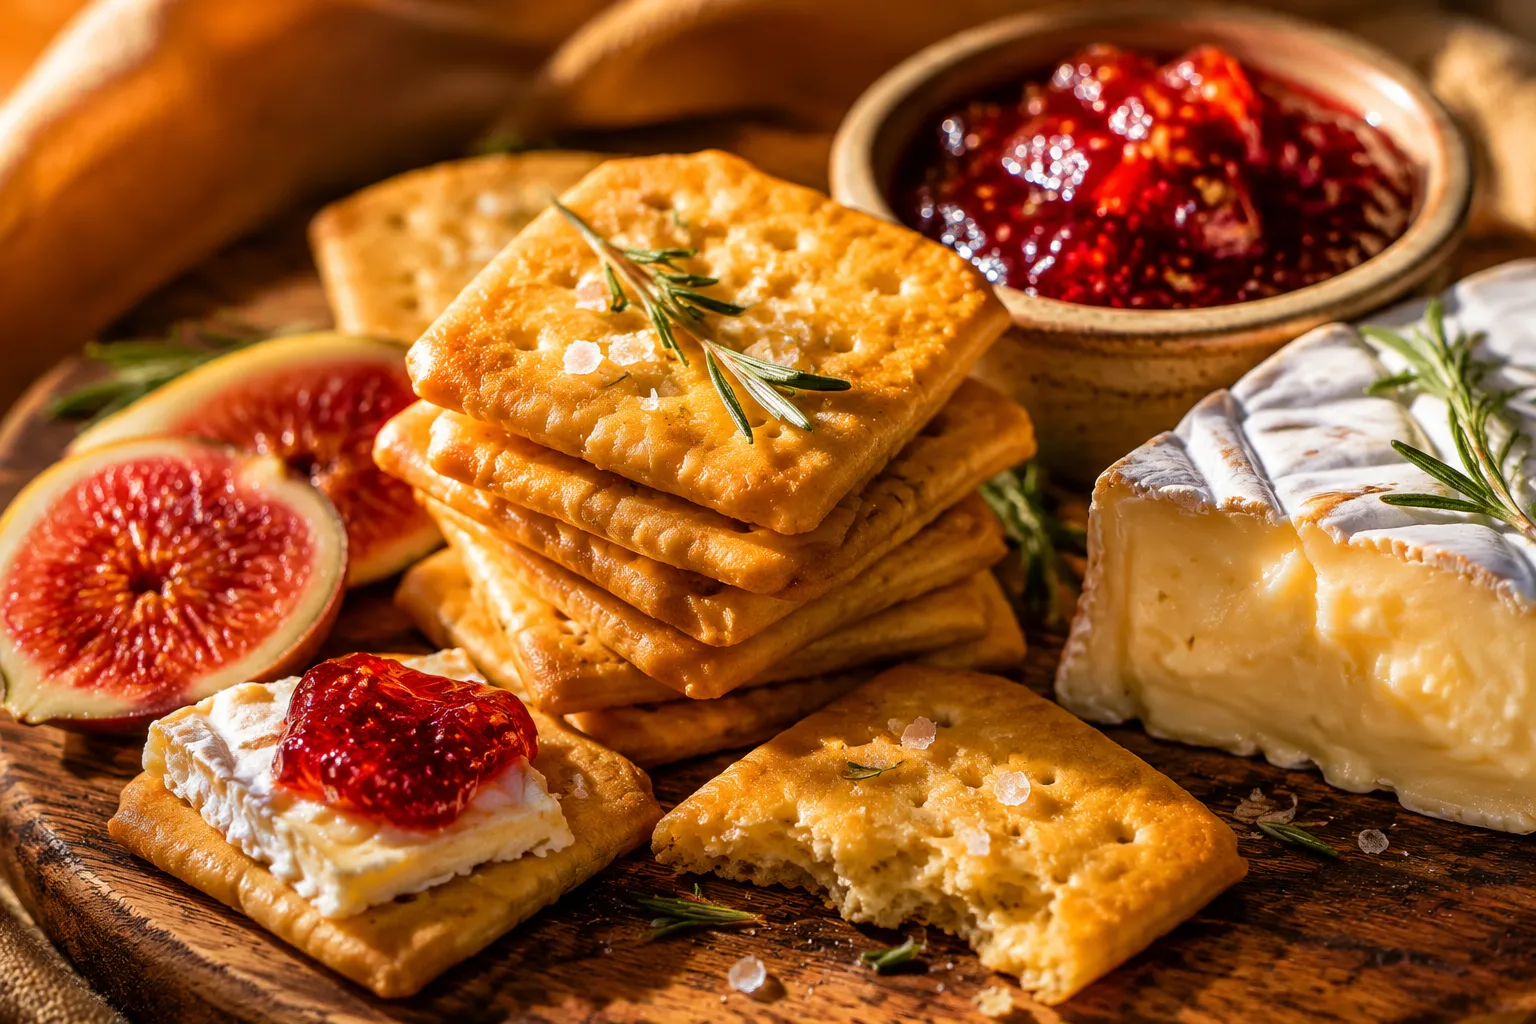
Once you taste these homemade gluten free crackers, you will never go back to the store-bought versions. They boast a rich, buttery flavor profile and a shatter-crisp texture that holds up beautifully to heavy dips and thick slices of sharp cheddar. Plus, the satisfaction of pulling a golden, fragrant tray of freshly baked crackers from your own oven is unmatched.
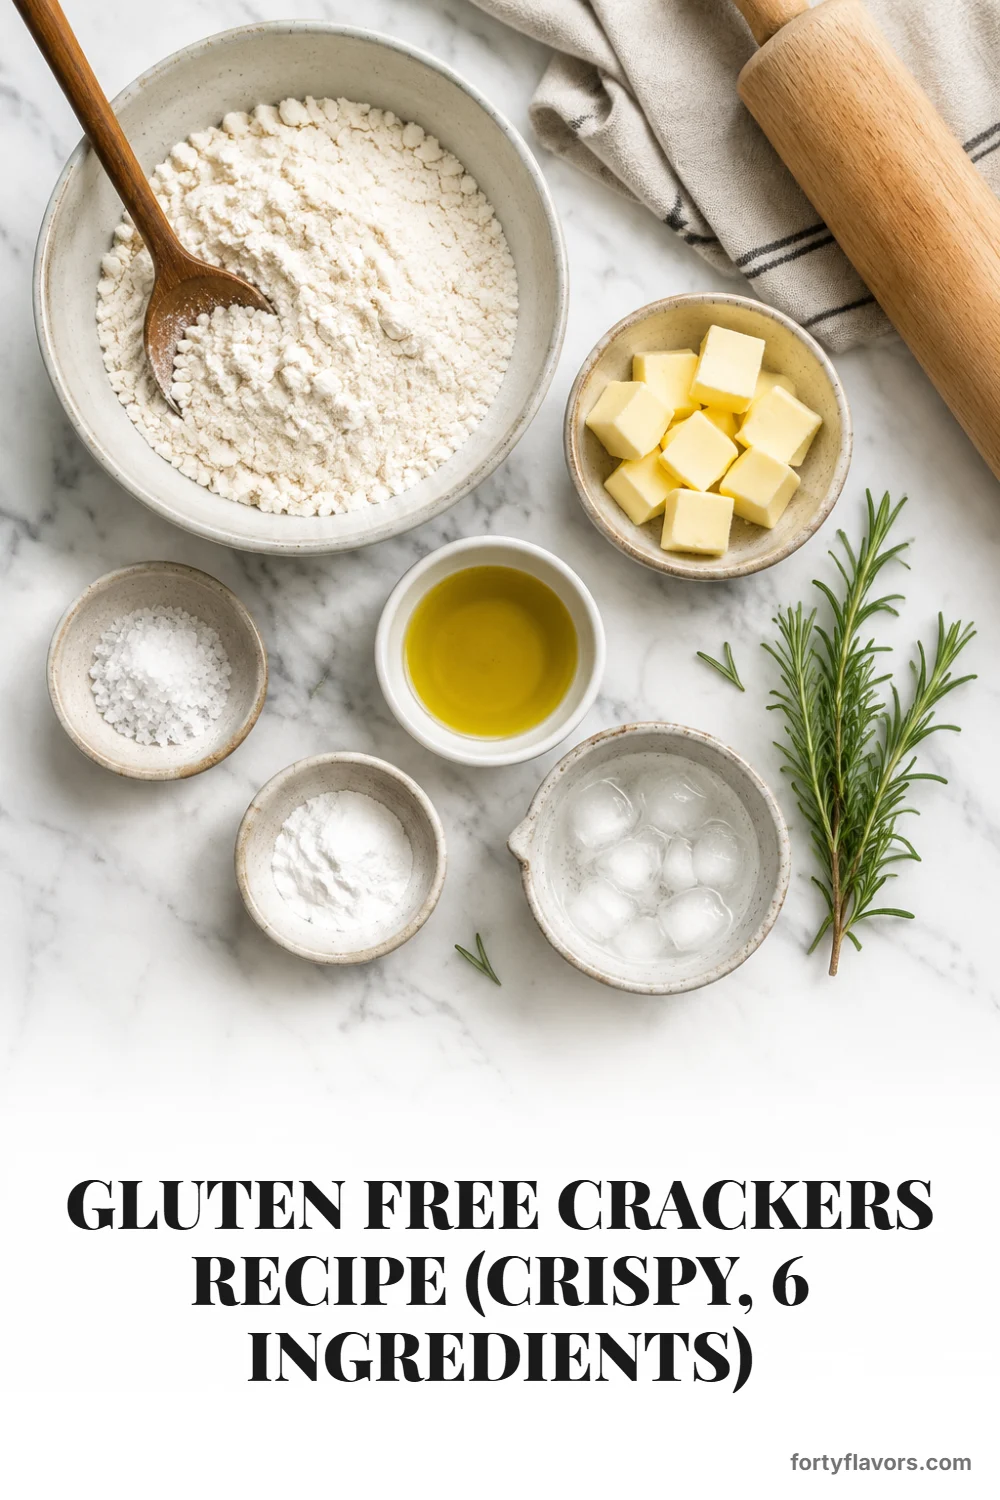
Ingredients for Homemade Gluten Free Crackers
The beauty of this recipe lies in its absolute simplicity. You likely already have everything you need sitting in your pantry and fridge right now. By keeping the ingredient list short, we allow the natural flavors of the butter, high-quality olive oil, and sea salt to shine through.
Best Gluten Free Flour Blend to Use
The absolute key to this recipe is using a high-quality gluten free flour blend that contains xanthan gum. A 1-to-1 or measure-for-measure blend (like Bob's Red Mill or King Arthur) provides the perfect balance of rice flour for crispness and starches for binding. Because these blends are pre-formulated, they take the guesswork out of gluten-free baking. Avoid using single flours like straight almond flour or coconut flour for this specific recipe, as they lack the necessary binding properties and will result in a soft, crumbly cracker rather than a snappy one.
Fat: Butter, Olive Oil, or Vegan Butter
Fat is what gives these crackers their rich flavor and tender-yet-crisp bite. We use a combination of cold unsalted butter and a splash of olive oil. The cold butter creates tiny pockets of steam in the oven, contributing to a flaky texture, while the olive oil adds a savory depth and helps hydrate the dough. If you are catering to multiple allergies, a simple dairy free butter swap works flawlessly. Just make sure your vegan butter is in stick form and chilled thoroughly before cutting it into the flour.
Flavor Boosters: Herbs, Seeds, and Salt
While the base dough is spectacular on its own, it also serves as a blank canvas for your favorite flavor boosters. A generous pinch of fine sea salt in the dough is non-negotiable for proper seasoning. From there, you can fold in finely chopped fresh rosemary, thyme, or cracked black pepper. Topping the rolled dough with flaky sea salt right before baking adds a professional bakery finish and a satisfying salty crunch to every bite.
How to Make Crisp Crackers Step by Step
Finding a reliable gluten free cracker recipe that doesn't require ten different specialty flours is a triumph, but the technique is just as important as the ingredients. The process is very similar to making a pie crust, but much more forgiving.
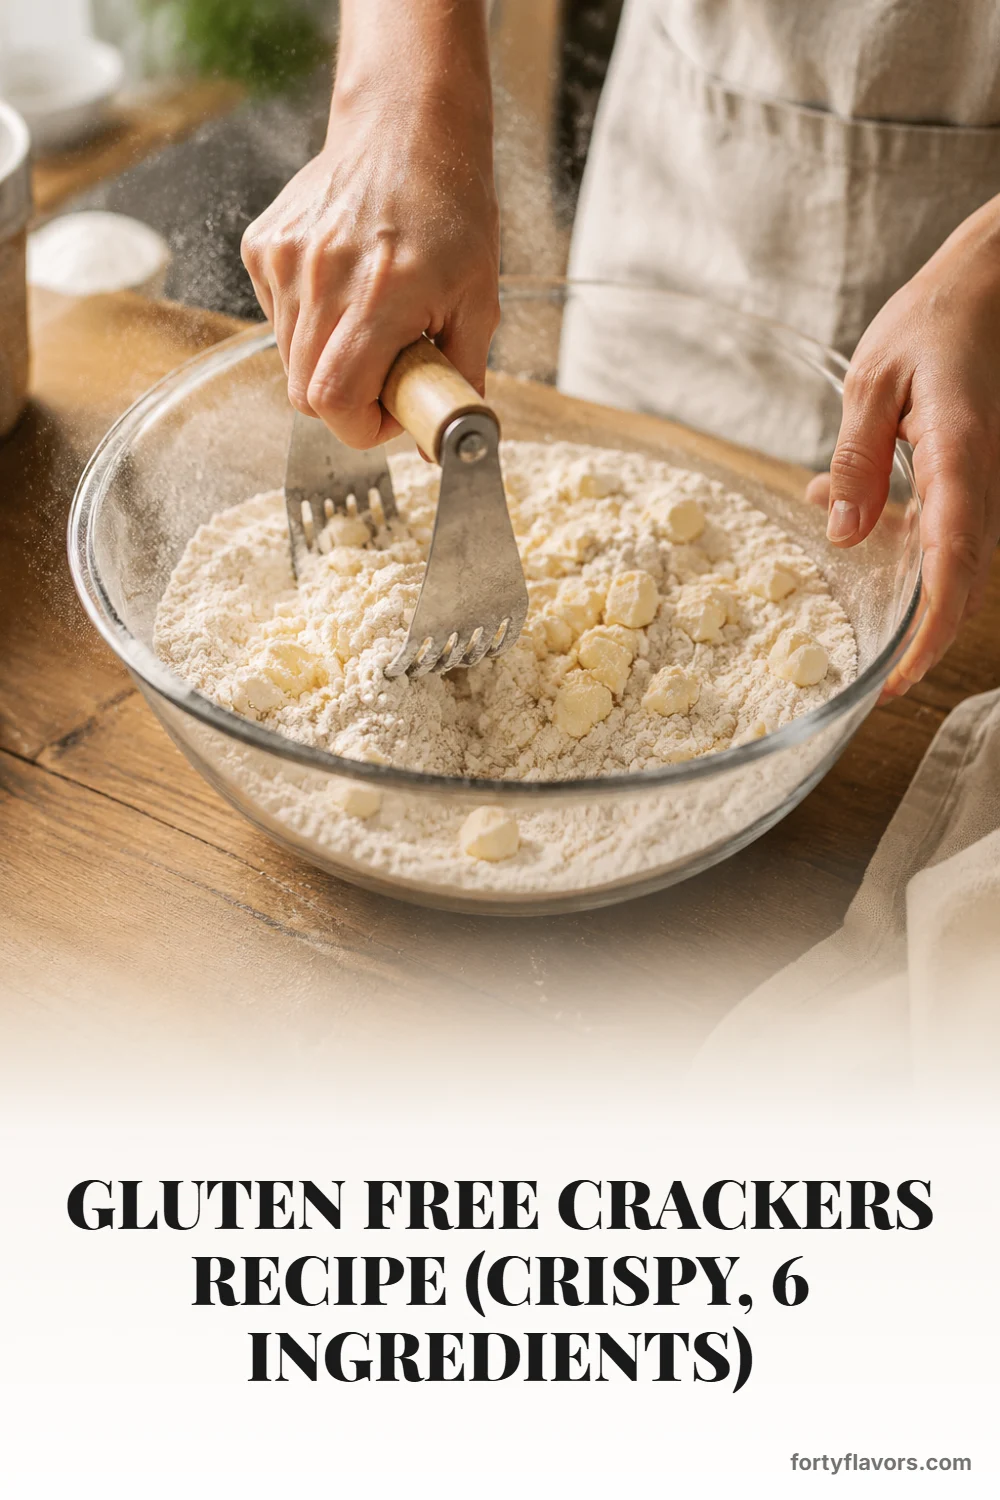
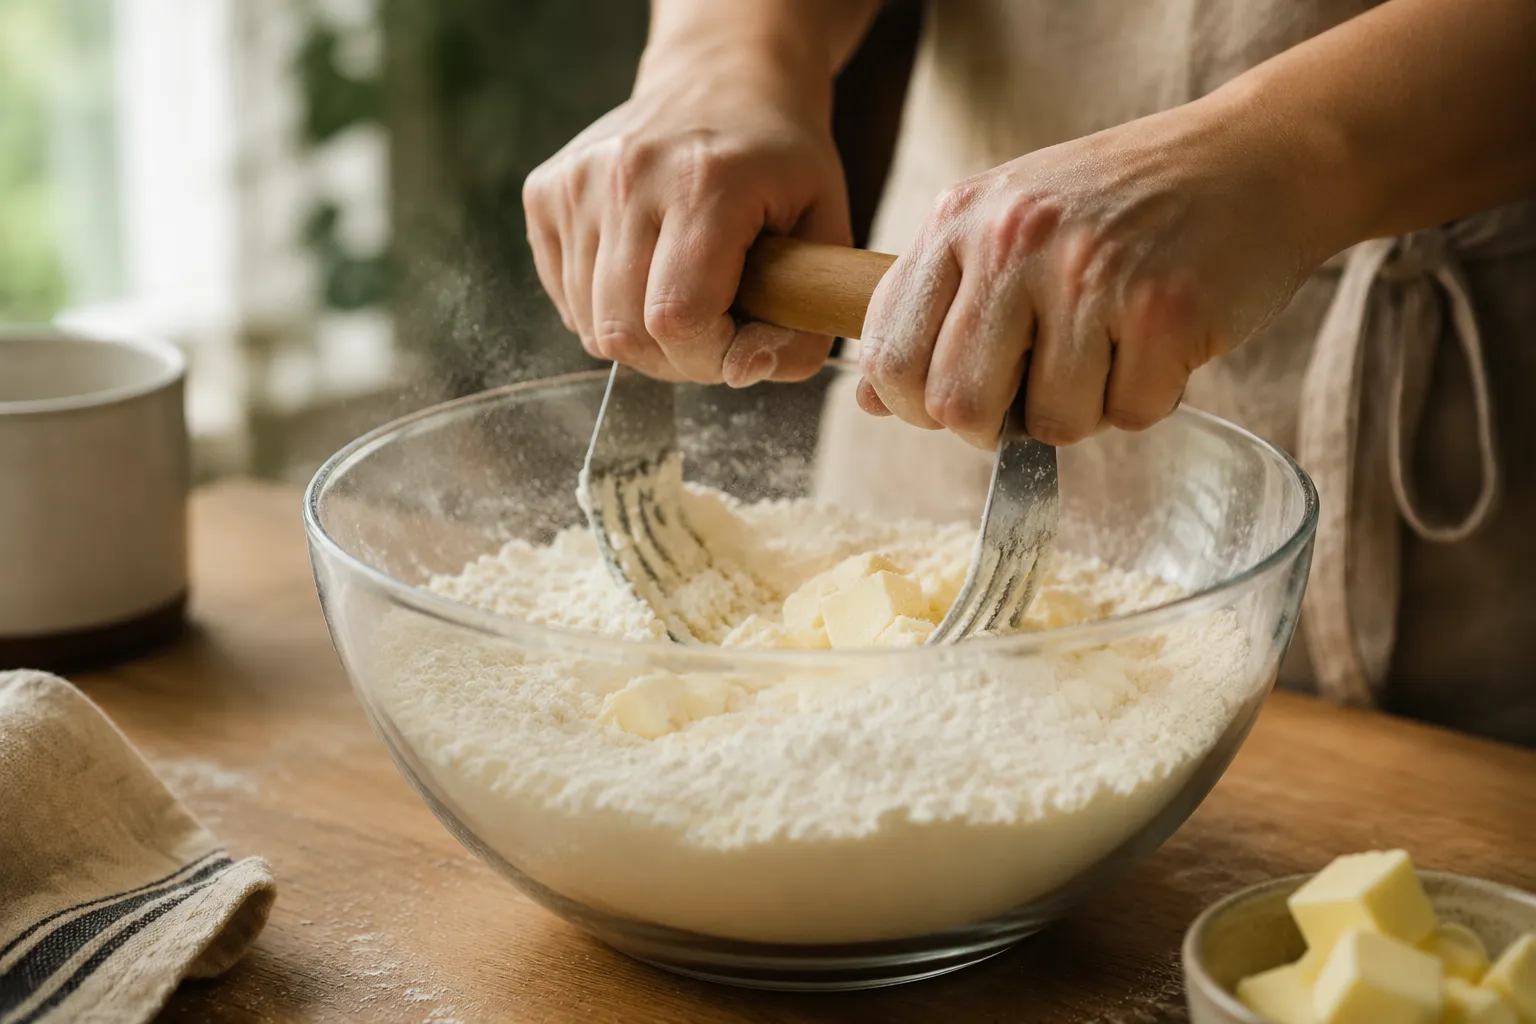
Mix and Hydrate the Dough
Start by whisking your dry ingredients together in a large mixing bowl to ensure the baking powder and salt are evenly distributed. Next, cut the cold butter into the flour mixture using a pastry blender or your fingers. You want to work quickly so the butter stays cold, stopping when the mixture resembles coarse meal with a few pea-sized pieces of butter remaining. Drizzle in the olive oil and ice-cold water, stirring with a wooden spoon or a fork until the dough just begins to clump together.
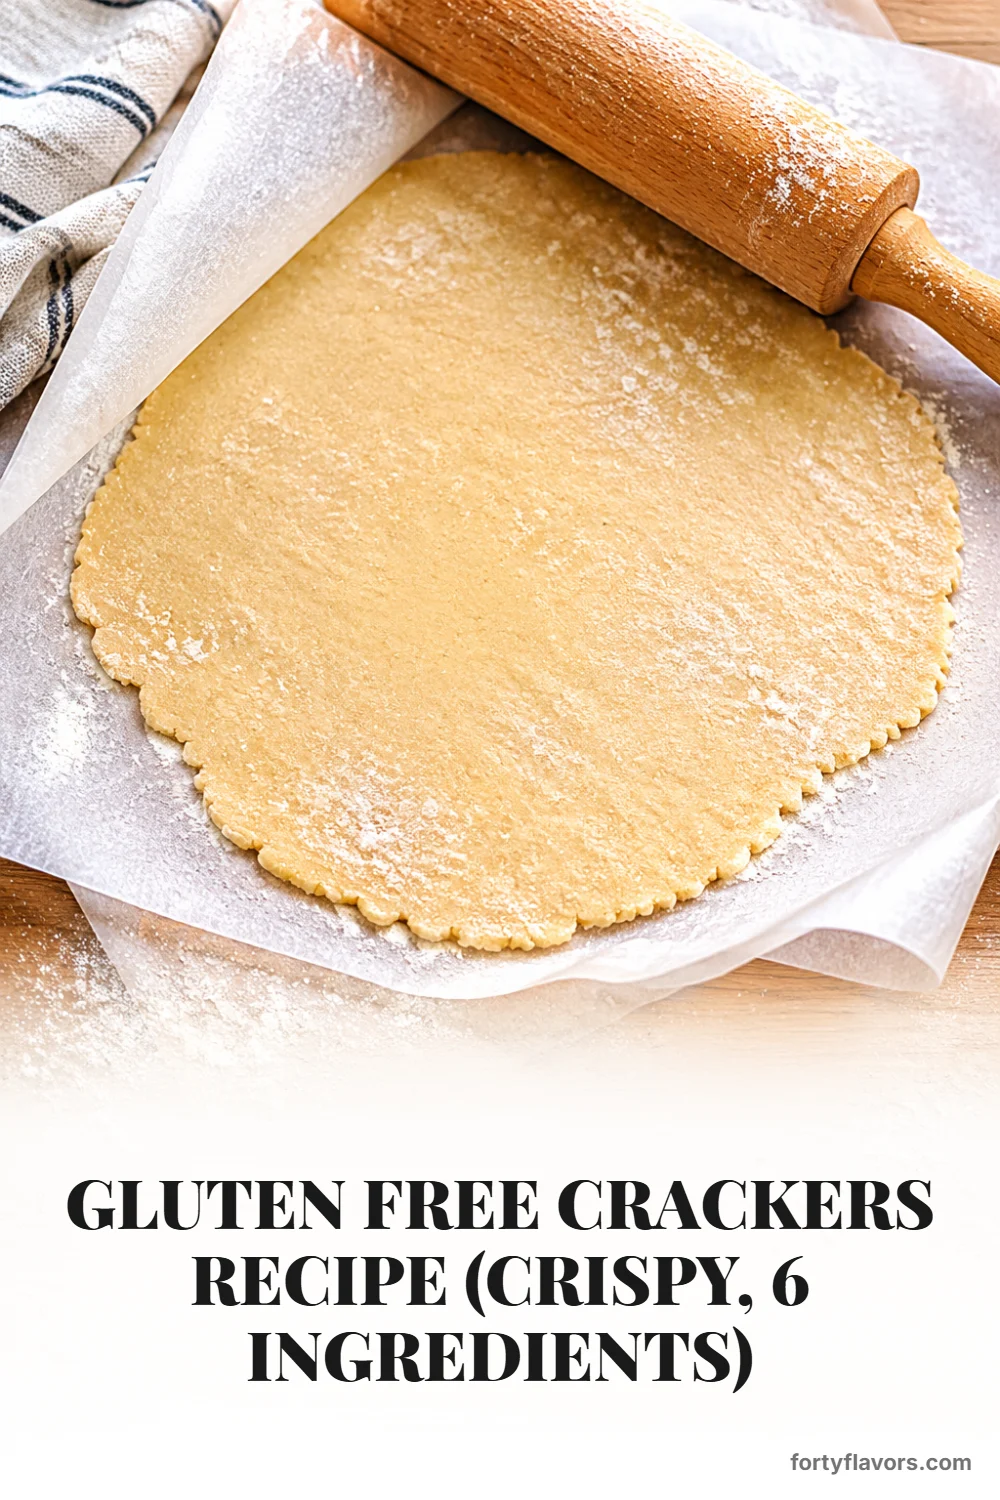
Roll Thin Between Parchment
This is the most crucial step to ensure they get beautifully crispy in the oven. Turn the hydrated dough out onto a sheet of parchment paper, form it into a cohesive disk, and place a second sheet of parchment paper directly on top. Using a rolling pin, roll the dough out as evenly as possible. You are aiming for a thickness of about 1/16th of an inch—almost paper-thin. If the dough is too thick, the crackers will be tough and chewy instead of light and snappy. Take your time here, rolling from the center outwards and occasionally lifting the top parchment to smooth out any wrinkles.
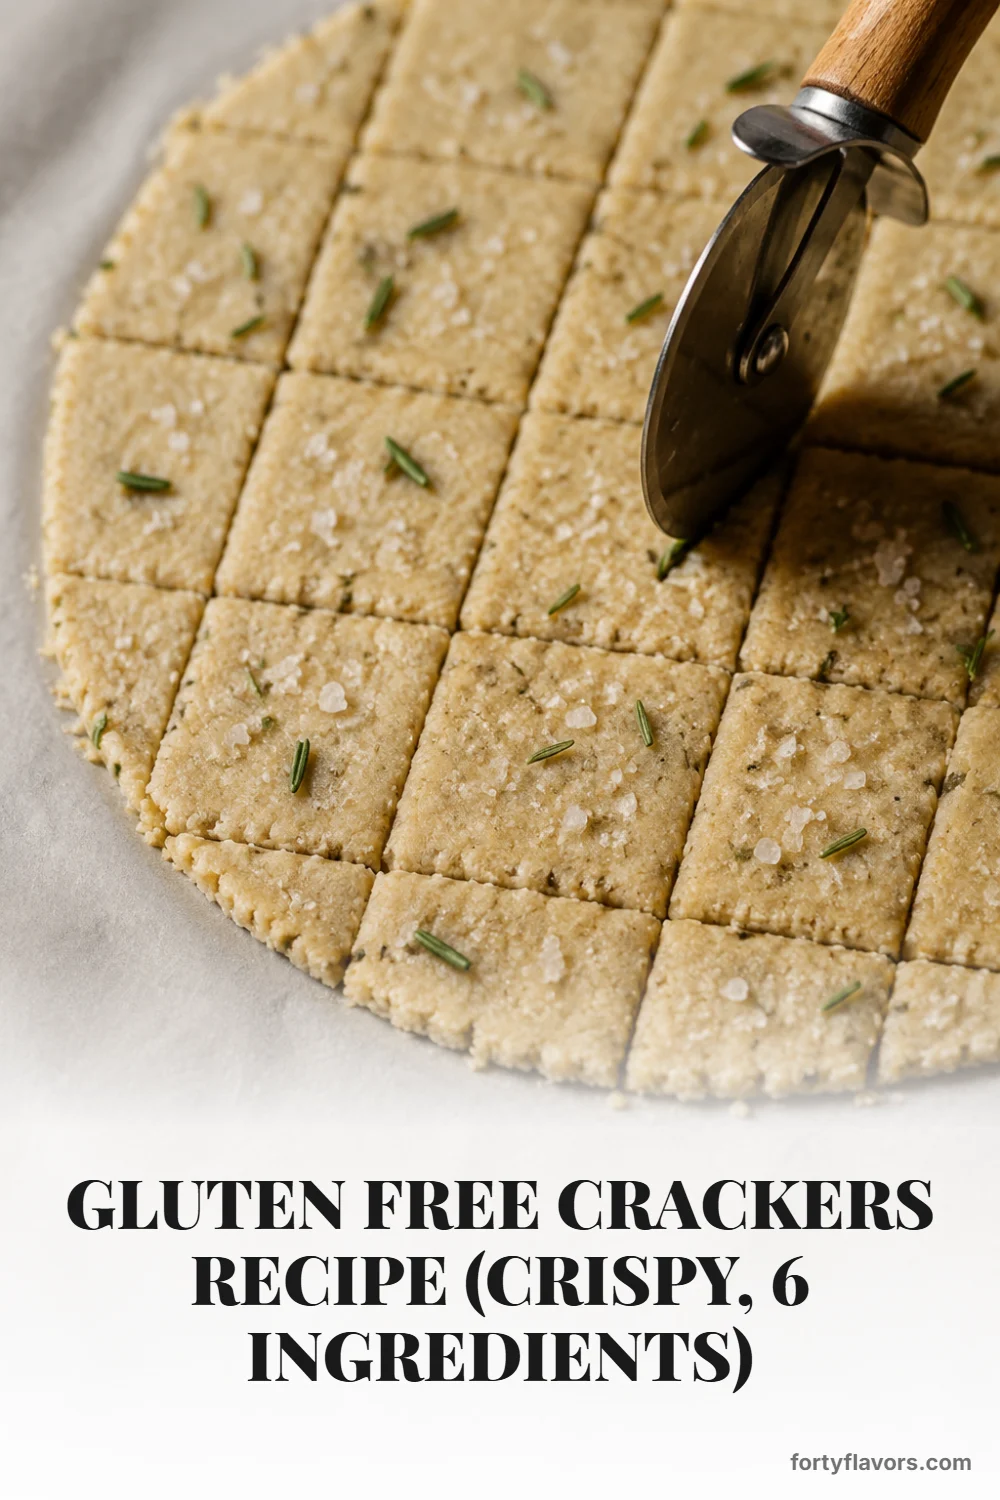
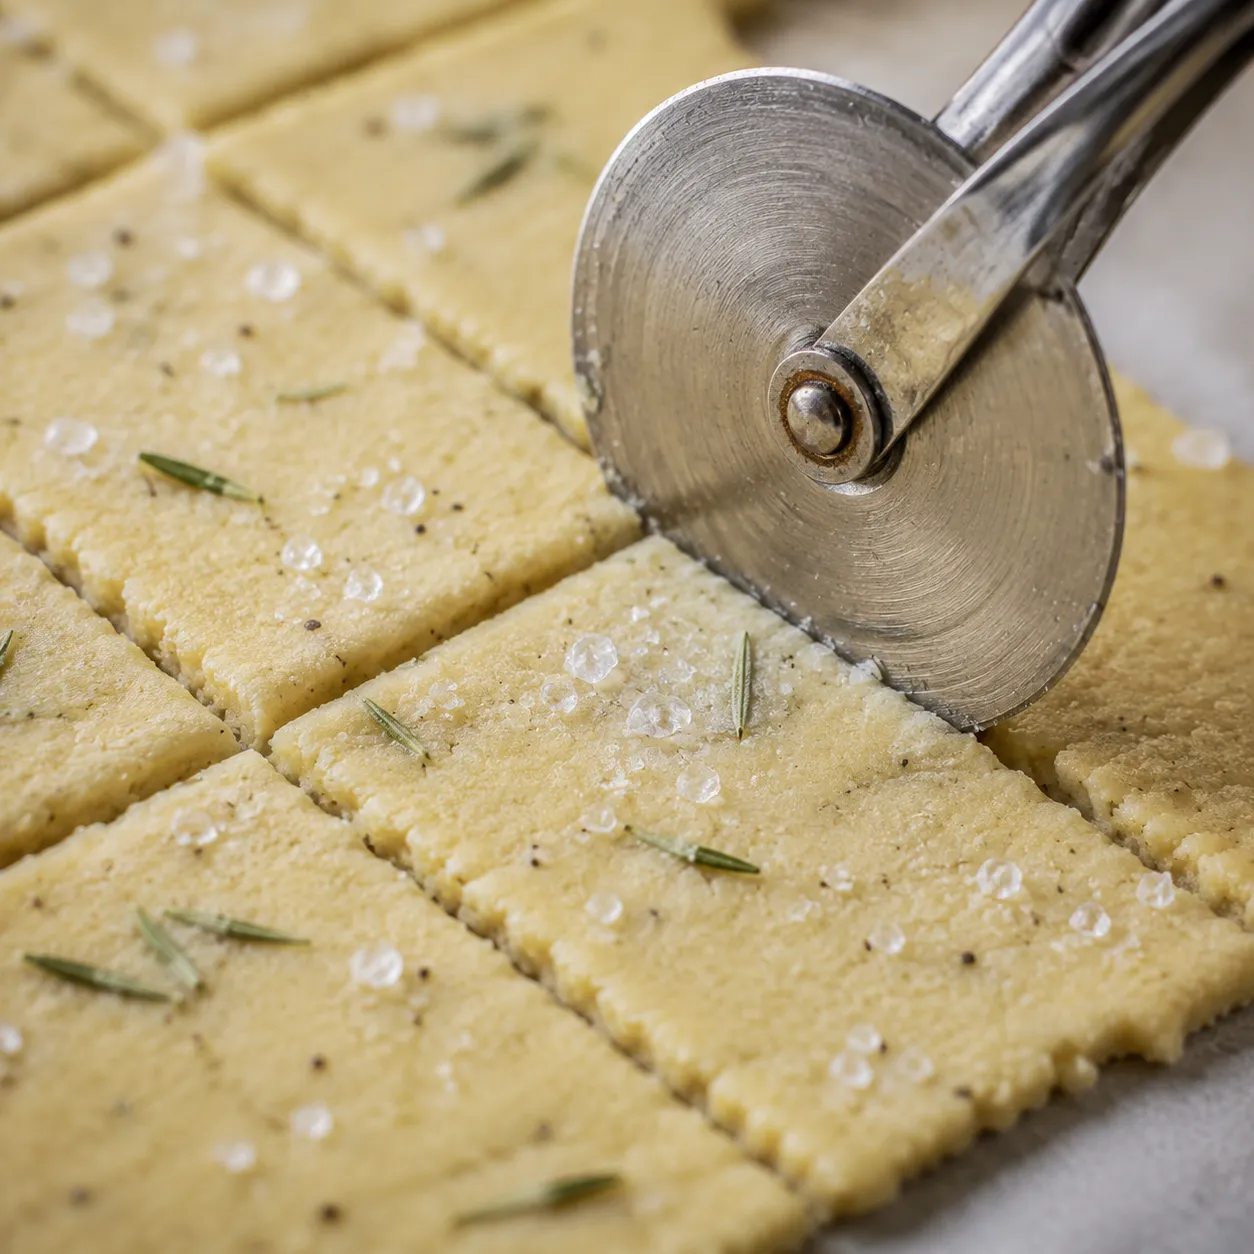
Score, Bake, and Cool for Maximum Crunch
Once your dough is perfectly thin, peel off the top layer of parchment. Use a pizza cutter, a sharp knife, or a fluted pastry wheel to score the dough into squares or rectangles. You do not need to separate the pieces; scoring them allows them to snap apart cleanly after baking. Prick each square with the tines of a fork to prevent them from puffing up like little pillows, then brush lightly with water and sprinkle with flaky sea salt.
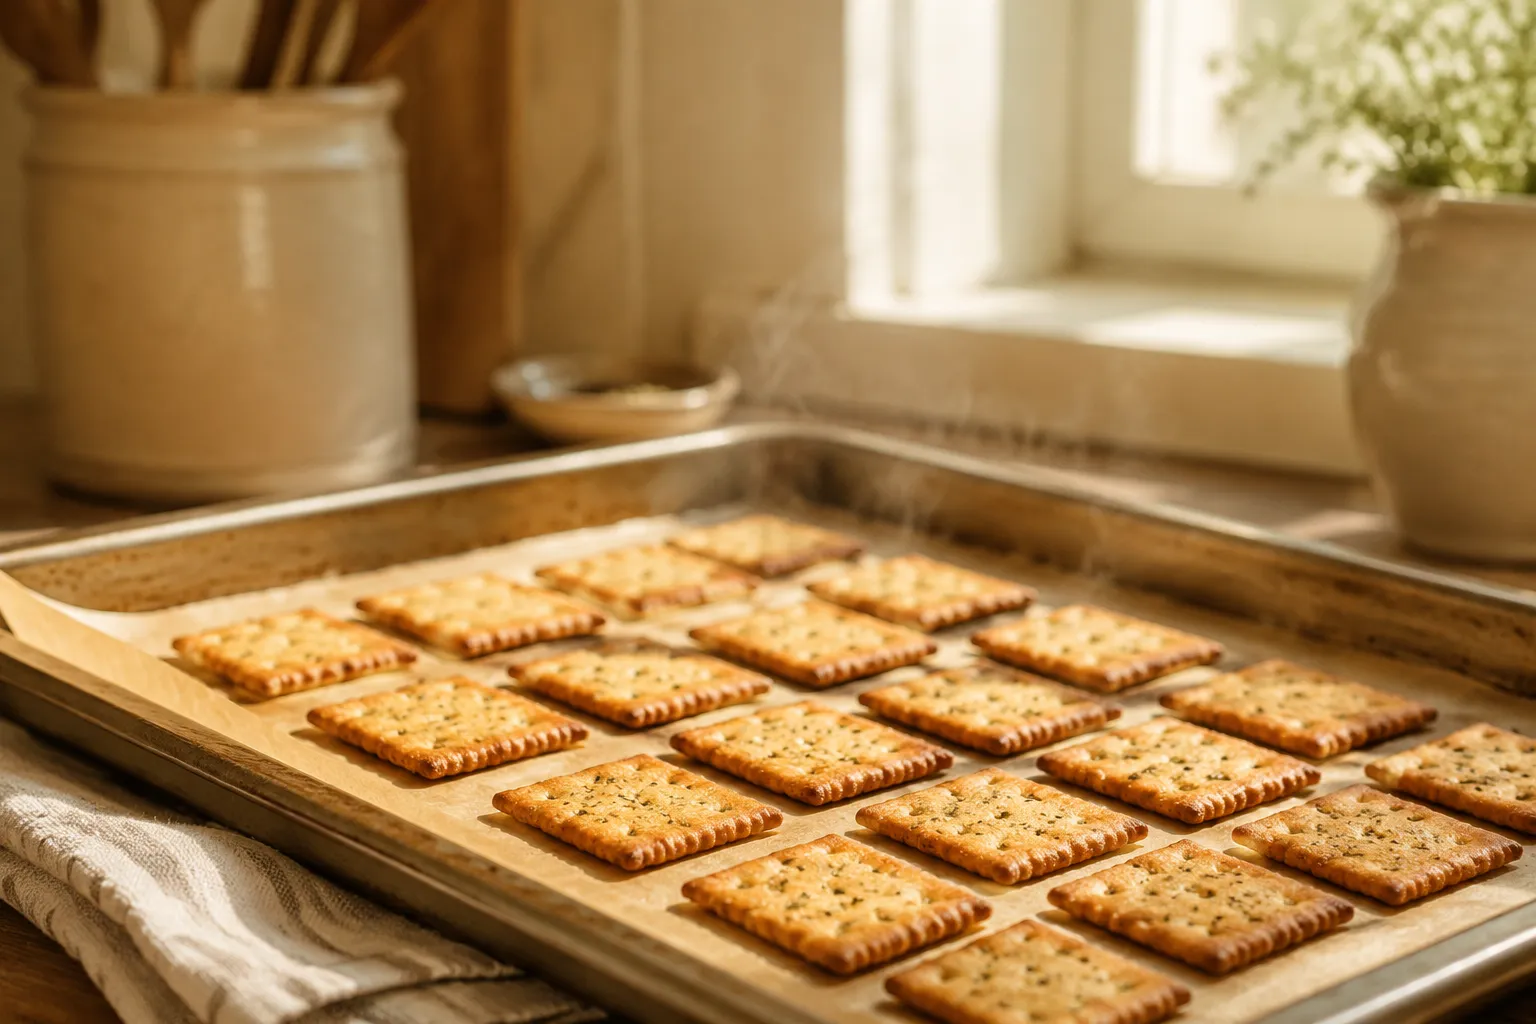
Slide the bottom parchment sheet with the scored dough directly onto a baking sheet. Bake in a preheated oven until the edges are deeply golden brown and the center feels set. The crackers will continue to crisp up as they cool, so it is vital to let them rest on the baking sheet for a few minutes before transferring them to a wire cooling rack. Do not skip the cooling step; residual heat evaporates the last bits of moisture, locking in that perfect crunch.
Creative Ways to Customize Your Dough
One of the greatest joys of mastering this base recipe is the endless potential for customization. You can easily split the dough in half and create two completely different flavor profiles for a party platter. Fold a tablespoon of everything bagel seasoning into the dry ingredients for a robust, garlicky bite that pairs perfectly with cream cheese. Alternatively, if you have a sweet tooth, you can even transform this base into gluten free graham crackers by adding a touch of cinnamon, a spoonful of brown sugar, and a drizzle of honey.
When making sweeter variations, keep a close eye on the oven, as the added sugars can cause the edges to brown much faster. You can also experiment with nutritional yeast for a cheesy, vegan-friendly flavor, or stir in crushed dried chilies if you prefer a spicy kick. The dough handles mix-ins beautifully as long as they are finely chopped or ground.
How to Serve Your Freshly Baked Crackers
There is nothing better than serving freshly baked gluten free crackers to guests and watching their eyes light up when you tell them they are homemade. Unlike store-bought gluten-free crackers that often taste like cardboard, these have a rich, buttery elegance that elevates any dish they accompany.
Cheese Boards and Charcuterie
These crackers are the ultimate supporting actor for a spectacular cheese board. Arrange them around a festive gluten free cheese ball for your next holiday gathering, or fan them out next to a wedge of creamy brie and a dish of sweet fig jam. Their sturdy structure means they won't shatter when spread with soft cheeses, and their neutral, buttery flavor won't overpower delicate aged cheddars or robust blue cheeses.
Soups and Salads
Skip the croutons and serve a handful of these crispy squares alongside your favorite warming soups. They are fantastic floated on top of a velvety tomato bisque or a hearty butternut squash soup. You can also crush leftover crackers over a crisp Caesar salad for a buttery, salty crunch that mimics traditional breadcrumbs perfectly.
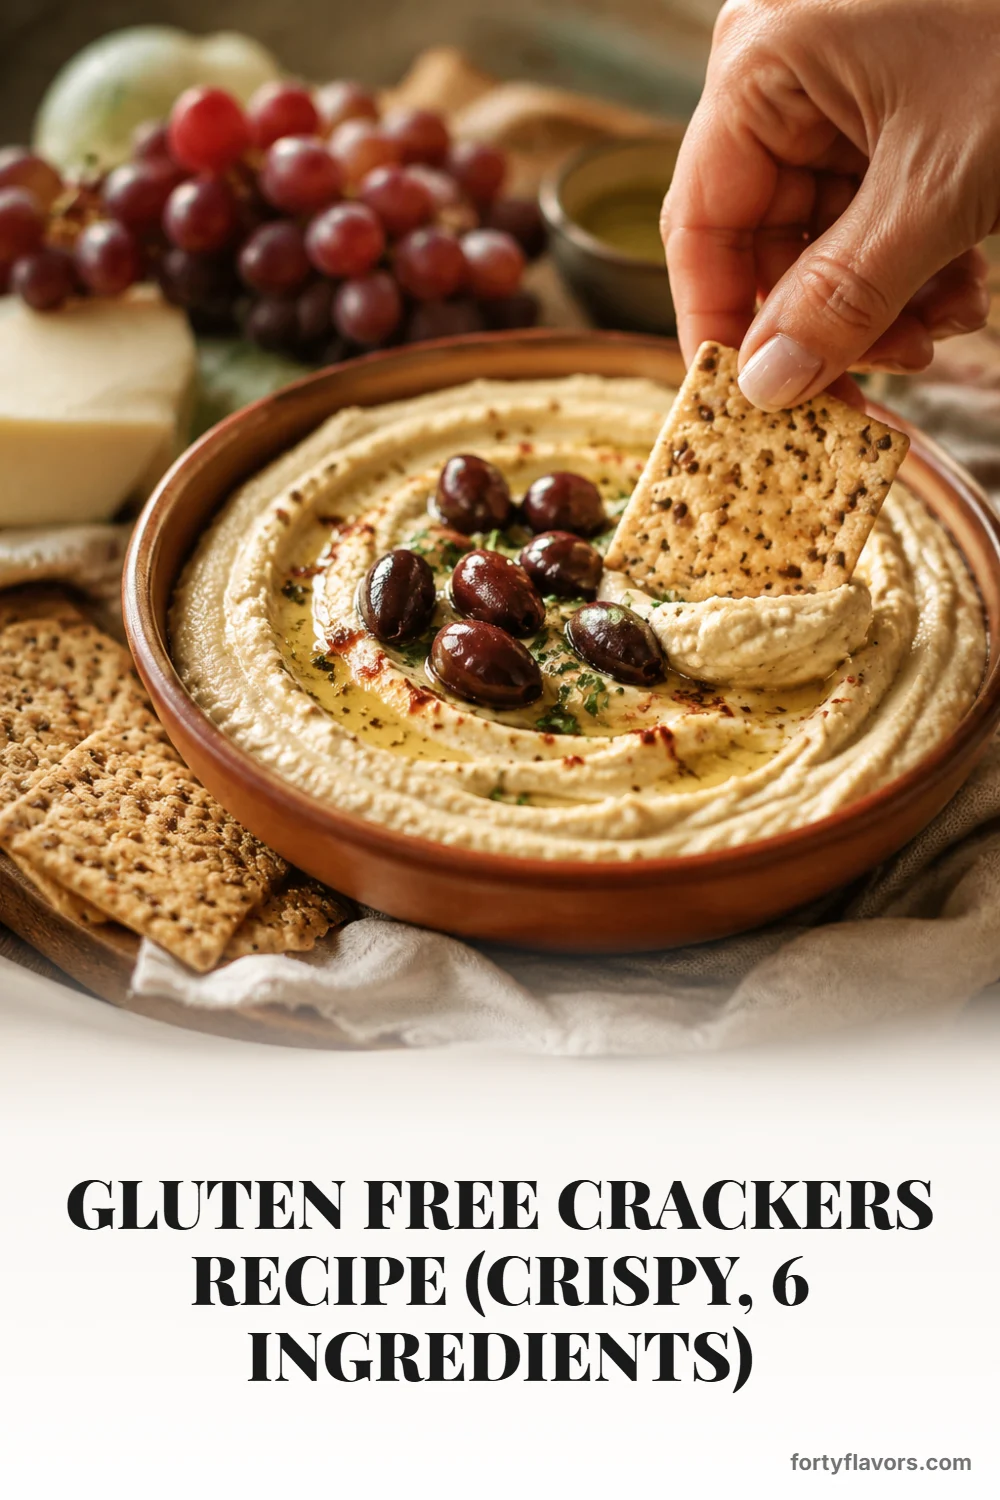
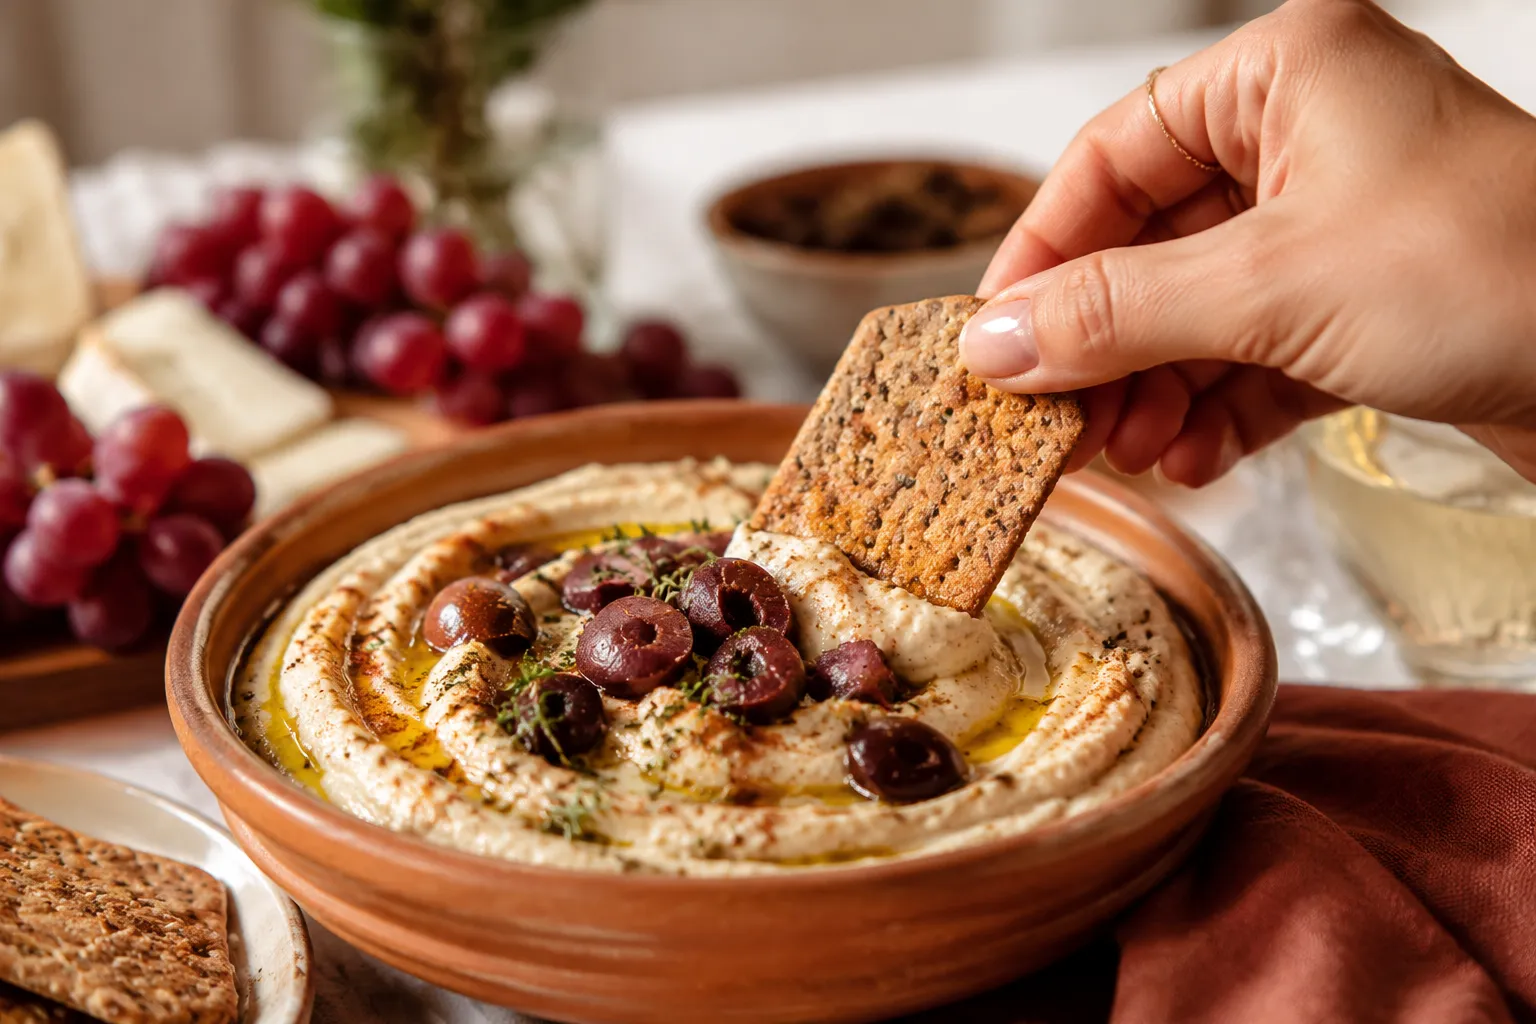
Dips and Spreads
Because we roll this dough thin but bake it until deeply golden, the resulting crackers are incredibly structurally sound. They are sturdy enough to plunge into a thick bowl of homemade hummus without snapping in half. Serve them with spinach artichoke dip, whipped feta, or a classic French onion dip for an irresistible appetizer spread.
Keeping Your Pantry Stocked
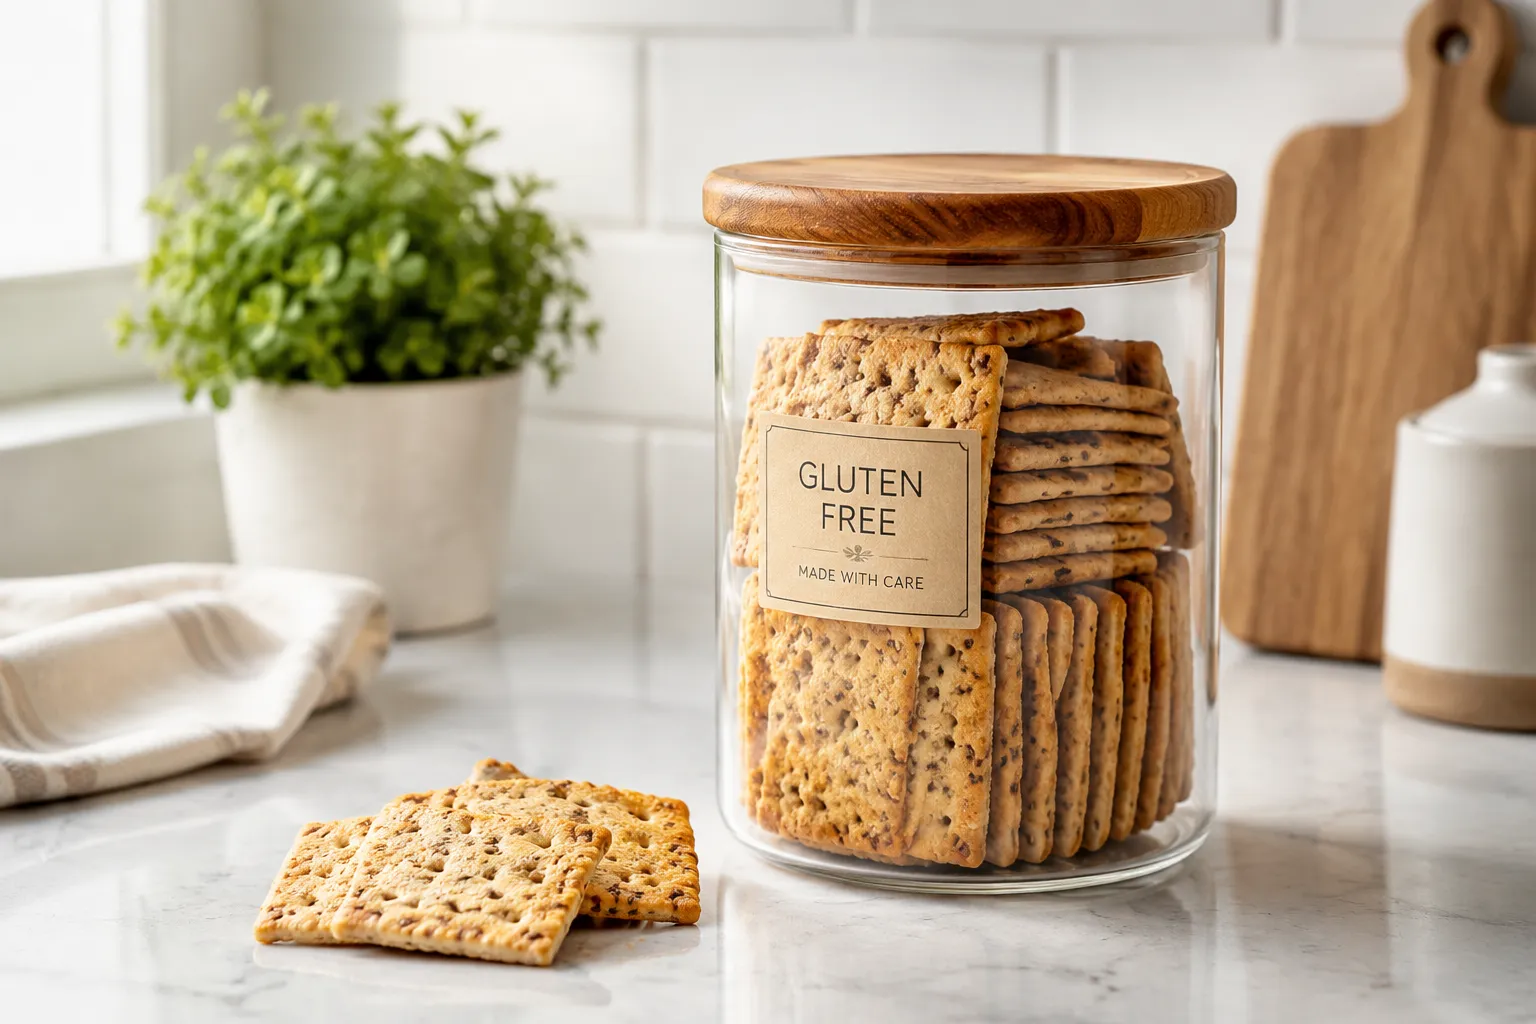
Once you get the hang of this simple method, you will want to keep a batch of these crackers on hand at all times. They store exceptionally well, making them a brilliant make-ahead option for meal prep or upcoming parties. The most important rule for preserving their texture is to ensure they are 100% cool before you even think about putting them in a container. Even the slightest hint of residual warmth will create condensation inside the jar, leading to sad, soggy crackers.
Pack them into an airtight glass jar or a tin container and keep them at room temperature. If you live in a particularly humid climate and notice them losing their snap after a few days, don't panic. A quick trip to a warm oven for three to four minutes will draw out the moisture and return them to their original, shatter-crisp glory.
💡 Expert Tips
Roll Thinner Than You Think: The secret to a truly crispy cracker is rolling the dough to an almost paper-thin 1/16th of an inch. If it's too thick, it will be chewy.
Watch the Edges in the Final Minutes: Gluten-free flours can go from golden to burnt quickly. Keep a close eye on the oven during the last 3 minutes of baking.
Cool Completely Before Storing: Let the crackers cool entirely on a wire rack. Any residual heat will cause condensation in your storage container, ruining the crunch.
Hydrate Carefully: Add your ice water one tablespoon at a time. You want the dough to just hold together when pinched, not be sticky or wet.
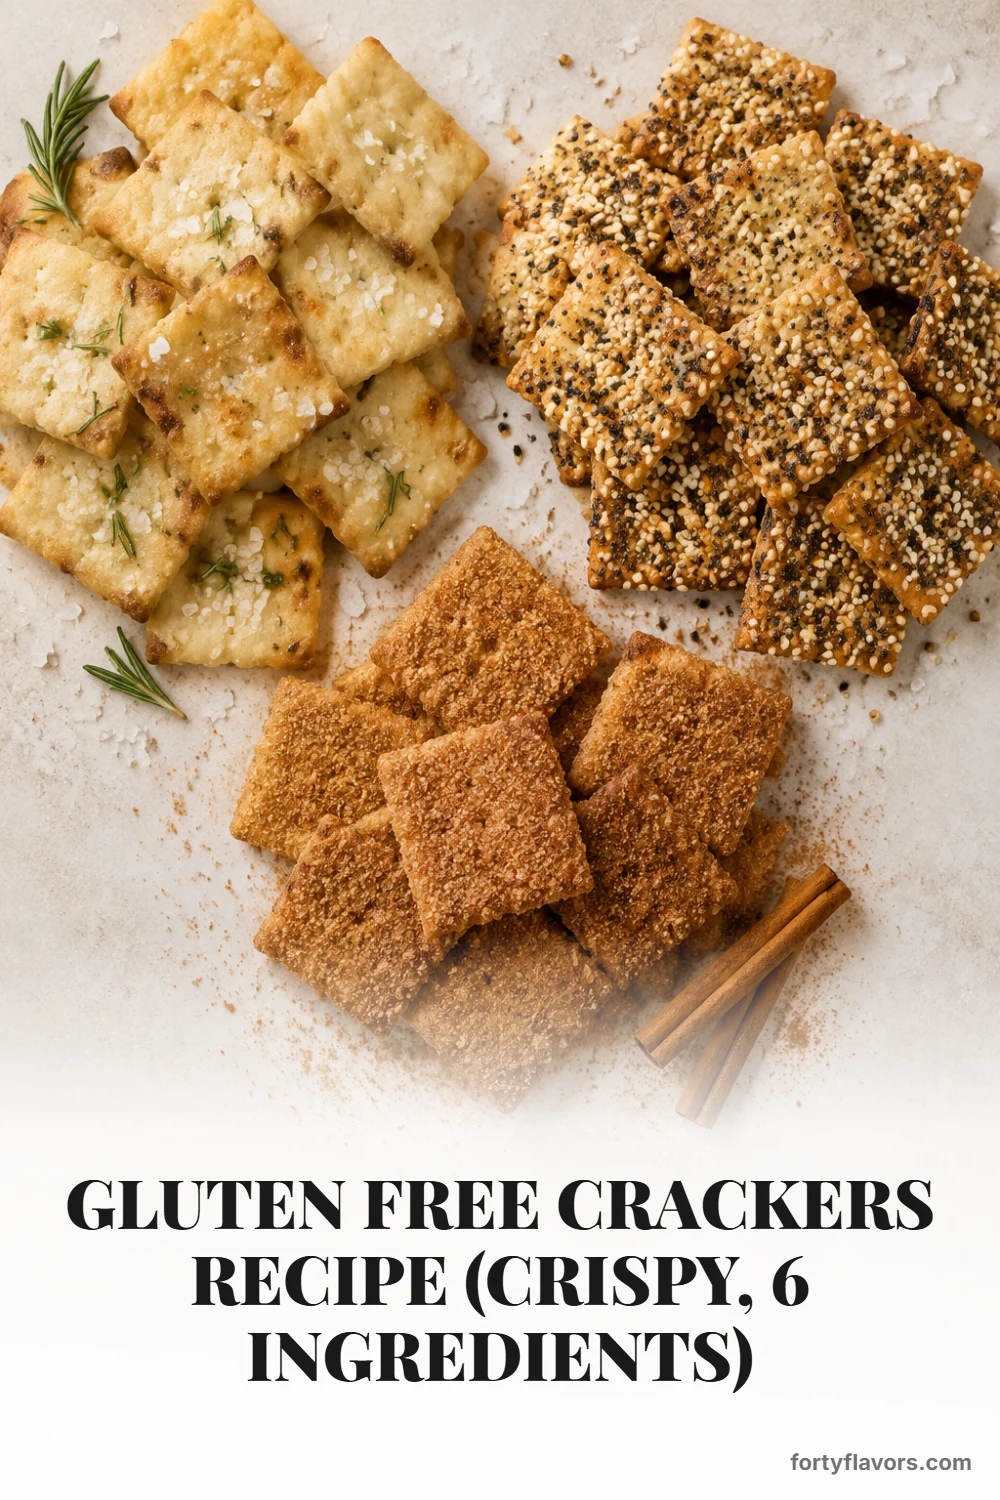
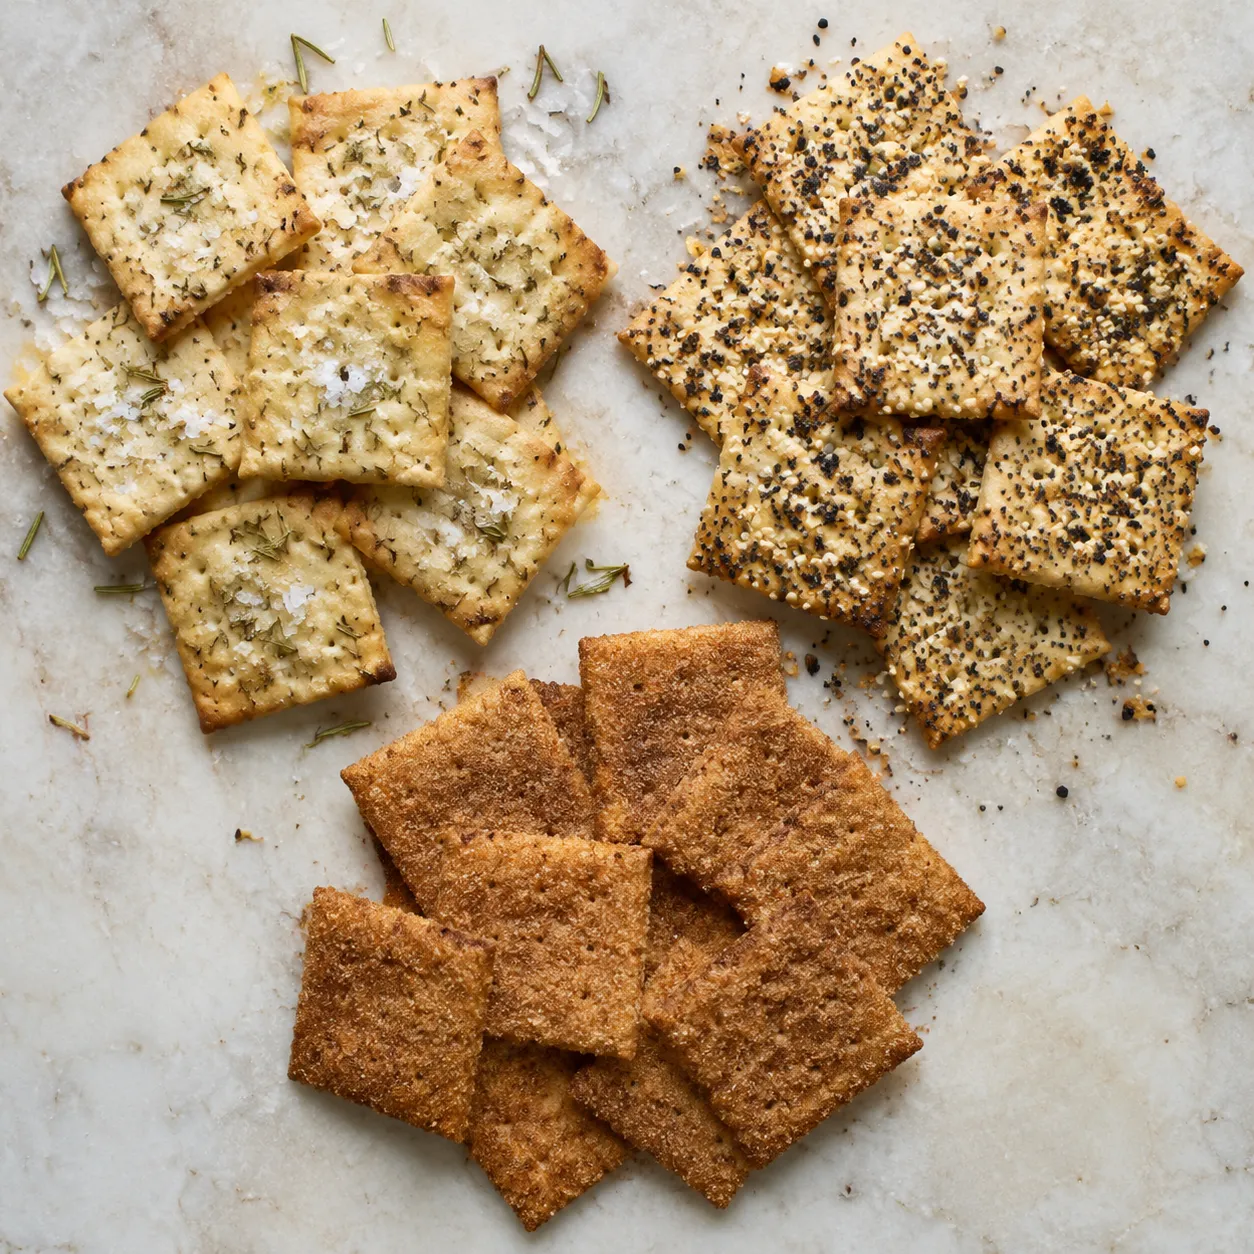
🔄 Variations & Substitutions
This versatile dough is a blank canvas for your favorite flavor profiles. Simply whisk your chosen dry seasonings into the flour blend before cutting in the butter.
Rosemary Sea Salt: Add 1 tablespoon of finely chopped fresh rosemary to the dough and top with coarse flaky sea salt before baking.
Everything Bagel Seasoning: Mix 1 tablespoon of everything bagel seasoning into the dry ingredients and sprinkle a little extra on top.
Sweet Cinnamon (Graham Style): Add 2 tablespoons of brown sugar and 2 teaspoons of cinnamon to the dry mix. Swap the olive oil for a neutral oil and add 1 tablespoon of honey.
Cheesy Vegan: Add 2 tablespoons of nutritional yeast and a pinch of garlic powder to the flour for a savory, cheese-like flavor.
🧊 Storage & Leftovers
To keep your crackers as crisp as the day they were baked, store them in an airtight glass jar or metal tin at room temperature for up to one week. Avoid plastic bags, as they tend to trap microscopic moisture that softens the crackers over time.
If you want to make a large batch, these freeze beautifully. Place the completely cooled baked crackers in a freezer-safe container for up to 2 months. You can also revive any crackers that have gone slightly soft (whether from humidity or freezing) by placing them on a baking sheet in a 300°F oven for 3 to 5 minutes until crisp again.
Save This Recipe to Pinterest
Hover any image and hit “Pin it” to save it to your Pinterest boards.
A high-quality 1-to-1 gluten free flour blend (like Bob's Red Mill or King Arthur Measure for Measure) gives the most consistent, crisp texture because it contains binders like xanthan gum. Using a single flour like almond flour alone will result in a softer, more crumbly cracker rather than a snappy one.
Why are my gluten free crackers soft instead of crispy?
There are usually two culprits for soft crackers: the dough was rolled too thick, or the crackers were pulled from the oven before the edges turned deep golden brown. Make sure to roll the dough paper-thin between parchment and bake until fully crisp. Letting them cool completely on a wire rack also locks in the crunch.
Can I make these gluten free crackers vegan and dairy free?
Yes, absolutely! You can easily swap the regular butter for cold vegan butter sticks or chilled, solid coconut oil at a 1:1 ratio. The texture stays wonderfully flaky and snappy with either dairy-free fat substitute.
How do I turn this into gluten free graham crackers?
To make a sweet graham-style cracker, add 2 tablespoons of brown sugar, 2 teaspoons of ground cinnamon, and 1 tablespoon of honey or maple syrup to the dough. Reduce the salt slightly, and bake until deeply golden. Watch them closely, as the added sugars make them brown faster.
How long do homemade gluten free crackers stay fresh?
When stored in an airtight container (preferably glass or a metal tin) at room temperature, they will stay fresh and crispy for up to 1 week. You can also freeze baked crackers for up to 2 months. If they ever soften, simply re-crisp them for 3 minutes in a 300°F oven.