Coconut and Milk: How to Make Creamy Coconut Milk at Home
Ingredients
Scale
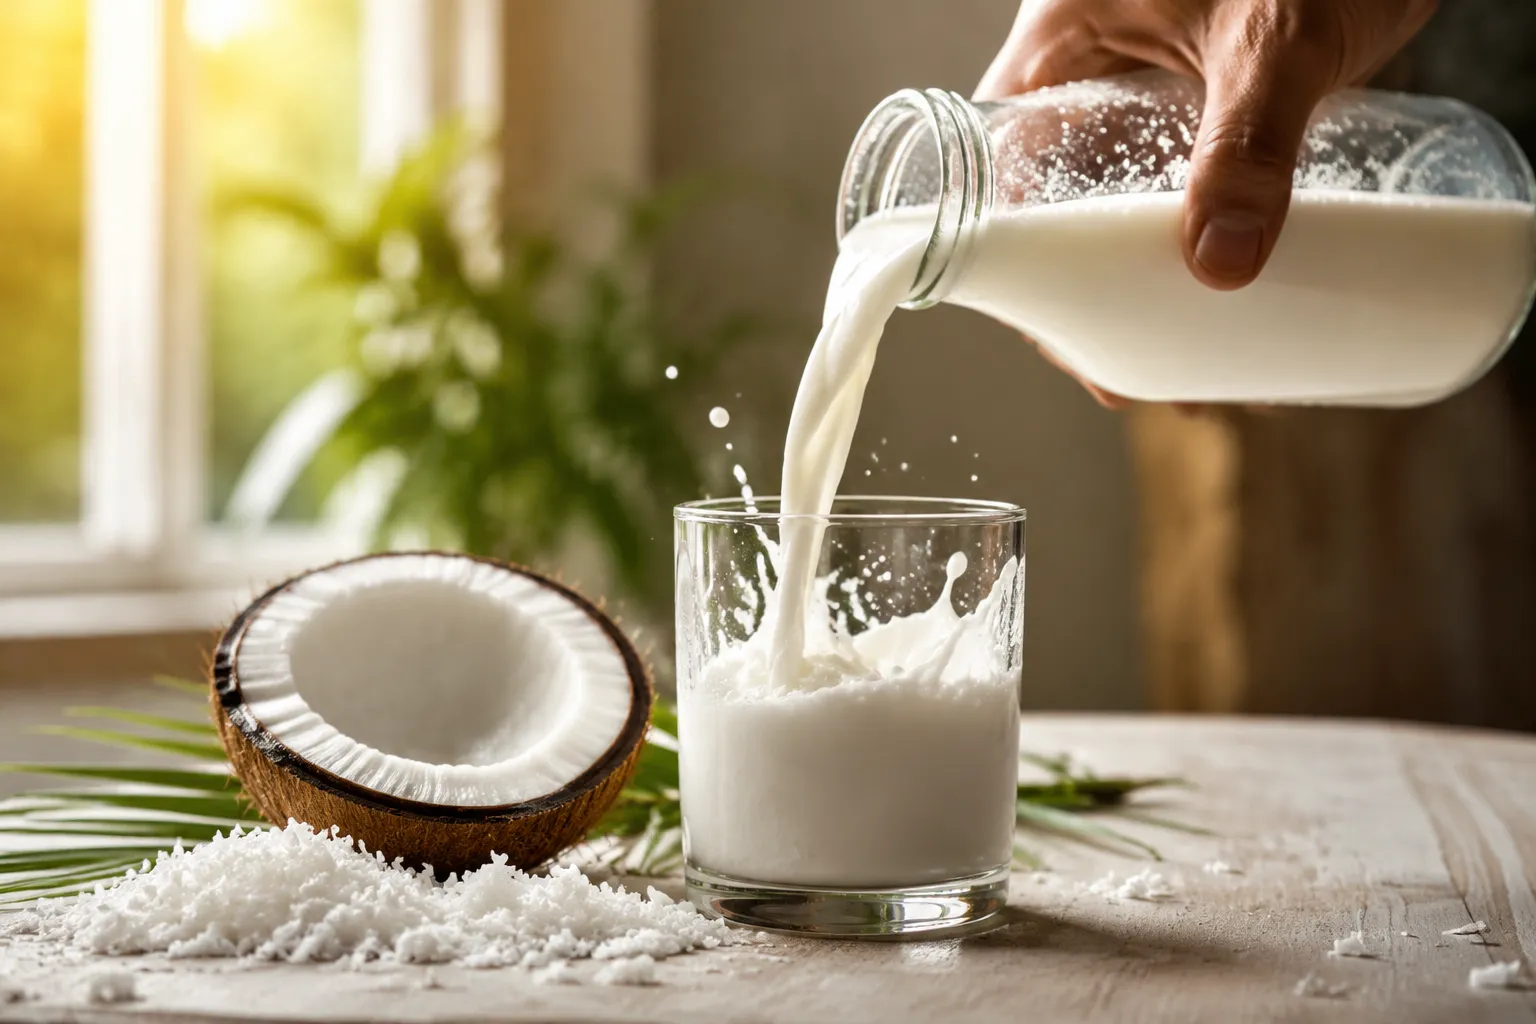
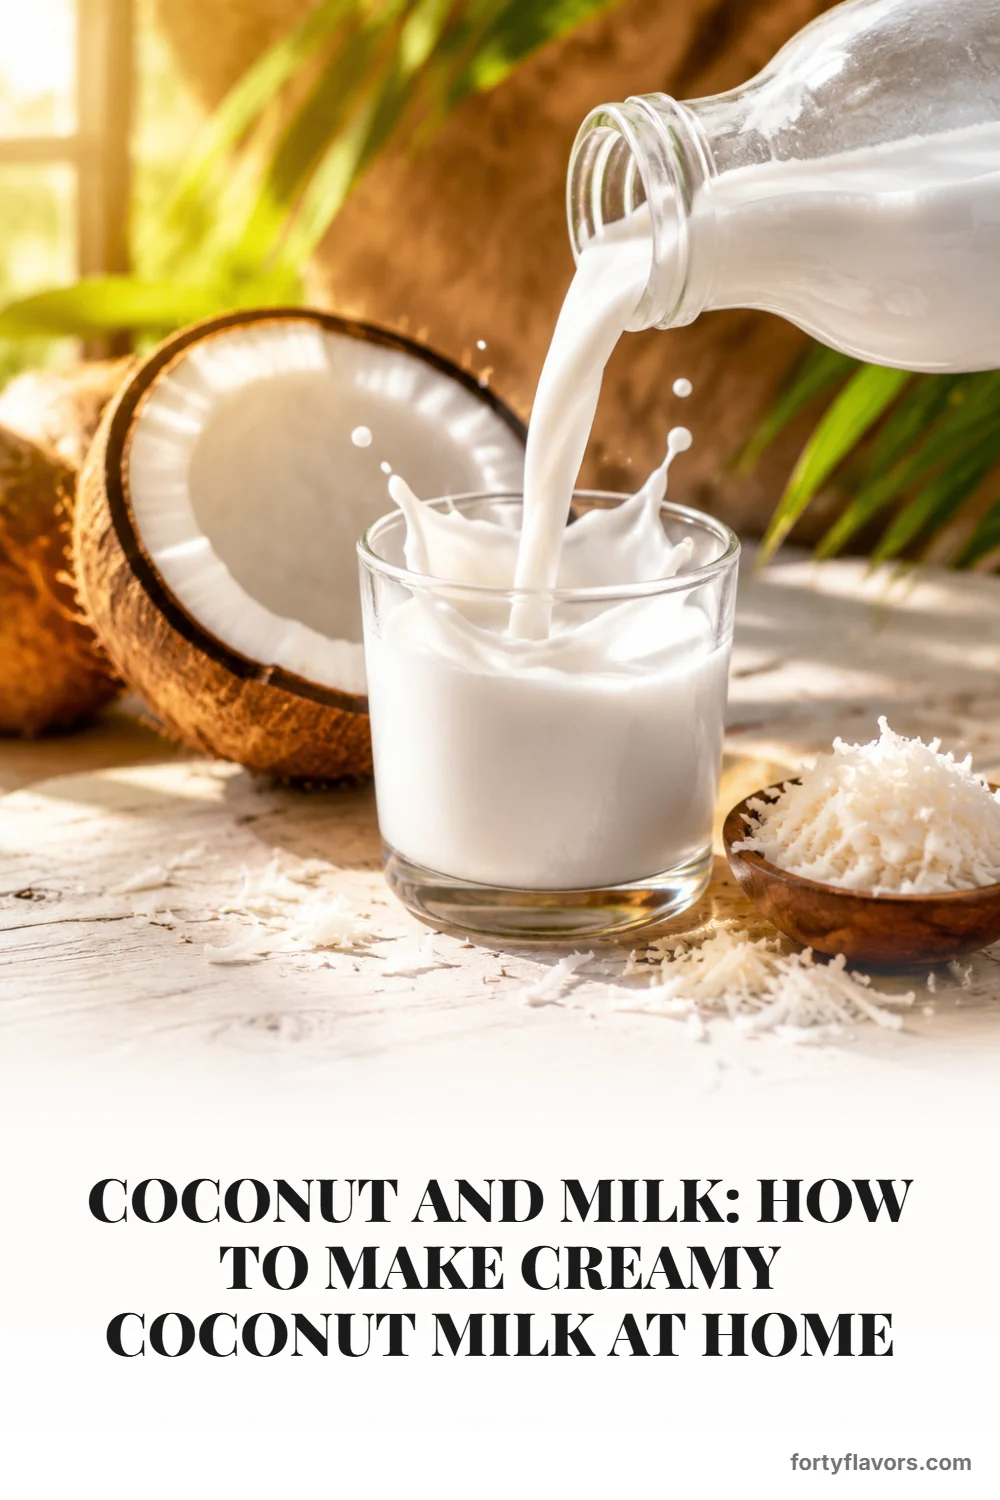
Skip the carton and make silky homemade coconut milk in 10 minutes with just shredded coconut and hot water. Creamy, dairy-free, and ridiculously easy.
Coconut and milk sounds almost too simple to be magical, but when you blend unsweetened shredded coconut with hot water, you get the silkiest, freshest, most naturally sweet milk for coffee, curries, smoothies, and baking. It takes about 10 minutes, uses ingredients you can actually pronounce, and tastes miles better than the shelf-stable carton tucked in the back of the pantry.
This is the kind of kitchen staple that makes you feel instantly capable: a blender, a nut milk bag, and one snowy bowl of coconut. Unlike many dairy-free milk alternatives, this version is creamy without gums, stabilizers, or mystery “natural flavors,” and you can make it richer or lighter depending on how you plan to use it.
The real trick is hot-water extraction. Warm water loosens the coconut fat and pulls out more flavor, giving you a result closer to full-fat coconut milk when you want richness, while still staying pourable for everyday sipping.
When people talk about coconut and milk, they often mean a few different things: the creamy liquid made from coconut flesh, the thicker cream that rises to the top, or the clear coconut water found inside a young coconut. Coconut milk is made by blending coconut meat with water and straining it, while coconut cream uses less water and contains a higher concentration of coconut fat. Coconut water, on the other hand, is naturally occurring inside the fruit and is light, sweet, and electrolyte-rich, but it will not behave like milk in cooking.
Store-bought options can be helpful, but they vary wildly. Canned coconut milk is usually richer and better for soups or curry, carton coconut milk is often diluted for drinking, and homemade coconut milk lands beautifully in the middle because you control the ratio. If you have ever wondered about coconut milk vs coconut cream, the simplest answer is water content: less water equals a thicker, spoonable cream; more water equals a fluid milk.
Full-fat coconut milk is the style most cooks reach for when they want a luxurious texture in sauces, rice, or desserts. A lighter milk simply uses more water, which is perfect for pouring over granola or blending into smoothies. The beauty of making milk and coconut at home is that the same two ingredients can become a coffee creamer, curry base, or chilled sipping milk with one small ratio adjustment.
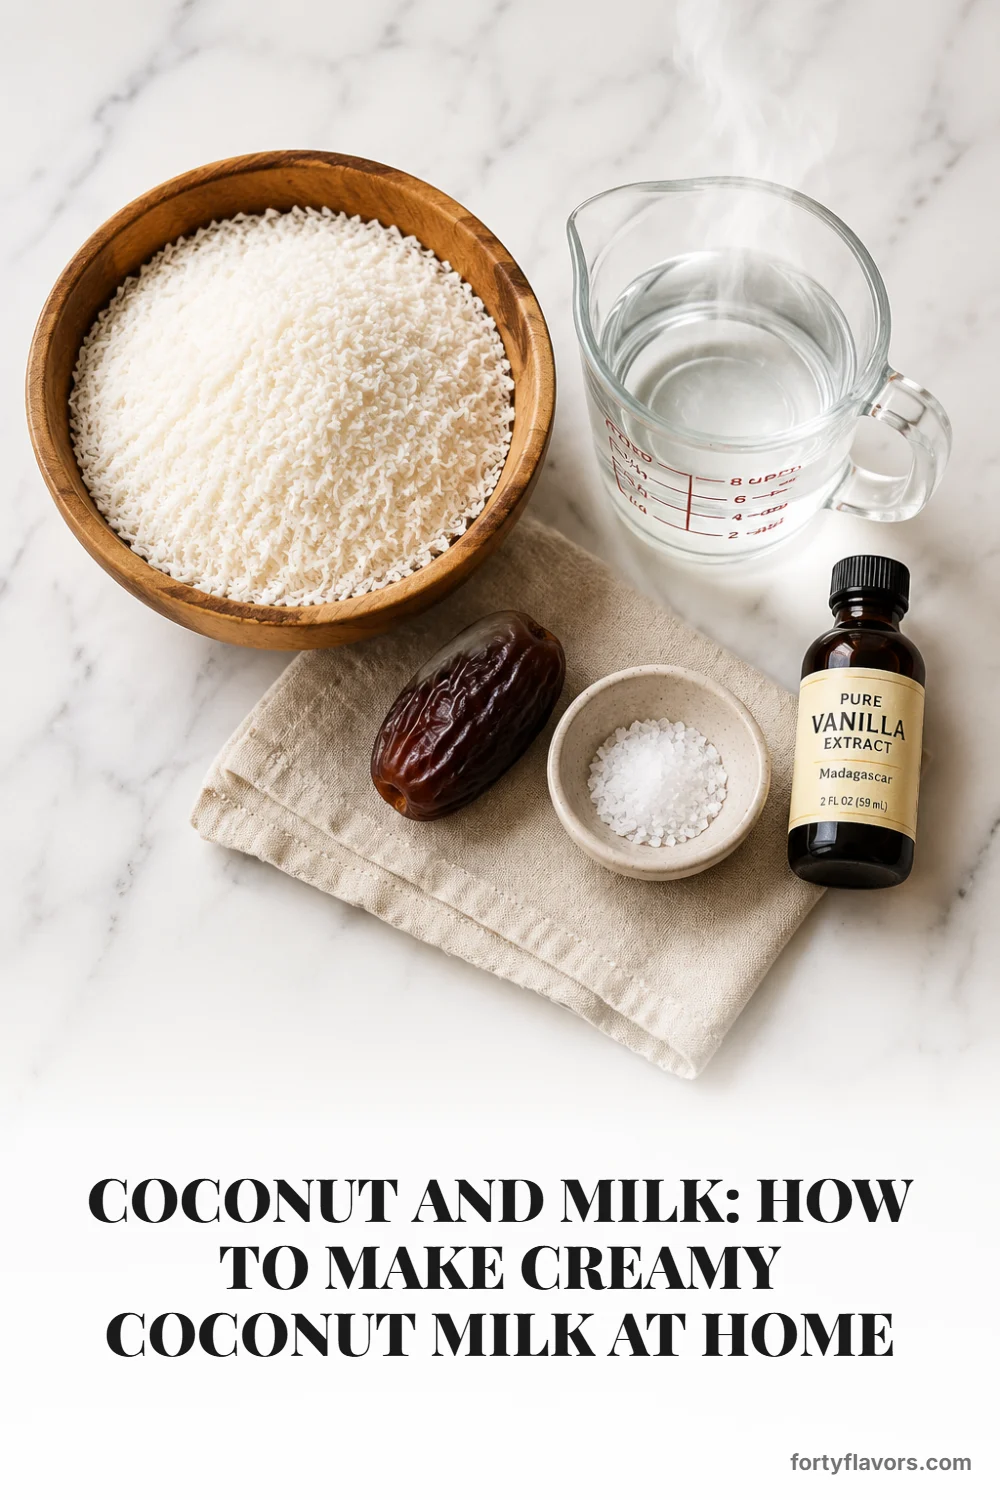
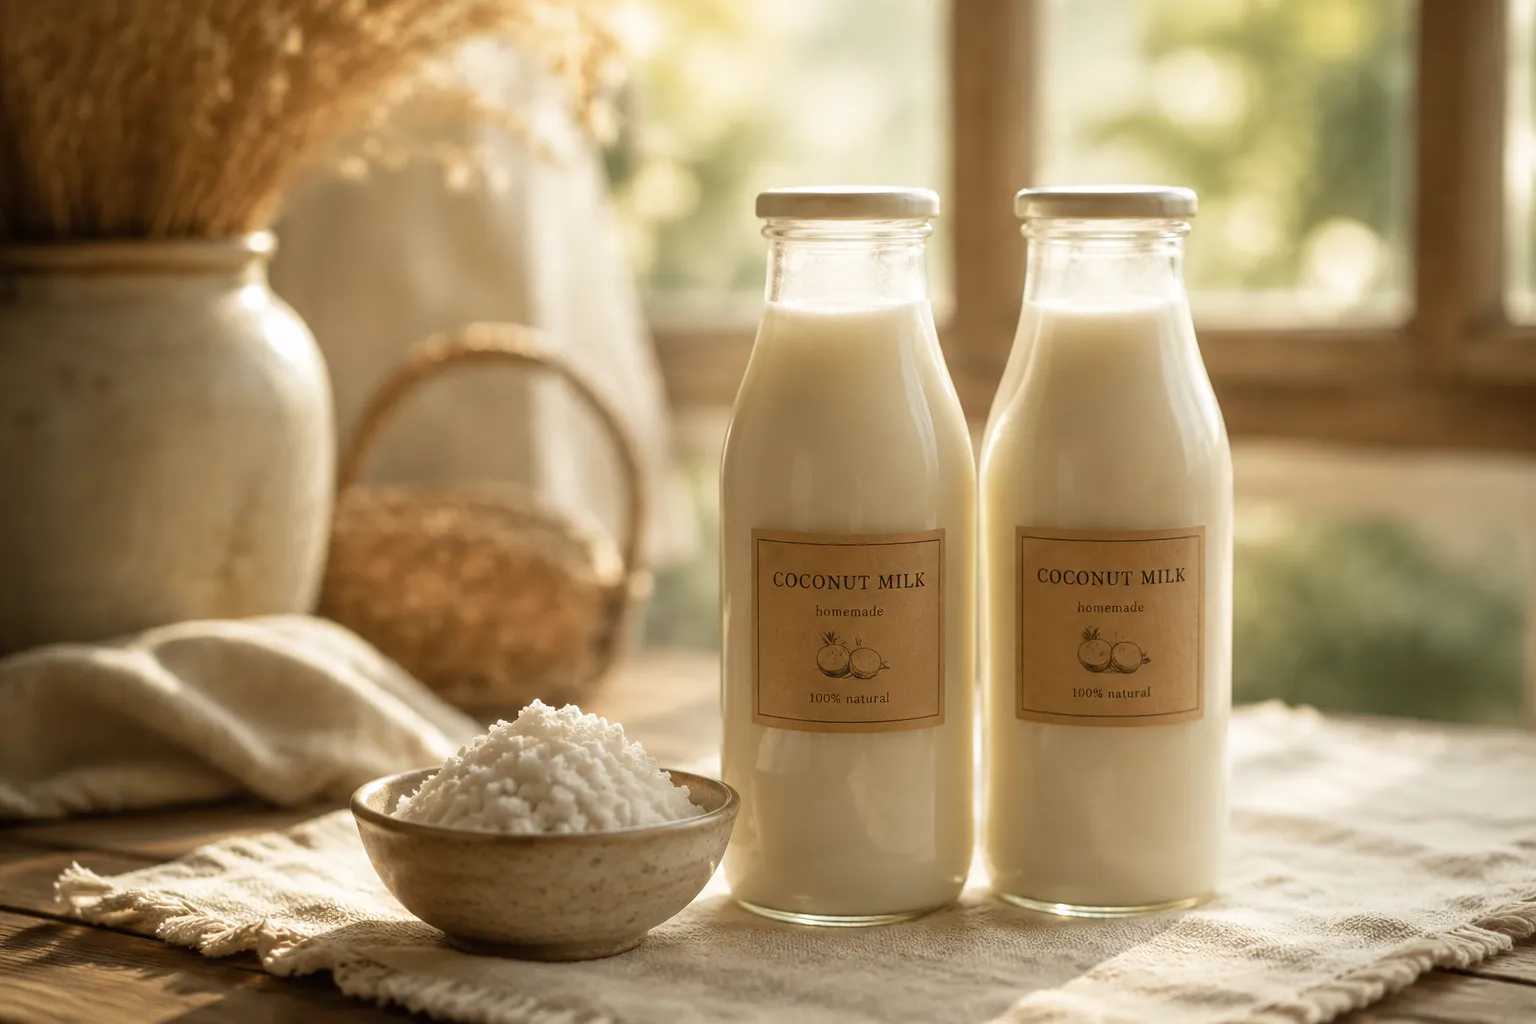
The ingredient list is delightfully short: unsweetened shredded coconut and hot filtered water. Look for coconut that is finely shredded, dry, and completely unsweetened; sweetened flakes will make the milk cloying and can leave a sticky finish. If you can find organic shredded coconut, even better, but the most important detail is freshness—older coconut can taste flat or slightly soapy.
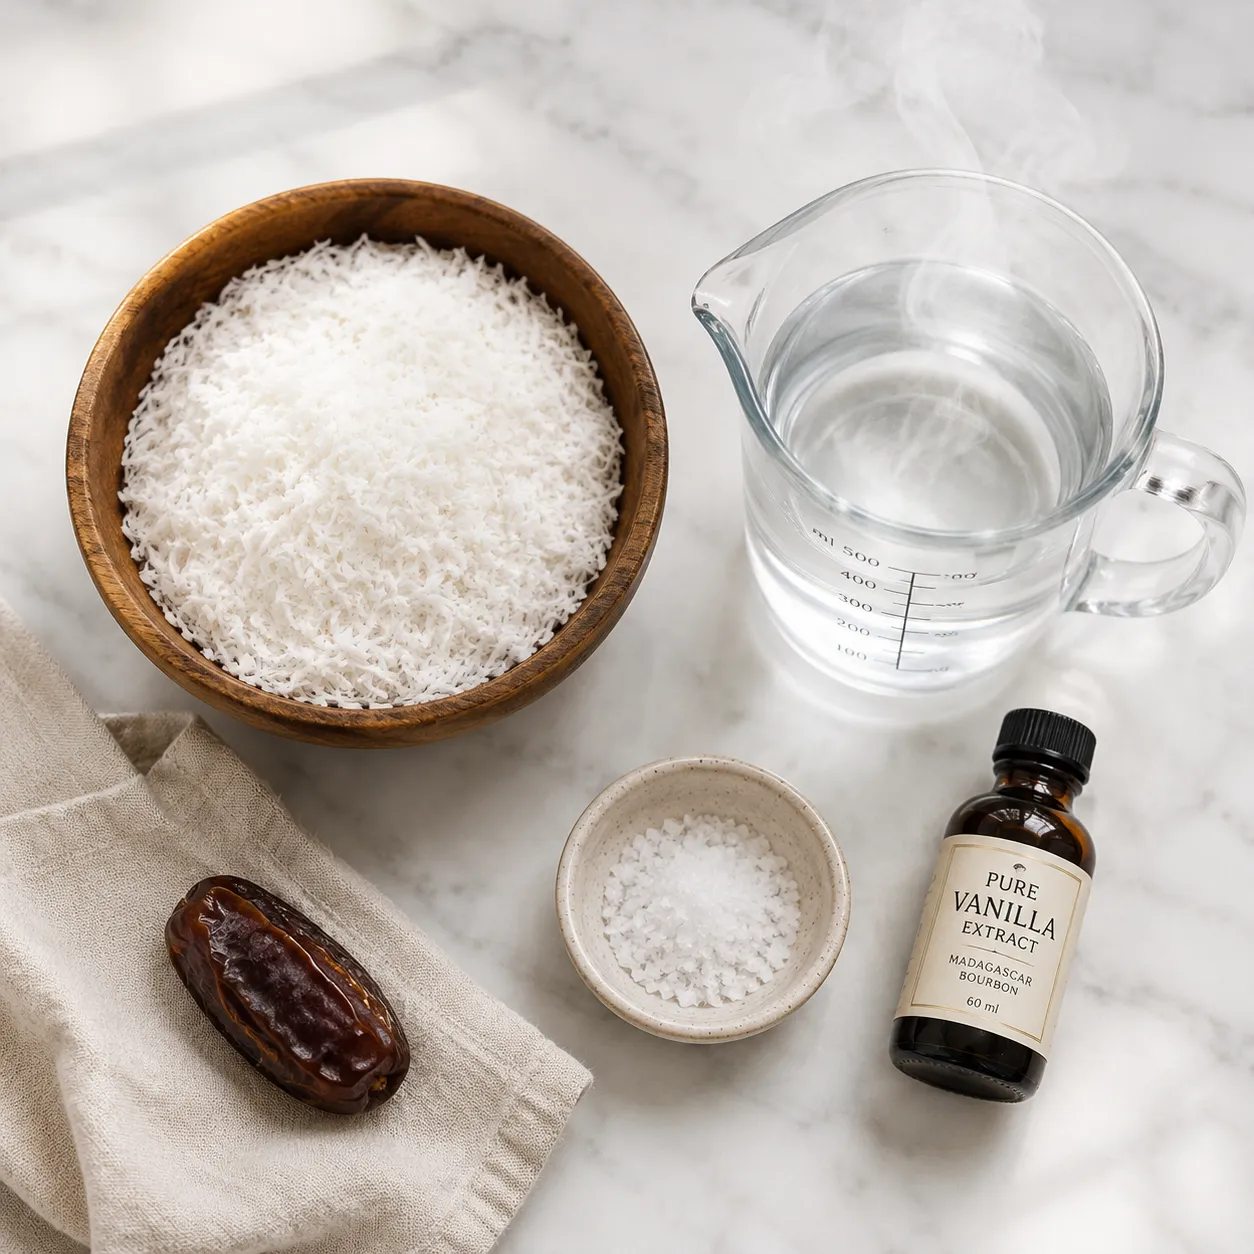
Hot filtered water is the second ingredient, and it matters more than you might think. You want water that is hot but not aggressively boiling, around the temperature you would use for tea after it has sat for a minute. This warmth helps soften the coconut and encourages the natural fat to release, giving the finished coconut milk a silkier body.
Optional add-ins are where you can make the batch your own without overpowering the coconut. A pitted Medjool date adds gentle sweetness, a pinch of sea salt sharpens the flavor, and vanilla extract makes it taste almost dessert-like. If you plan to use the milk in savory cooking, skip the date and vanilla so it can slip easily into soup, rice, or Thai coconut curry.
Here is where homemade really wins: one base method, several textures. For everyday drinking milk, use 2 cups shredded coconut to 4 cups hot water, which gives you a balanced, pourable liquid for coffee, oatmeal, and smoothies. For a richer, cooking-style batch that mimics full-fat coconut milk, reduce the water to about 3 cups and strain well.
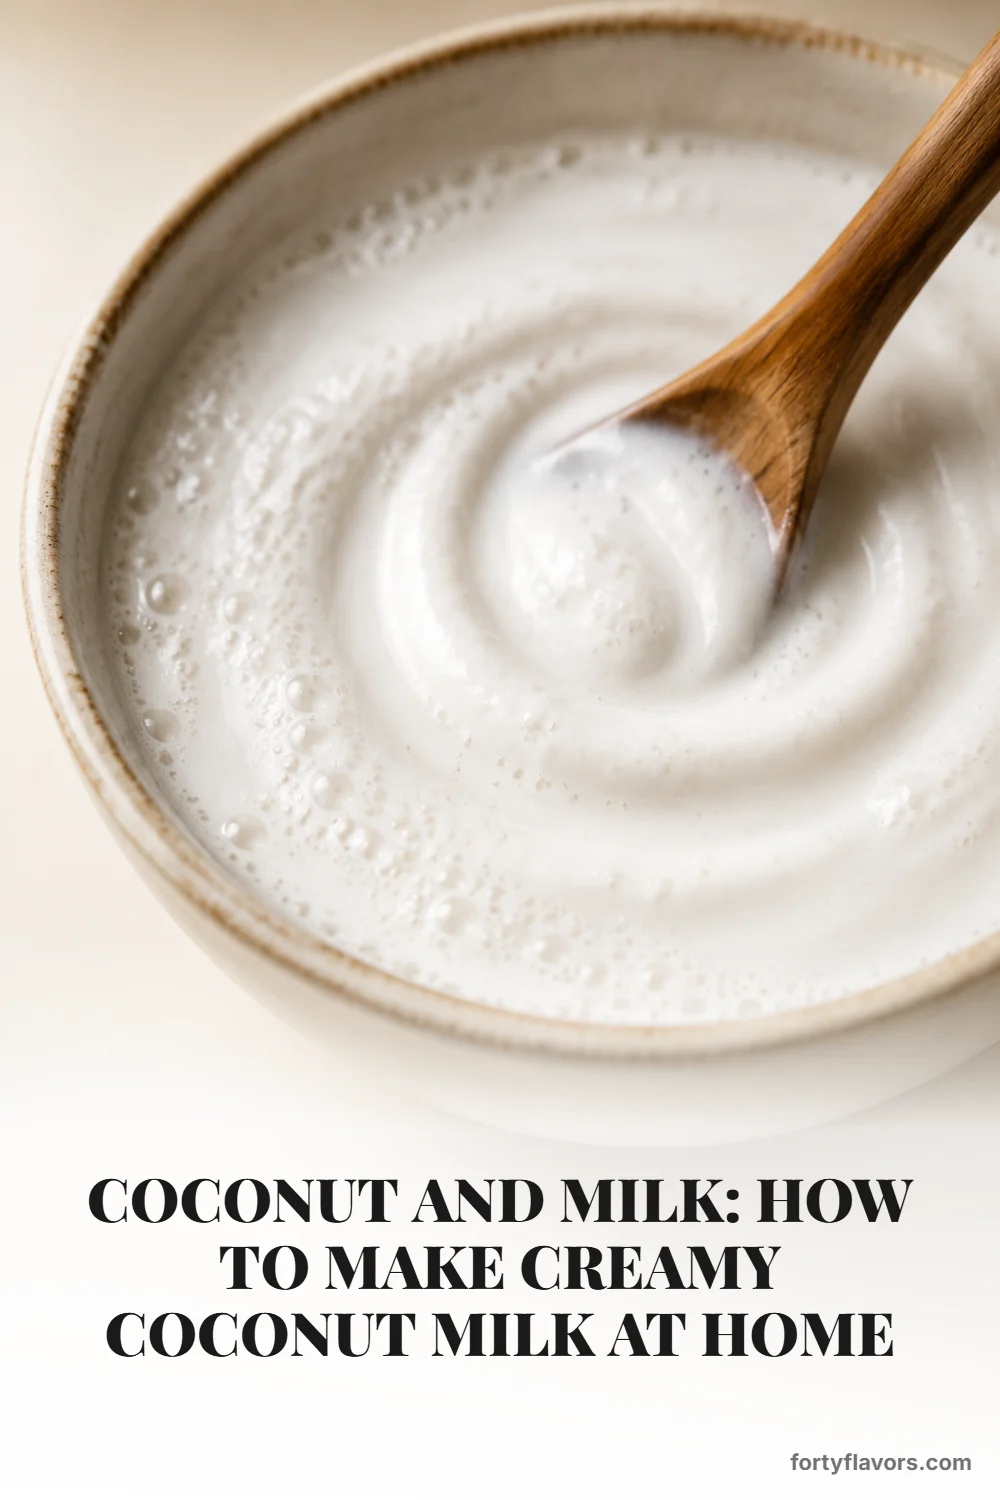
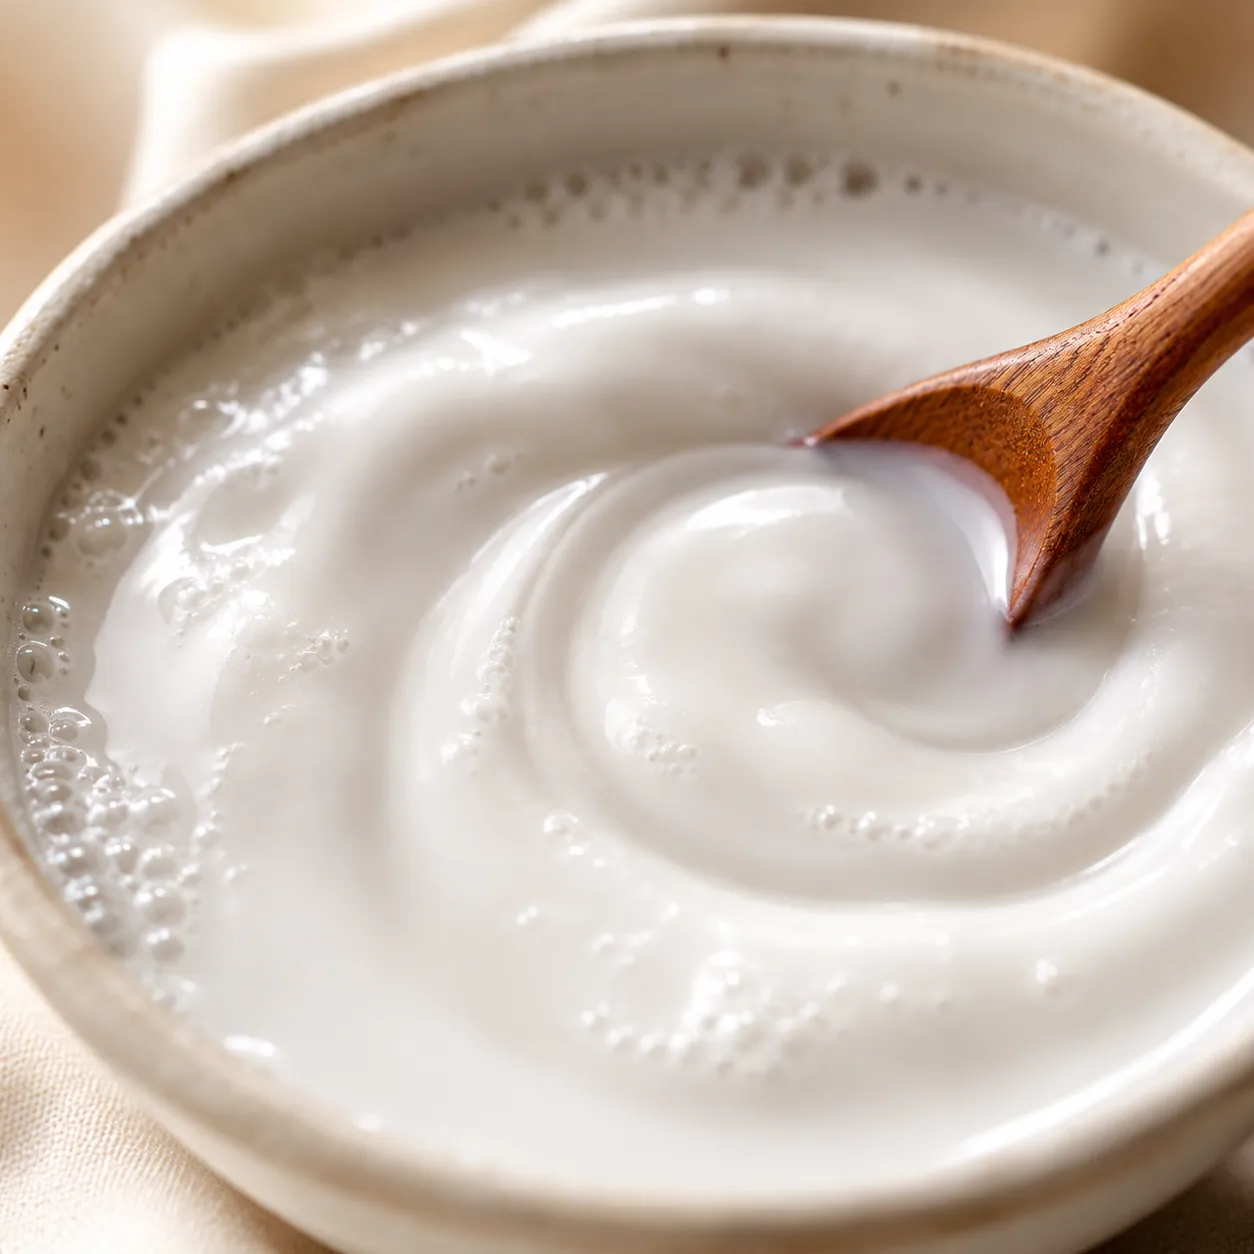
If you want something closer to coconut cream, use 2 cups coconut to 2 cups hot water. That thick batch is ideal when you are learning how to use coconut cream in desserts, sauces, or spoonable toppings. After chilling, the fat may rise and firm up at the top, which is normal and actually a sign that your extraction worked well.
For a lighter sipping milk, add up to 5 cups of water, especially if you are using it in cereal or iced drinks. You can also make a concentrated first press, then blend the leftover pulp with another cup or two of hot water for a second, thinner batch. That second press is lovely in pancake batter, quick breads, or anywhere you want mild coconut flavor without too much richness.
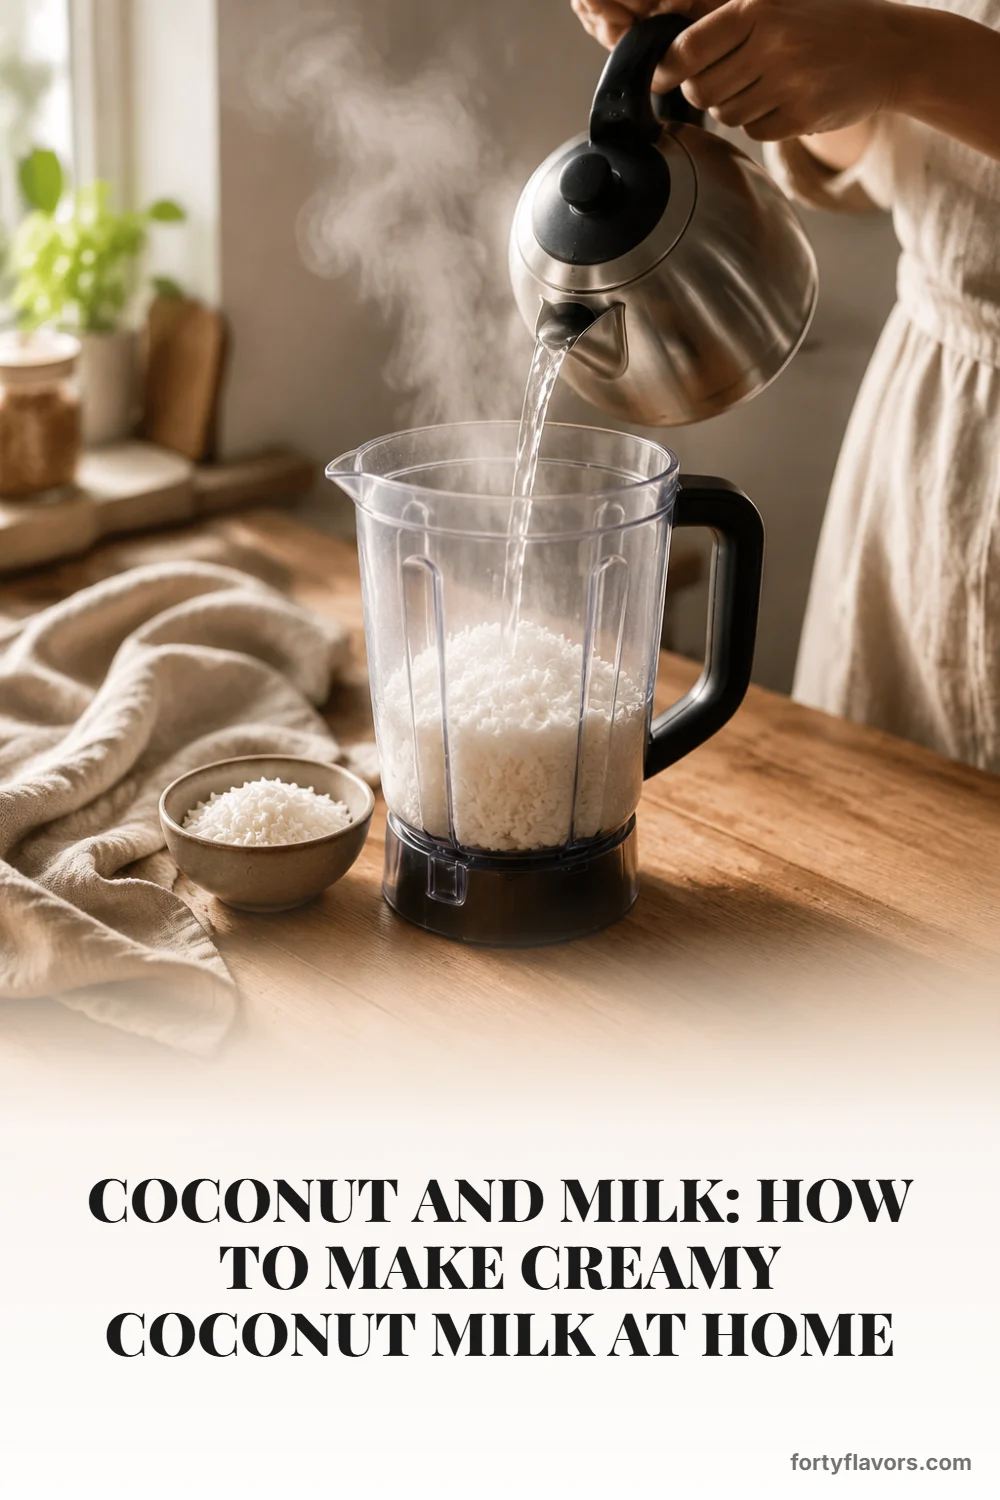
The method starts by combining shredded coconut and hot water directly in a high-speed blender. Letting the coconut sit briefly in the water gives it time to soften, and you will see the mixture look a little plumper and more opaque. This short rest is especially helpful if your coconut is very dry or has been stored for a while.
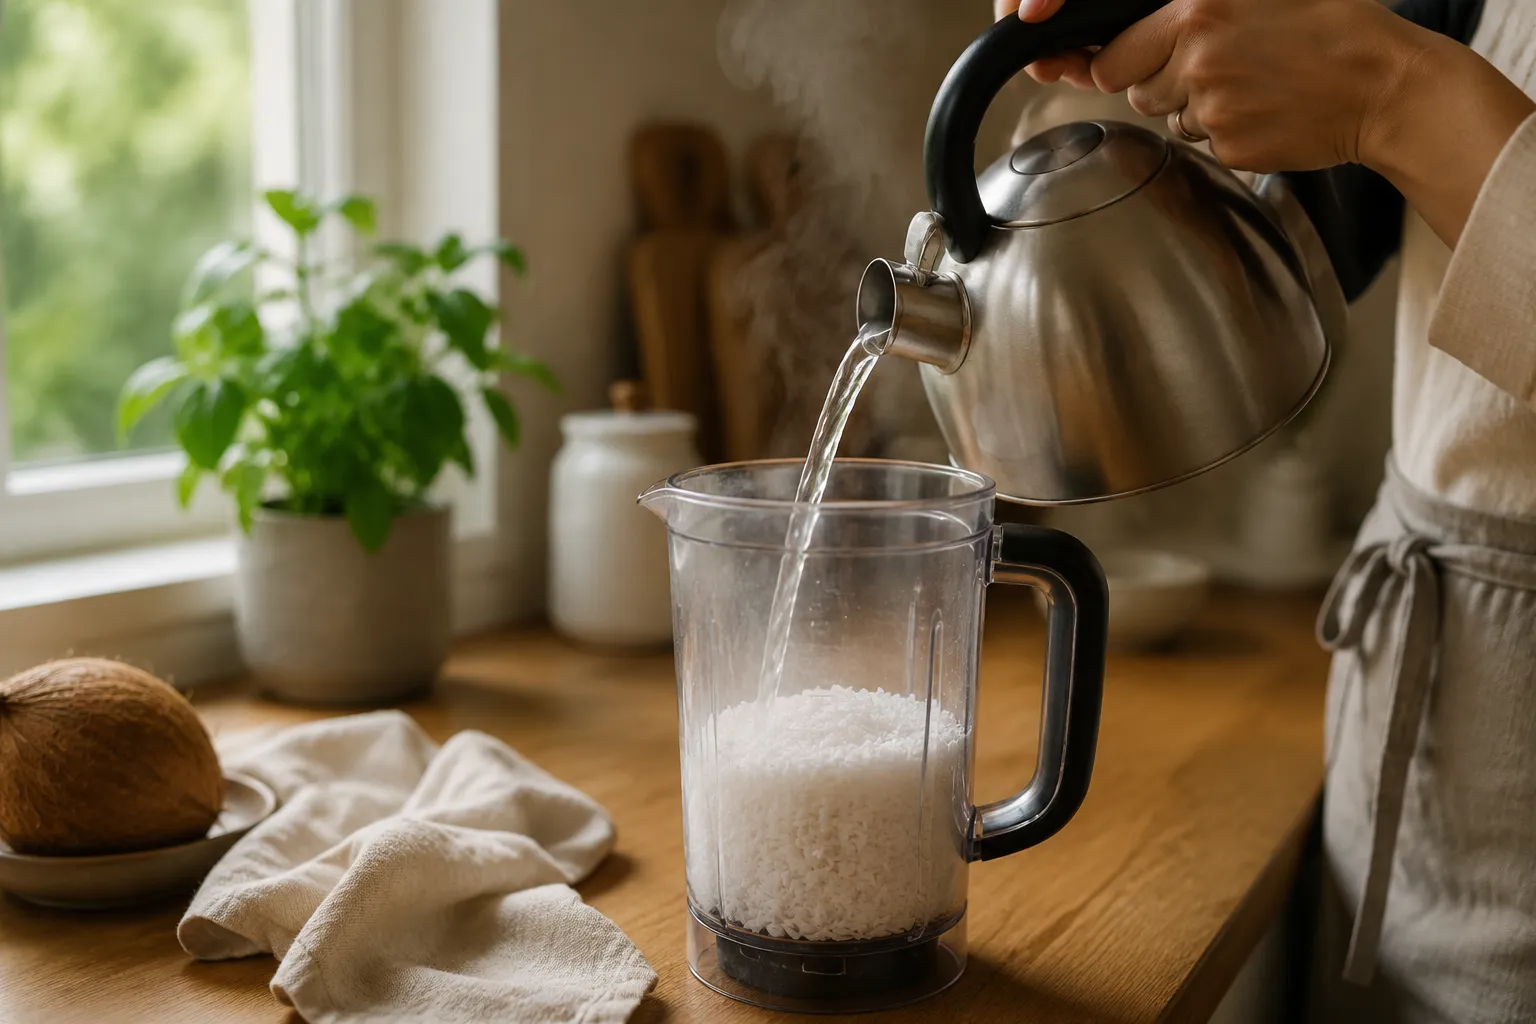
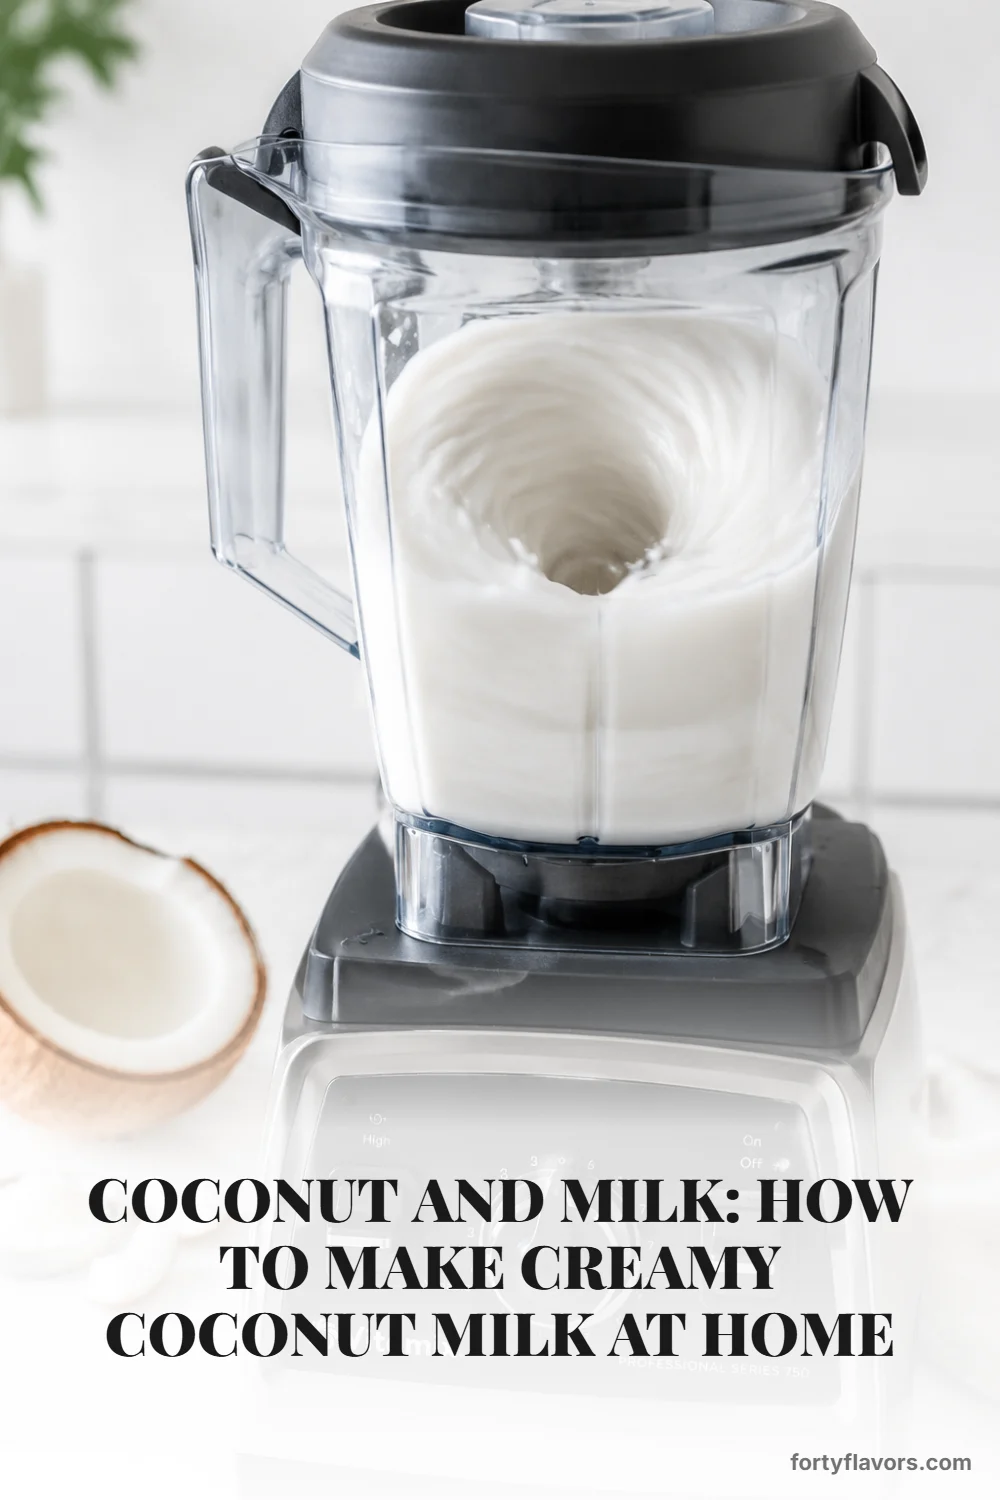
Once soaked, blend on high until the mixture turns bright white, creamy, and slightly frothy. A powerful blender will break down the coconut more thoroughly, which means better extraction and a richer finished milk. If you are using a standard blender, blend a little longer and pause once to scrape the sides so every bit of coconut in milk gets fully hydrated.

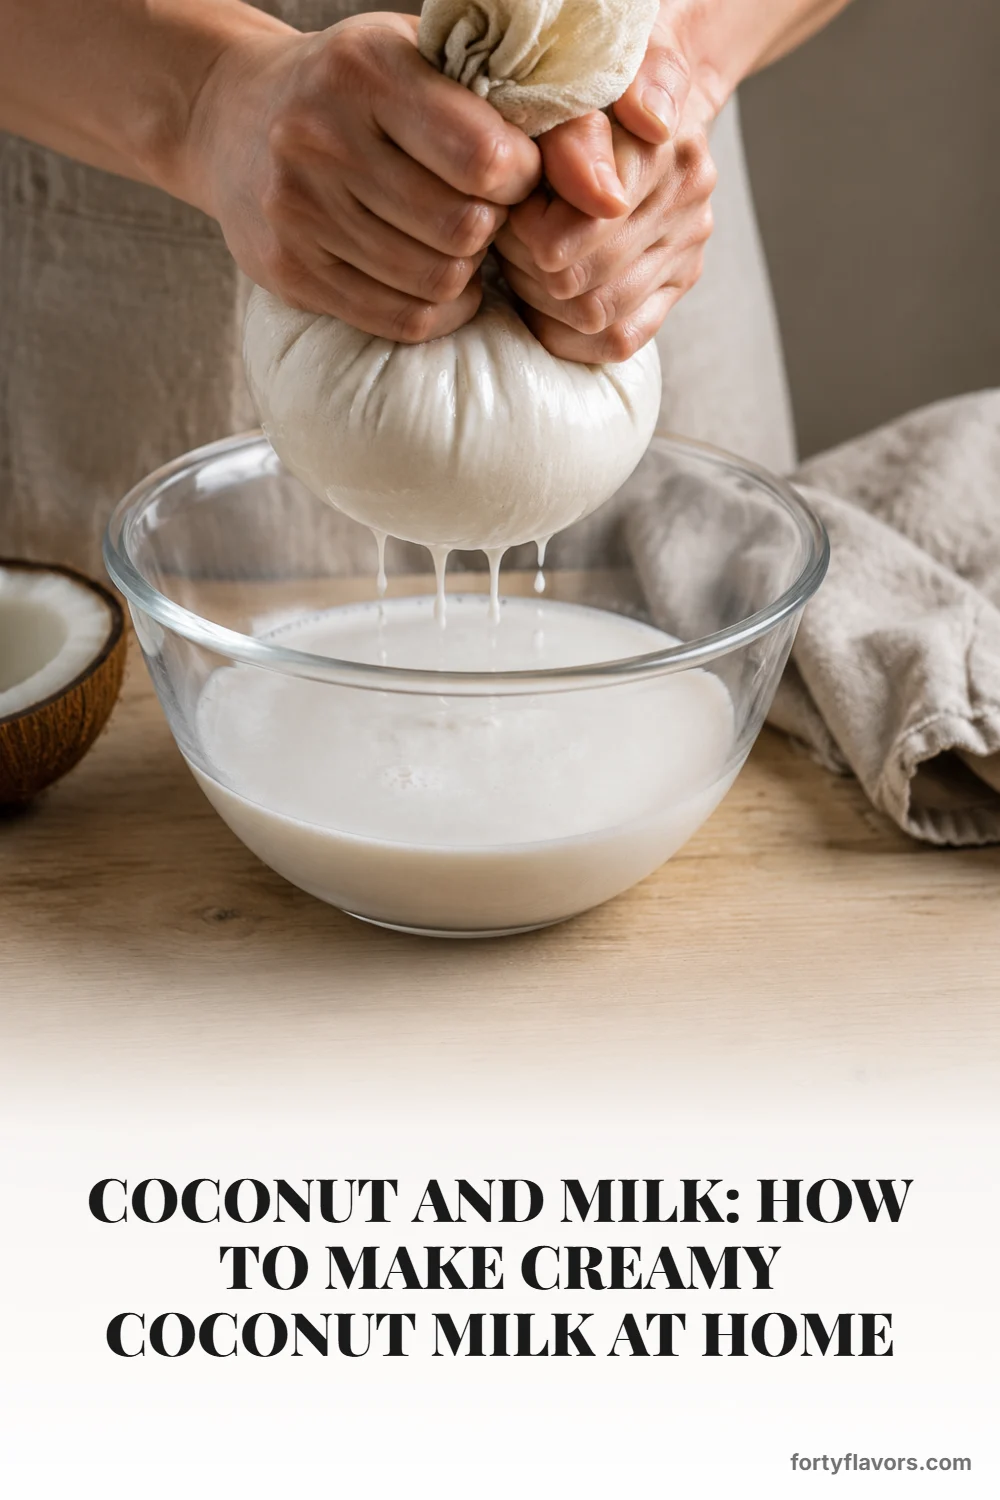
Next, pour the mixture through a nut milk bag set over a large bowl. Let it cool just enough to handle, then squeeze firmly until the pulp feels nearly dry. This is the moment that separates good milk from watery milk, so take your time and press out every last creamy drop.
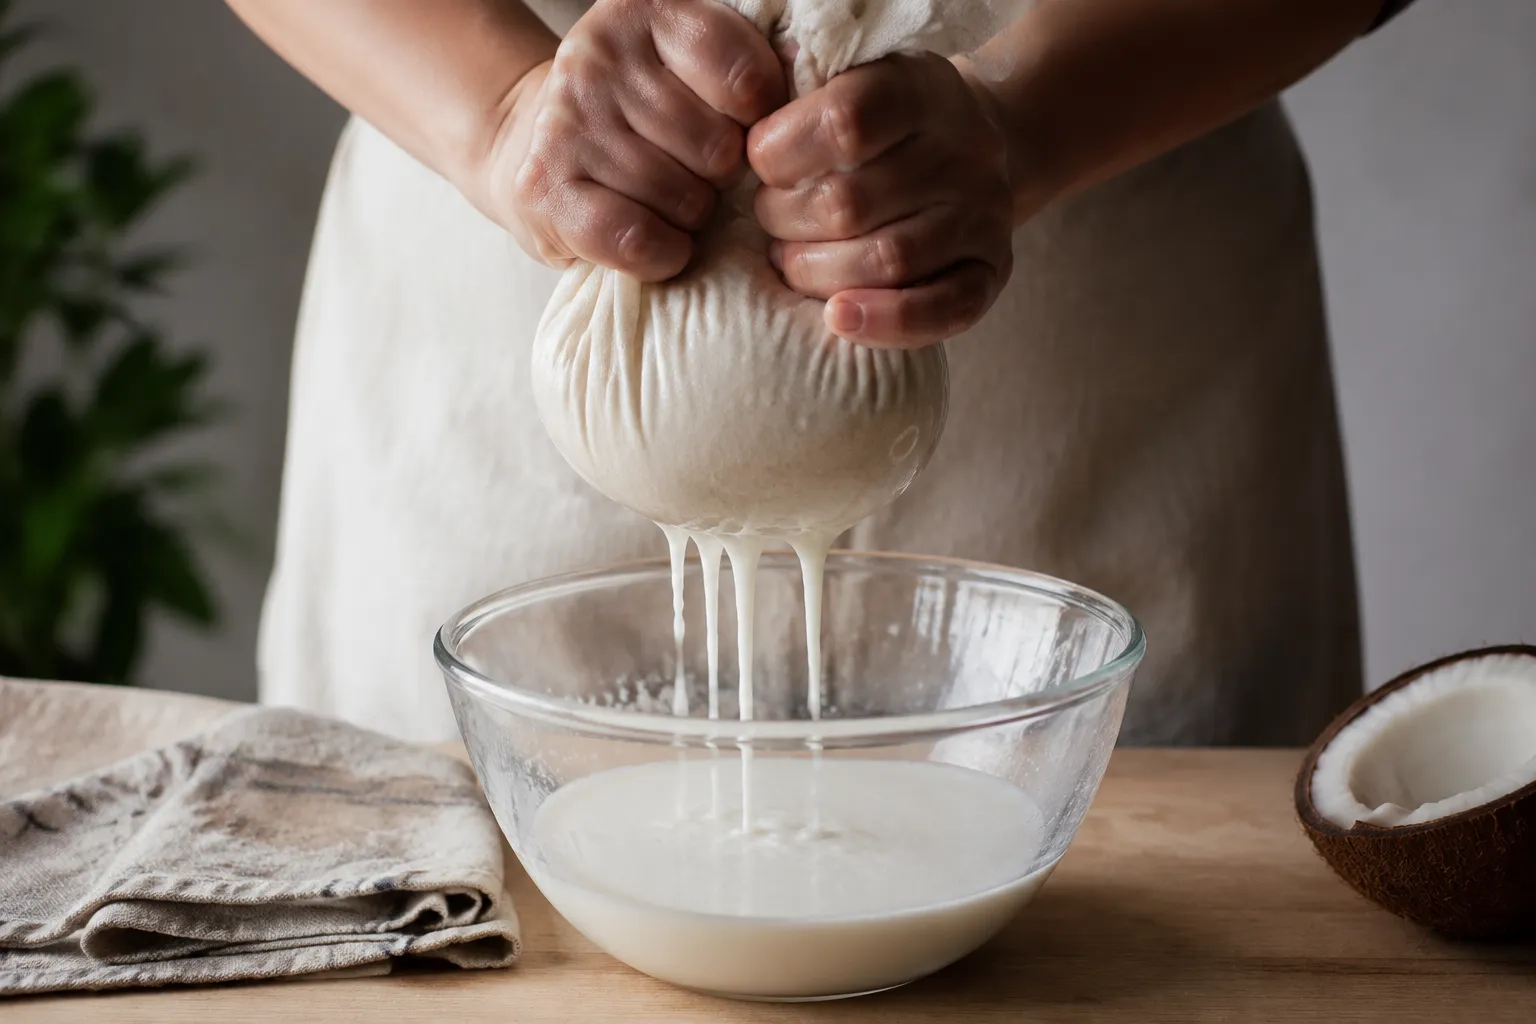
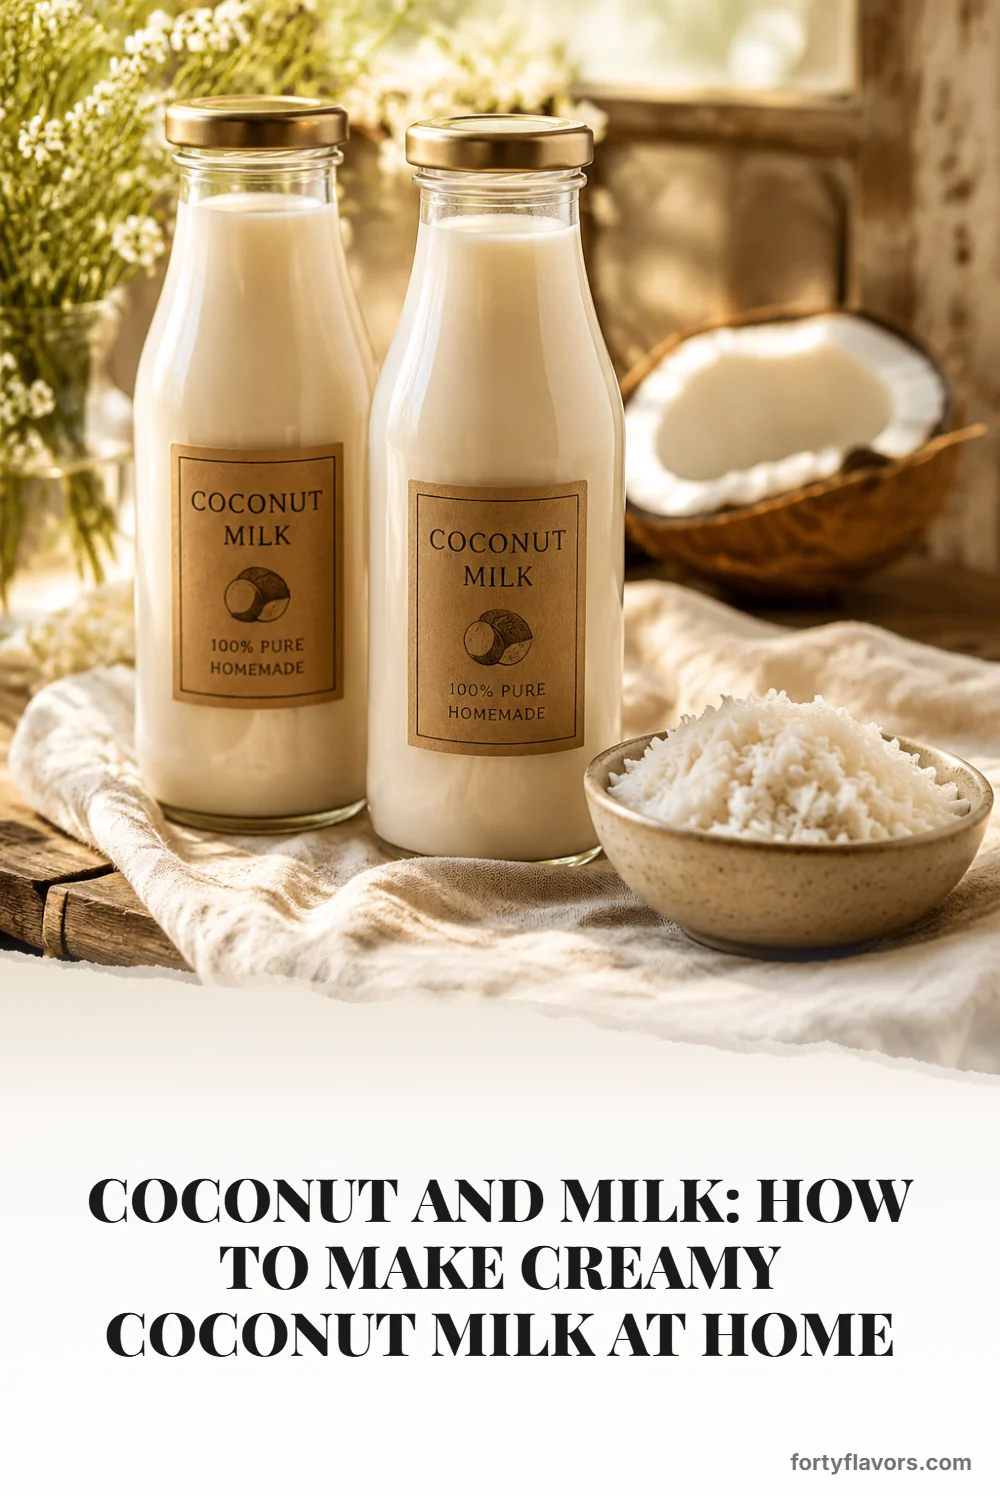
Finally, transfer the strained milk to clean glass bottles or jars and chill it. Fresh coconut milk will separate because there are no stabilizers holding it together, so simply shake before pouring. If a thick cream layer forms on top, stir it back in for richness or scoop it off for coffee, sauces, or a quick dessert garnish.
The biggest difference between this recipe and many quick blender versions is the use of hot water instead of cold. Heat softens the dried coconut and helps release more of the natural coconut fat, so the milk tastes fuller and feels more rounded on the tongue. It is not cooked in the traditional sense; it is more like steeping, which keeps the flavor fresh and sweet.
Another key is the coconut-to-water ratio. Too much water makes a thin drink that works in a pinch but does not deliver that lush coconut character. Starting with 2 cups coconut to 4 cups water gives a reliable all-purpose batch, then you can dial the next one richer or lighter depending on your kitchen plans.
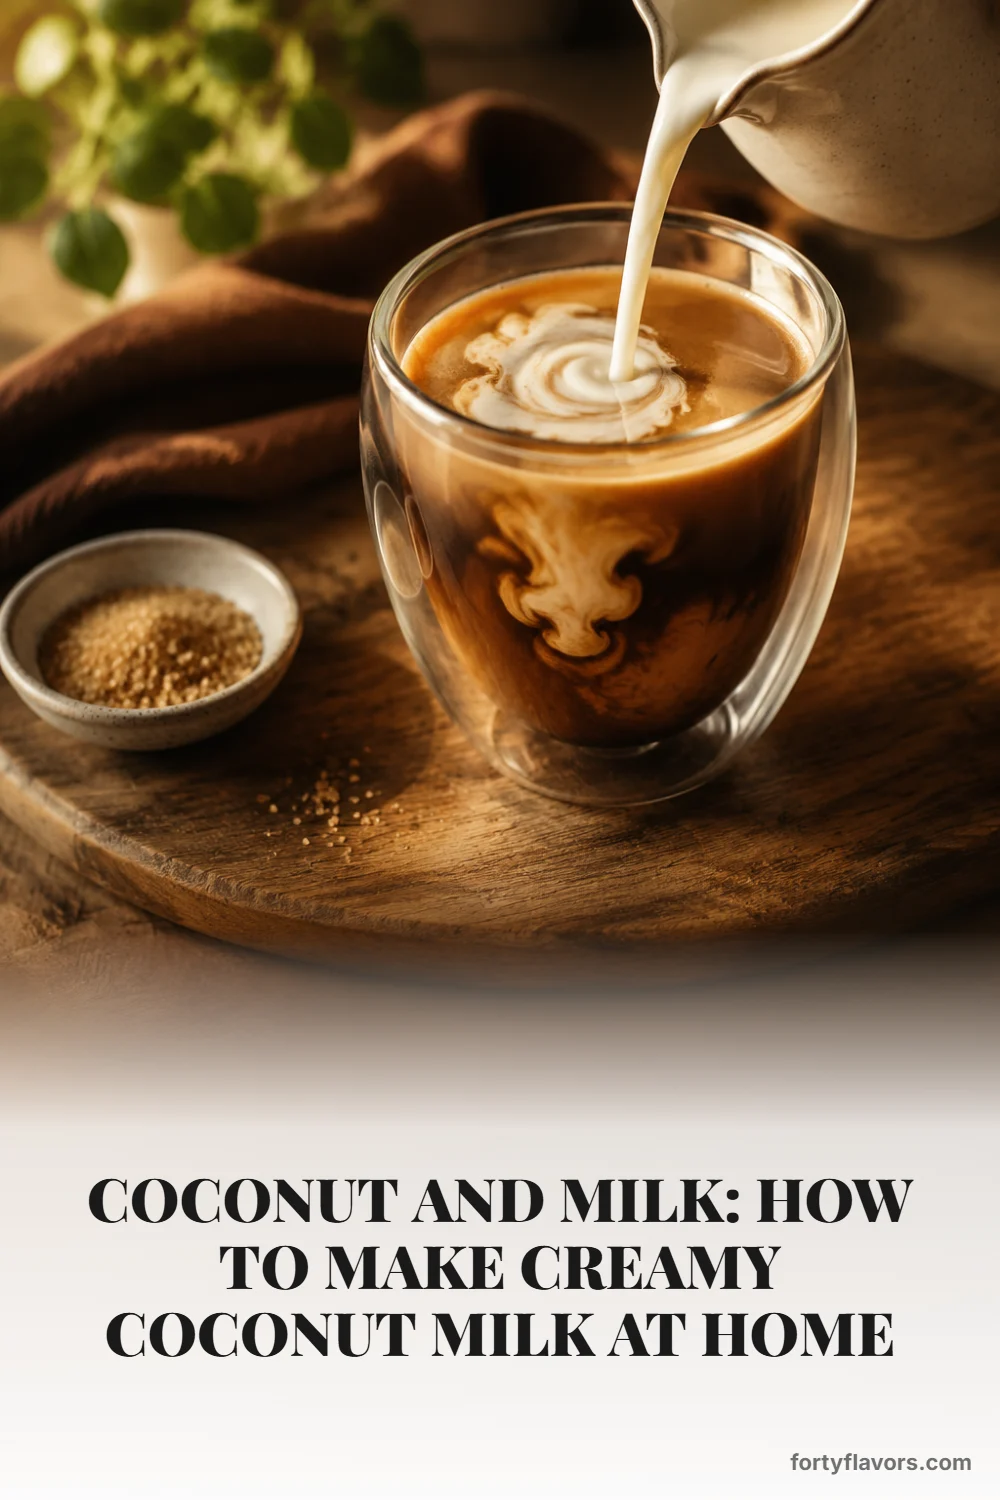
This fresh batch is dreamy in coffee because it brings subtle sweetness without tasting artificial. Pour it into espresso and it blooms into creamy swirls, especially if you used the slightly richer 2-to-3 ratio. For iced coffee, shake the jar first and pour slowly over the coffee to help it blend smoothly.

In savory cooking, coconut and milk becomes a quiet powerhouse. Use a richer batch in Thai coconut curry, squash soup, coconut rice, or lentil stew where you want body without dairy. The flavor is clean and fresh, so it supports ginger, garlic, chile, lime, and herbs without tasting canned.
Desserts are another natural fit. A concentrated batch can be chilled and used in puddings, chia cups, popsicles, or even coconut whipped cream if you have enough fat rise to the surface. If you are baking, use it anywhere you would use a mild non-dairy milk, especially in chocolate cake, banana bread, or tender muffins.
After straining, you will be left with soft coconut pulp that still has plenty of life in it. Spread it on a parchment-lined baking sheet and dry it in a low oven until it feels light and crumbly, then pulse it into a rustic coconut flour. It will not behave exactly like commercial coconut flour, which is very dry and absorbent, but it is wonderful for sprinkling into granola, energy bites, and cookie dough.
You can also stir the fresh pulp straight into oatmeal, pancake batter, smoothies, or homemade granola before it is fully dried. It adds gentle texture and keeps food waste low, which is one of my favorite parts of making homemade coconut milk from scratch. If you are not ready to use the pulp right away, refrigerate it for a day or freeze it in a small bag.
Once you make this once, it becomes one of those quiet weekly rituals: heat water, blend, strain, bottle, done. The flavor is fresher than canned, the ingredient list is cleaner than most cartons, and the texture is easy to customize for whatever you are cooking next. It is especially helpful if you use dairy-free ingredients often but still want something rich enough to feel satisfying.
Coconut and milk is really a technique more than a recipe, and that is what makes it so useful. Keep the basic ratio in your back pocket, then make it lighter for morning drinks, thicker for curry, or concentrated for dessert. With one bag of shredded coconut and a few minutes, you have a creamy kitchen staple that tastes like it came from a much fancier pantry.
Once you understand the basic method, you can adjust the flavor and richness depending on how you want to use the milk.
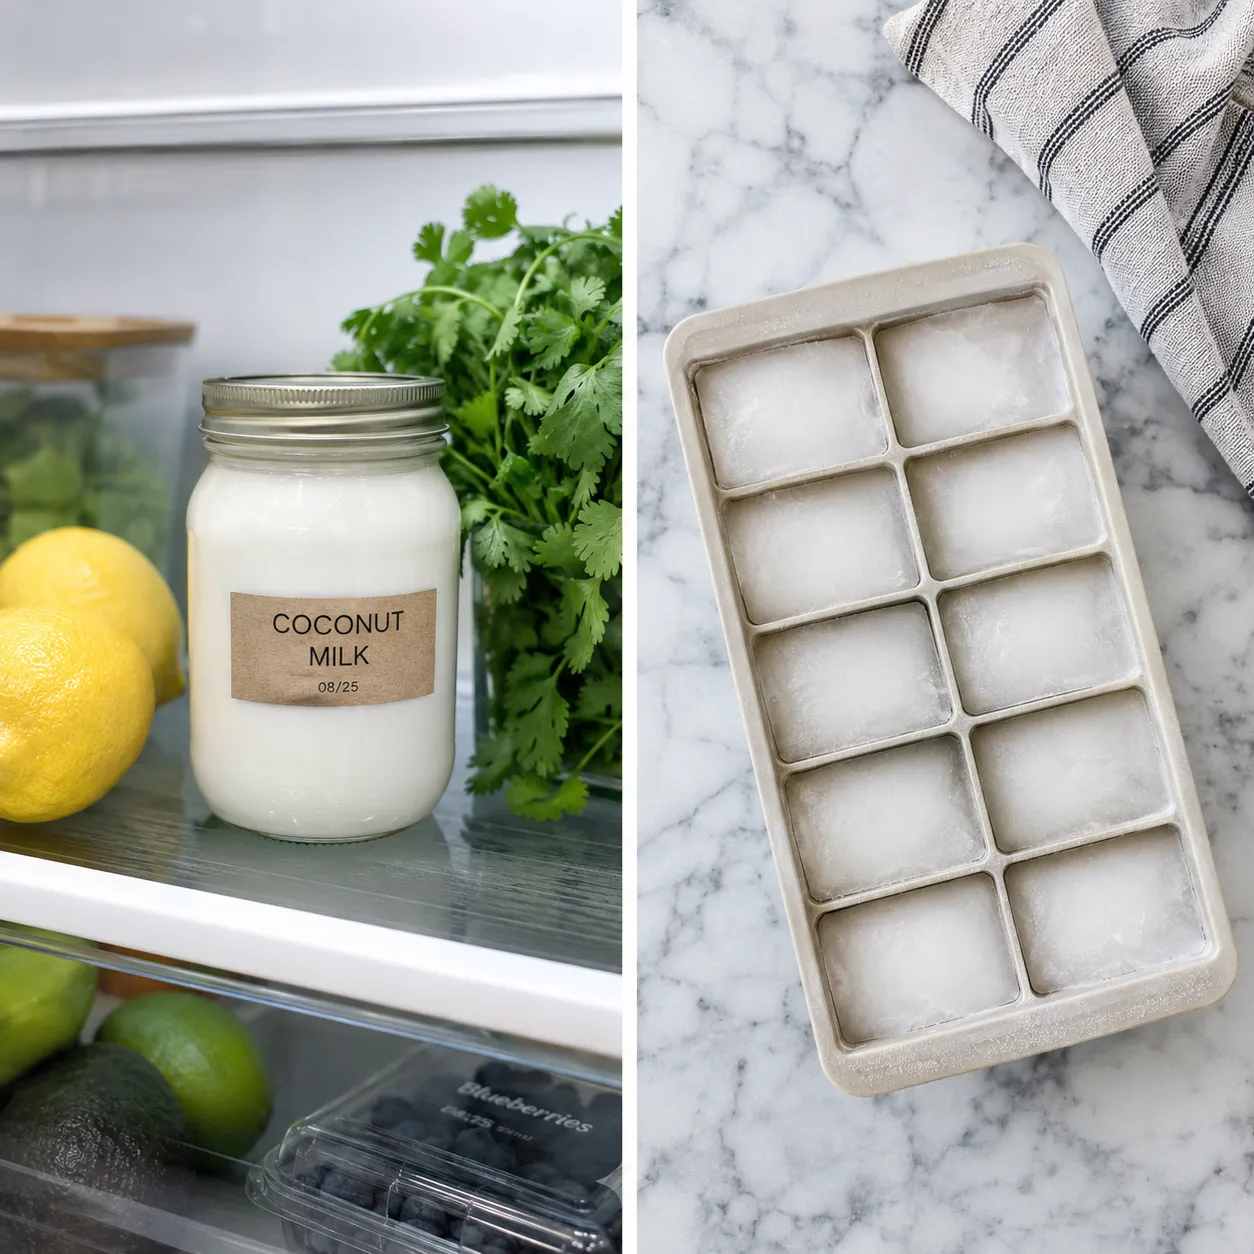
Store homemade coconut milk in a sealed glass jar or bottle in the refrigerator for 3 to 4 days. Because it contains no stabilizers, the creamy layer may rise to the top and the liquid may separate; shake well before each use.
For longer storage, freeze it in ice cube trays, then transfer the cubes to a freezer bag for up to 2 months. Use frozen cubes in smoothies, soups, curries, or sauces. Discard the milk if it smells sour, tastes fermented, develops mold, or becomes fizzy.
Hover any image and hit “Pin it” to save it to your Pinterest boards.