Homemade Soft Pretzel Recipe (Bakery-Style at Home)
Ingredients
Scale
Chewy on the outside, pillowy inside, and brushed with butter. This homemade soft pretzel recipe tastes just like the mall pretzels you grew up loving.
This homemade soft pretzel recipe is for anyone who's ever stood in a mall food court, breathed in that buttery yeast cloud, and thought, "I could probably make these at home." You absolutely can. With one bowl, pantry staples, and a quick dunk in alkaline water, you'll pull a tray of deep-mahogany, salt-crusted, pillowy-centered soft pretzels out of your oven in about an hour. No specialty equipment, no overnight rise, no food-grade lye required.
These taste like the bakery-style pretzels you remember from childhood: chewy crust, soft pull-apart middle, that unmistakable buttery finish that makes the paper bag translucent by the time you sit down. If you've ever made homemade pizza dough or a basic dinner loaf, you already have most of the muscle memory needed here. The only step that might feel new is the baking soda bath, and I'll walk you through exactly why it matters and how to nail it on the first try.
I've made this exact pretzel dough more times than I can count — scaling it up for football Sundays, twisting it into bites for parties, wrapping it around hot dogs for kids' birthdays. It's forgiving, fast, and delivers every single time. Consider this your reliable Auntie Anne's copycat: bookmark it once, and the freezer-aisle version will quietly disappear from your shopping list.
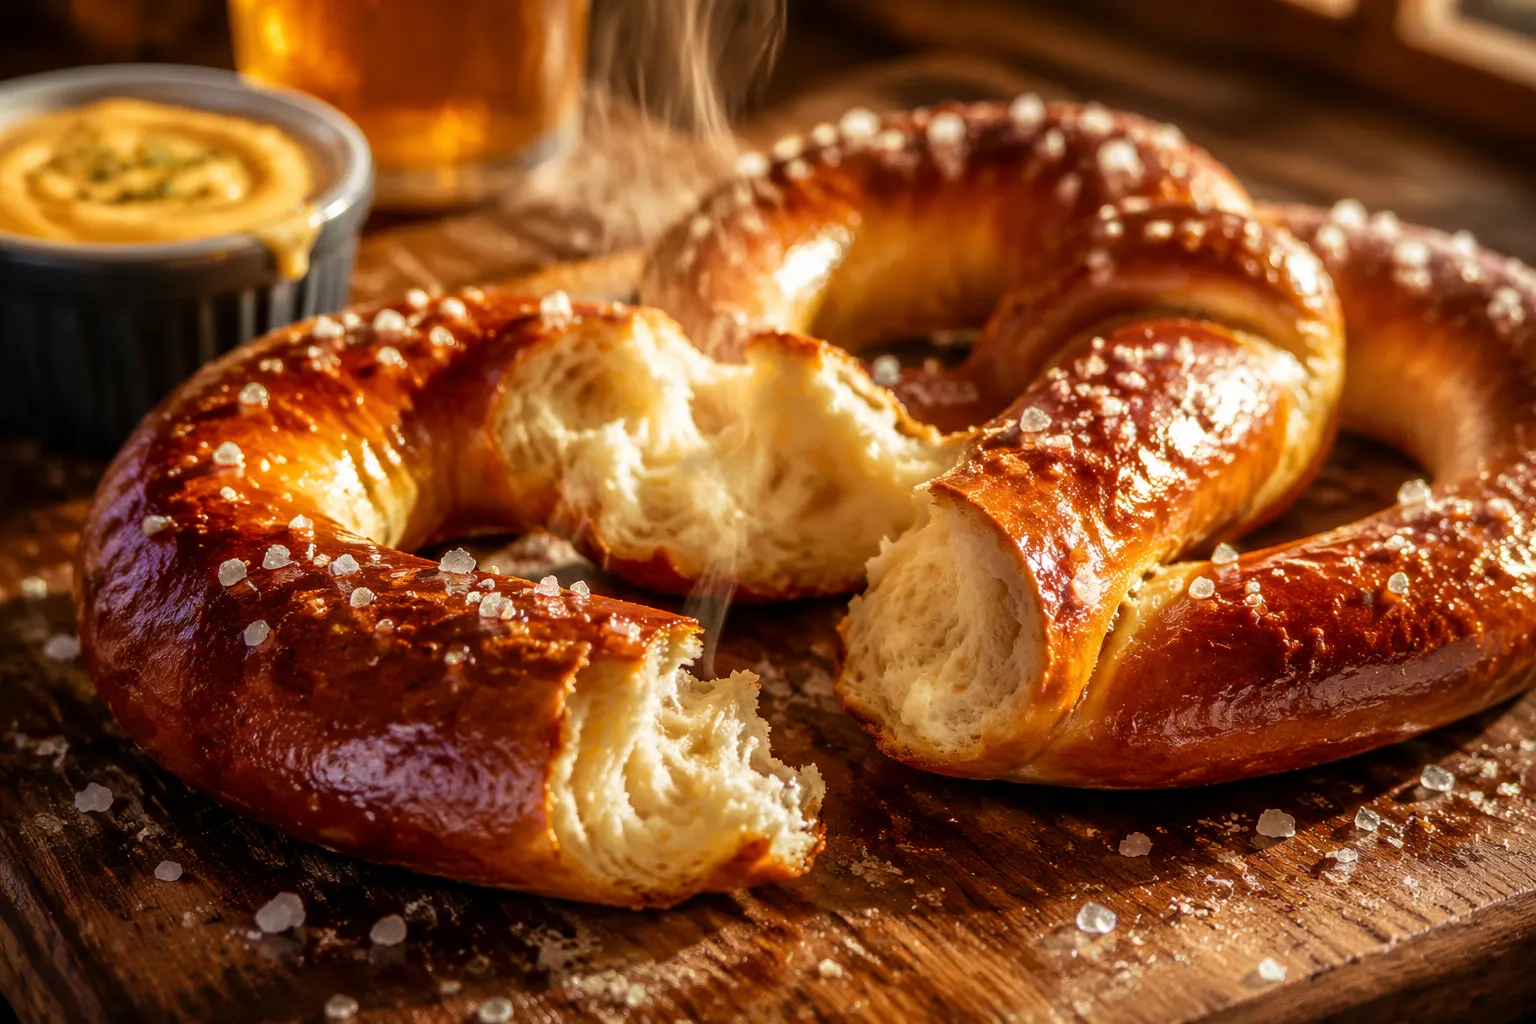
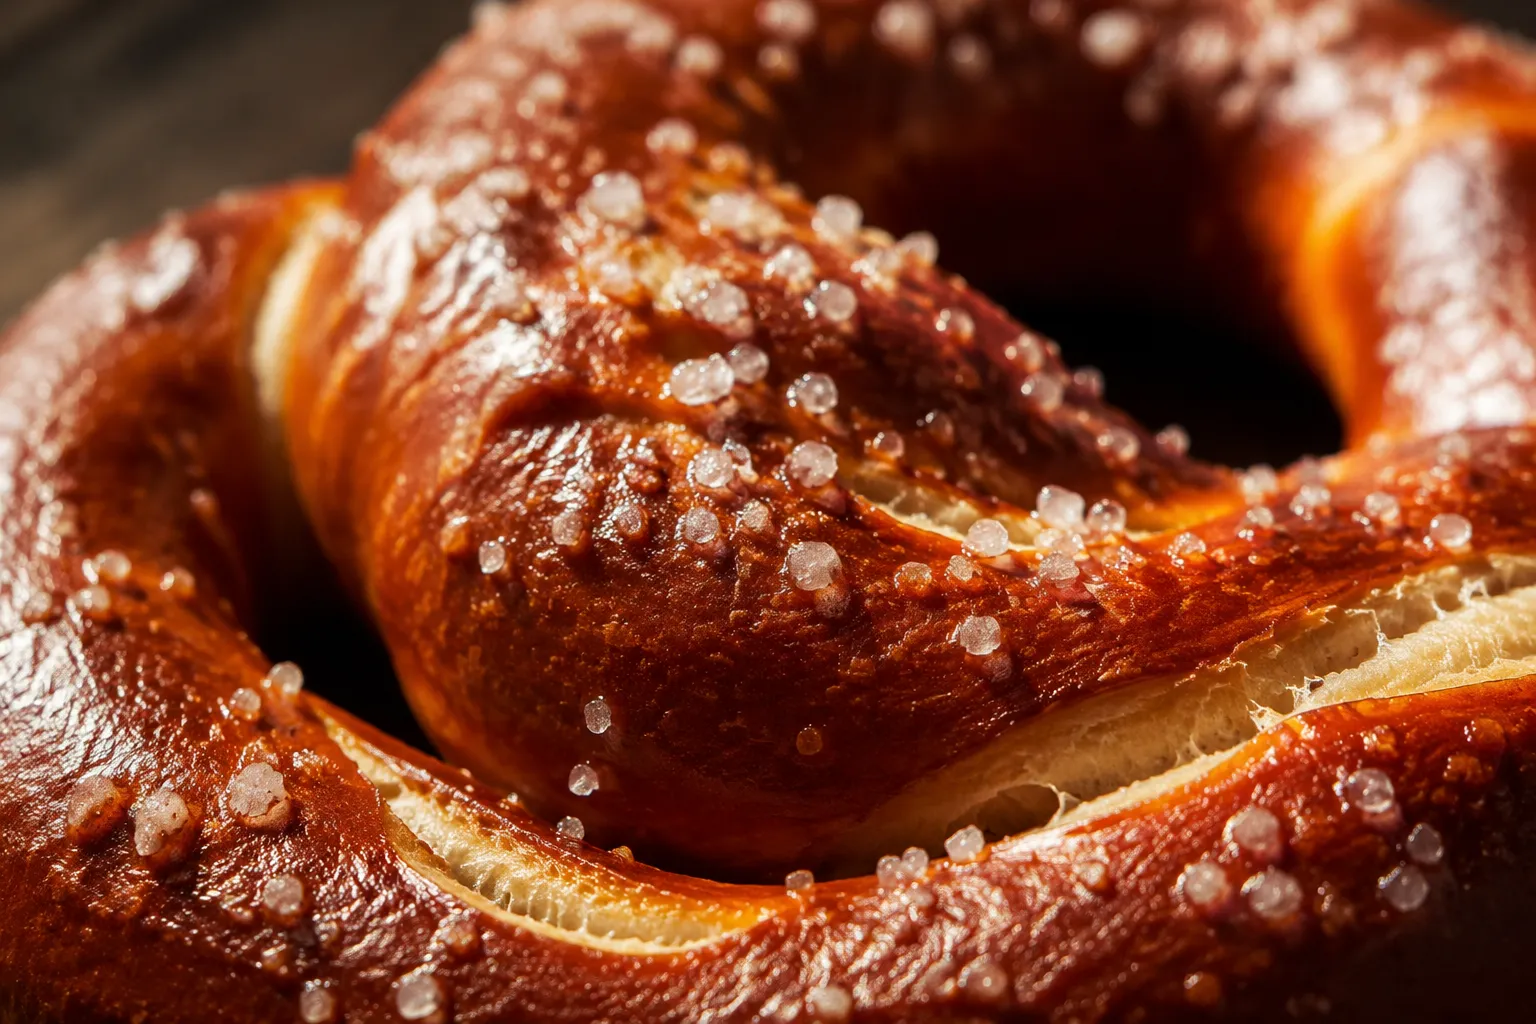
A great soft pretzel is more than bread shaped into a knot. The texture has a very specific profile: a thin, glossy, deeply tanned crust with real chew, giving way to a tender, slightly sweet, bread-like interior that pulls apart in pillowy shreds. The flavor is faintly malty, a touch buttery, and punctuated with bright pops of coarse salt. You can't quite get there with a regular dinner roll dressed up in a pretzel shape — the magic is in the technique.
What separates a memorable pretzel recipe from a forgettable one is two things working together: an enriched, quick-rise dough made with flour, yeast, brown sugar, and a little butter, plus an alkaline dip just before baking. The dip raises the pH on the surface of the dough, which dramatically speeds up the Maillard reaction in the oven. That accelerated browning is what gives you the deep mahogany color, the glassy crust, and the unmistakable pretzel flavor you simply can't fake with extra time or extra heat.
Traditional German bakeries use food-grade lye for this step. At home, a quick baking soda bath does the same job beautifully and without protective gear. Some bakers like to "bake" their baking soda first to convert it into a stronger alkali (sodium carbonate), but for everyday bakery-style pretzels, plain baking soda dissolved in simmering water gets you about 90% of the way there with zero fuss.
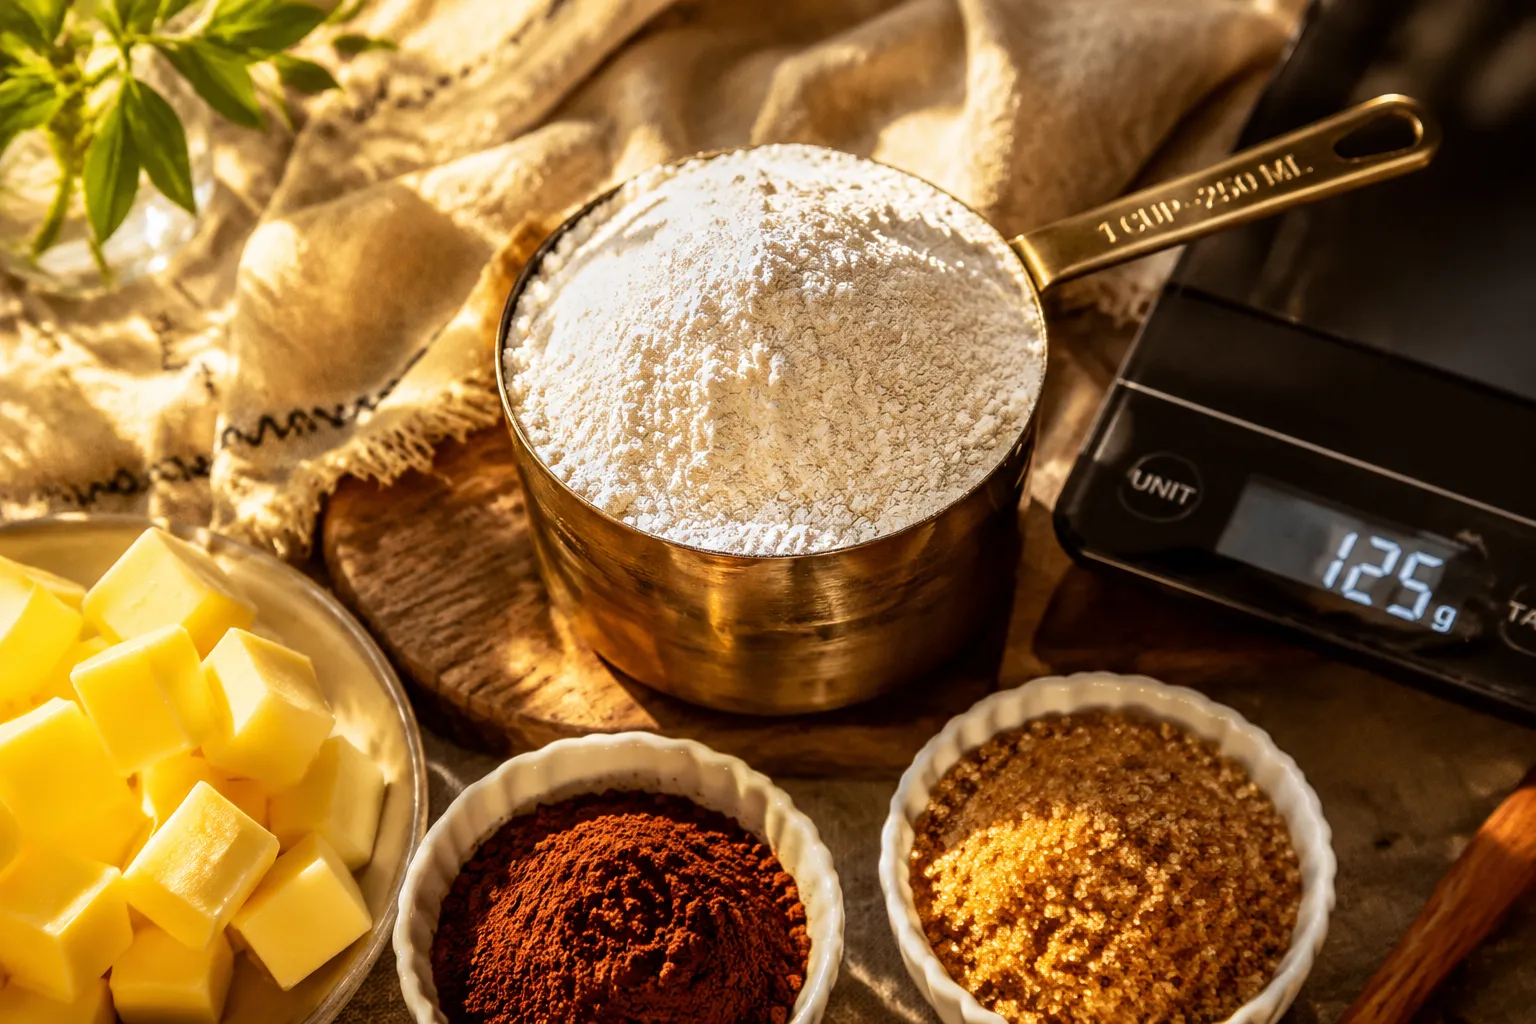
Every pantry probably has most of this already. Nothing weird, nothing hard to find at a regular grocery store.
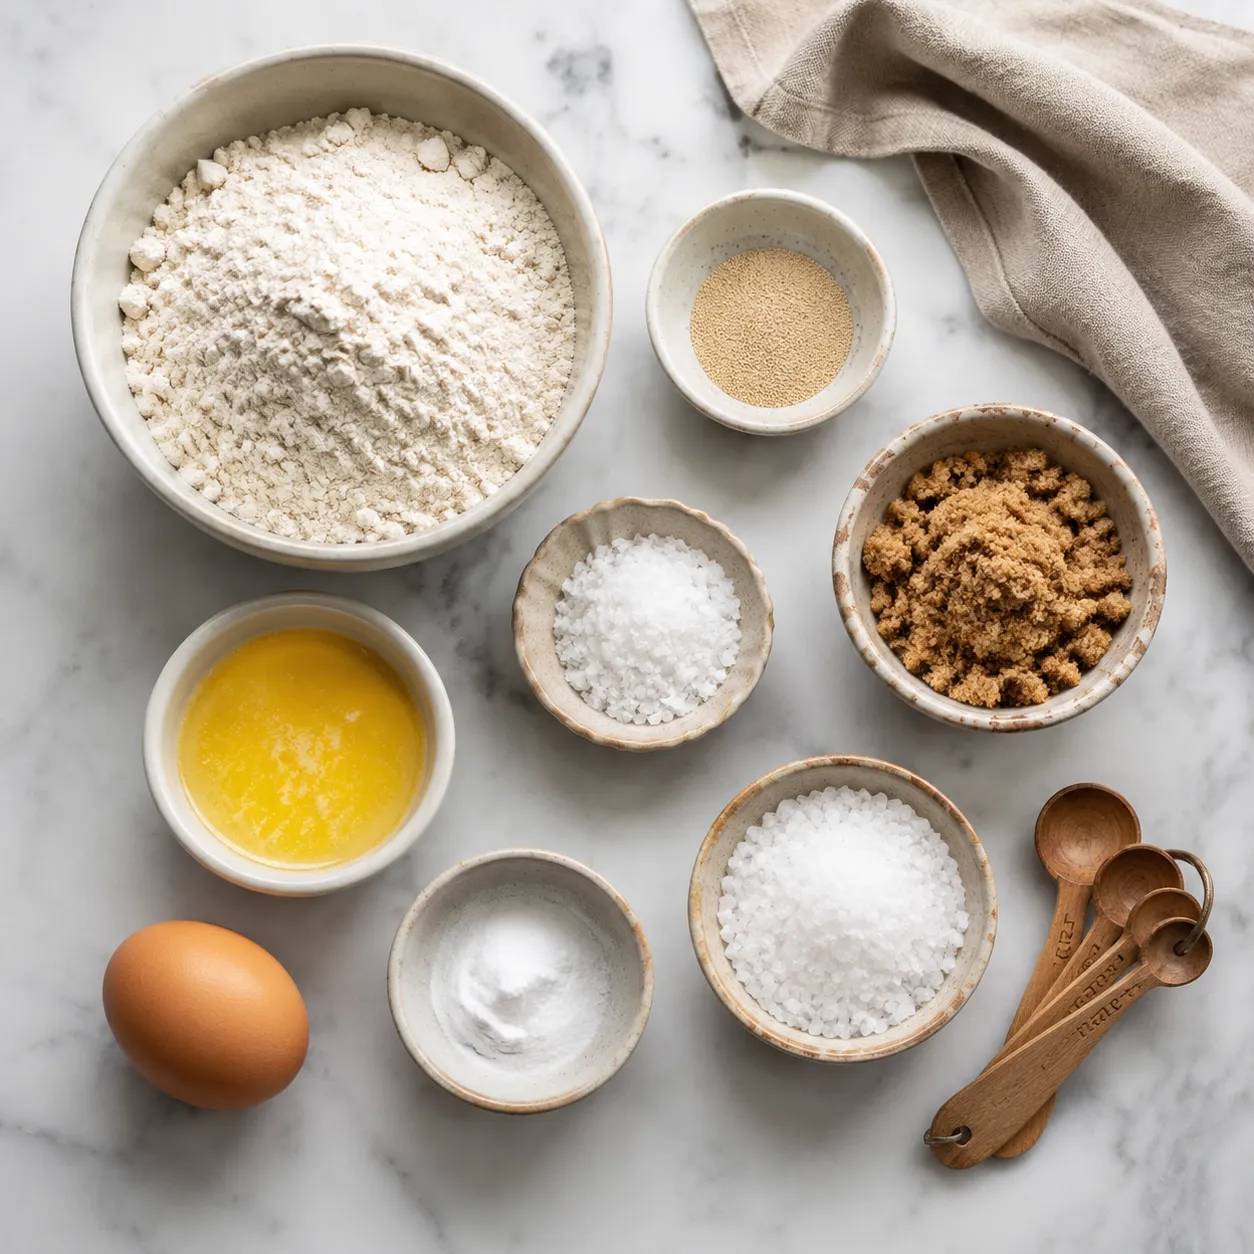
For the pretzel dough, all-purpose flour is the workhorse. Bread flour gives even more chew if you happen to have it, but AP flour produces those tender, classic mall-pretzel results most of us are chasing. Active dry yeast — one standard packet — handles the leavening; brown sugar feeds the yeast and adds a subtle malt note that mimics traditional barley malt syrup; and melted unsalted butter enriches the crumb so the pretzels stay soft for hours instead of going stale by dinnertime.
For the bath, you'll need a generous half cup of baking soda dissolved in about 10 cups of simmering water. Don't skimp on the ratio — that alkalinity is exactly what produces the signature deep brown crust. A weak, diluted bath is the number-one reason home pretzels come out looking pale and tasting like dinner rolls in disguise.
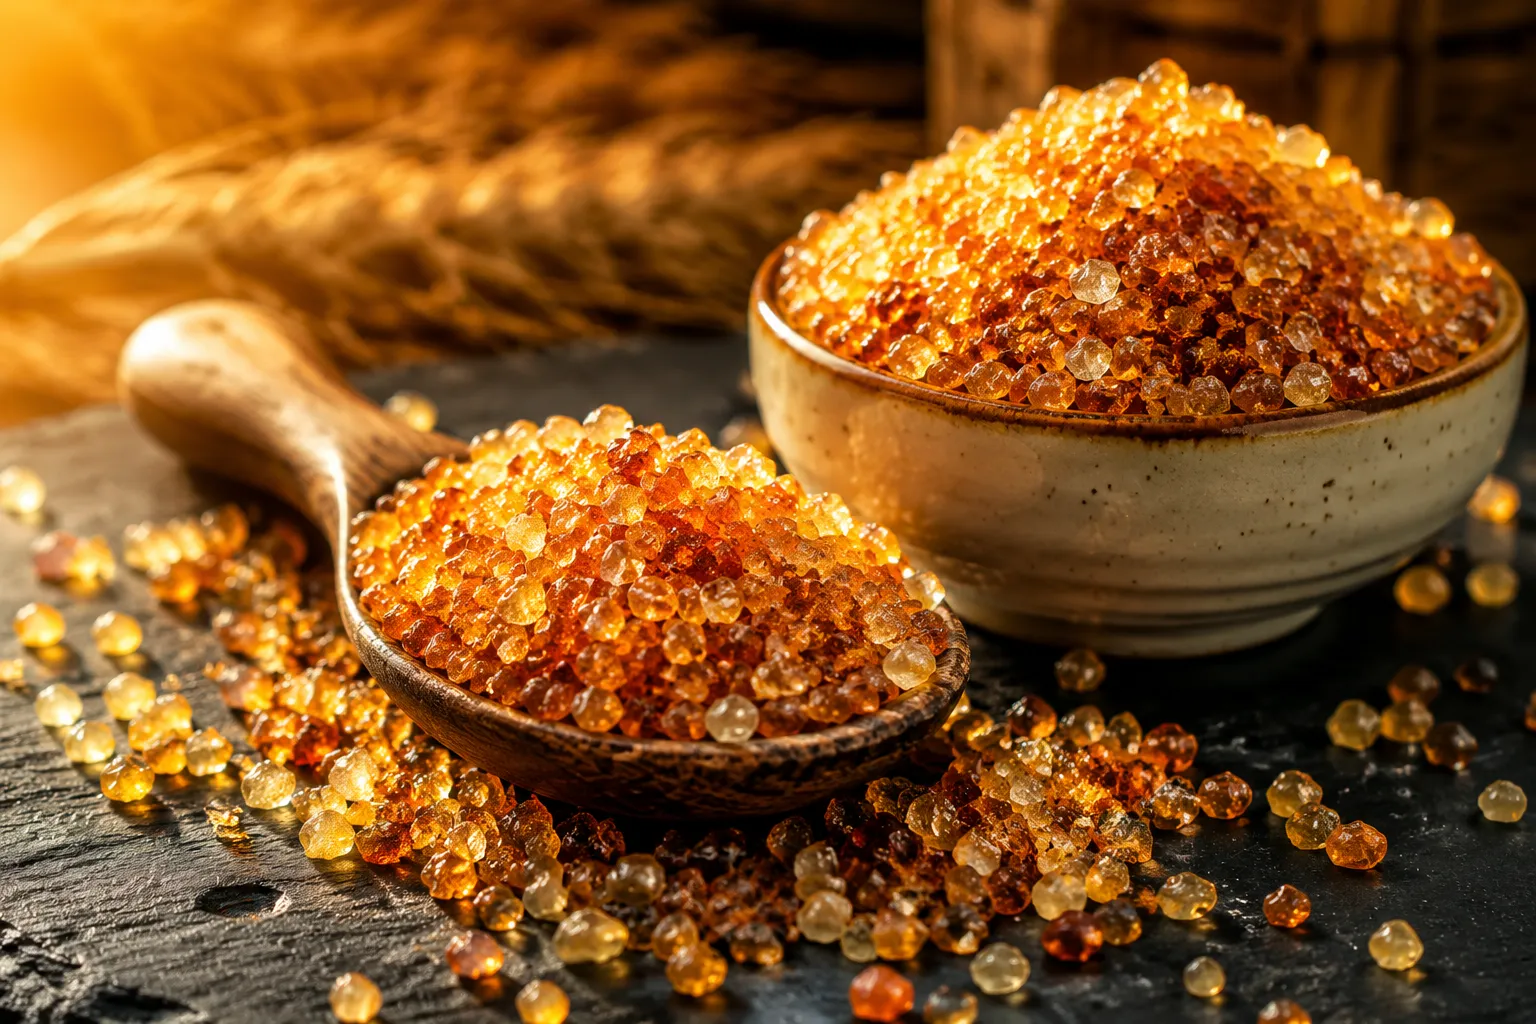
For toppings, coarse pretzel salt is the gold standard. It's worth seeking out (most grocery stores stock it near the baking aisle) because it stays crunchy and doesn't dissolve into the surface the way fine table salt does. Flaky sea salt is a great substitute in a pinch. A brush of melted butter the moment the pretzels come out of the oven is non-negotiable — think of it like a quick garlic parmesan butter moment, minus the garlic and parmesan, though those are excellent additions if you want to take things in a savory direction.
The rhythm is simple: mix, knead, rise, shape, dip, bake. Total time clocks in around an hour, with most of it hands-off while the dough rests and you tidy the kitchen.
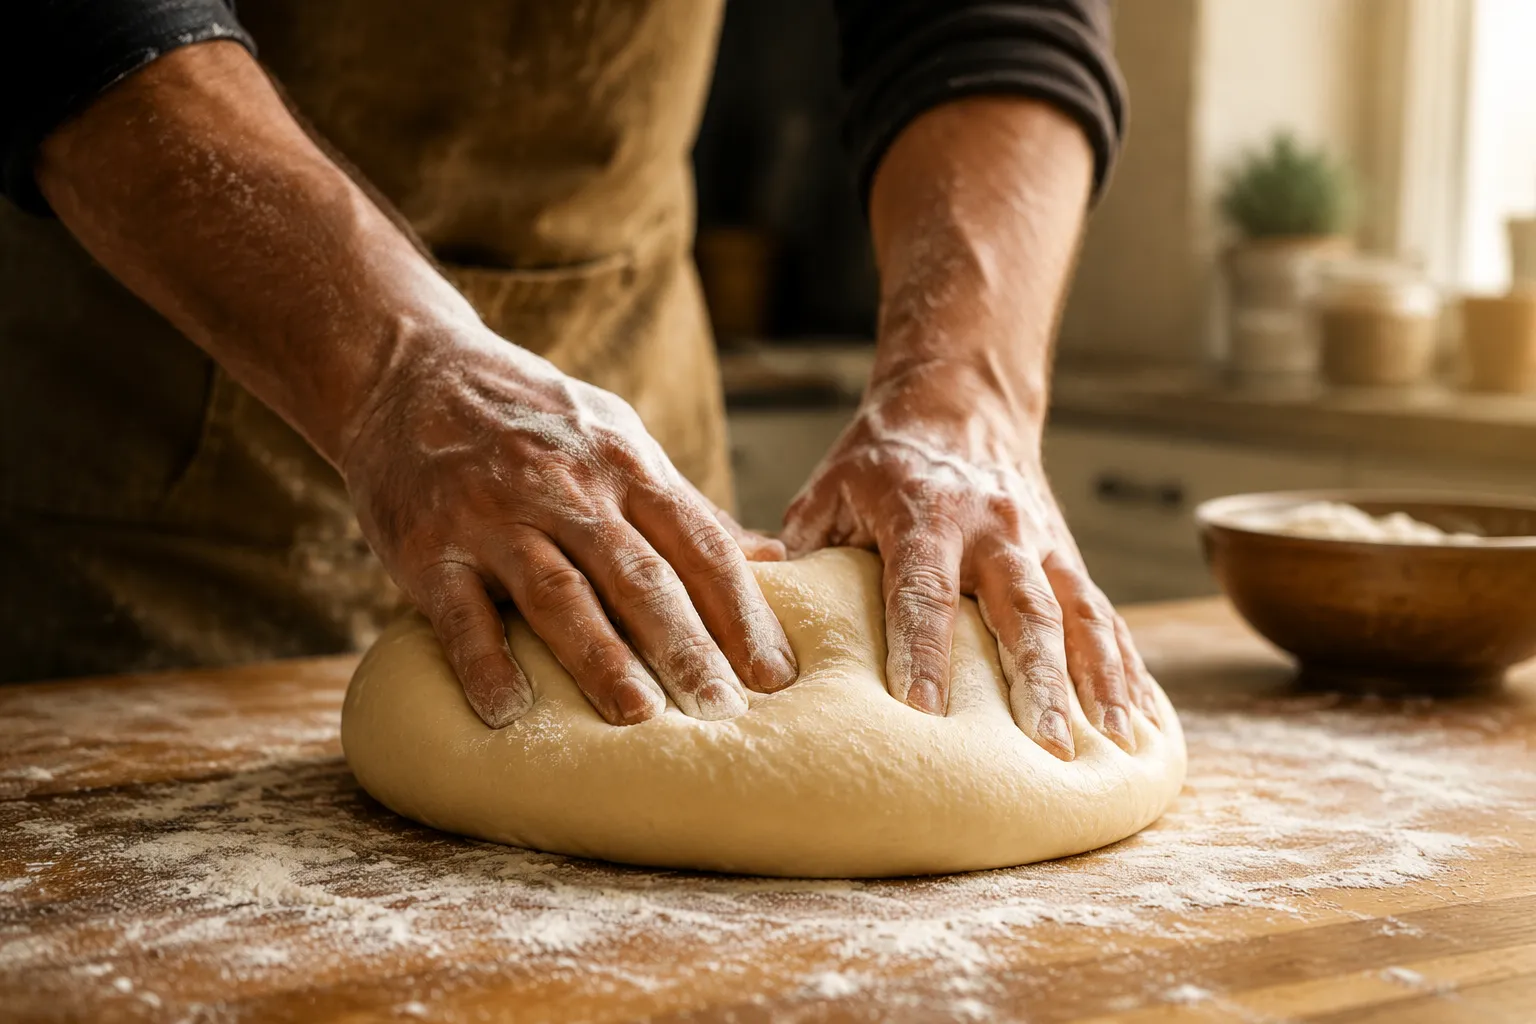
Start by warming your water to about 110°F — think comfortable bath temperature, not hot. Whisk the yeast and brown sugar into the water and let it sit for 5 minutes until it looks foamy on top. (If nothing happens, your yeast is dead. Start over with a fresh packet — better to lose a few minutes now than a whole afternoon later.) Add the melted butter and kosher salt, then most of the flour, mixing until a shaggy dough forms and pulls away from the sides of the bowl.
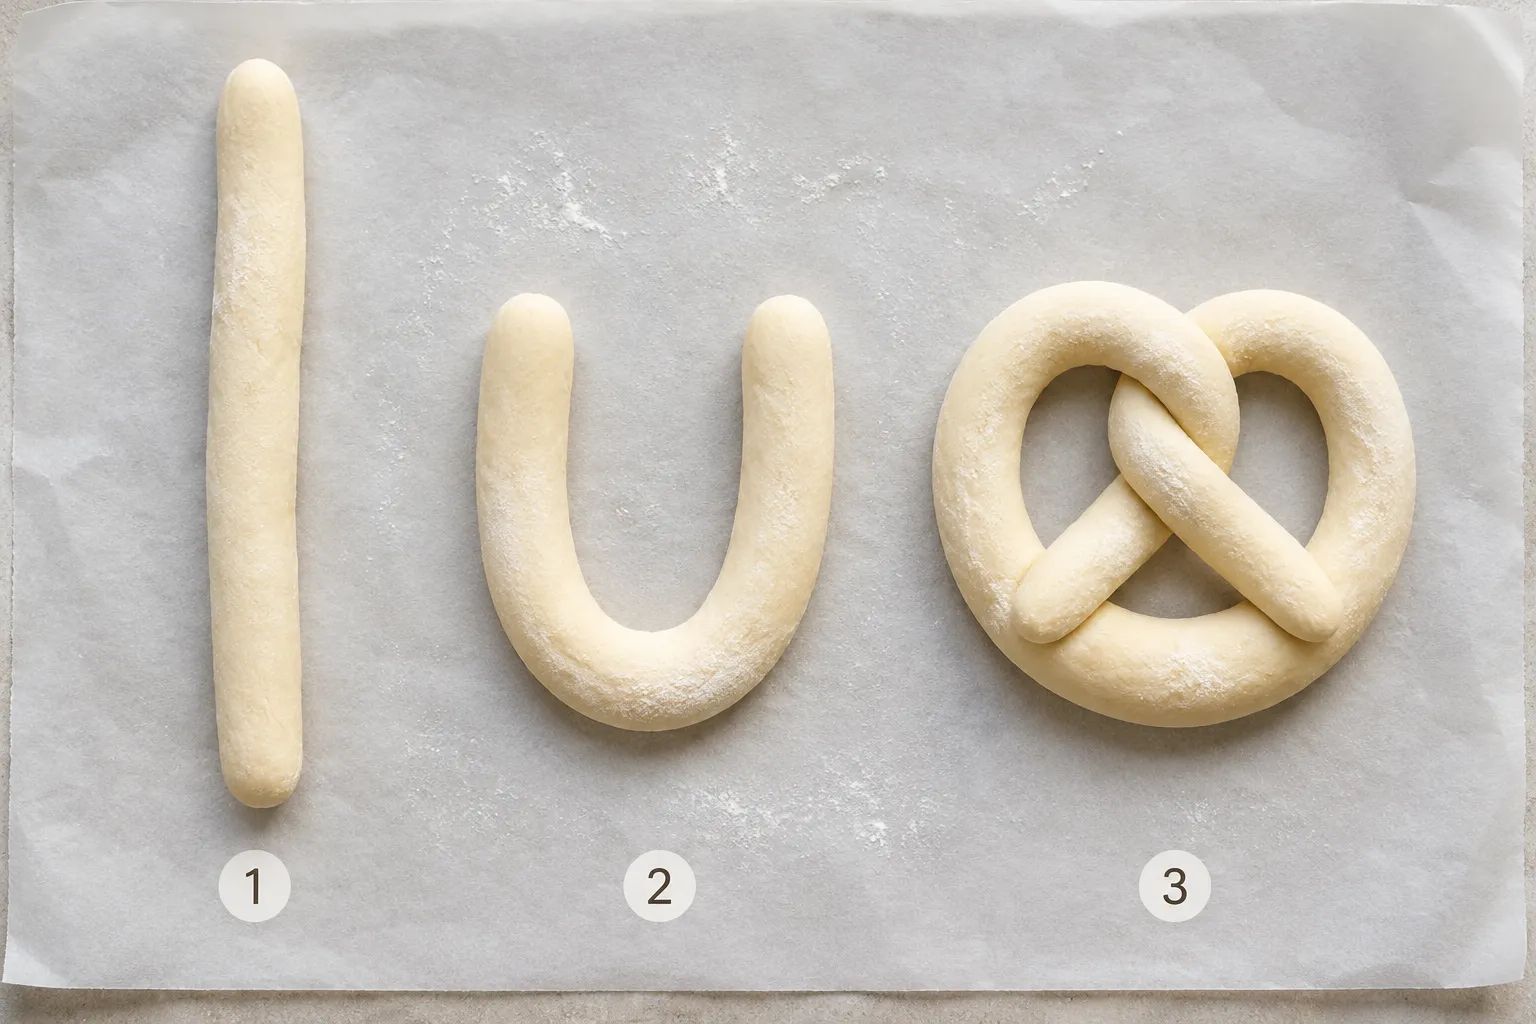
Turn the dough out onto a lightly floured surface and knead for about 5 minutes, until the ball is smooth, elastic, and only barely tacky to the touch. Cover with a damp towel and let it rise in a warm spot until puffy and roughly doubled — 30 minutes is usually enough, though a full hour develops noticeably better flavor. Divide the risen dough into 8 equal pieces (a kitchen scale makes this painless), then roll each piece into a long rope about 22 inches long. Rope length matters more than people realize — a short, fat rope gives you a stubby, dense pretzel, while a long, thin rope gives you that classic open looped silhouette with proper chew.
To shape, lay each rope into a wide U on your work surface. Cross the two ends over each other twice to create a tight twist, then fold the twist down onto the bottom of the U and press gently so the points stick. Don't stress if your first one looks a little off — by pretzel number three you'll have the rhythm down.
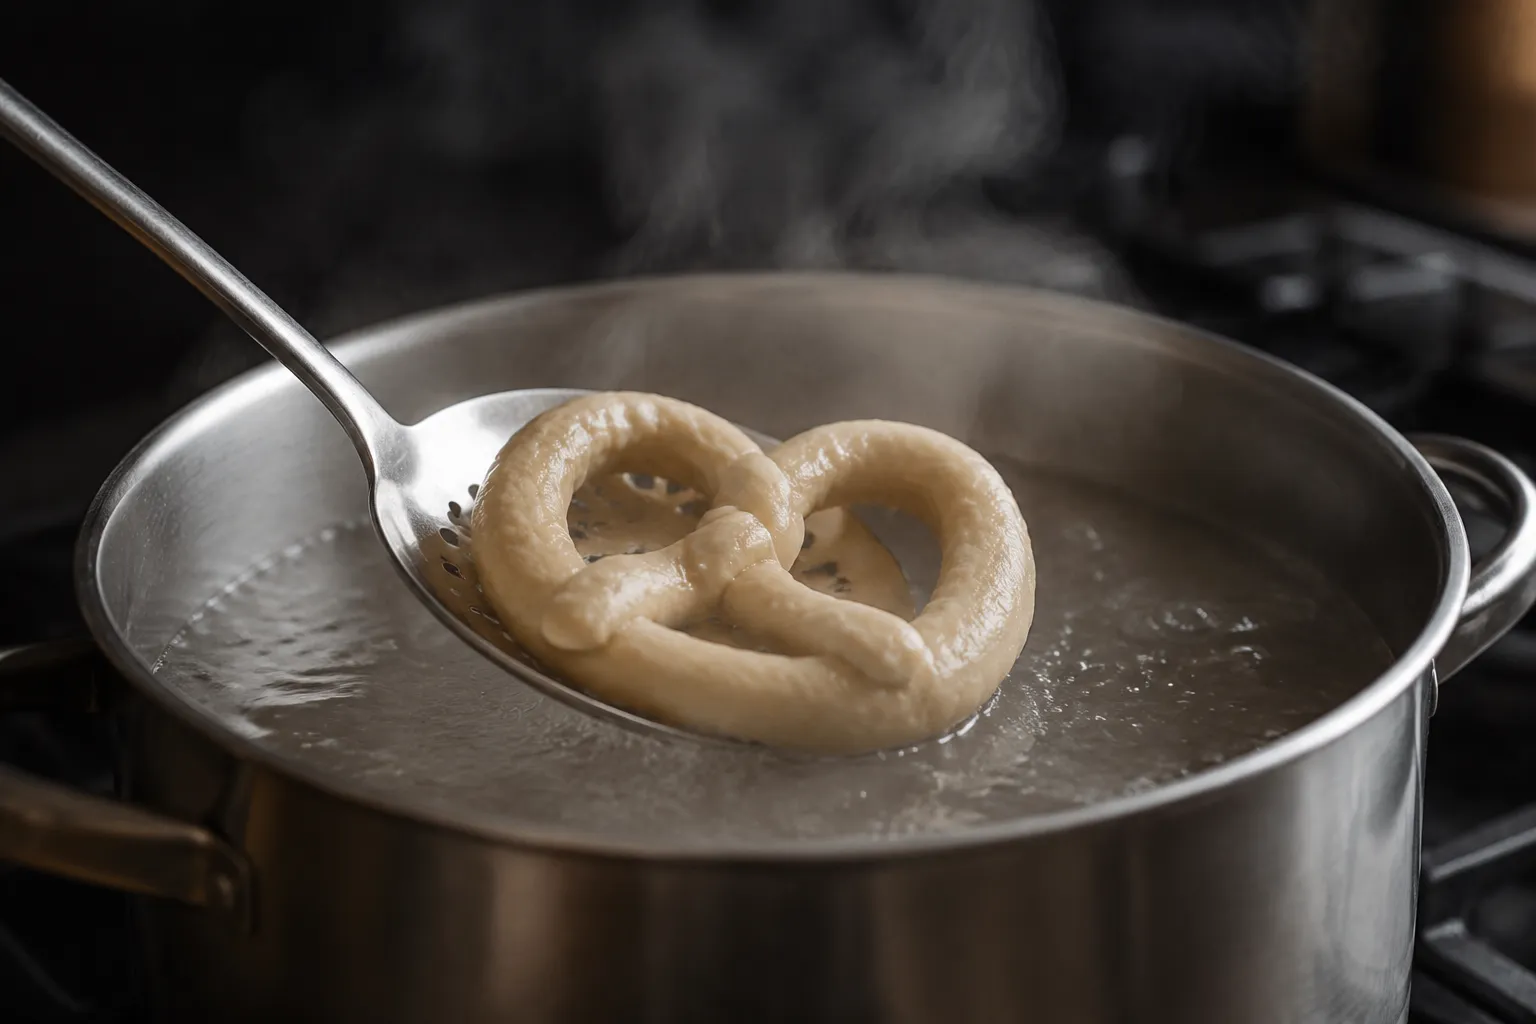
While you shape, bring a wide pot with about 10 cups of water to a gentle simmer and carefully stir in the half cup of baking soda (it will foam up briefly). Lower each shaped pretzel into the bath for 20 to 30 seconds, lift it out with a slotted spoon, let it drain for a beat, and transfer to a parchment-lined sheet pan. Brush each one with beaten egg for that glossy bakery shine, then sprinkle generously with pretzel salt before the egg wash dries.
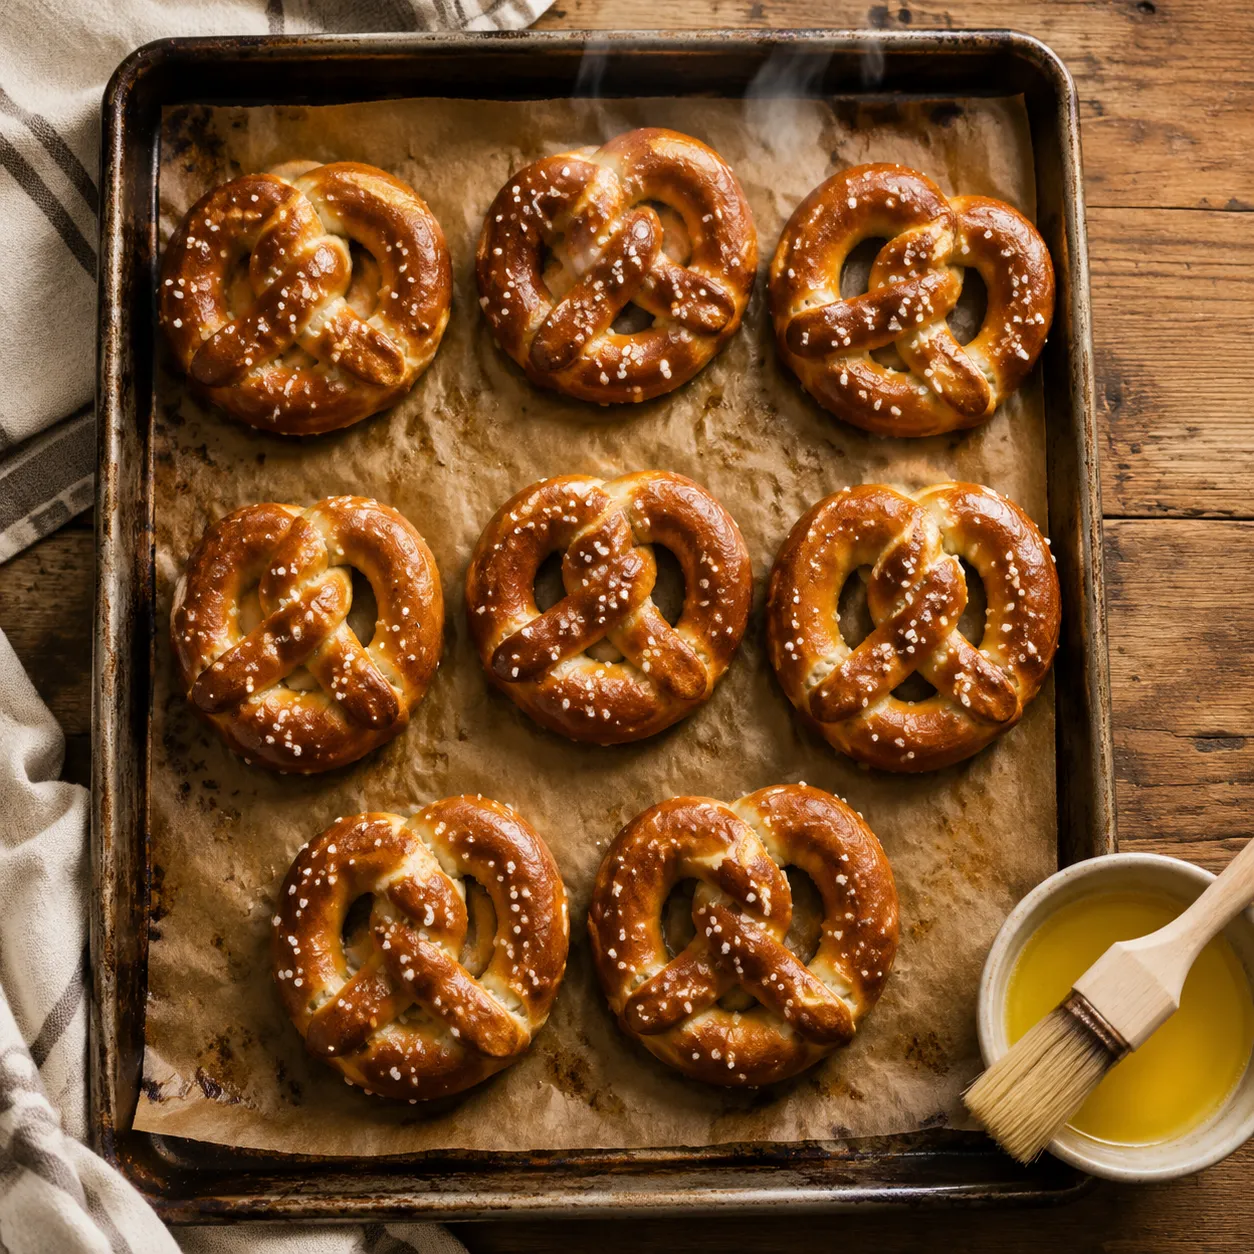
Bake at 425°F for about 12 minutes, until the pretzels are a deep, almost-too-dark mahogany brown. The second they come out of the oven, brush every inch with melted butter. This step is not optional. The hot butter melts into the warm crust, gives it that signature glossy bakery sheen, and softens the chew just enough. Eat one immediately, standing over the sheet pan, with your hands. House rules.
Pretzels are essentially a delivery vehicle for sauce, and the right pairing turns a quick snack into a whole spread that holds up for game day, happy hour, or a Friday-night charcuterie situation. Once you've nailed this soft pretzel recipe, building a bigger menu around it gets fun.
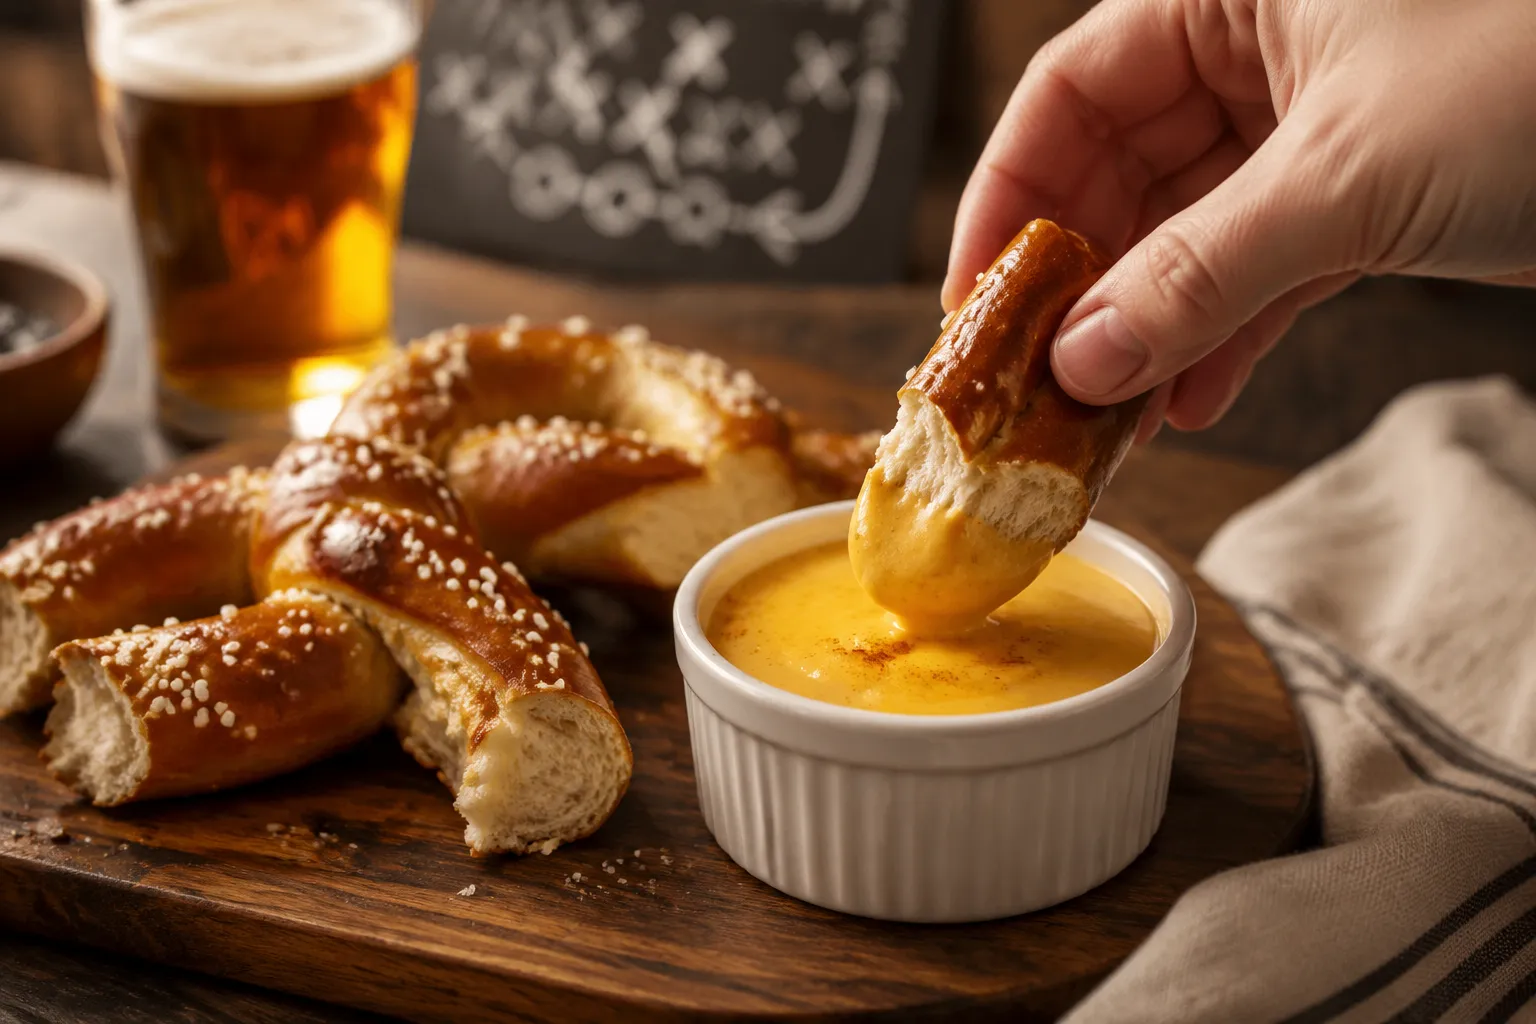
For savory dipping, warm beer cheese dip is the unbeatable classic — sharp cheddar, a splash of lager, a hit of Worcestershire and ground mustard, all melted into a glossy sauce that clings to every twist and curve. A tangy honey mustard dipping sauce balances the salt with sweet heat and comes together in two minutes with mayo, dijon, honey, and a splash of vinegar. Whole-grain mustard with a little horseradish is another favorite for anyone who likes a sharper bite.
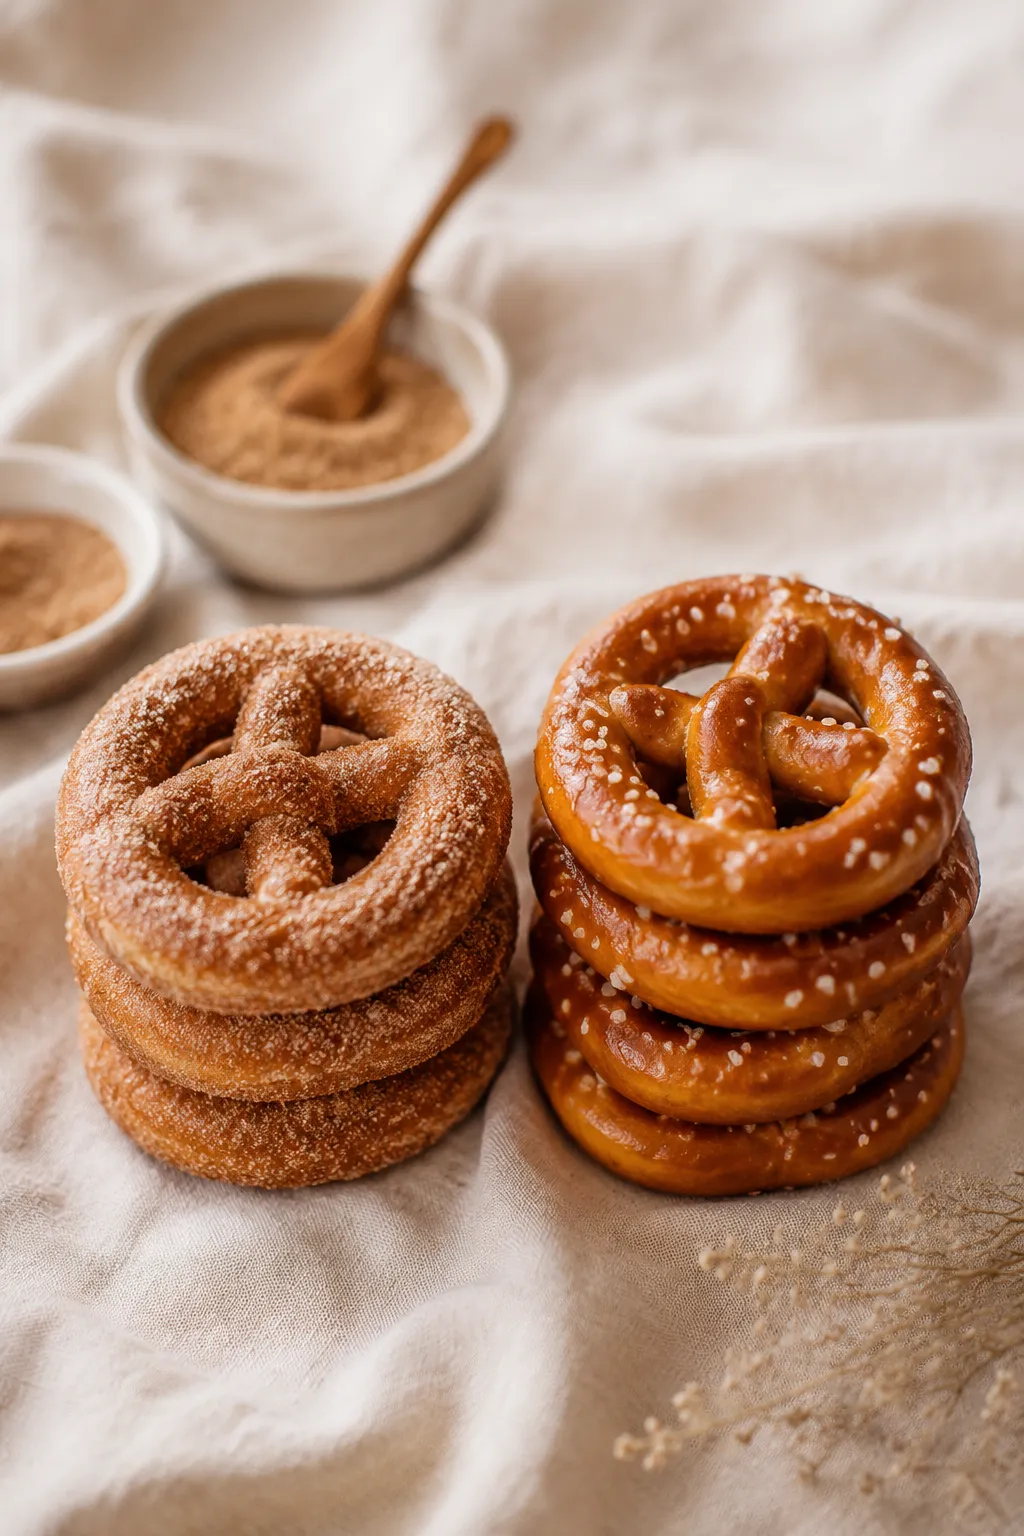
For sweet pretzel variations, cream cheese icing or salted caramel are non-negotiable dippers. And if you're putting together a full bread basket for a dinner party or holiday meal, fresh homemade pretzels alongside easy dinner rolls and a tray of warm soft breadsticks make a lineup that covers every snacking craving on the table.
Once you've made this pretzel recipe a couple of times, the freezer-aisle versions stop tempting you altogether. The dough is forgiving, the baking soda bath is genuinely foolproof once you understand why it matters, and the payoff — that first warm, buttery, salty bite straight off the parchment — is honestly hard to beat. Make a double batch the next time you have people over. Your kitchen will smell incredible, and you'll never look at a soft pretzel the same way again.
The same dough handles all kinds of riffs. Once you've nailed the base recipe, swap toppings or change the shape and it feels brand new every time.
Soft pretzels are best the day they're baked, but they keep well with the right method. At room temperature, store cooled pretzels in a paper bag or loosely covered for up to 24 hours — never sealed in airtight plastic, which traps moisture and turns the crust gummy. For slightly longer storage, refrigerate in an airtight container up to 3 days, knowing the texture will soften compared to fresh.
To freeze, cool the pretzels completely on a wire rack, wrap each one tightly in plastic wrap, and store in a freezer bag with the air pressed out for up to 2 months. The best way to reheat is in a 350°F oven for about 5 minutes — sprinkle a few drops of water on the surface first to revive that chewy crust. The microwave works in a pinch but turns the bottom rubbery, so the oven is genuinely worth the extra few minutes for that fresh-baked texture.