How to Cook Brown Rice: Perfect Fluffy Results Every Time
Ingredients
Scale

Tired of gummy, undercooked grains? This guide shows you exactly how to cook brown rice on the stovetop or with the boil-and-drain method for fluffy results every time.
When you set out to cook brown rice brown grains can sometimes feel intimidating, especially if you have been burned by mushy, gummy, or crunchily undercooked results in the past. But learning exactly how to cook brown rice is a fundamental kitchen skill that will completely transform your weeknight dinners and meal-prep routines. 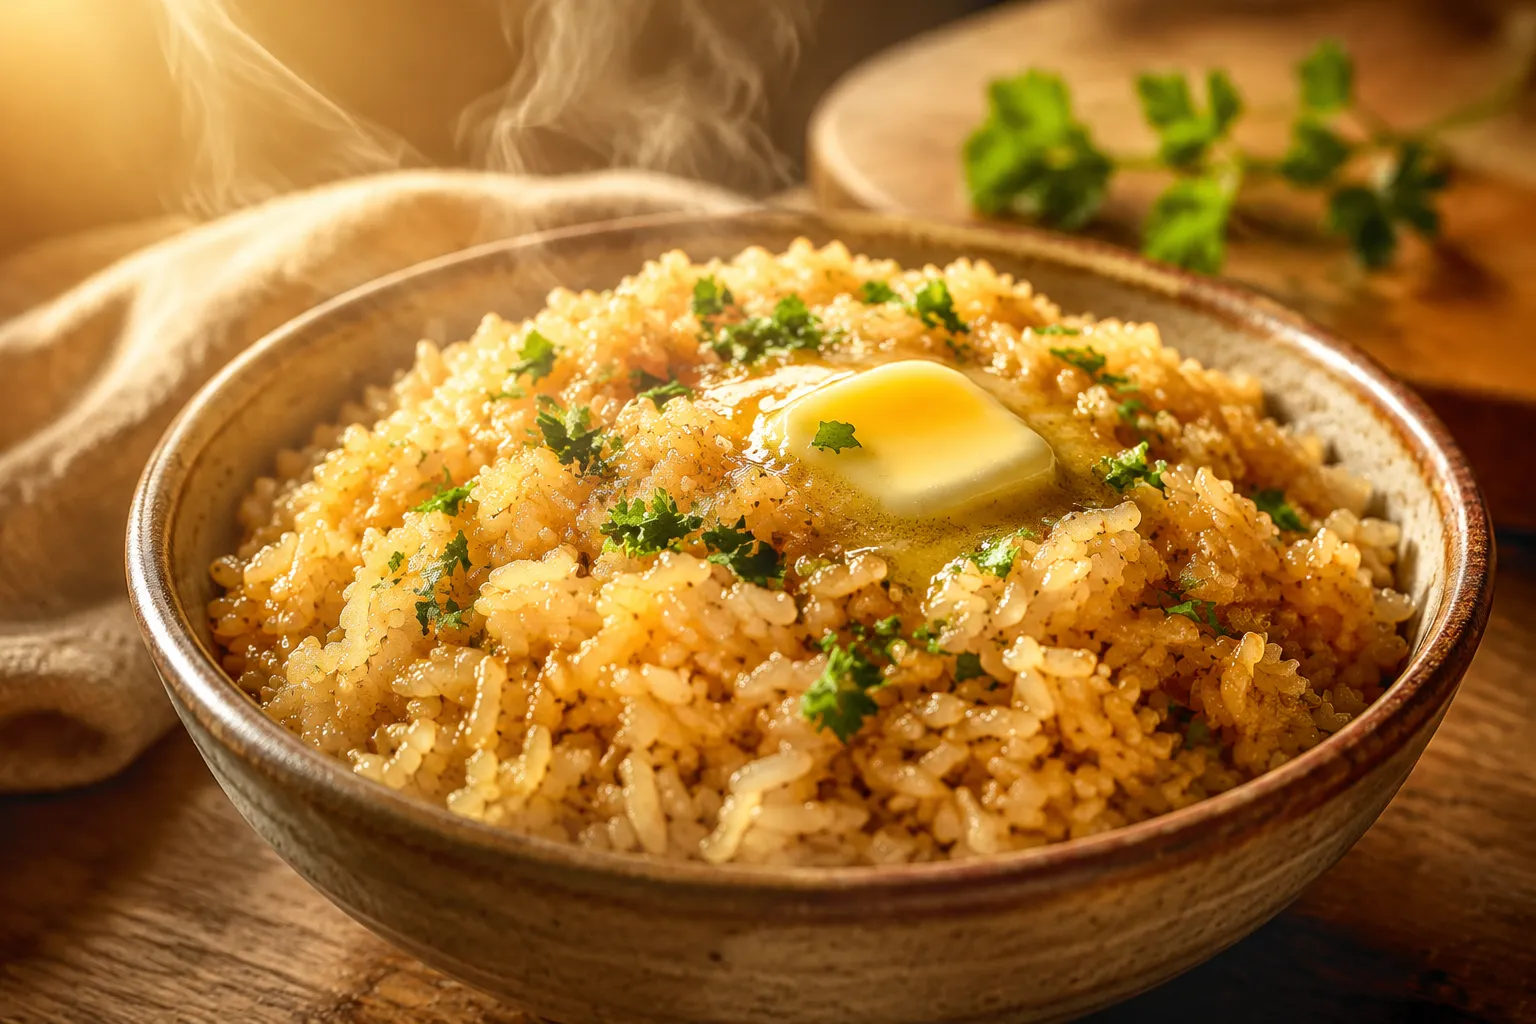
Many home cooks shy away from whole grains because they seem to require too much babysitting or guesswork. However, the truth is that achieving the perfect texture is simply a matter of understanding the correct proportions and timing. Once you master the basic stovetop technique and the alternative boil-and-drain method, you will never look back. Let's explore exactly what makes this humble side dish so spectacular when prepared correctly.
The most significant difference between white and brown varieties comes down to the anatomy of the grain itself. Because the intact bran layer keeps the brown rice brown, it requires significantly more moisture and time to soften during the cooking process. White rice has had this tough outer bran and the nutrient-dense germ completely removed, leaving only the starchy endosperm. This intact bran layer is exactly what gives whole grain rice its stellar nutritional profile, packed with dietary fiber, magnesium, and essential minerals. However, that same protective coating acts as a physical barrier to water absorption. Understanding this barrier is the ultimate key to mastering your stovetop technique and avoiding crunchy centers.
If you are accustomed to the soft, almost neutral profile of standard white rice, stepping into the world of whole grains is a delightful flavor upgrade. The intact germ and bran provide a distinctively nutty, earthy flavor that holds its own beautifully against robust curries, bold sauces, and heavily spiced proteins. 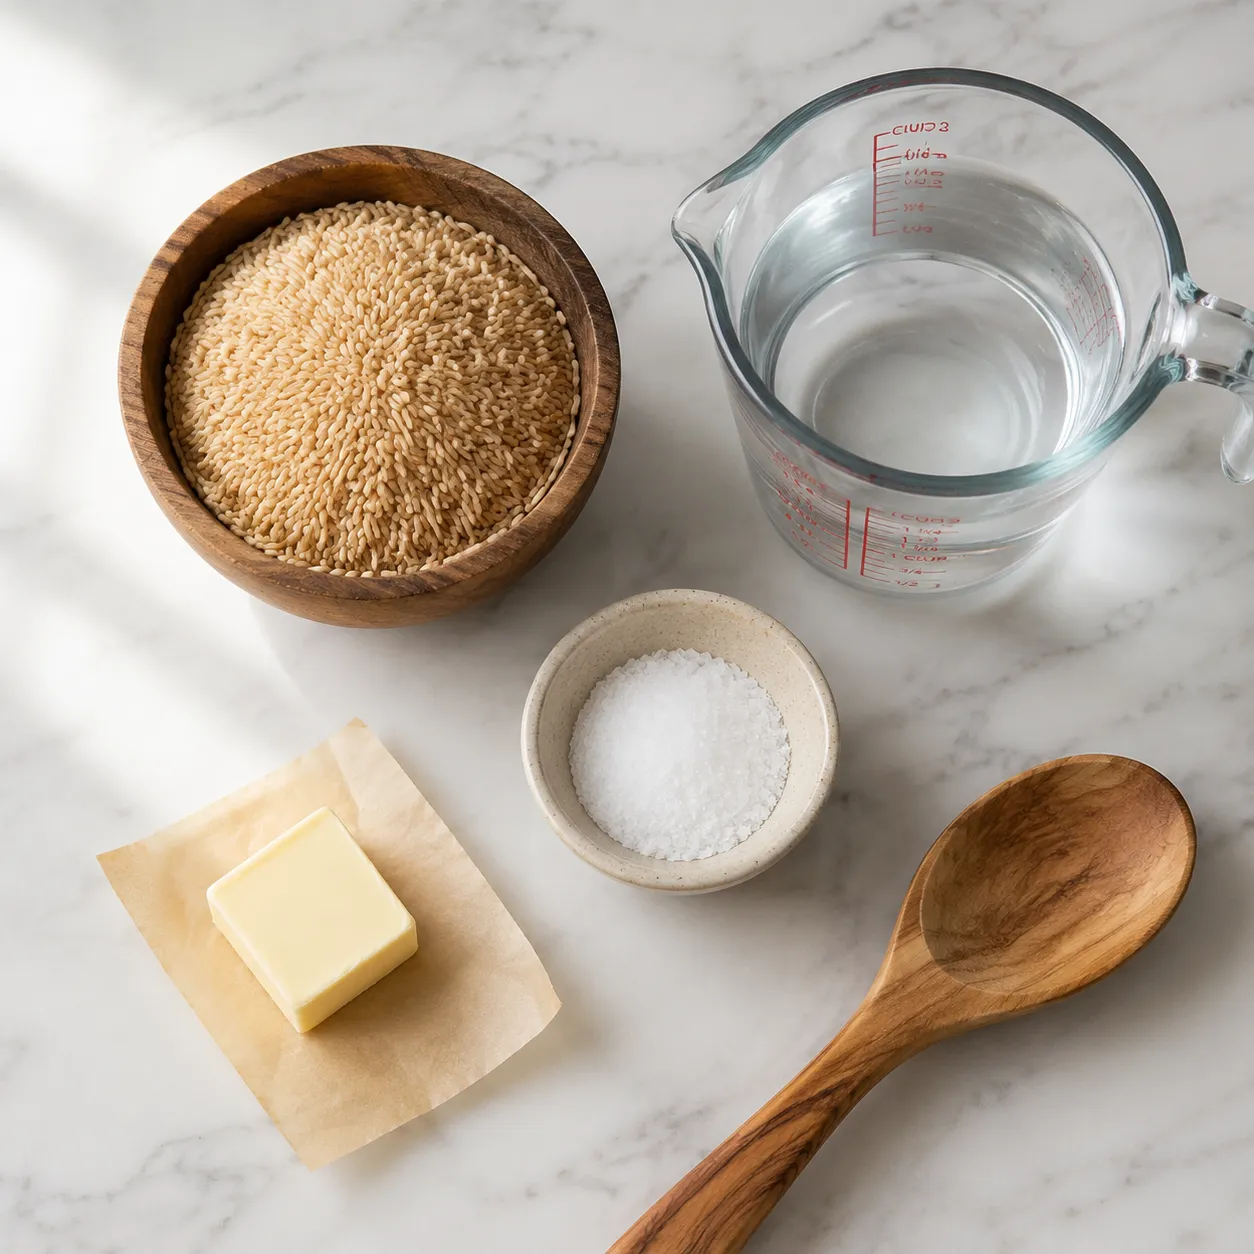
Patience is definitely a virtue when dealing with whole grains. While a pot of white rice might be ready in a brisk fifteen to twenty minutes, its whole-grain counterpart demands a longer commitment. Typically, a standard simmer takes about forty to forty-five minutes, plus a mandatory resting period off the heat. This extended timeline is absolutely necessary for the water to fully penetrate the tough outer bran layer and gelatinize the starches inside. While you can certainly make instant pot brown rice to shave off a few minutes of active attention, the traditional stovetop methods we are covering today offer unparalleled control over the final texture and moisture level.
Not all grains are created equal, and your choice at the grocery store dictates the final dish's character. We highly recommend using long grain brown rice for the most distinct, separate grains that fluff up beautifully with a fork. Varieties like whole-grain basmati or jasmine fall into this category and are incredibly aromatic while cooking. On the other hand, short grain brown rice tends to be plumper, starchier, and noticeably stickier, making it excellent for sushi bowls, creamy risottos, or rice puddings. If you are looking for the best brown rice brown basmati is a fantastic, versatile choice for everyday side dishes.
The downfall of many home cooks is blindly following the package directions, which almost always call for far too much liquid. Understanding the proper brown rice to water ratio is your secret weapon against mush. For the classic stovetop simmer, the golden rule is exactly one cup of dry rice to one and three-quarters cups of water. 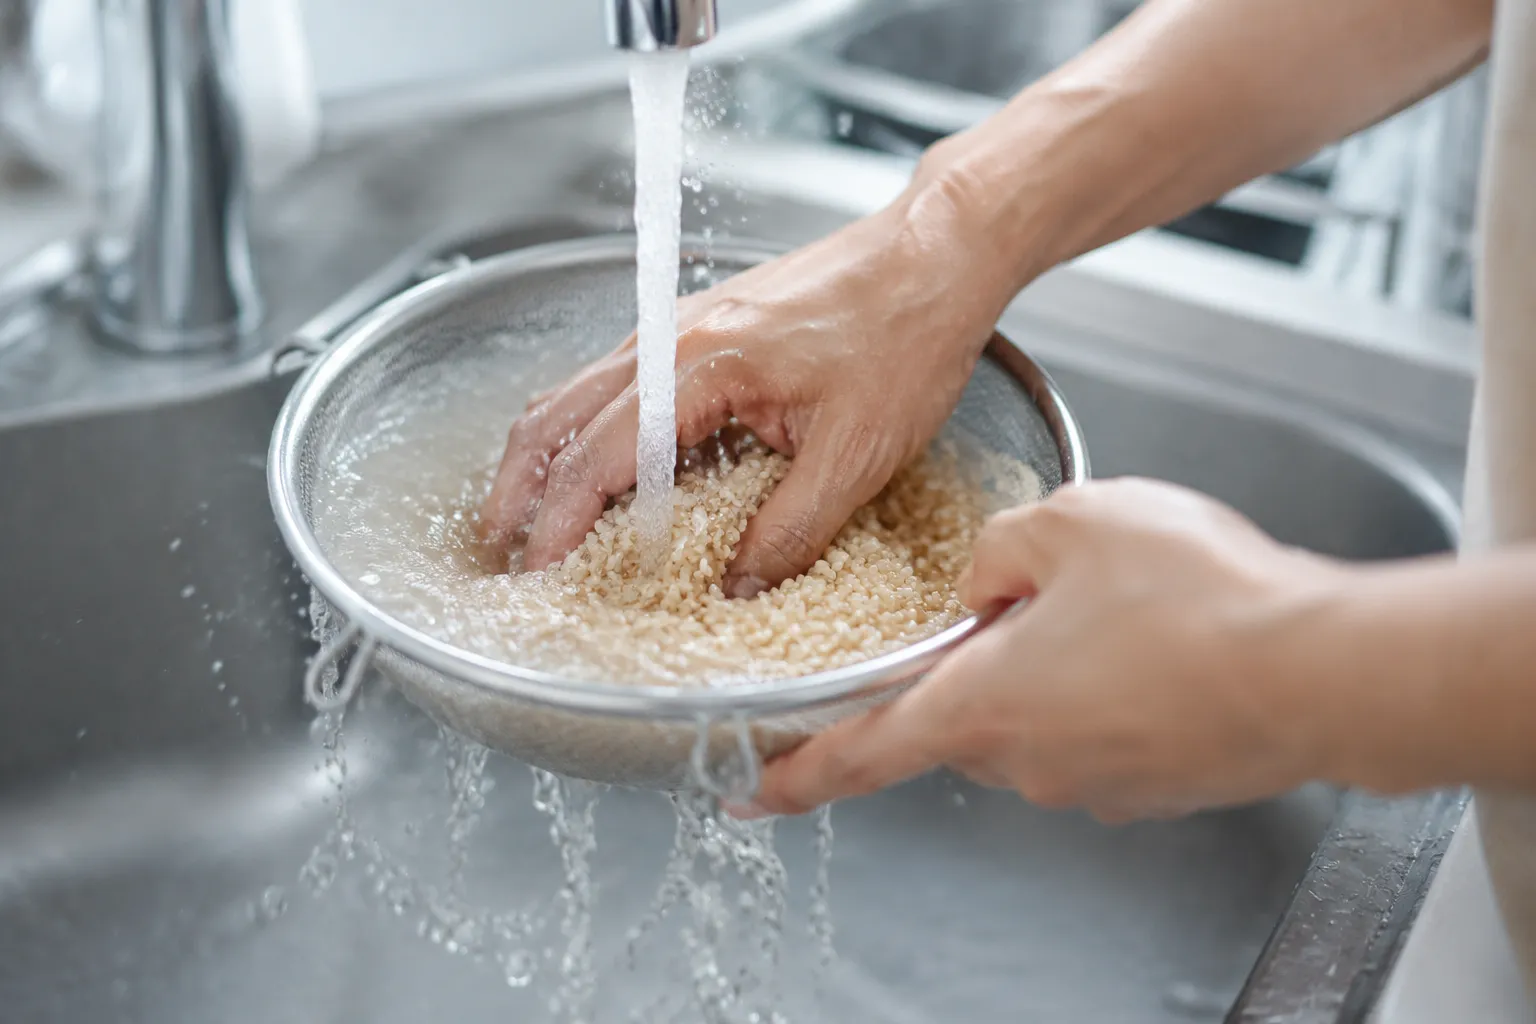
Your choice of cookware plays a surprisingly crucial role in how evenly your grains cook. You absolutely need a heavy-bottomed saucepan that distributes heat gently and consistently. A thin, flimsy pot will create hot spots, causing the bottom layer of grains to scorch and burn before the top layer even finishes steaming. 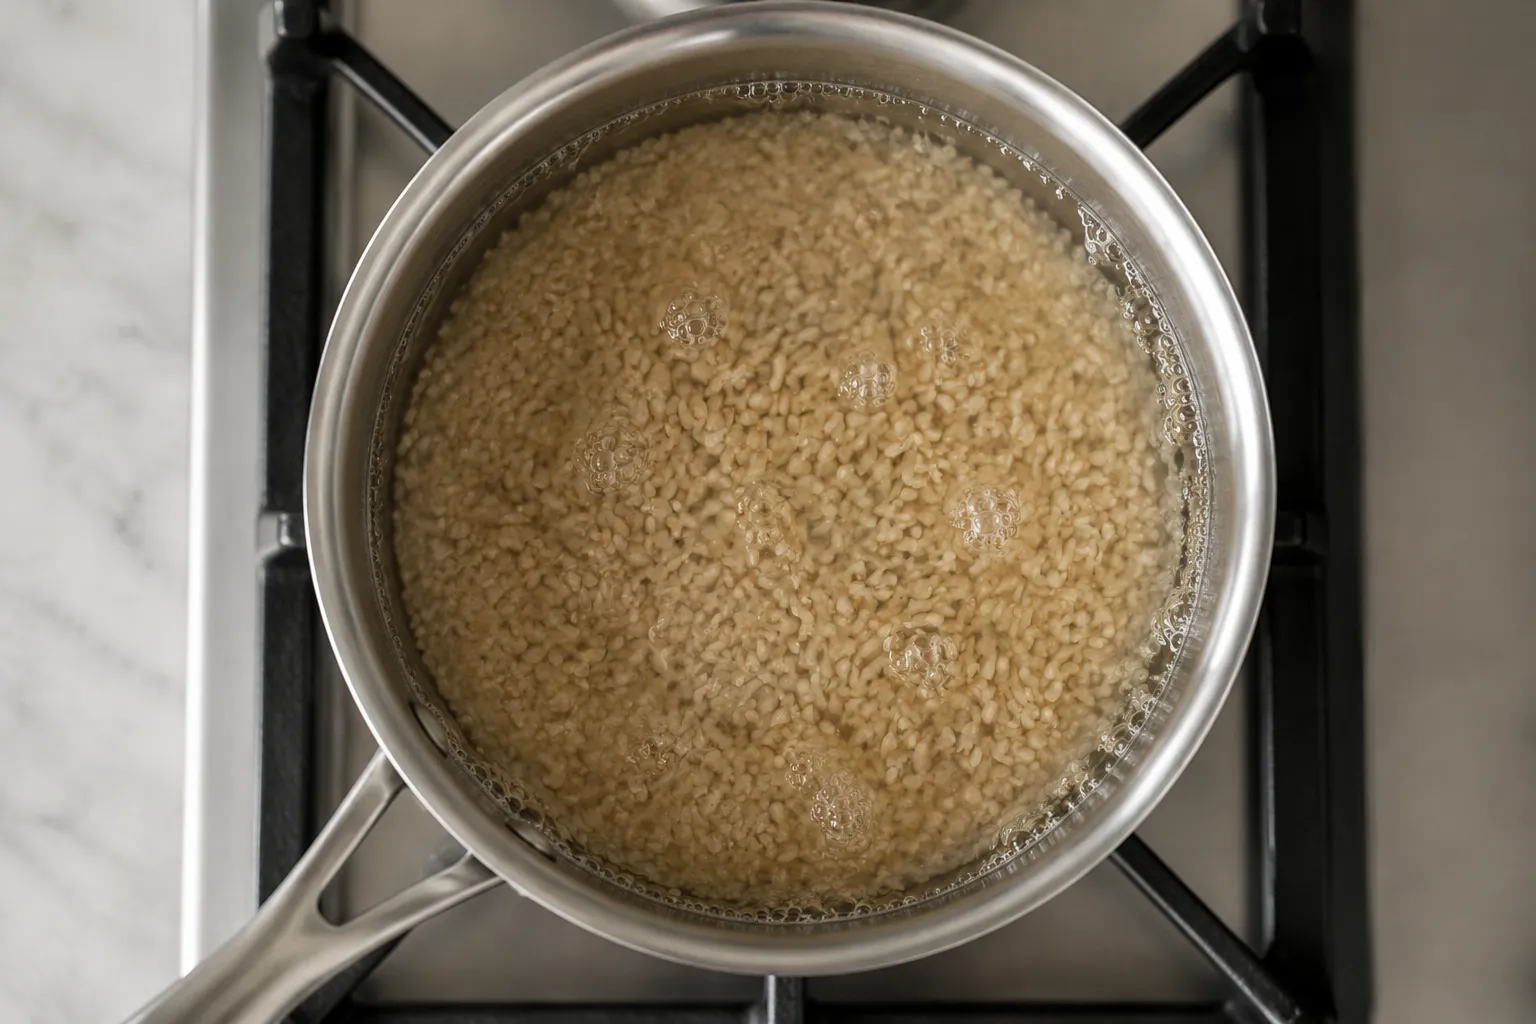
Before any heat touches your pan, you must rinse brown rice thoroughly. Place your measured grains into a fine mesh strainer and run them under cold tap water for about thirty seconds. As you rinse, gently swish and rub the grains together with your fingertips. You will notice the water looks slightly cloudy at first; this is the surface starch and any milling dust washing away. Removing this excess starch is a non-negotiable step if you want distinct, separated stovetop brown rice rather than a sticky, clumpy mass. Shake the strainer well to remove as much excess water as possible before adding the grains to your pot.
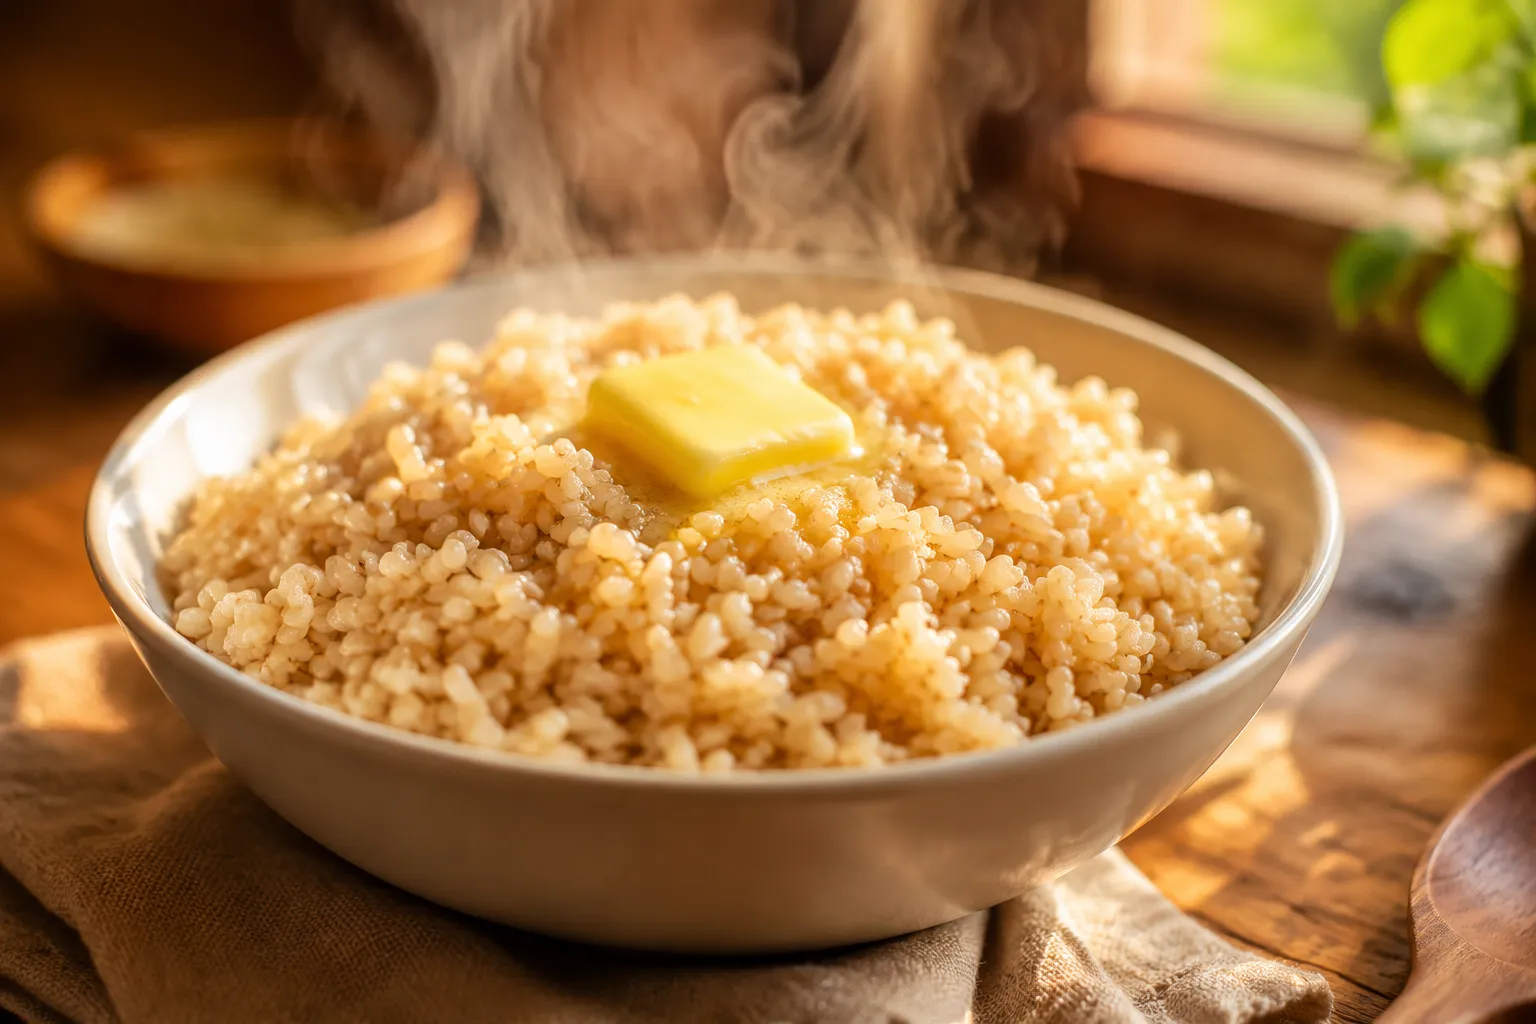
Combine your freshly rinsed grains, precisely measured water, a generous pinch of kosher salt, and a splash of olive oil or a pat of butter in your heavy-bottomed saucepan. Bring the mixture to a rolling boil over medium-high heat. The exact moment it boils, immediately drop the heat to the absolute lowest setting your stove offers and tightly cover the pot. 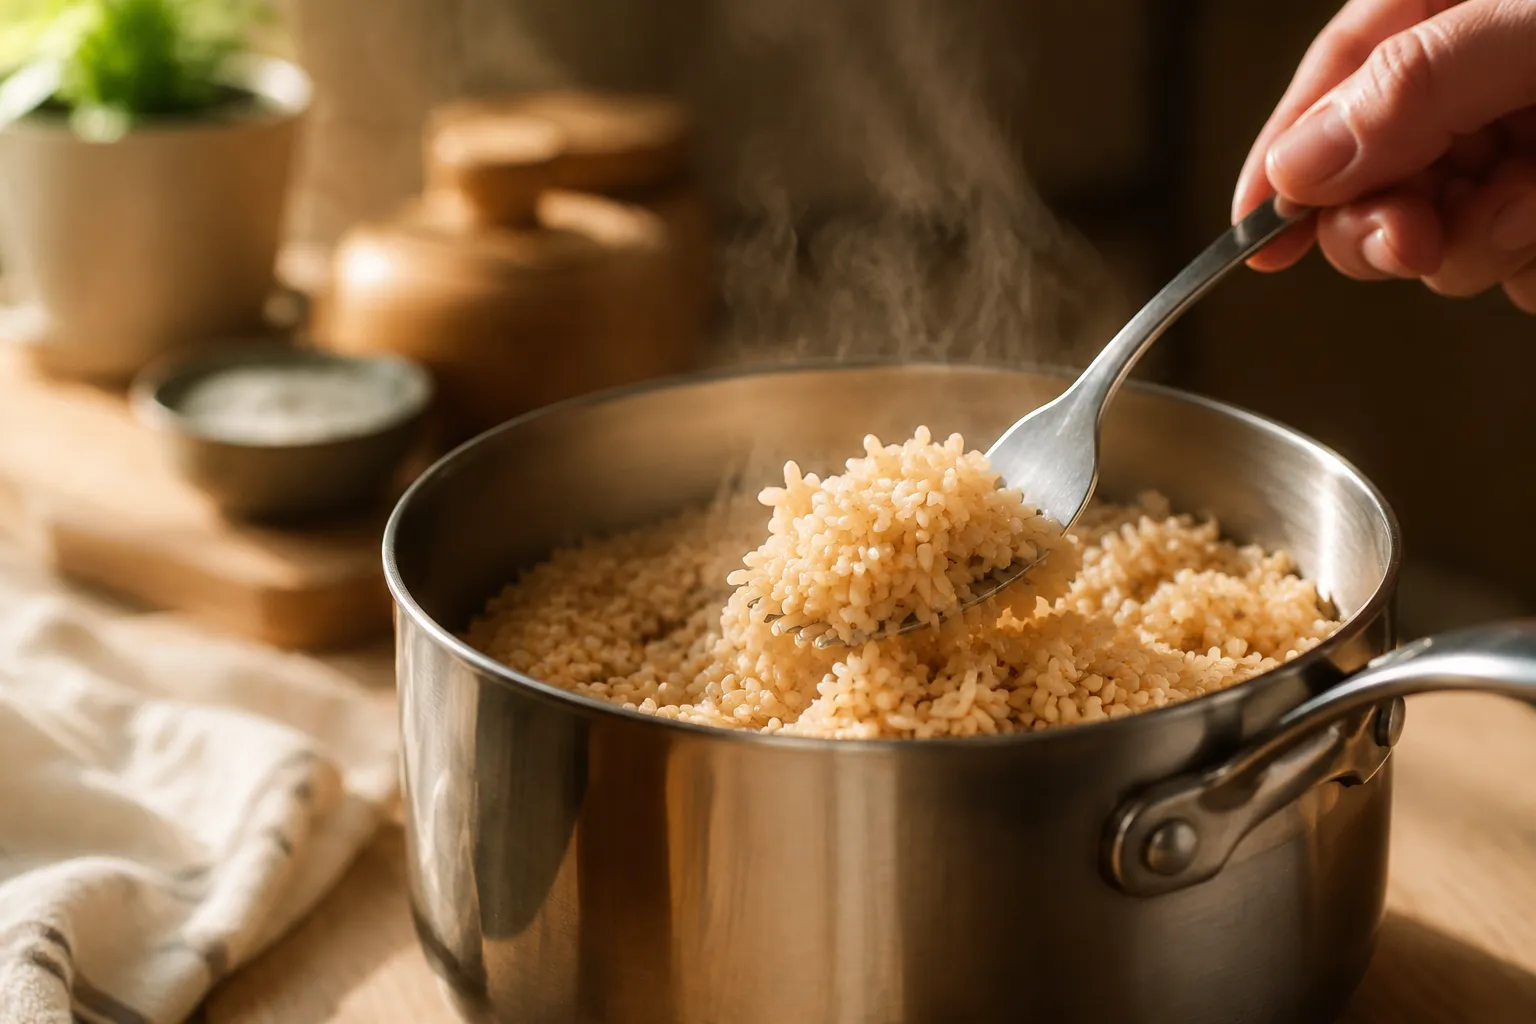
Once the forty-five minutes are up, turn off the heat completely. Do not remove the lid just yet! To achieve truly flawless brown rice brown rice needs to rest undisturbed for at least ten minutes off the heat. This crucial resting phase allows the remaining moisture to redistribute evenly throughout the pot, ensuring the bottom isn't soggy and the top isn't dry. It also allows the starches to firm up slightly. After the resting period, remove the lid and gently fluff the grains with a fork—never a spoon, which can mash the tender grains. 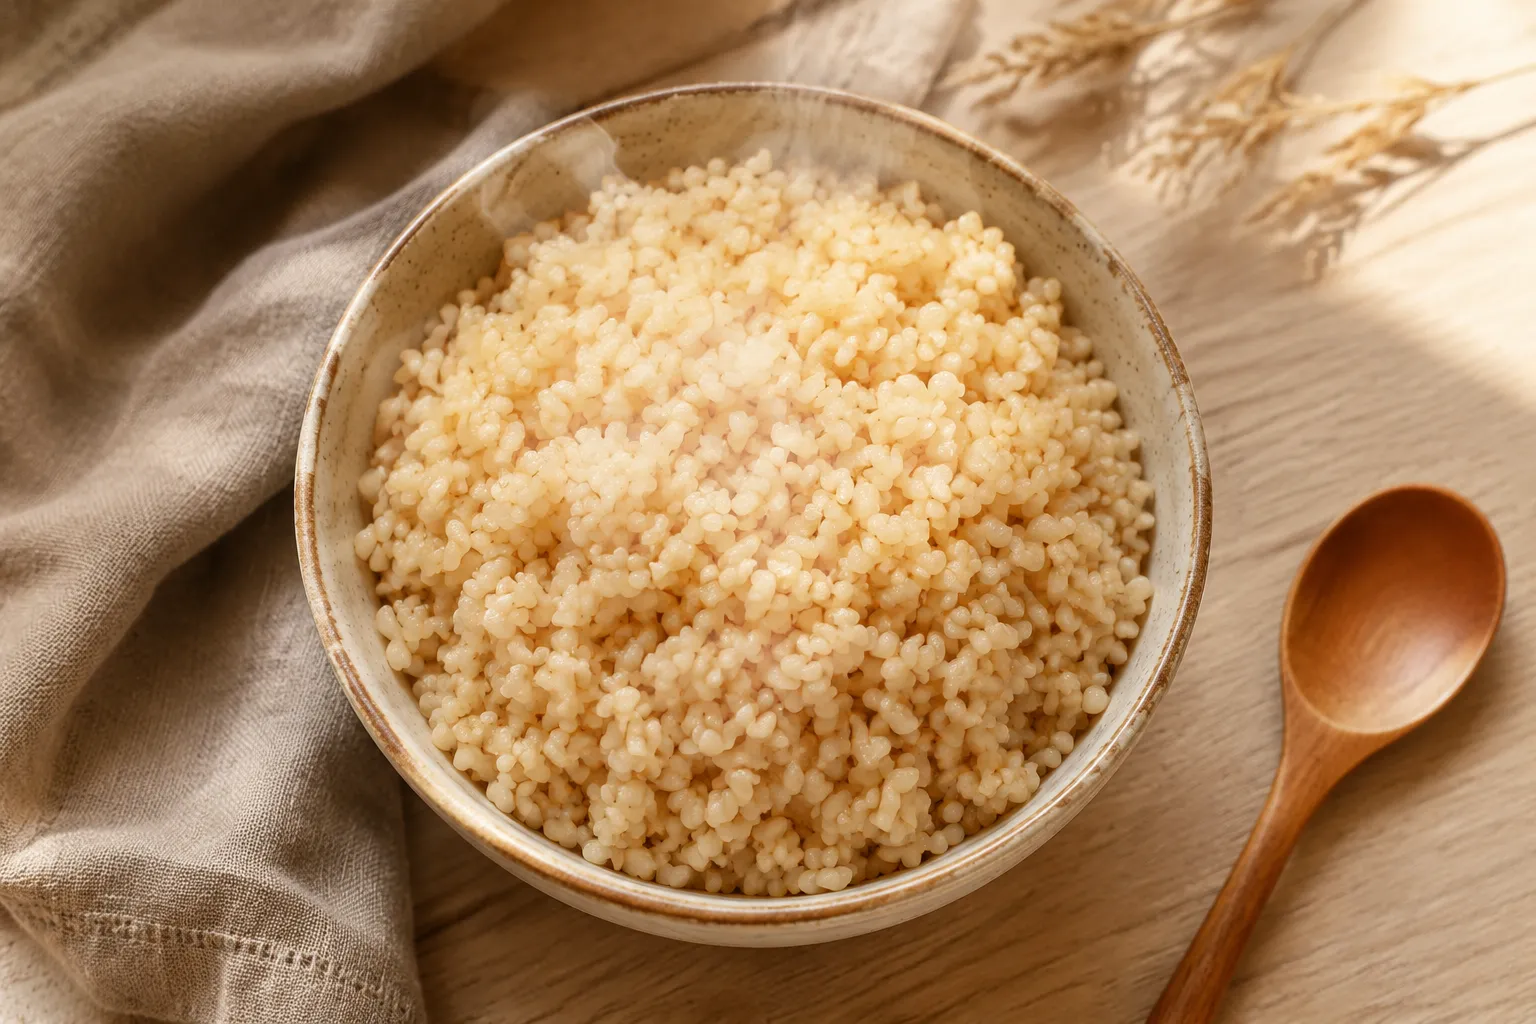
If the traditional absorption simmer still gives you anxiety, the boil-and-drain method—often affectionately called the pasta method—is a foolproof, stress-free alternative. Instead of relying on an exact water ratio, you cook the grains in an abundance of boiling water, exactly like you would spaghetti. Because the grains are swimming freely in plenty of rapidly moving liquid, they cook incredibly evenly and never stick to the bottom of the pot. The excess water also naturally dilutes any remaining surface starches, practically guaranteeing that the grains will remain separate and distinct once drained.
Bring a large pot of lightly salted water (about six cups of water per cup of rice) to a vigorous boil. Add your rinsed grains and boil them uncovered for about thirty to thirty-five minutes, or until they are tender with a pleasant, slight chew. 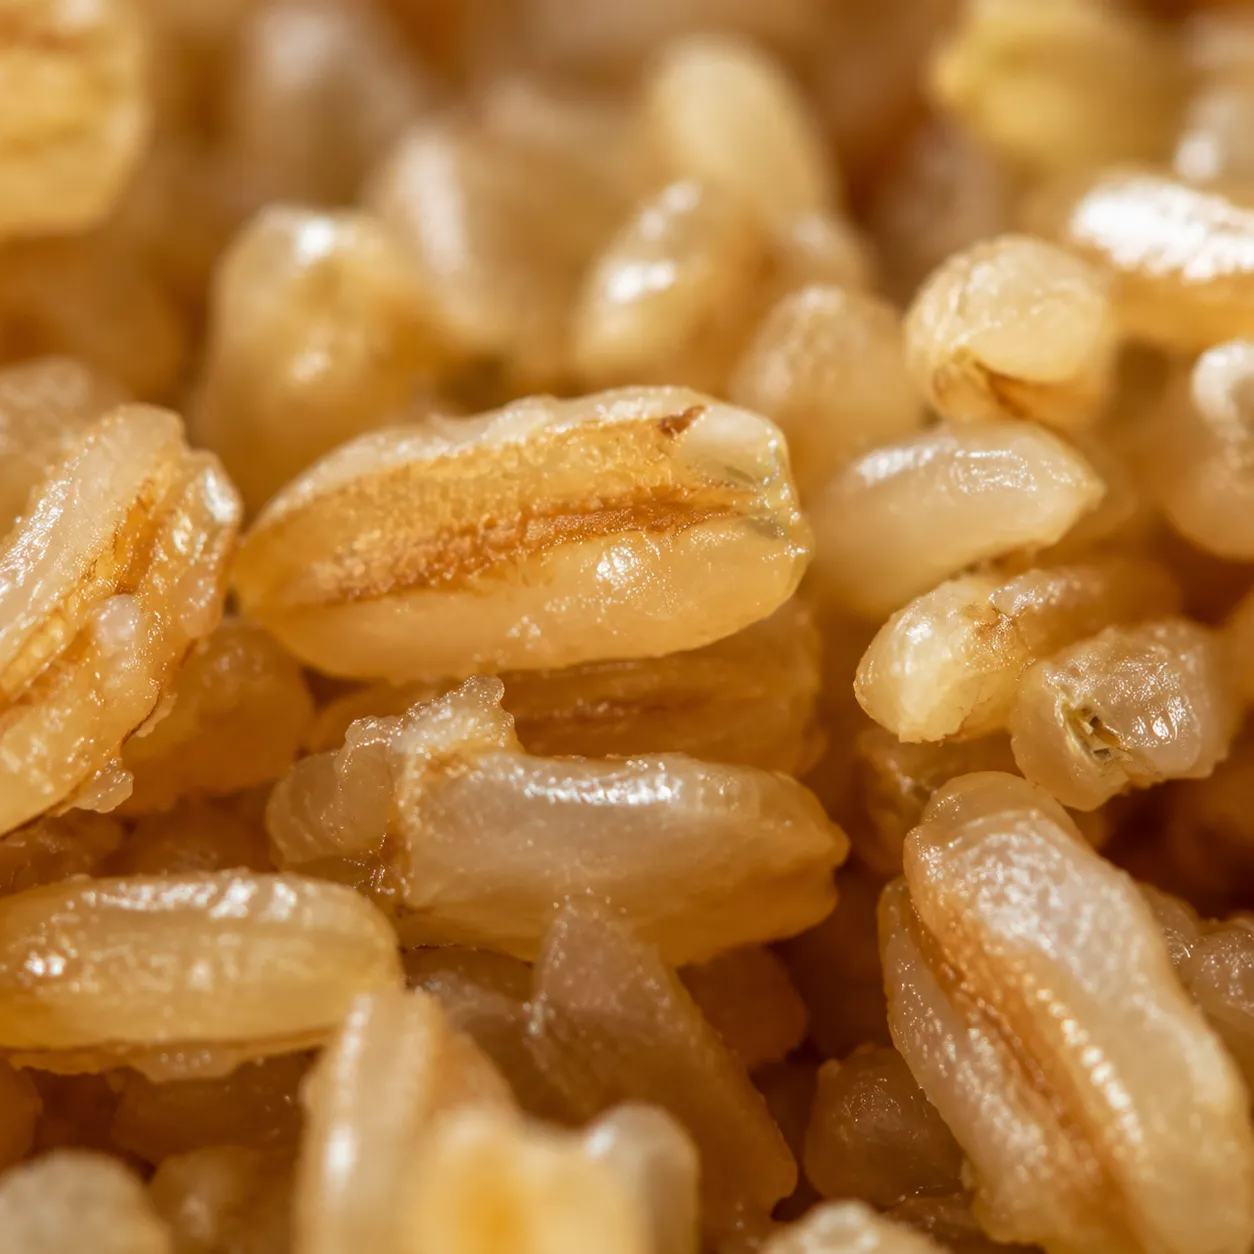
The pasta method is particularly brilliant when you are cooking in large batches for weekly meal prep, as scaling up the traditional absorption method can sometimes lead to uneven cooking and mushy bottoms in standard home cookware. It is also the absolute best approach if you are working with older grains from the back of your pantry, which might be drier and require a bit more aggressive hydration to soften properly. Once you master this stress-free technique, you can use this perfectly cooked grain as a reliable base for all your favorite brown rice recipes, from fried rice to hearty casseroles. 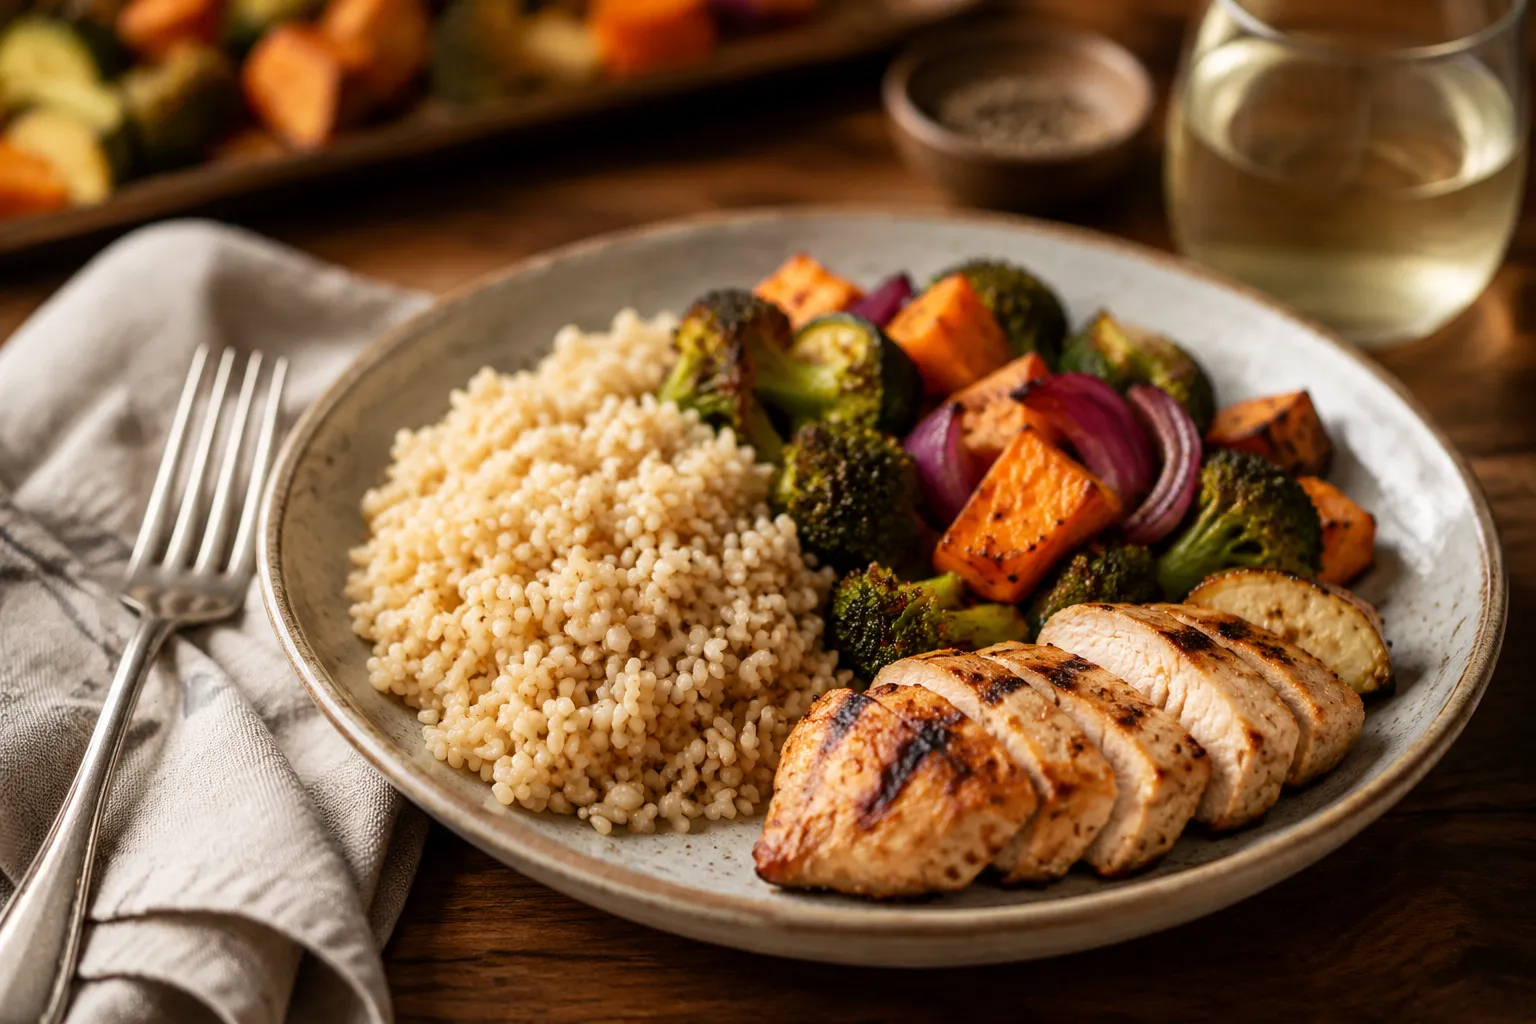
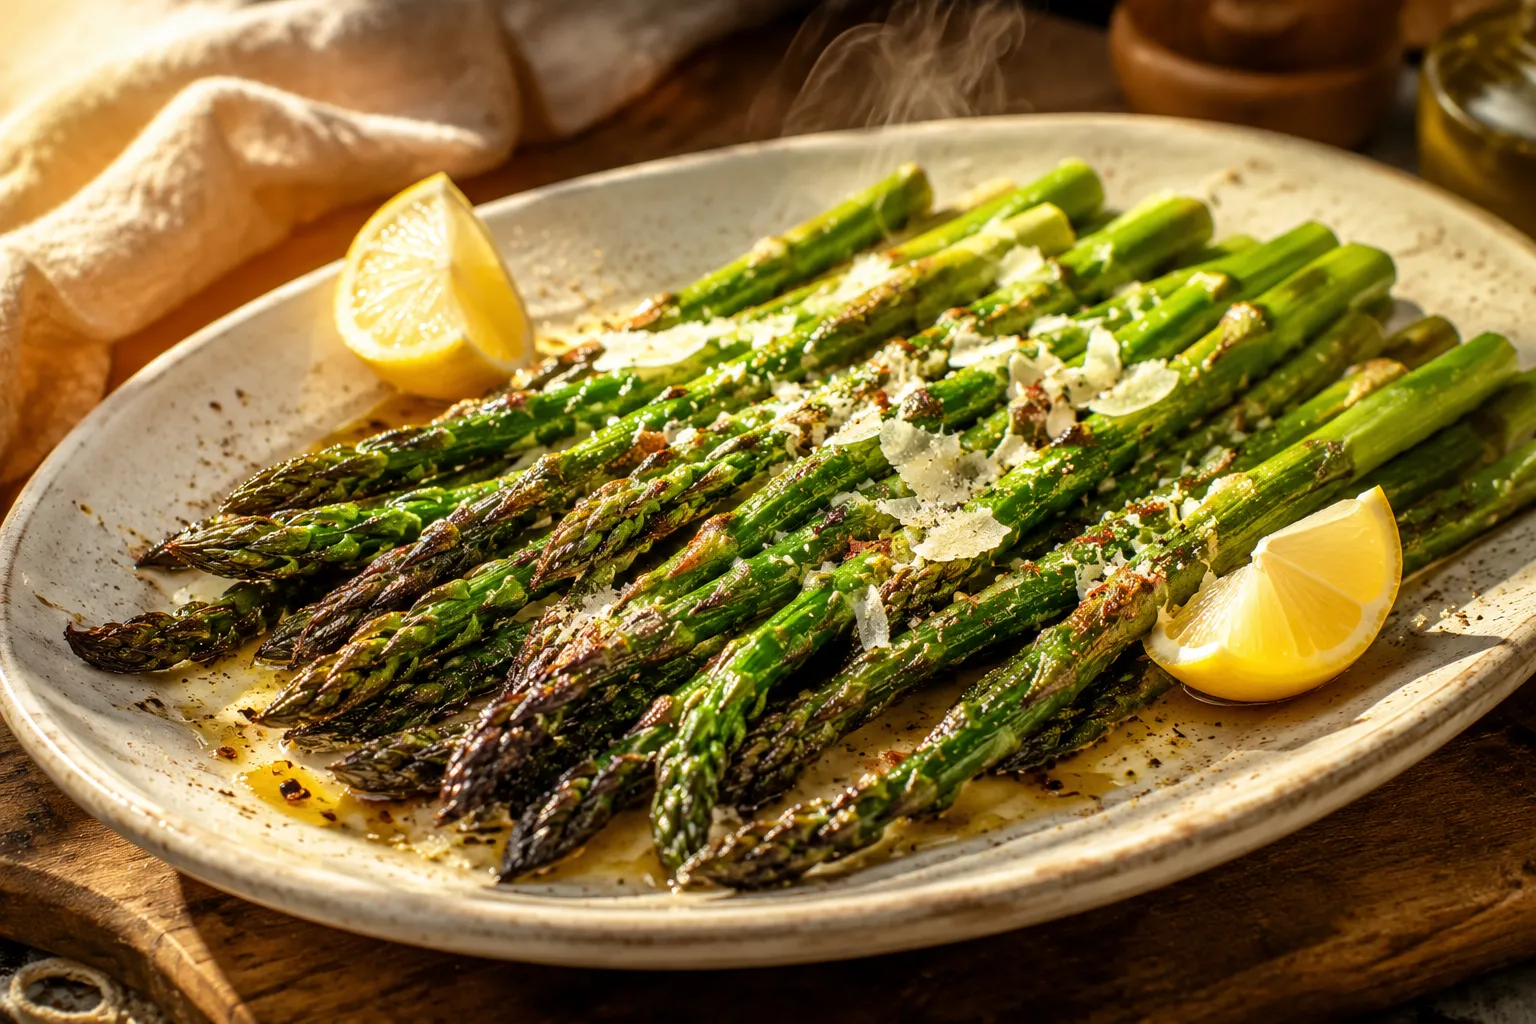
Now that you have a pot of perfectly cooked grains, it is time to build a phenomenal meal. Grain bowls are incredibly popular for a reason: they are versatile, nutritionally balanced, and deeply satisfying. Start with a generous scoop of your freshly cooked rice as the warm foundation. Top it with spiced roasted sweet potatoes, crispy chickpeas, fresh leafy greens, and a vibrant, garlicky tahini dressing. The inherently nutty flavor of the grains pairs beautifully with earthy root vegetables and bright, acidic sauces, creating a restaurant-quality meal right in your own kitchen. 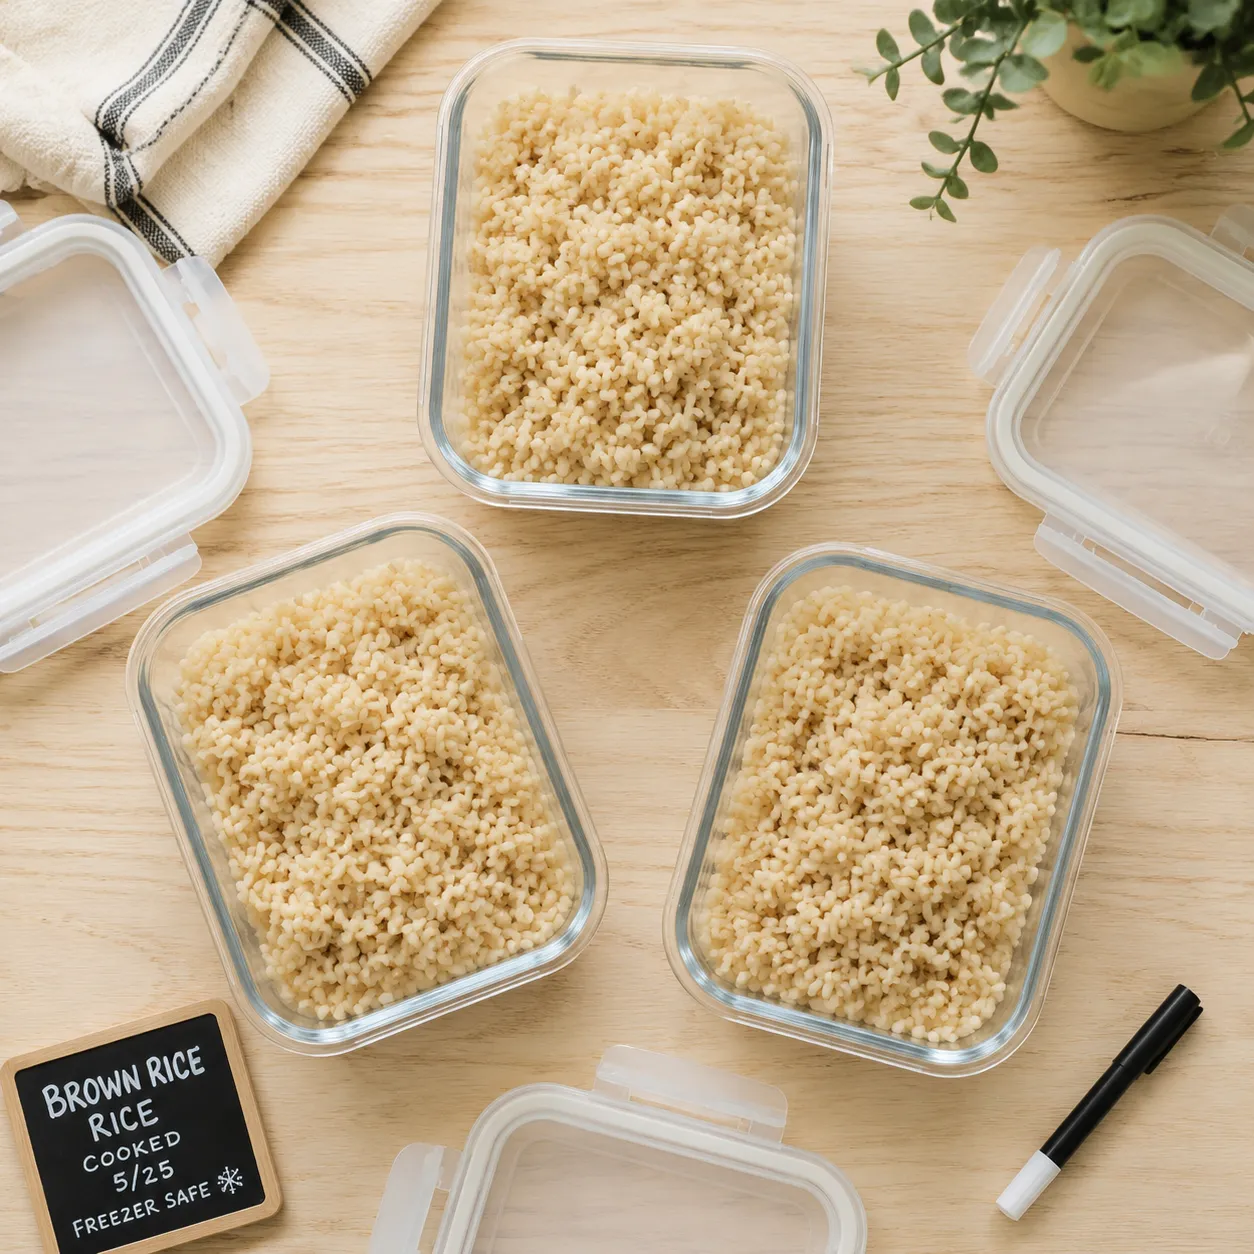
Beyond bowls, this wholesome grain serves as the ultimate supporting character for a wide variety of comforting main courses. Serve it alongside a rich, coconut milk-based Thai curry, where the chewy grains can soak up the fragrant, spicy sauce without losing their structural integrity or turning to mush. It is equally at home sitting next to a simple piece of pan-seared salmon or juicy roasted chicken thighs. When serving brown rice brown and nutty flavors can be beautifully enhanced with just a quick squeeze of fresh lemon juice, a crack of black pepper, and a handful of freshly chopped parsley right before hitting the dinner table.
Once you have mastered the basic technique, it is incredibly easy to customize your pot of grains to complement whatever main dish you are serving. The simplest way to elevate the flavor is by swapping the cooking liquid and adding aromatic mix-ins.
Proper storage is key to making the most of your meal-prep efforts. Allow the cooked brown rice to cool completely to room temperature—spreading it out on a baking sheet speeds this up and prevents condensation from making it soggy. Once cooled, transfer the rice to airtight glass or plastic containers. It will stay fresh and delicious in the refrigerator for up to 5 days.
For longer storage, brown rice freezes exceptionally well. Portion the cooled rice into freezer-safe zip-top bags, press them flat to save space, and freeze for up to 3 months. To reheat, simply place the rice in a microwave-safe bowl, sprinkle with a tablespoon of water, cover with a damp paper towel, and microwave until steaming hot. The added moisture ensures the grains taste just as fluffy as the day you cooked them.