How to Make Almond Milk at Home (Creamy 5-Min Recipe)
Ingredients
Scale
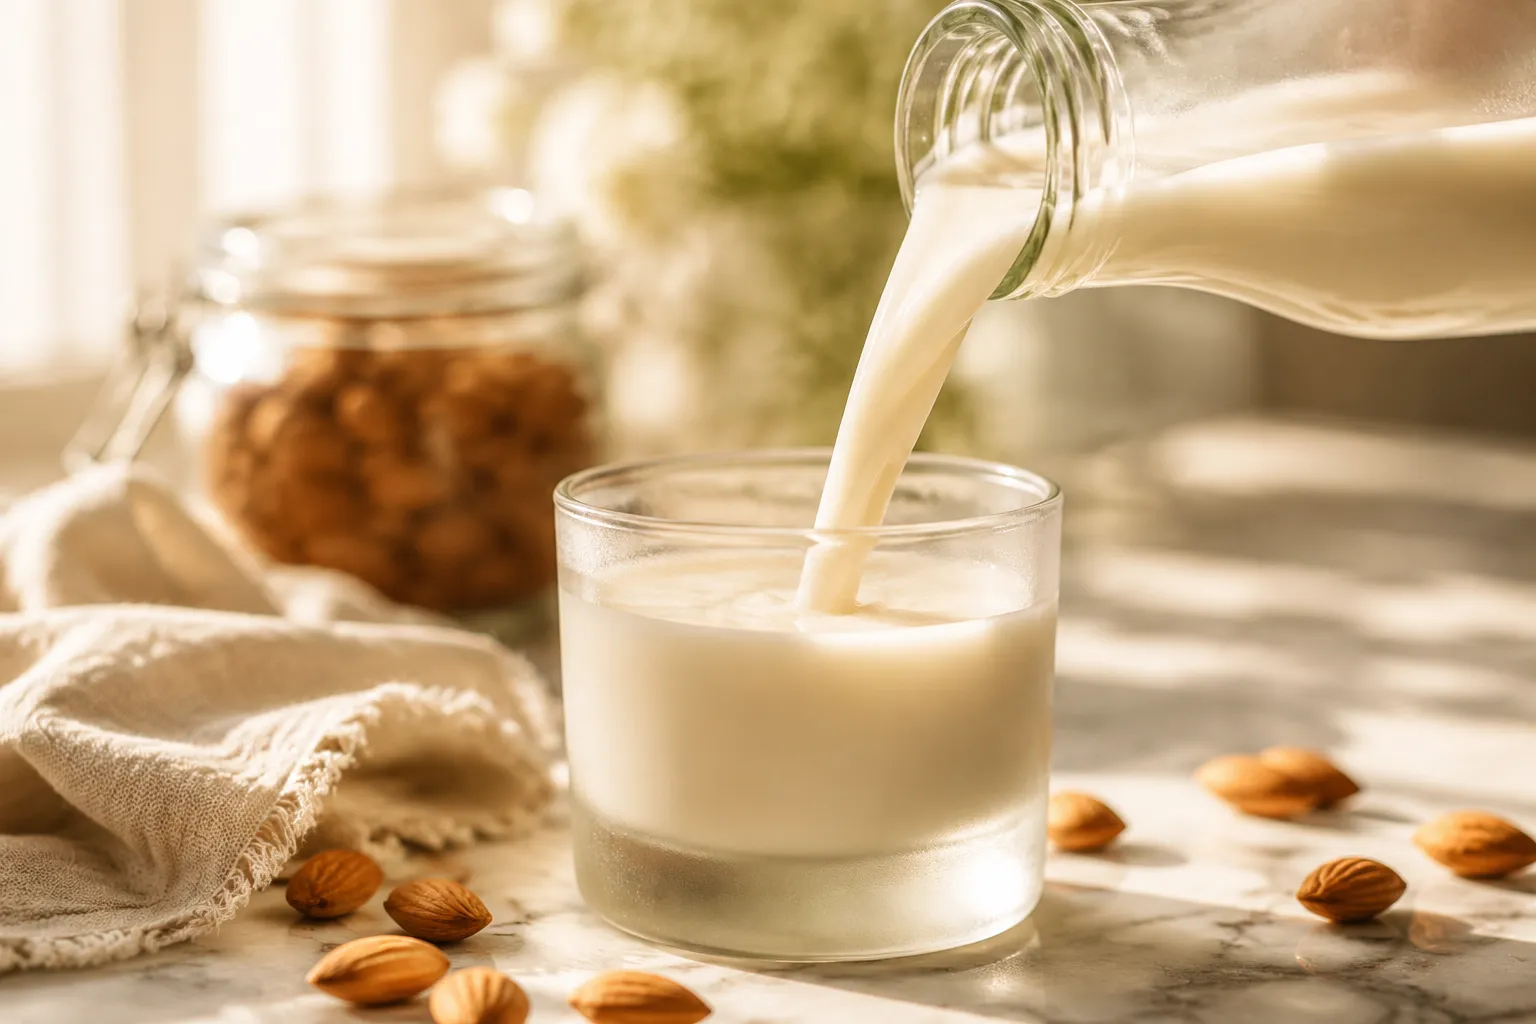
Silky, creamy homemade almond milk in 5 minutes with just soaked almonds and water. Better tasting, additive-free, and surprisingly simple.
Learning how to make almond milk at home is one of those small kitchen wins that quietly changes your week. Once you taste a glass of fresh homemade almond milk—silky, faintly sweet, with a clean toasty finish—the chalky cartons at the grocery store start to feel like a different drink entirely. There are no gums, no seed oils, no mystery additives. Just two ingredients and a blender doing what blenders do best.
This is the kind of project that fits between coffee and a morning email. Five active minutes, an overnight soak, and you've got four cups of creamy dairy-free milk for cereal, smoothies, lattes, and baking. If you've already nailed homemade oat milk, you'll find the rhythm of this almond milk recipe almost identical—maybe a touch more forgiving, since soaked almonds blend down beautifully and strain in one easy pass.
Below, I'll show you exactly how to make almond milk that's smoother, fresher, and more flexible than anything in a carton. We'll walk through the science, the ratios that actually matter, the gear that helps (and the workarounds when you don't have it), plus what to do with the lovely pulp left behind. By the end you'll have a go-to method you can riff on for years.
Understanding how to make almond milk starts with understanding what's actually happening in the blender. Almond milk is, at its core, a suspension—tiny particles of almond fat, protein, and fiber dispersed evenly through water. When you blend soaked almonds with fresh water in a high-speed blender, the blade pulverizes the nuts and breaks down their cell walls, releasing flavor compounds and oils into the surrounding liquid. Straining separates the smooth liquid from the coarser solids, and what's left is the creamy white drink we call almond milk.
Sixty seconds in a high-speed blender does something a paring knife never will. The mechanical force shears each almond into microscopic pieces while emulsifying its natural oils into the water. The longer you blend, the smoother and more flavorful the milk—up to a point. Past about ninety seconds the mixture starts to warm from friction, which can dull the fresh, clean taste, so I aim for a strong minute and stop.
For a versatile, neutral dairy-free milk, raw almonds are the move. They have a subtle sweetness and pale color that work for everything from coffee to cereal to baking. Roasted almonds will give you a deeper, toastier flavor that's lovely in iced lattes but fights with delicate recipes. Roasted nuts also bring more oil to the surface, which can make the finished milk feel heavier on the tongue.
Soaking softens raw almonds for a creamier blend and helps neutralize phytic acid and enzyme inhibitors that can be hard on digestion. If you've researched how to soak nuts before, the basics are the same here: cover with cool filtered water by an inch or two, leave at room temperature for 8 to 12 hours, then drain and rinse until the water runs clear.
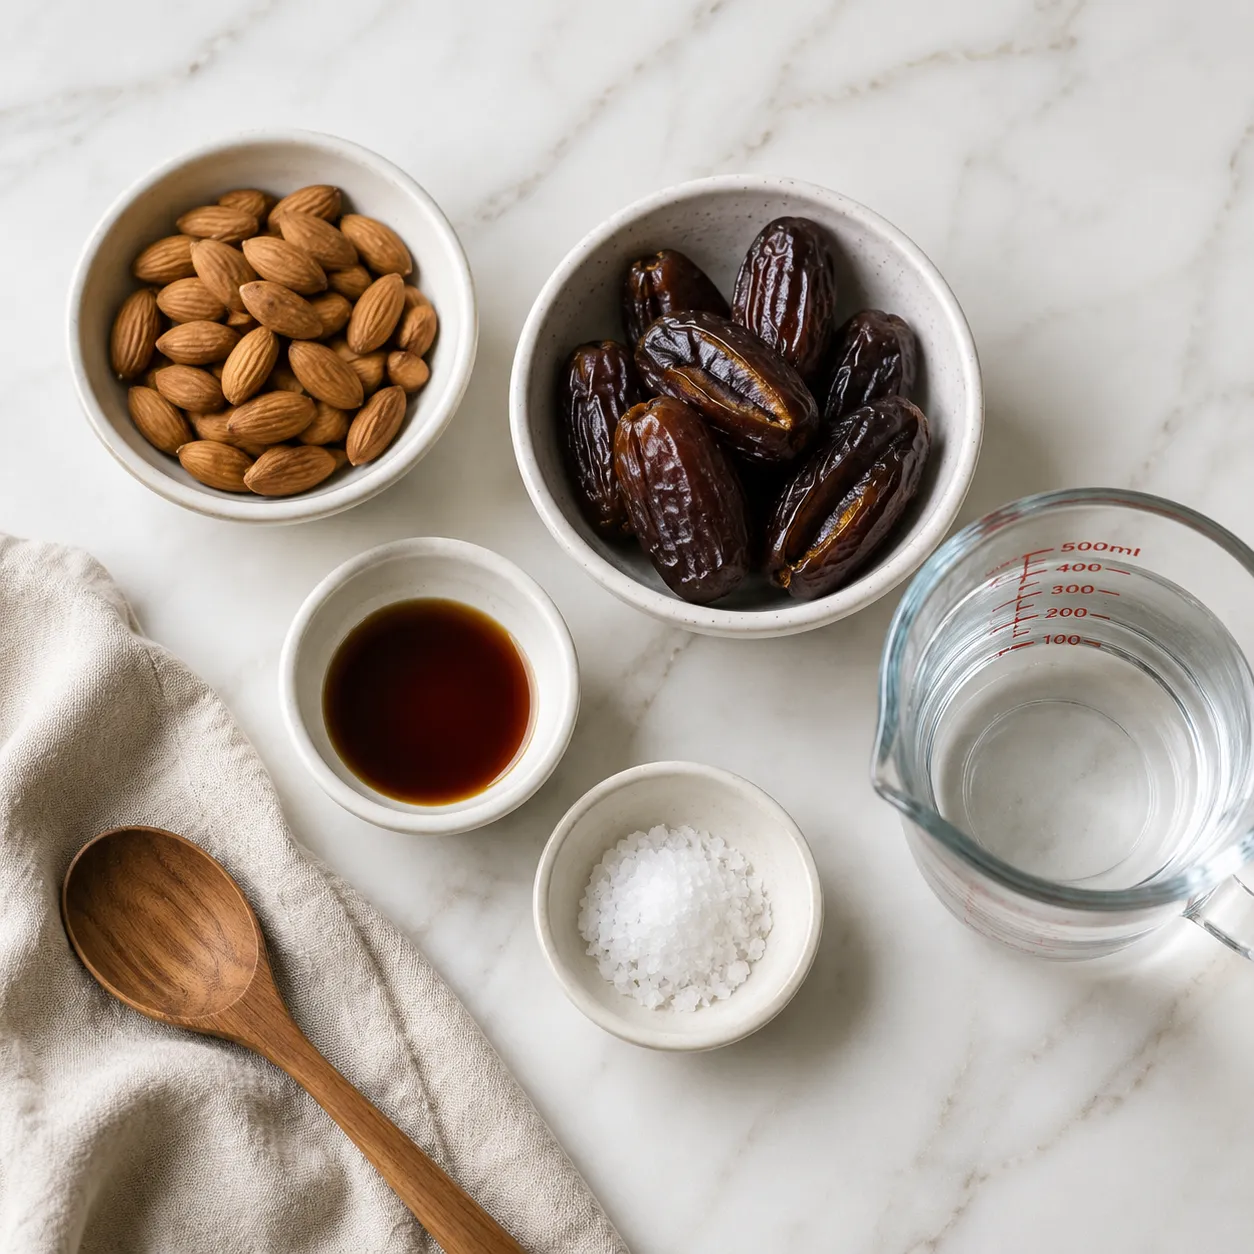
The base of this almond nut milk recipe is genuinely two ingredients. Everything else is a flavor decision you make based on how you plan to use the milk—neutral and clean for cereal and savory cooking, or gently sweetened and vanilla-kissed for coffee and baking.
Raw almonds and filtered water. Use the freshest almonds you can find—older nuts taste flat and slightly bitter. Filtered water matters more than people realize; tap water with strong chlorine or mineral notes will follow the milk all the way to the glass. A 1:4 ratio (one cup almonds to four cups water) gives you a balanced everyday milk; tighten to 1:3 for lattes, loosen to 1:5 for cereal.
A pinch of sea salt is the secret handshake of every good from-scratch nut milk. It doesn't make the milk taste salty—it rounds out the flavor and sharpens the natural almond sweetness. Pure vanilla extract adds warmth, and a small piece of cinnamon stick blended in gives a chai-adjacent finish.
One or two pitted Medjool dates blended right with the soaked almonds give a clean, caramel-edged sweetness without any refined sugar. If you prefer pourable sweetness later, stir in a teaspoon of maple syrup or a couple drops of liquid stevia after straining. Skip honey if you're keeping this fully plant-based.
You don't need a specialty kitchen to pull this off, but a few tools make the difference between okay and excellent.
A Vitamix, Blendtec, or Ninja Pro pulverizes soaked almonds into a near-purée, which means smoother milk and—if you're patient—the option to skip straining entirely. A regular blender still works; you'll just need to blend longer in two batches and accept slightly more pulp in your strain.
A purpose-made nut milk bag is the cleanest, fastest option, and they're inexpensive. If you don't have one, there are reliable nut milk bag alternatives: a doubled-up cheesecloth tied over a deep bowl, a clean thin flour-sack towel, or a very fine mesh strainer for a slightly grainier finish. Each gives a slightly different mouthfeel—the bag yields the silkiest result, the strainer the rustic-est.
Glass swing-top bottles and quart-size mason jars are the gold standard. Glass doesn't absorb flavors or leach plastic into your milk, and a tight seal keeps things fresh. Wash them in hot soapy water before each use and let them dry completely before pouring in fresh milk.
Here's how to make almond milk in practice, walked through paragraph by paragraph. The full numbered steps live in the recipe card below, but it's worth understanding the why behind each move so you can troubleshoot on the fly.
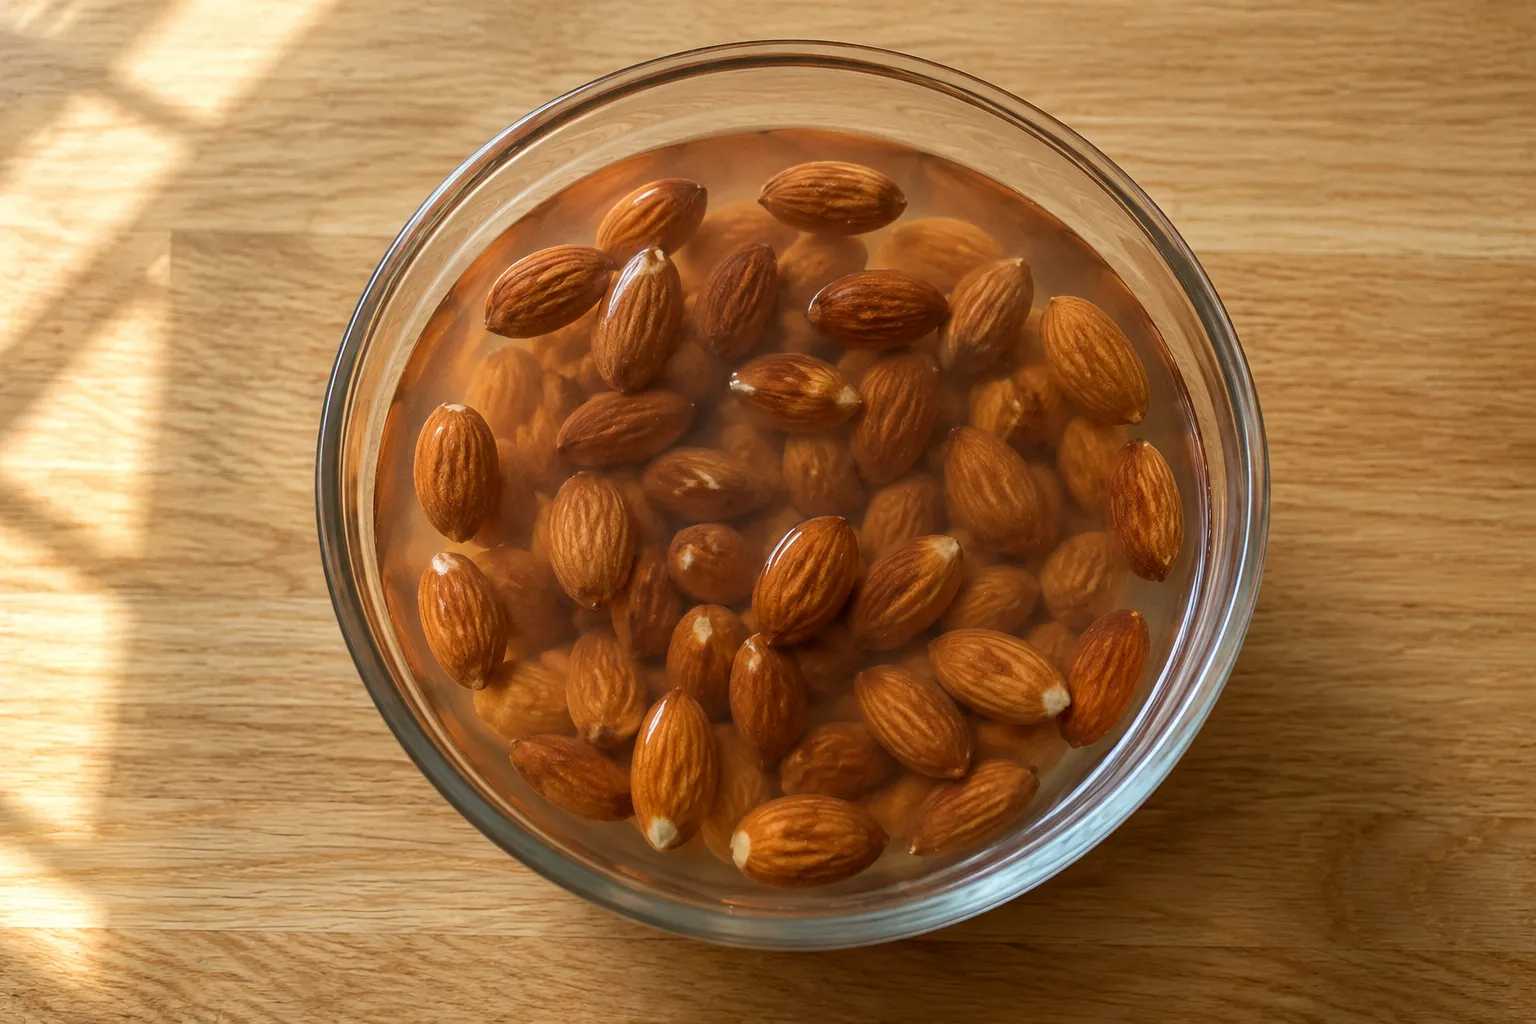
The night before you want milk, drop one cup of raw almonds into a bowl and cover with two inches of cool filtered water. Walk away. Eight to twelve hours later, the almonds will be plump, the soaking water will be slightly cloudy, and a few skins may have started to slip. Drain everything in a fine mesh strainer and rinse the almonds under cool running water until it runs clear—this washes away phytic acid and any bitterness that leached out during soaking.
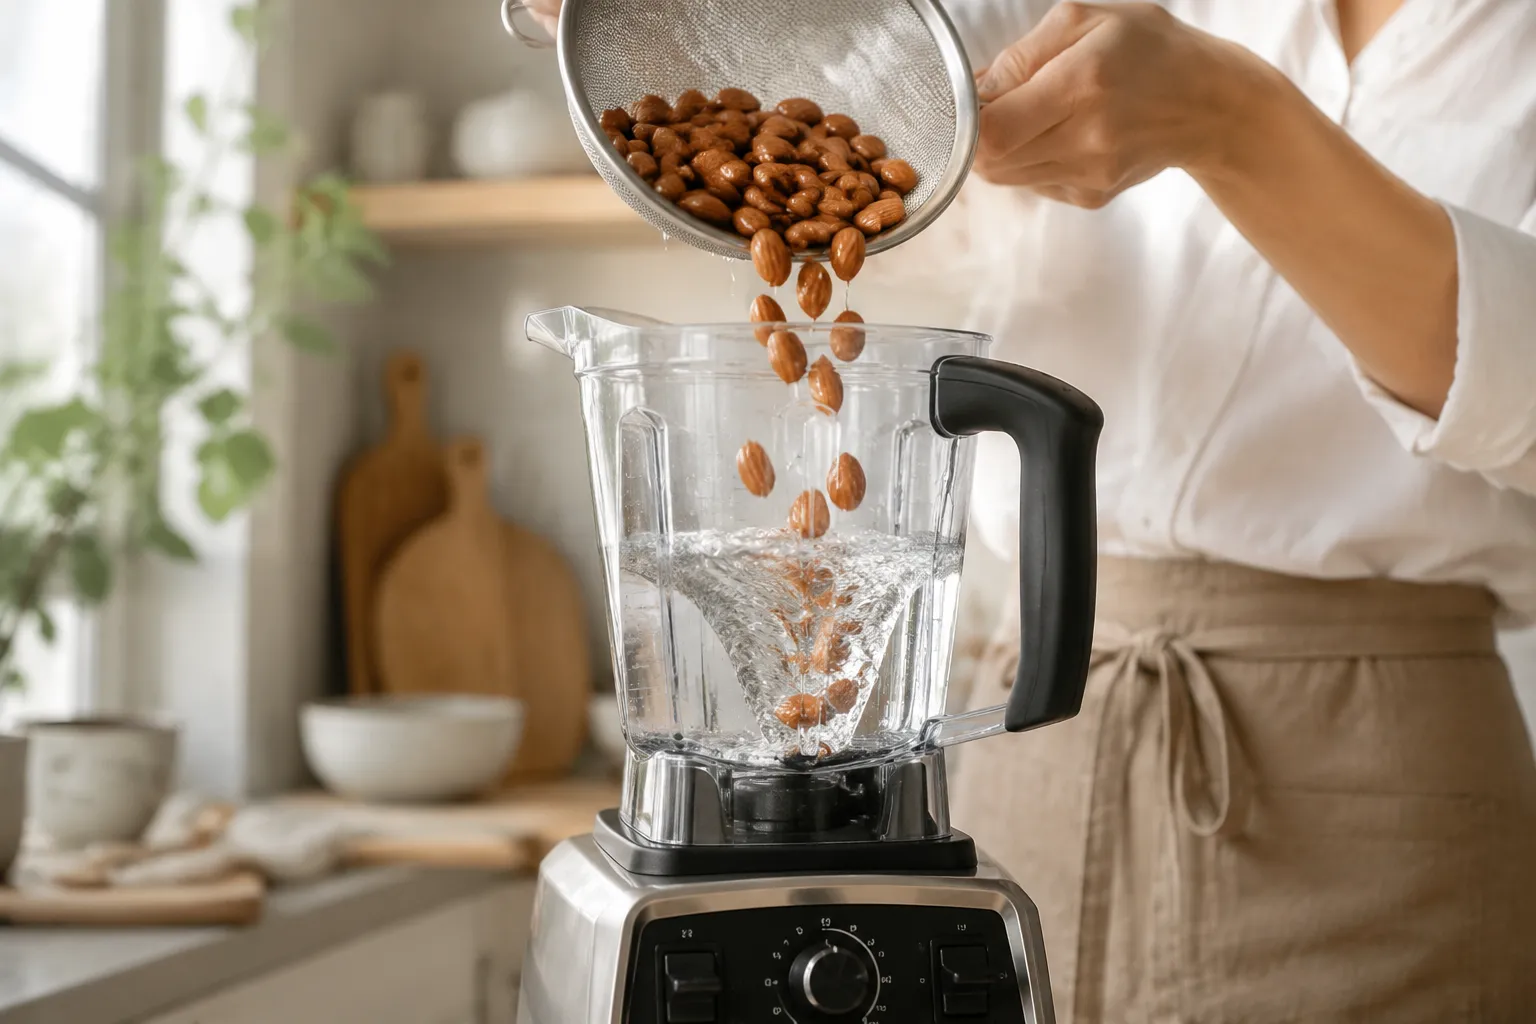
Tip the rinsed almonds into your blender with four cups of fresh filtered water. This is where you commit to a flavor direction: leave it plain for a clean, all-purpose milk, or add one to two pitted Medjool dates, half a teaspoon of vanilla extract, and a generous pinch of sea salt for a softly sweetened version. Secure the lid—really secure it, blenders can launch—and run on high for sixty to ninety seconds. The mixture should look frothy, opaque, and uniformly creamy.
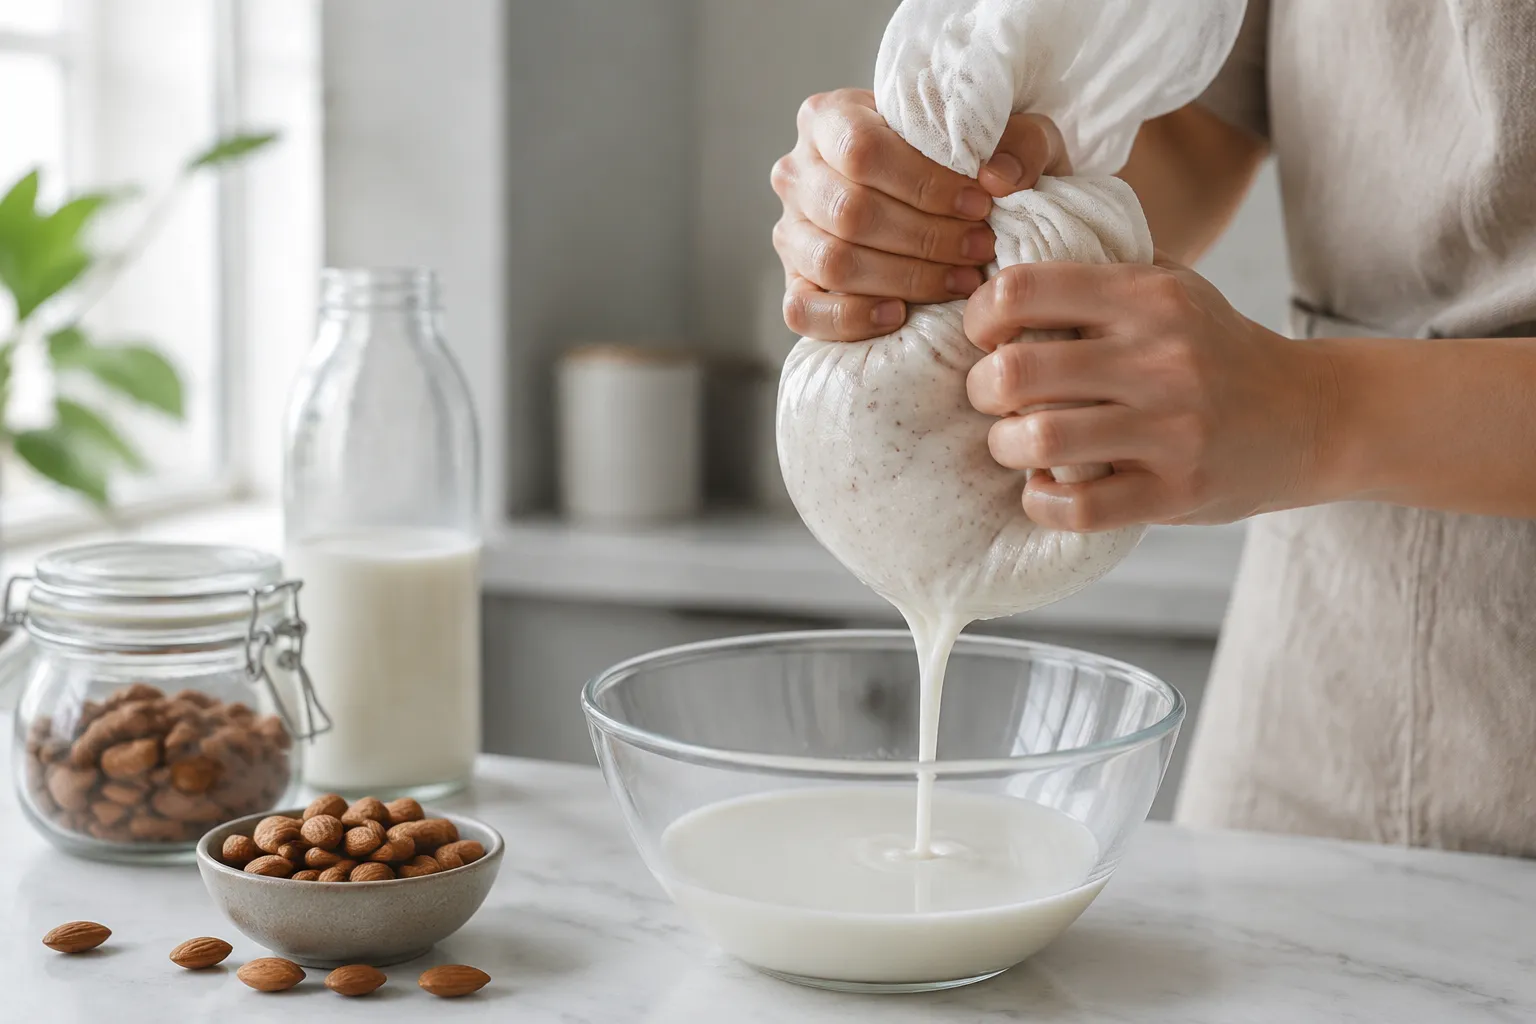
Set a nut milk bag over a wide bowl and pour the blended mixture in slowly. Gather the top of the bag, twist it closed, and squeeze from top to bottom, coaxing every last drop of milk from the pulp. The bag will fill with what looks like wet almond meal, dry to the touch when you're done. Save that pulp—it's gold, and we'll get to it.
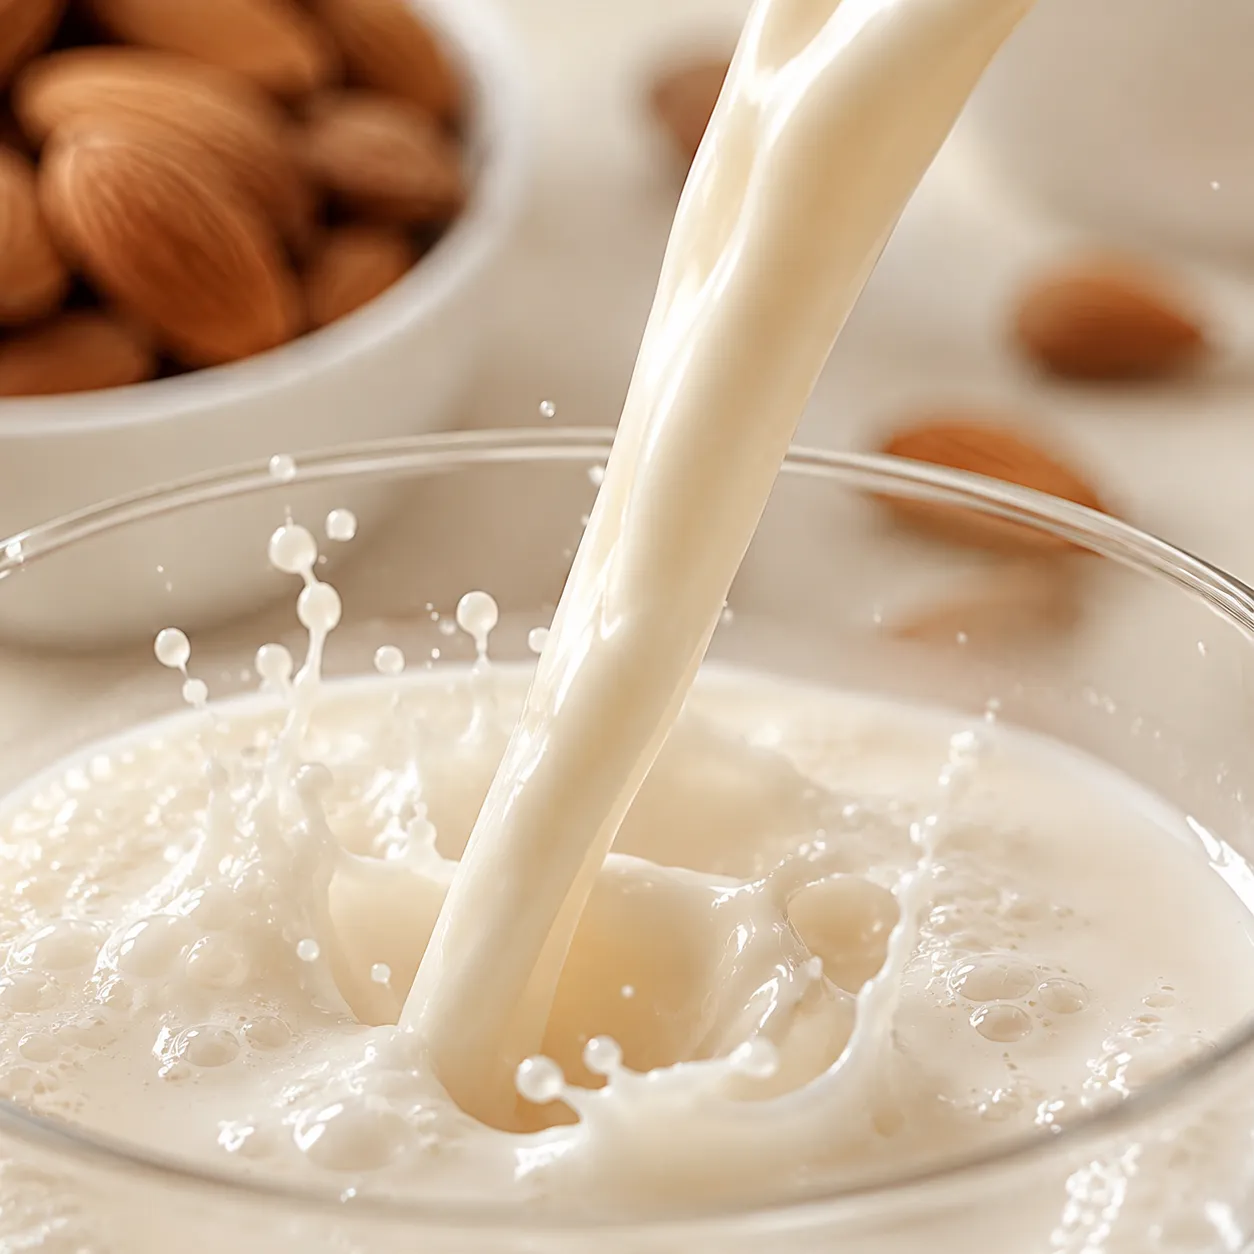
Pour the strained milk through a small funnel into a clean glass bottle and refrigerate for at least an hour before serving. That chill time isn't just about temperature; it lets the flavors meld and the texture tighten into something that feels properly creamy on the palate.
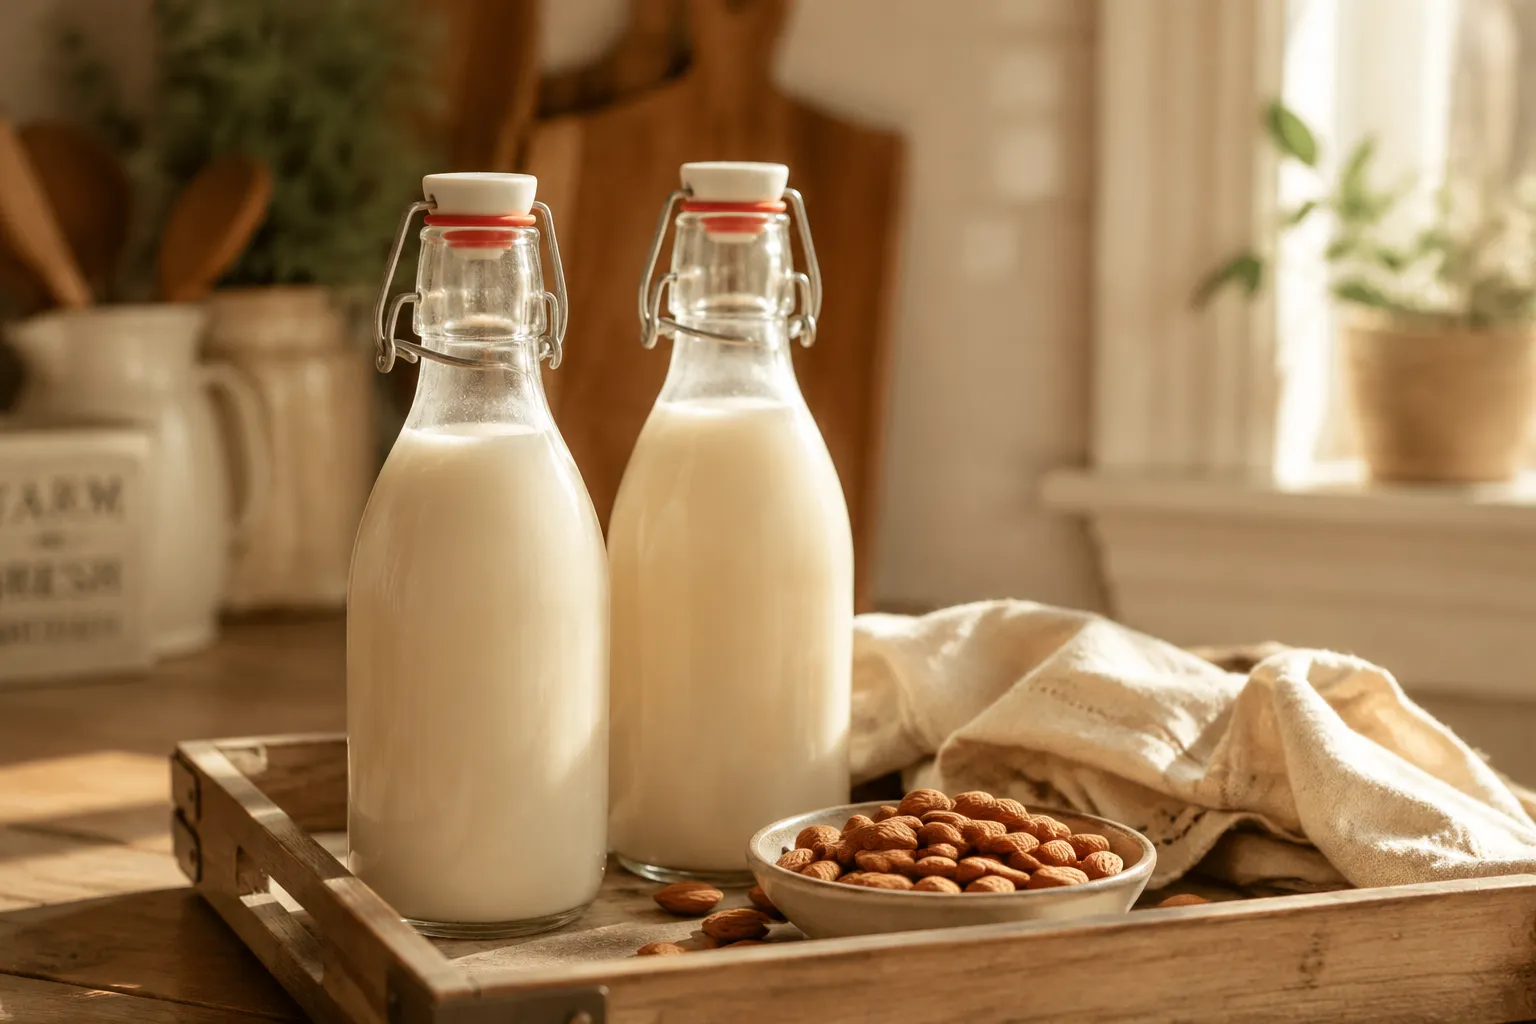
Once you have a chilled bottle in the fridge, the question becomes what not to use it in. Splash it over granola and fresh fruit, blend it into morning smoothies, pour it into chia pudding, or warm it gently for golden milk lattes and hot cocoa. It bakes beautifully into pancakes, muffins, and quick breads—anywhere a recipe calls for "milk of choice," this is your milk.
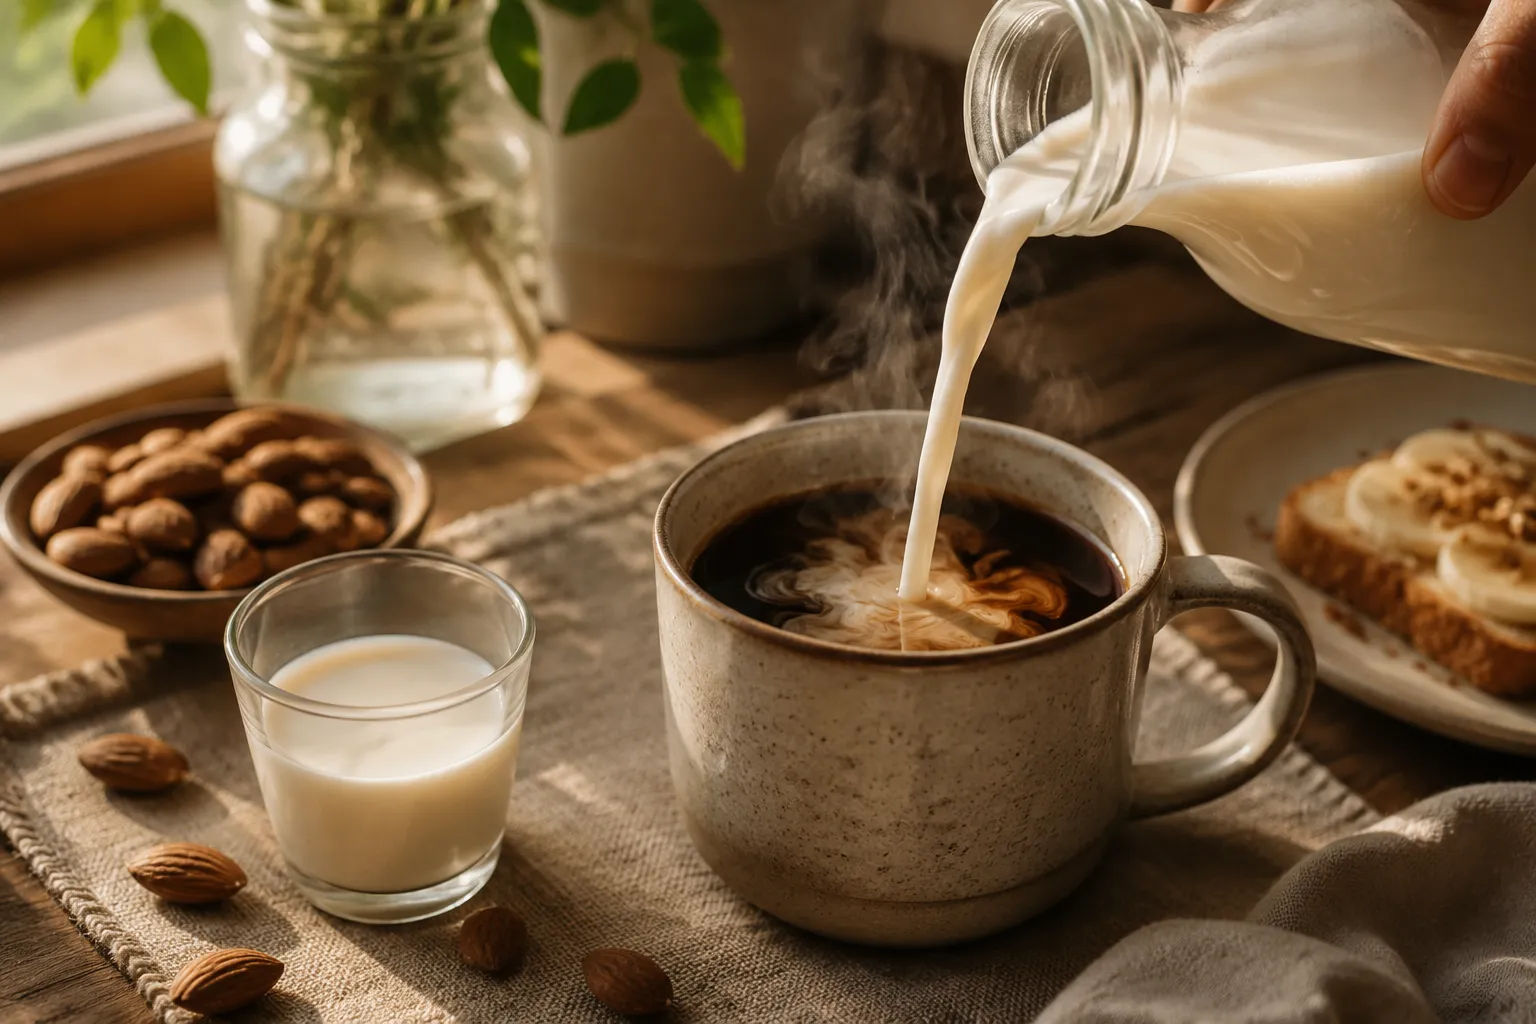
For coffee, the unsweetened version steams into a thin microfoam (don't expect oat-milk-level density) and the date-sweetened version makes a lovely vegan coffee creamer with a hint of caramel. It also blends beautifully into dairy-free smoothie recipes—try it with frozen banana, peanut butter, and cocoa for a milkshake situation that disappears in about ninety seconds.
A few of my favorite uses: stirred into overnight oats, poured over cinnamon toast crunch, blended into iced matcha, or whisked into a quick béchamel for dairy-free pasta nights. The plain version is the most flexible; the date-and-vanilla one shines anywhere you'd otherwise add sugar.
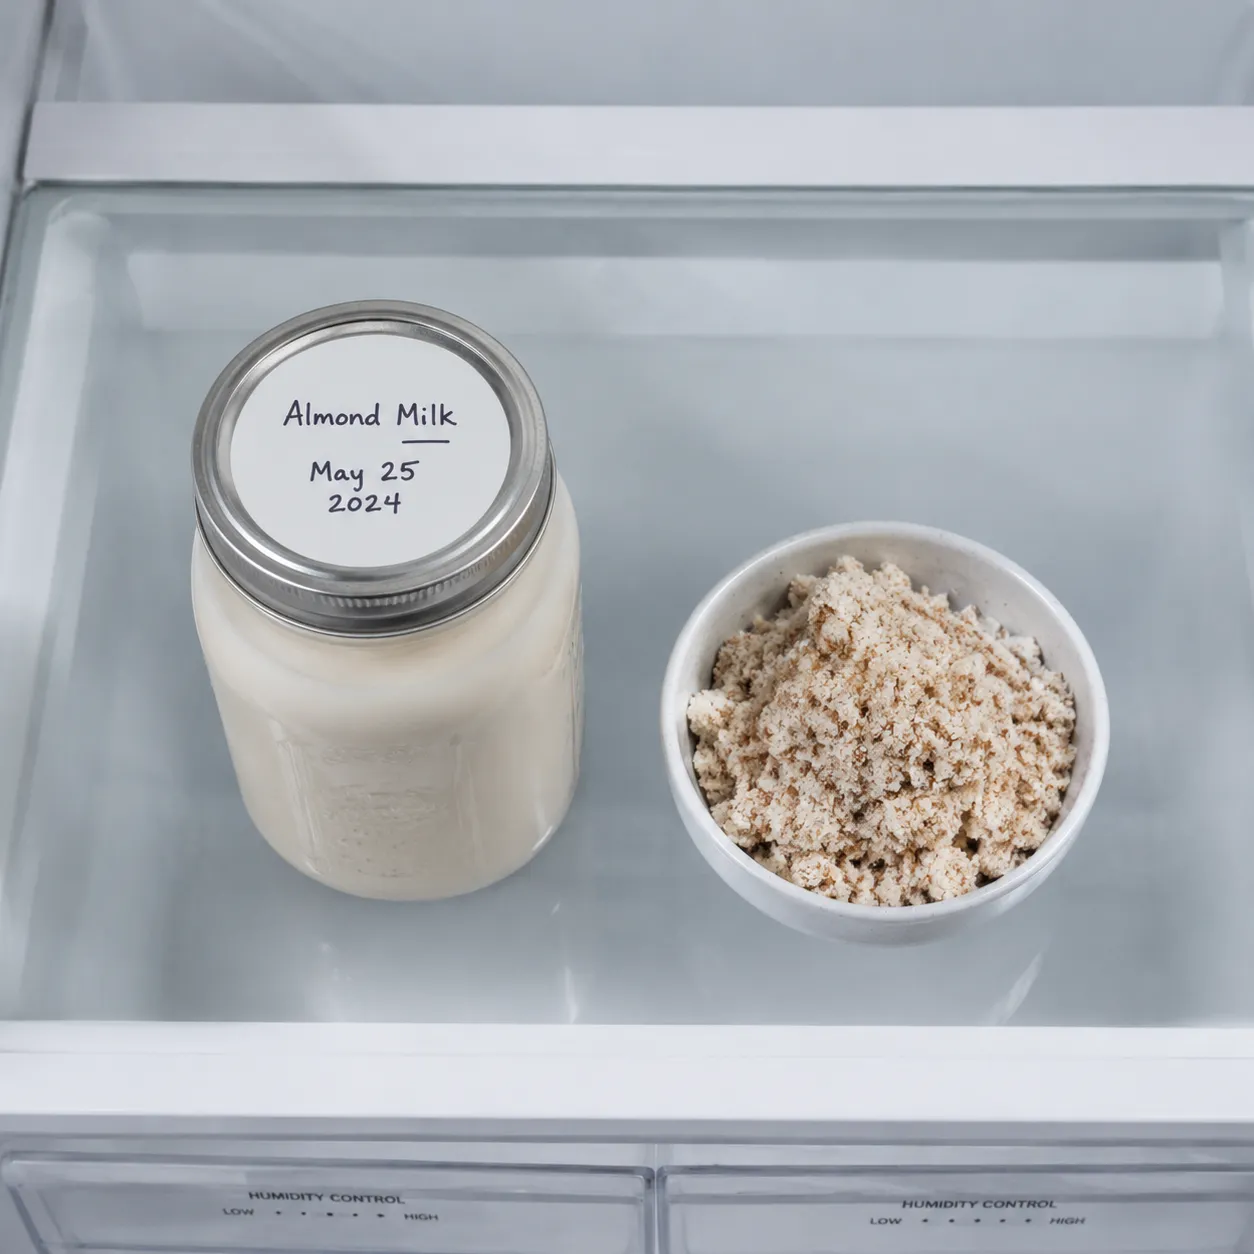
Throwing out the pulp is the rookie move—you've already paid for those almonds, and there's at least a cup of beautiful, mild, slightly sweet meal left in the bag. Spread it on a parchment-lined sheet pan, dry it in a 170°F oven for two to three hours (stirring once or twice), and you've got homemade almond flour ready for cookies, crackers, and quick breads.
If baking isn't your plan, fold the wet pulp straight into oatmeal, smoothies, or pancake batter, where it adds a tender, almondy bump of fiber and protein. There are dozens of almond pulp recipes worth trying for energy bites, granola, dips, and even creamy pasta sauces, so save it in a sealed container in the fridge for up to three days, or freeze in half-cup portions for later use.
Once you've gone through the rhythm a few times, the whole project takes about five minutes of active work and makes a stretch of breakfasts feel a little more thoughtful. That's the real reason to learn how to make almond milk: not just the cleaner ingredient list or the savings, but the small daily pleasure of pouring something into your coffee that you made yourself.
The base recipe is a launchpad. Once you know the ratios, you can chase any flavor profile with the same five-minute method.
Pour the finished milk into a clean glass jar or swing-top bottle with a tight-fitting lid and store on the coldest shelf of the refrigerator. Homemade almond milk keeps well for 4 to 5 days. Without commercial emulsifiers, it will naturally separate into a thicker creamy layer on top and a thinner watery layer below—this is normal and not a sign of spoilage. Just shake the bottle well before each pour.
For longer storage, freeze the milk in ice cube trays, then transfer the cubes to a zip-top freezer bag for up to three months. Frozen-and-thawed almond milk has a slightly grainier texture that won't bother you in smoothies, baking, or oatmeal, but isn't ideal for drinking straight or stirring into coffee. Always smell before using—fresh almond milk has a faint sweet nutty aroma; if it smells sour or sharp, toss it.