Pour Over Coffee: The Perfect Cup at Home
Ingredients
Scale
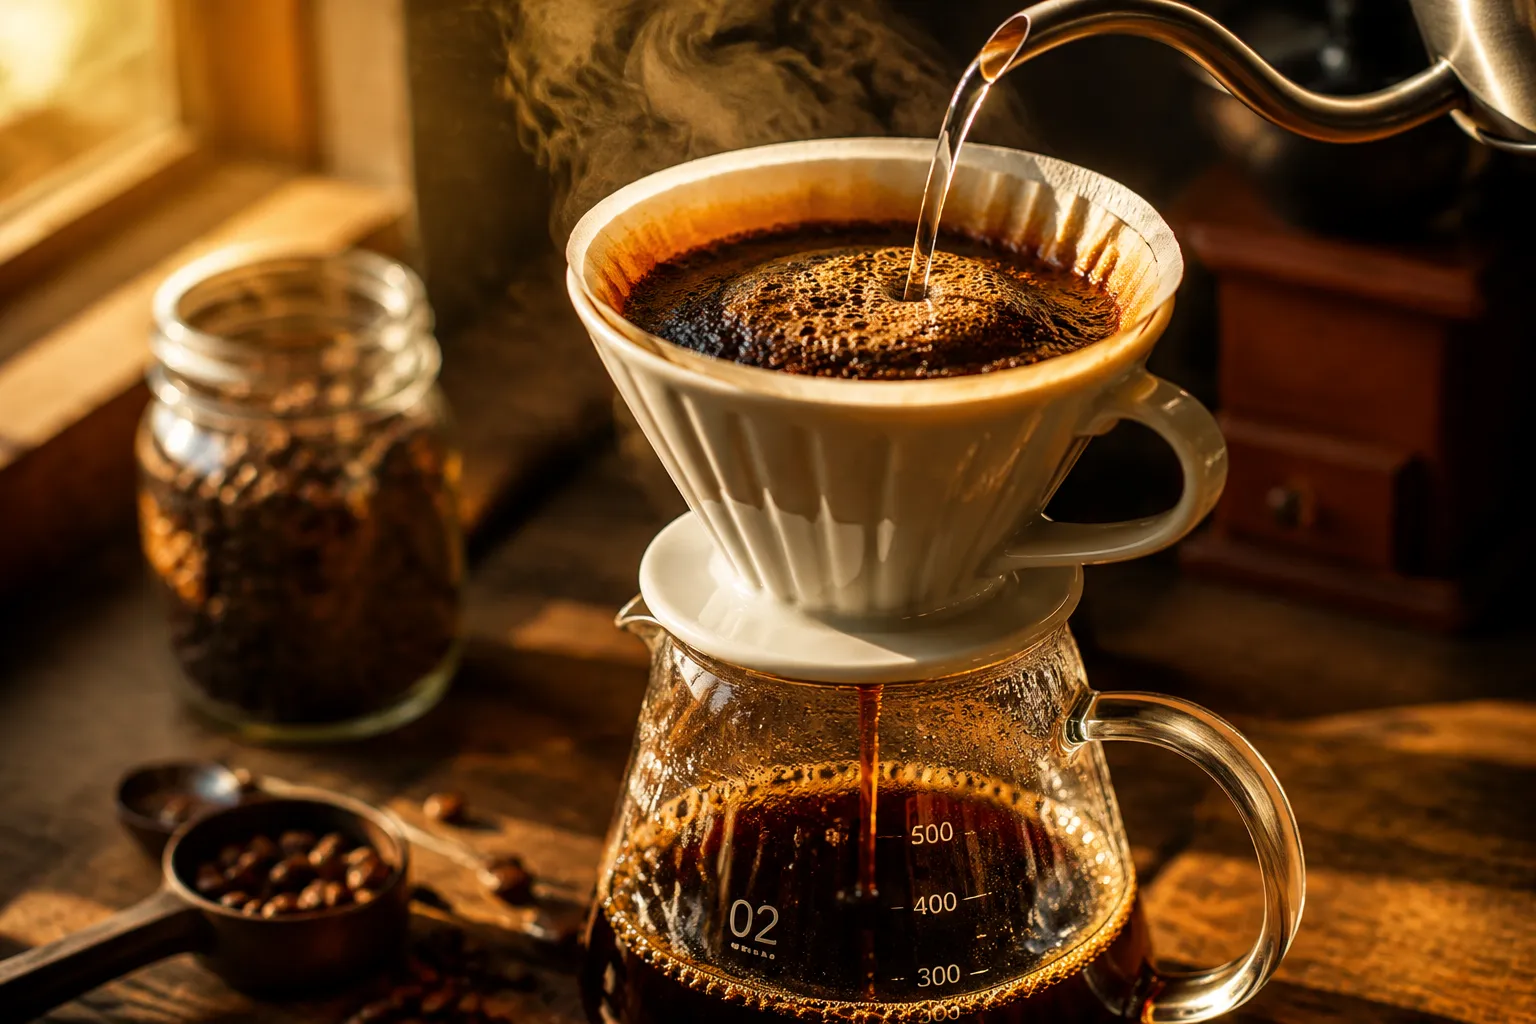
Pour over coffee is the simplest way to brew a clean, bright, café-quality cup at home — and once you nail the ratio, you'll never go back to drip.
There's a quiet kind of magic to pour over coffee, and once you brew it the right way at home, drip machines start to feel like a compromise. The setup is dead simple — a cone, a paper filter, freshly ground beans, and hot water poured in slow concentric circles — but the cup that lands in your mug is brighter, cleaner, and more nuanced than anything that comes out of an automatic brewer. You taste the bean's actual character: chocolate notes, citrusy snap, floral lift. Nothing is muddied.
This pour over recipe walks you through the classic 1:16 method — the same approach baristas use at third-wave cafés, scaled down for one mug at home. We'll cover the gear (Hario V60, Chemex, Kalita Wave — they all work), grind, water temperature, and the all-important bloom that unlocks the flavor in freshly ground beans. No espresso machine, no expensive pod system, no learning curve that takes weeks.
If you've already mastered French press coffee or cold brew coffee and you're ready for something cleaner and more aromatic, this is your next move. Five minutes from grinder to first sip — and a cup so good you'll start setting your alarm five minutes earlier just to make it.
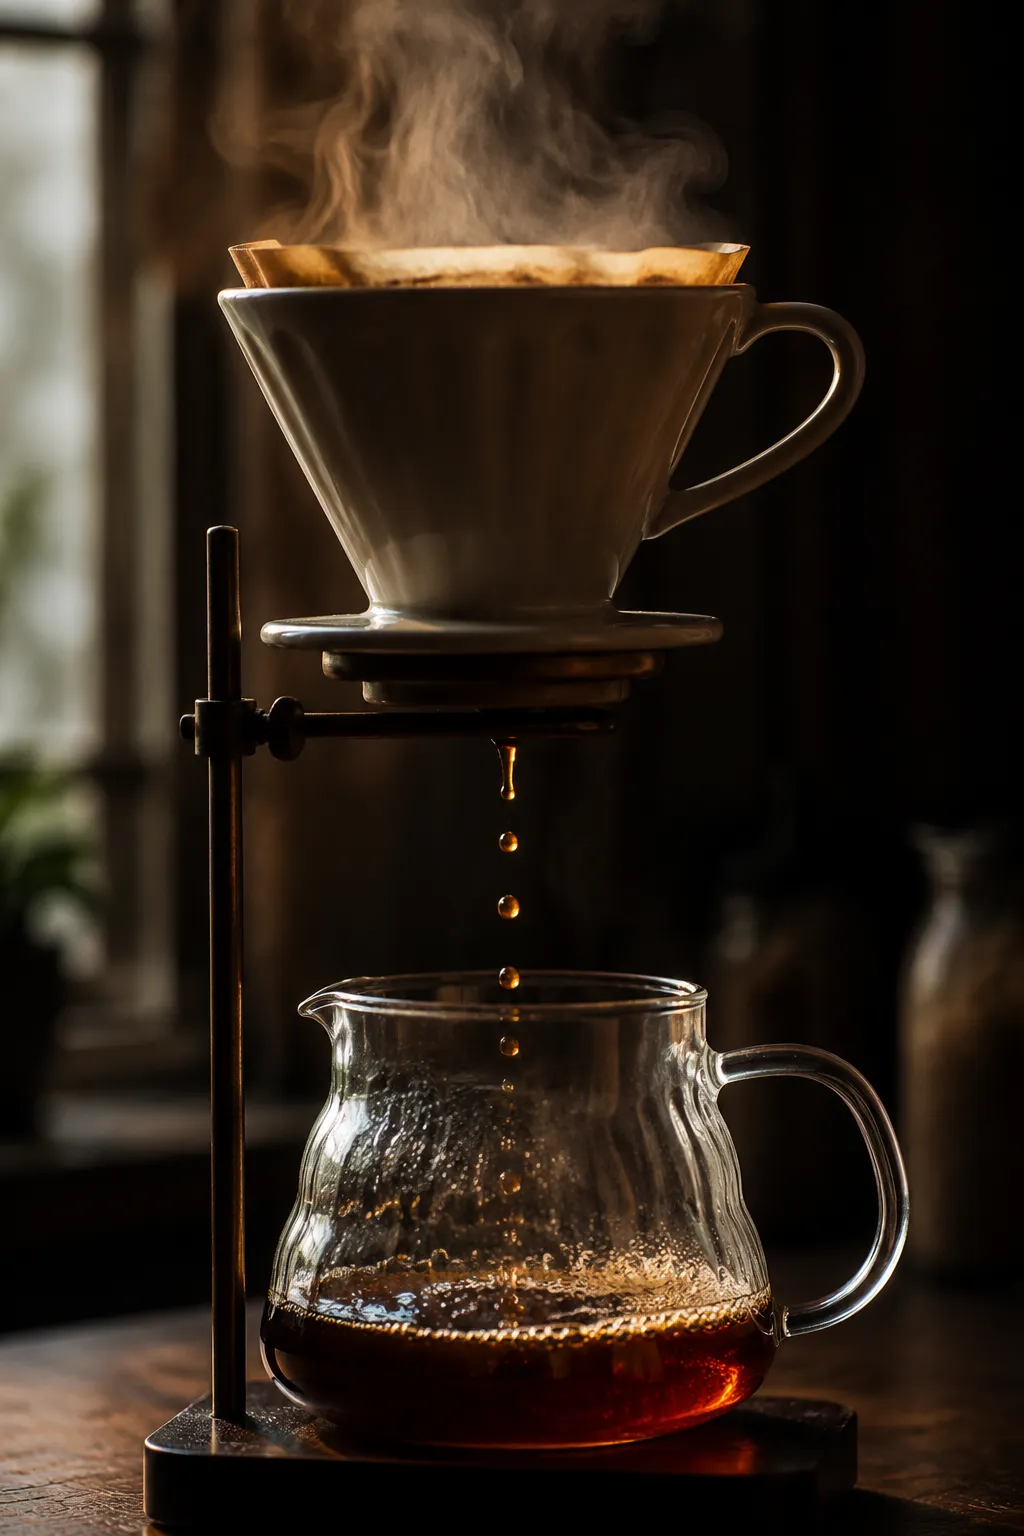
At its core, pour over coffee is hand-brewed coffee where you control every variable: grind, water temperature, pour speed, bloom, and total brew time. Hot water travels in a slow, steady spiral over a bed of medium-fine grounds resting in a paper filter inside a cone-shaped dripper. As the water passes through, it extracts oils, sugars, and acids from the coffee, leaving spent grounds behind in the filter and sending a clean, bright brew into the carafe below. There's no automation, which sounds like a hassle until you realize that's also the entire point — you're tasting your decisions in the cup.
Compared to drip coffee from a machine, the difference is dramatic. Automatic drippers tend to under-saturate the coffee bed, splash water unevenly, and brew at temperatures that swing low. The result is a cup that's flat, thin, or sour. With manual brewing, you saturate every ground at the right temperature and pace, and you get a sweeter, more layered cup. Compared to immersion methods, the paper filter strips out oils and fine sediment, giving you a tea-like clarity instead of a heavy, mouth-coating body. Both have their place — but for highlighting a really good single-origin, nothing beats a manual cone.
Baristas swear by this method because it's the most honest way to taste coffee. Roasters use it for cuppings. Cafés serve it as their flagship single-cup offering. And it's also, frankly, kind of meditative — three minutes of slow, deliberate pouring is a much nicer start to the day than waiting for a beep.
You don't need a bunch of expensive gear to brew a great cup of pour over coffee, but the few things you do need matter. Start with the dripper itself: a Hario V60 (ceramic or plastic) gives you a fast, bright cup with a single large hole; a Chemex brews 1 to 8 cups with a thicker filter and an even cleaner finish; a Kalita Wave has a flat bottom and three small holes for a more forgiving pour. Any of the three works for this recipe — pick whichever fits your kitchen and budget.
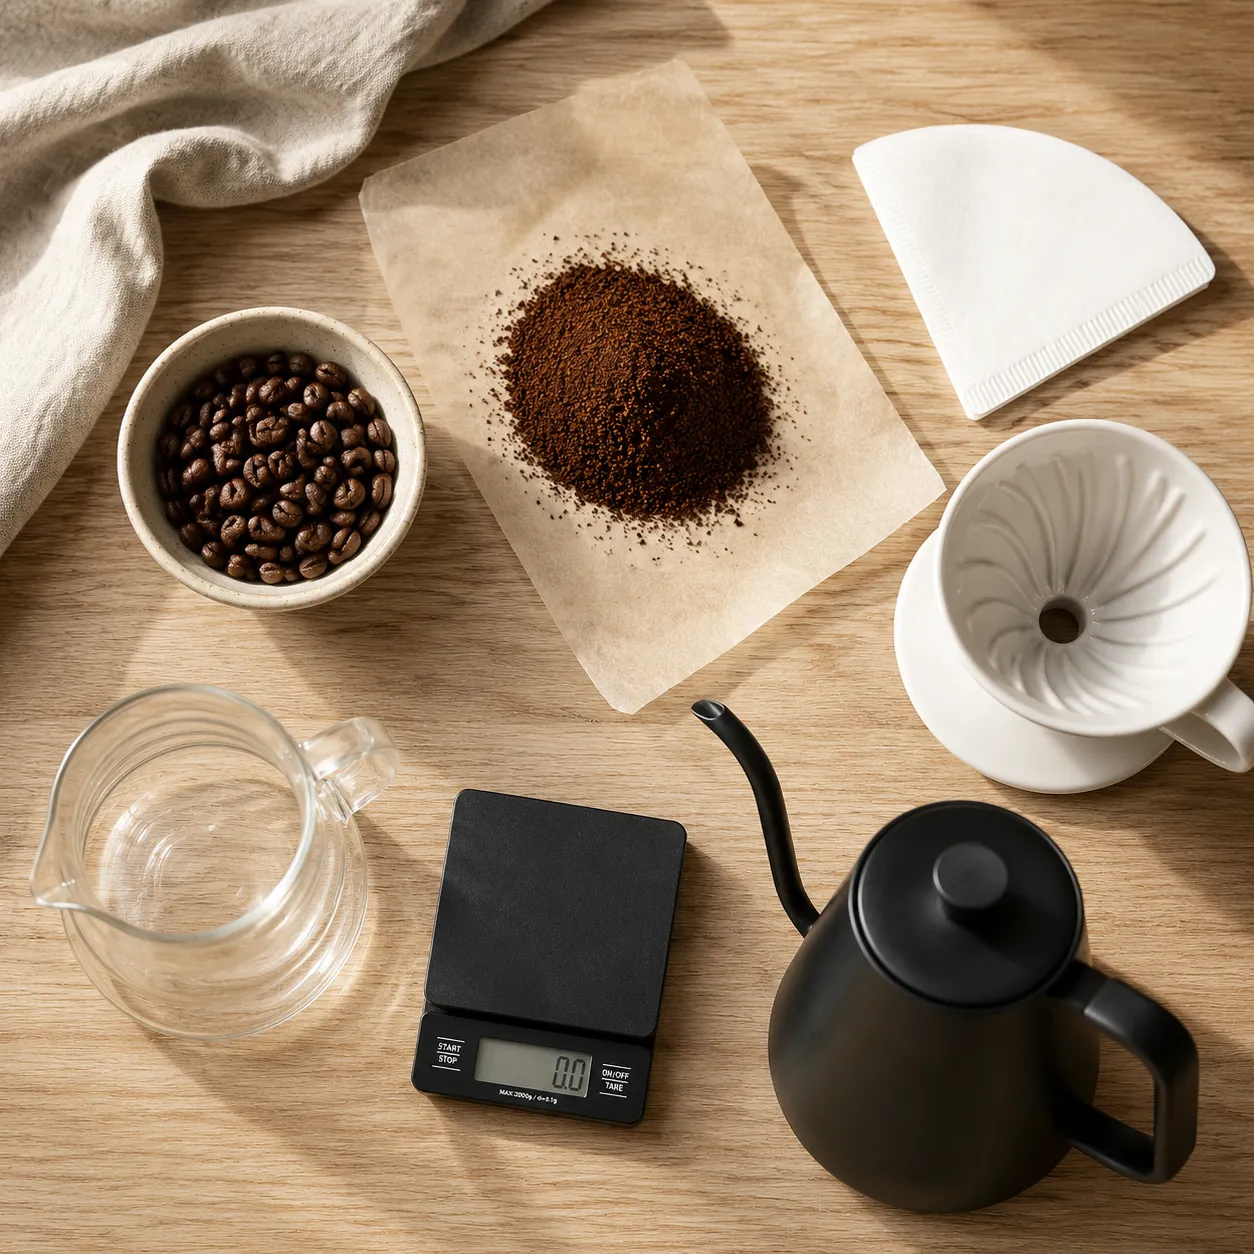
The right paper filters matter, too. Each dripper has its own filter shape, so don't try to force a V60 cone into a Kalita. Bleached and unbleached both work fine, though bleached filters tend to impart less papery taste once rinsed. After the dripper and filters, the single biggest upgrade you can make is a gooseneck kettle. The narrow swan-neck spout gives you precise control over flow rate, which is the entire game in manual brewing — you literally can't pour a slow, even spiral with a regular kettle. Many gooseneck kettles now come with built-in temperature control, which is a luxury but worth it.
A digital scale is the other workhorse. Coffee brewing is a ratio game, and eyeballing tablespoons gets you only so far. A $15 kitchen scale that reads in 1-gram increments will pay for itself in better cups within a week. Round it out with a thermometer (or just trust the 30-second post-boil rest) and a glass carafe — or brew straight onto your mug — and you're set.
The shortest version of a great pour over recipe: good beans, the right grind, the right ratio, the right water. Get those four things in the same neighborhood and you'll be pulling cups you'd happily pay $6 for at a café. Start with the beans. The best coffee beans for pour over are lighter to medium roasts, ideally roasted within the last two to four weeks. Light roasts shine here because the method emphasizes clarity and acidity — think Ethiopian Yirgacheffe with its blueberry and jasmine notes, or a Kenyan with bright citrus. Dark roasts work too if that's your preference, but they'll mask some of the subtlety.
Grind size is the variable that trips up most beginners. You want a medium-fine grind, slightly coarser than table salt and slightly finer than kosher salt. If you're learning how to grind coffee beans for the first time, a burr grinder makes a real difference because it produces uniform particles, which extract evenly. Blade grinders create a chaotic mix of dust and boulders, which leads to a cup that's both bitter and sour at the same time. If a burr grinder isn't in the budget yet, ask your local roaster to grind a small bag at the medium-fine setting for V60 or Chemex.
Then there's the coffee to water ratio. The industry standard is 1:16 by weight — one gram of coffee for every sixteen grams of water. For a single big mug, that translates to 22 grams of coffee and 352 grams of water. Want it stronger? Try 1:15. Lighter and more tea-like? Push to 1:17. Once you have a scale and stick to a ratio, every adjustment becomes intentional rather than guesswork. Always use filtered water — not distilled and not straight from a heavily chlorinated tap — because water is 98% of the cup and you can taste every off note.
Here's the brewing sequence in narrative form — the exact step-by-step list with timings lives in the recipe card below. Bring 500 grams of filtered water to a full boil, then take it off the heat and let it rest for 30 to 45 seconds so it lands around 200°F. While the water cools, fold the seam of your paper filter and seat it inside the dripper.
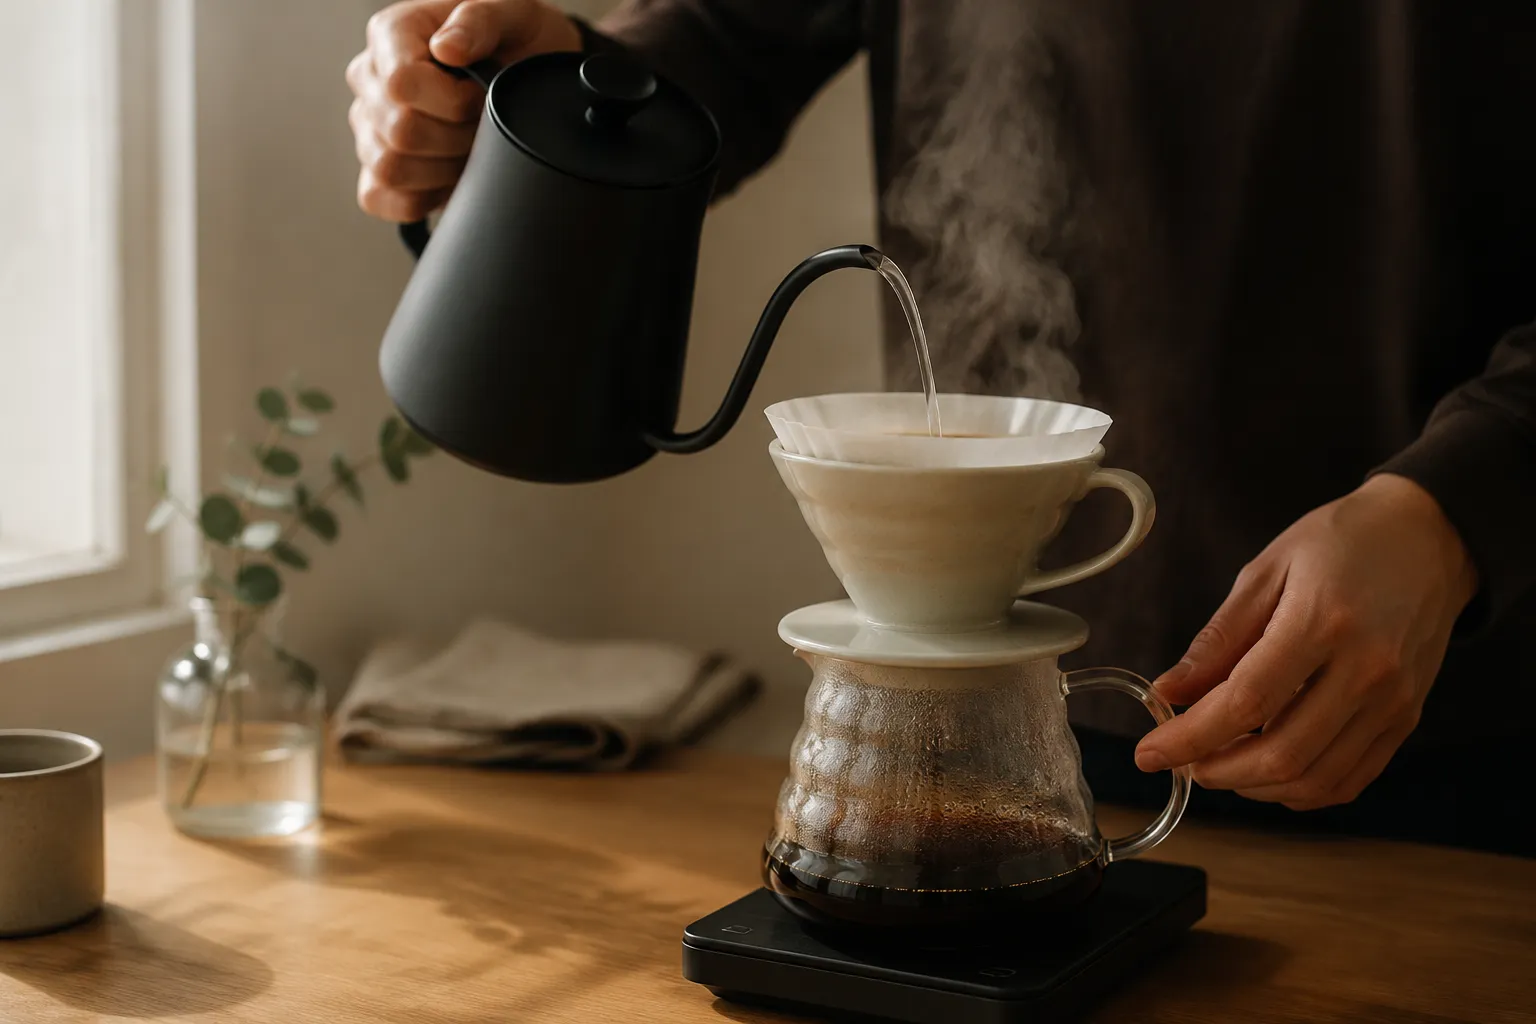
Rinse the filter thoroughly with hot water from your gooseneck kettle. This does two things: it pre-warms the dripper and carafe so your brew doesn't lose temperature on contact, and it washes any papery taste out of the filter. Discard the rinse water. Then add 22 grams of medium-fine ground coffee to the filter and give the dripper a gentle shake to level the bed. Place the whole setup on your scale and tare it to zero.
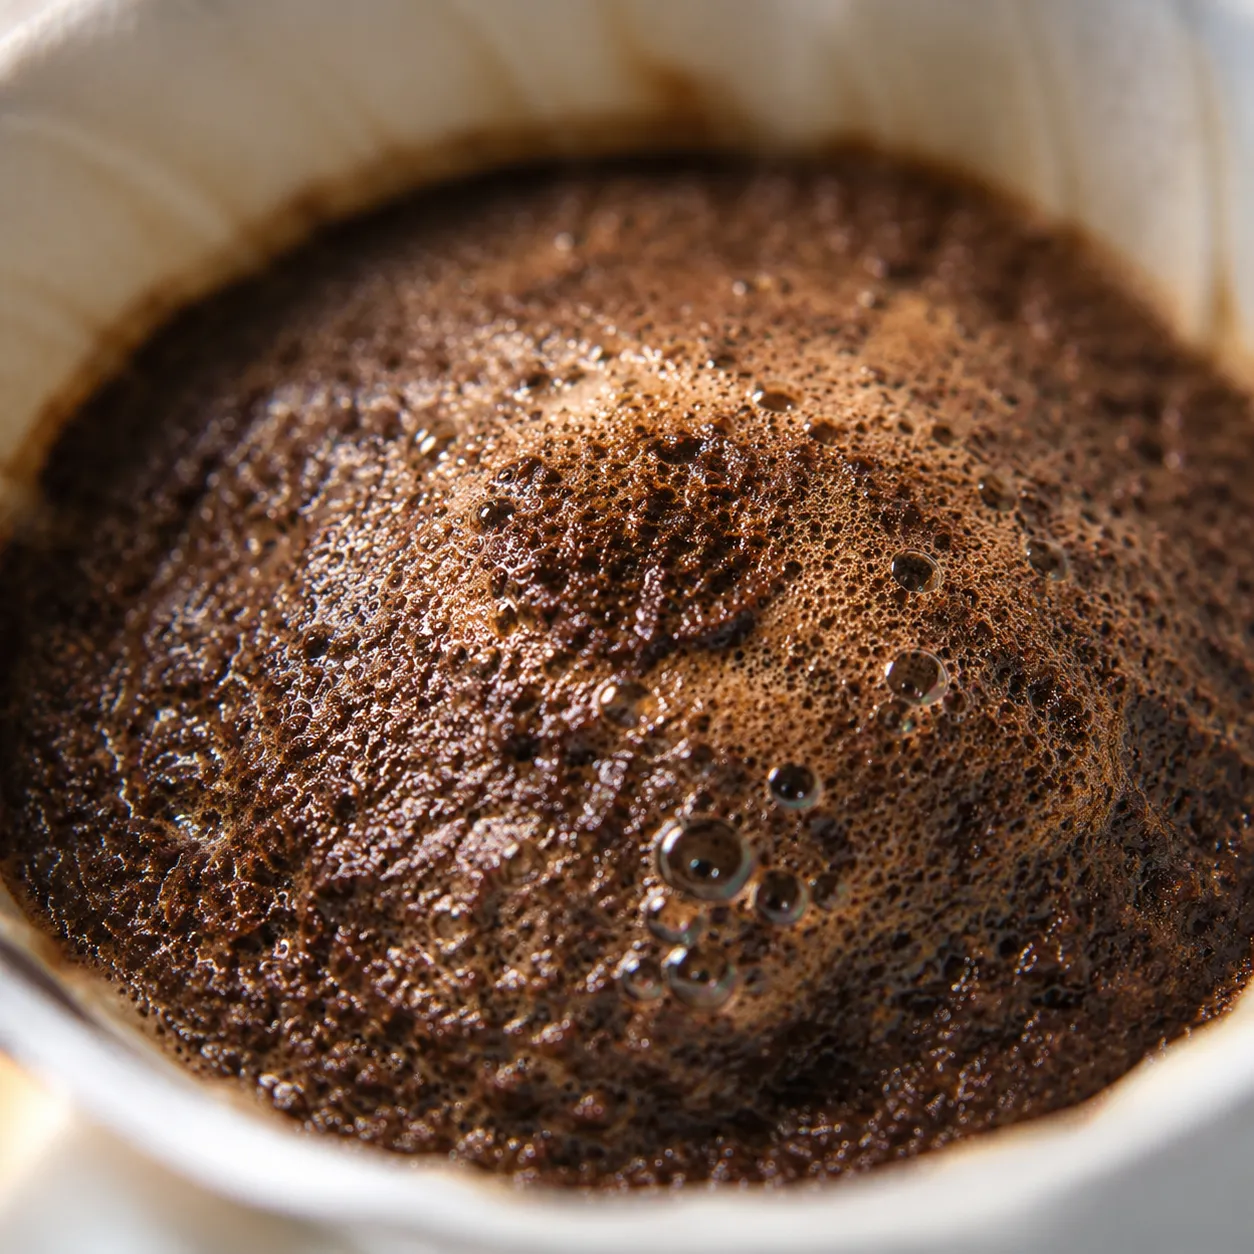
Now the bloom. Start a timer and pour 50 grams of water (about double the weight of your coffee) in a quick spiral, making sure every ground gets wet. The grounds will dome up and bubble as CO2 escapes from the freshly ground beans, which is exactly what you want. Wait 30 to 45 seconds. This degassing step is non-negotiable — skip it and you'll get a sour, under-developed cup.
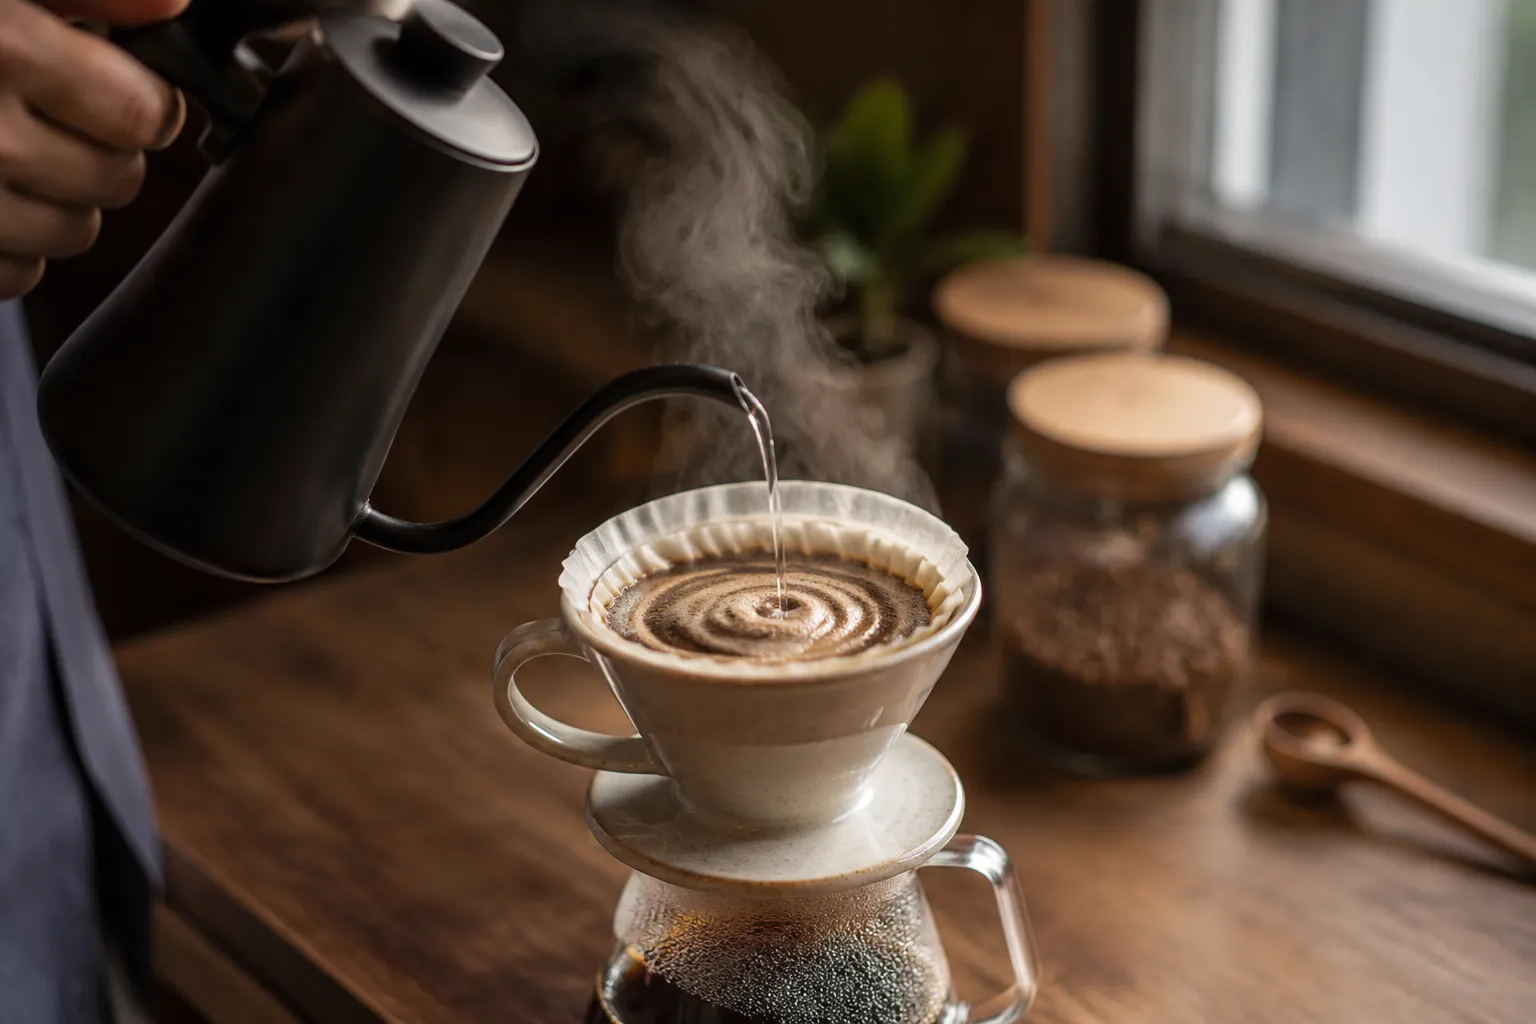
After the bloom, begin the main pour. Move slowly in concentric spirals from the center outward, then back to the center, and never pour directly on the filter walls. The goal is a level coffee bed at all times. Add water in two or three pulses to reach 352 grams total by around the 2-minute mark. The slurry should look glossy and even, never a chaotic whirlpool.
Once you finish pouring, the drawdown — the time it takes for water to drain through — should wrap up by 3 to 3:30 minutes total. If it's much faster, your grind is too coarse. Much slower, too fine. That's how you know what to change next time.
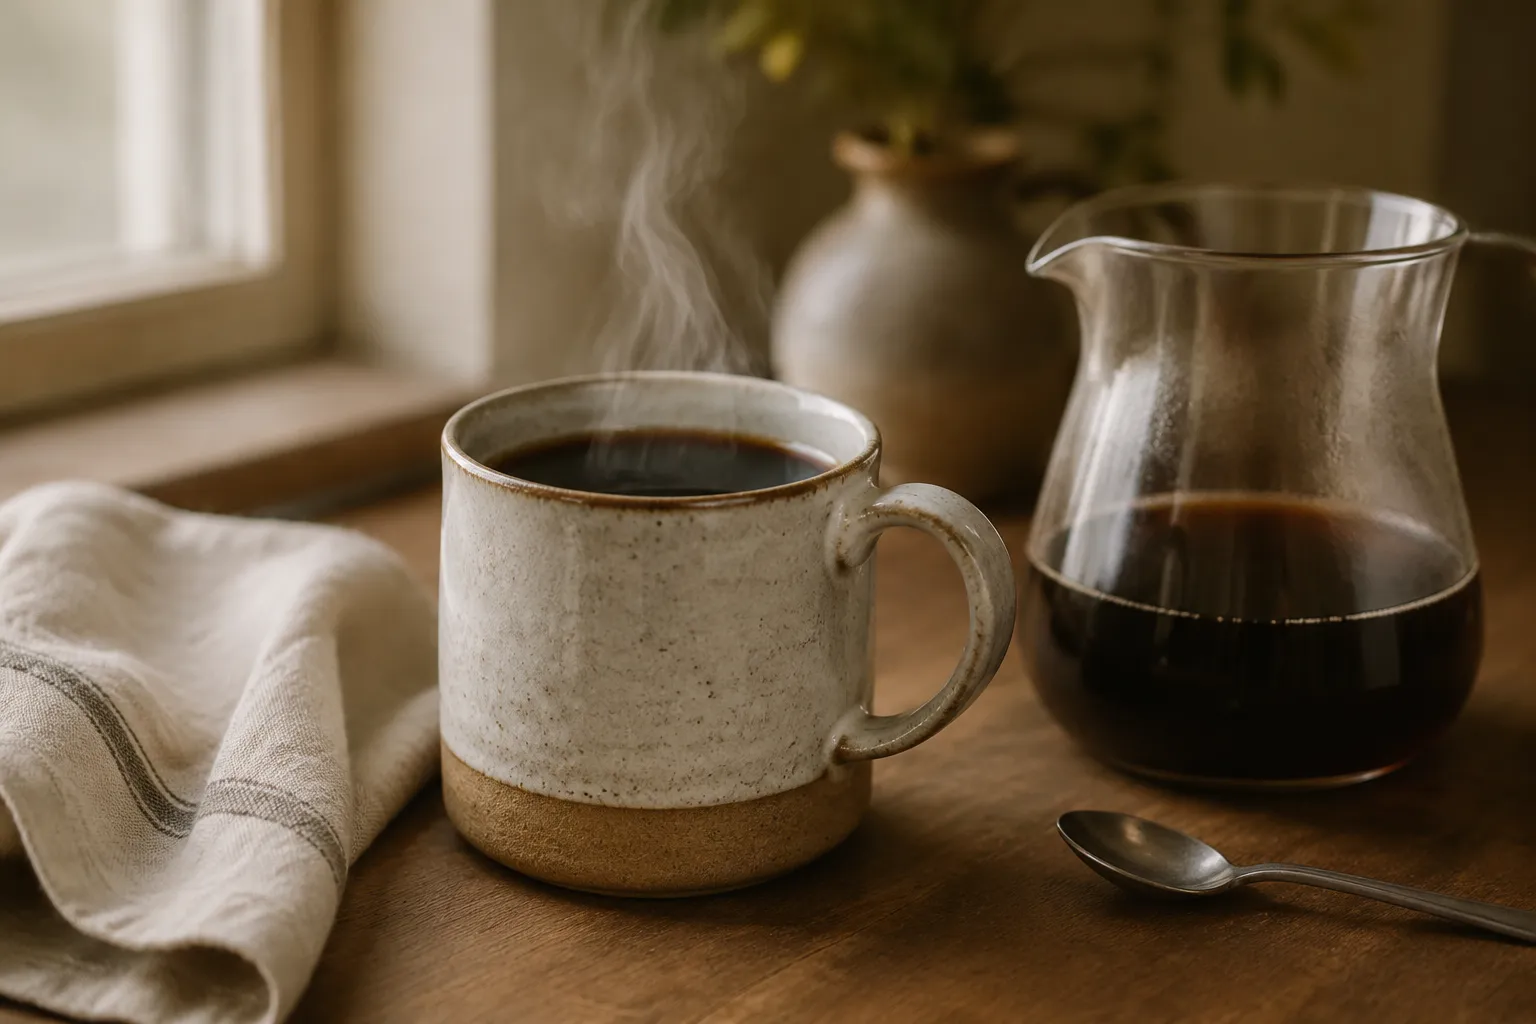
Give the carafe a gentle swirl to mix the brew, pour into a pre-warmed mug, and take that first sip while it's still piping hot. The flavor opens up as it cools, so taste it at three different temperatures — you'll be surprised what shows up at the lukewarm end.
Once you've brewed a few cups, your palate becomes the best feedback loop you have. A sour, weak, or thin cup almost always means under-extraction: water didn't pull enough out of the grounds. The fix is usually a slightly finer grind, slightly hotter water, or a slower pour. A bitter, ashy, or harsh cup means over-extraction: water pulled too much. Coarsen the grind a notch, drop your water temperature a few degrees, or shorten the total brew time.
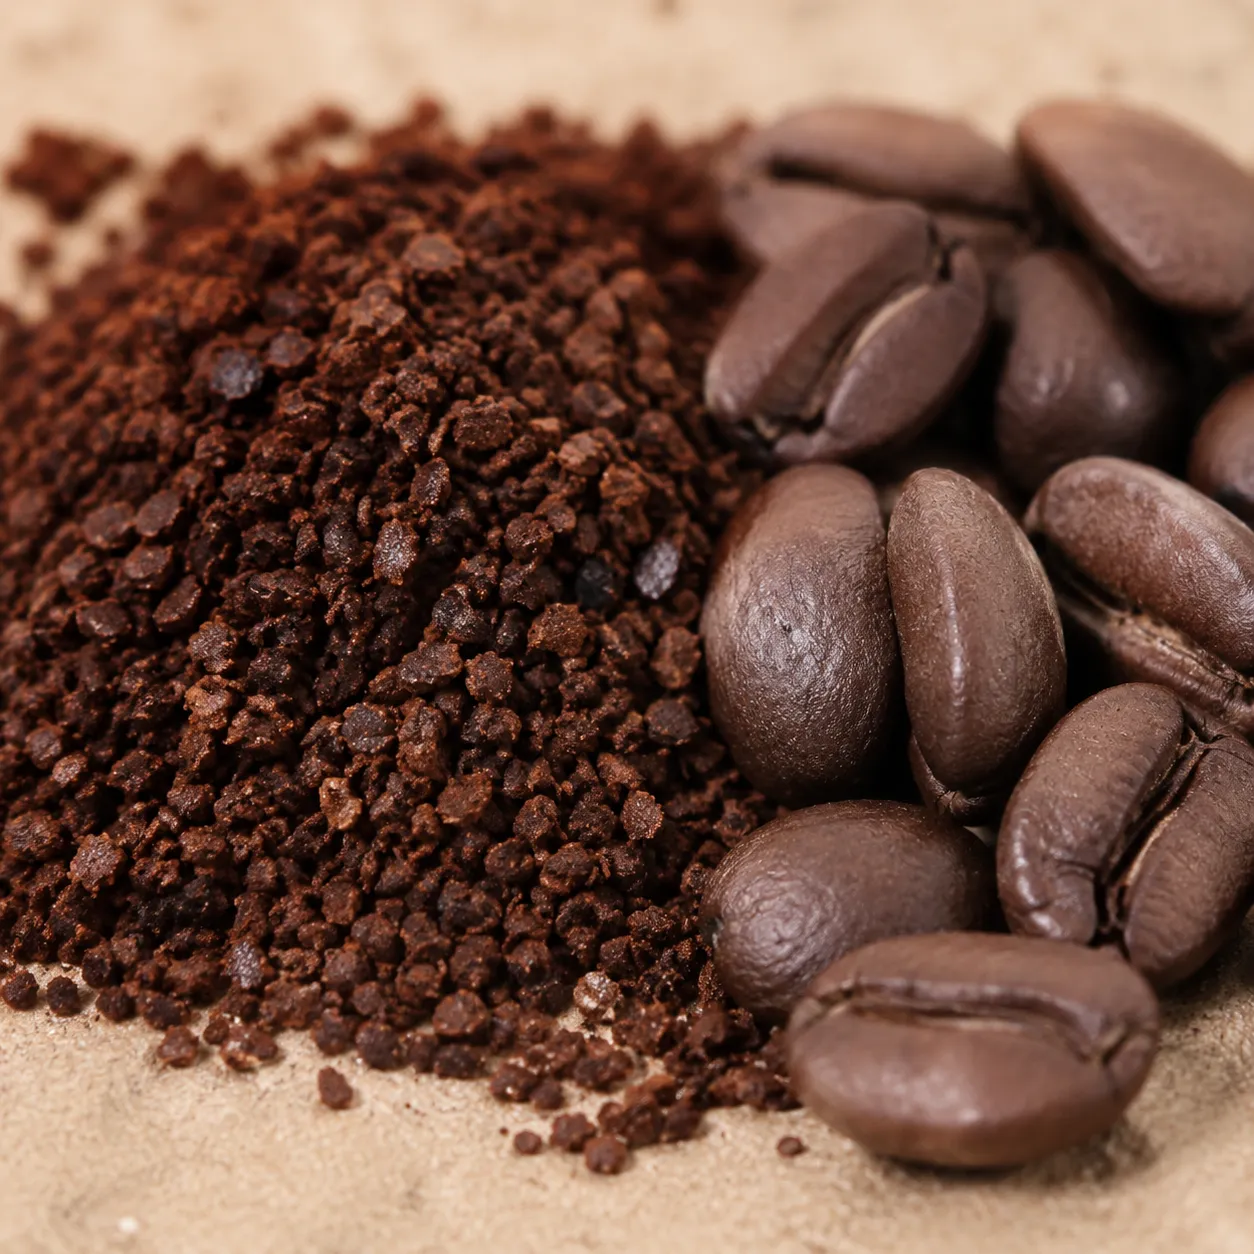
The grind is the dial you'll touch most. Even half a click on a burr grinder noticeably changes the cup, and every bag of beans extracts a little differently — a Colombian roasted last Tuesday and an Ethiopian roasted three weeks ago will not behave the same at the same setting. Don't be afraid to dial in across two or three brews from a new bag. The cup tells you what to do next.
A really good cup deserves food that doesn't fight it. Light to medium roasts pair beautifully with buttery pastries — a flaky croissant, a slice of banana bread, an almond scone. The acidity in the brew cuts through richness without clashing. Avoid heavily spiced foods at first sip, since they'll overwhelm the more delicate floral and citrus notes.
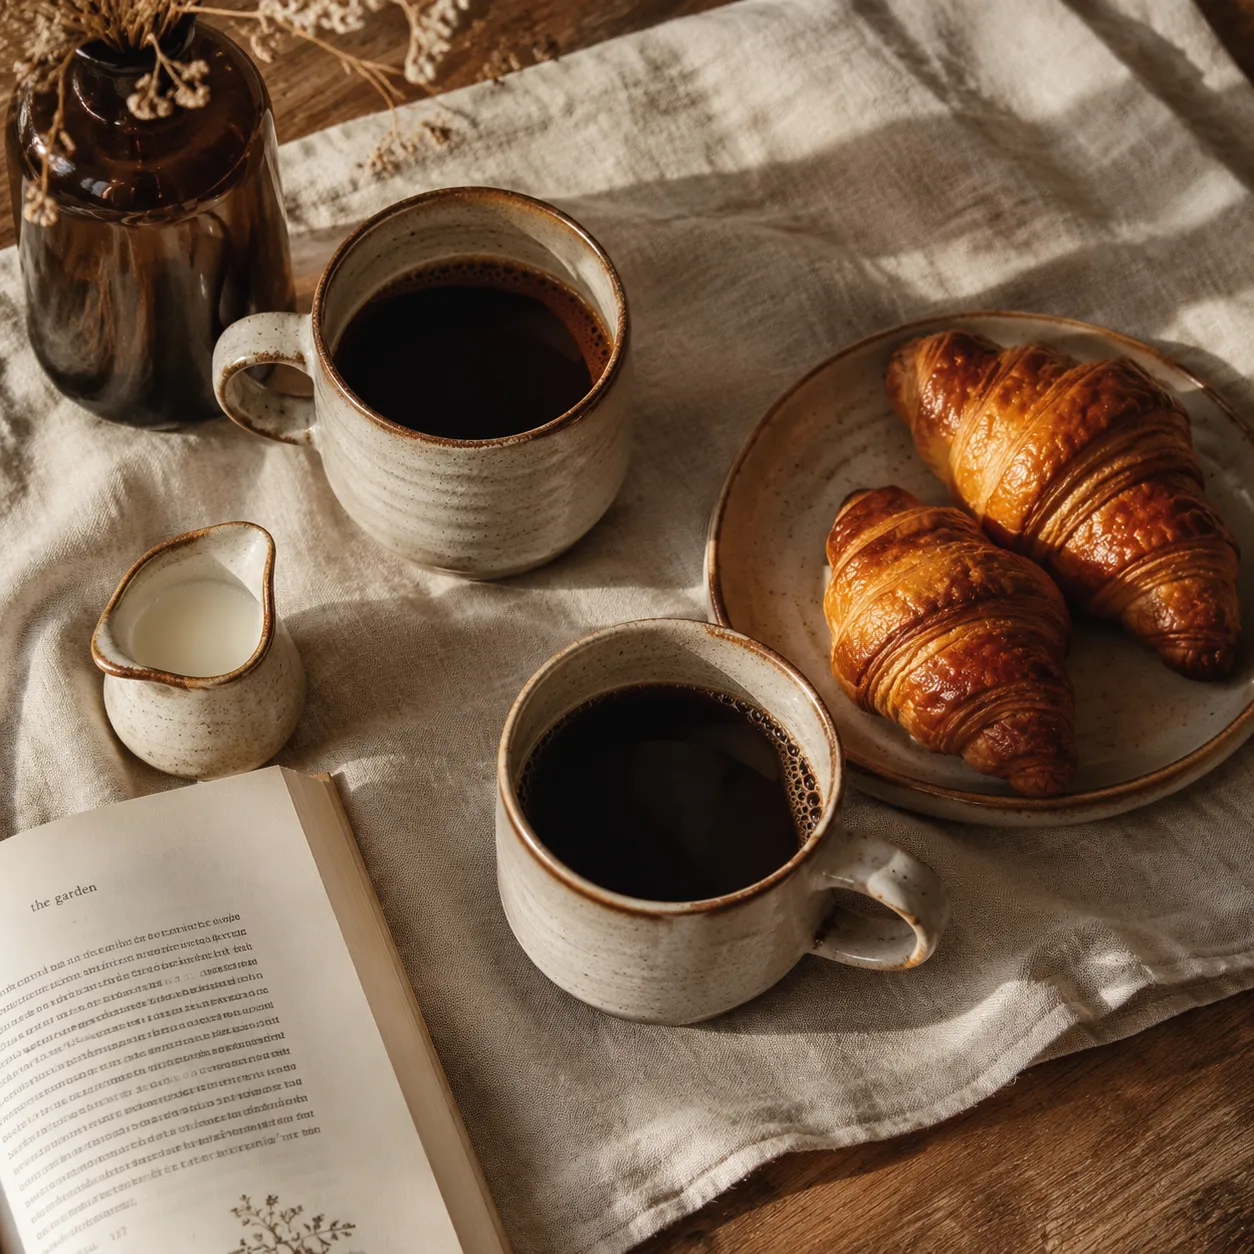
For black coffee drinkers, drink it as is and re-taste it as it cools — the flavor evolution from hot to room temperature is half the fun. If you take it with cream, add it sparingly; the whole point of this method is clarity, and a heavy splash of half-and-half flattens it. A small splash of oat milk works nicely with chocolatey medium roasts. Sugar is a personal call, but try one cup unsweetened first to see what's actually in there.
Pour over coffee rewards attention. Once you've brewed it a dozen times your hands know the rhythm — bloom, pause, spiral, pulse, drawdown — and the whole process becomes a quiet five-minute ritual that's a million times nicer than waiting for a pod machine to finish hissing. Start with a 1:16 ratio and a medium-fine grind, dial in from there based on what your tongue tells you, and use the freshest beans you can get your hands on. The best part? Once you have the technique down, you can apply it to any single-origin in the world.
Print the recipe card below, save this page, and brew tomorrow morning. Bring a friend in on it. Coffee gets better when you slow down.
Once you have the basic method down, the technique scales beautifully to other formats and styles. The framework — bloom, slow concentric pours, controlled drawdown — stays the same; you're just changing temperature, ratio, or final dilution.
Brewed pour over is best the moment it lands in your mug. The clean, layered flavor degrades quickly as it sits — within 20 minutes, the brightness fades and the cup turns dull. If you must hold it, keep it in a pre-warmed thermal carafe with the lid on for up to an hour. Never reheat in the microwave; it cooks off the volatile aromatics that make the cup interesting in the first place.
For storing the beans themselves, transfer roasted whole beans to an airtight, opaque container at room temperature, away from heat, light, and moisture. Use within 3 to 4 weeks of the roast date for peak flavor. Skip the freezer for daily-use coffee — repeated condensation cycles dull the beans. Only freeze (vacuum-sealed) if you're stockpiling for more than a month.