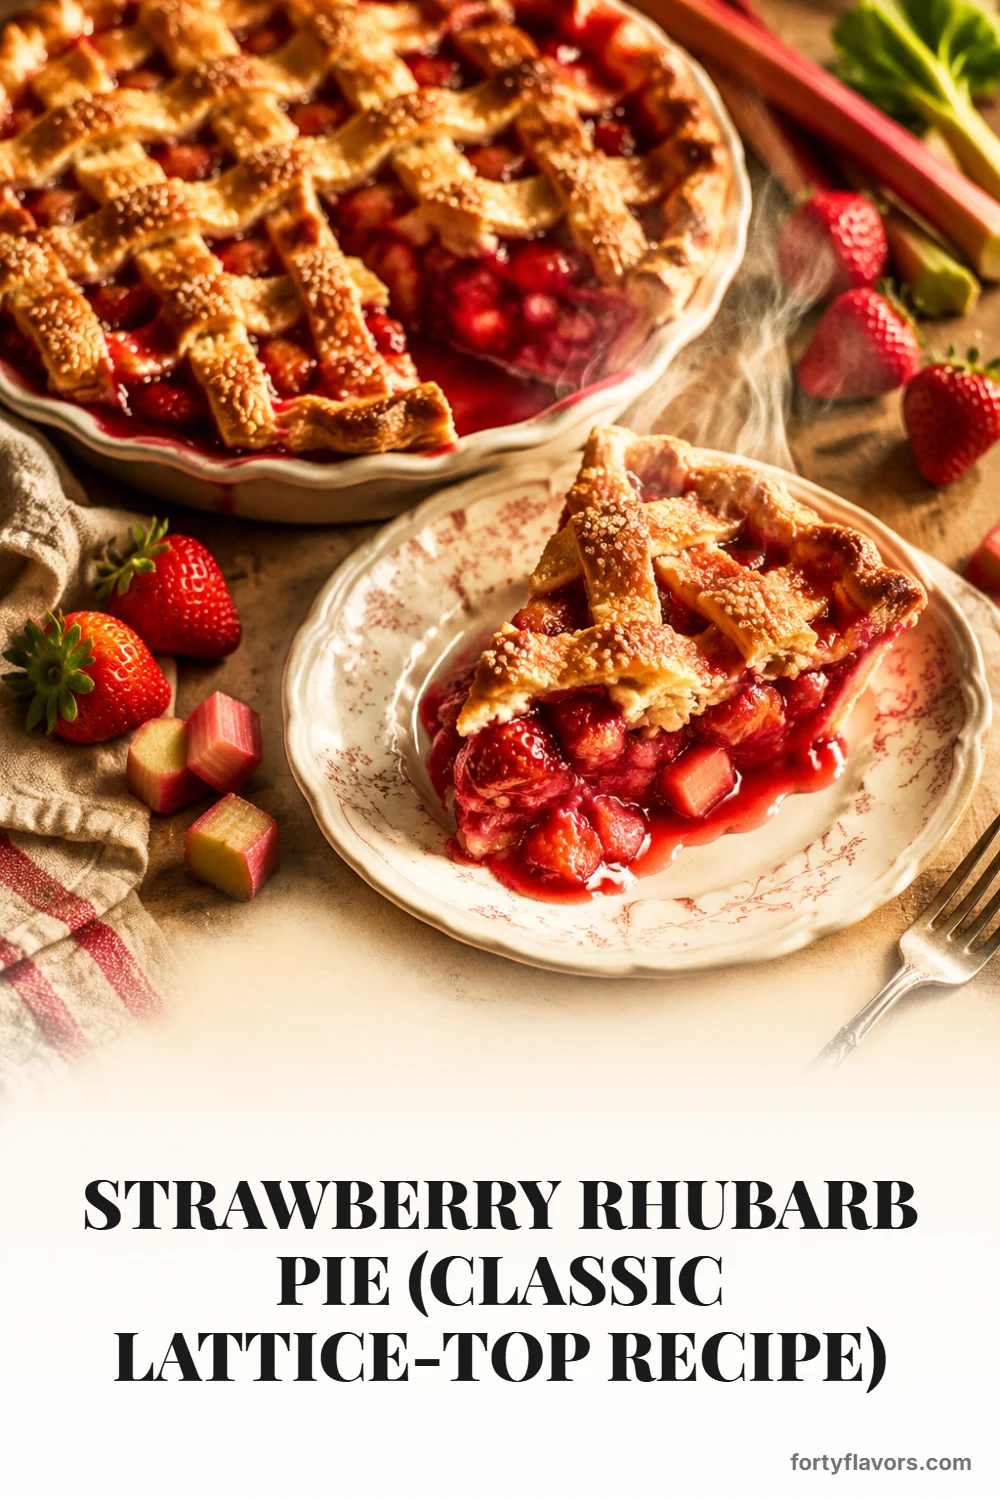
Strawberry Rhubarb Pie (Classic Lattice-Top Recipe)
Ingredients
Scale
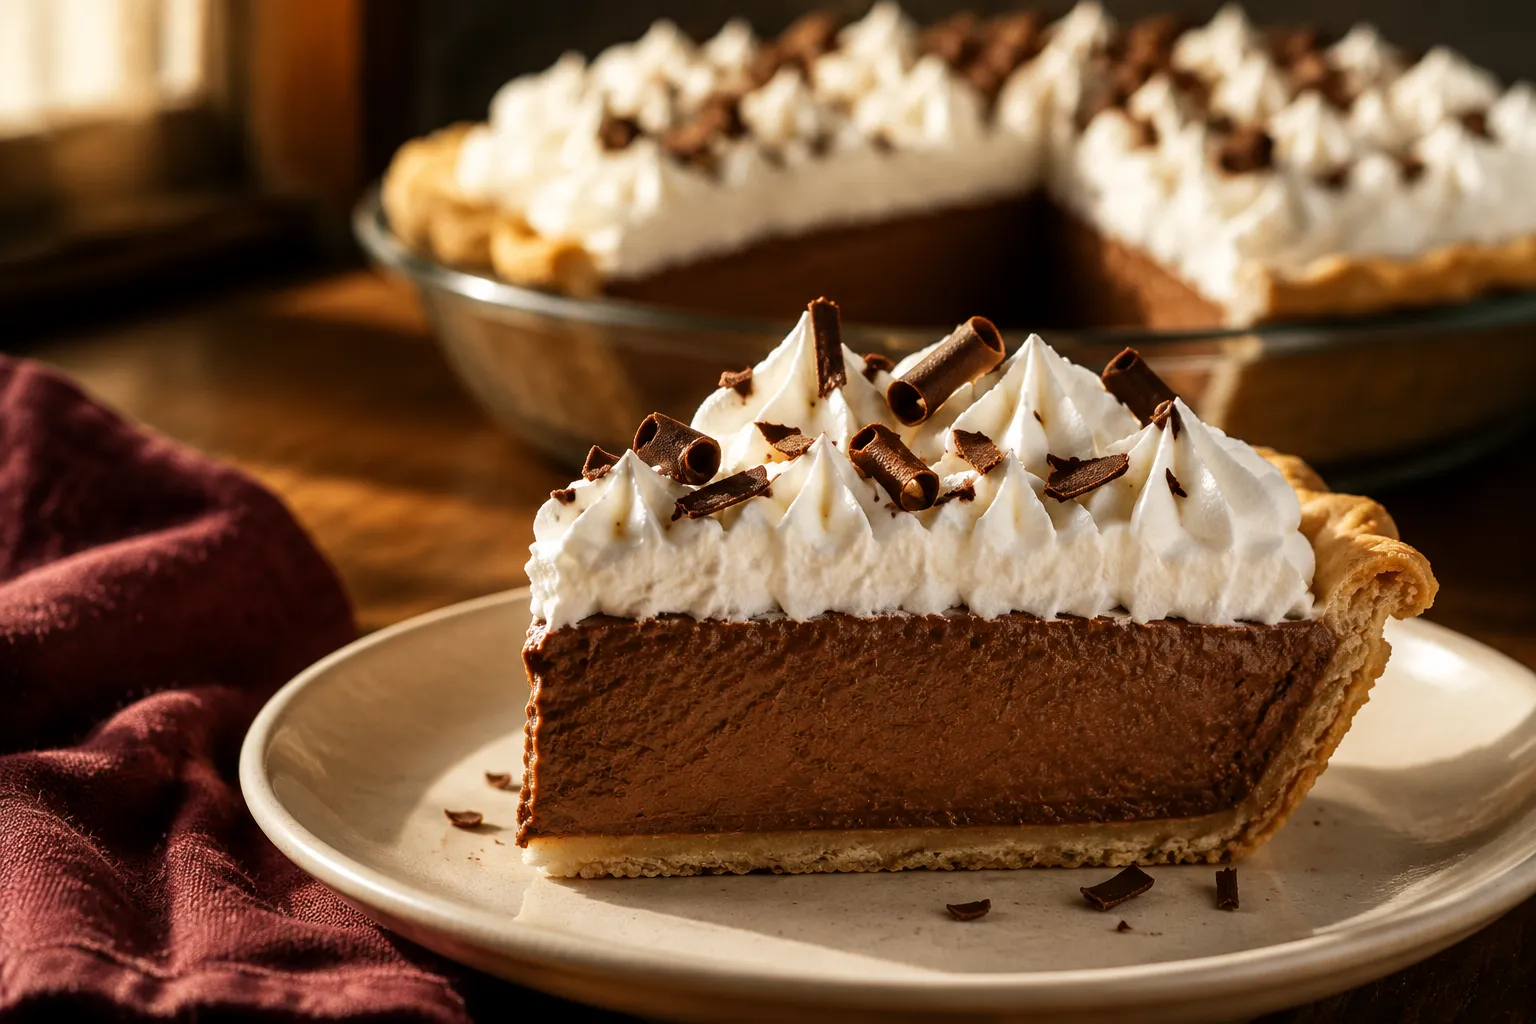
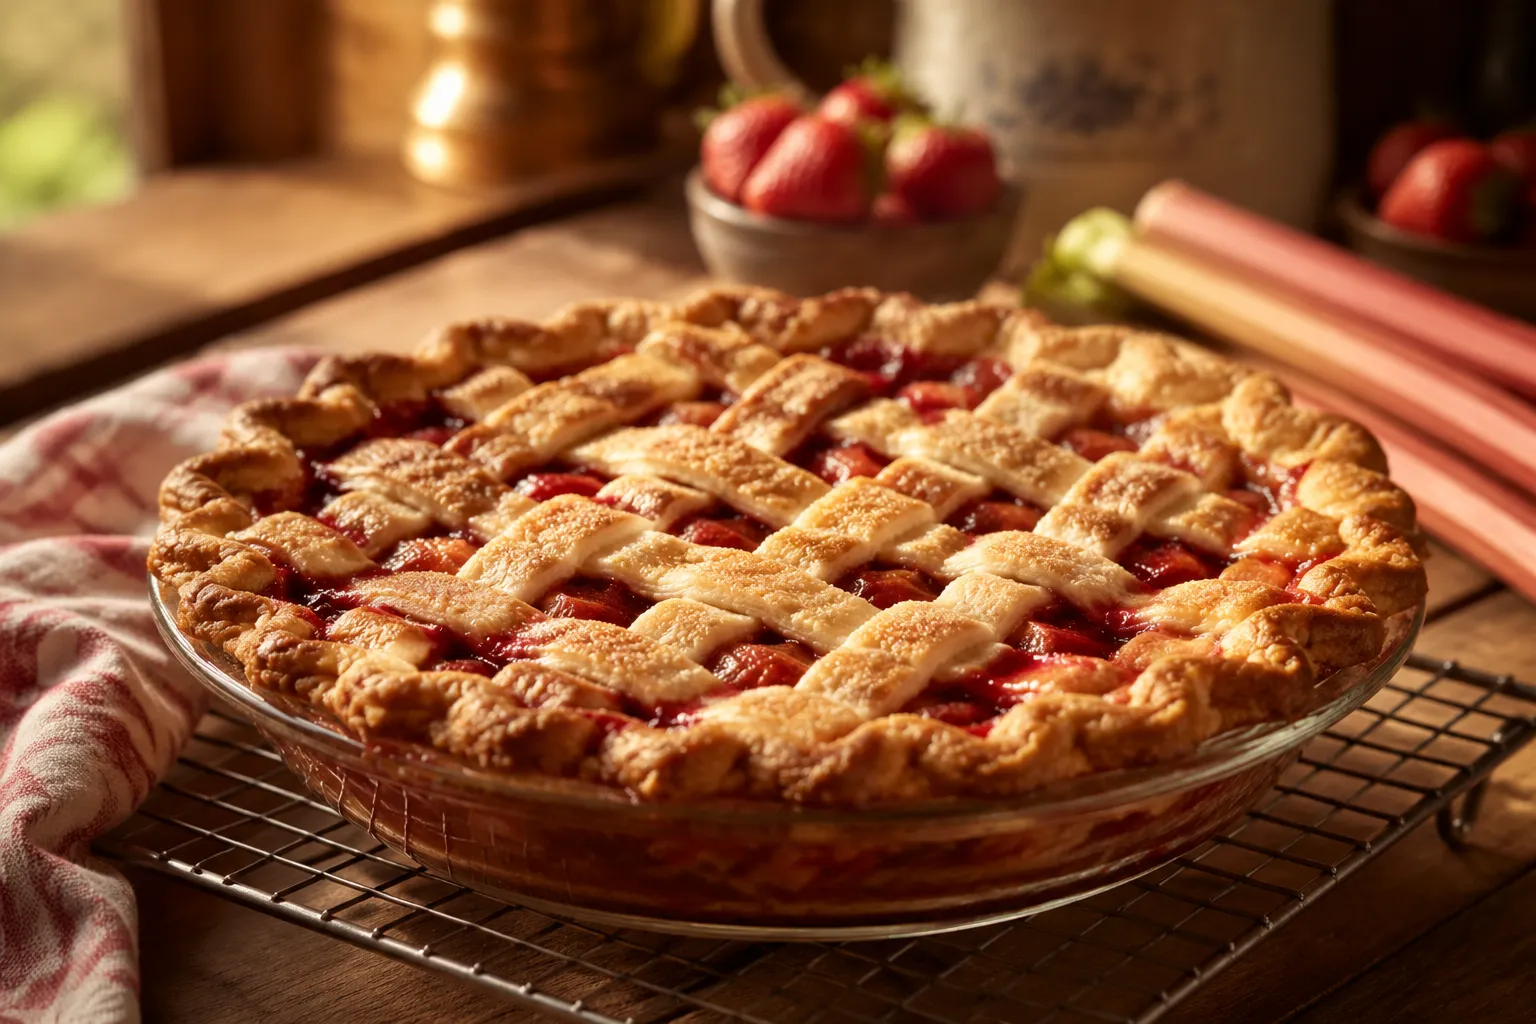
A classic strawberry rhubarb pie with a flaky all-butter crust and a jammy, never-runny filling that slices clean every single time.
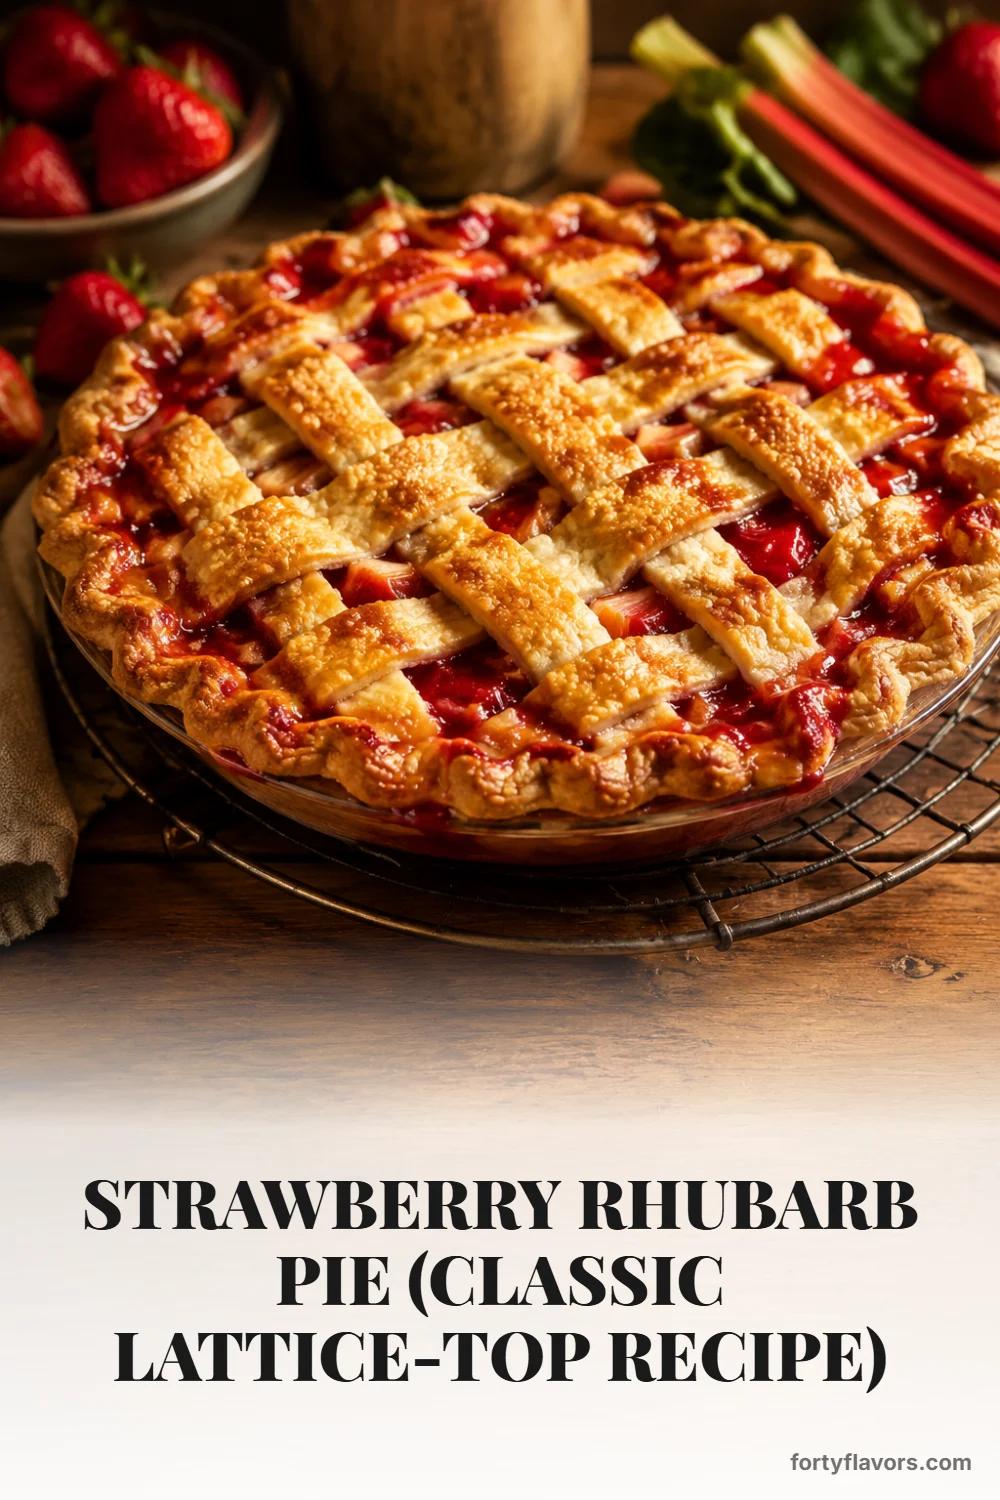
This strawberry rhubarb pie is the one I bake every June the moment my farmers market table starts overflowing with crimson stalks and the strawberries finally taste like strawberries again. The filling is jammy and ruby-bright, sweet enough to feel like dessert but tart enough to remind you exactly why people get misty-eyed about rhubarb in the first place. And the crust? Flaky, golden, and woven into a proper lattice that bubbles with thick fruit juices instead of leaking them out the bottom.
If you have ever cut into a strawberry rhubarb pie only to watch the filling slump out into a pink puddle on the plate, take heart. That problem has a fix, and it has nothing to do with luck. The trick is a quick maceration step plus a smart thickener, and once you nail it you will never go back to dumping raw fruit straight into a shell and hoping for the best.
Whether this is your first lattice or your fortieth, I will walk you through every step, including the little decisions that separate a soggy slice from a tidy, bakery-worthy wedge. Pour yourself something cold and let's get into it.
Two techniques carry this recipe. First, we macerate the fruit with sugar and a squeeze of lemon for thirty minutes, then drain off the excess juice before mixing in the thickener. That single step pulls out roughly half a cup of liquid that would otherwise need to evaporate inside your oven, and it is the difference between a set filling and a soup.
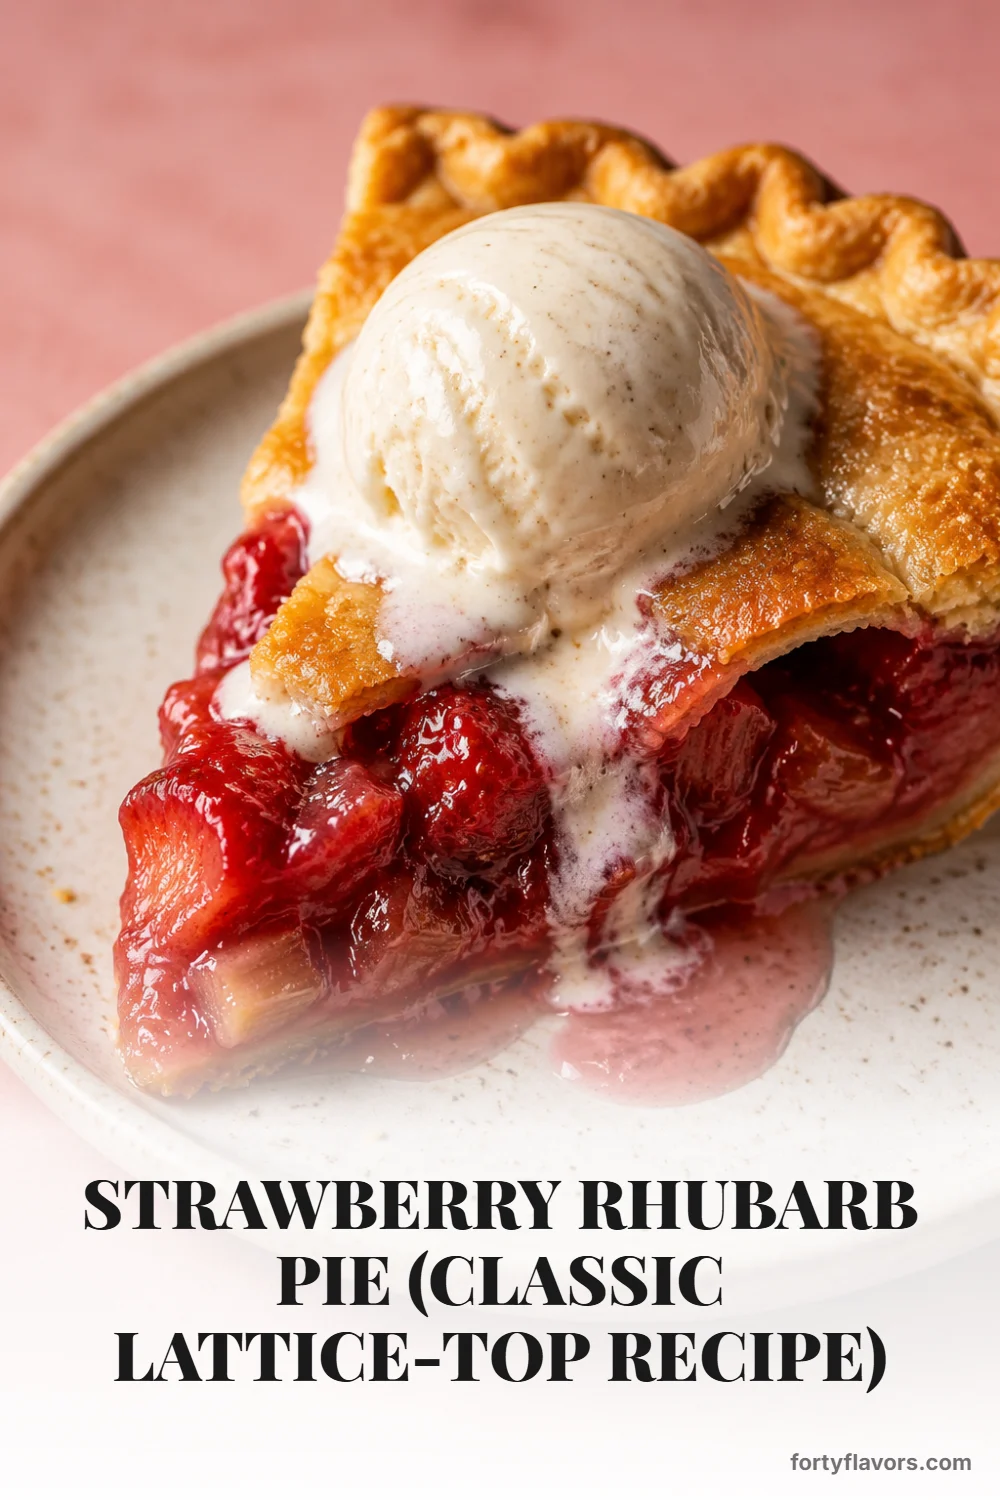
Second, we use quick-cooking tapioca starch as our thickener. Cornstarch can absolutely work, but tapioca holds up better against acidic fruit, stays glossy and clear instead of turning cloudy, and never breaks down into that weirdly gummy texture you sometimes get with flour-thickened pies. The result is a filling that mounds slightly when you slice it, holds its shape on the plate, and still tastes like fresh fruit rather than jam from a jar.
The crust is a classic all-butter pie crust, no shortening, no vinegar tricks. Cold butter, ice water, a quick fold or two, and an honest rest in the fridge. It is what gives you the kind of shattering, layered flakiness that makes people pause mid-conversation when they take their first bite.
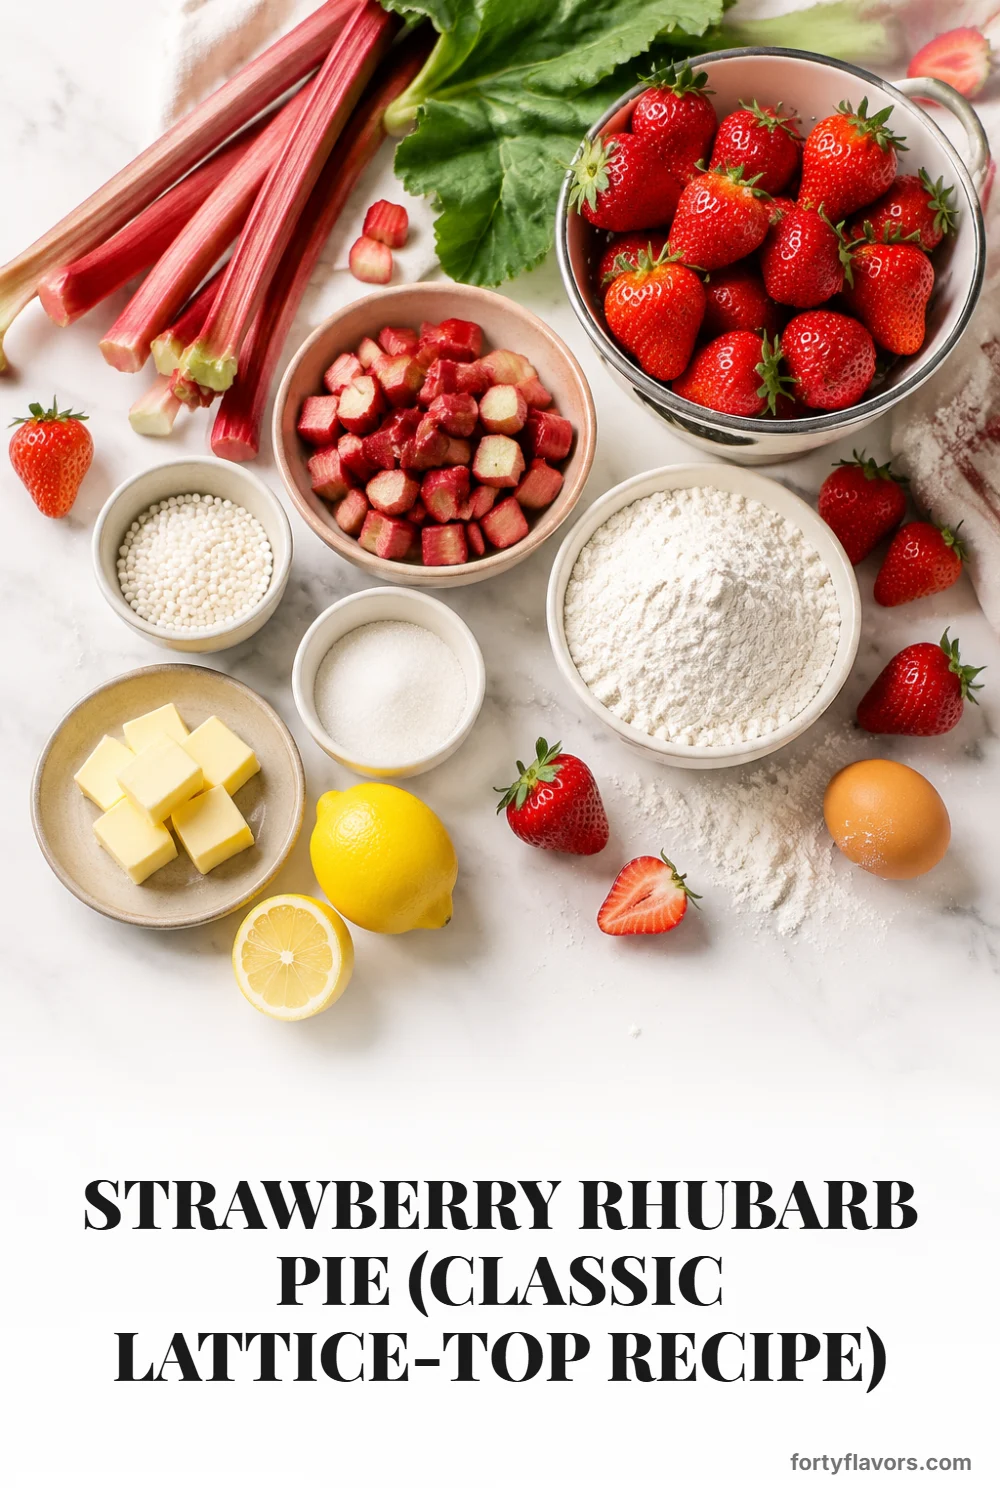
One of the joys of a homemade fruit pie is how short the ingredient list actually is. Almost every component lives in your pantry already, and the produce belongs to early summer at its best.

You need all-purpose flour, kosher salt, a touch of sugar, very cold unsalted butter cut into small cubes, and ice water. That's it. The colder everything stays, the flakier your crust will be, so I keep my flour in the freezer for an hour before I start and dunk my butter cubes back in the freezer if my kitchen runs warm.
Three cups of fresh strawberries (hulled and halved, quartered if they are giants) and three cups of fresh rhubarb sliced into half-inch pieces. A 1:1 ratio gives you that perfect sweet-tart balance, but you can lean either direction depending on your mood. You will also need granulated sugar, quick-cooking tapioca, fresh lemon juice, and a splash of vanilla extract to round out the fruit.
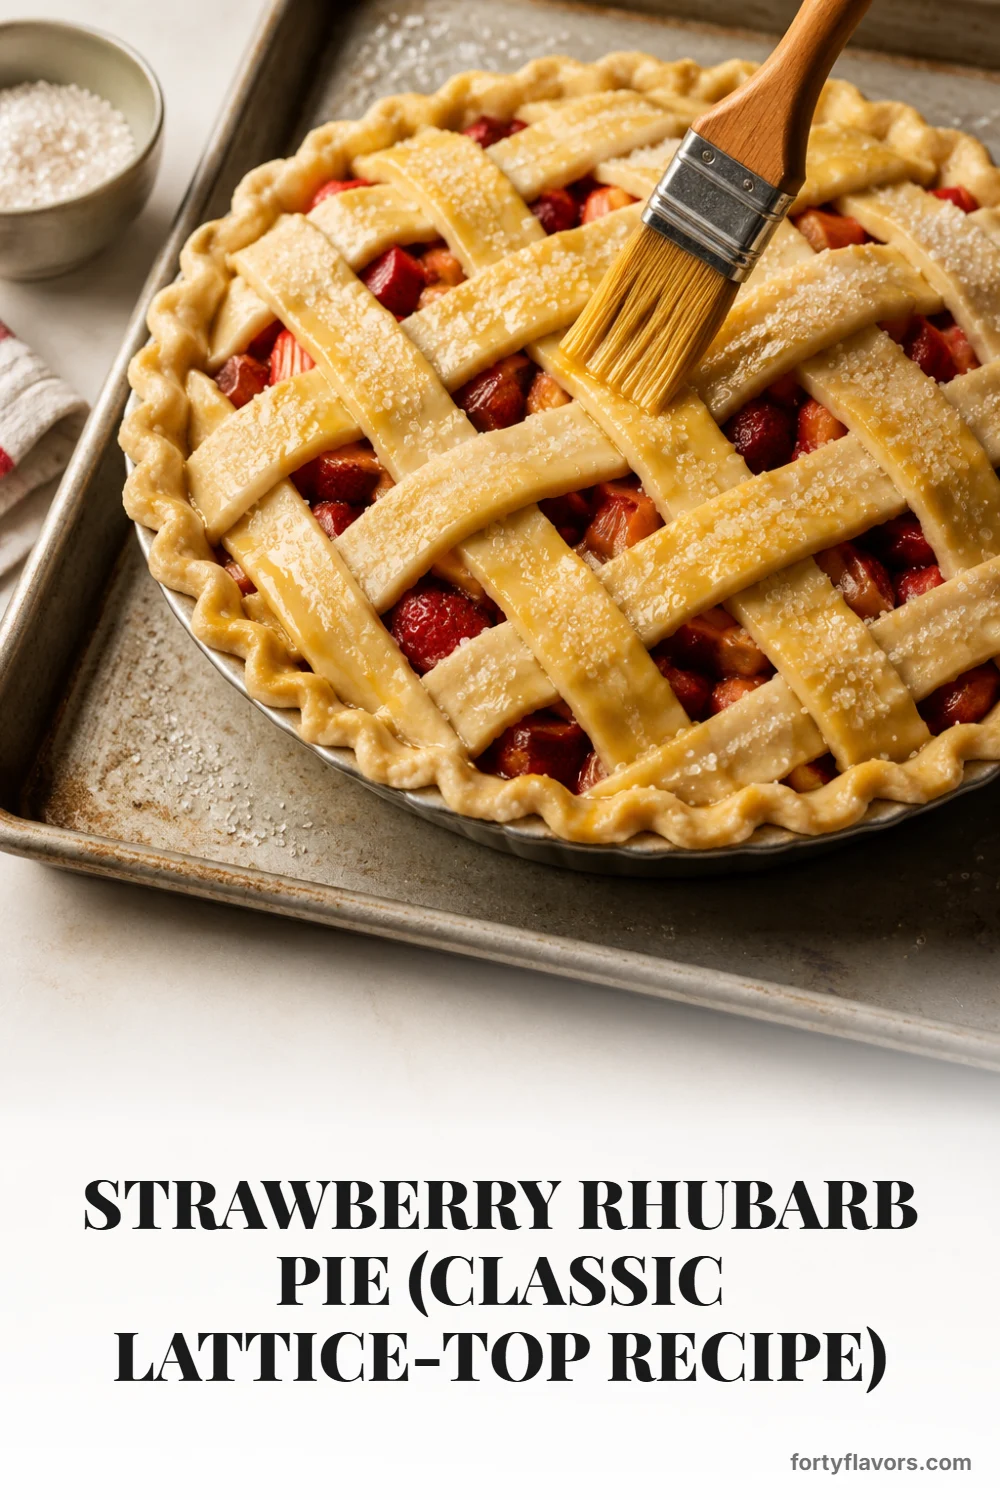
If you cannot find quick-cooking tapioca at your grocery store, swap in three tablespoons of cornstarch or, in a pinch, four tablespoons of all-purpose flour. Frozen fruit works too if you thaw it completely and drain it well, though I add an extra tablespoon of tapioca to soak up the surplus moisture. For the egg wash, one whole egg beaten with a tablespoon of water gives you the deepest golden color, and a sprinkle of coarse turbinado sugar on top adds the kind of sparkle and crunch you usually only get at fancy bakeries.
Here is the high-level walk-through. The detailed numbered steps live in the recipe card below, so feel free to bounce between the two as you bake. The whole process spans about ninety minutes of active work plus chilling and baking time, and most of it is hands-off.
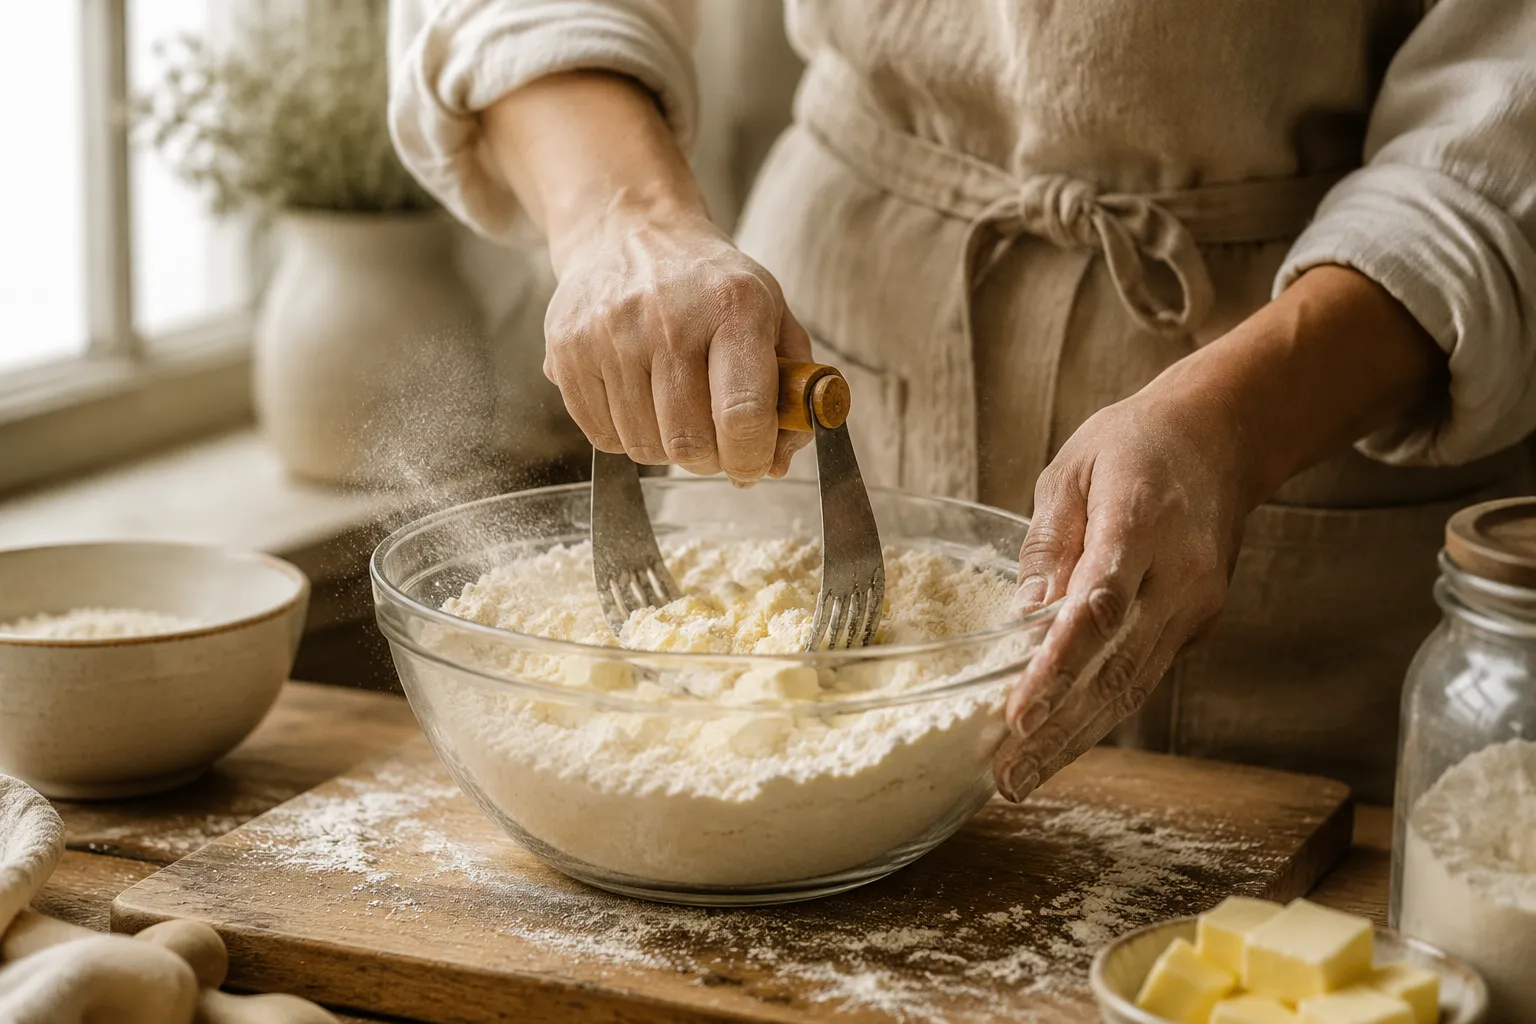
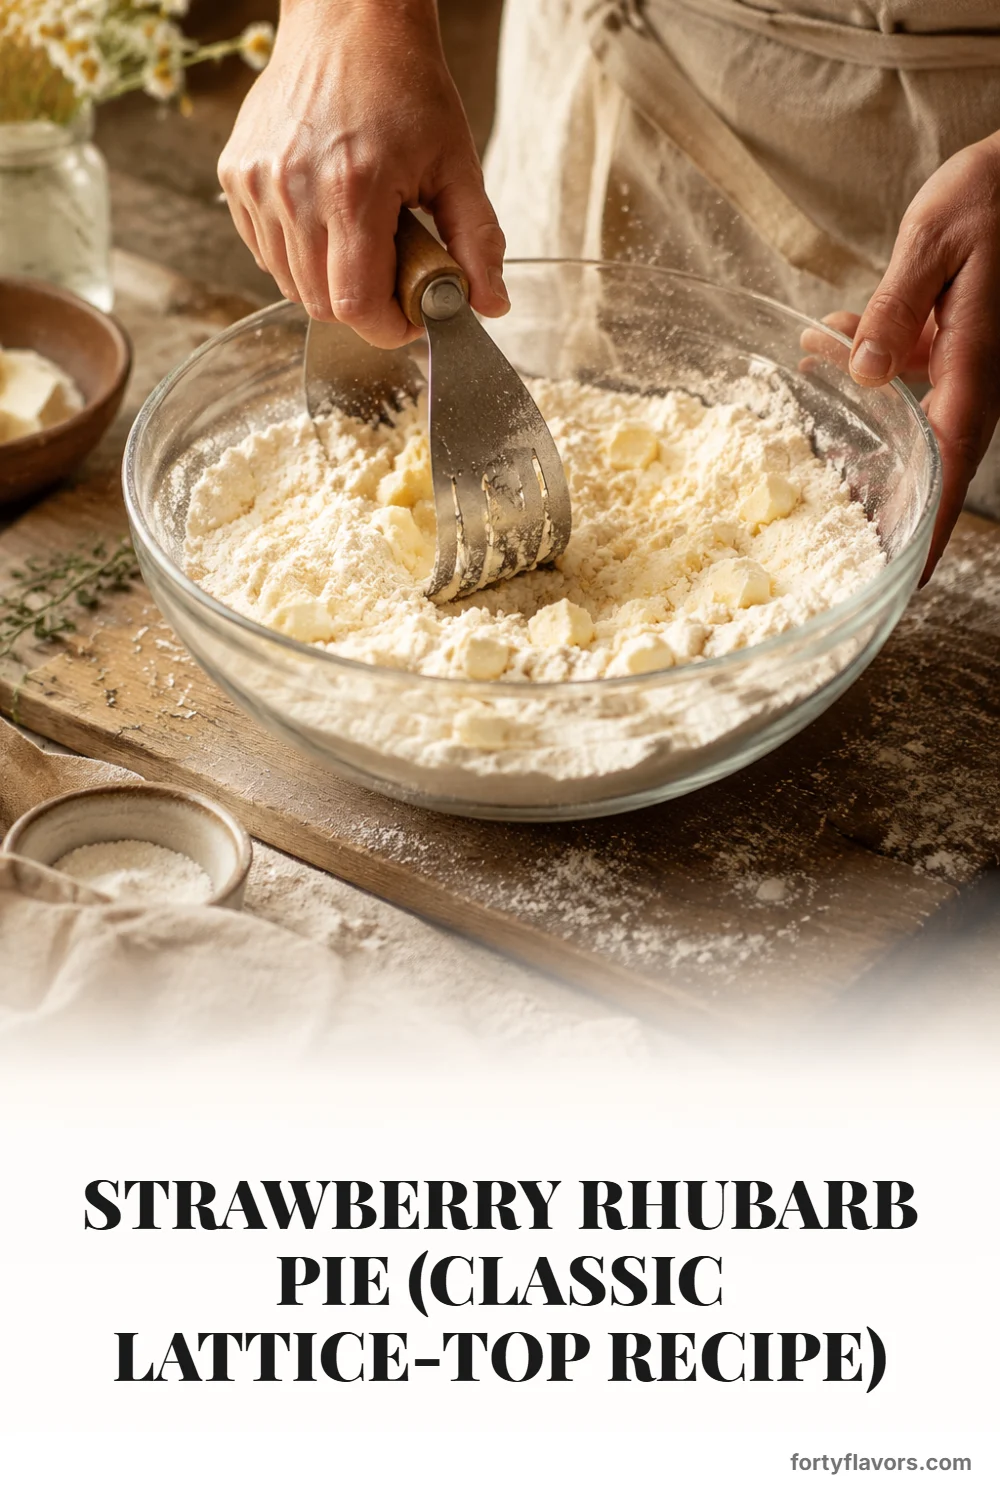
Start by whisking the dry ingredients in a large bowl, then scatter the cold butter cubes across the top. Use a pastry cutter or your fingertips to break the butter into the flour until you have a mix of pea-sized and lima-bean-sized pieces. Those bigger chunks are what create the layers, so do not overdo it. Drizzle in the ice water a tablespoon at a time, tossing with a fork, until the dough just barely holds together when you squeeze a handful. Divide it in two, shape into discs, wrap, and chill at least one hour.
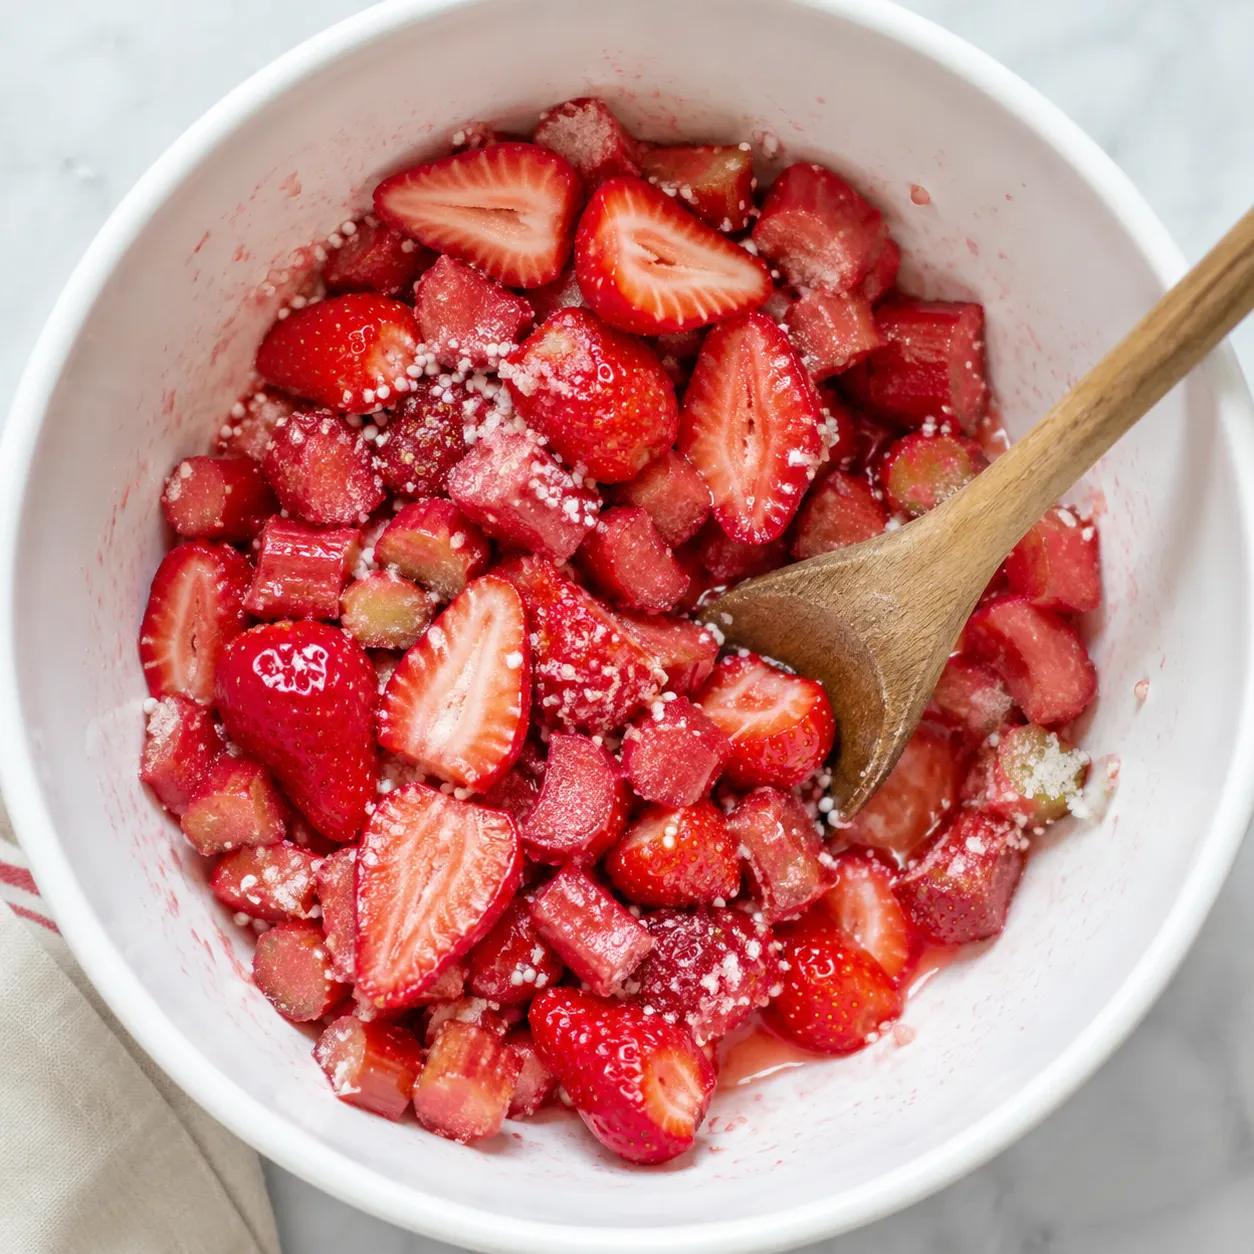
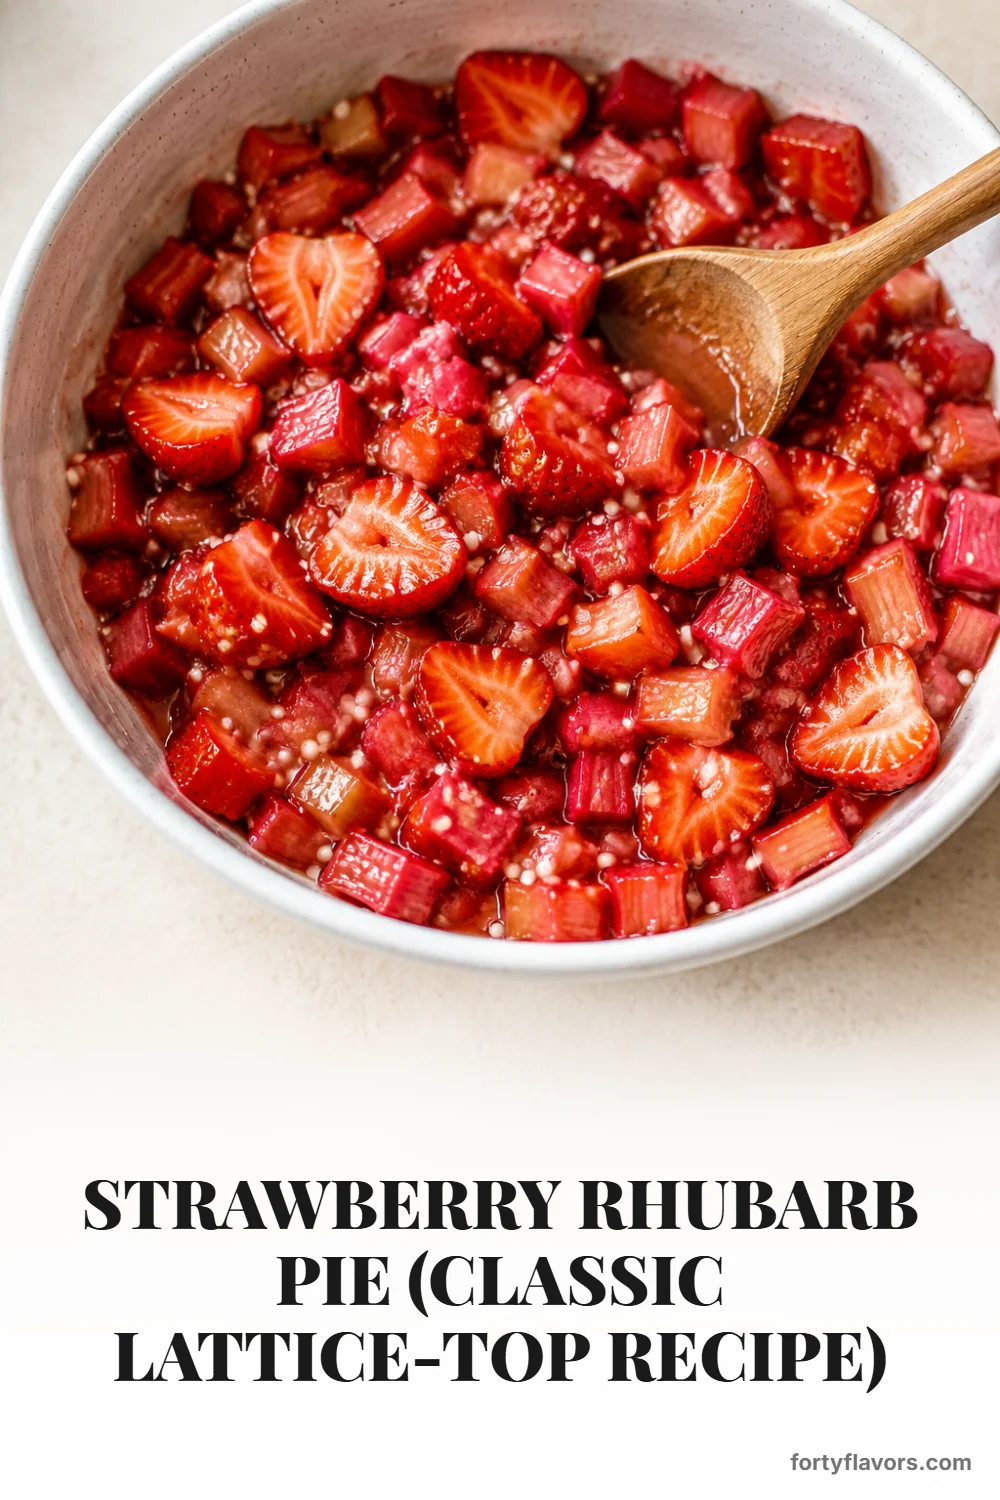
Combine your strawberries and rhubarb in a big bowl with the sugar and lemon juice and let it sit for thirty minutes. The sugar pulls juices out of the fruit, which is exactly what you want. After the rest, drain the fruit in a colander set over a bowl. Reserve two tablespoons of that ruby liquid to add back for color and flavor, and discard the rest. Now toss the drained fruit with the tapioca and vanilla and let it stand another ten minutes so the starch can hydrate.
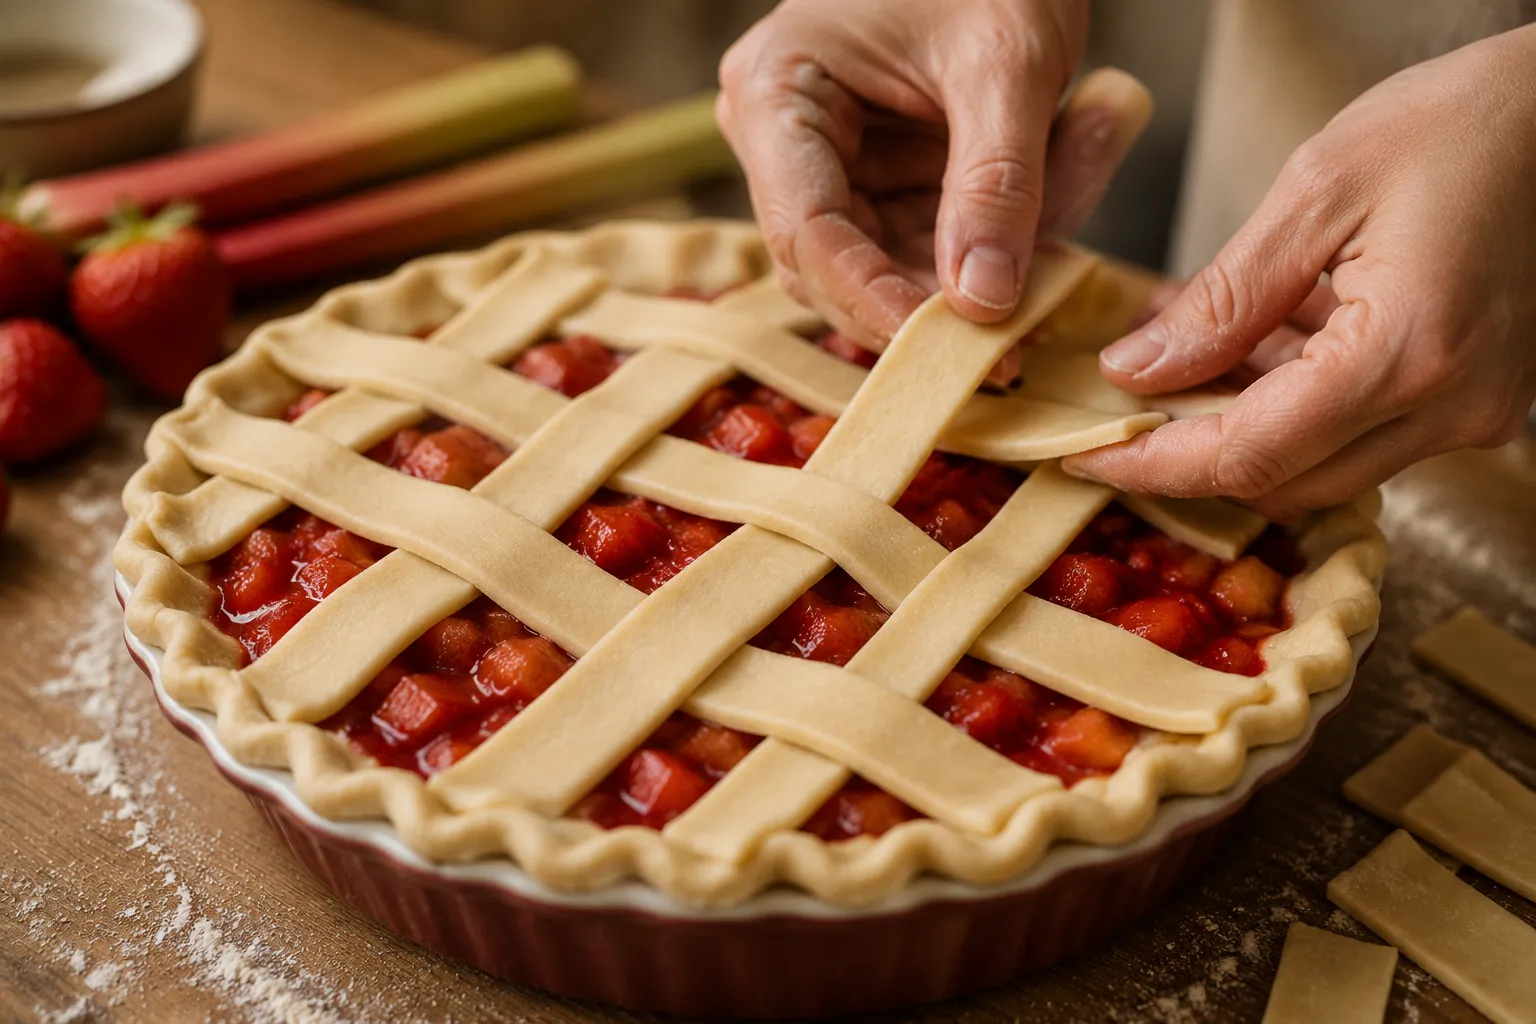
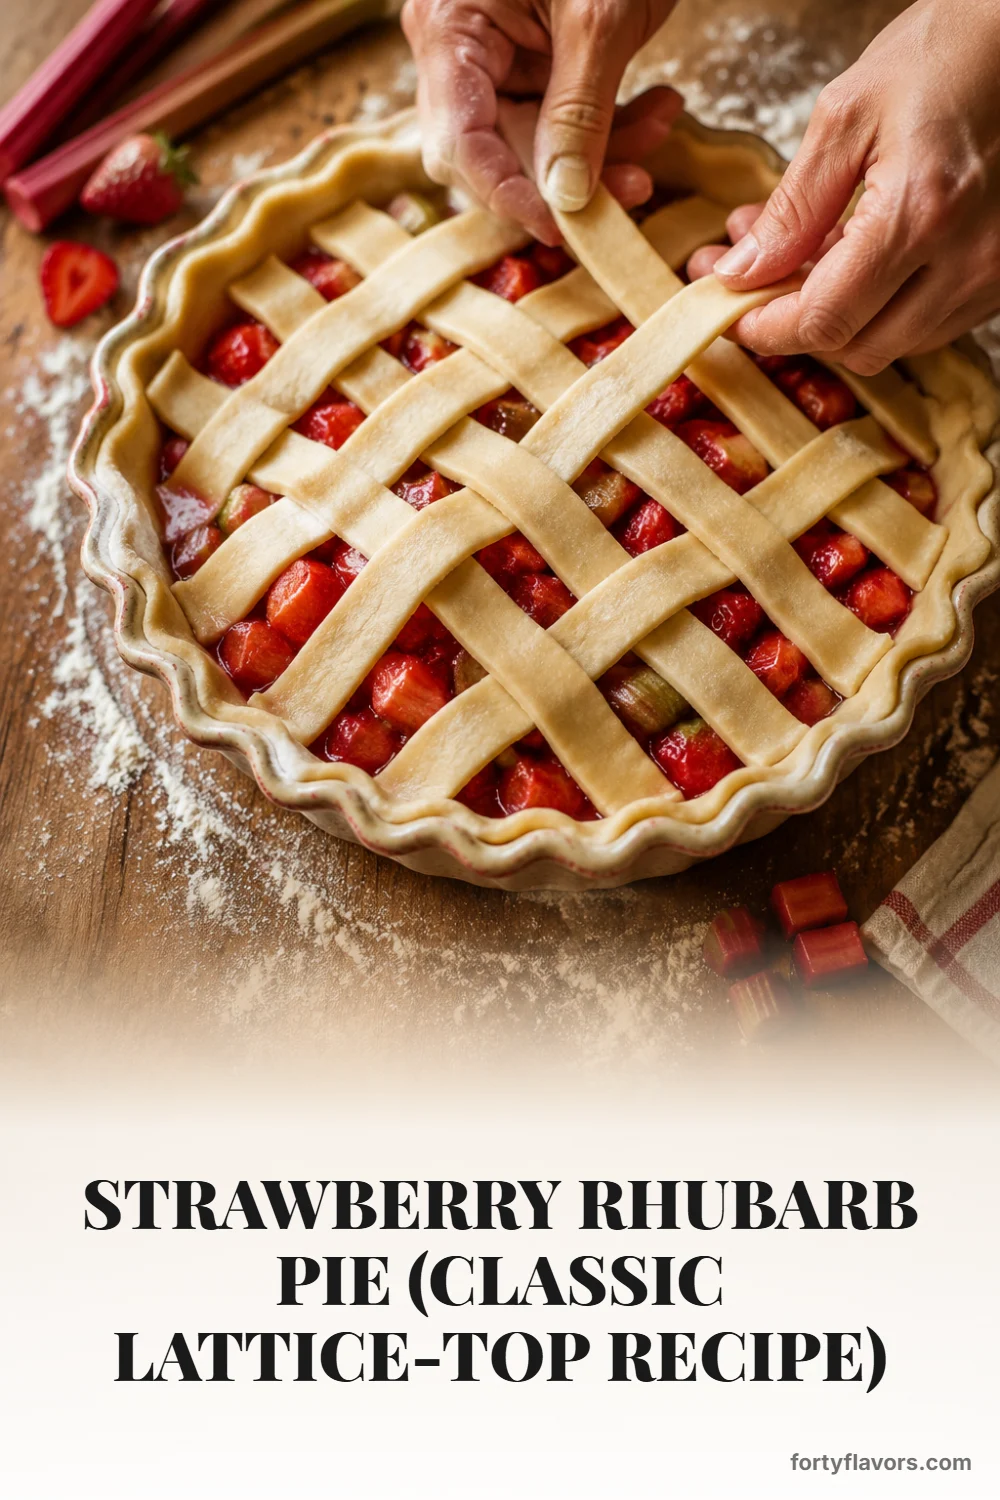
Roll your first disc into a twelve-inch circle on a lightly floured surface and ease it into a nine-inch pie plate. Trim the overhang to about half an inch and slip it back into the fridge while you work on the top. Roll the second disc into a similar circle and use a sharp knife or pizza cutter to slice it into ten even strips. Pile the drained fruit into the chilled bottom crust, then weave the strips into a classic lattice pie top, pinching the ends into the bottom crust and crimping the edge into a tidy fluted border.
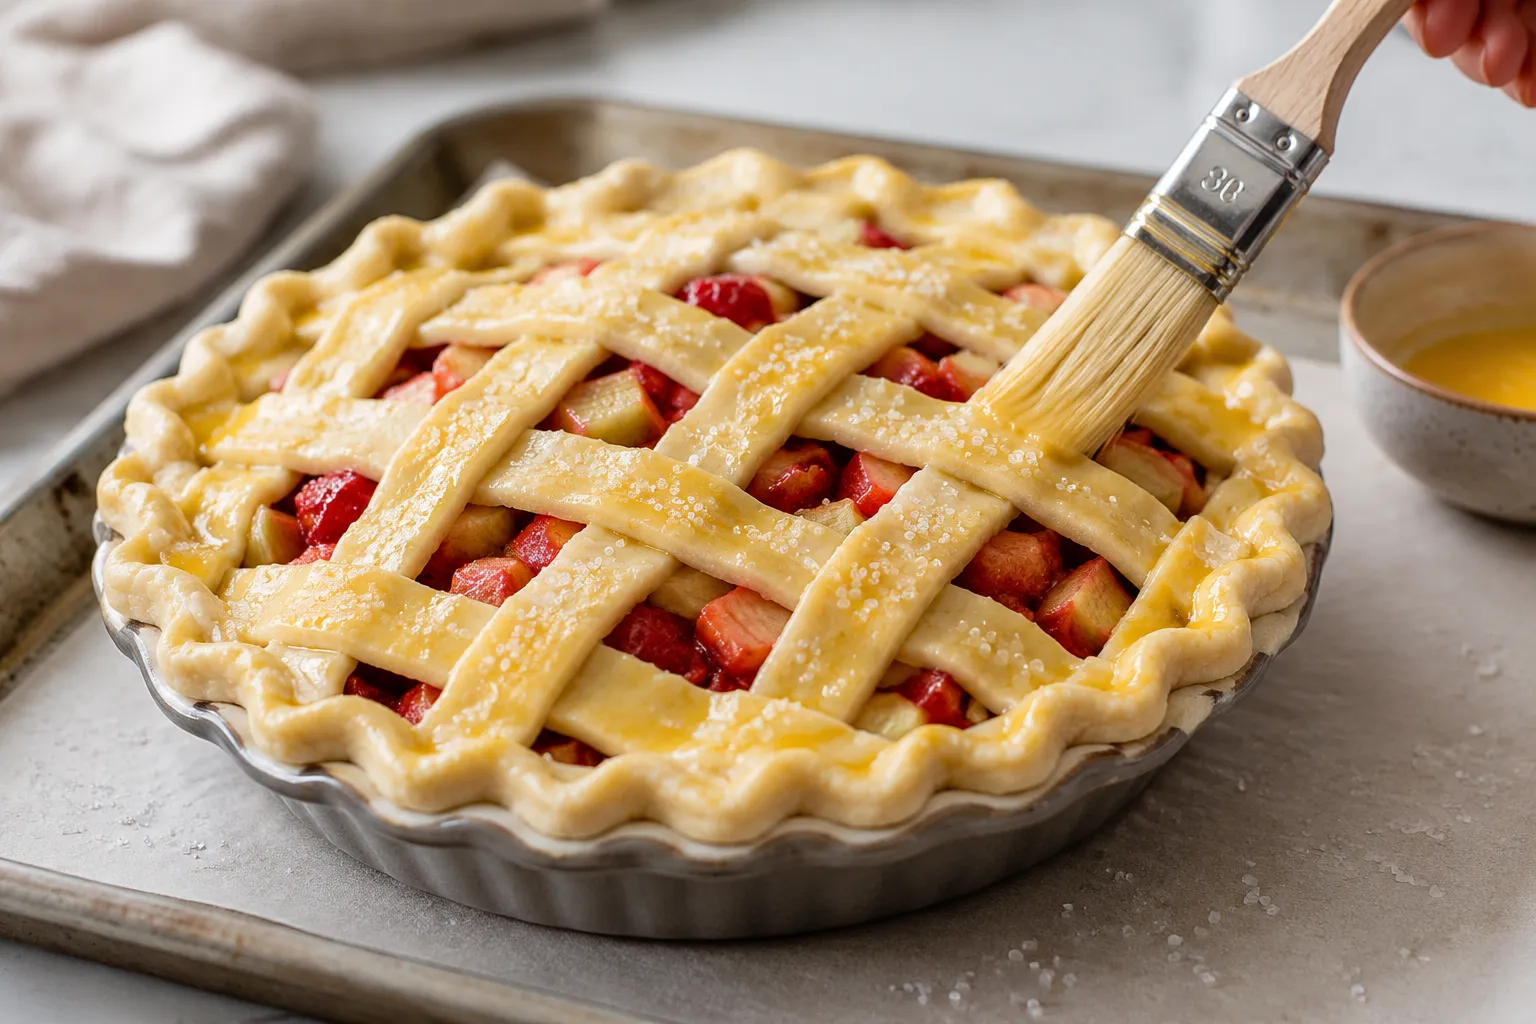
Brush the lattice generously with egg wash, then shower it with coarse sugar. Park the assembled pie in the freezer for fifteen minutes, which firms up the butter and gives you sharper definition in the finished crust. Meanwhile, heat your oven to 425°F with a rack in the lower third and a sheet pan on it to catch any drips. Bake at 425°F for twenty minutes to set the crust, then drop the temperature to 375°F and continue baking for another thirty-five to forty minutes, until the top is deep golden and the filling is bubbling thickly through the lattice gaps.
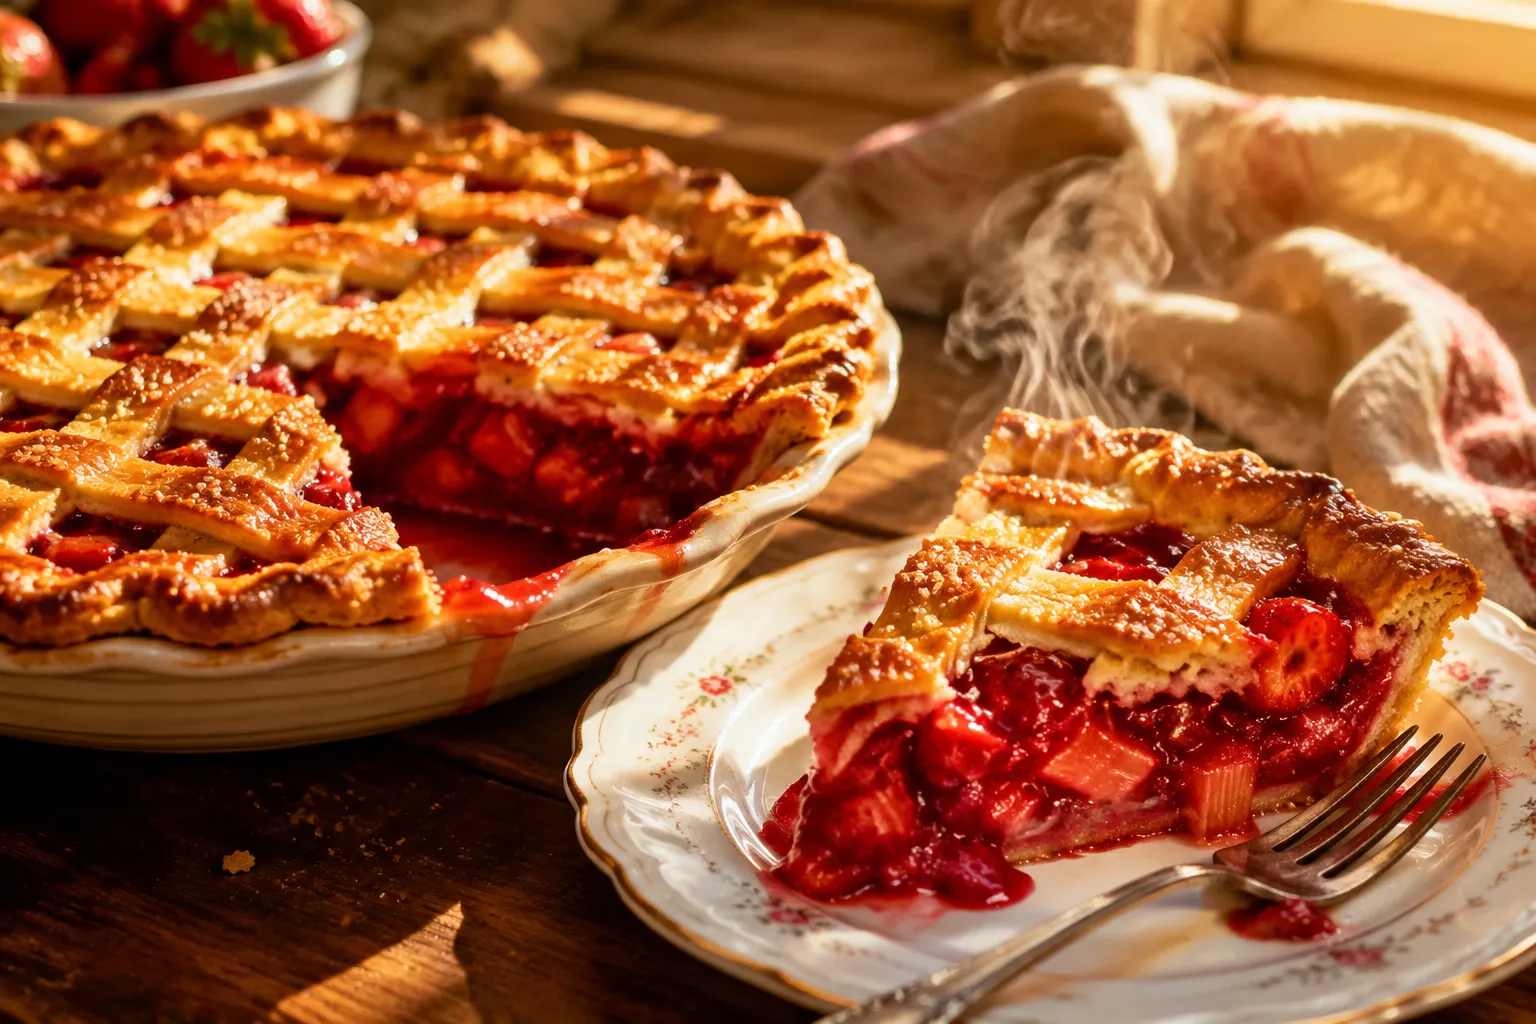
Pull the pie out and let it cool on a wire rack for a full four hours before you cut into it. I know. It smells incredible and you want pie now. But the tapioca needs that time to fully gel as the filling drops below 200°F, and slicing too early is the single most common cause of a runny pie. Use the time to whip cream or take a walk. The pie will still be just barely warm in the middle when you finally cut it, which is exactly when it tastes best.
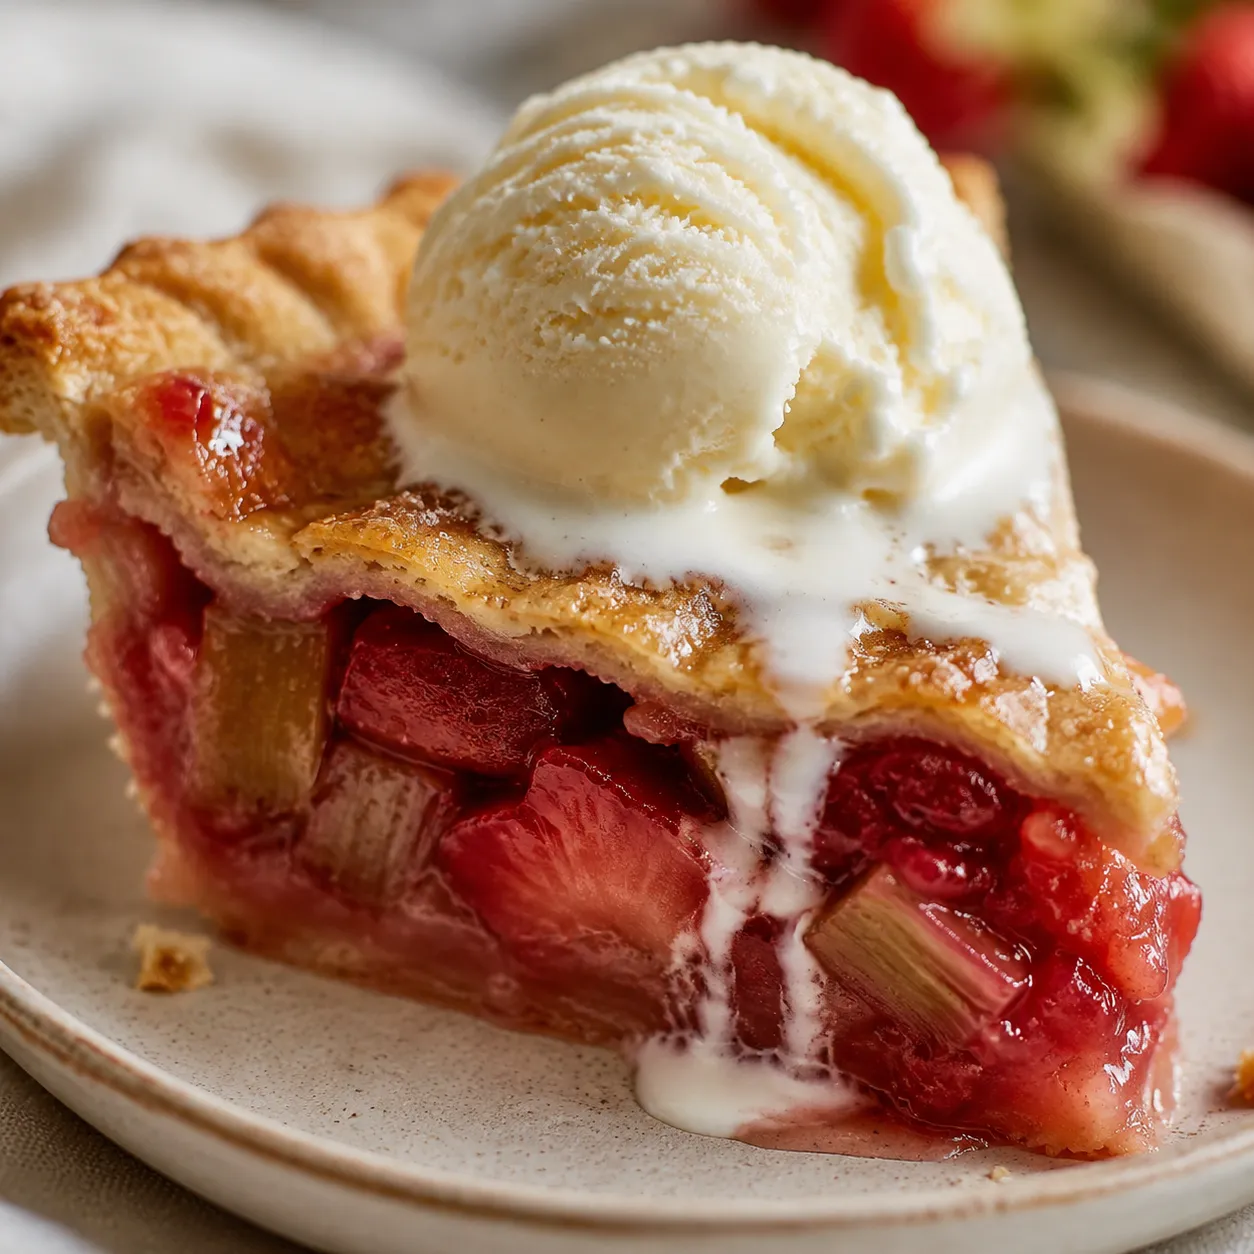
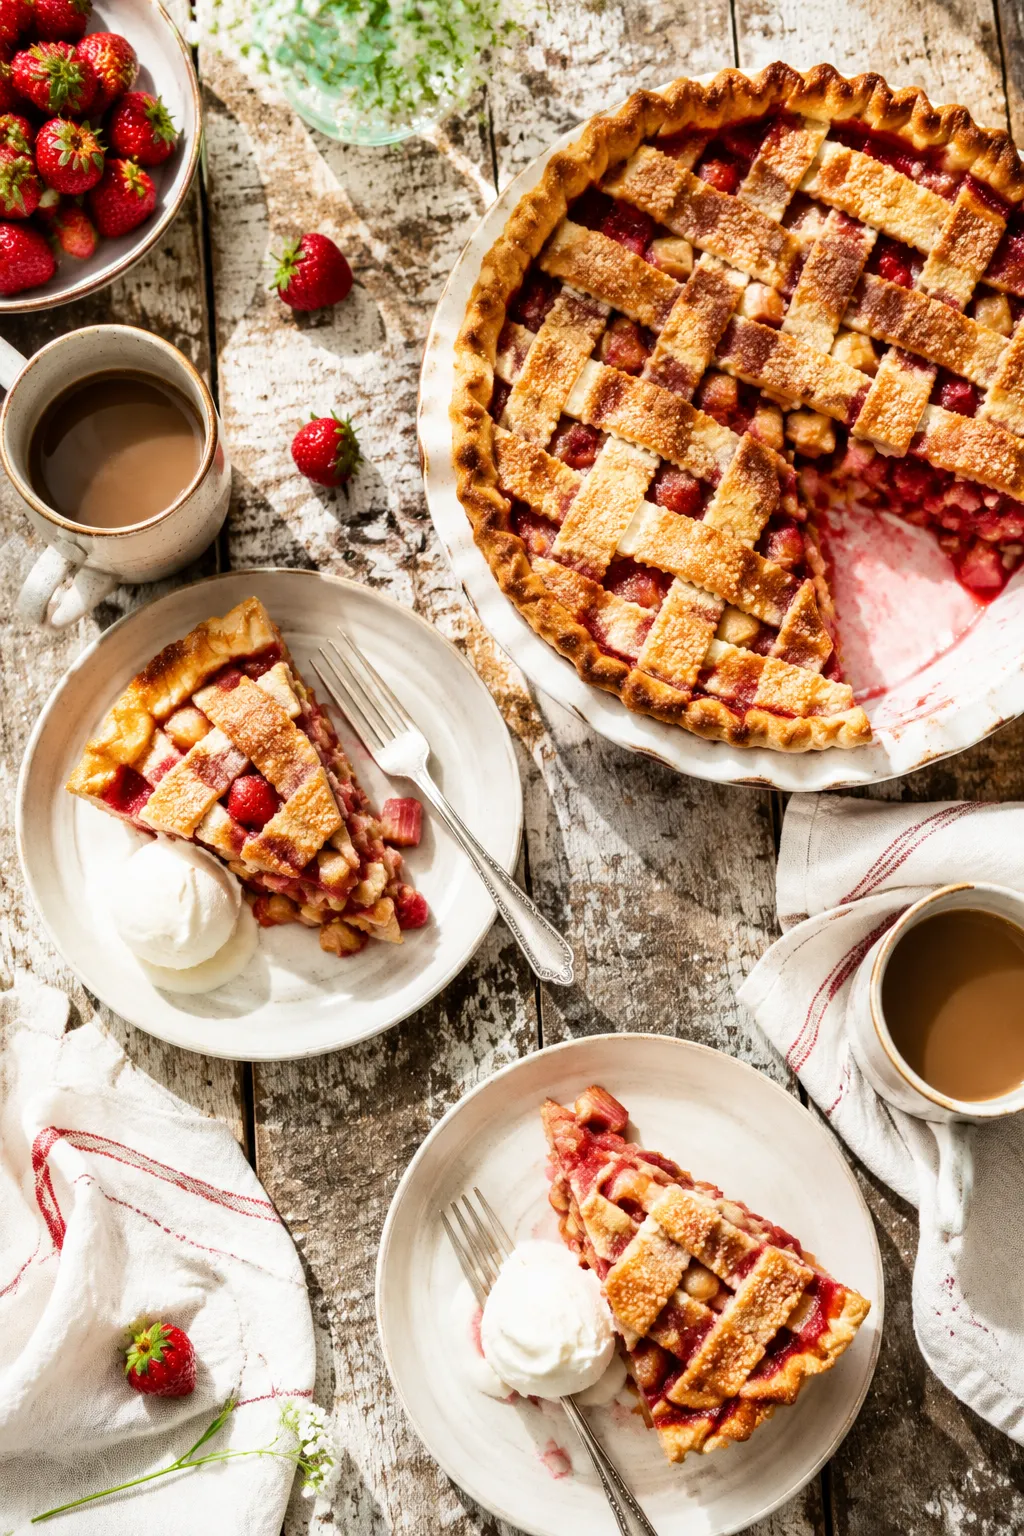
A scoop of really good vanilla bean ice cream is the obvious move, and it is obvious for a reason. The cold cream against the warm jammy filling is honestly one of the best food experiences summer has to offer. Lightly sweetened whipped cream with a drop of almond extract is another favorite of mine, especially for a more refined dessert table. If you are serving the pie after dinner, a small glass of moscato or a cup of strong black coffee both cut through the sweetness beautifully.
For a full June dessert spread, this pie sits comfortably alongside other rhubarb desserts and summer pie recipes you might already love, like a buttery shortcake or a peach cobbler later in the season. It also makes an absurdly good breakfast the next morning with a cup of coffee, a fact I refuse to defend.
Once you have made this pie even once, the technique becomes muscle memory. The macerate-and-drain trick will sneak its way into your blueberry pies, your peach pies, and any cobbler you set your hands to. That is the real gift of a recipe like this one, beyond the sheer pleasure of pulling a perfect pie out of your own oven on a quiet Sunday afternoon.
This same base filling and crust play well with a handful of fun spins, depending on what you have on hand or who you are baking for.
A baked strawberry rhubarb pie keeps beautifully at room temperature, loosely covered, for up to two days. After that, transfer it to the refrigerator where it will stay good for another three to four days. The crust softens slightly in the fridge but a quick reheat brings it back. To revive a cold slice, pop it on a sheet pan in a 350°F oven for ten minutes, just until the bottom is crisp again and the filling is warm.
For longer storage, you have two great freezer options. To freeze unbaked, assemble the entire pie, wrap it tightly in plastic and then foil, and freeze for up to three months. Bake straight from frozen, adding fifteen to twenty minutes to the bake time. To freeze baked, cool the pie completely, wrap well, and freeze up to three months. Thaw overnight in the fridge and reheat at 350°F for fifteen to twenty minutes.
Hover any image and hit “Pin it” to save it to your Pinterest boards.